
Month: October 2015
Amazing Race Birthday Party

We had an Amazing Race party at our house for my son’s 11th birthday. I got the idea when I did a google search for “ideas for 11 year old birthday”. The first site I saw was www.momof6.com. I have to give a HUGE thank you to Sharon for sharing the invitation and card templates and some great ideas for this party. I must have went back to her site a thousand times over the course of planning this.


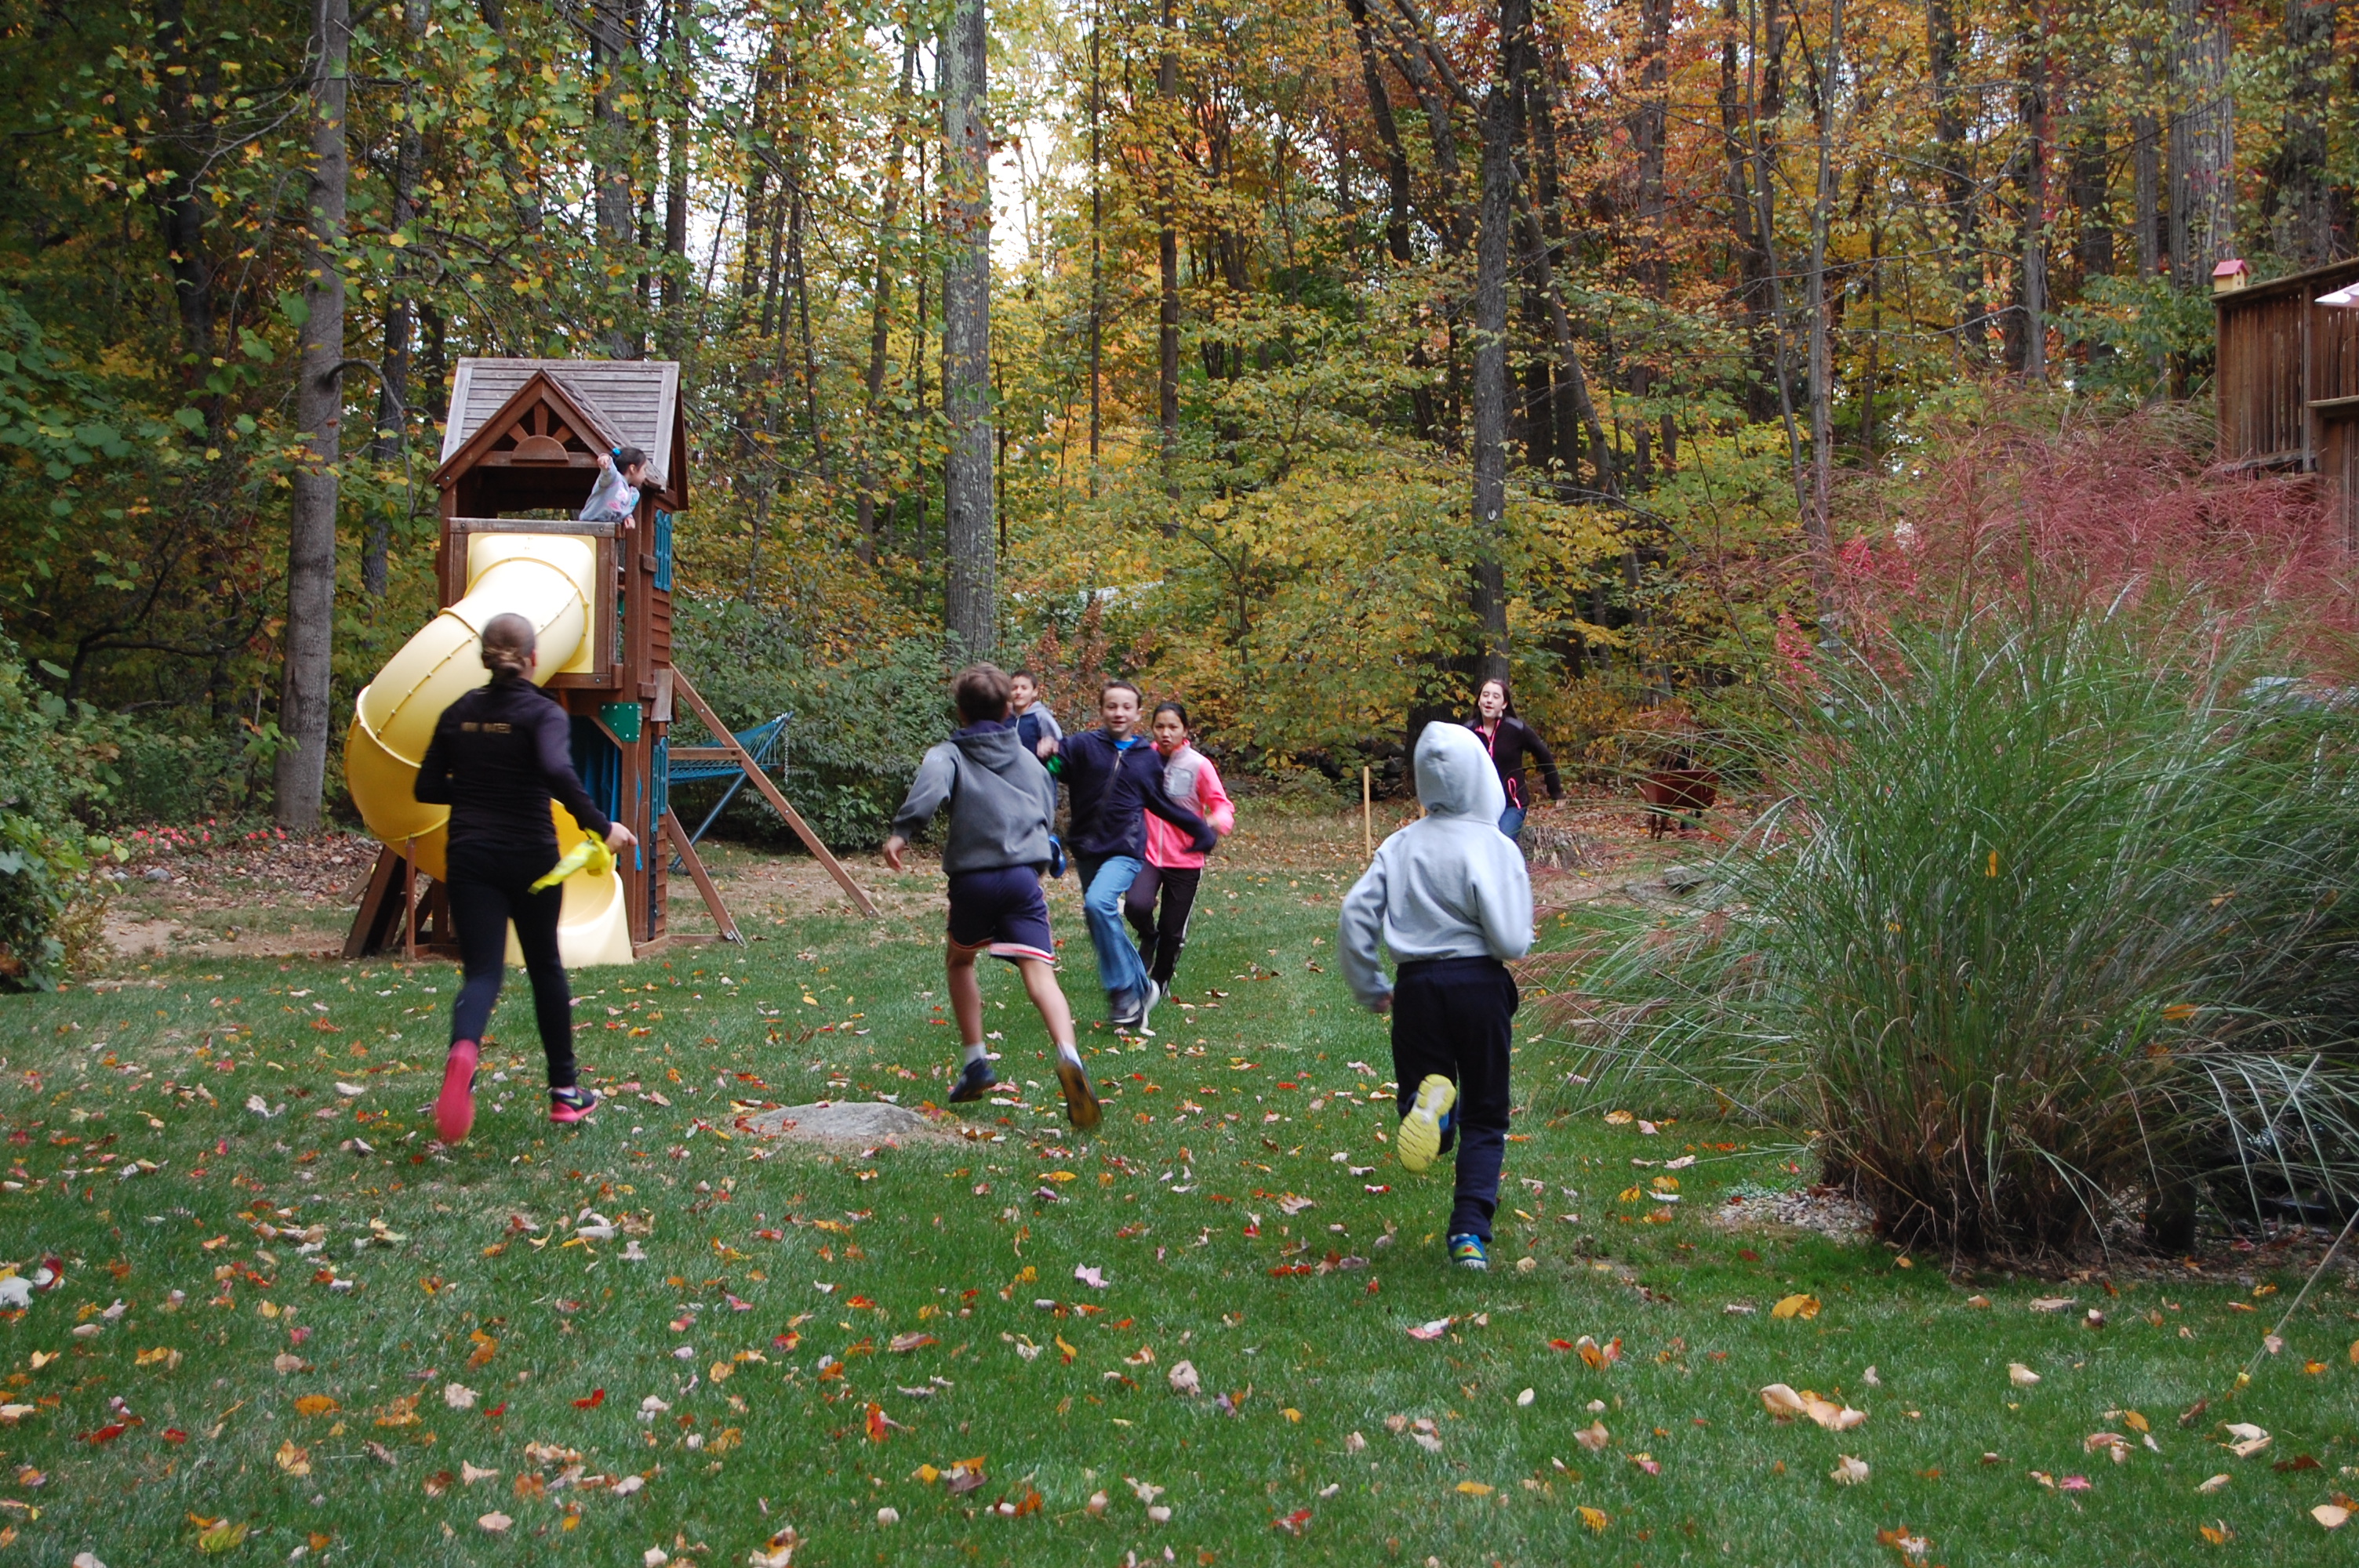
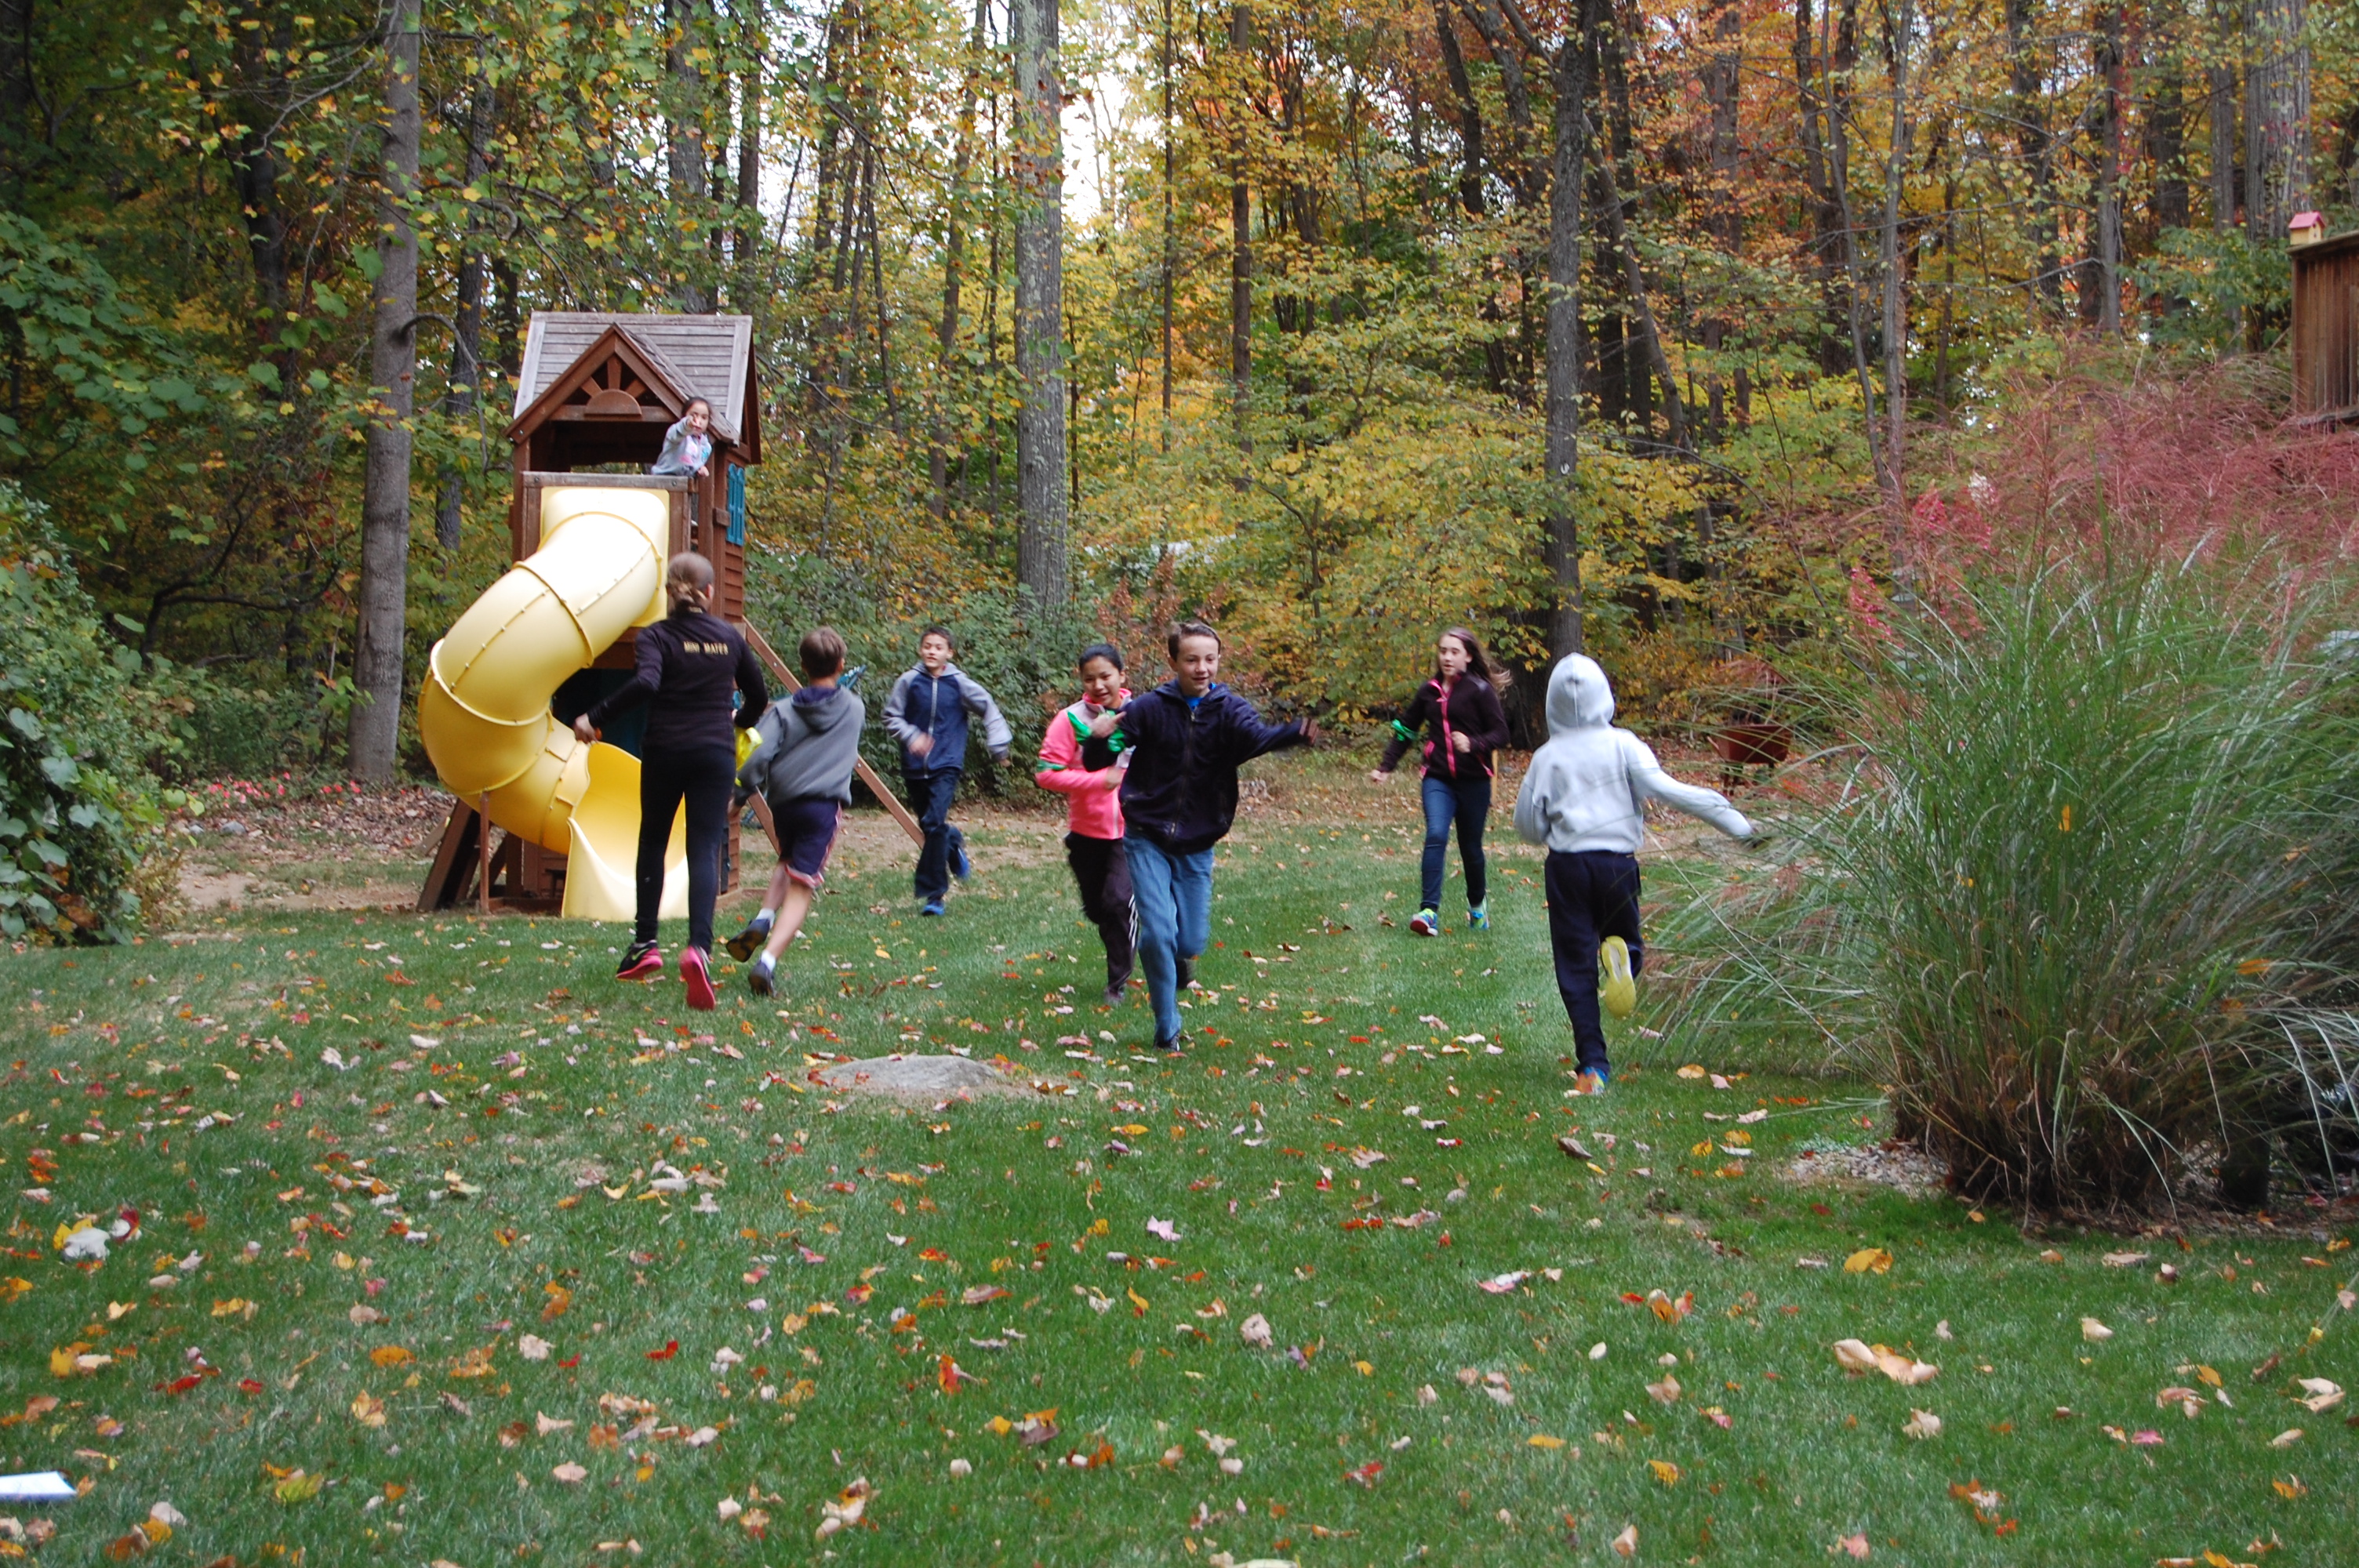
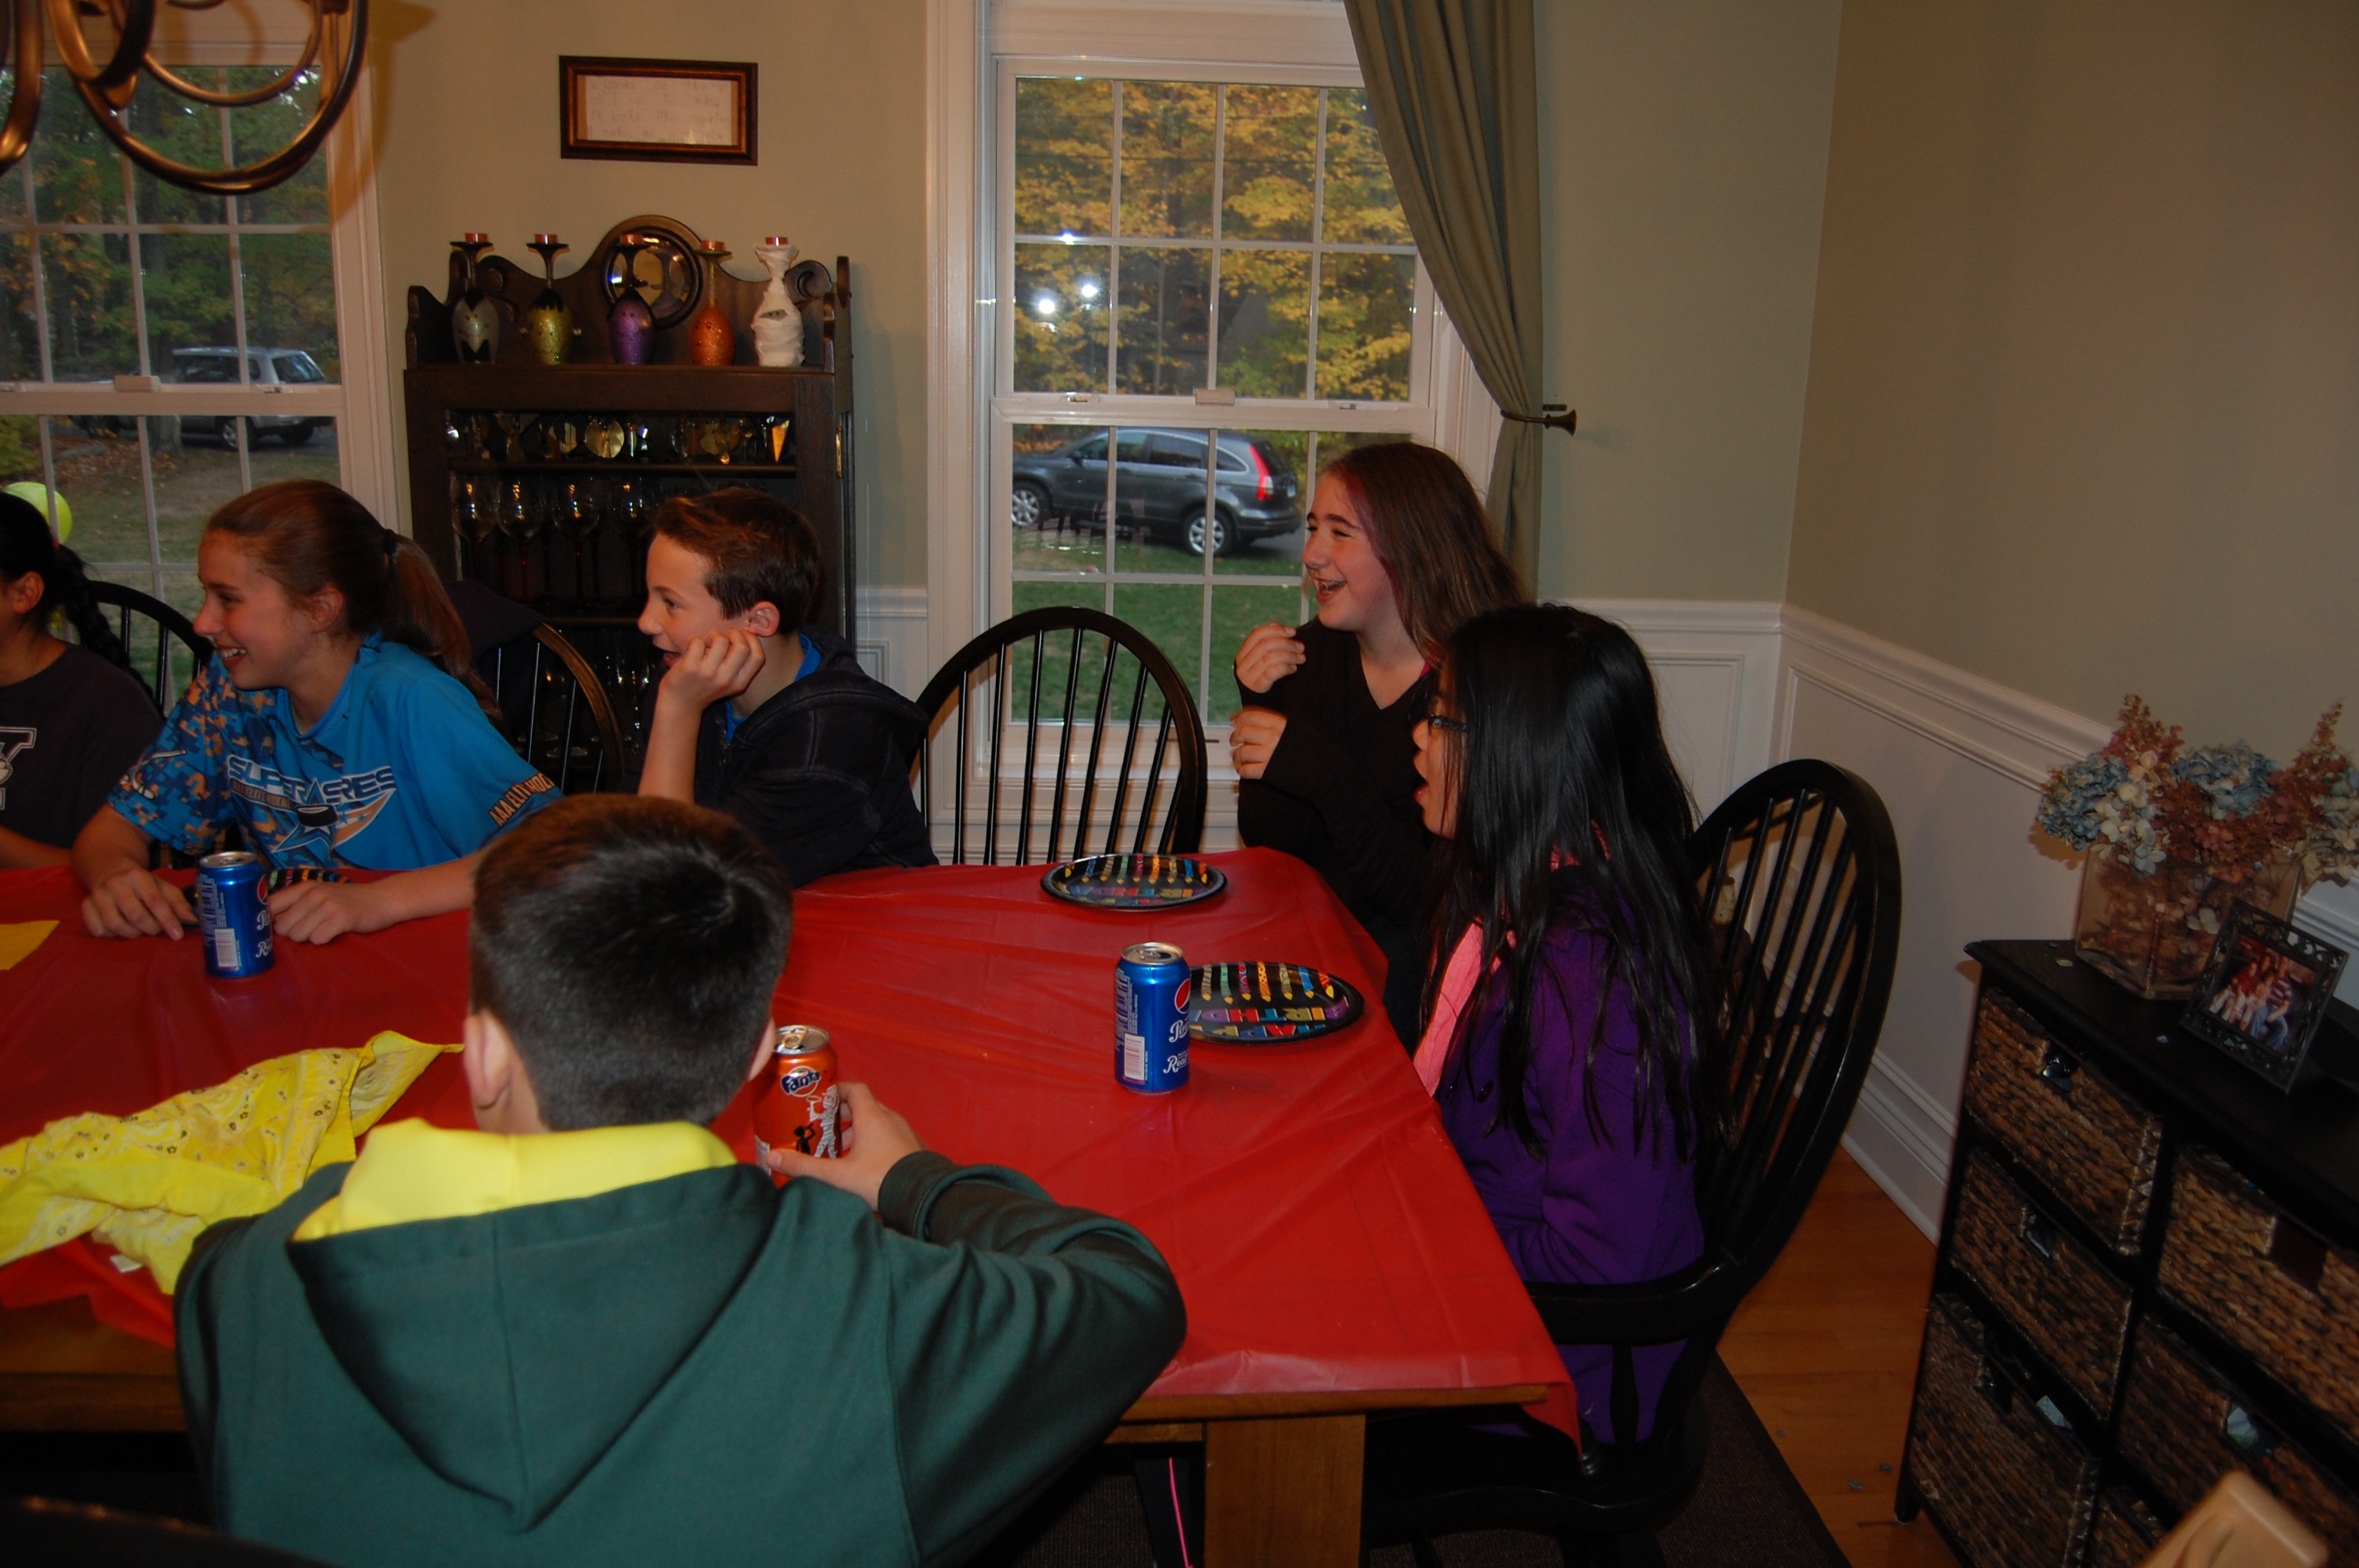
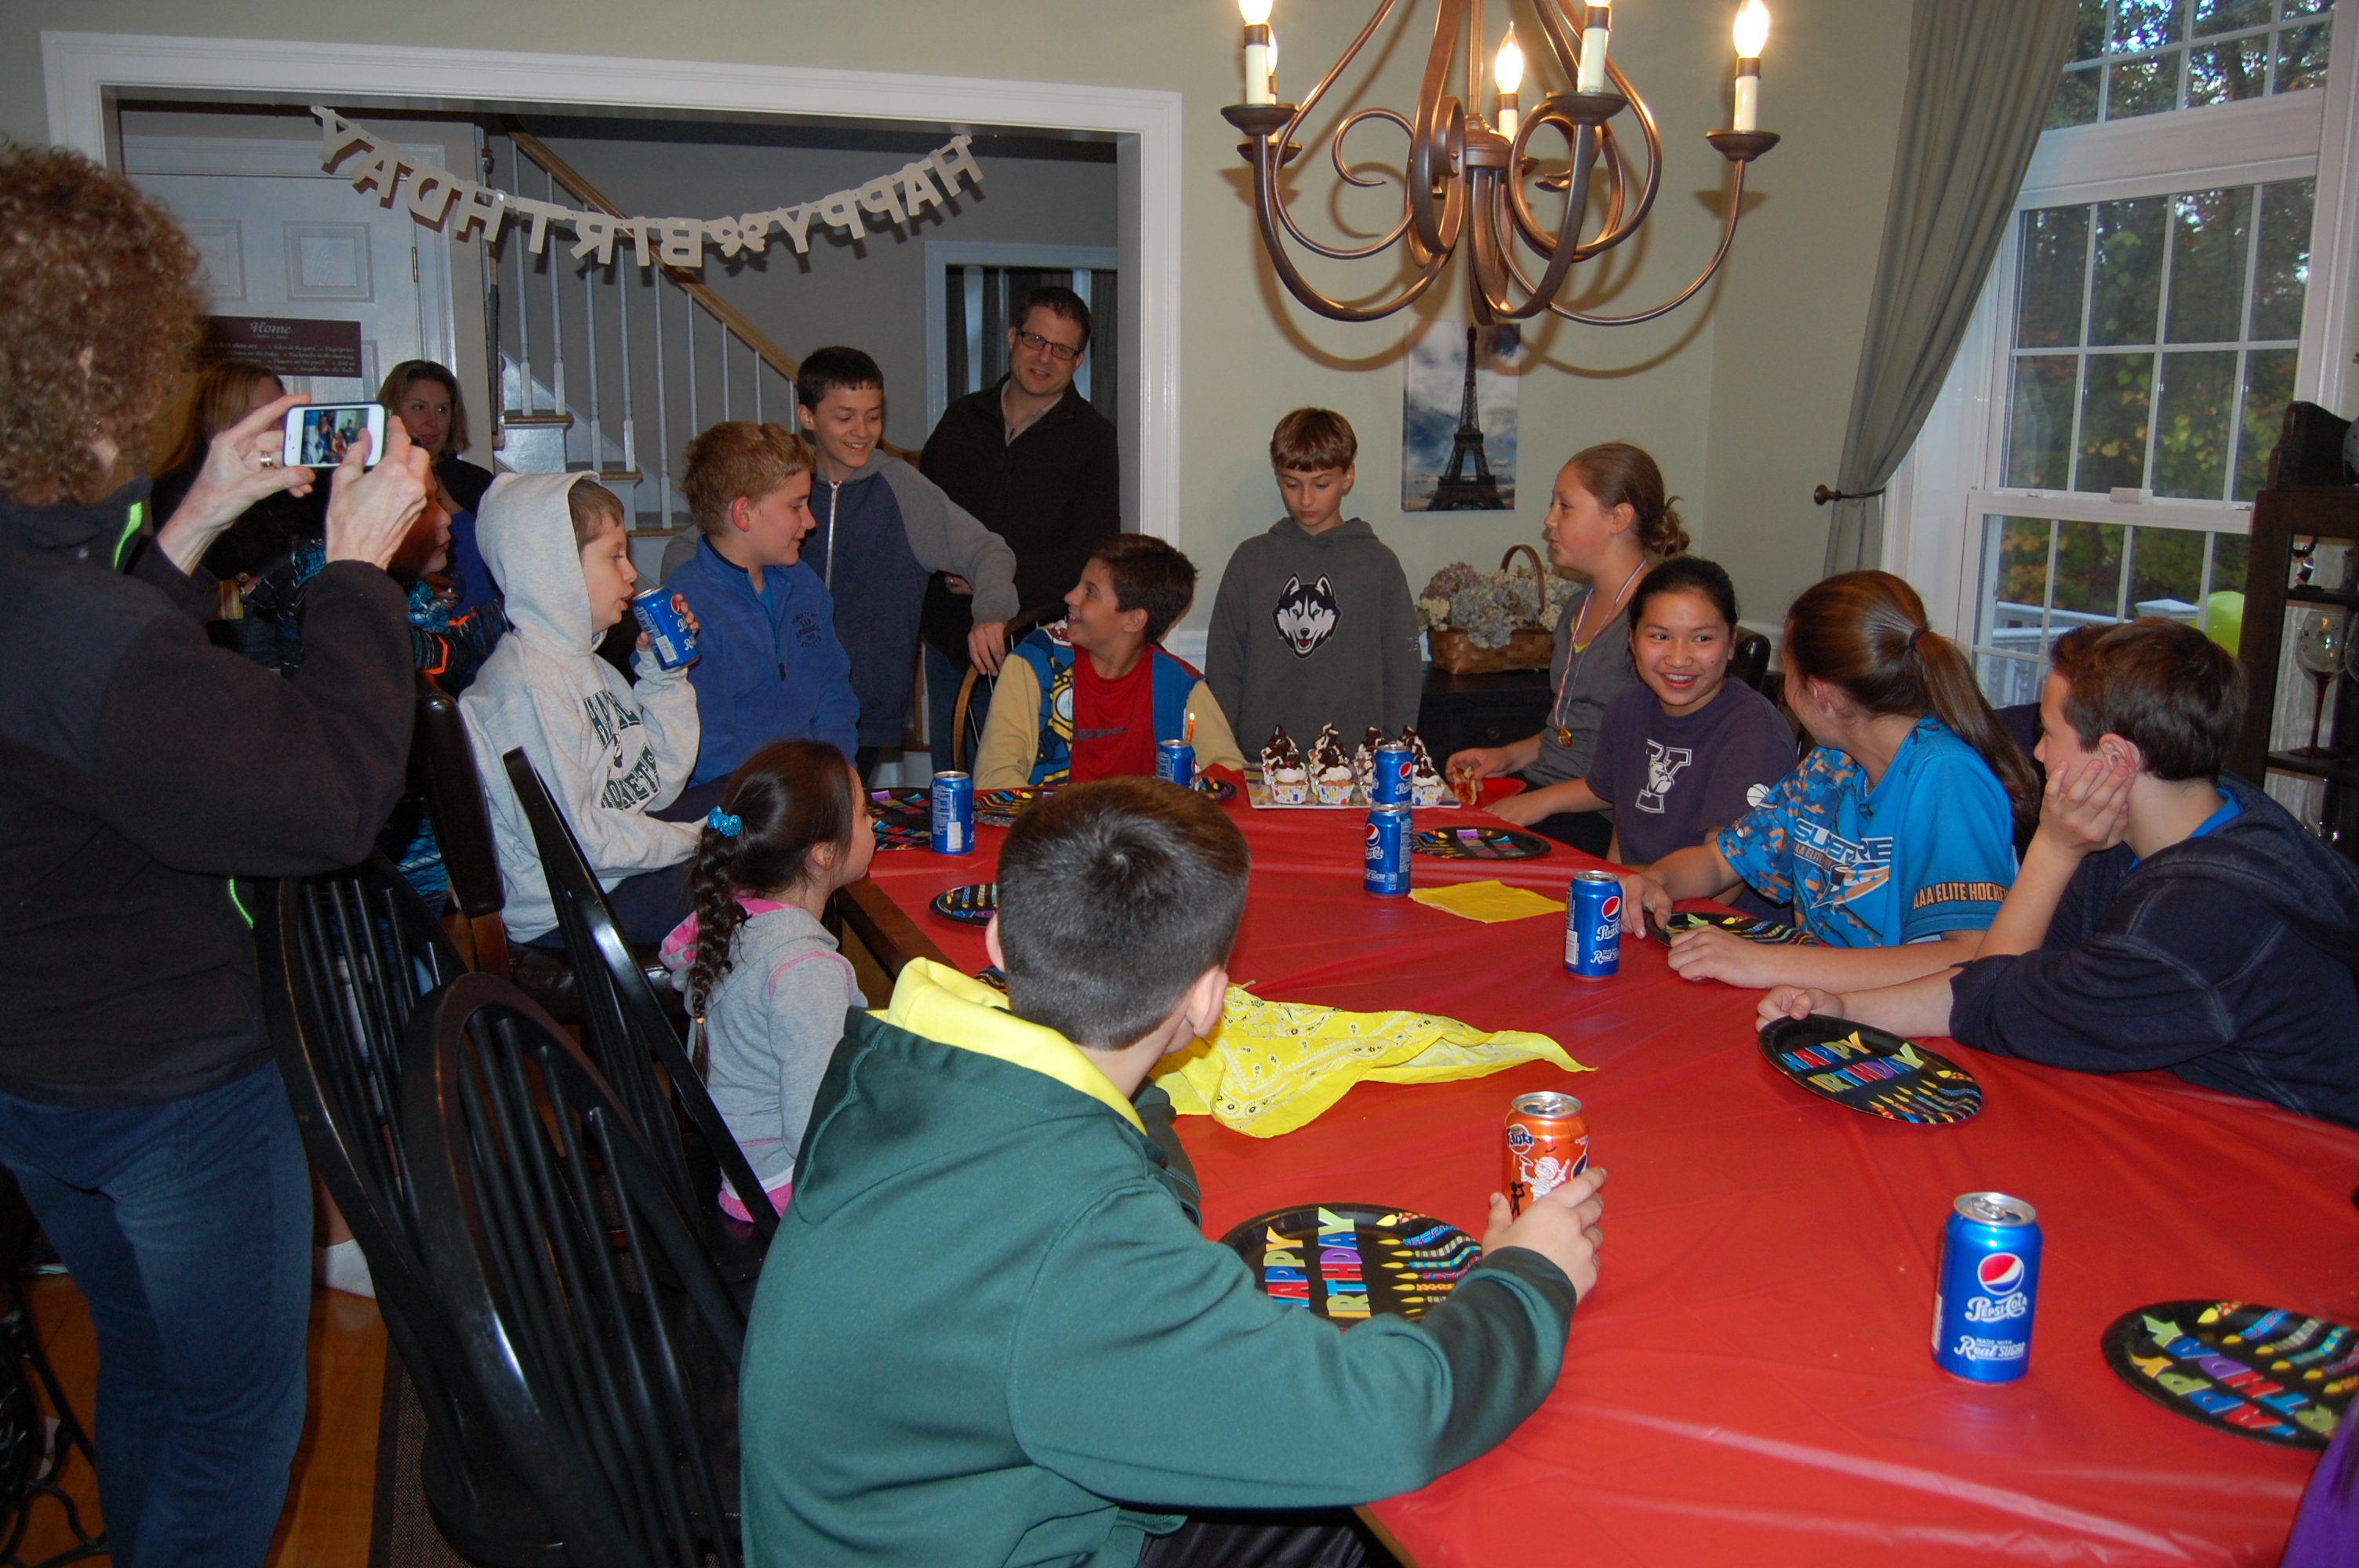
We had thirteen eleven and twelve-year-olds (6th graders) to our house for 2 1/2 hours. I planned out seven challenges and then we had pizza and cupcakes. I can not believe how much fun the kids all had! The party started at 3pm, but I anticipated that we wouldn’t start the challenges until 3:30 pm accounting for late comers. We ended up started around 3:40 pm, but there was still plenty of time.

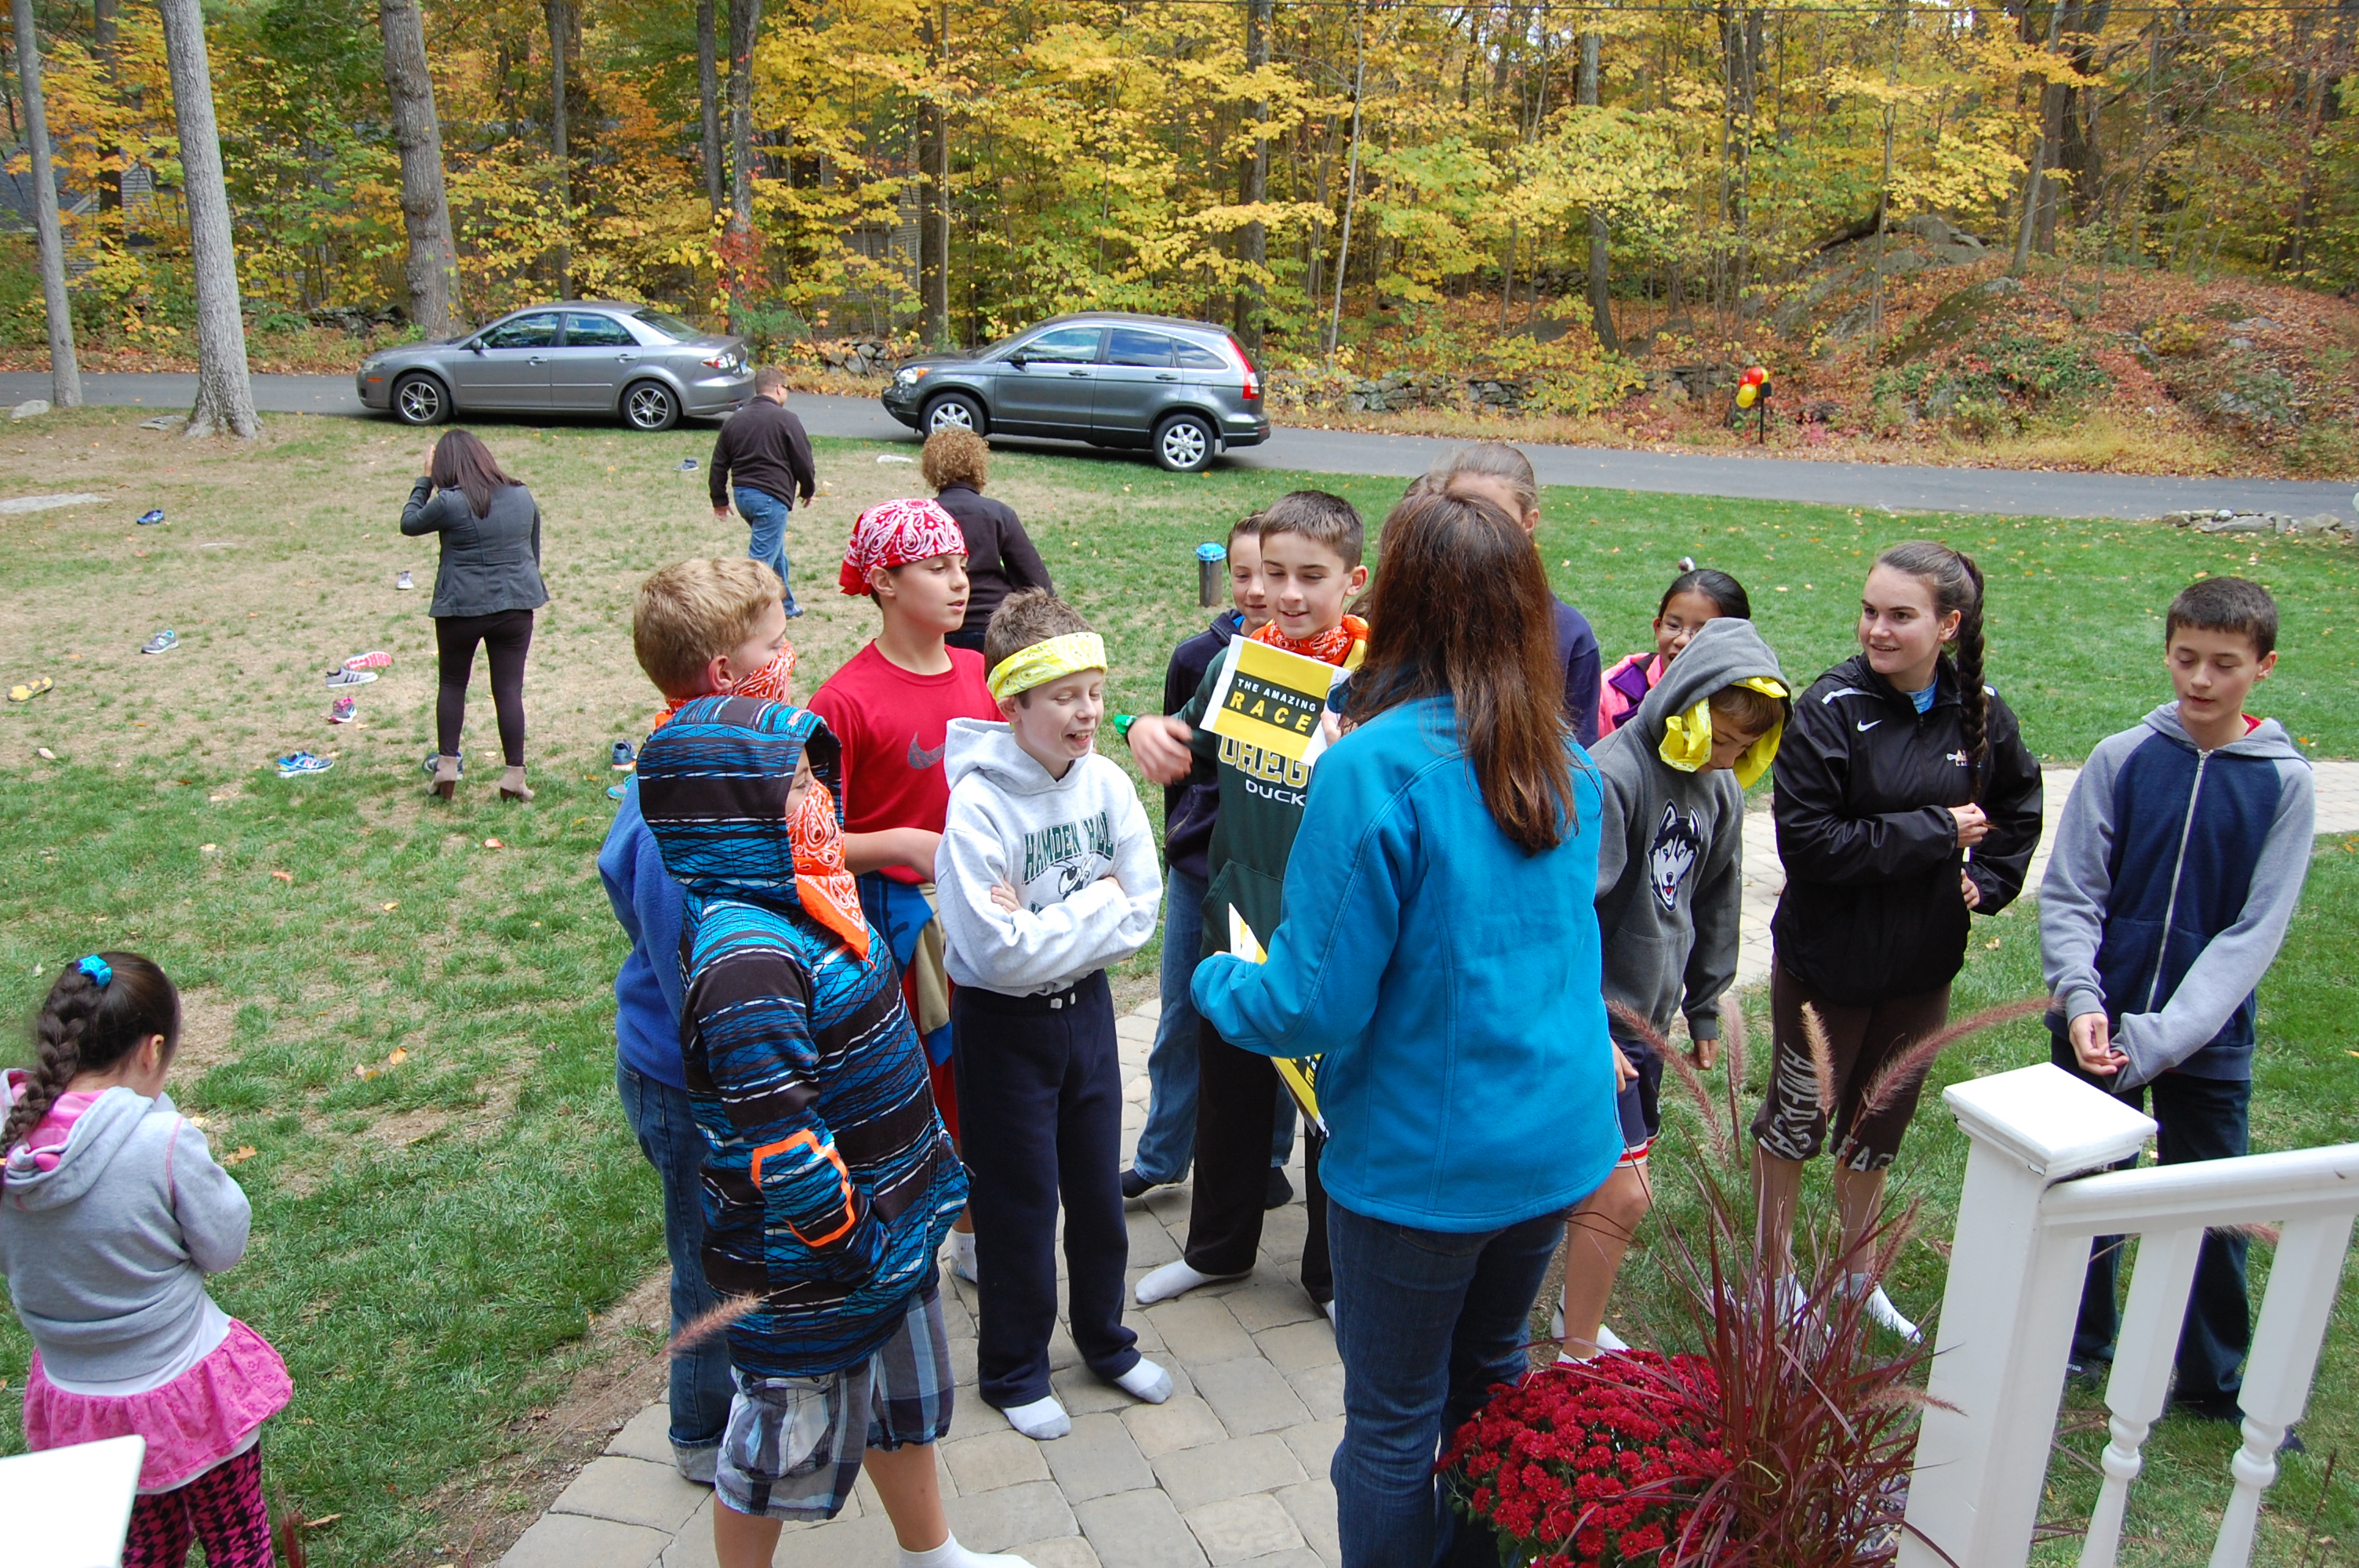
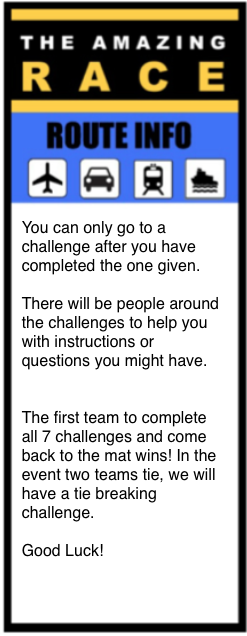
All of the challenges ended up taking about an hour. It is really important to have plenty of volunteers to oversee the activities and that they are prepped beforehand as to what the activities entail. Especially when more than one team comes rushing at you for their next clue and might need help navigating where to go or how to complete the challenge. So…here is how our party went!
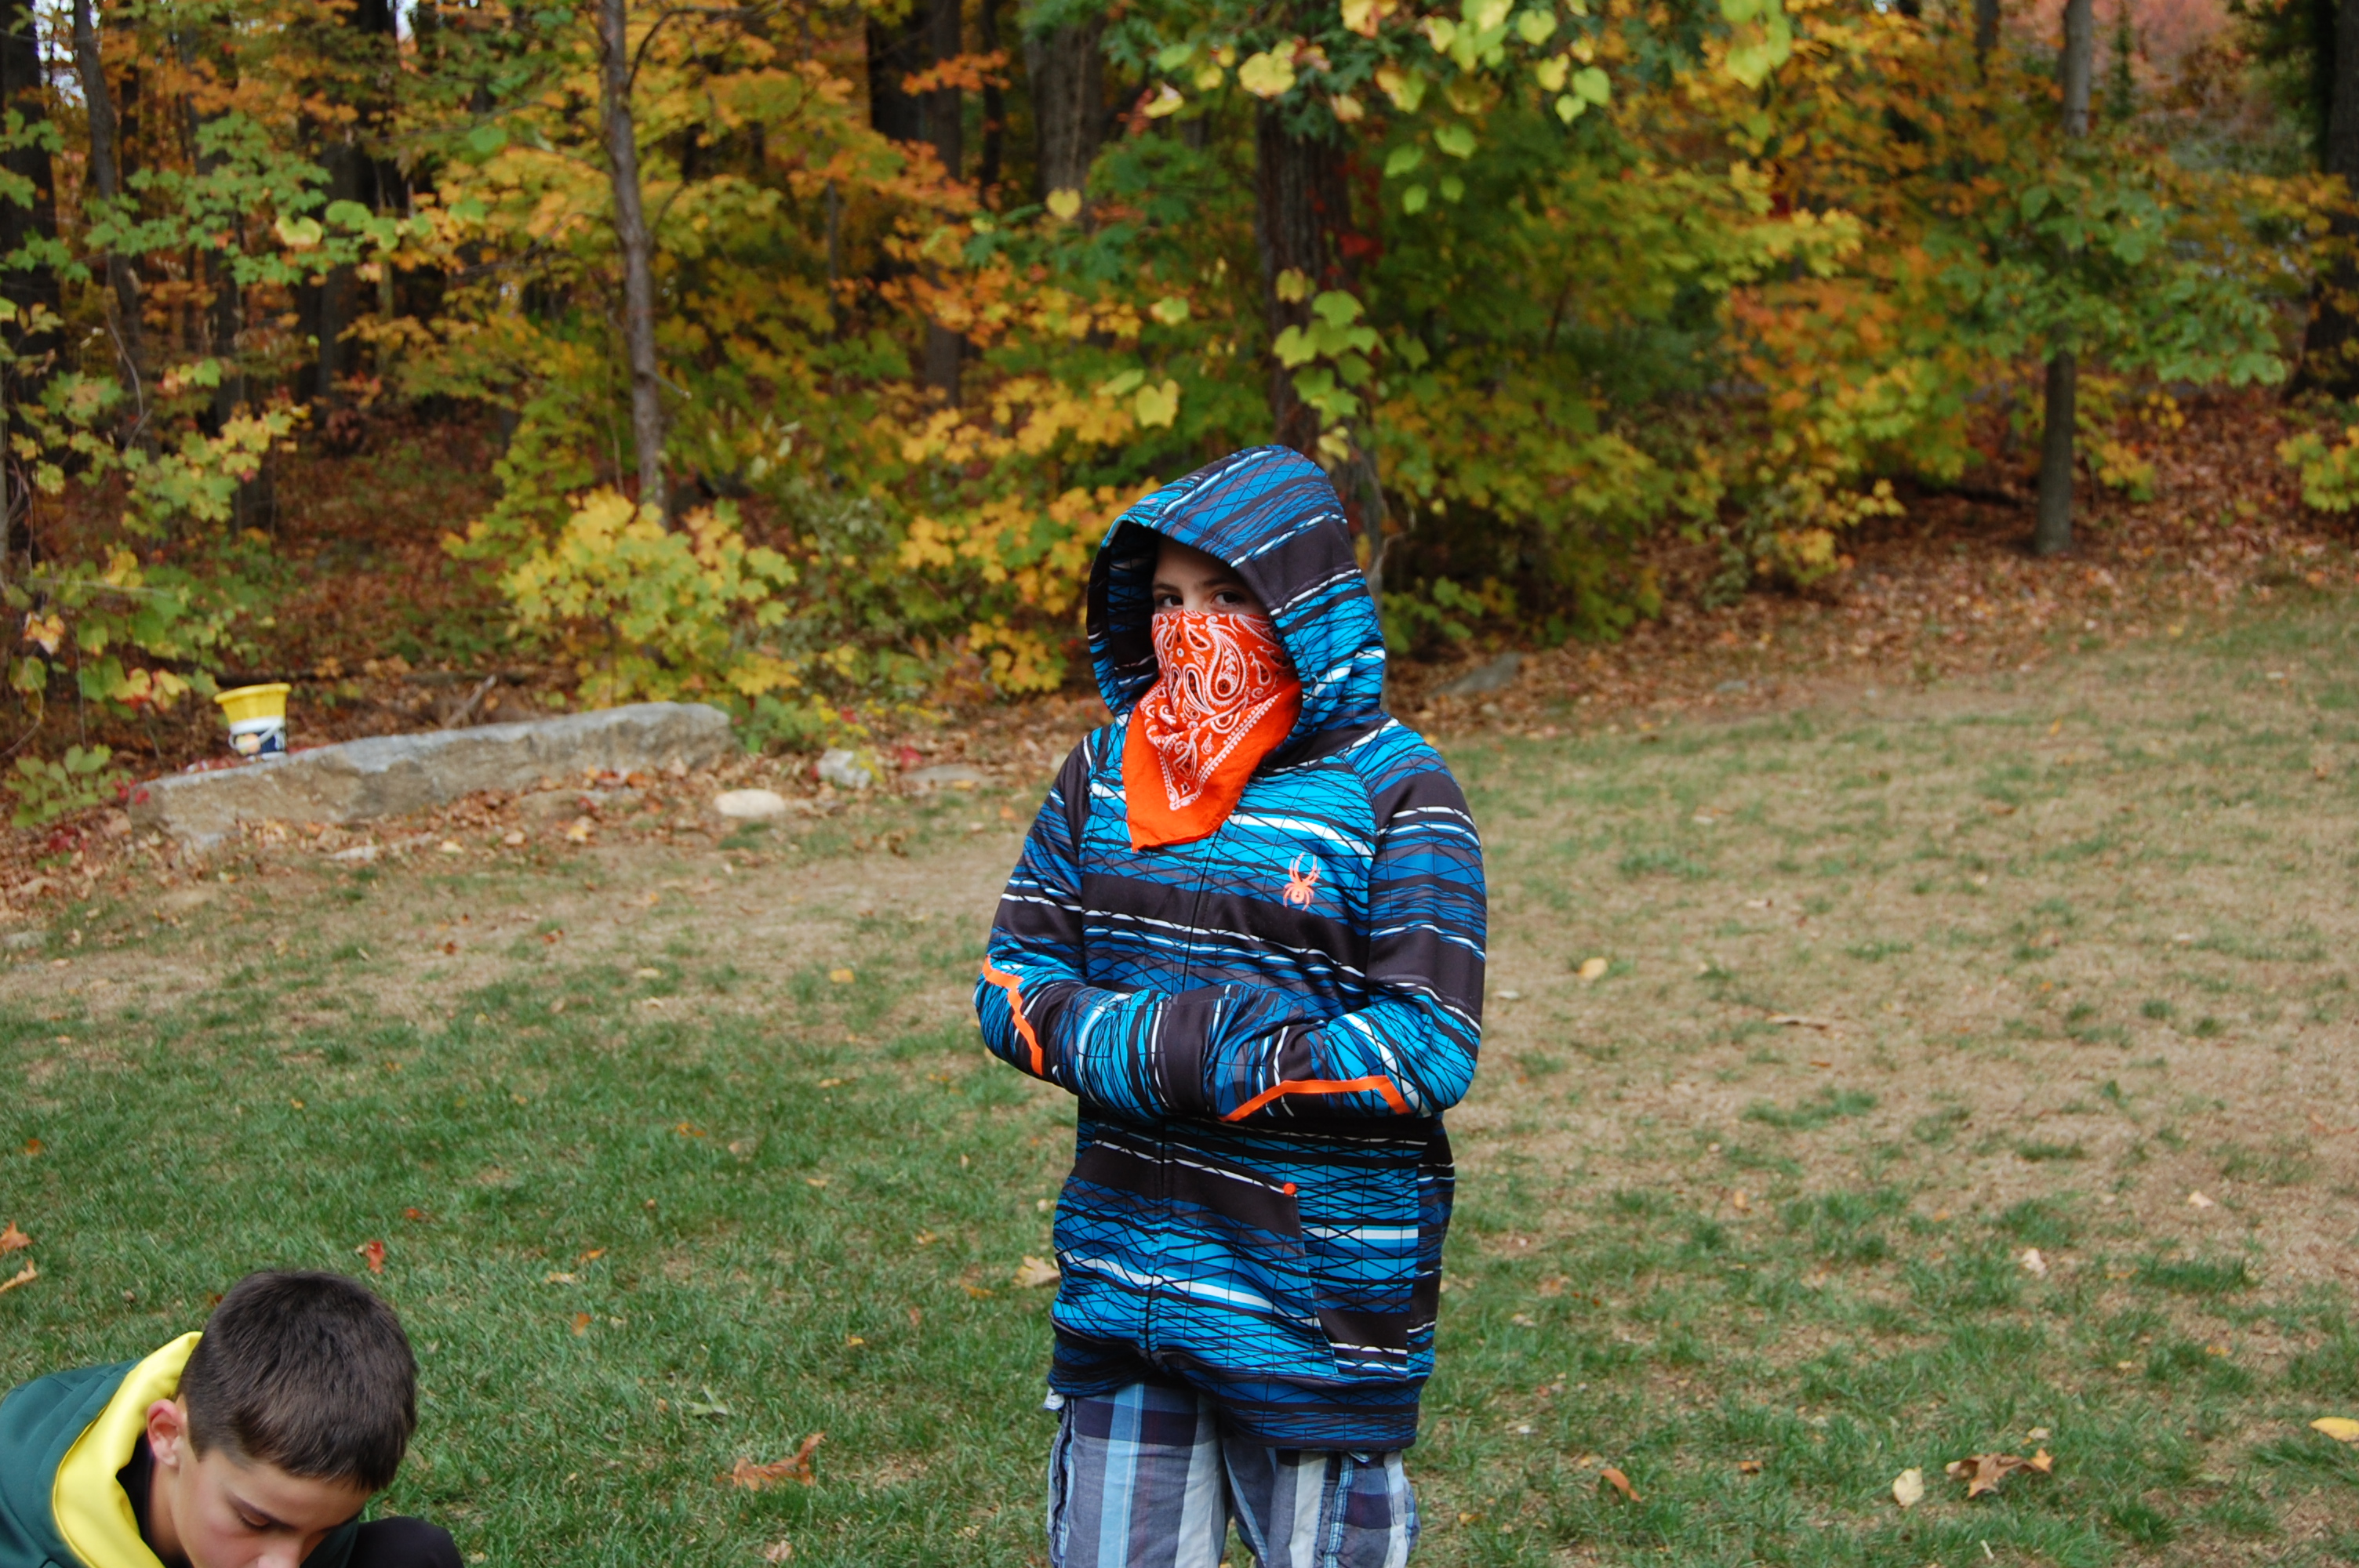
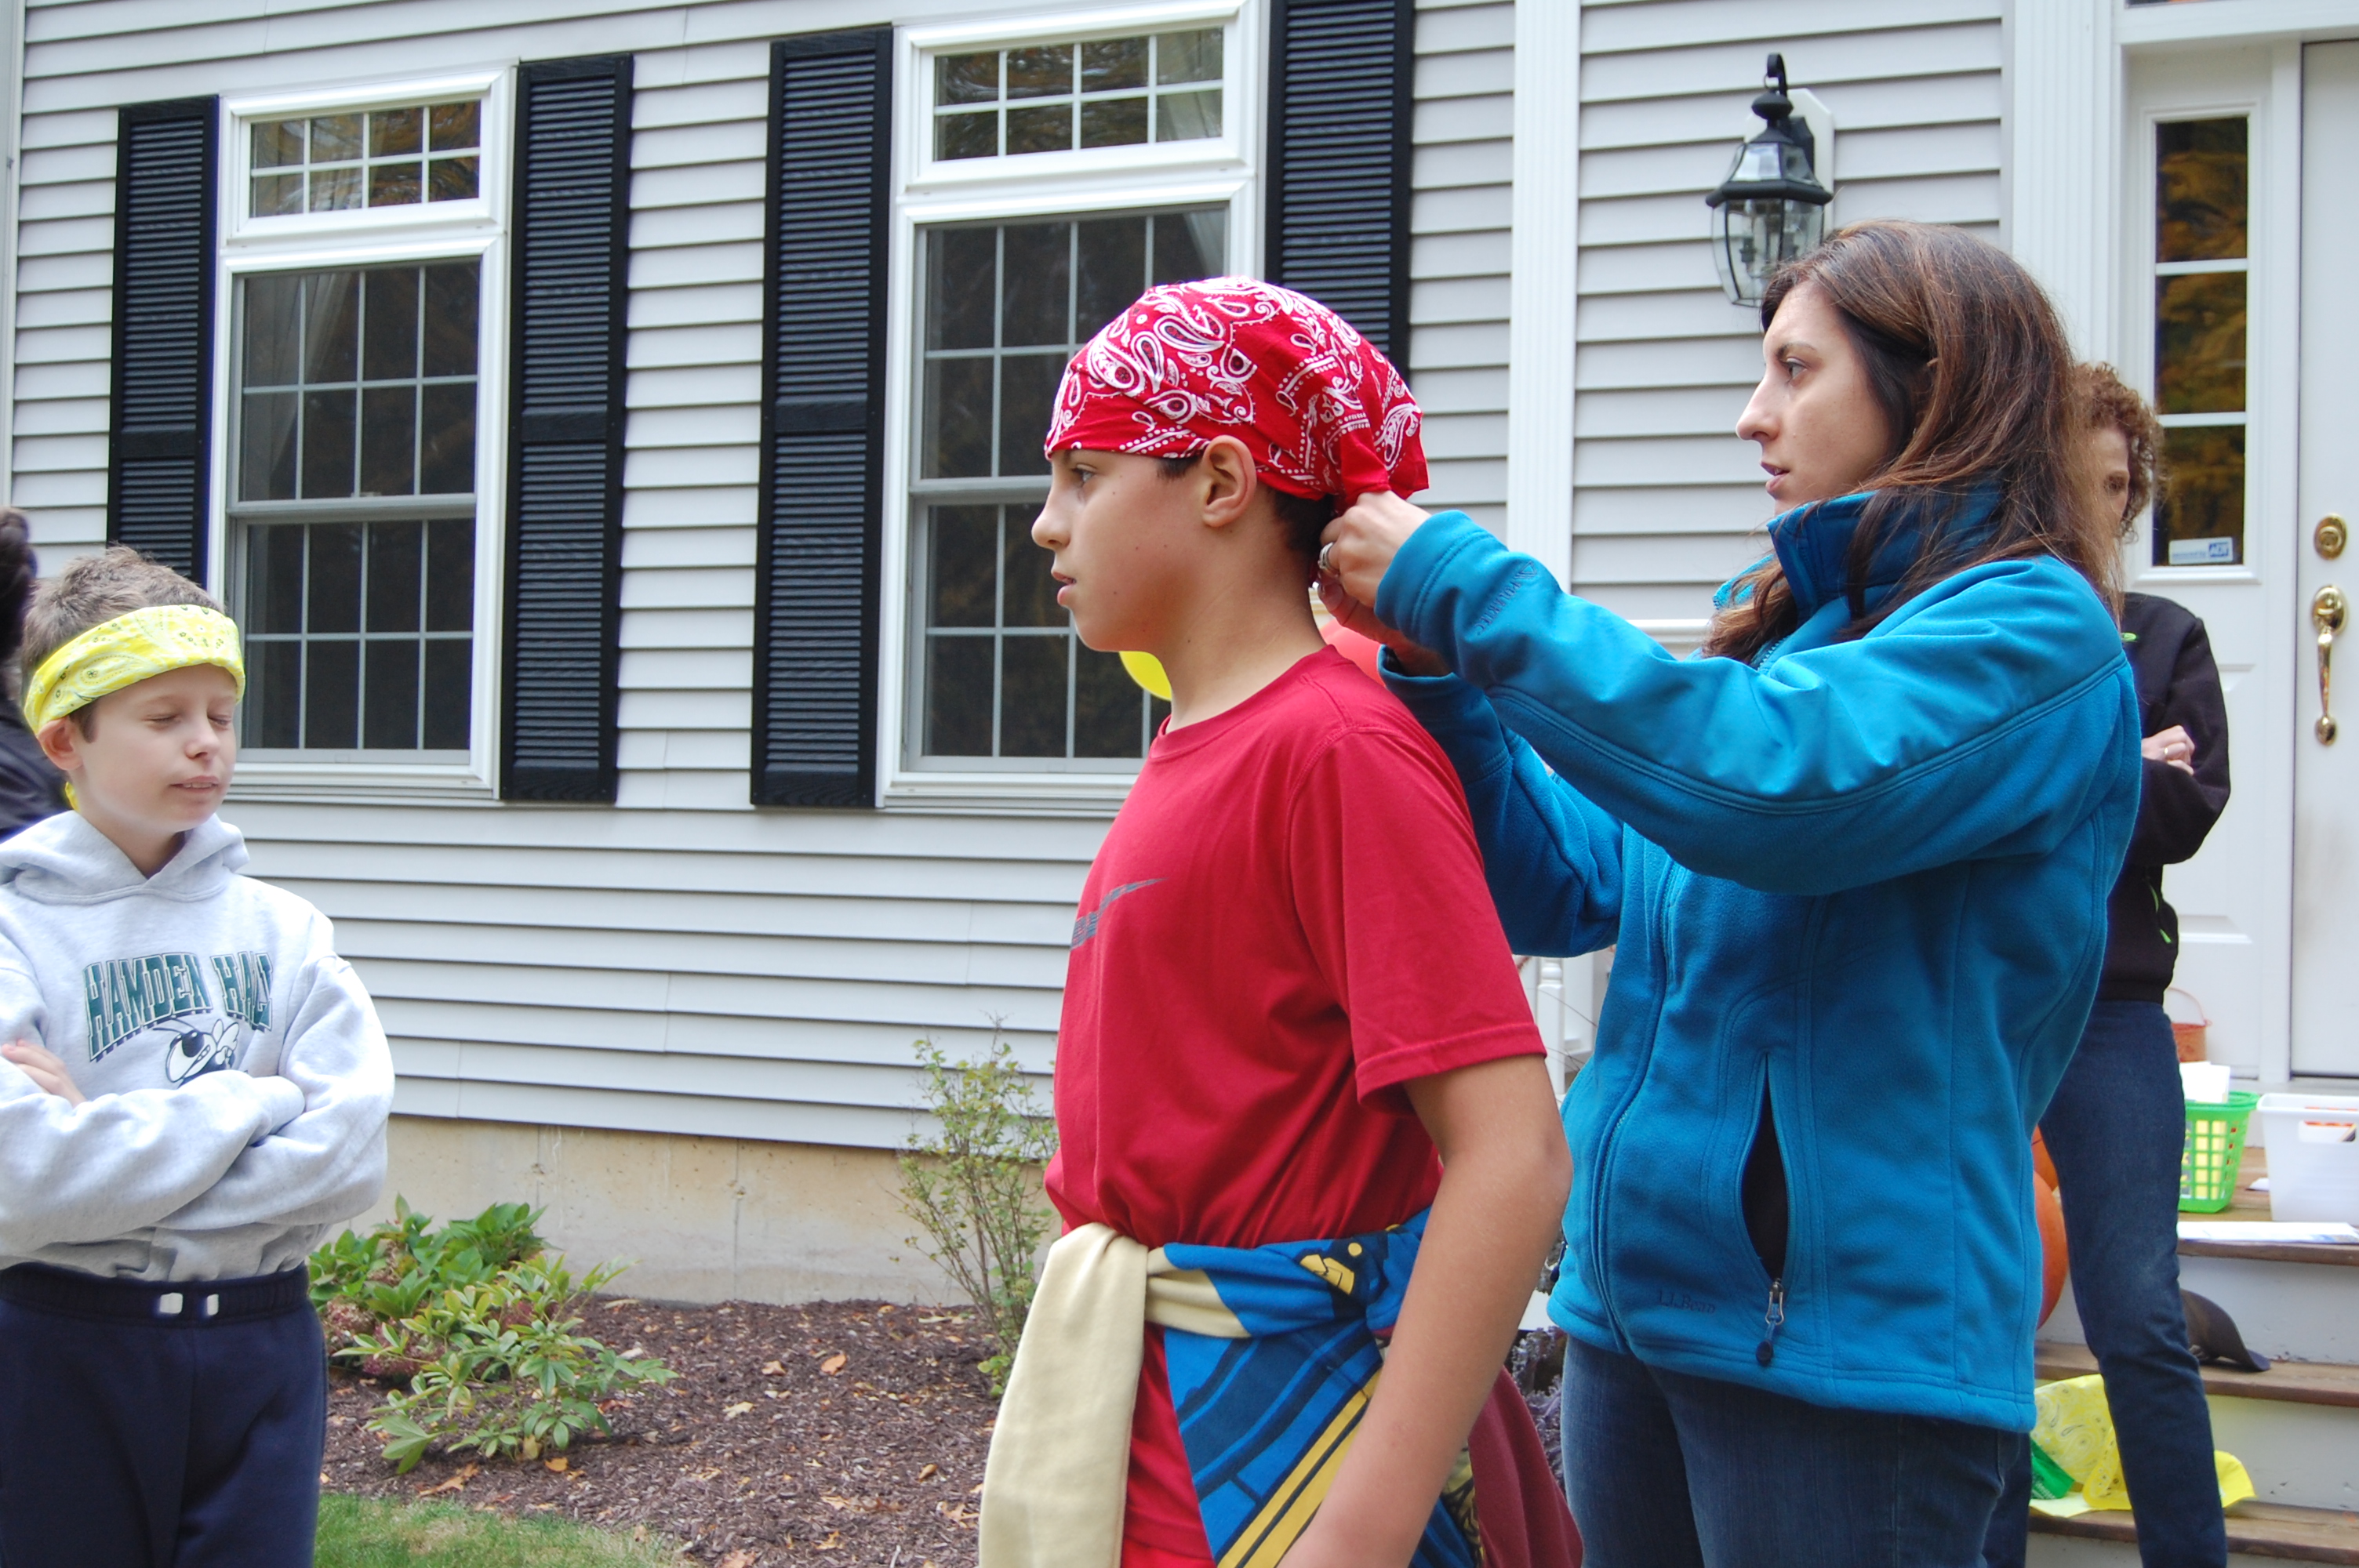
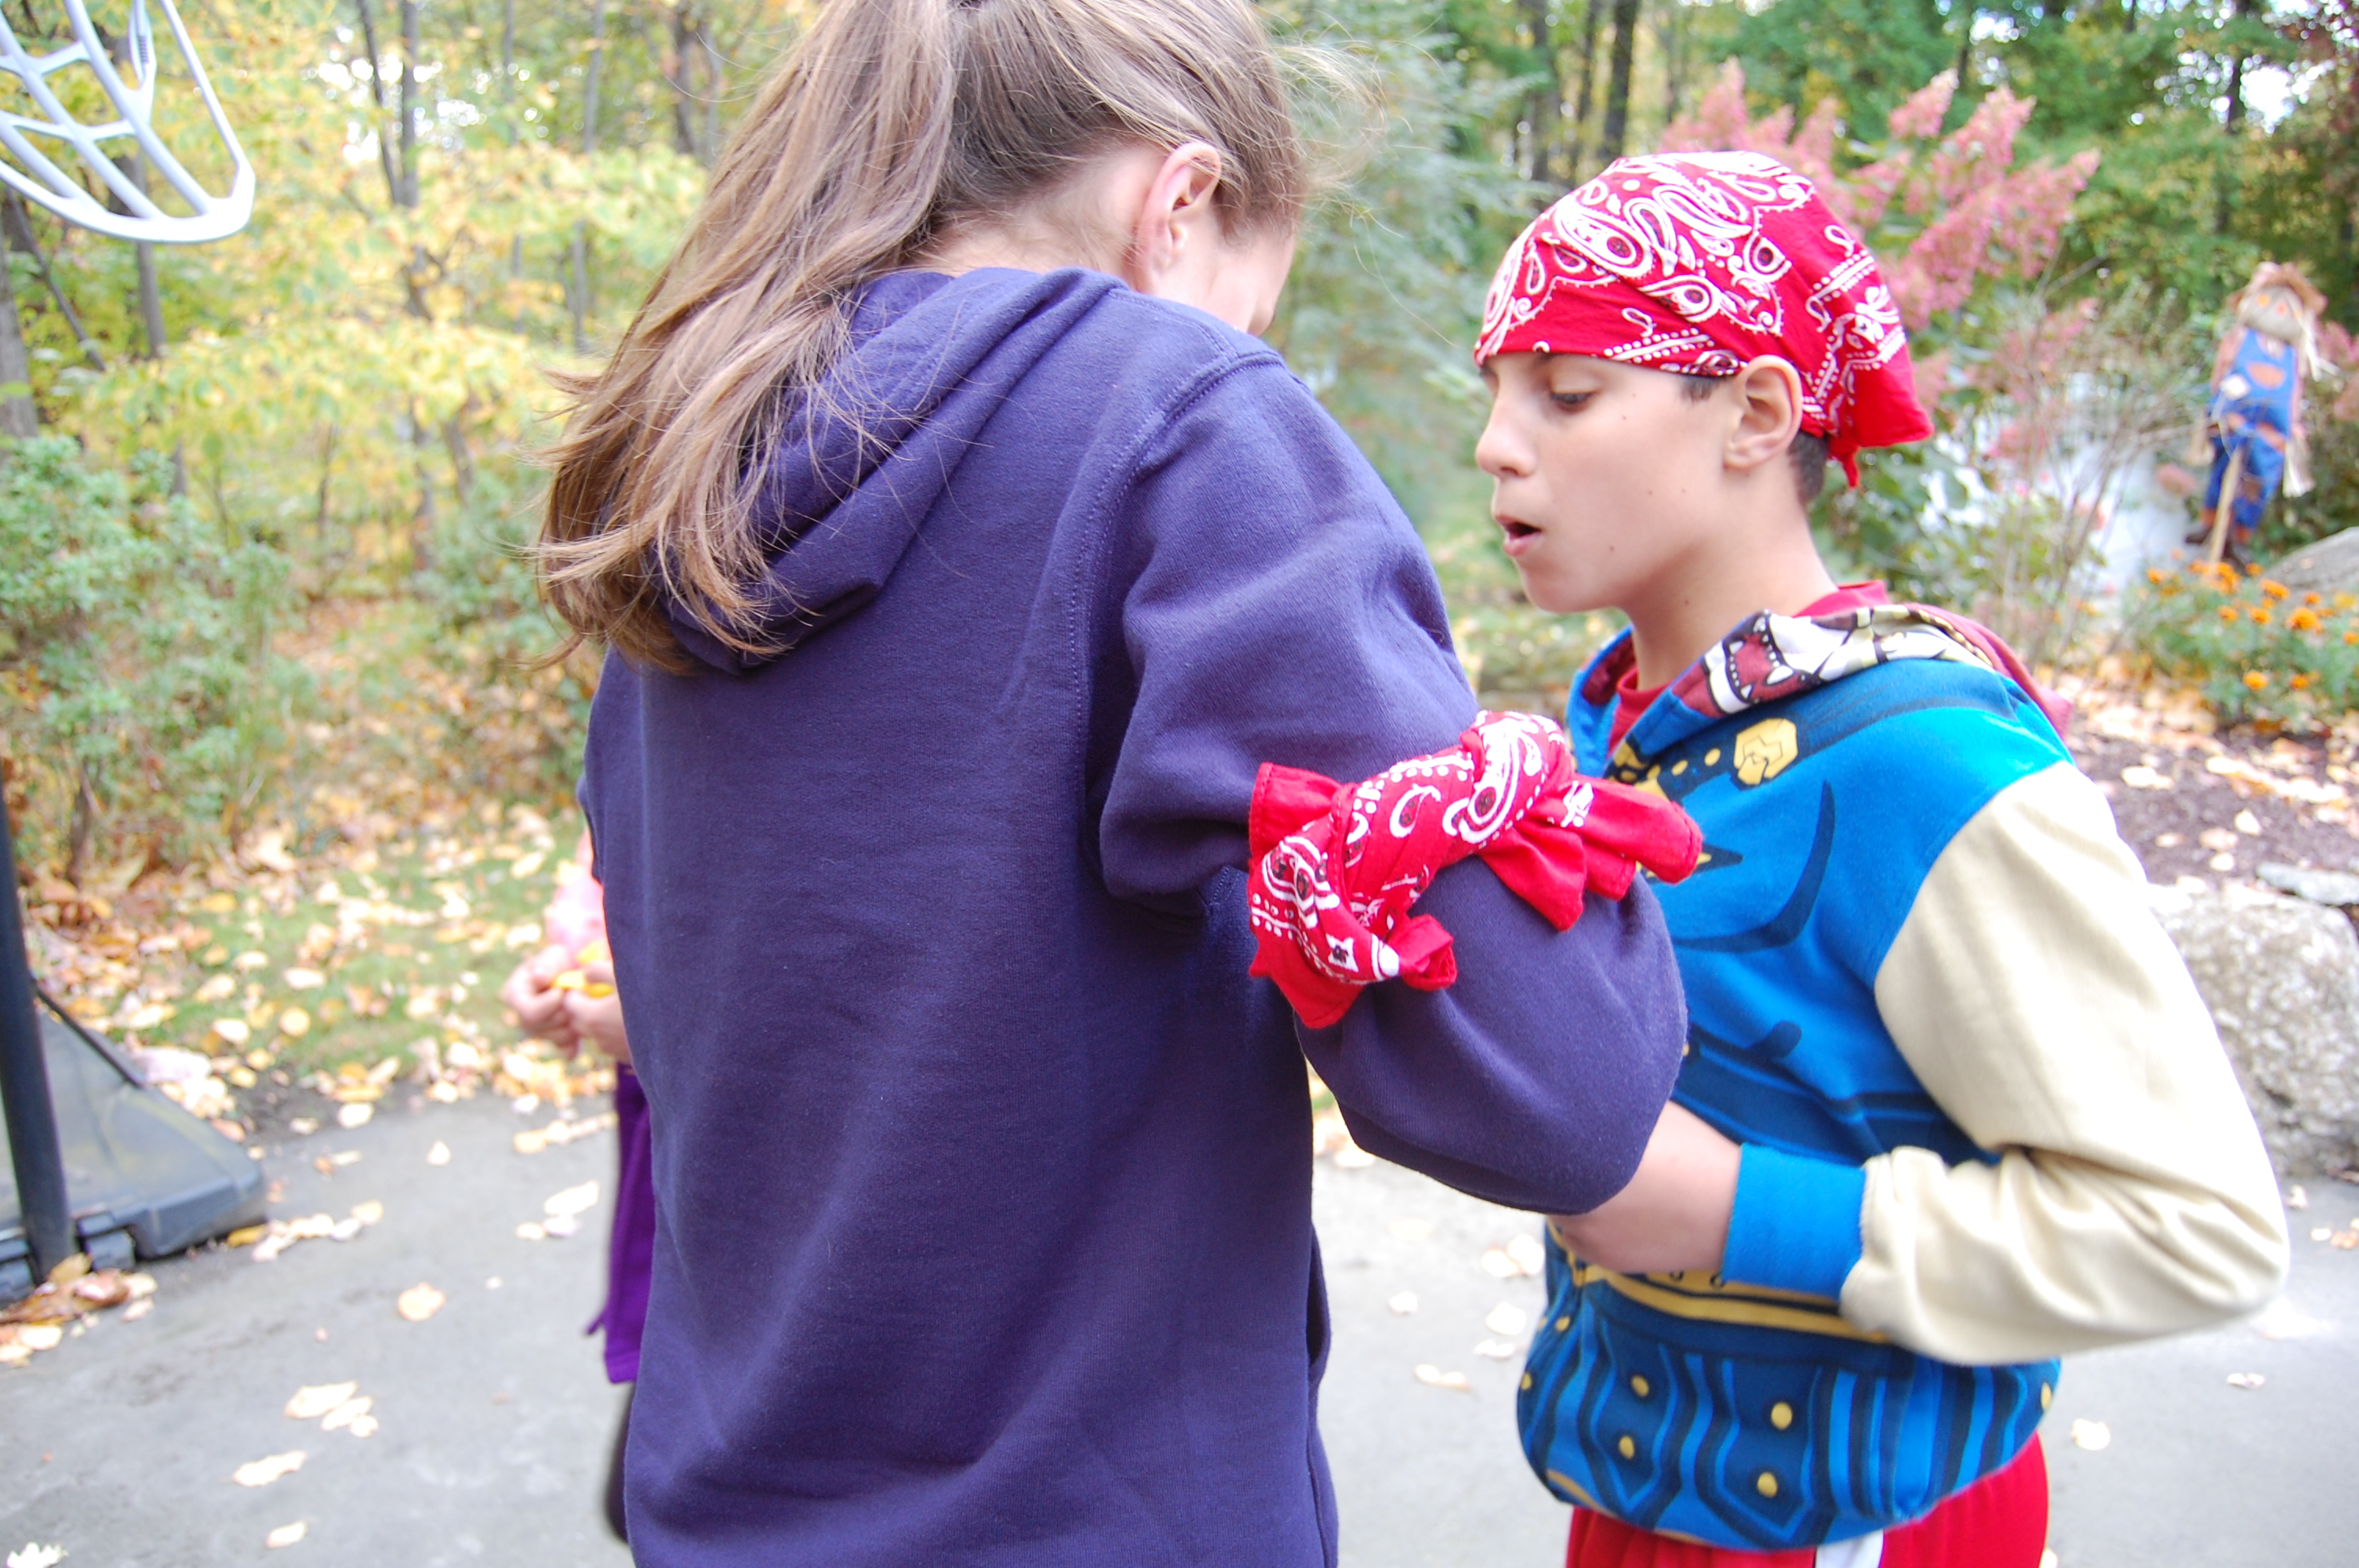
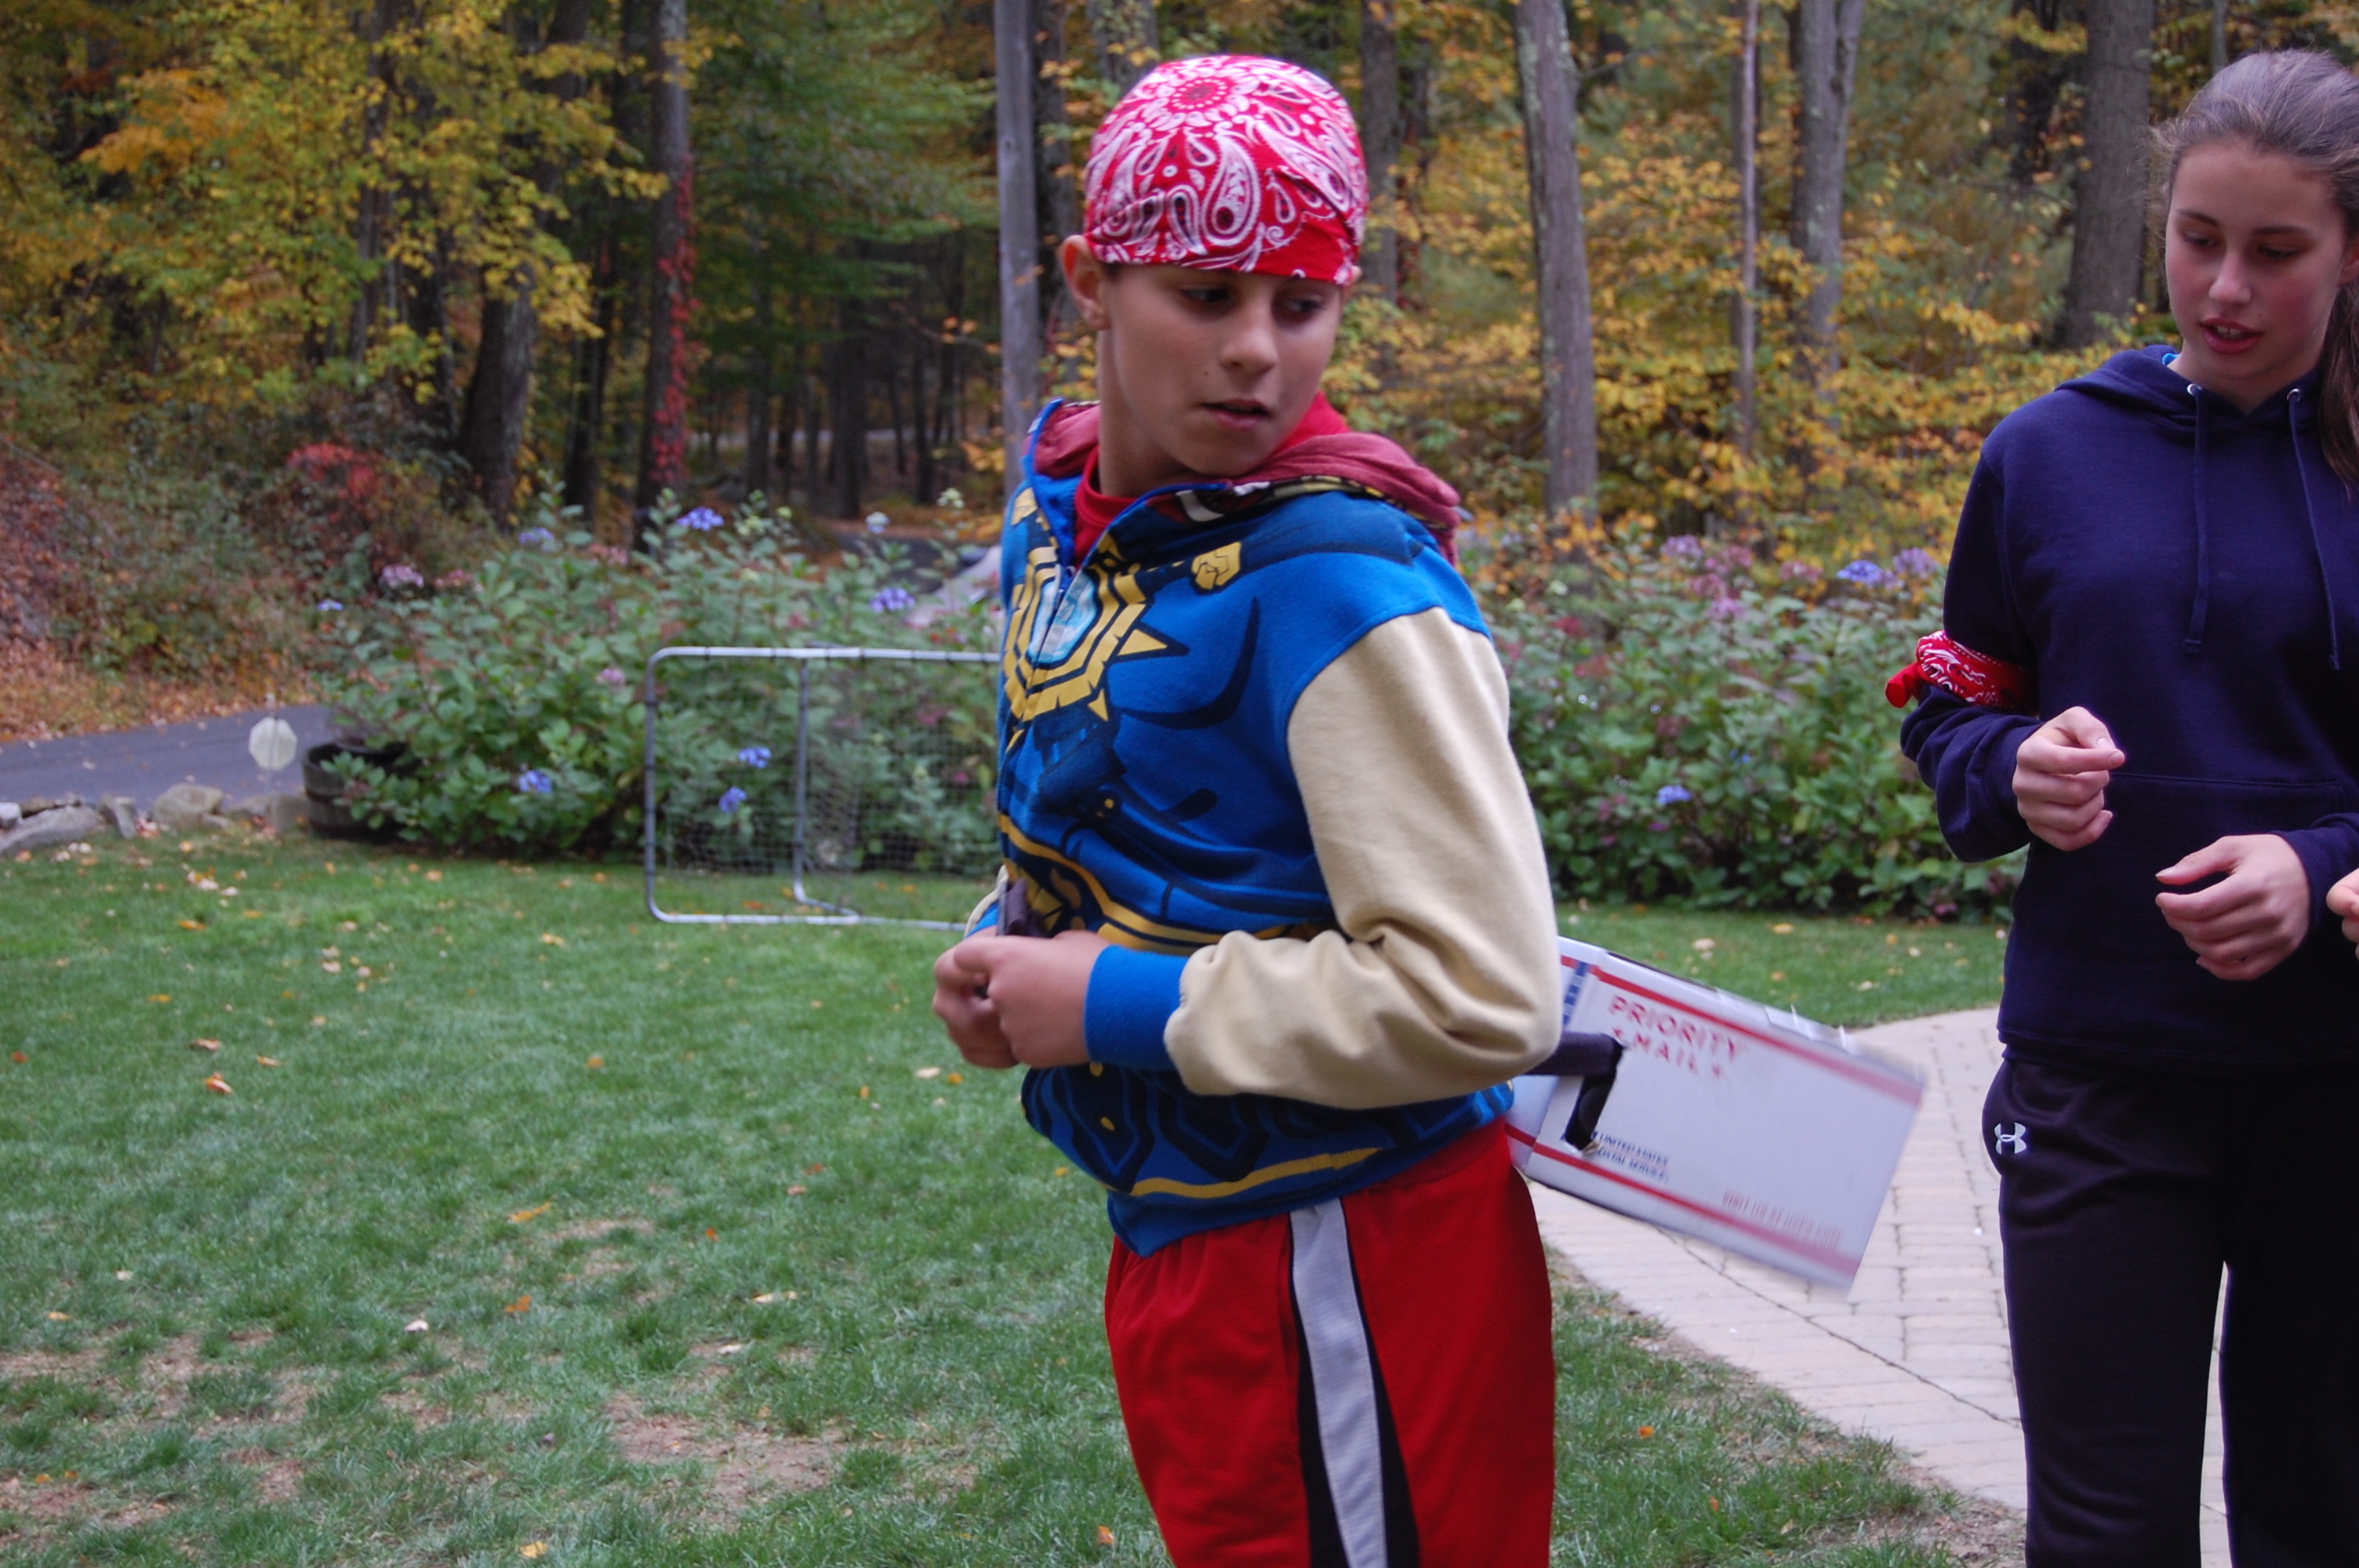
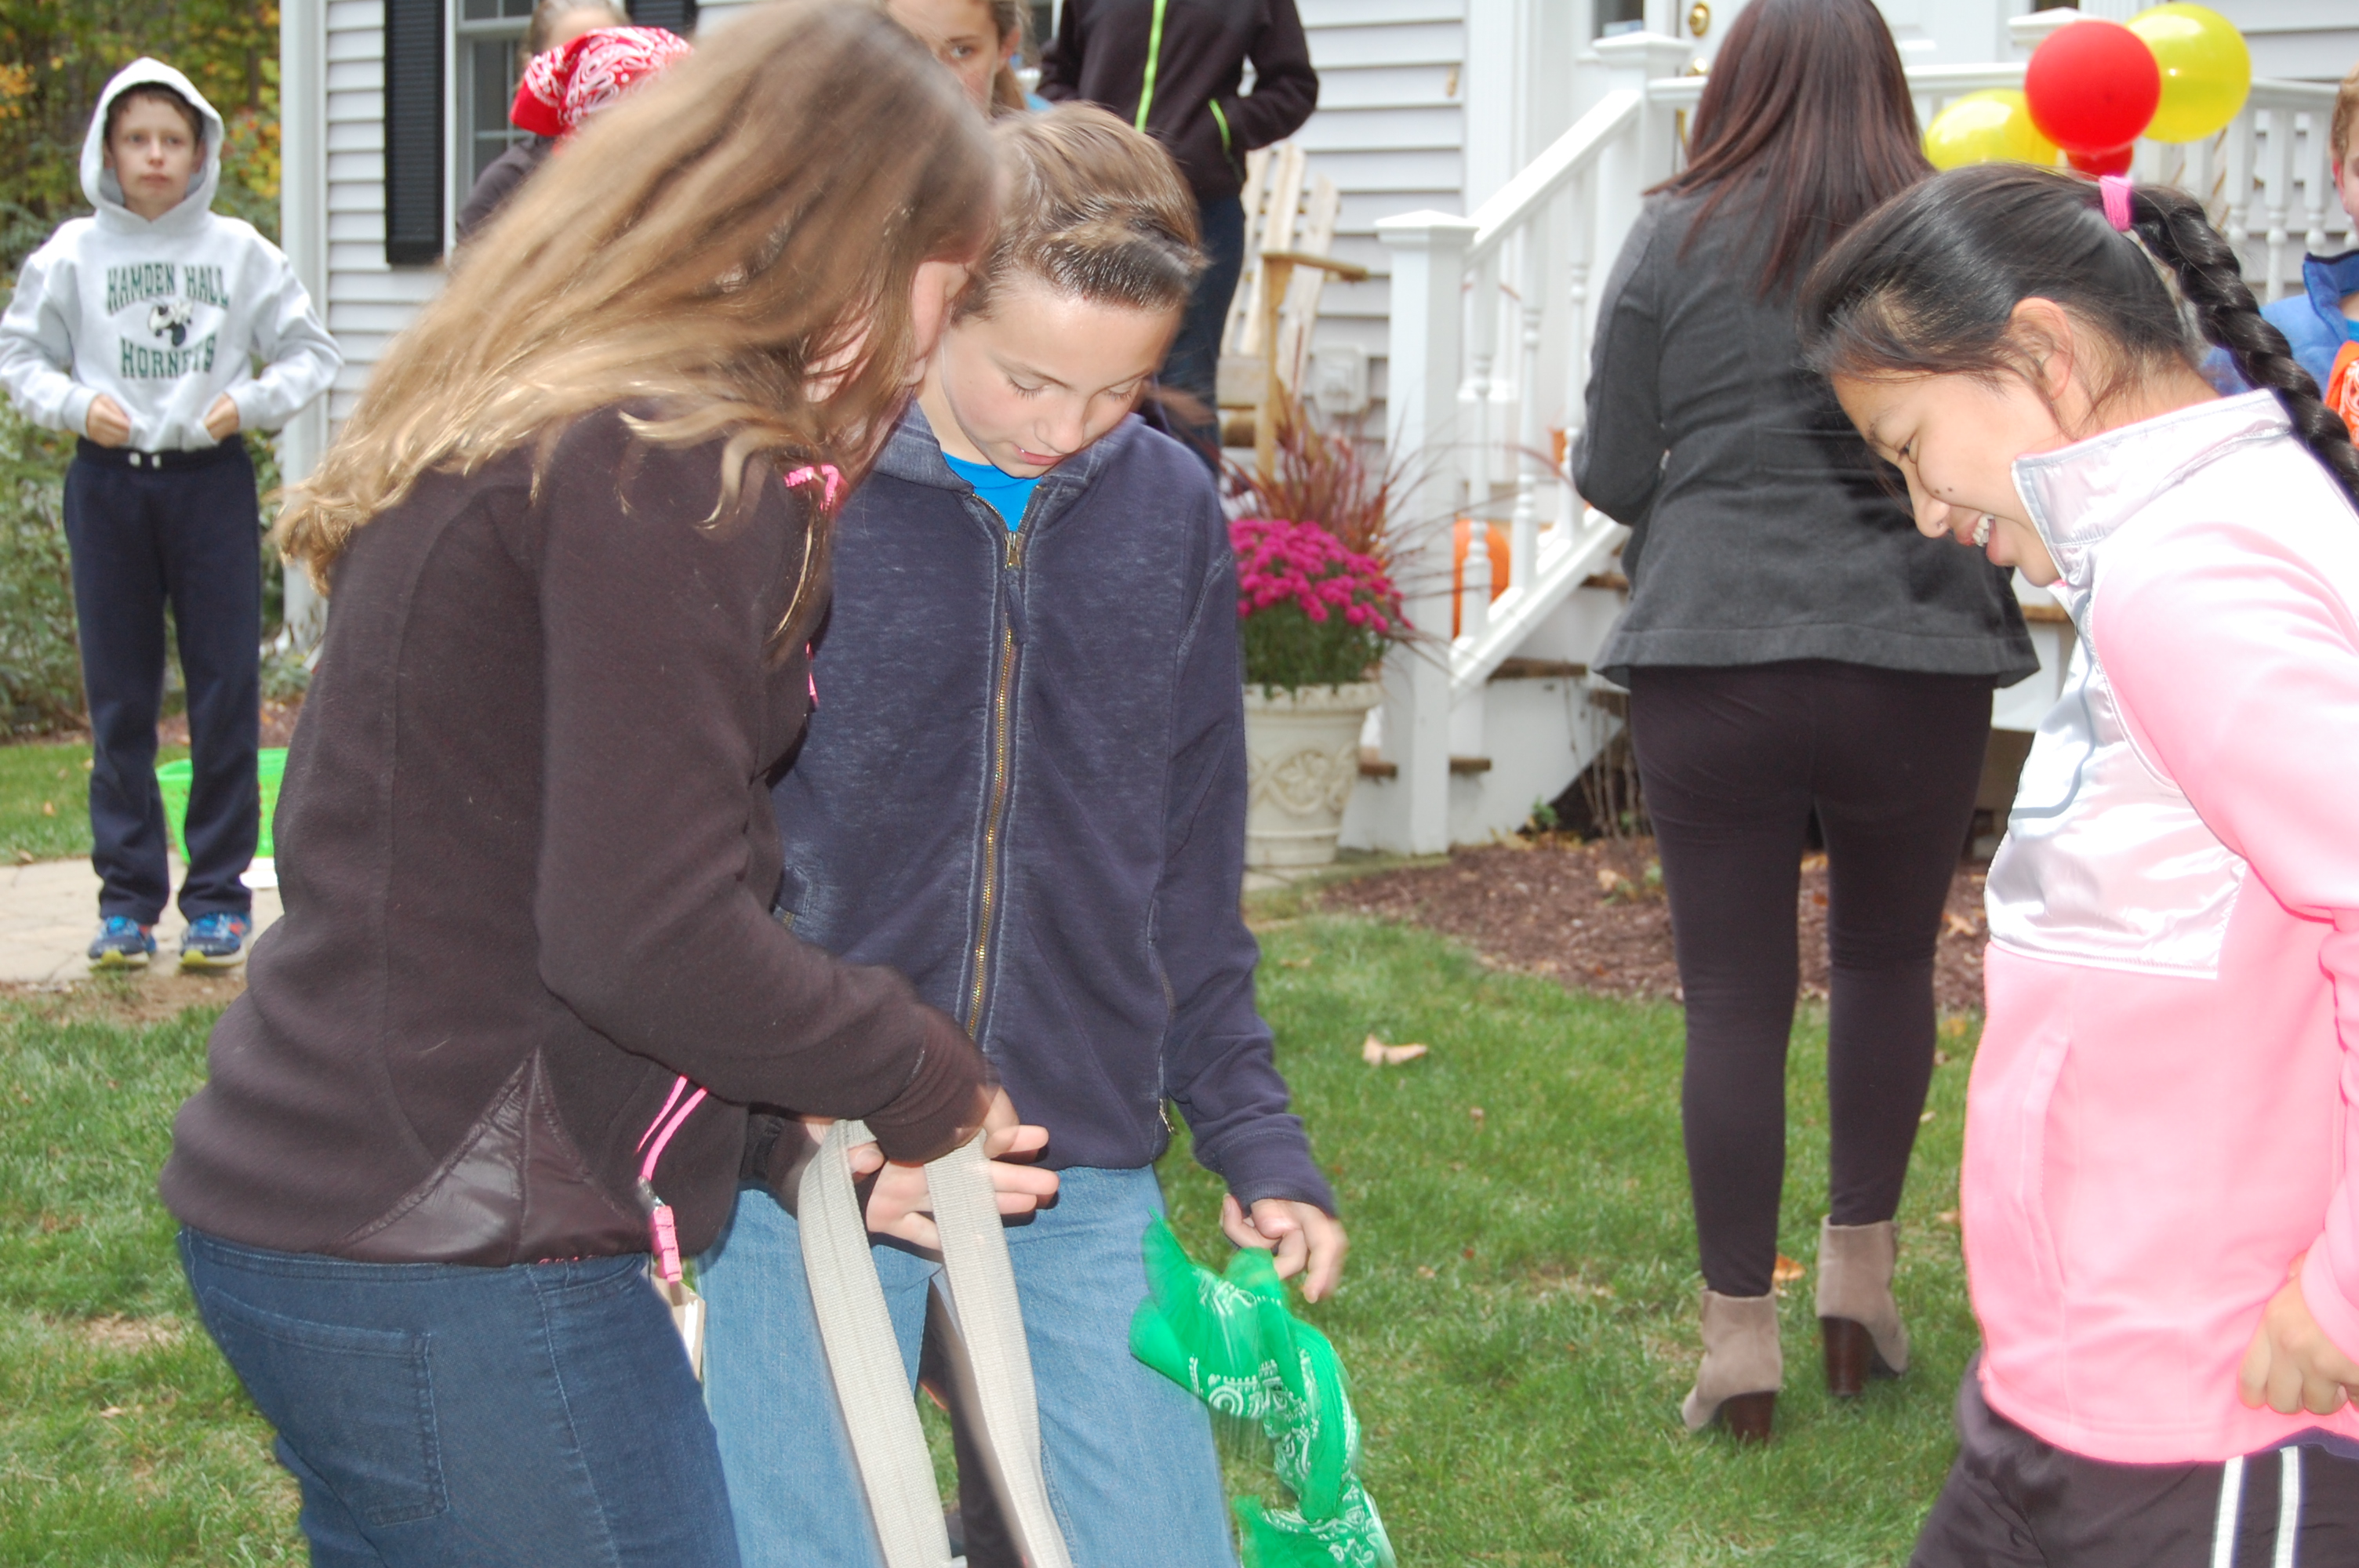
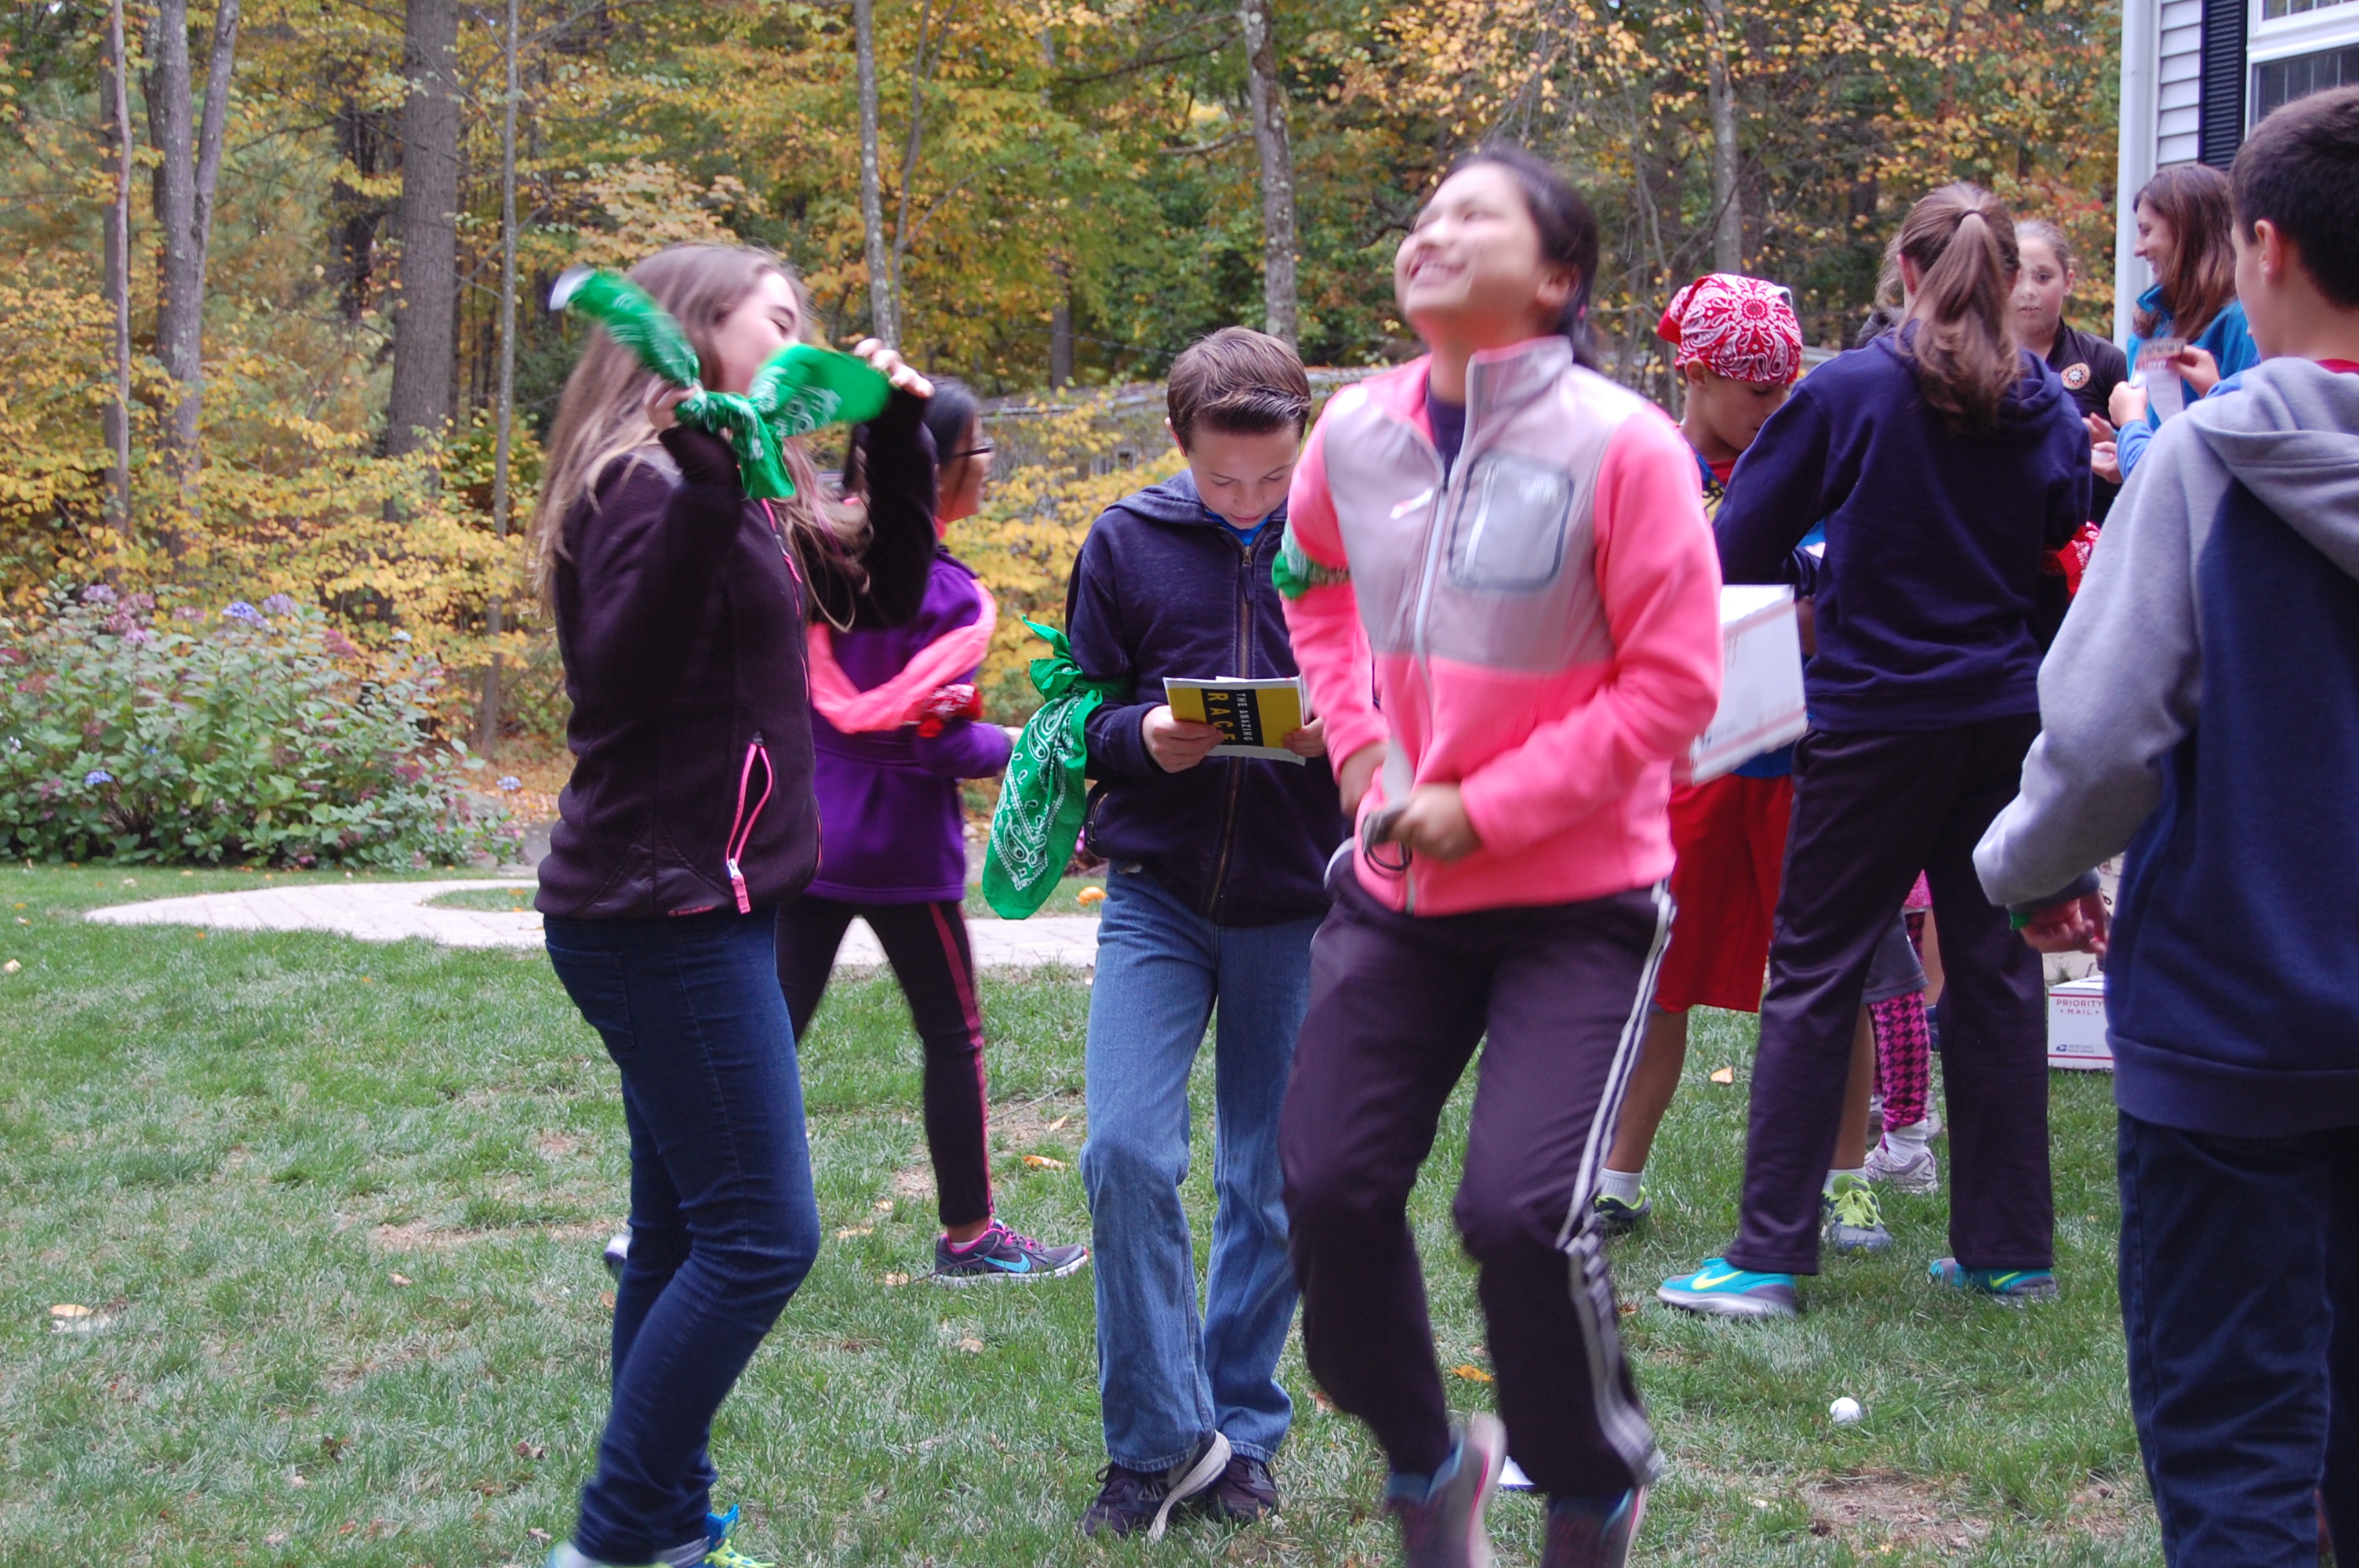
First, we gathered the kids together at the mat, picked names out of the hat to make teams and handed out the color bandanas. For each challenge they received an envelope. To make it easier, I divided the challenge envelopes into colored baskets representing each team (I couldn’t find yellow, so I used white). Then we read the instructions (see below).


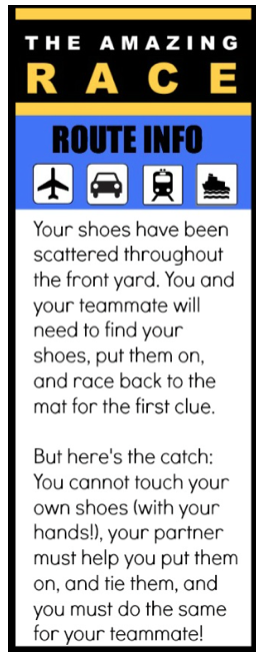
Instructions:
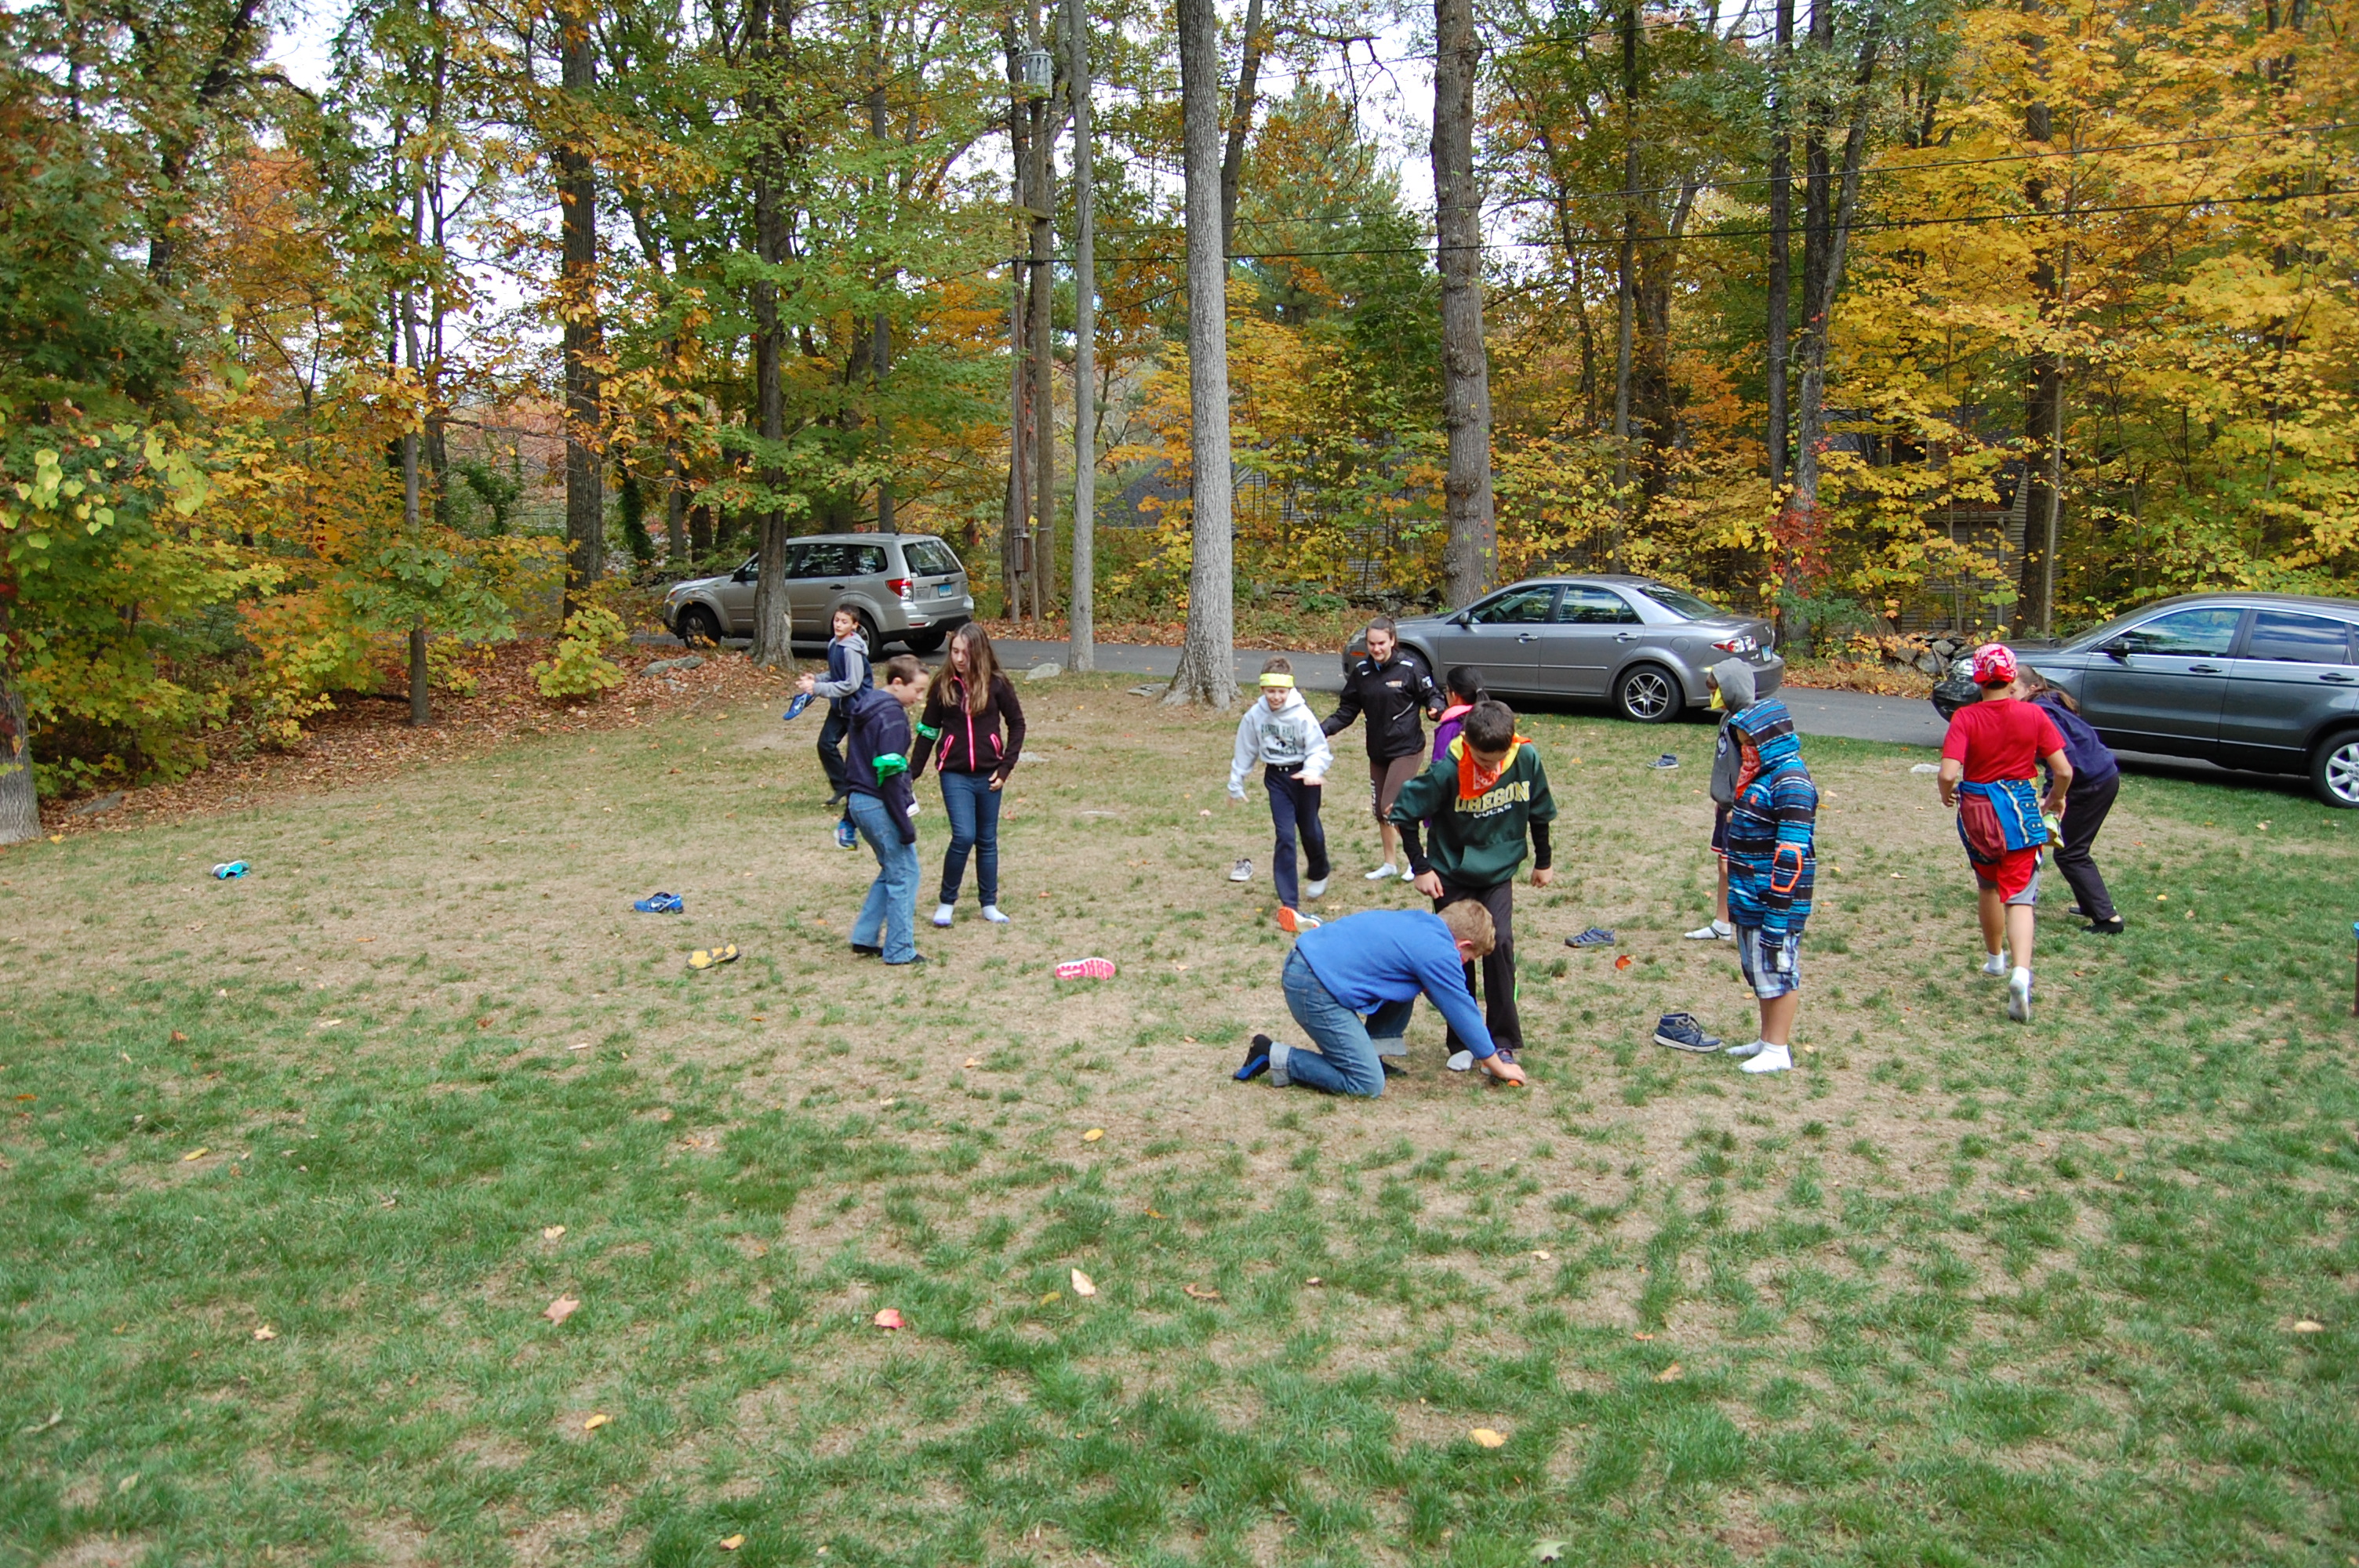
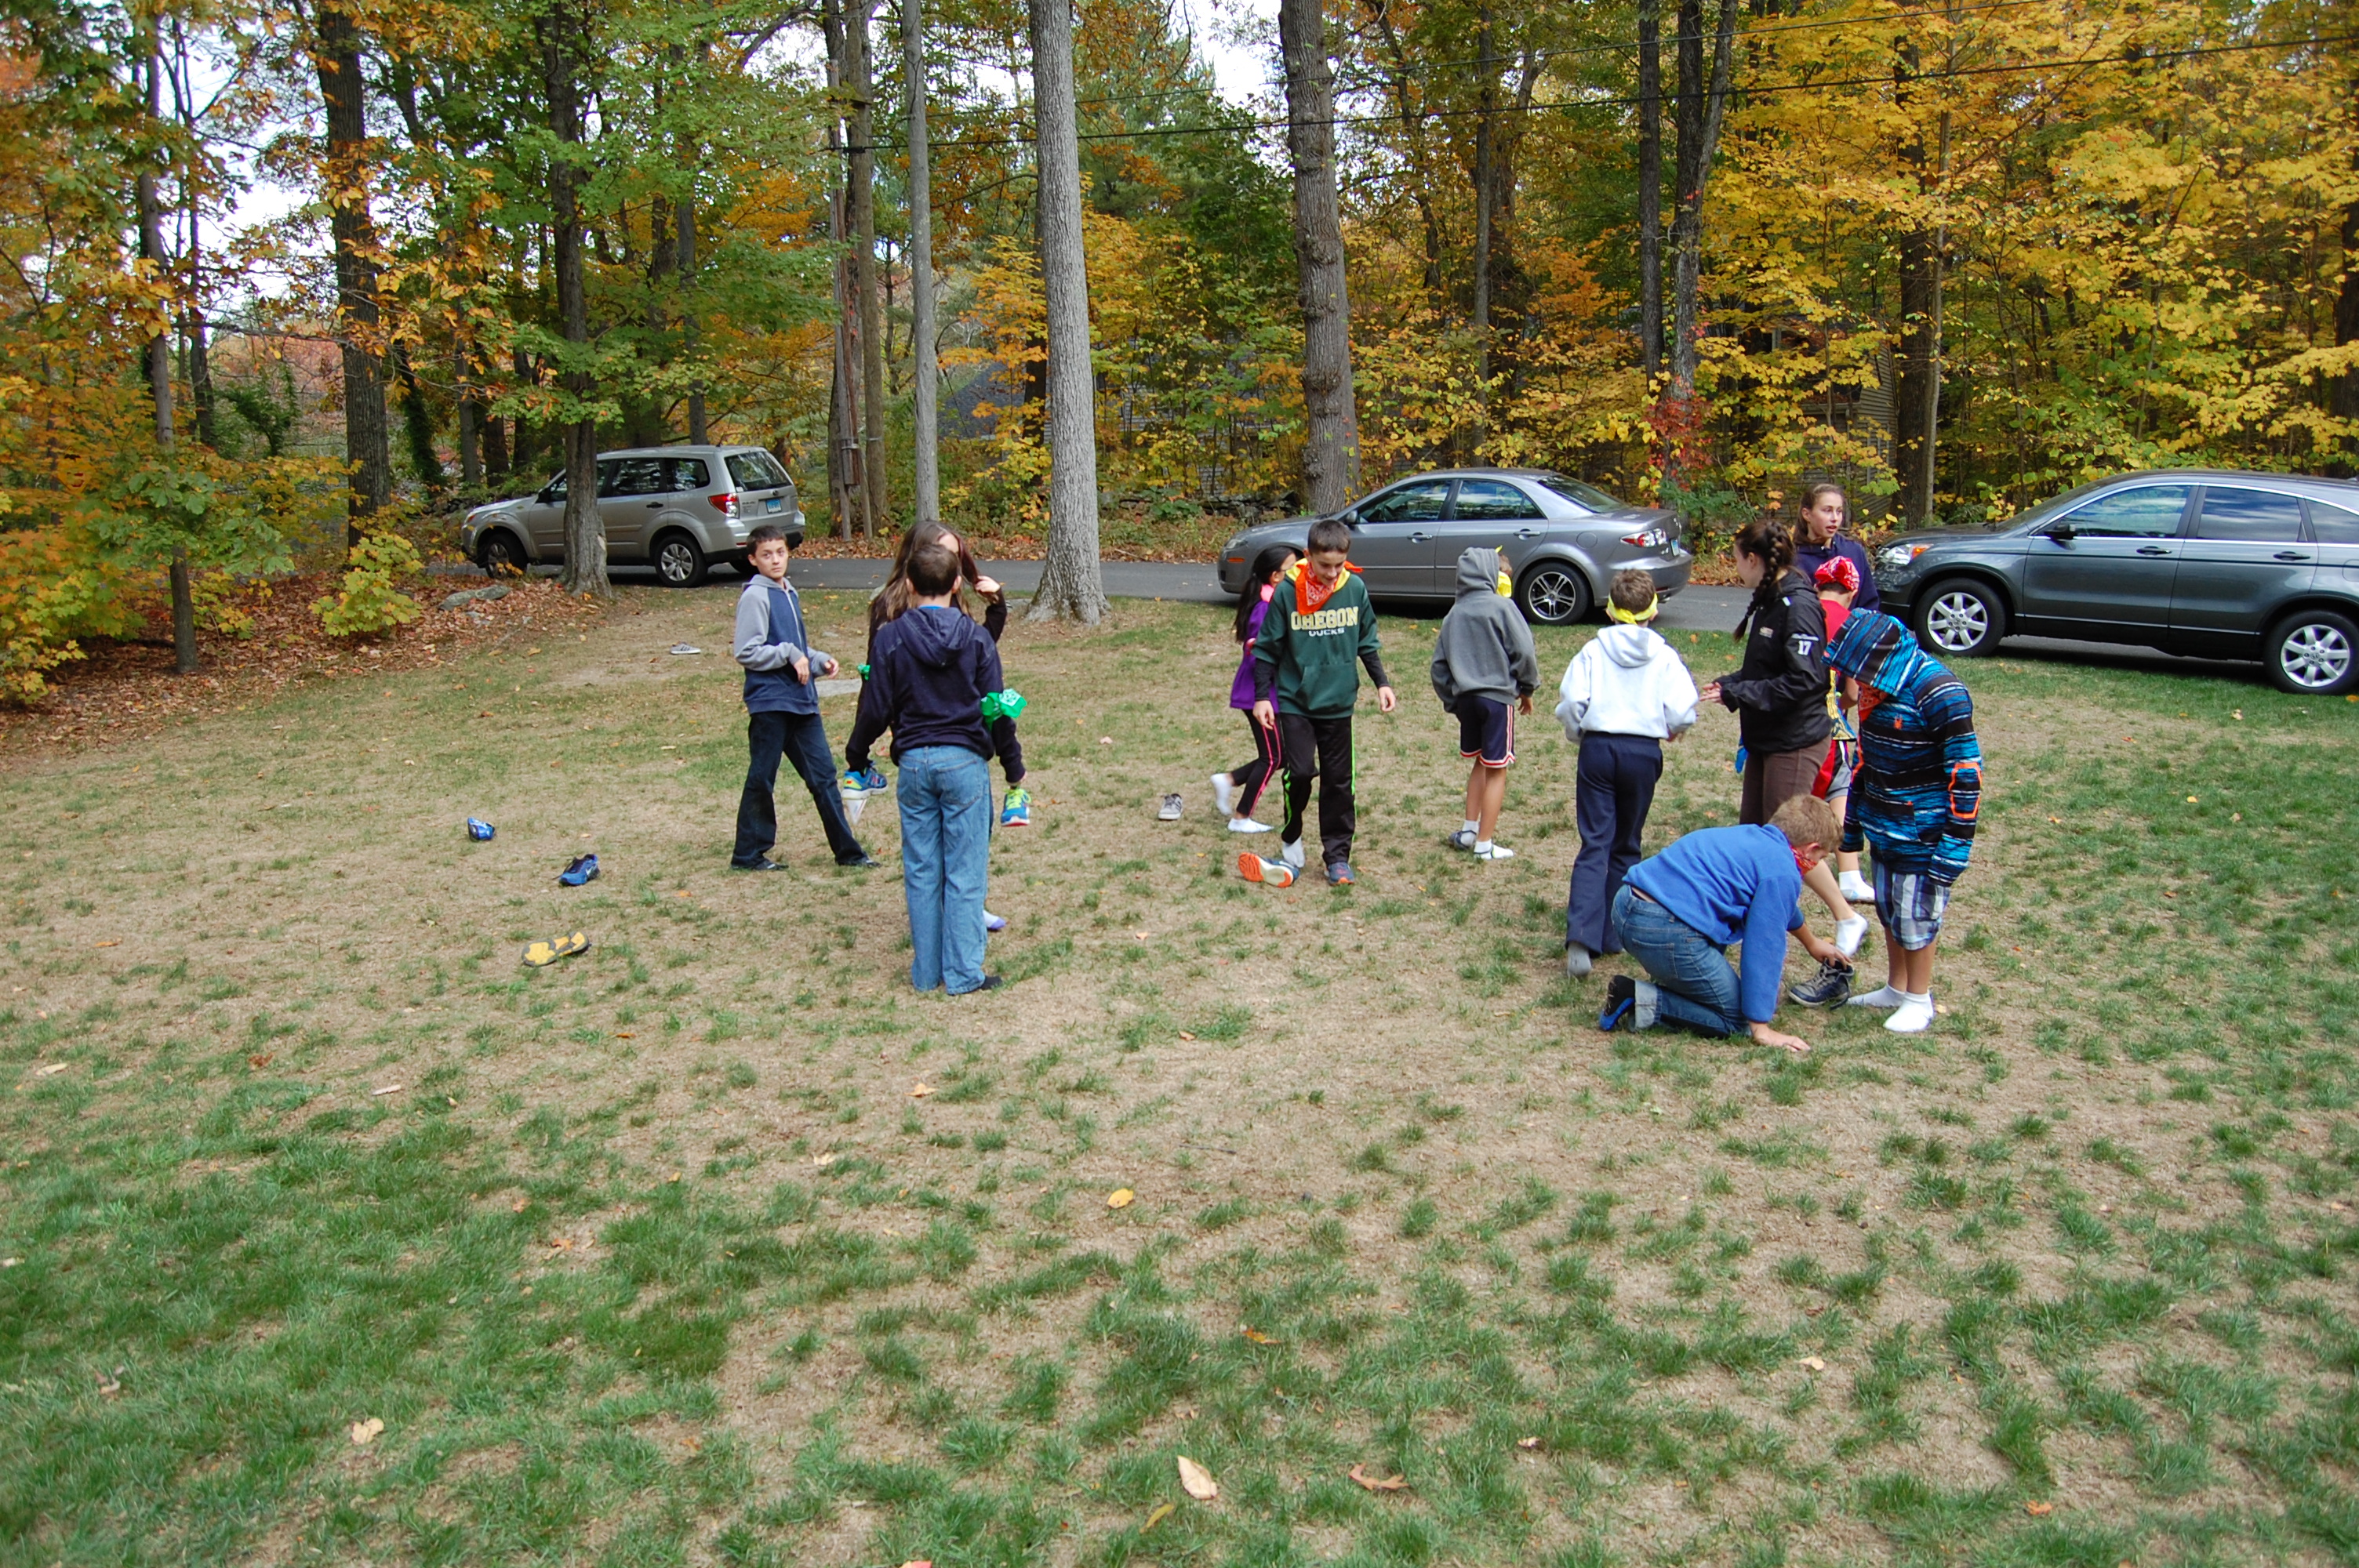
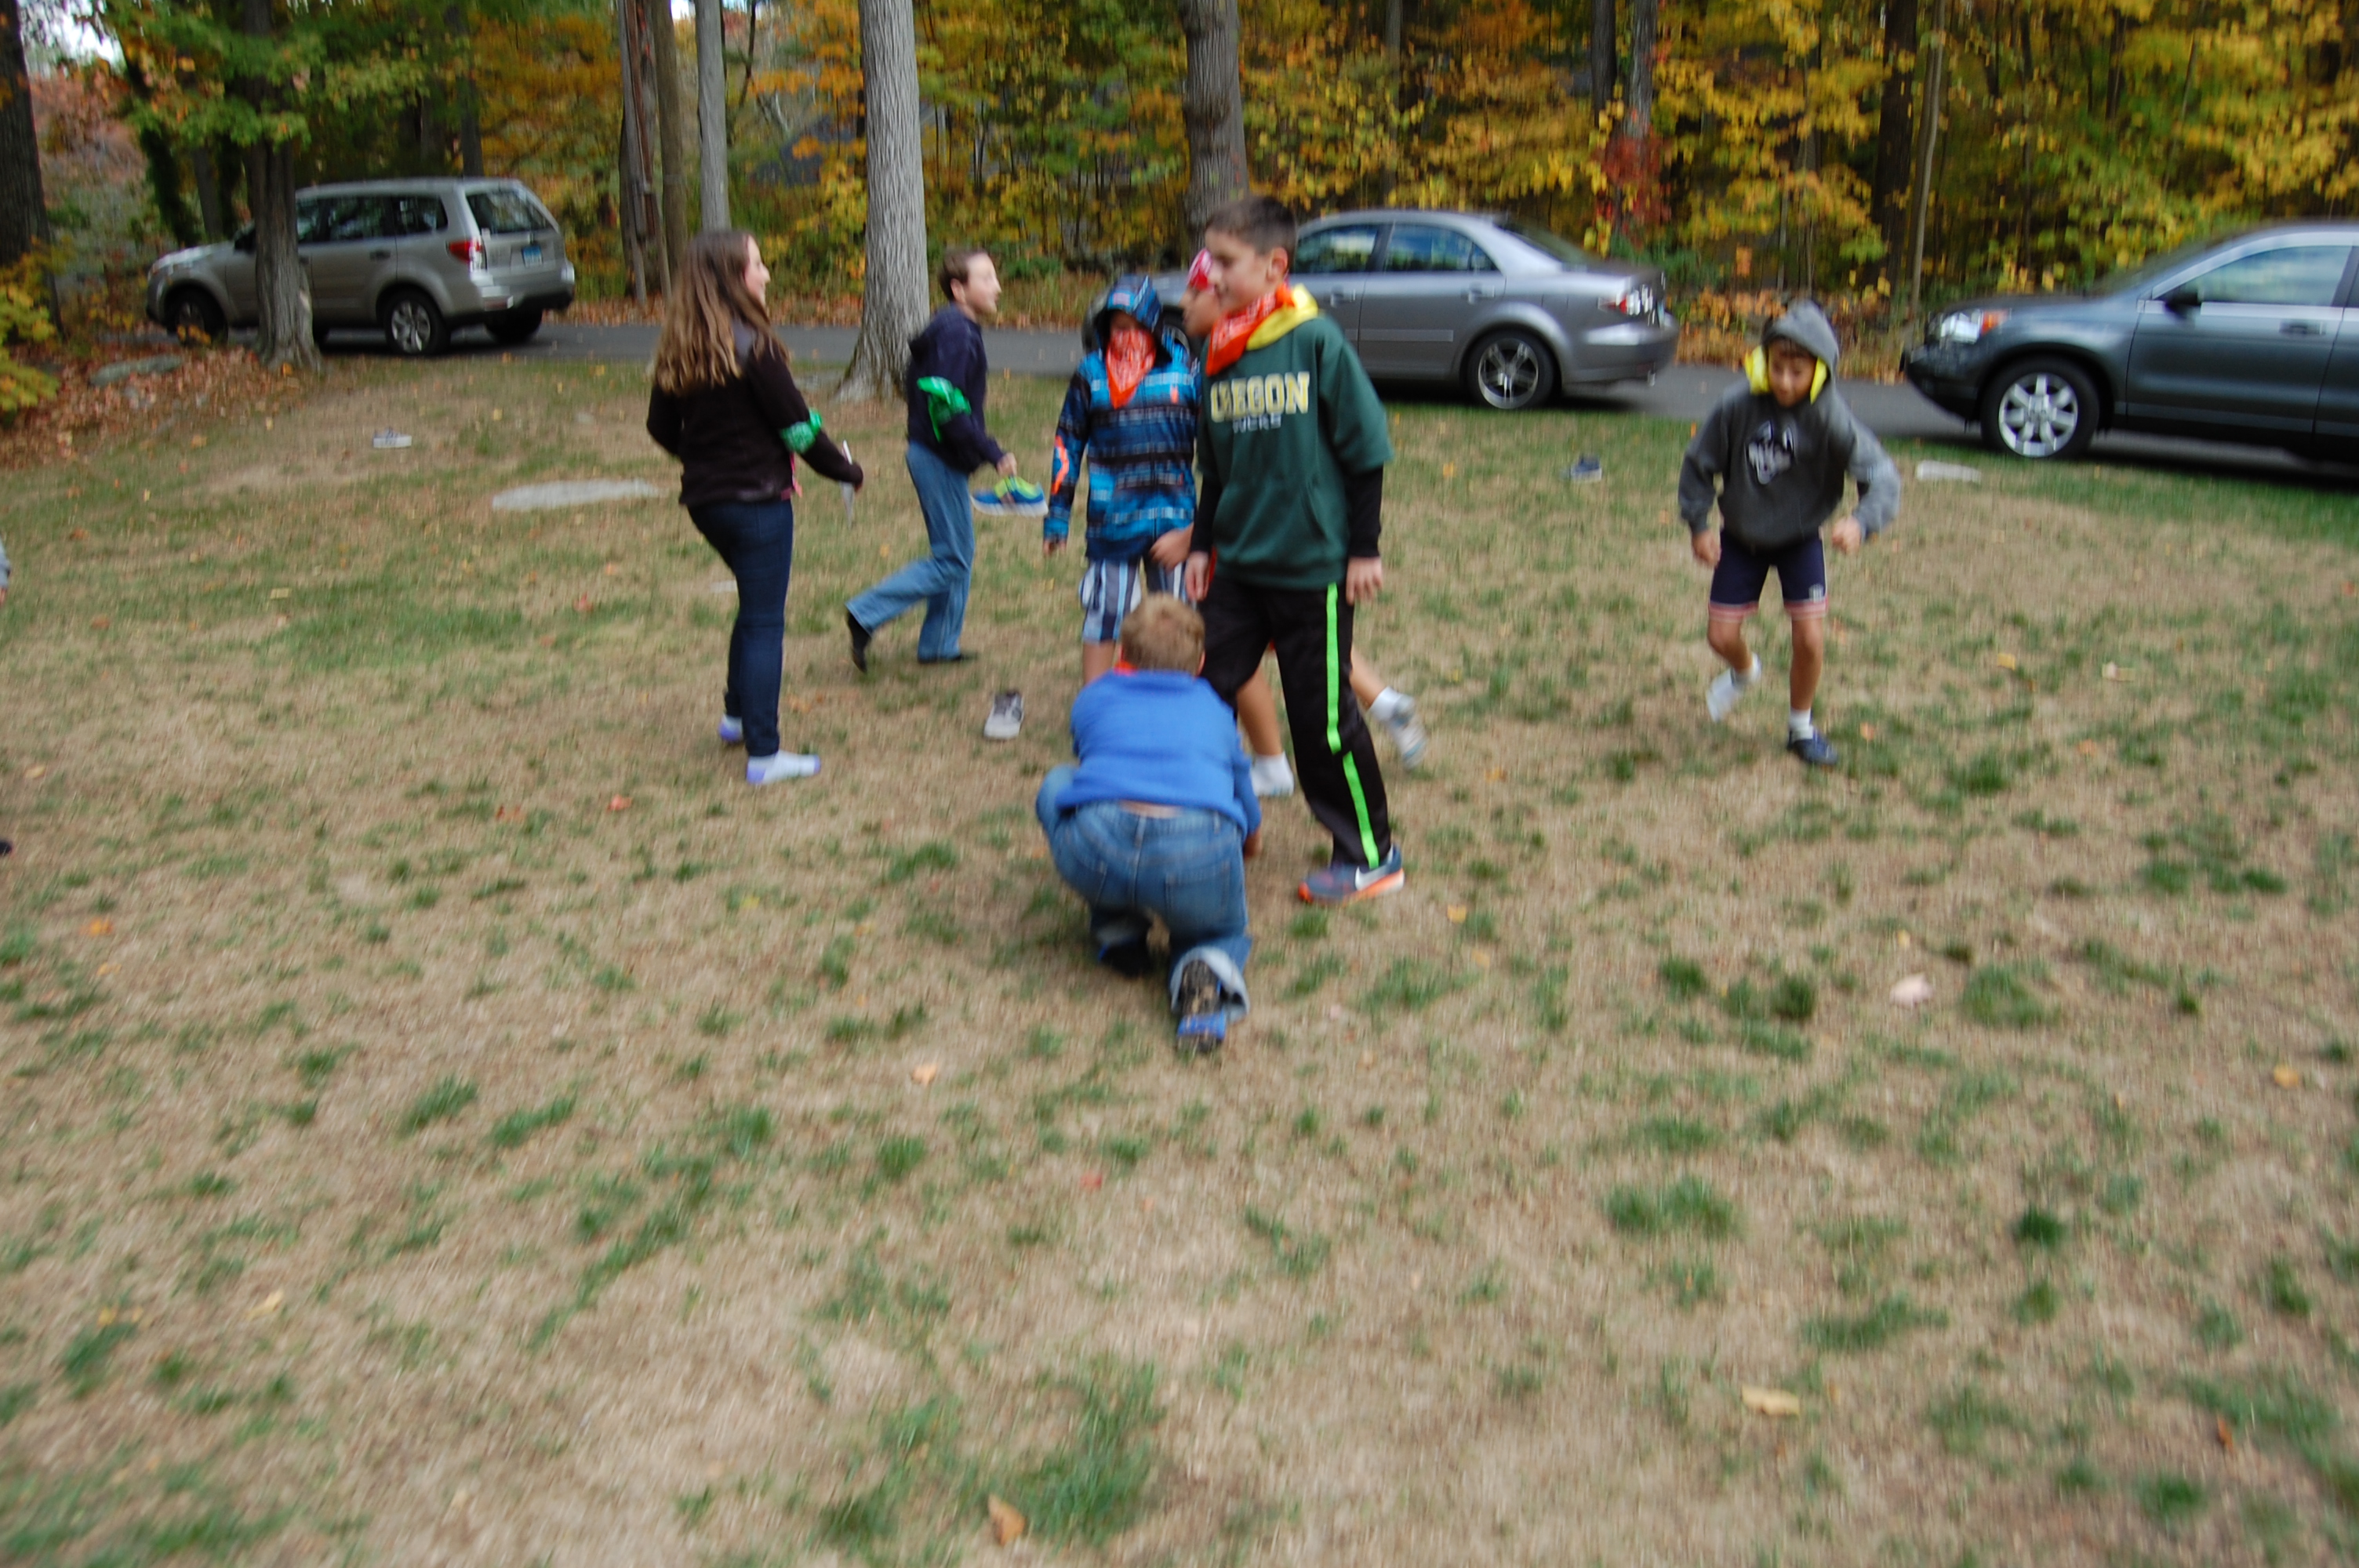
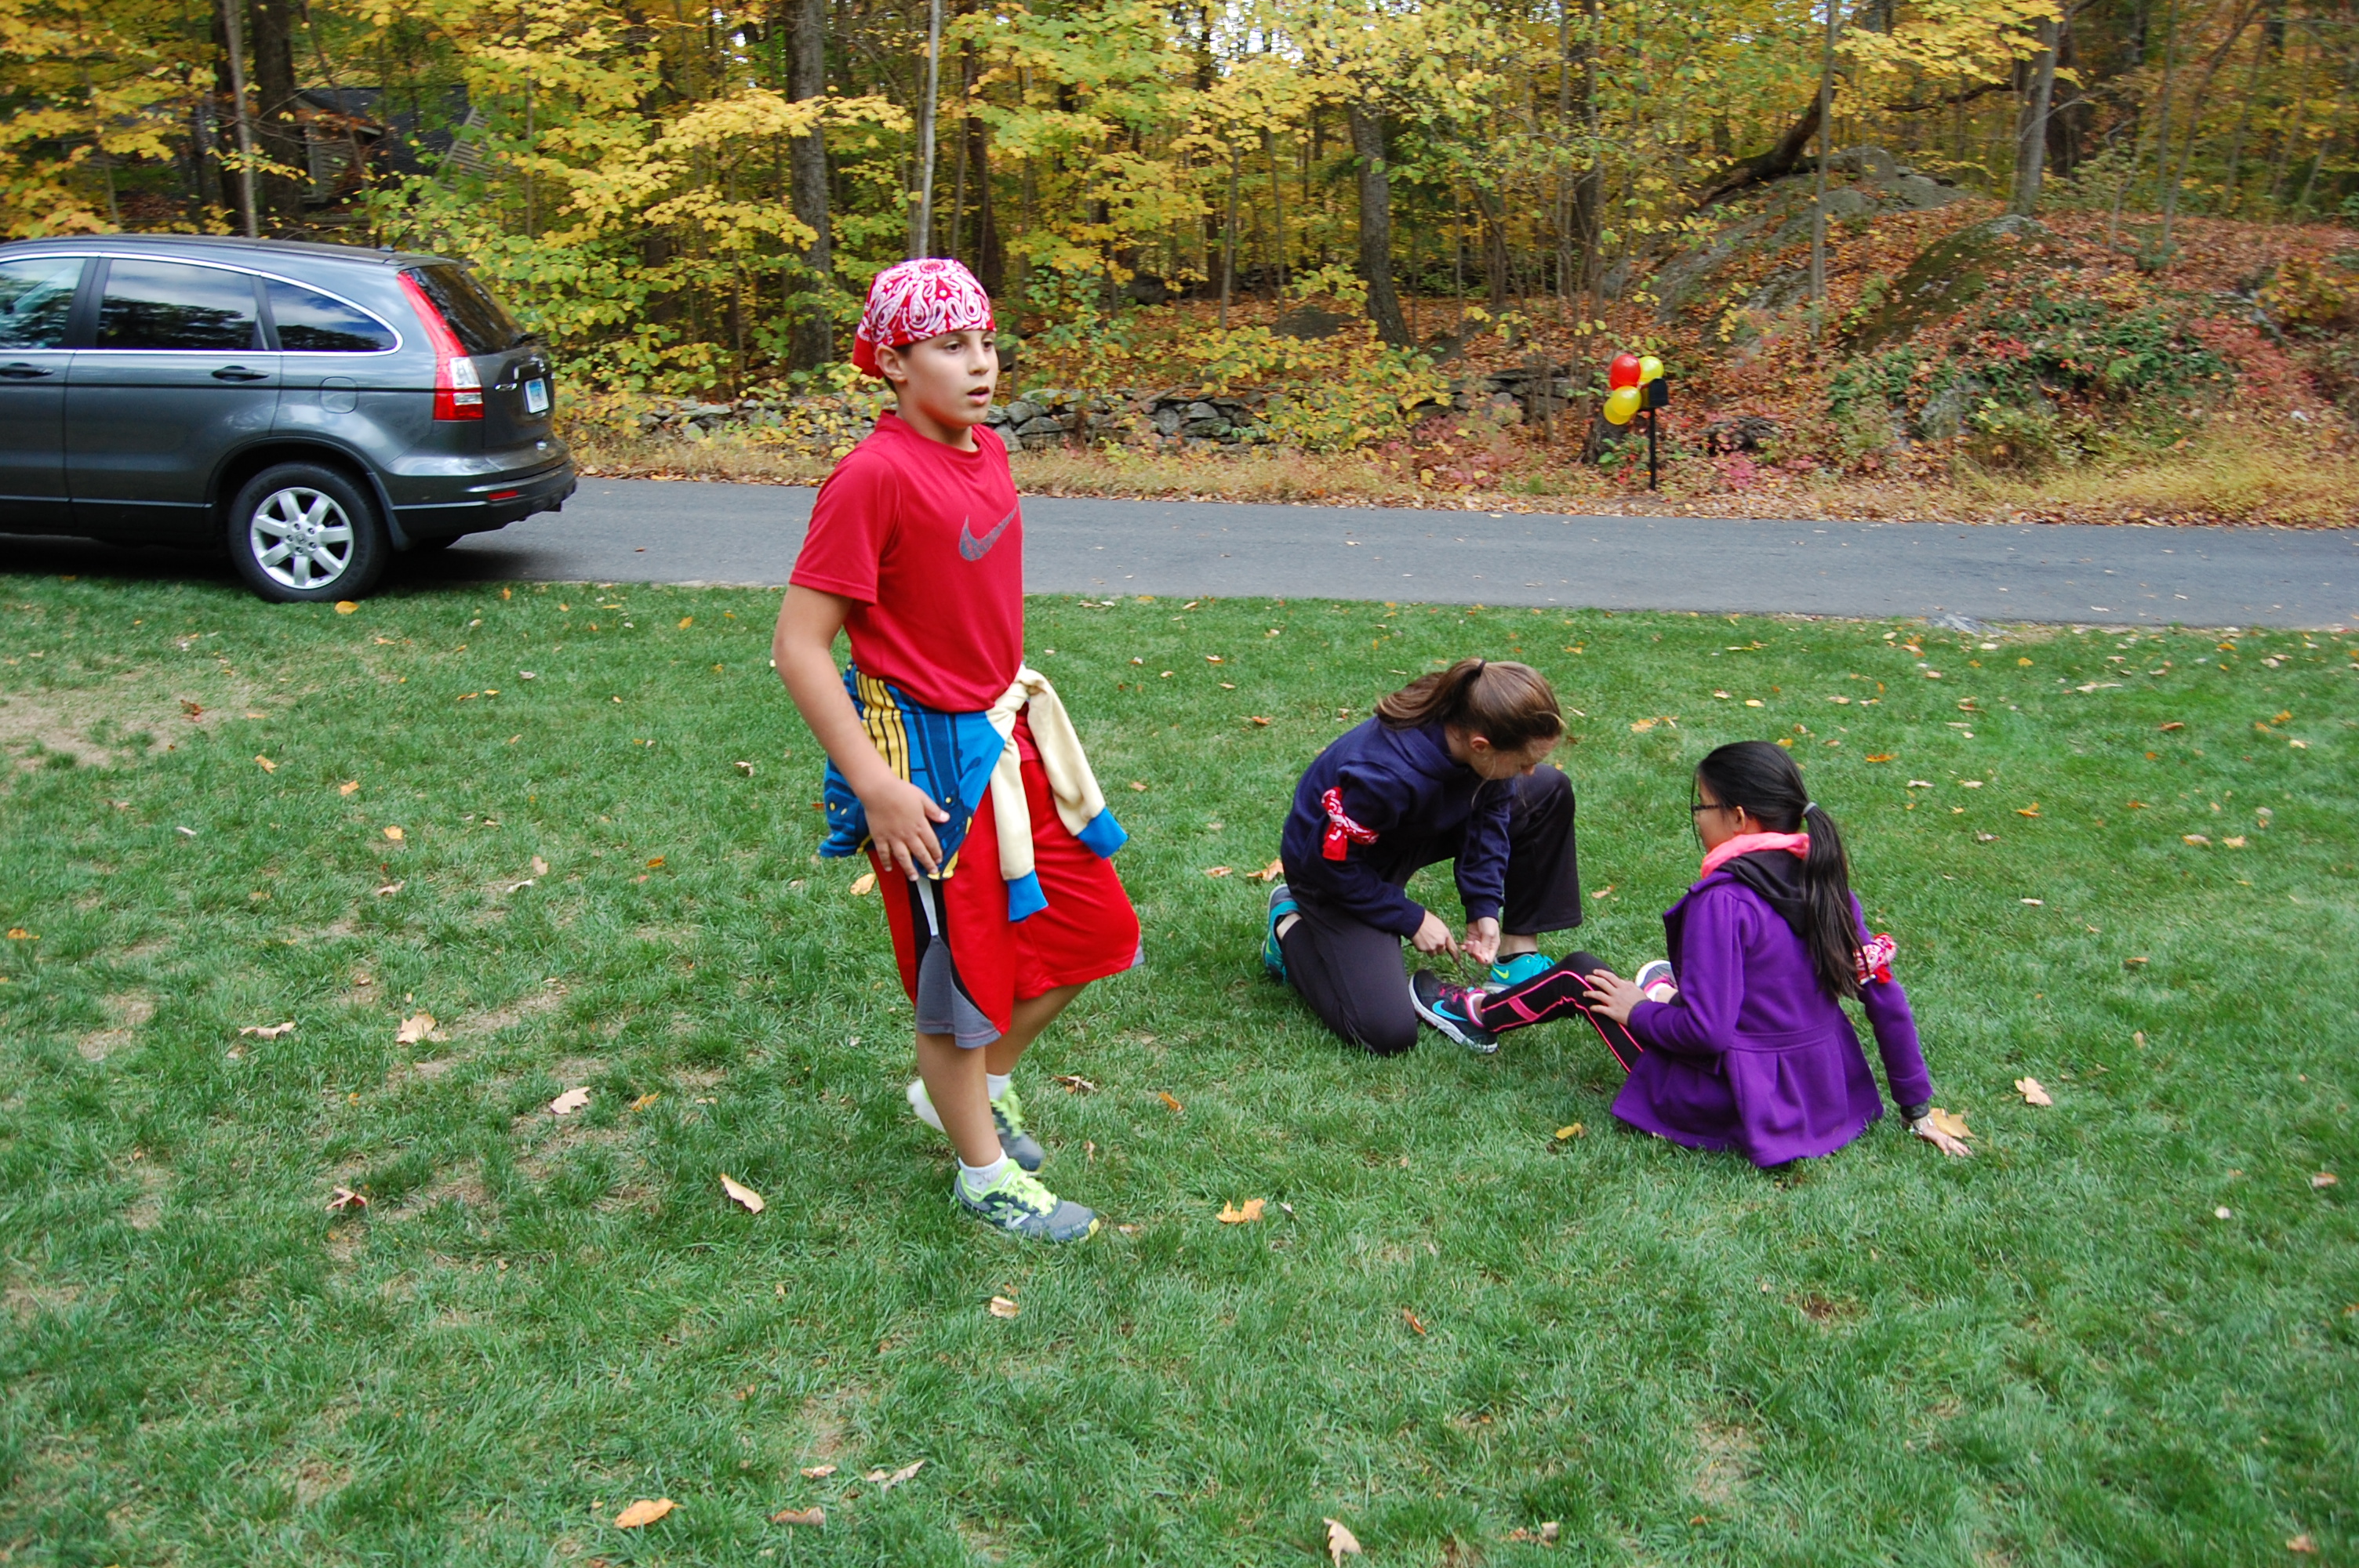
Challenge #1:
In this challenge, the kids shoes were spread all over the front yard and they had to help their other team member find and put their shoes on.


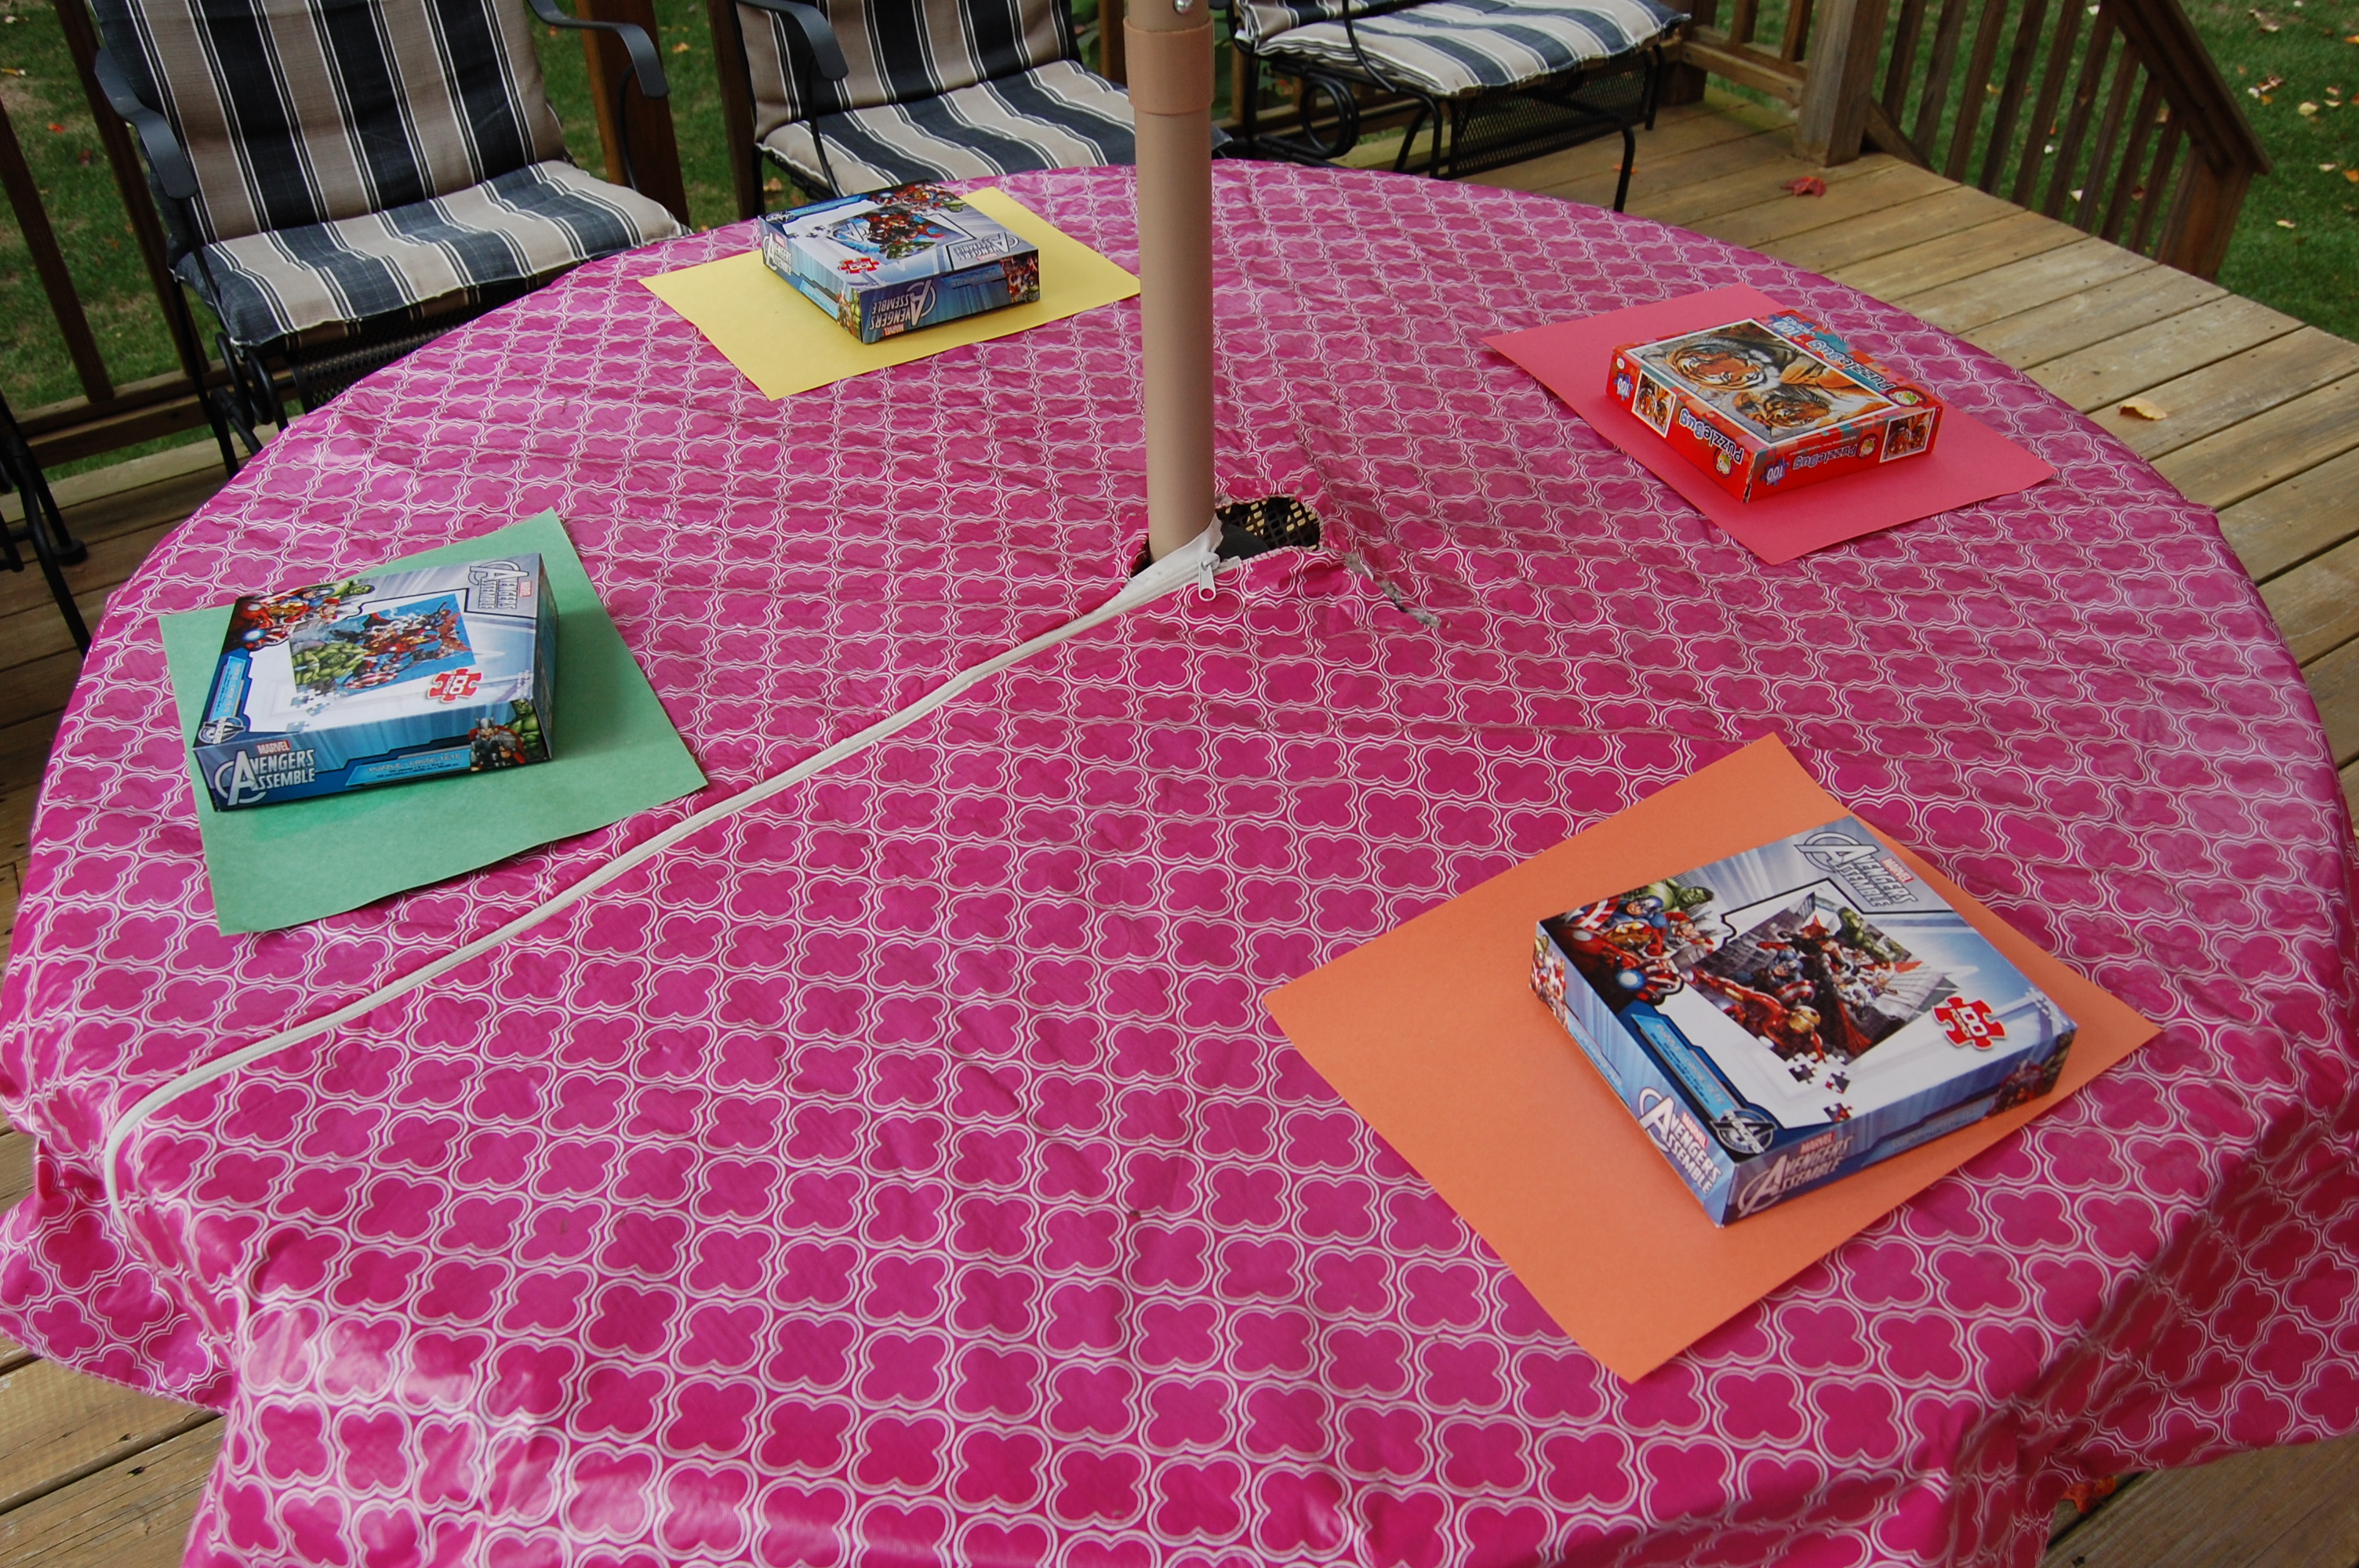
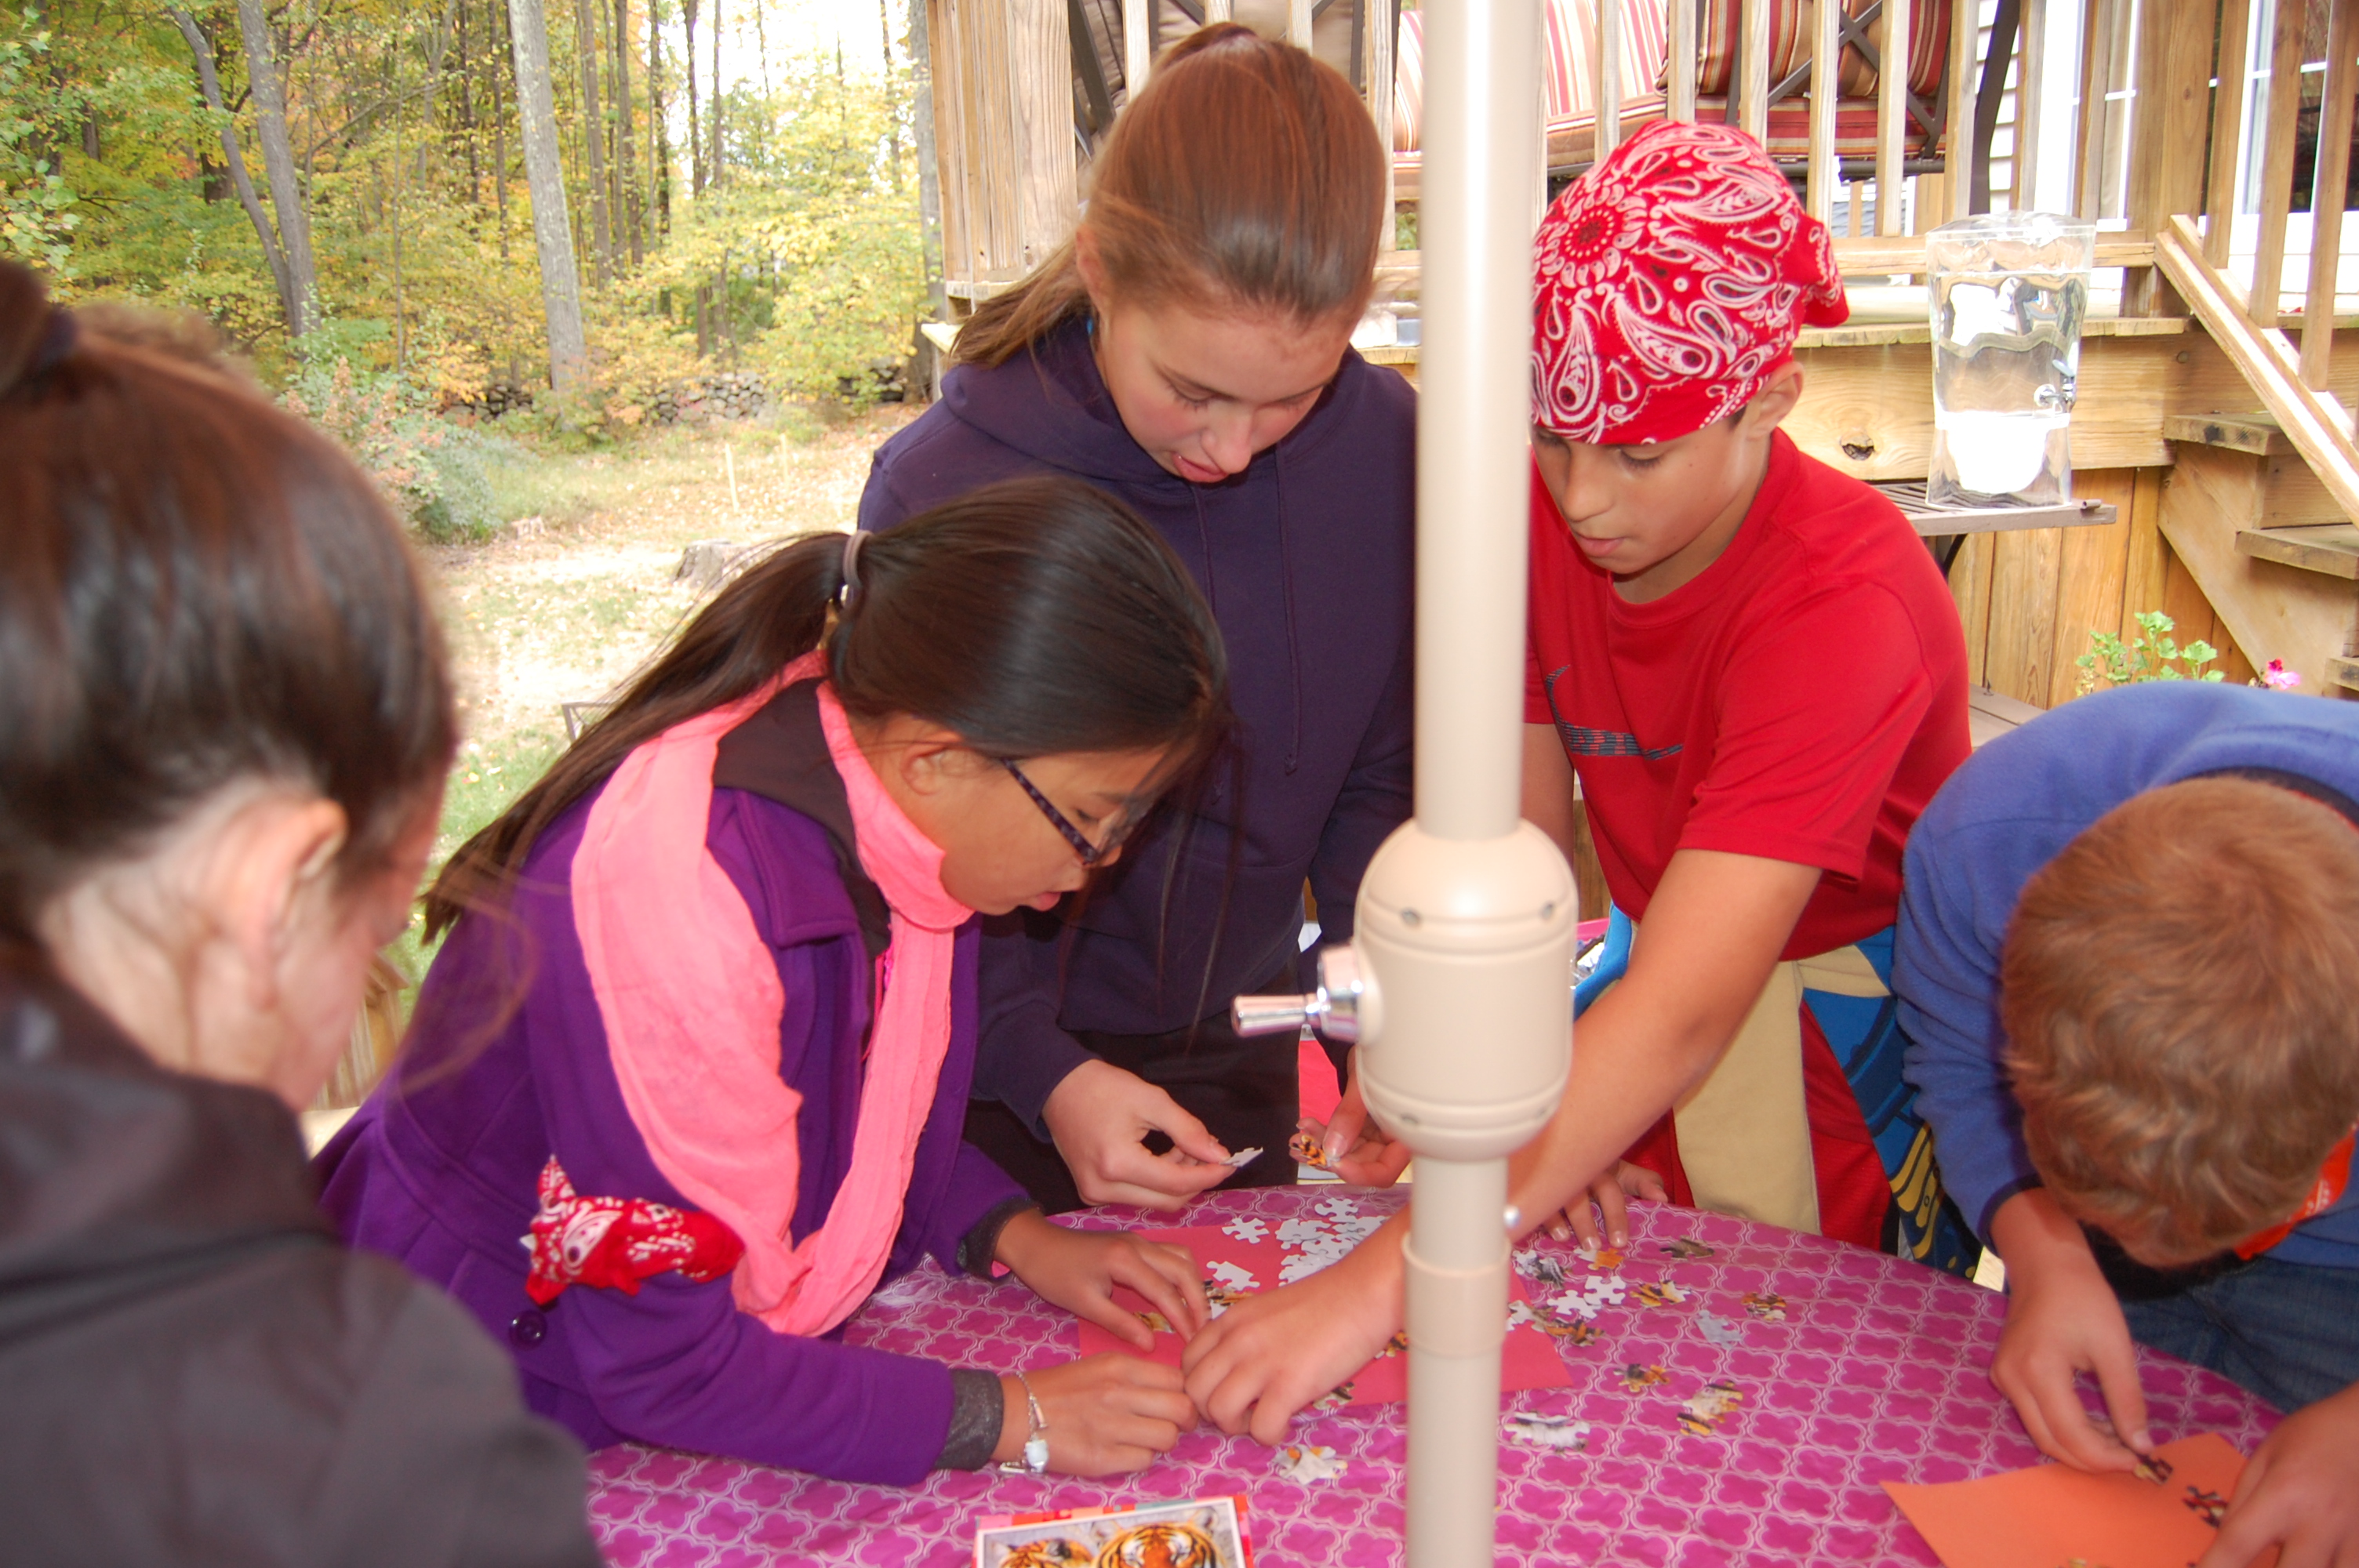
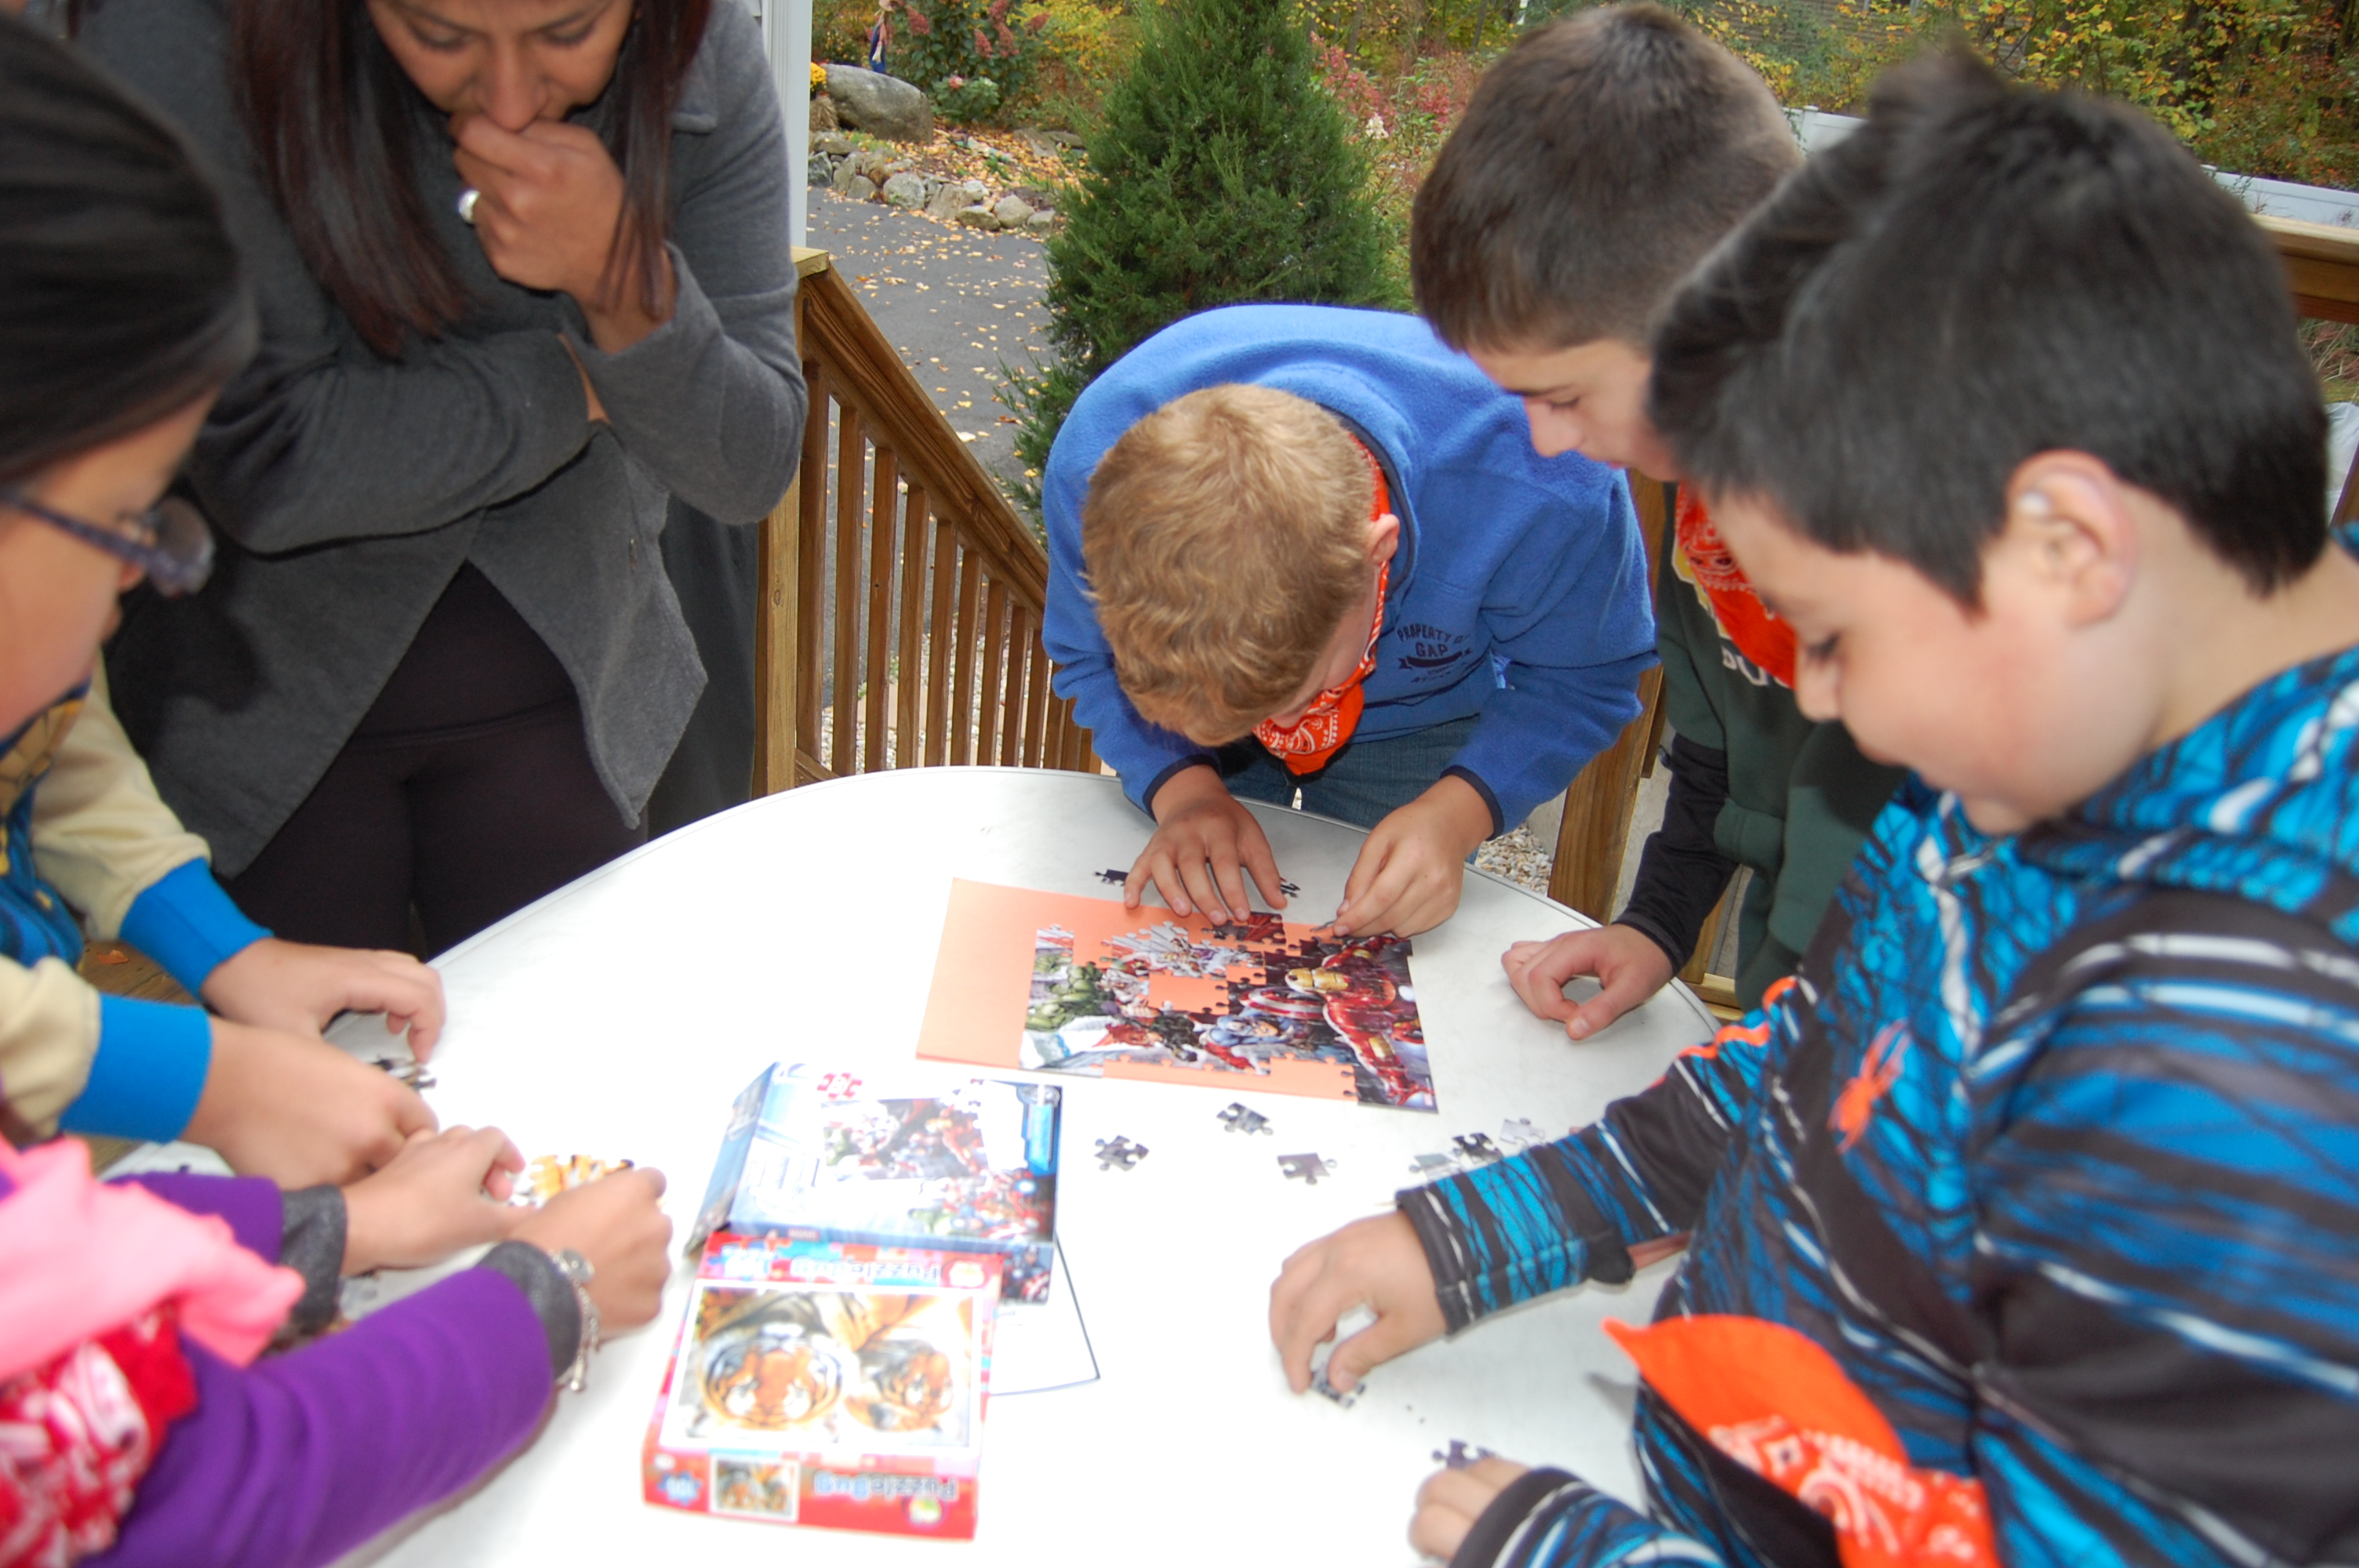
Challenge #2:
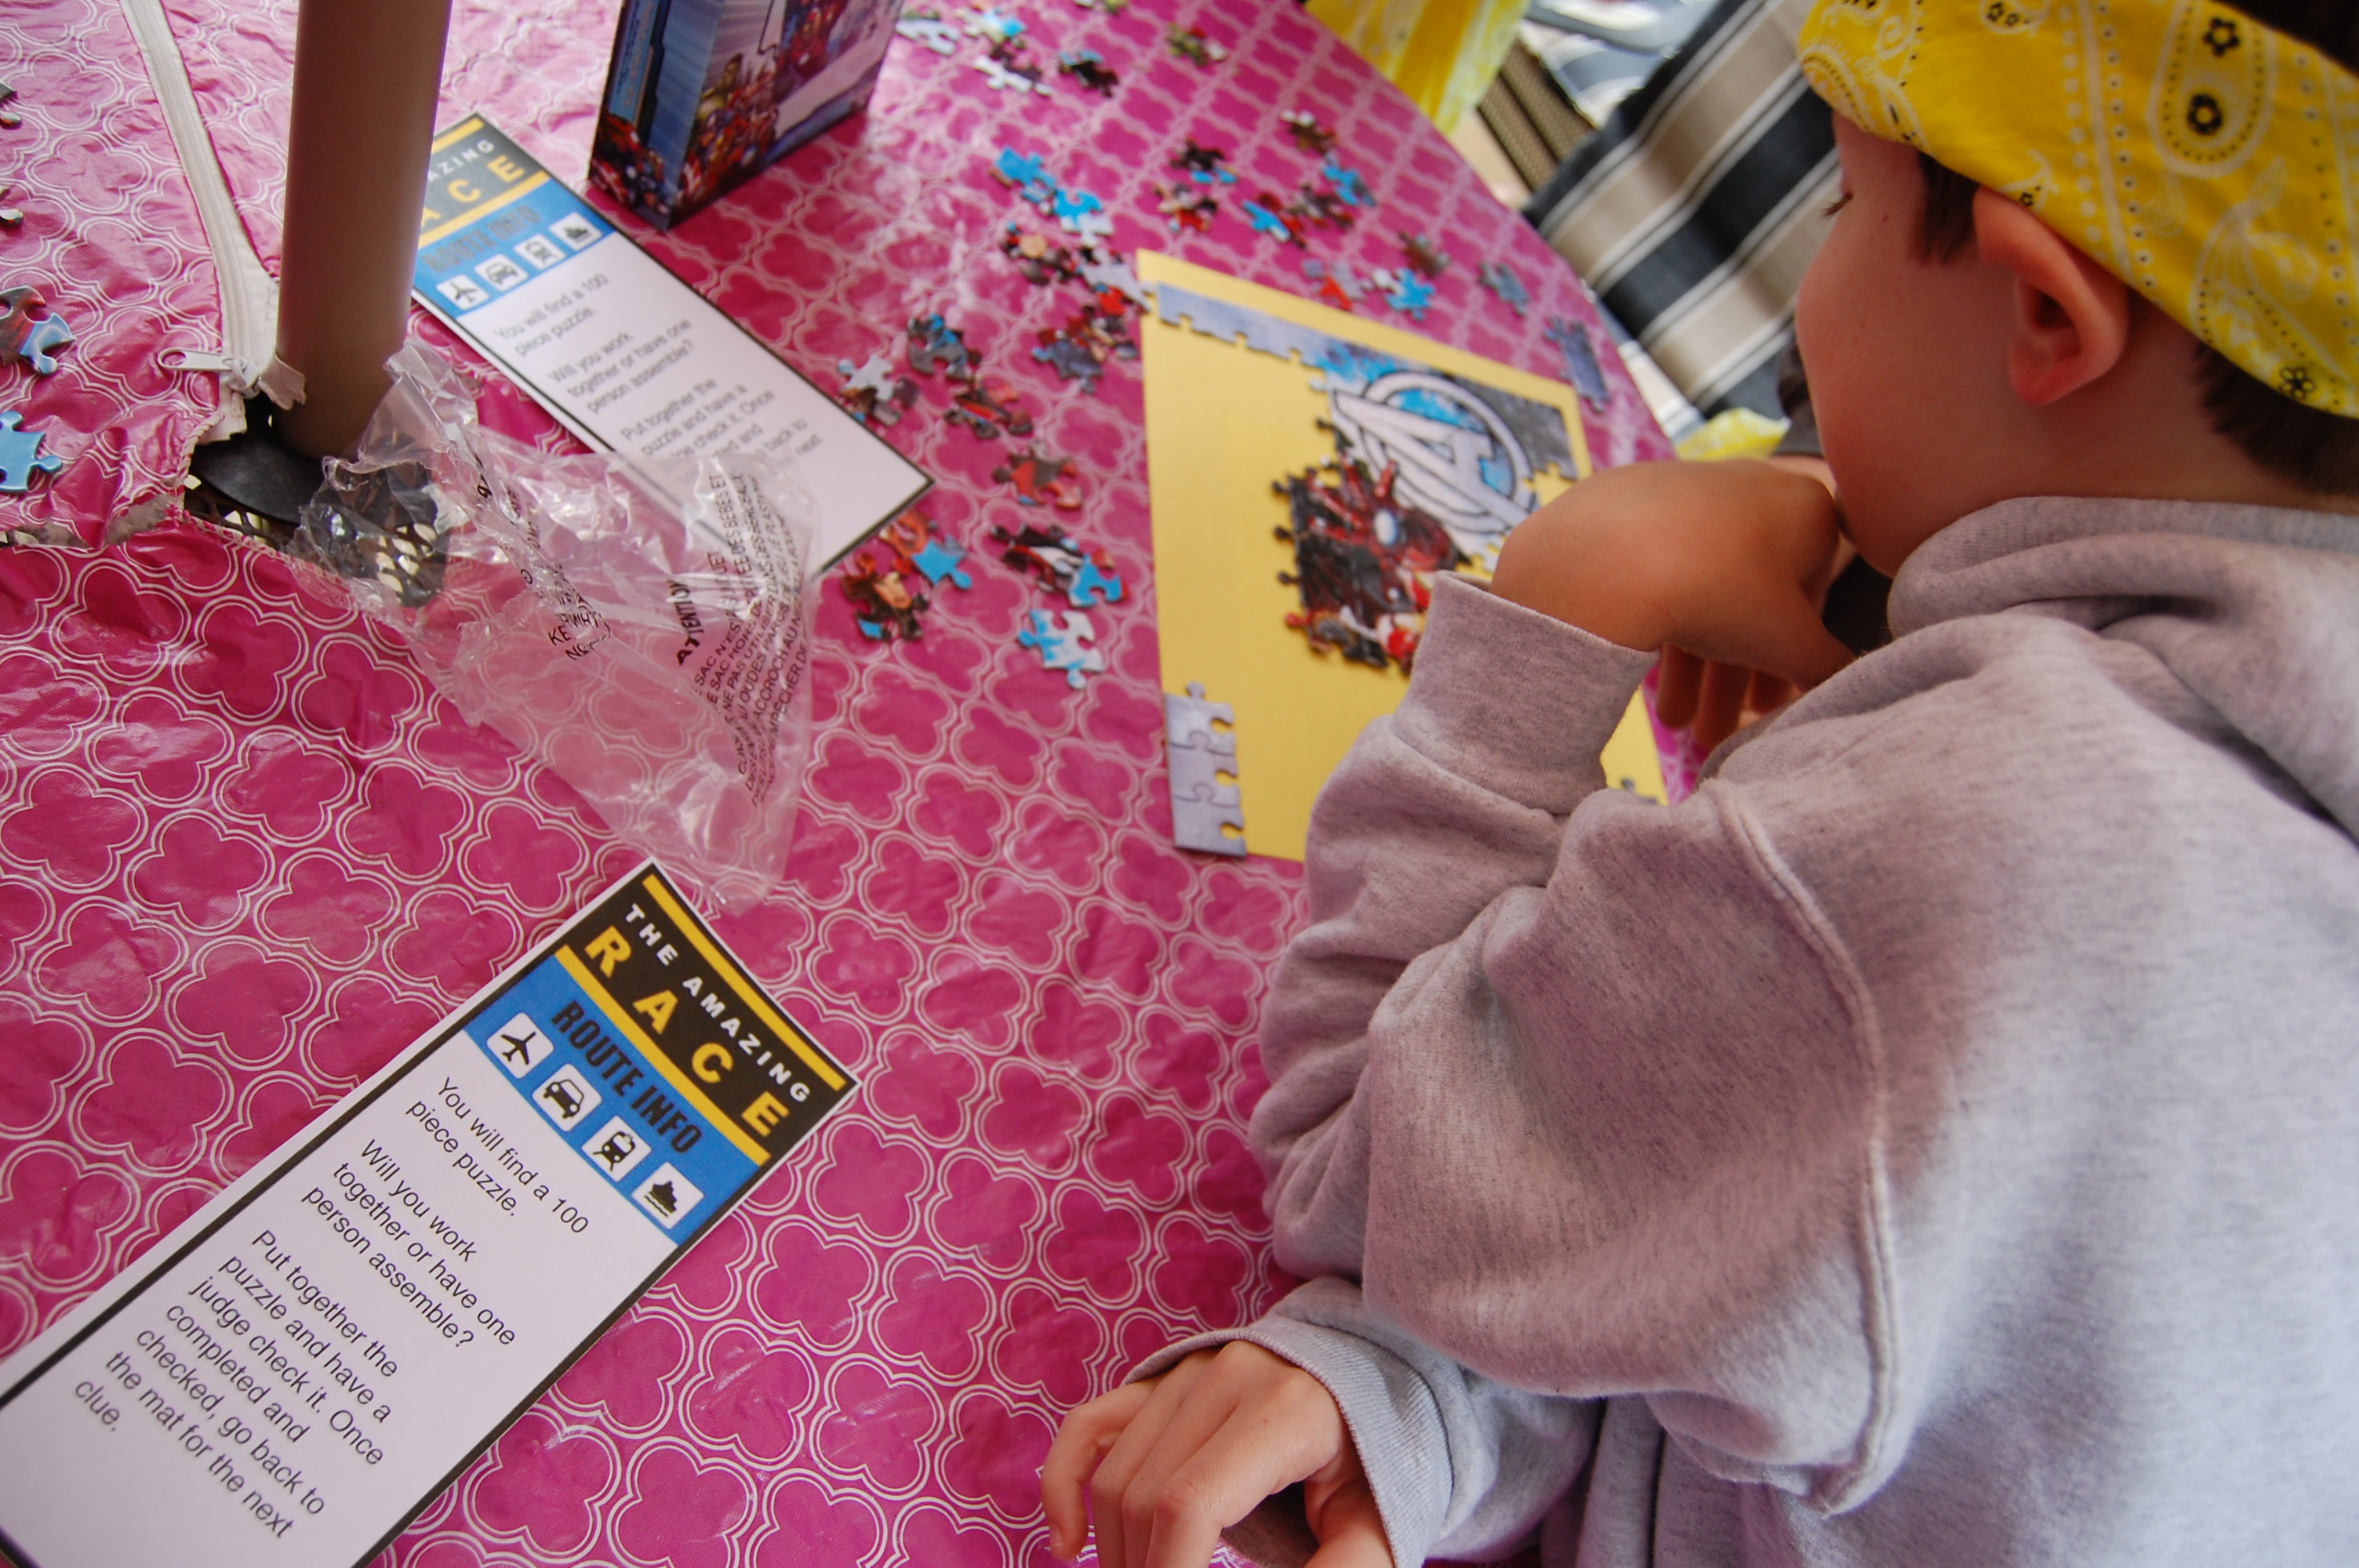
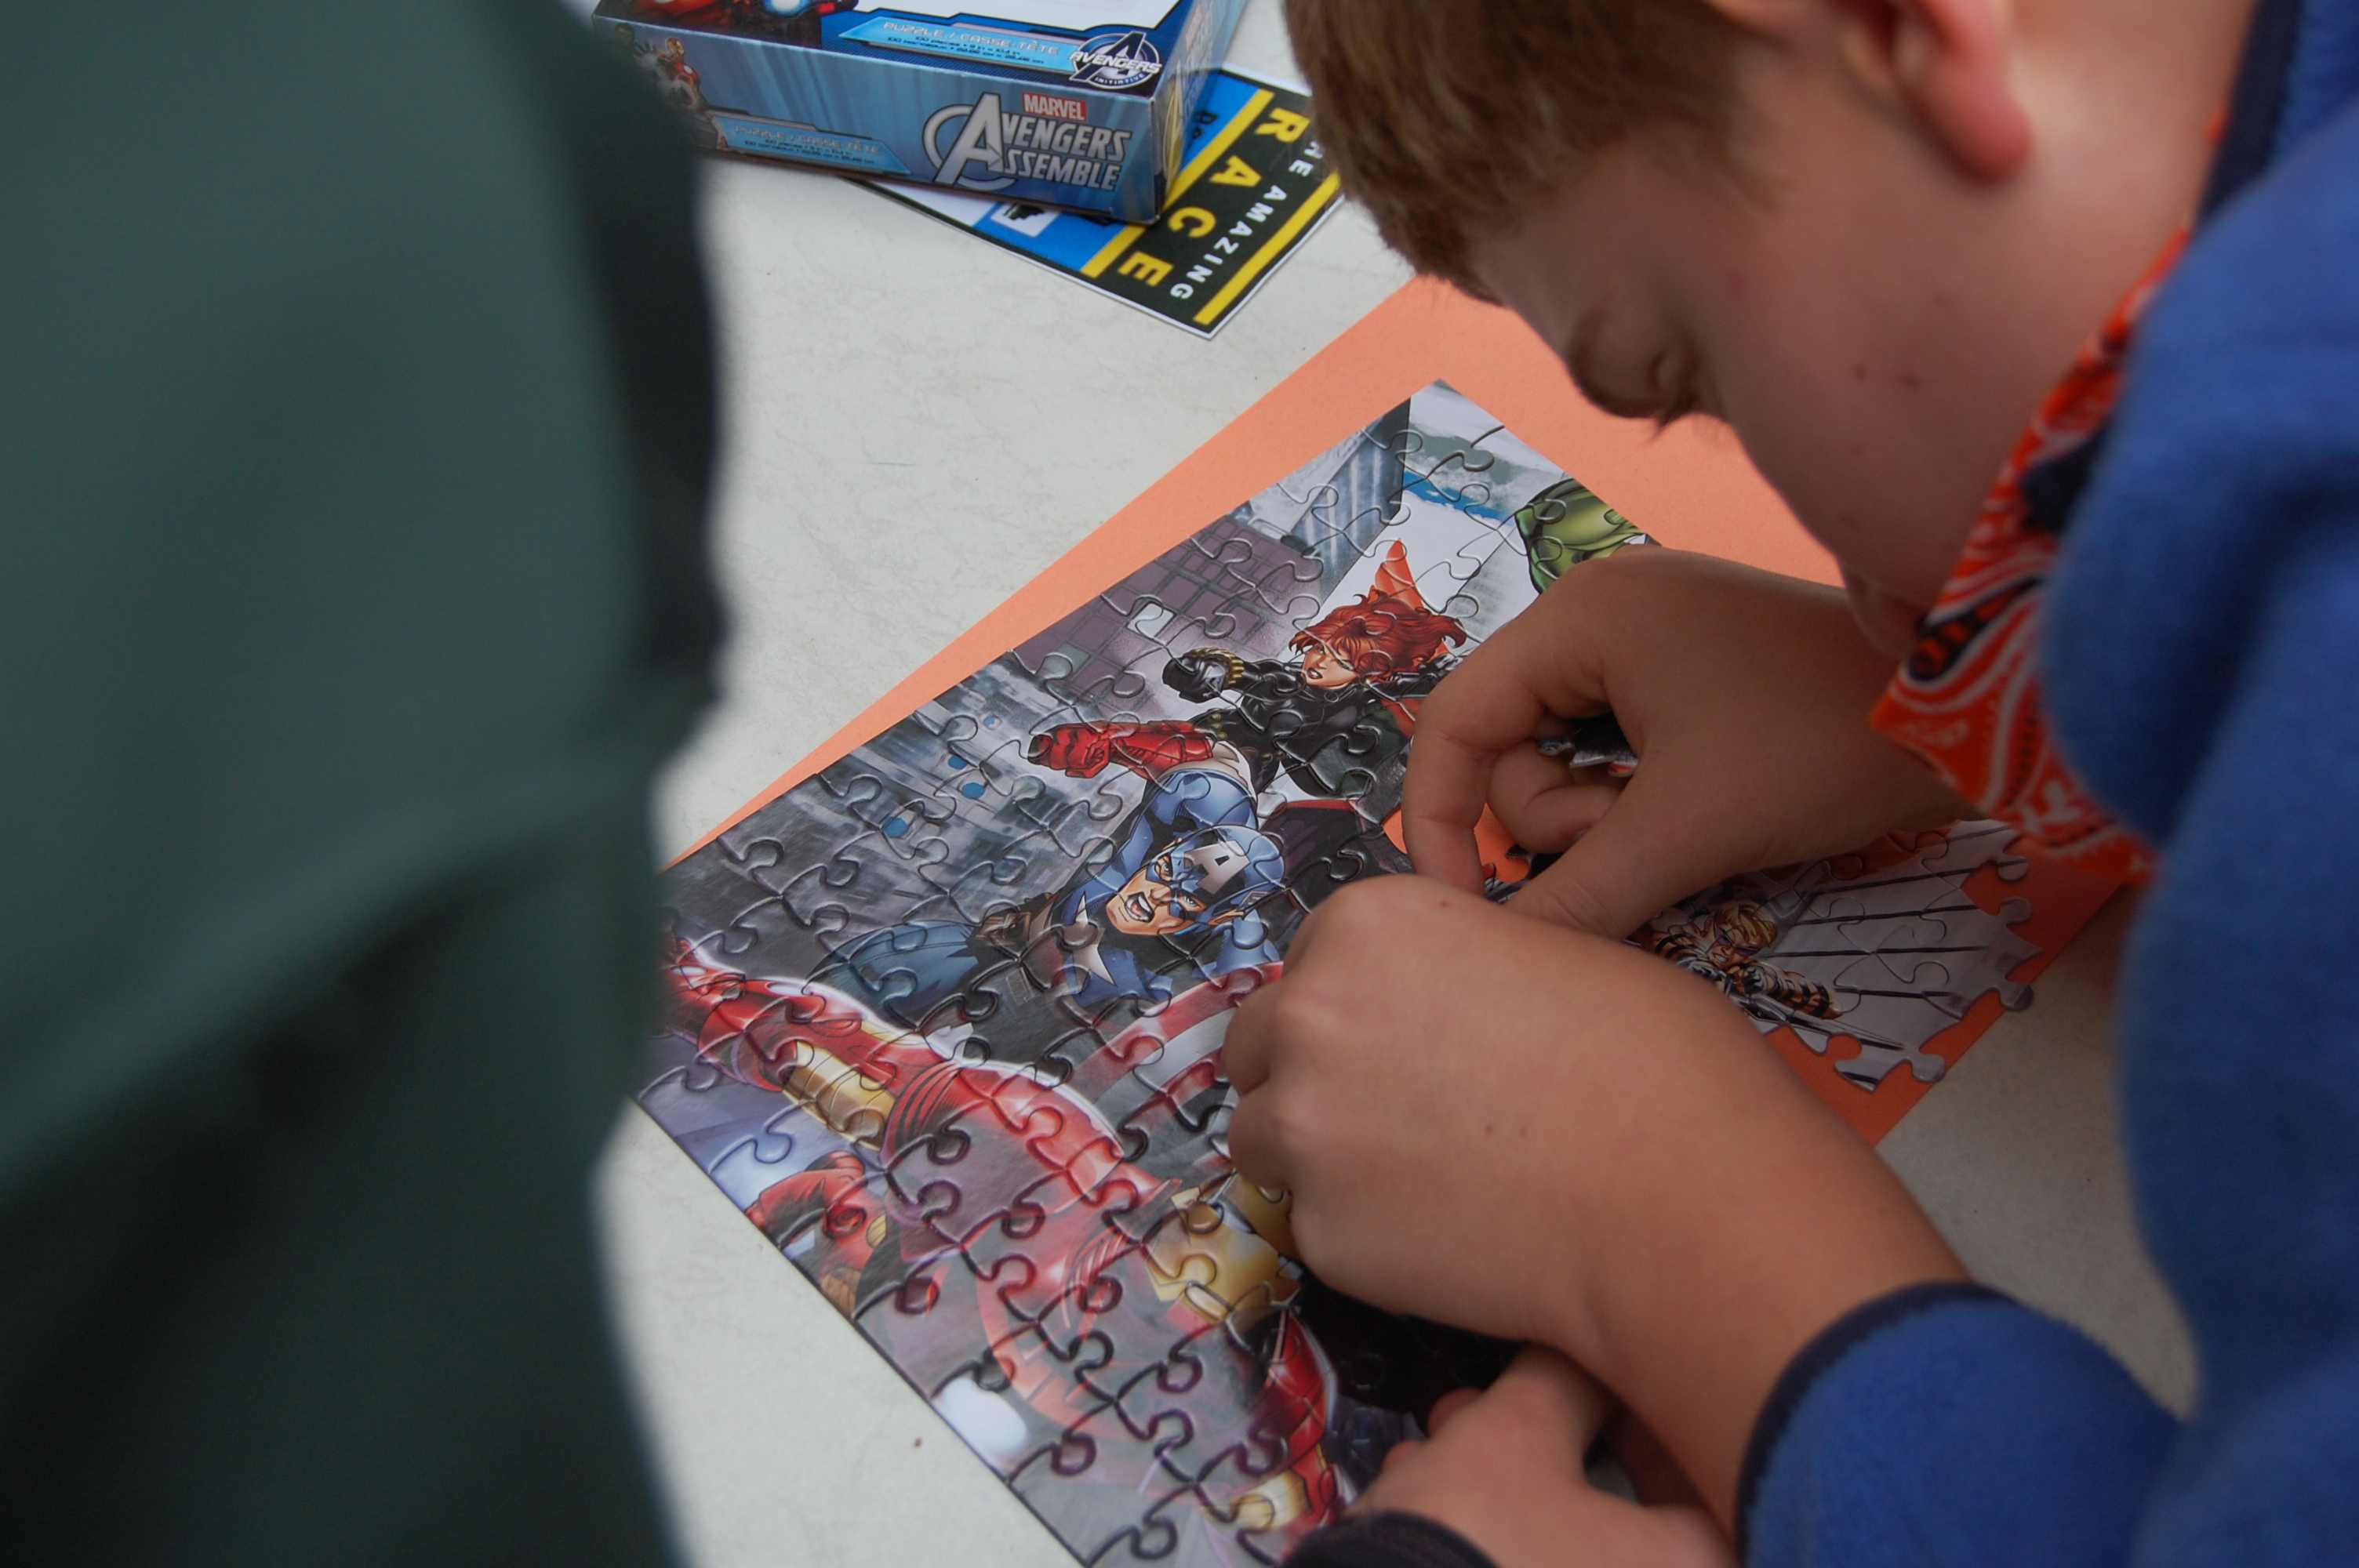
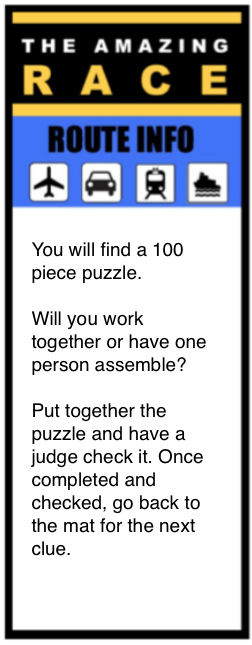
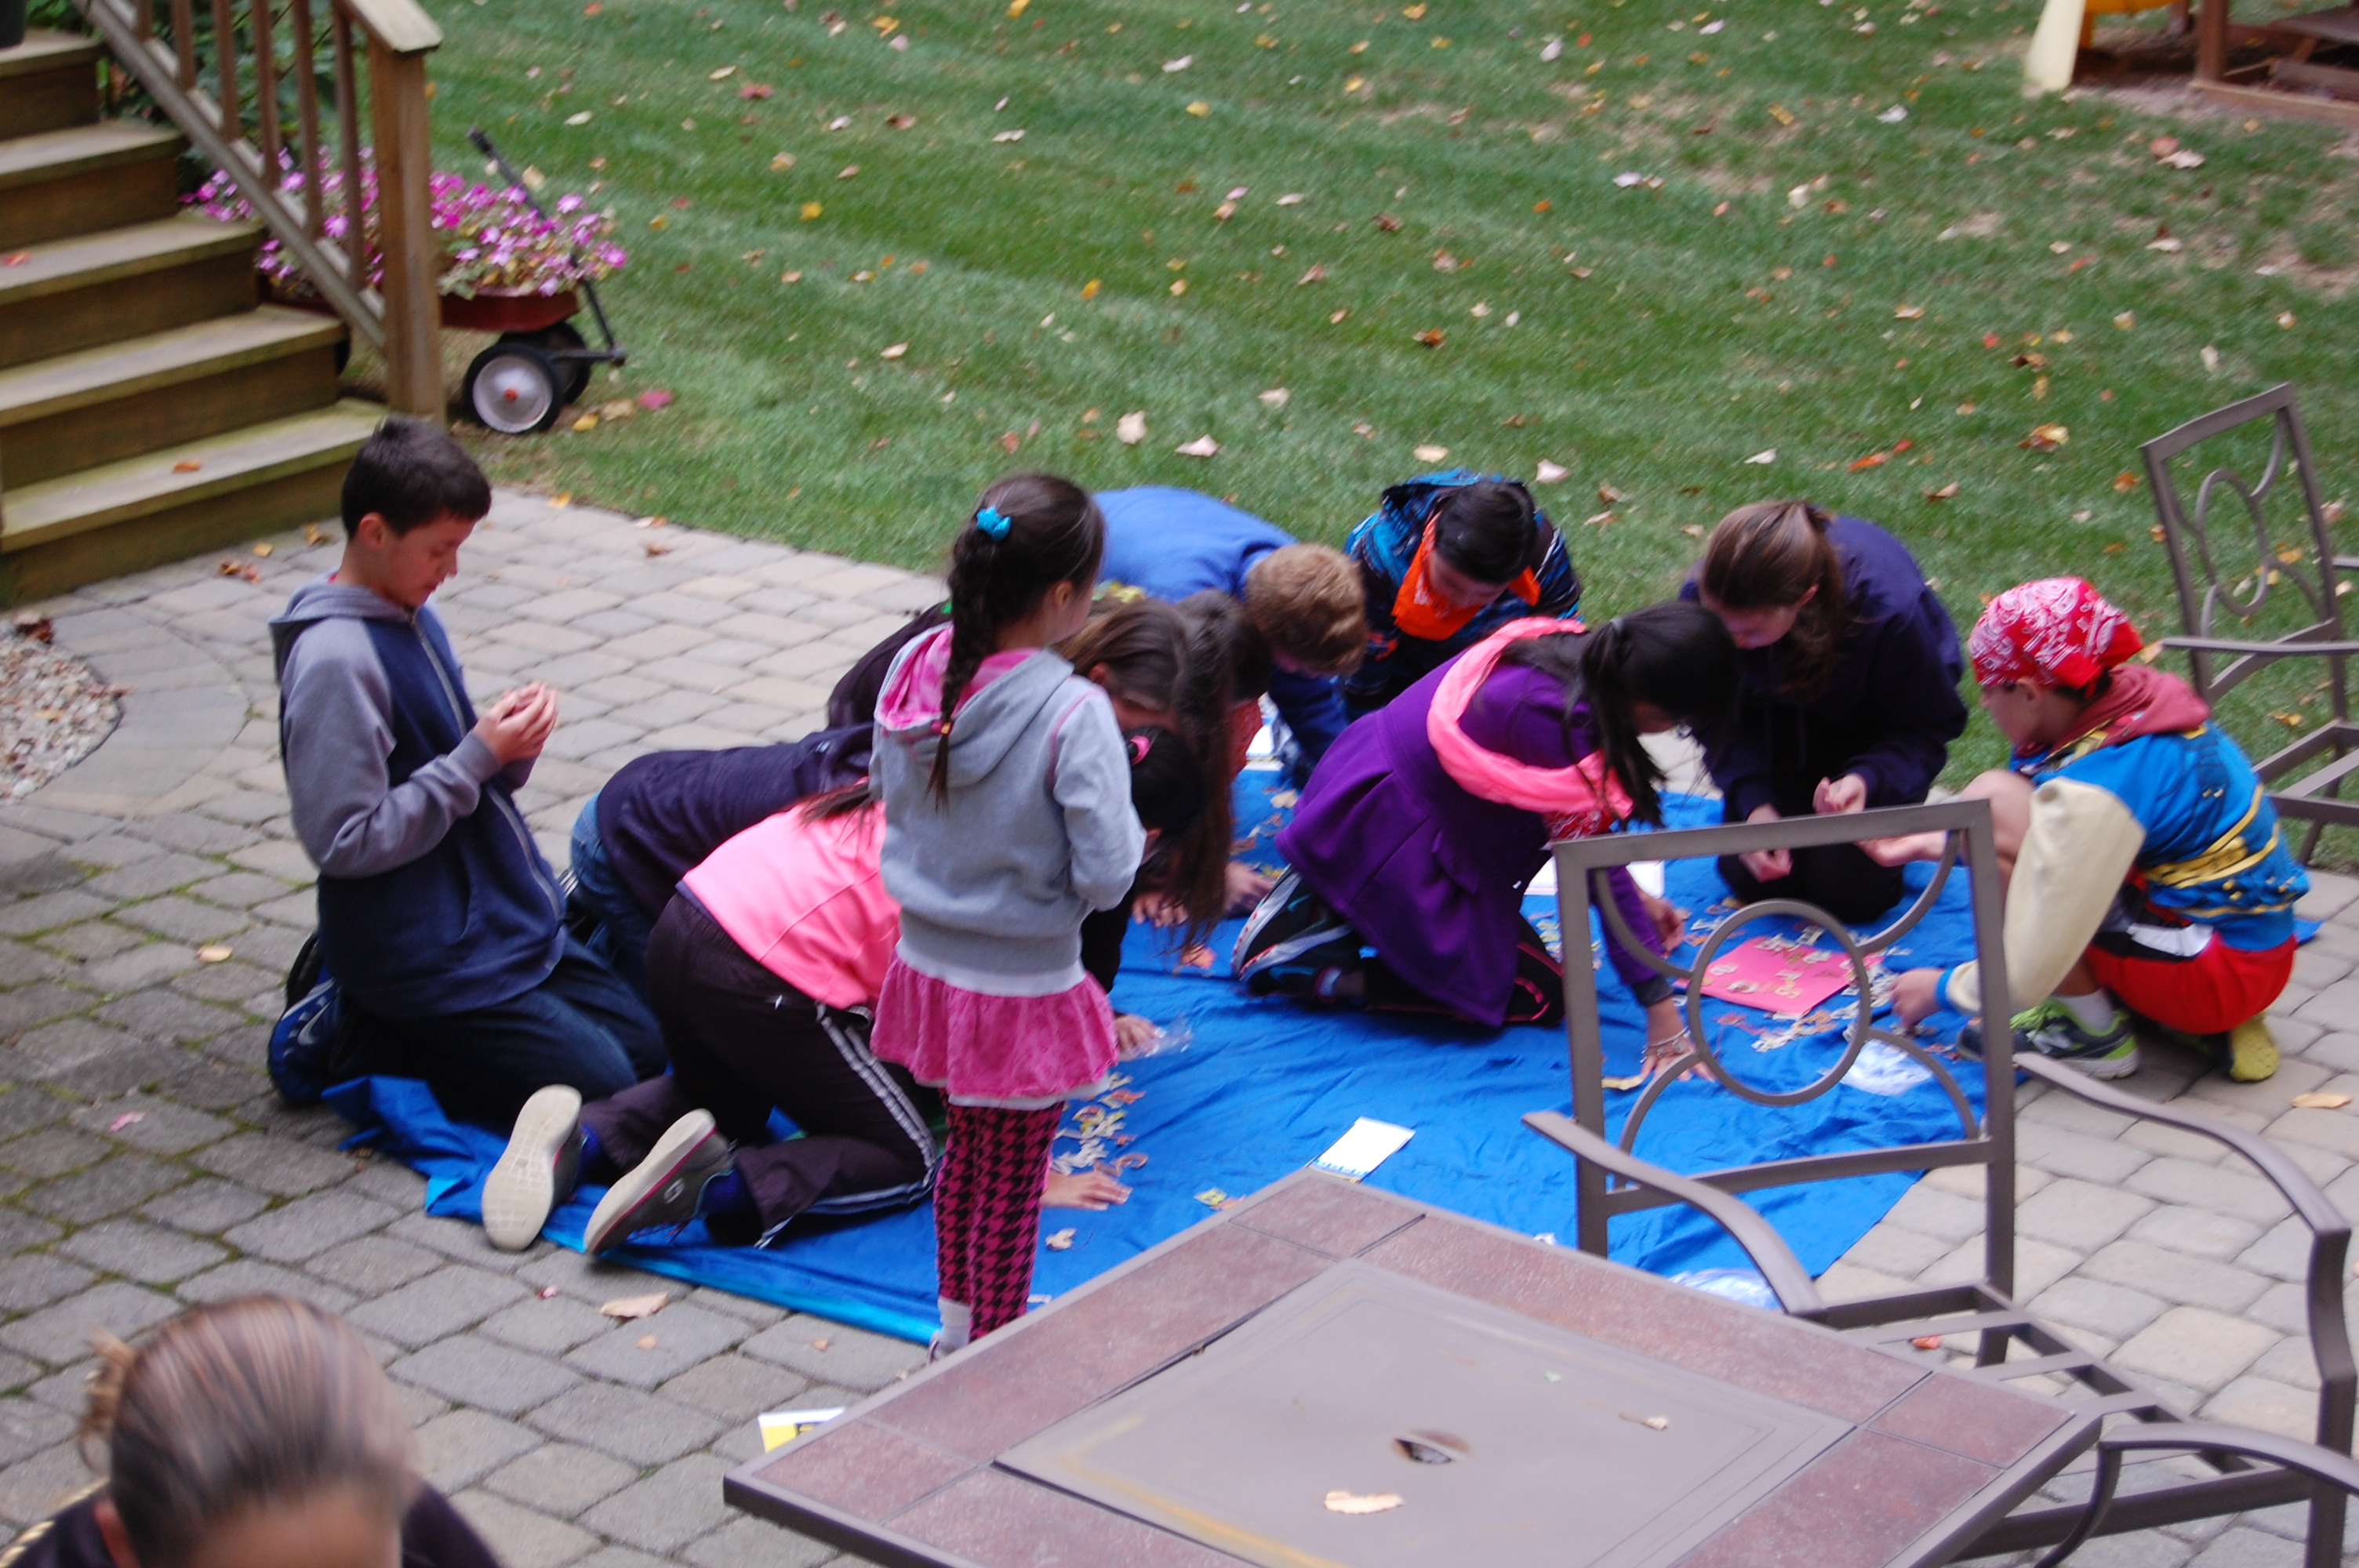
This challenge sent them to the back deck where four 100 piece puzzles were set up and they had to work together to build it. I was naive to this challenge. I though this would be the easiest one, but it was the challenge that took the longest! The teams were building for at least thirty minutes. A few minutes after the first team got their puzzle built we released the other teams even if they weren’t yet done.


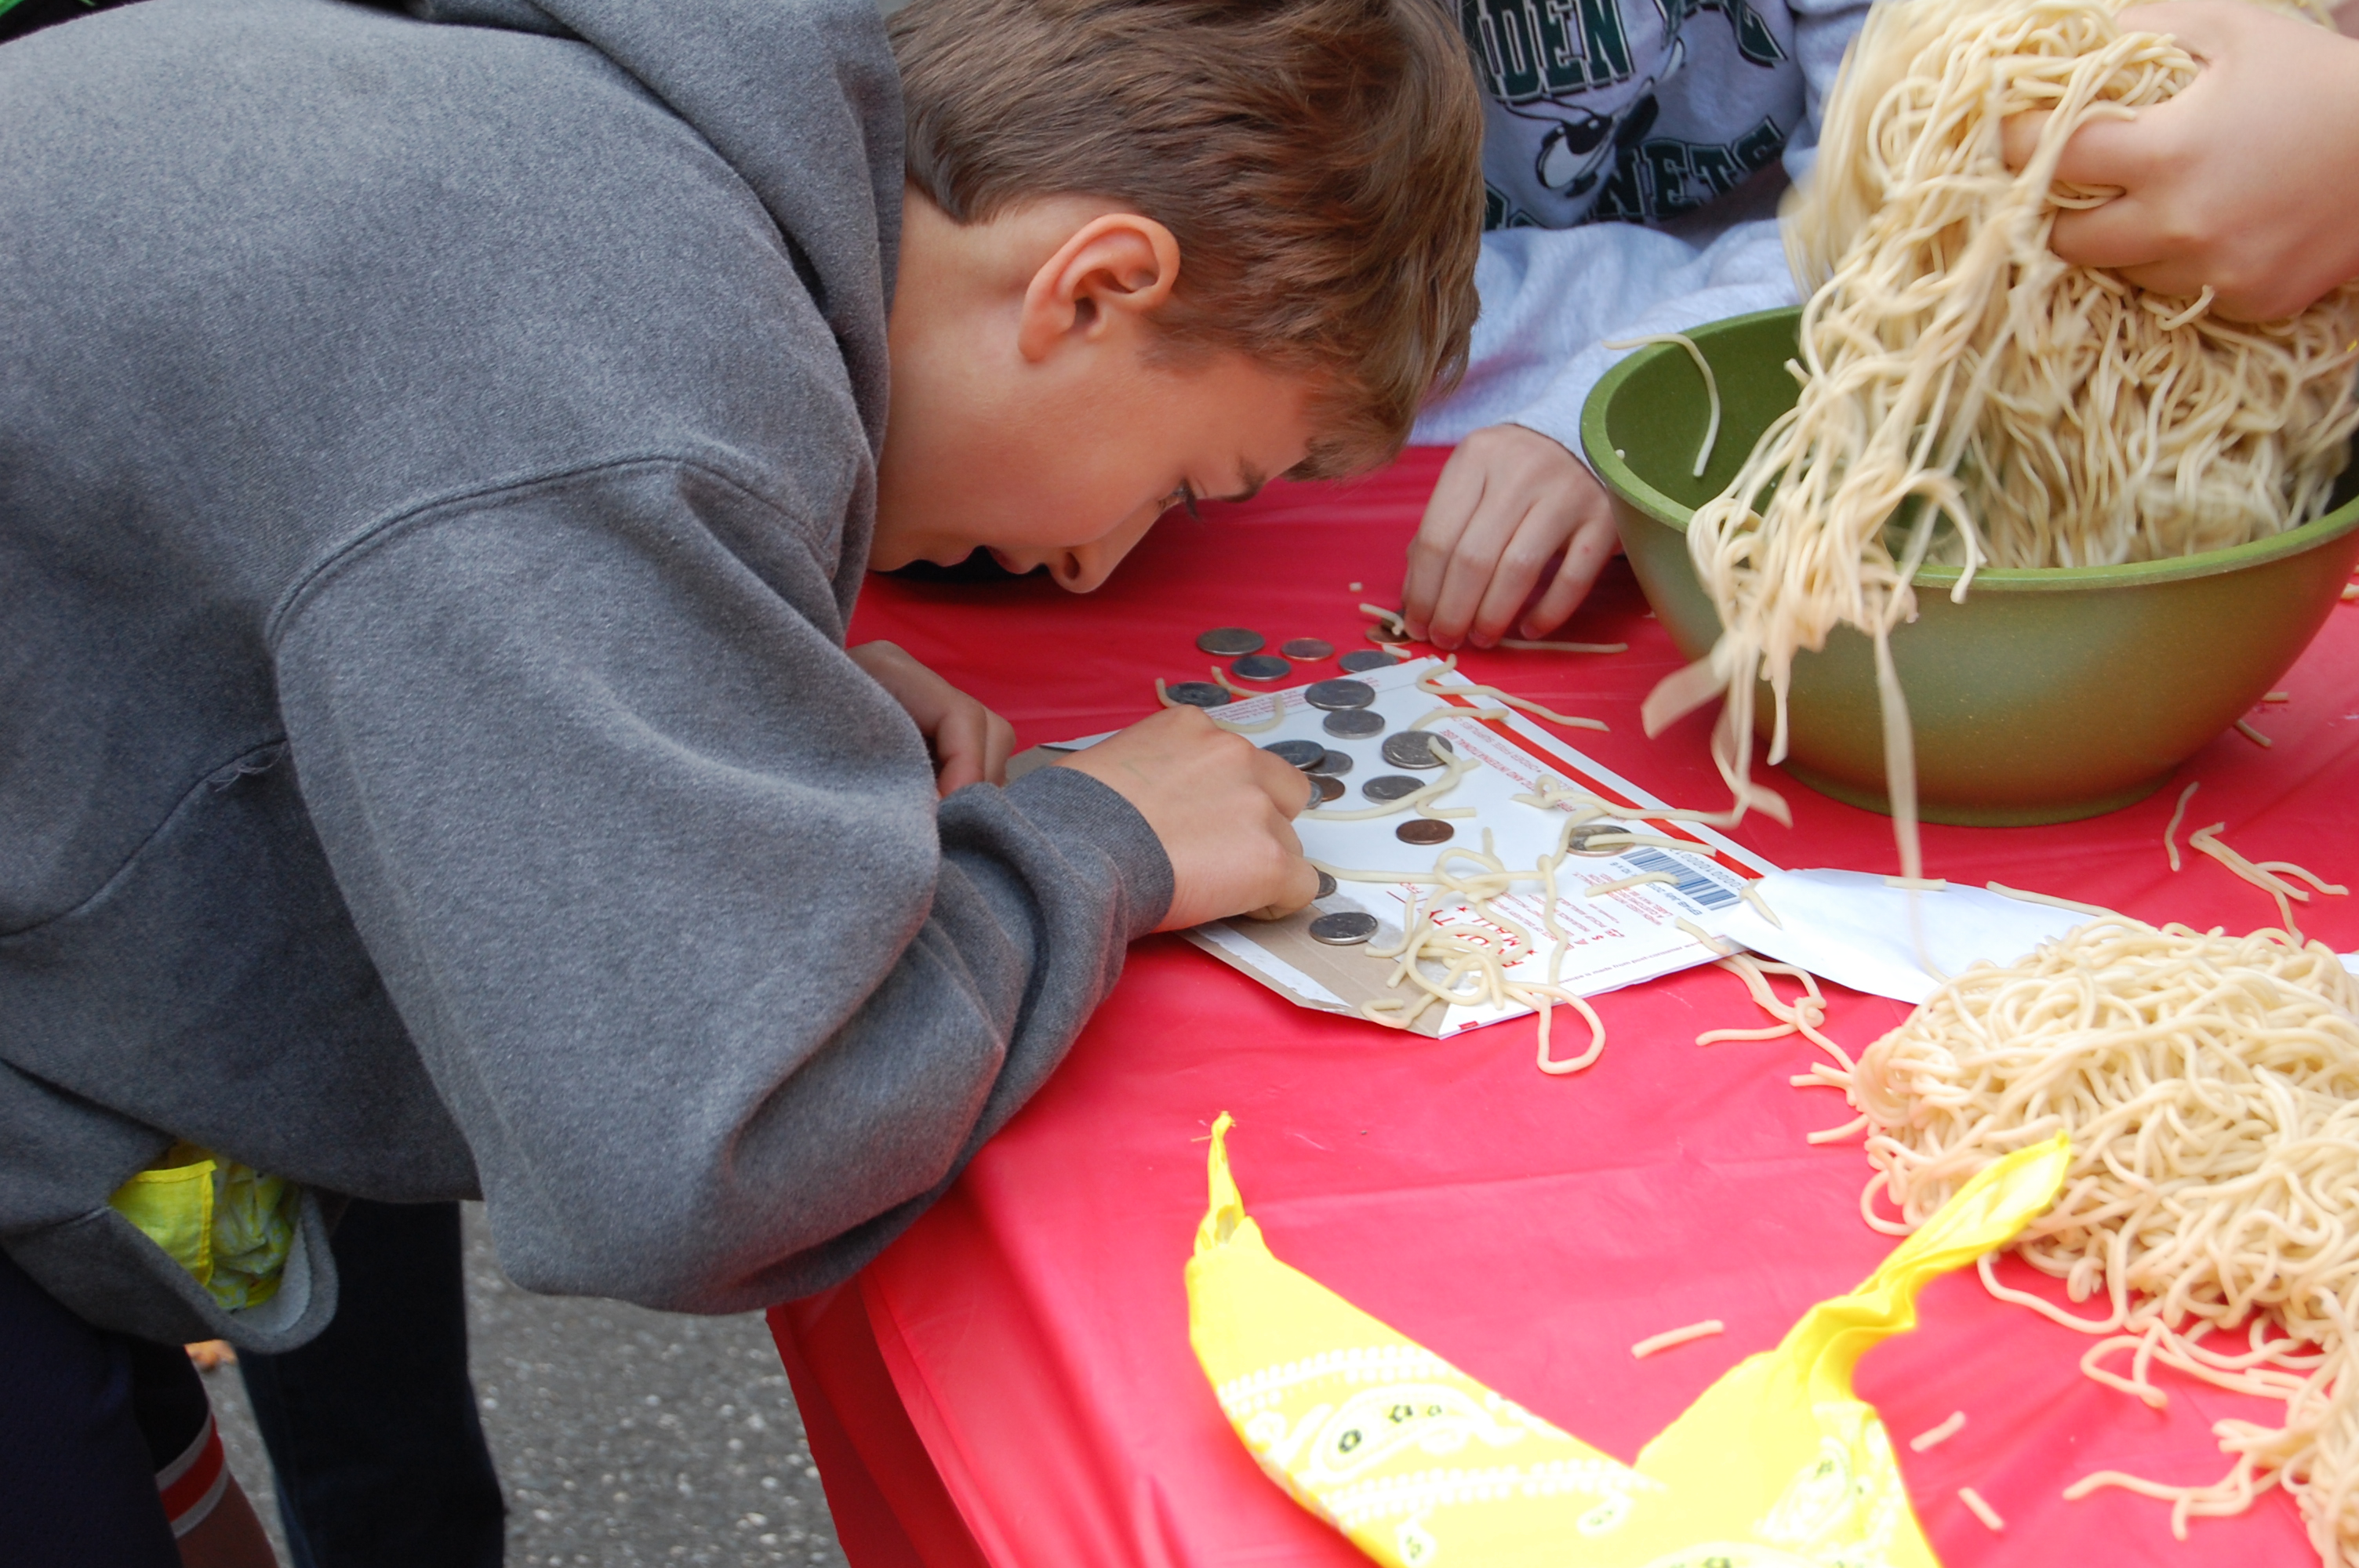
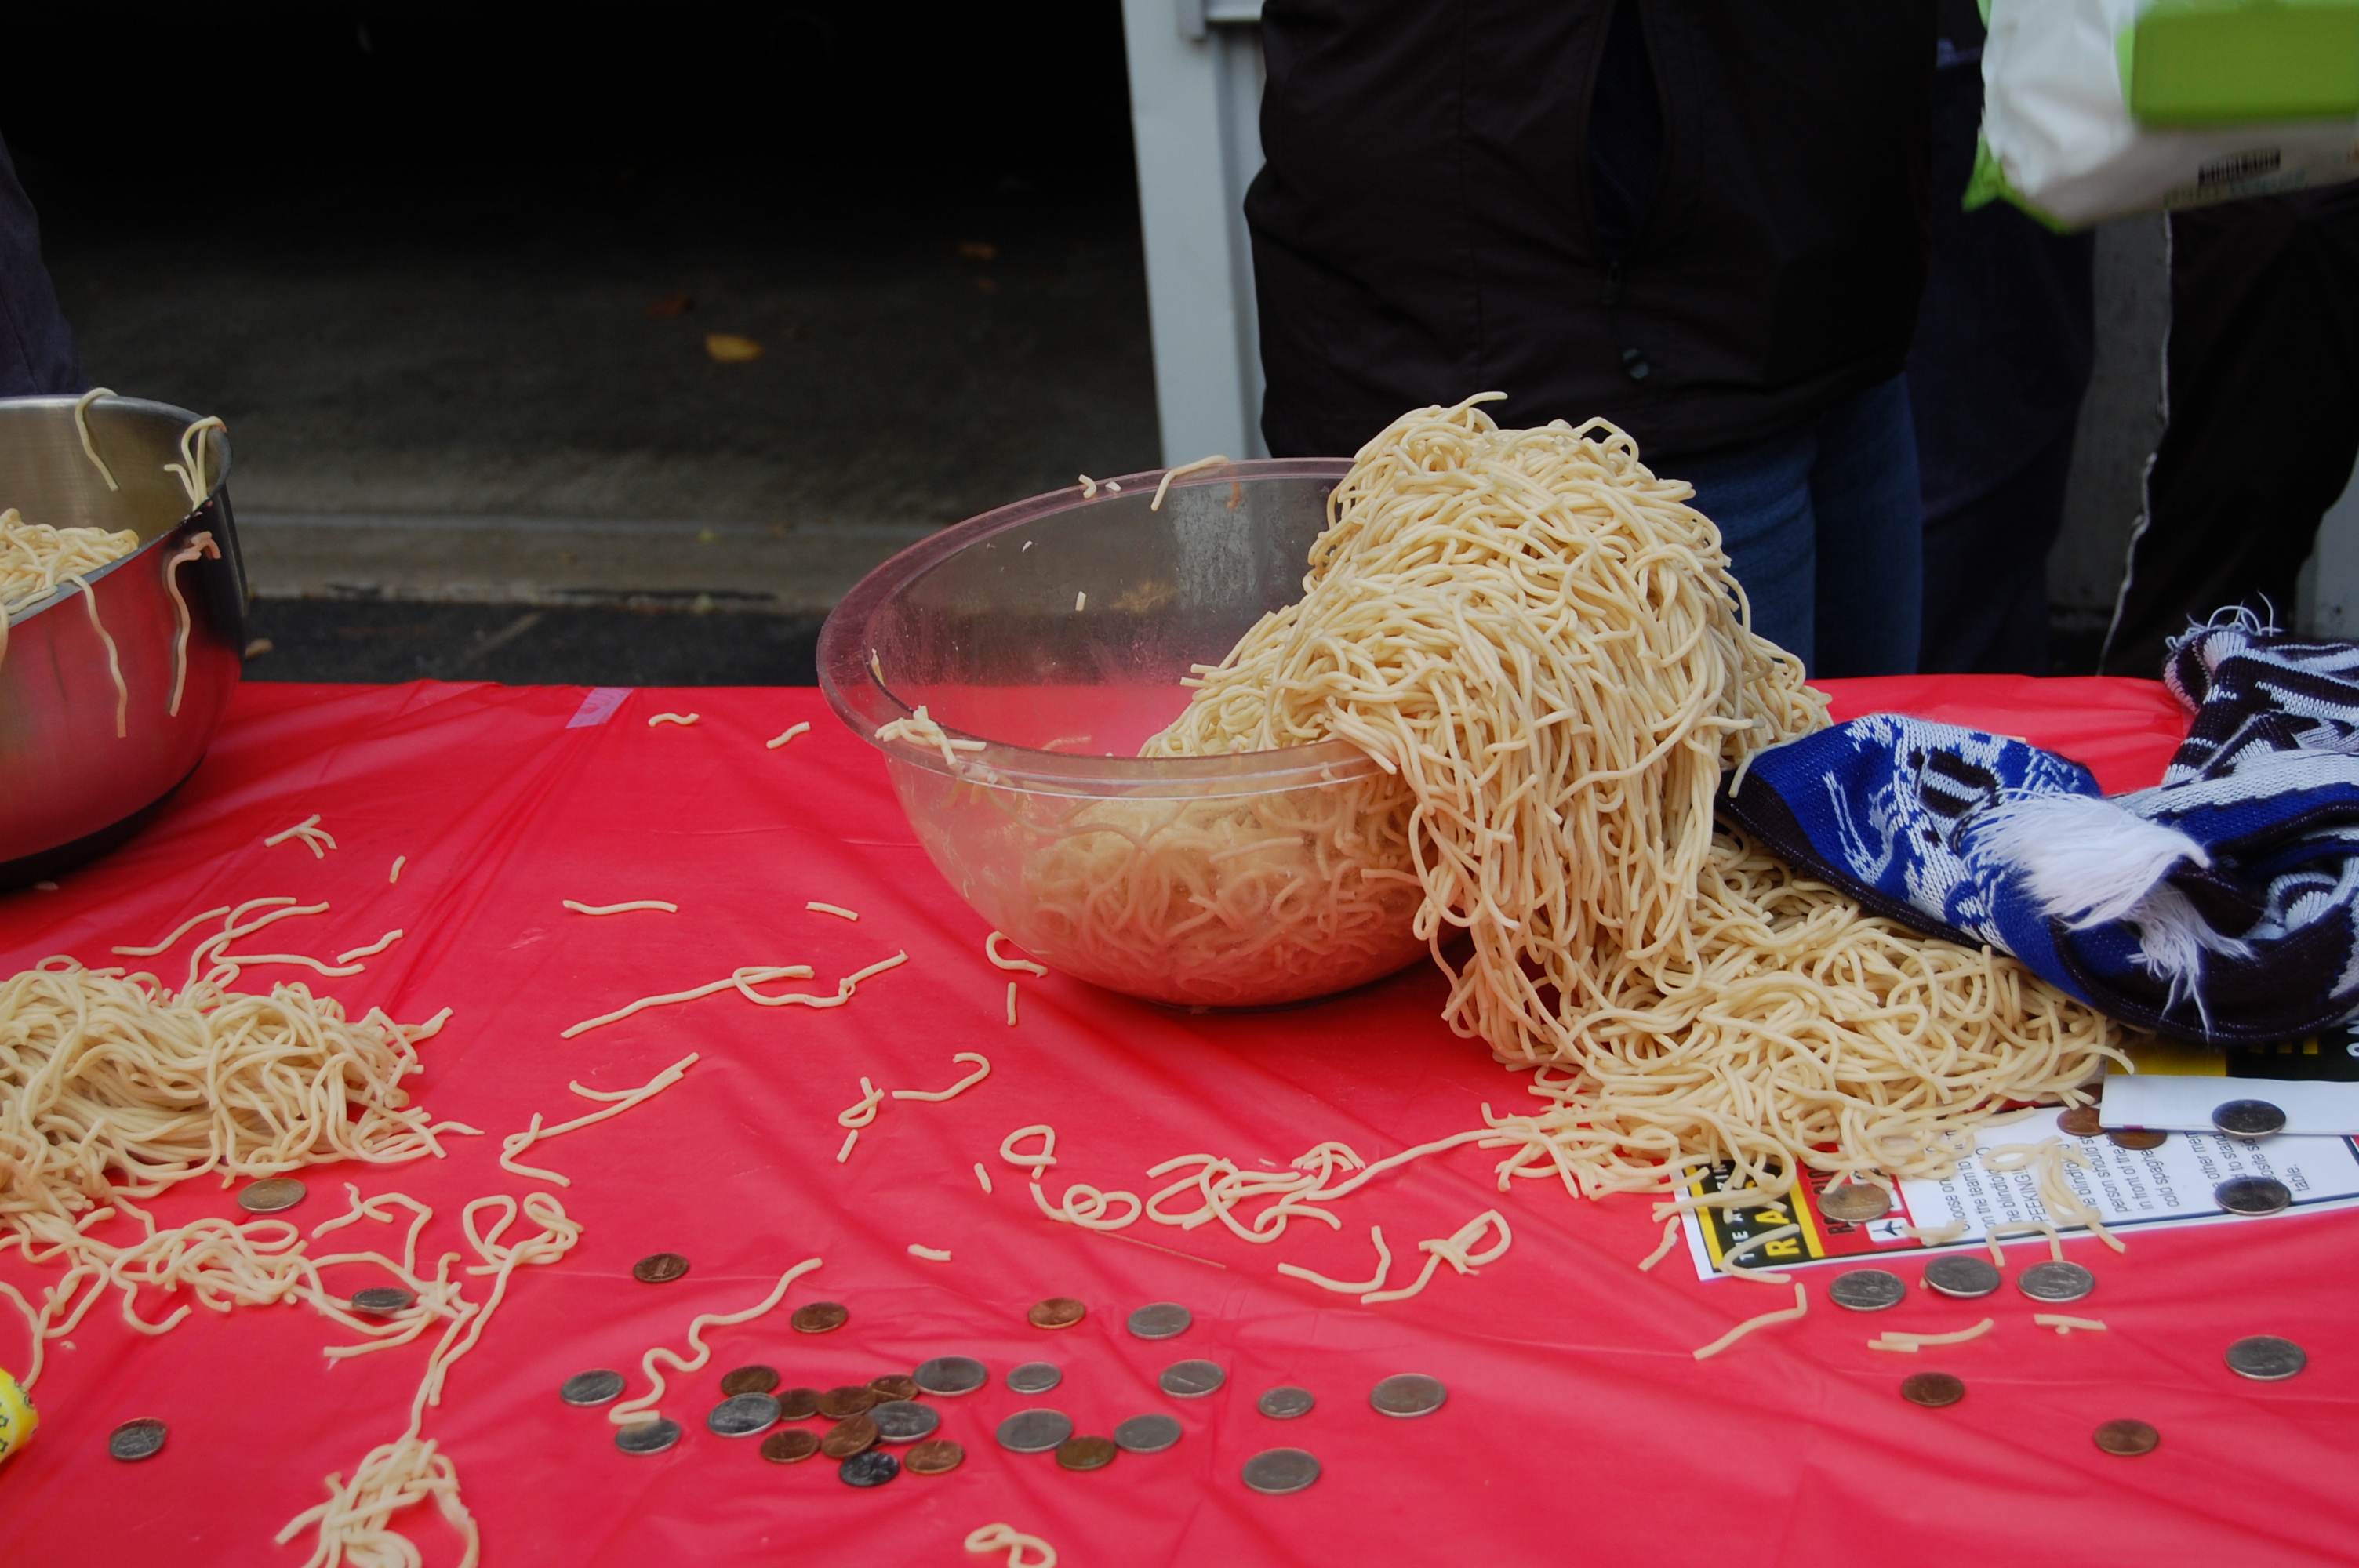
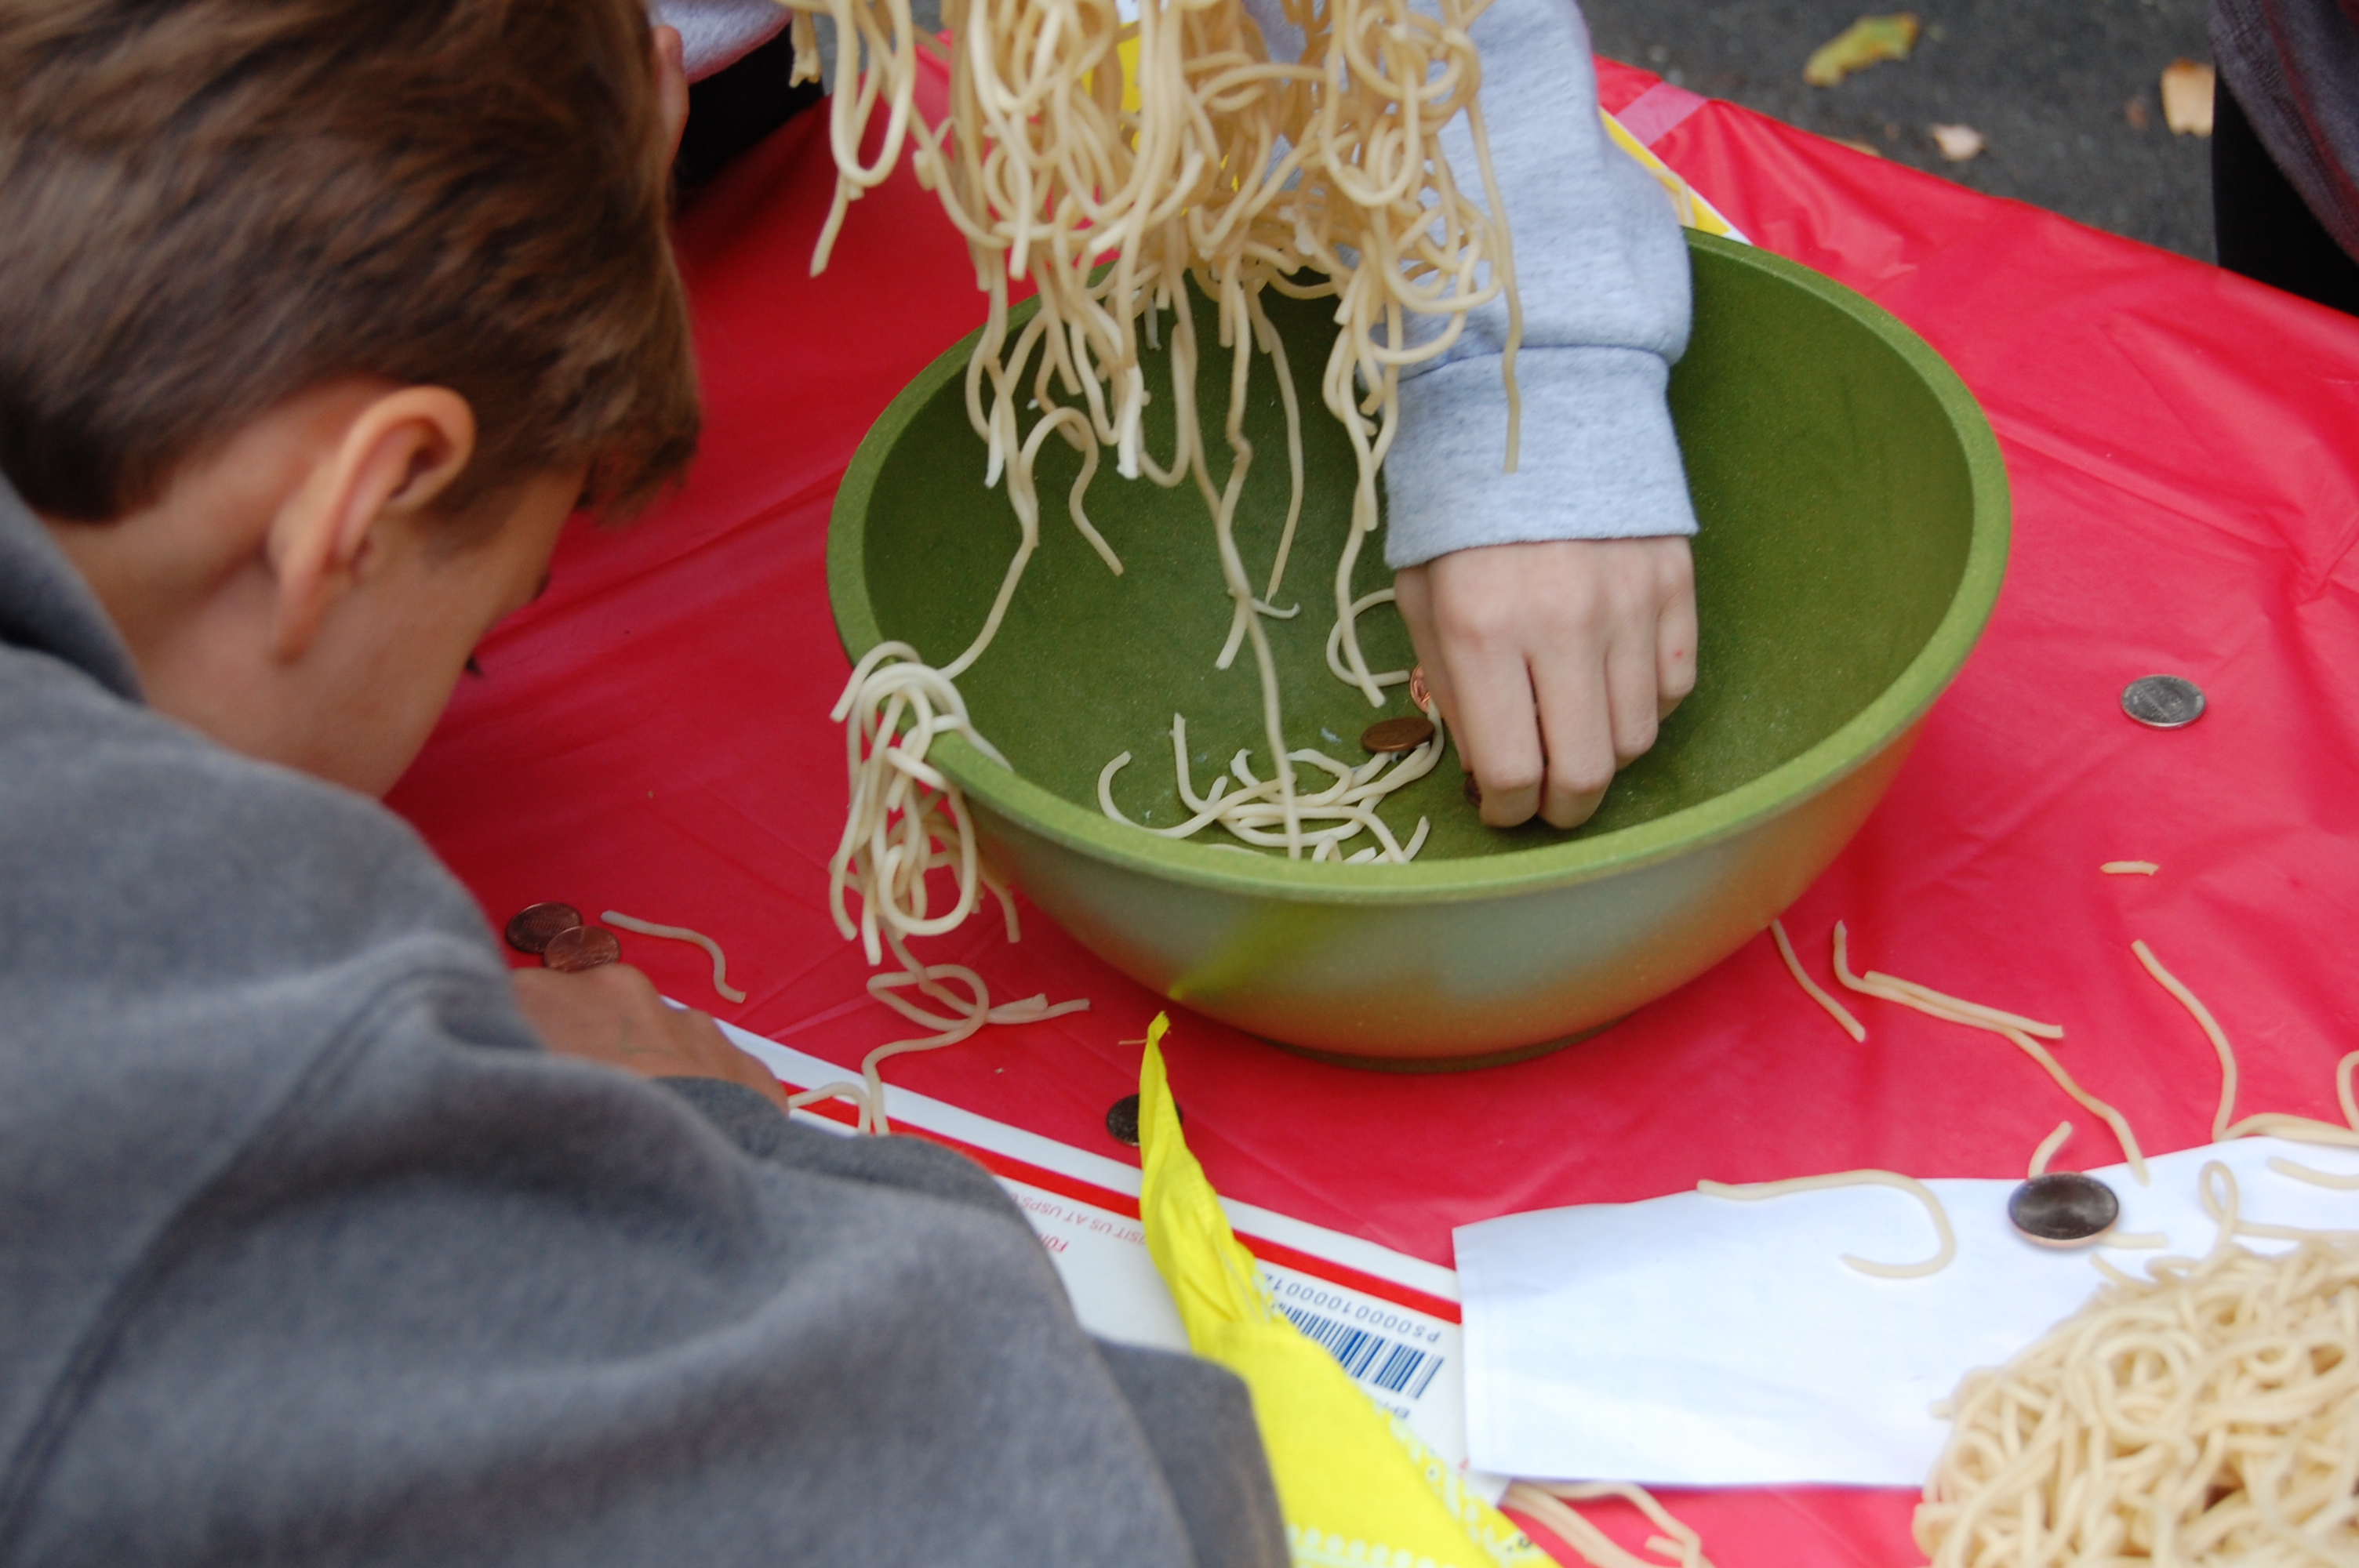
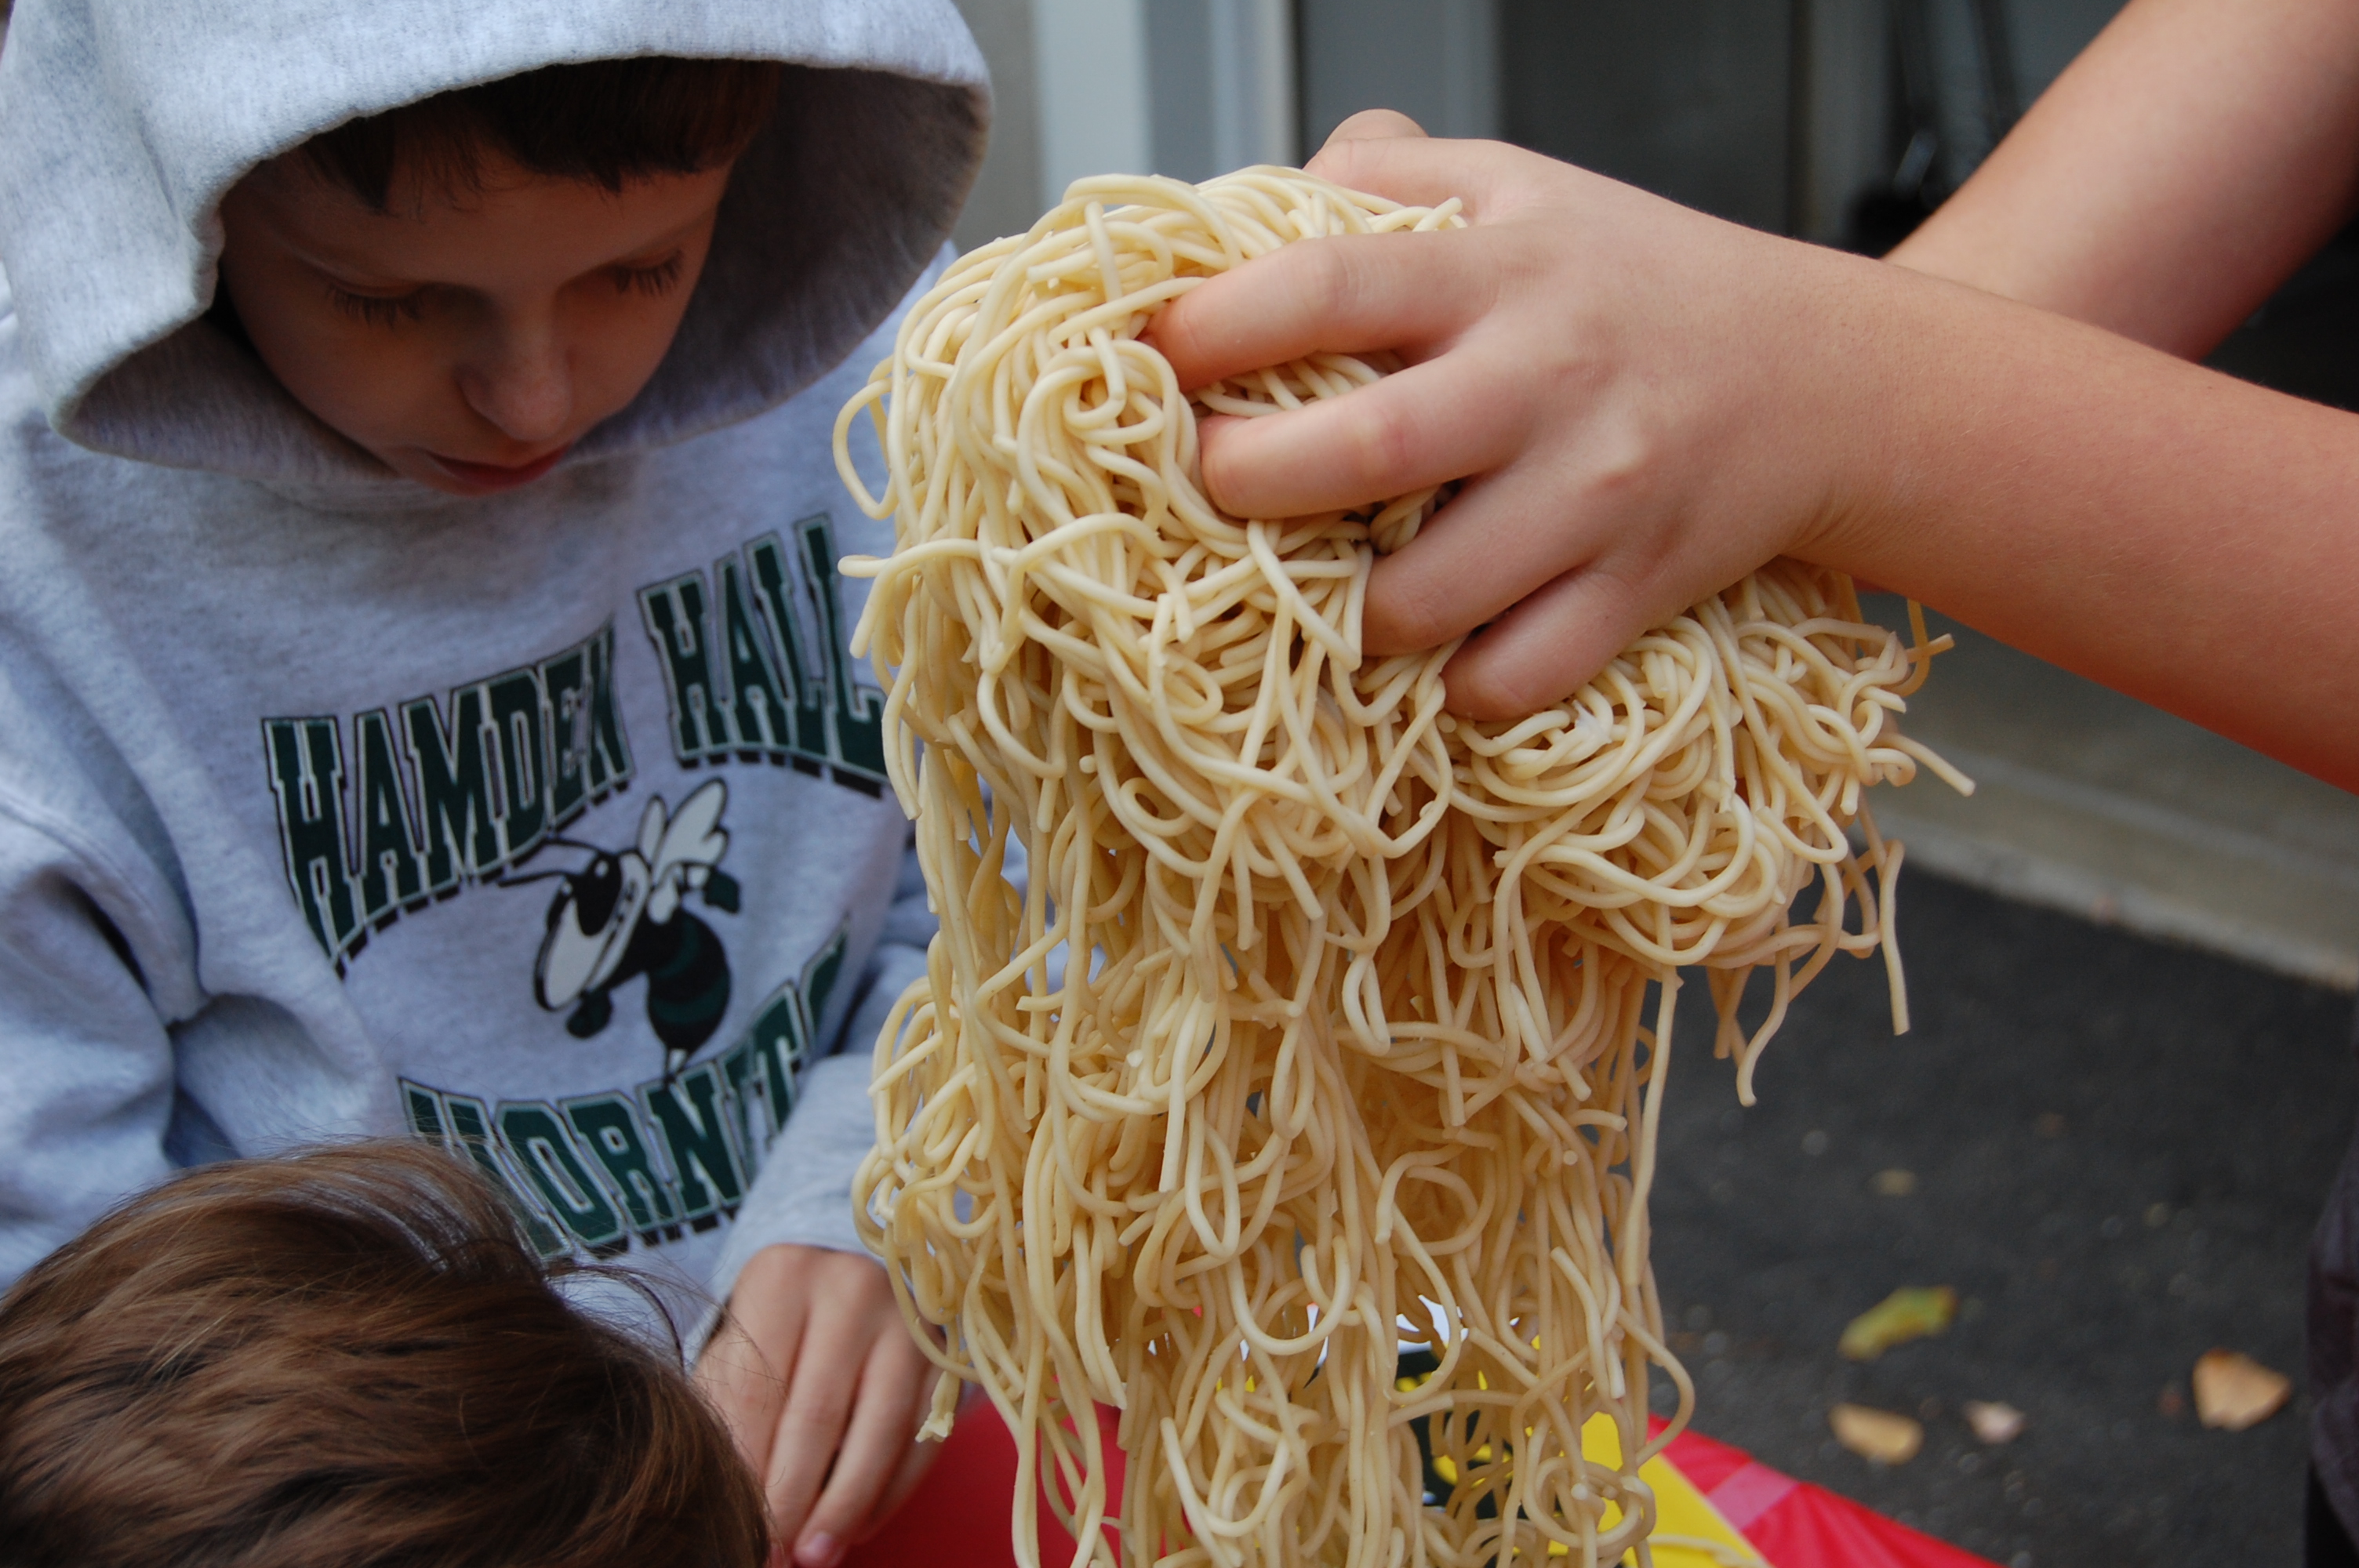
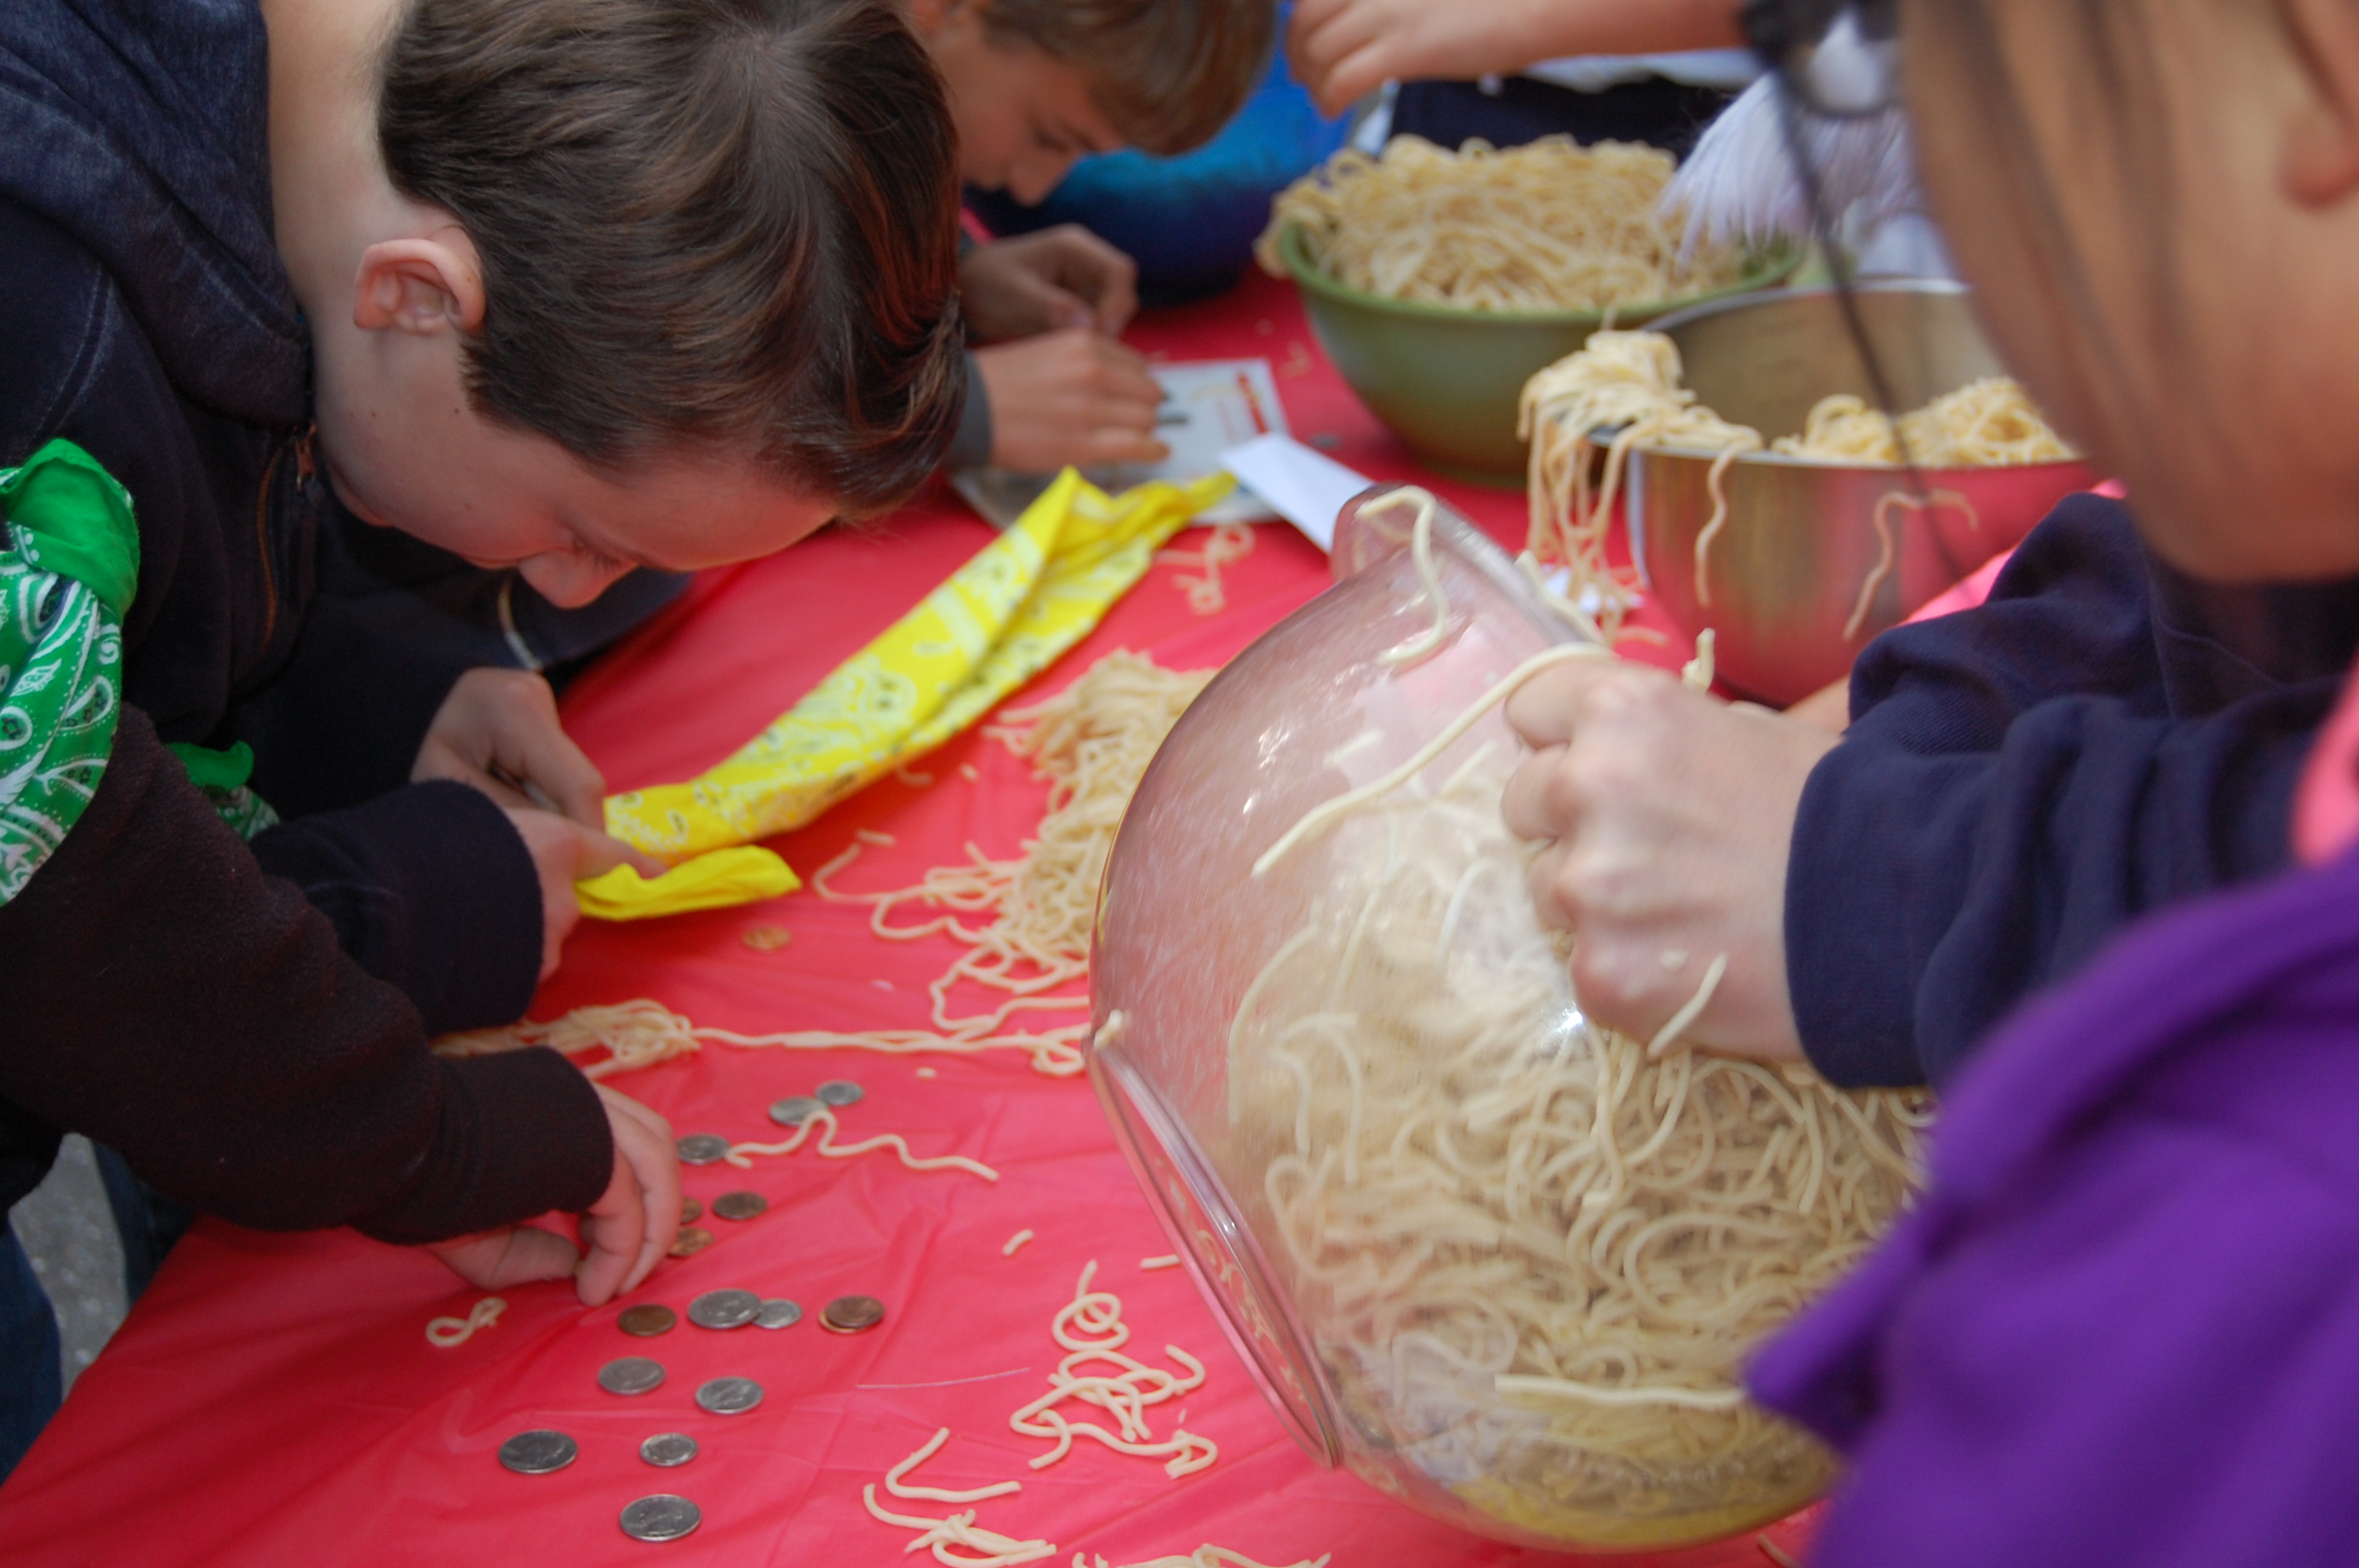
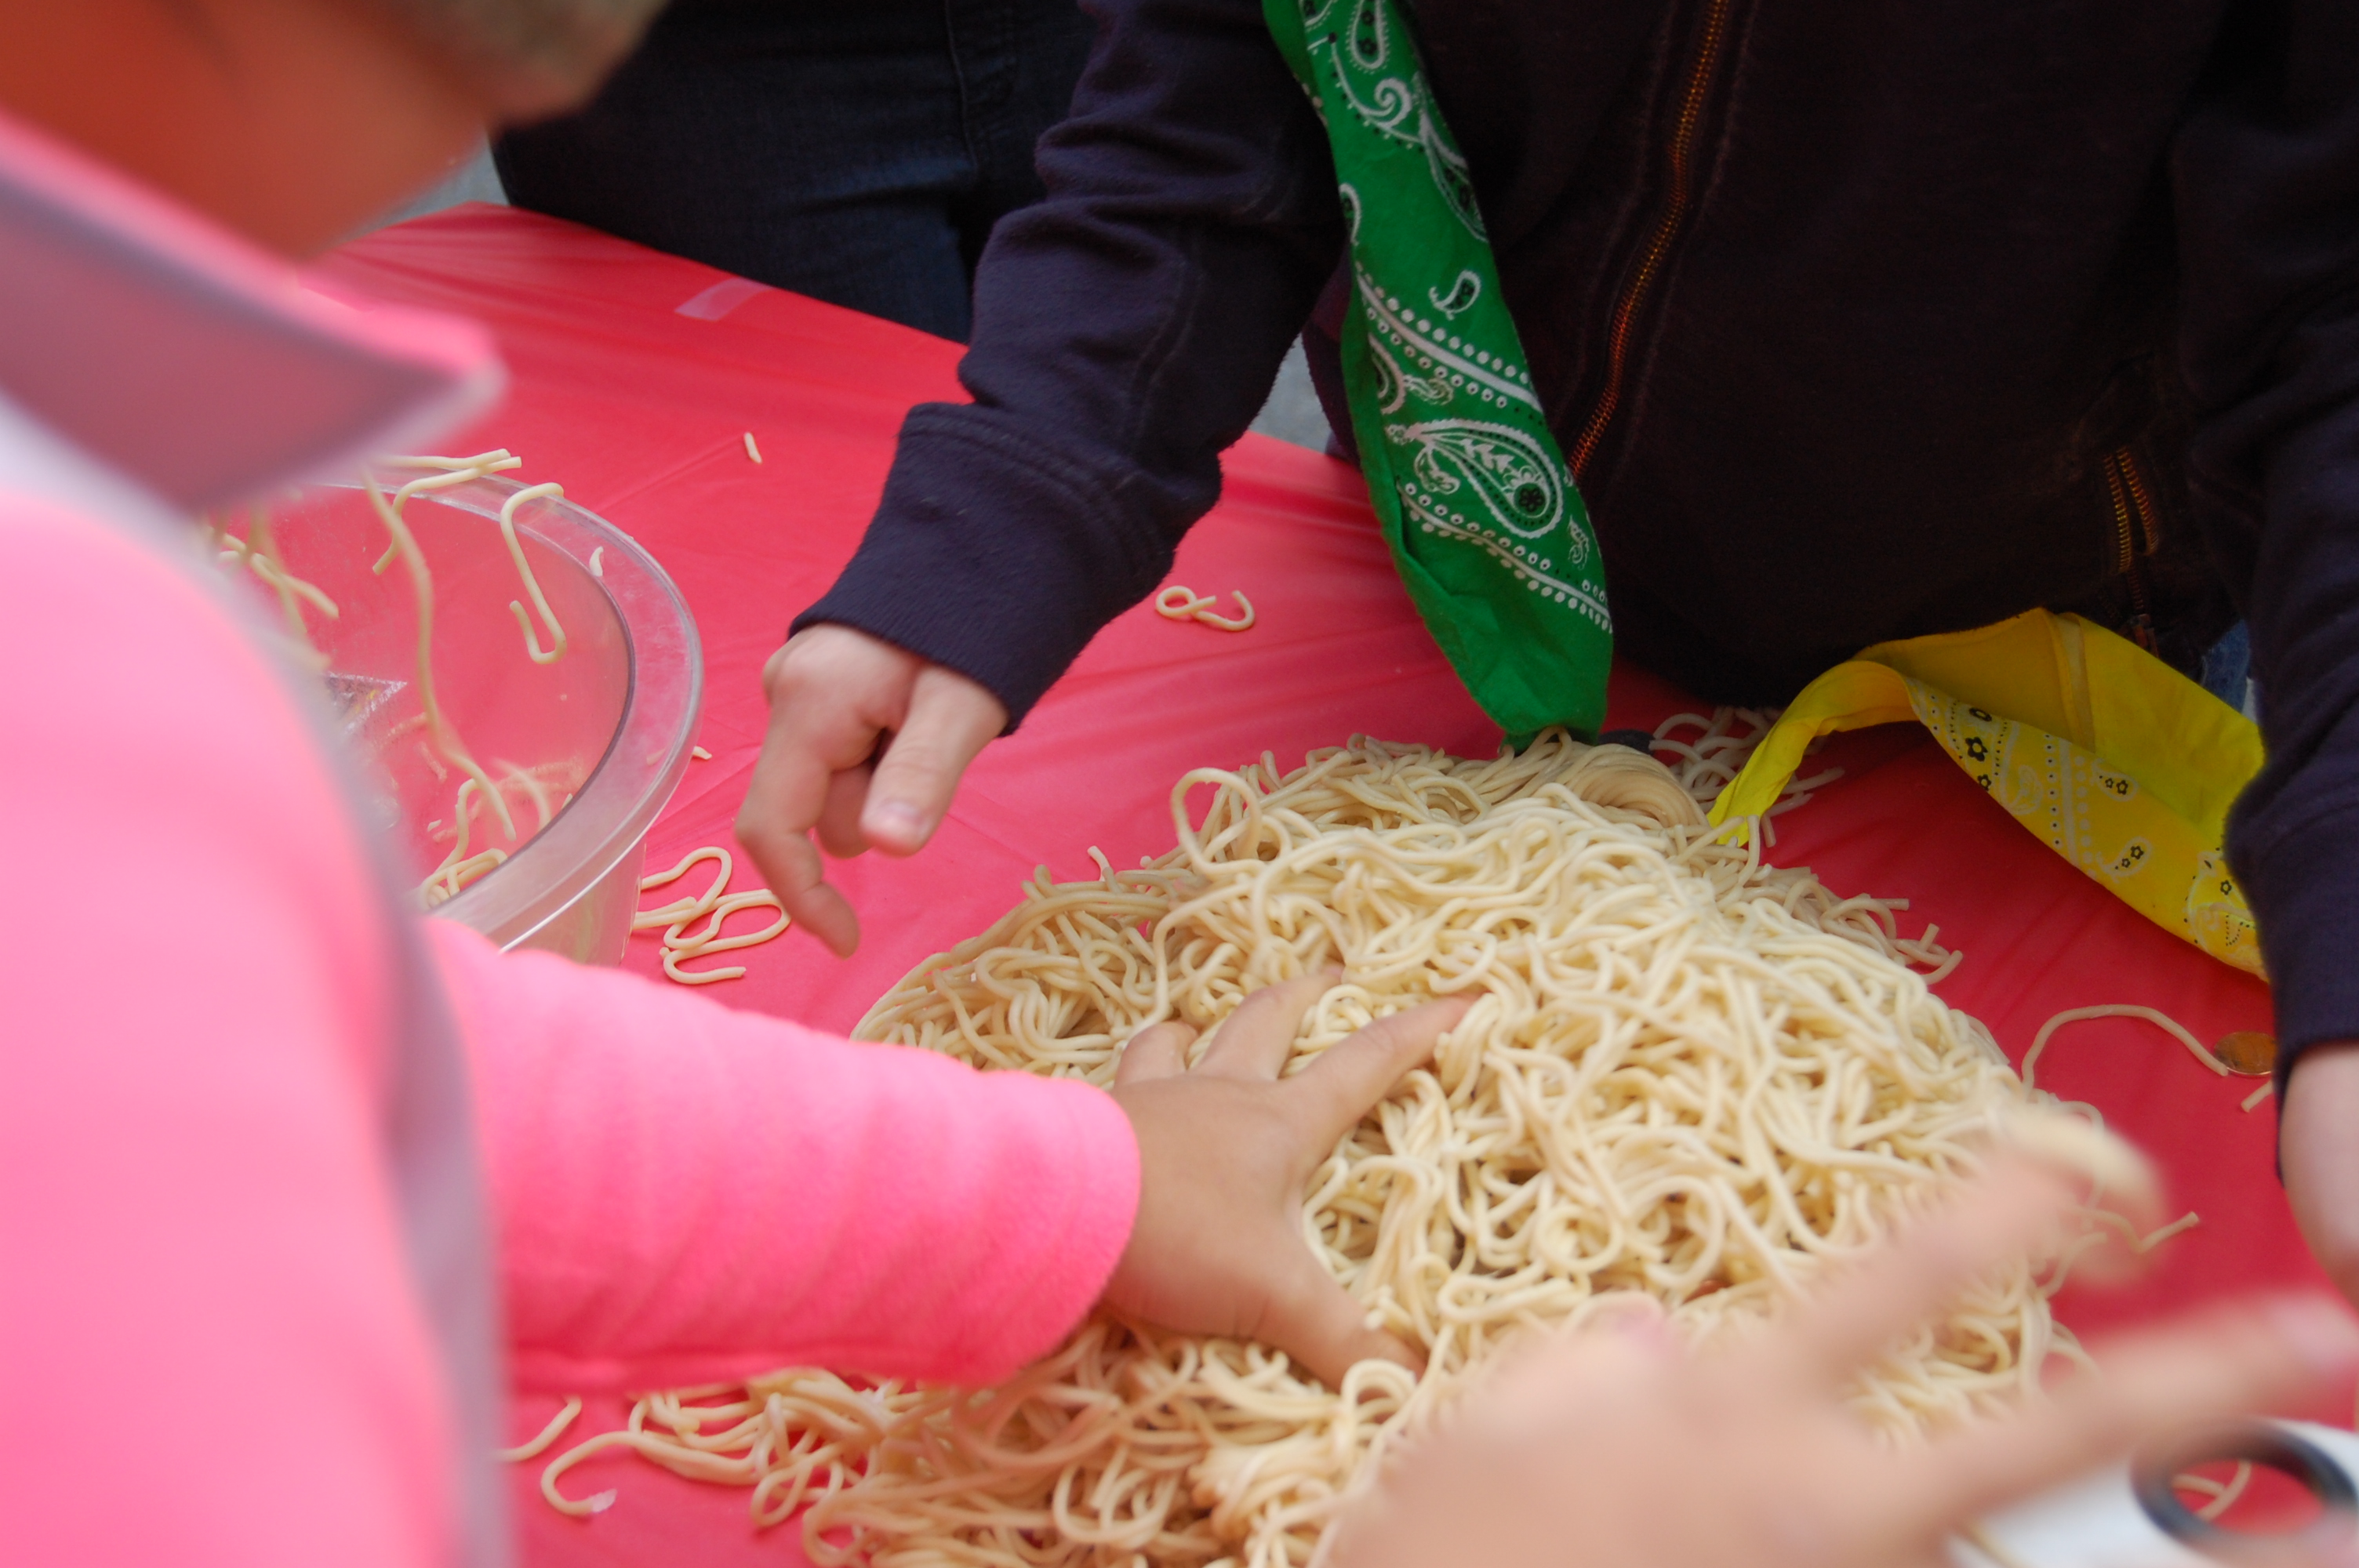
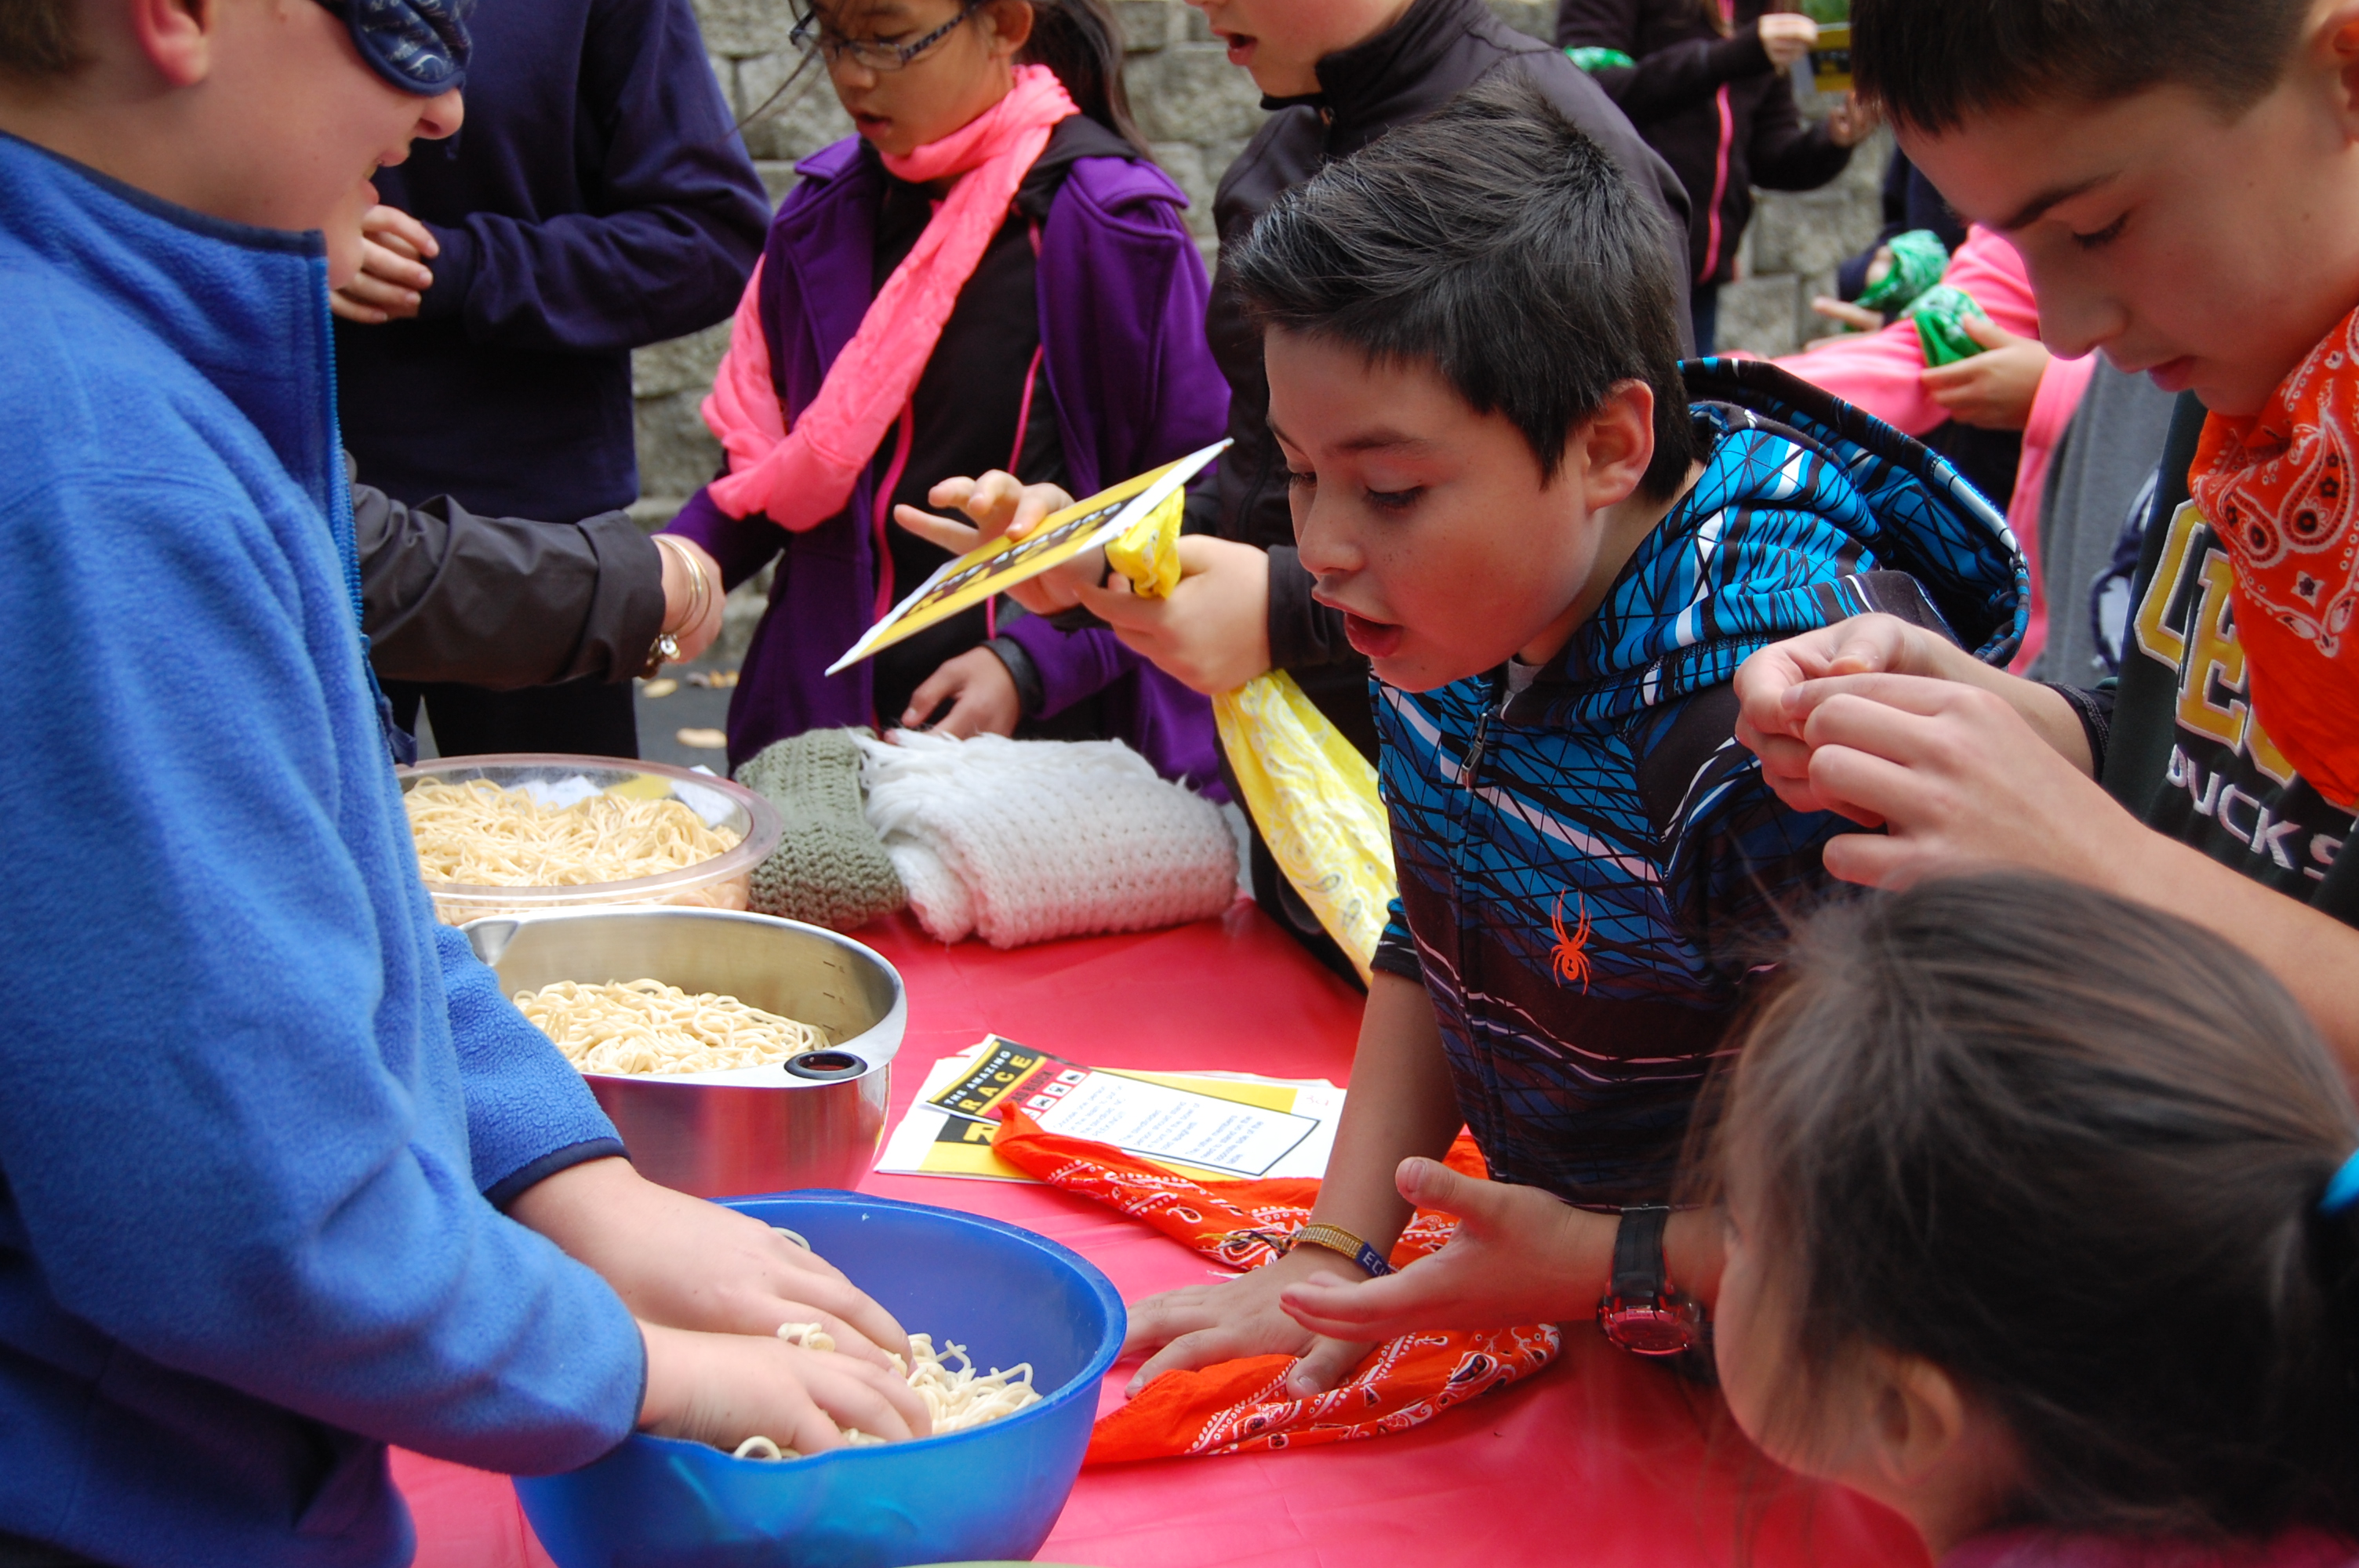
Challenge #3:
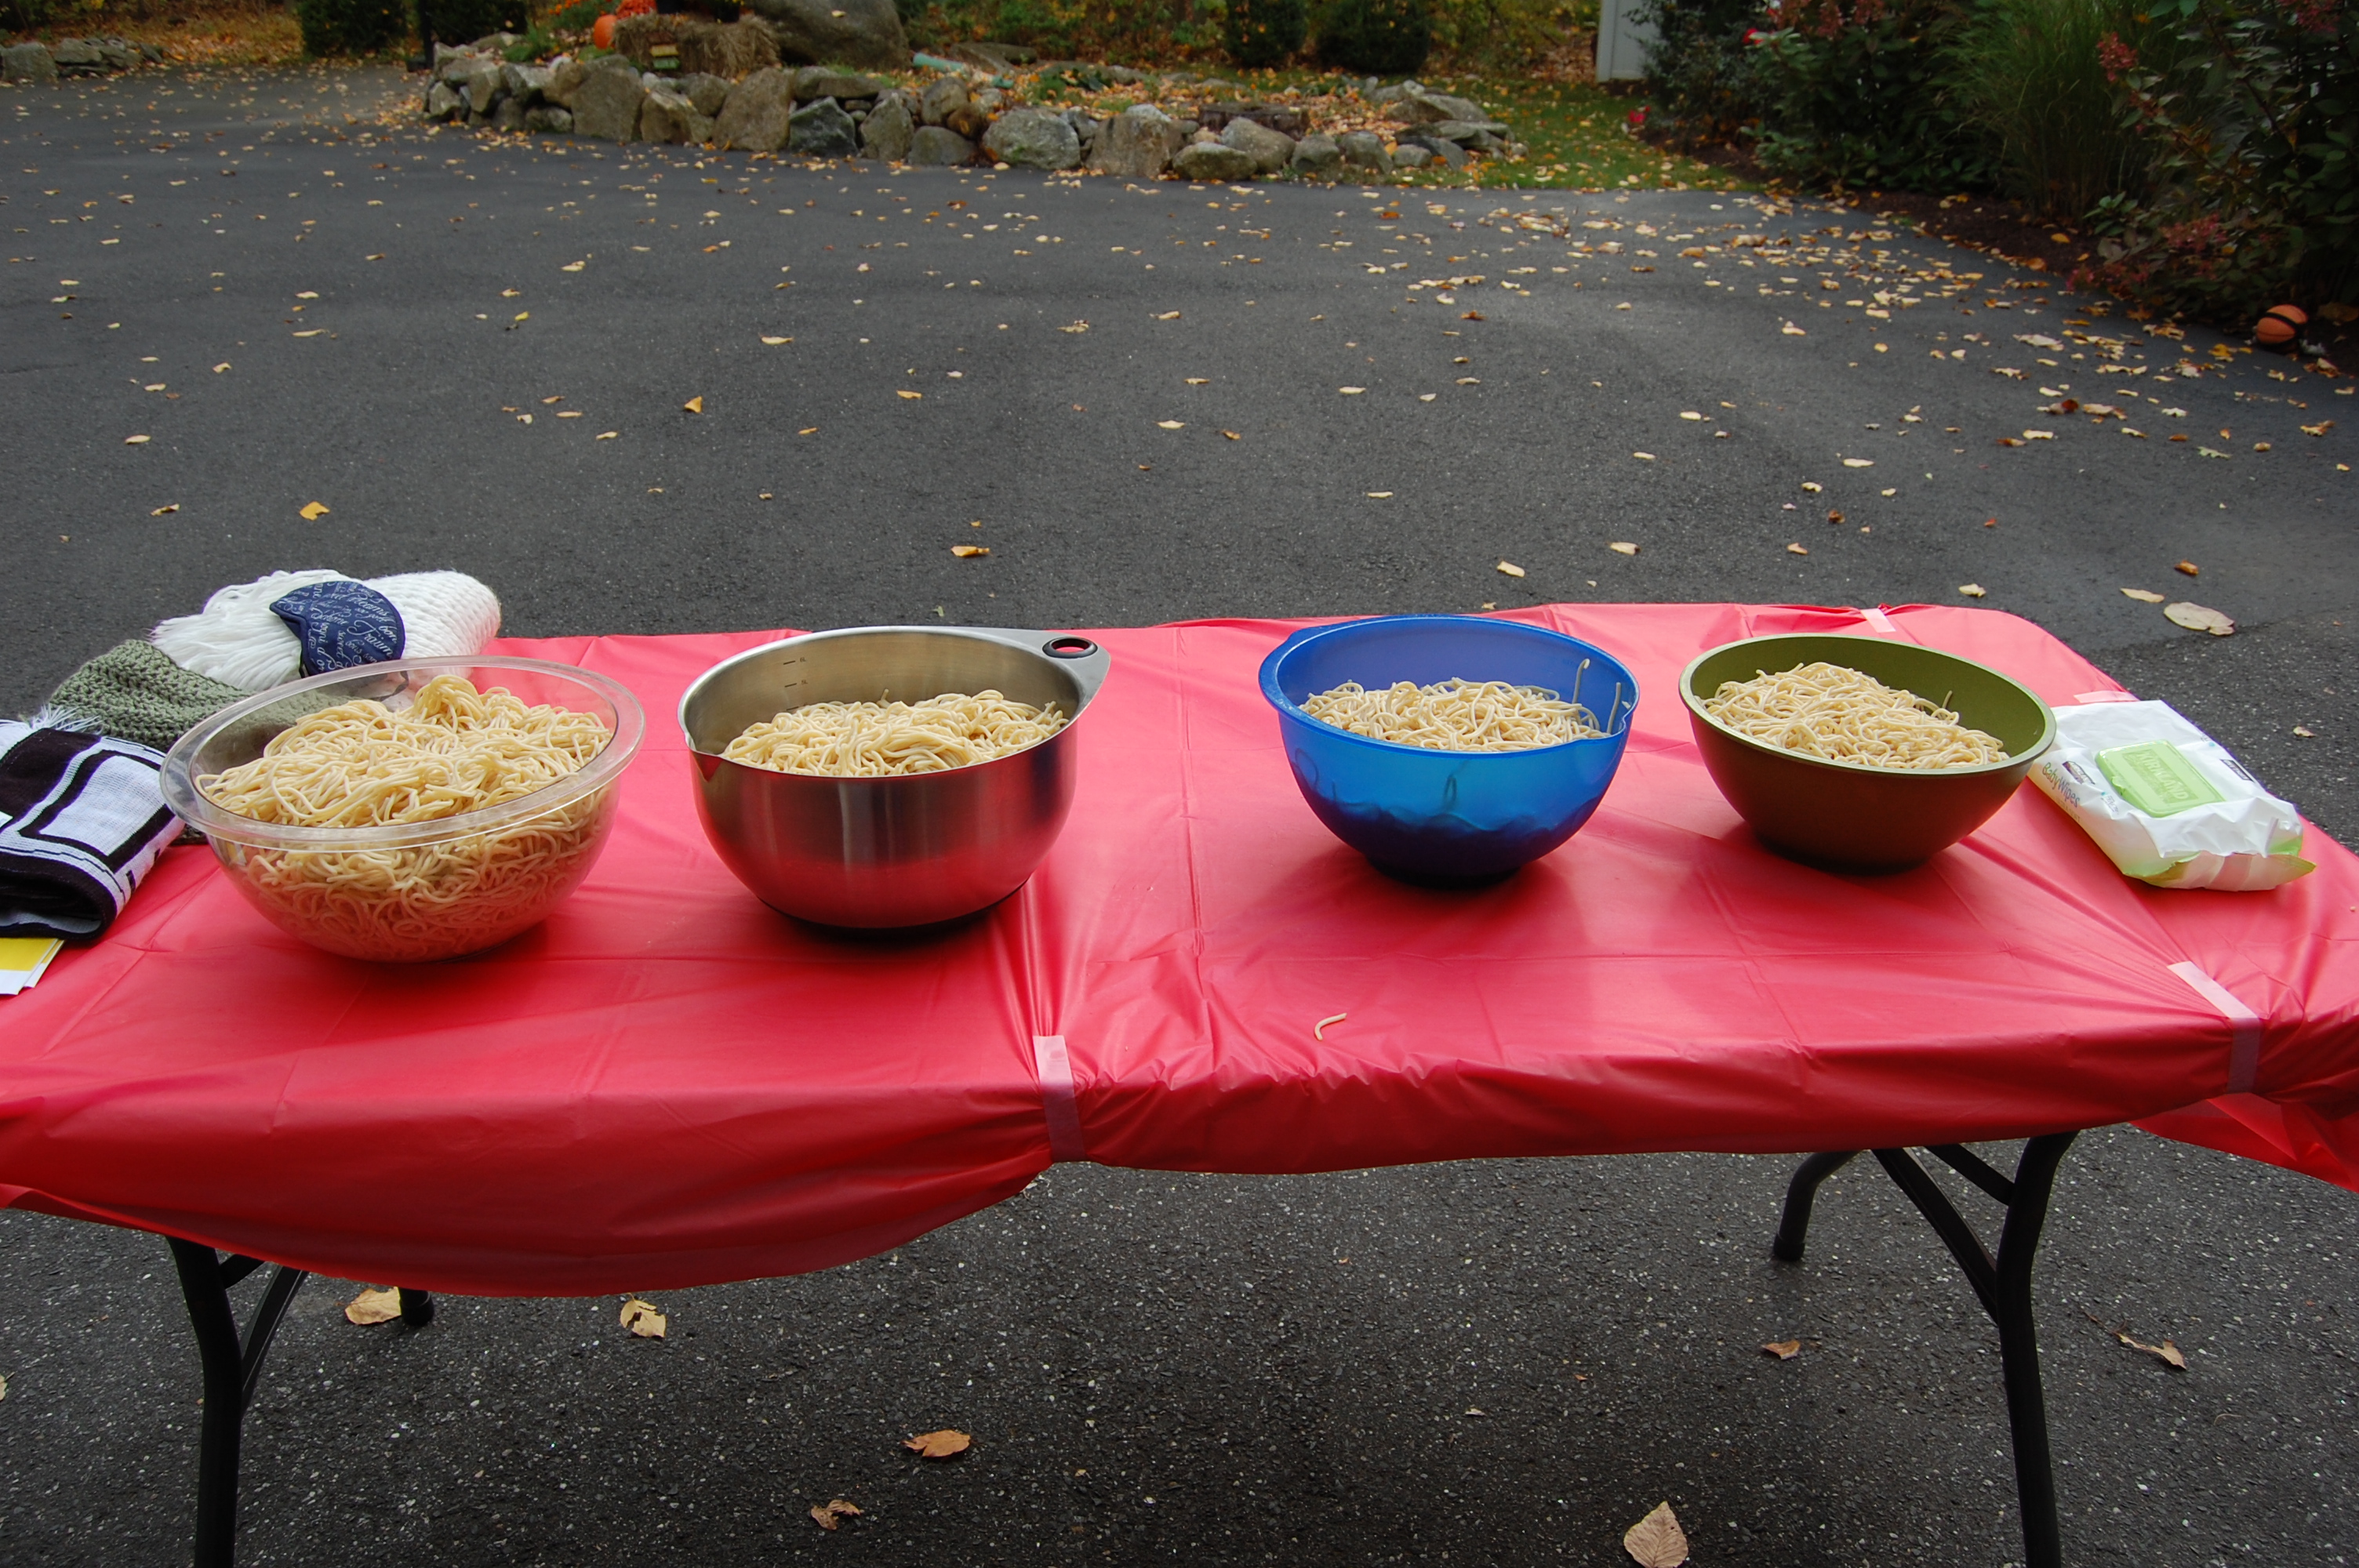
For this challenge one team member needed to be blindfolded and dig into a bowl of cold spaghetti for coins. The other members of the team then had to inspect the coins for the year of the birthday boy- 2004. Once found, they could move on to the next challenge. But they each had a pound and a half of spaghetti and about 20 coins to sort through!


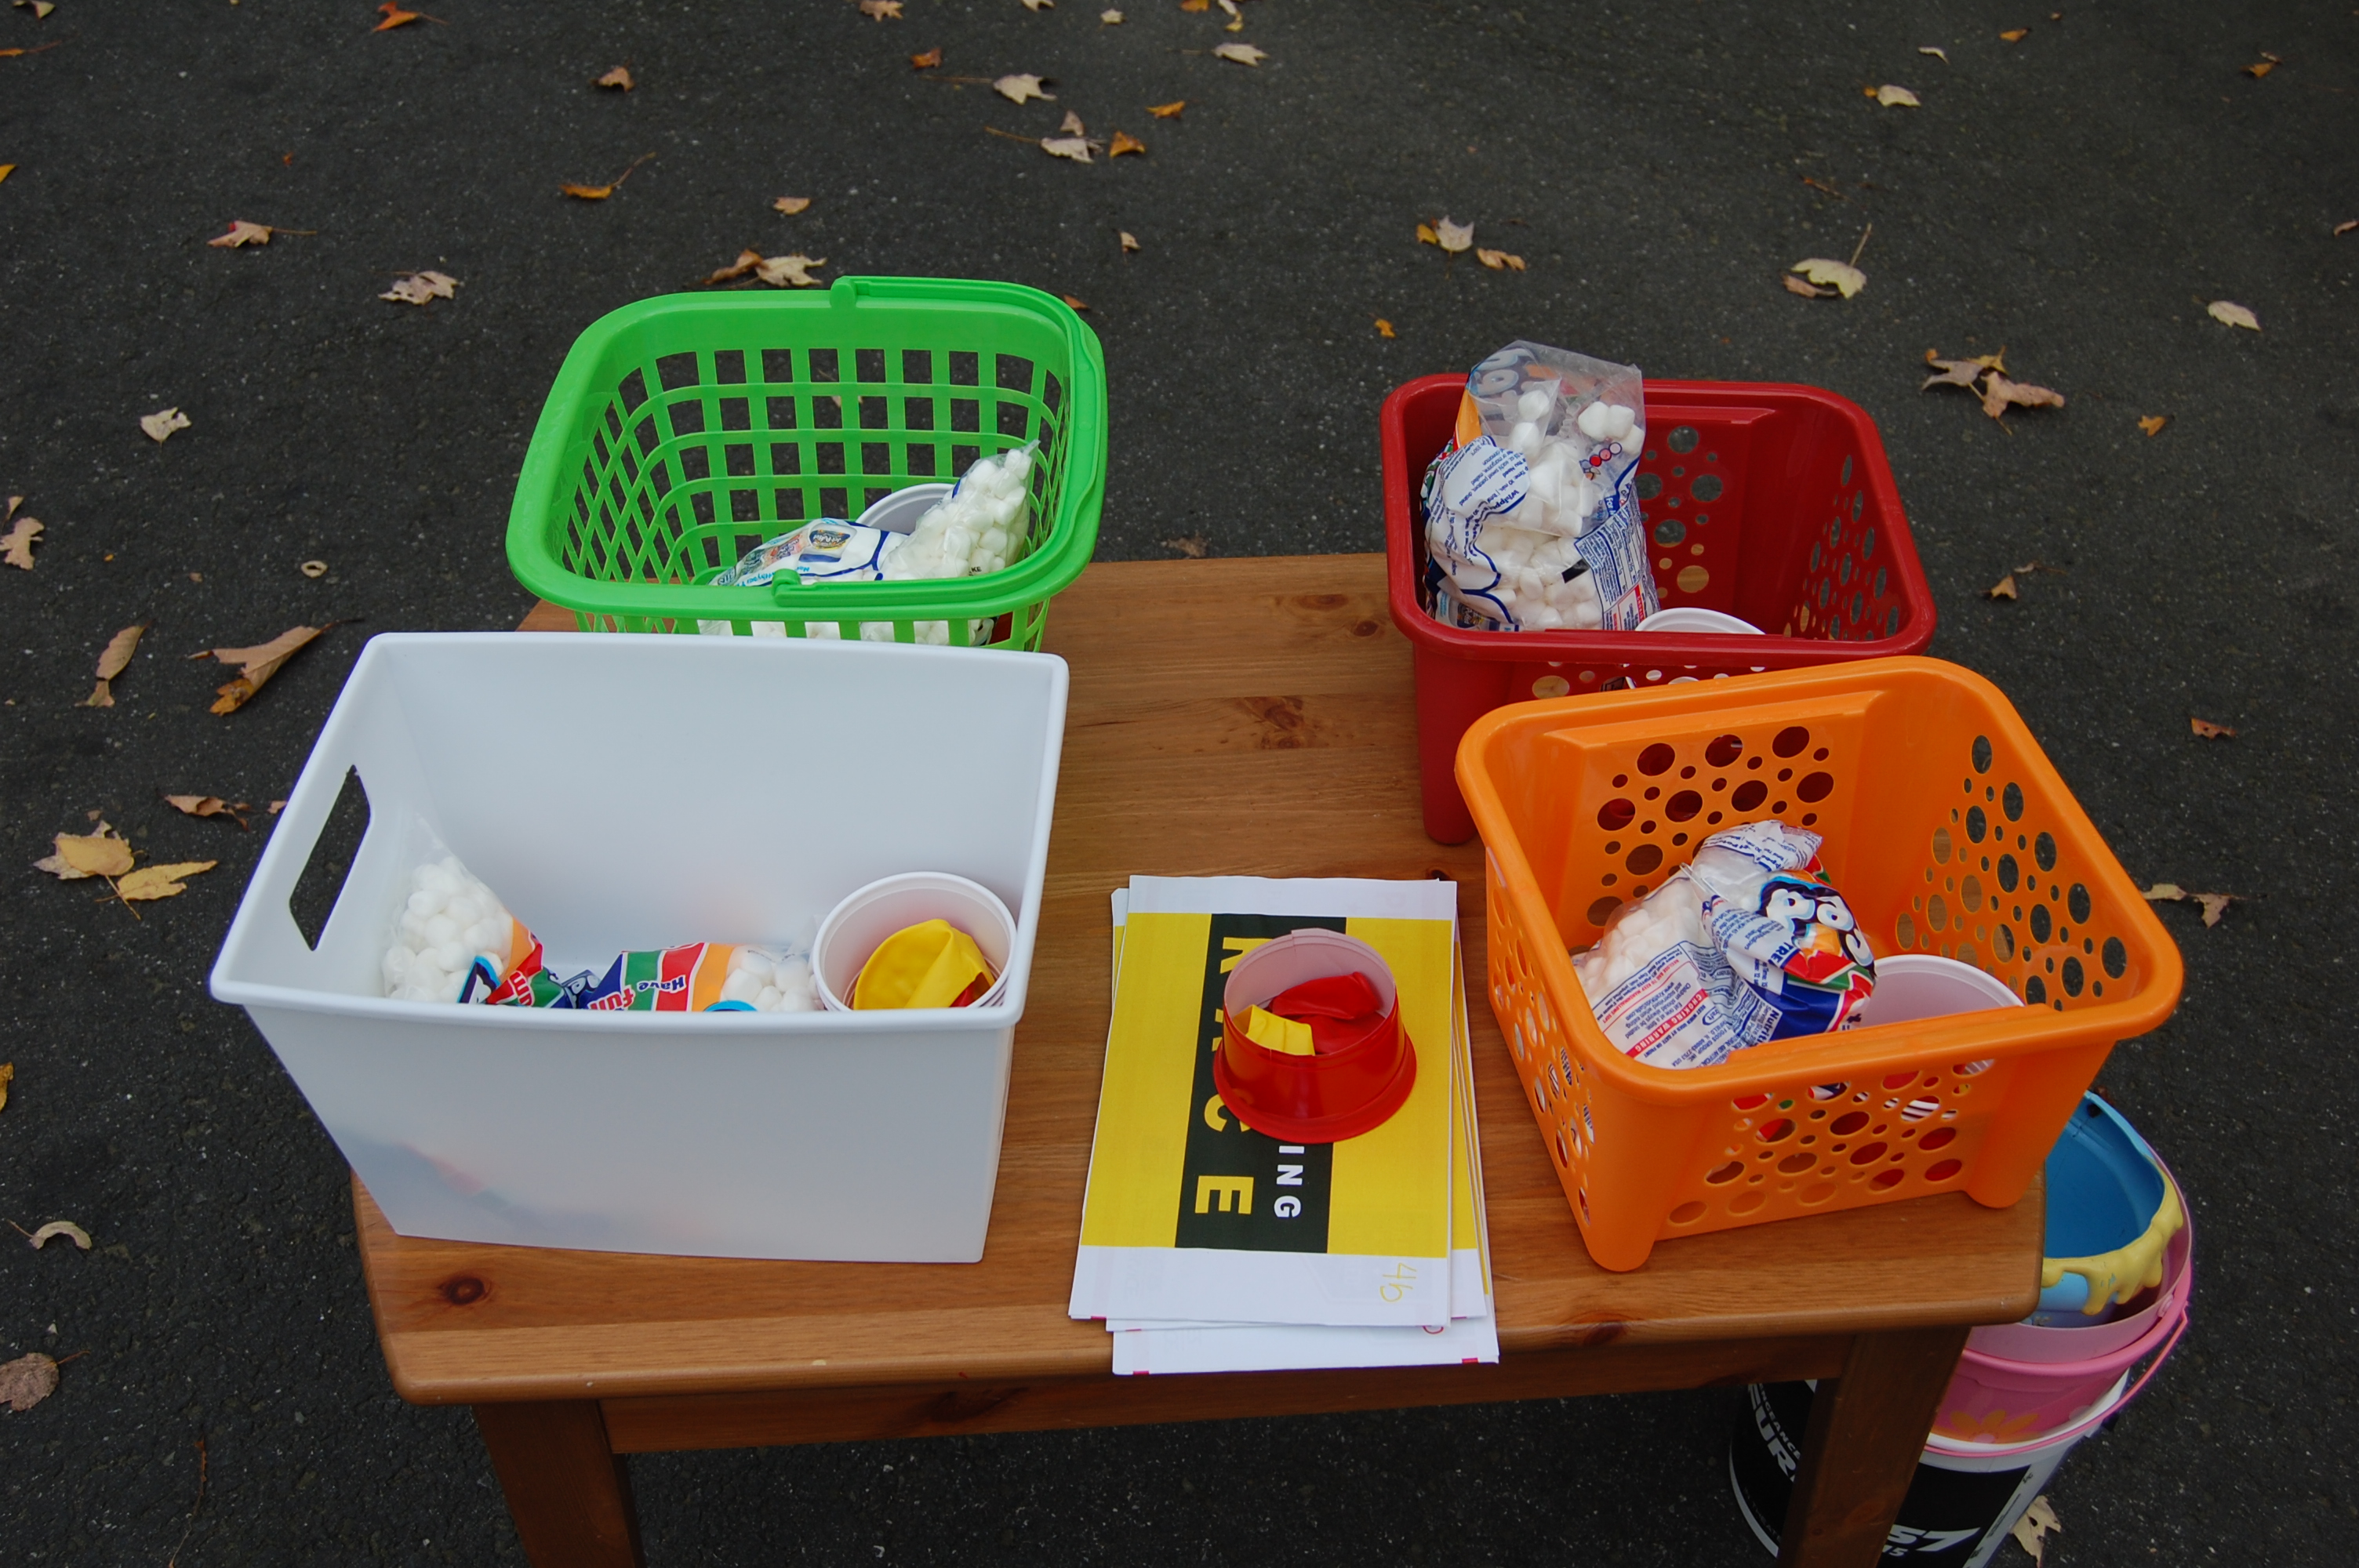
Challenge #4:
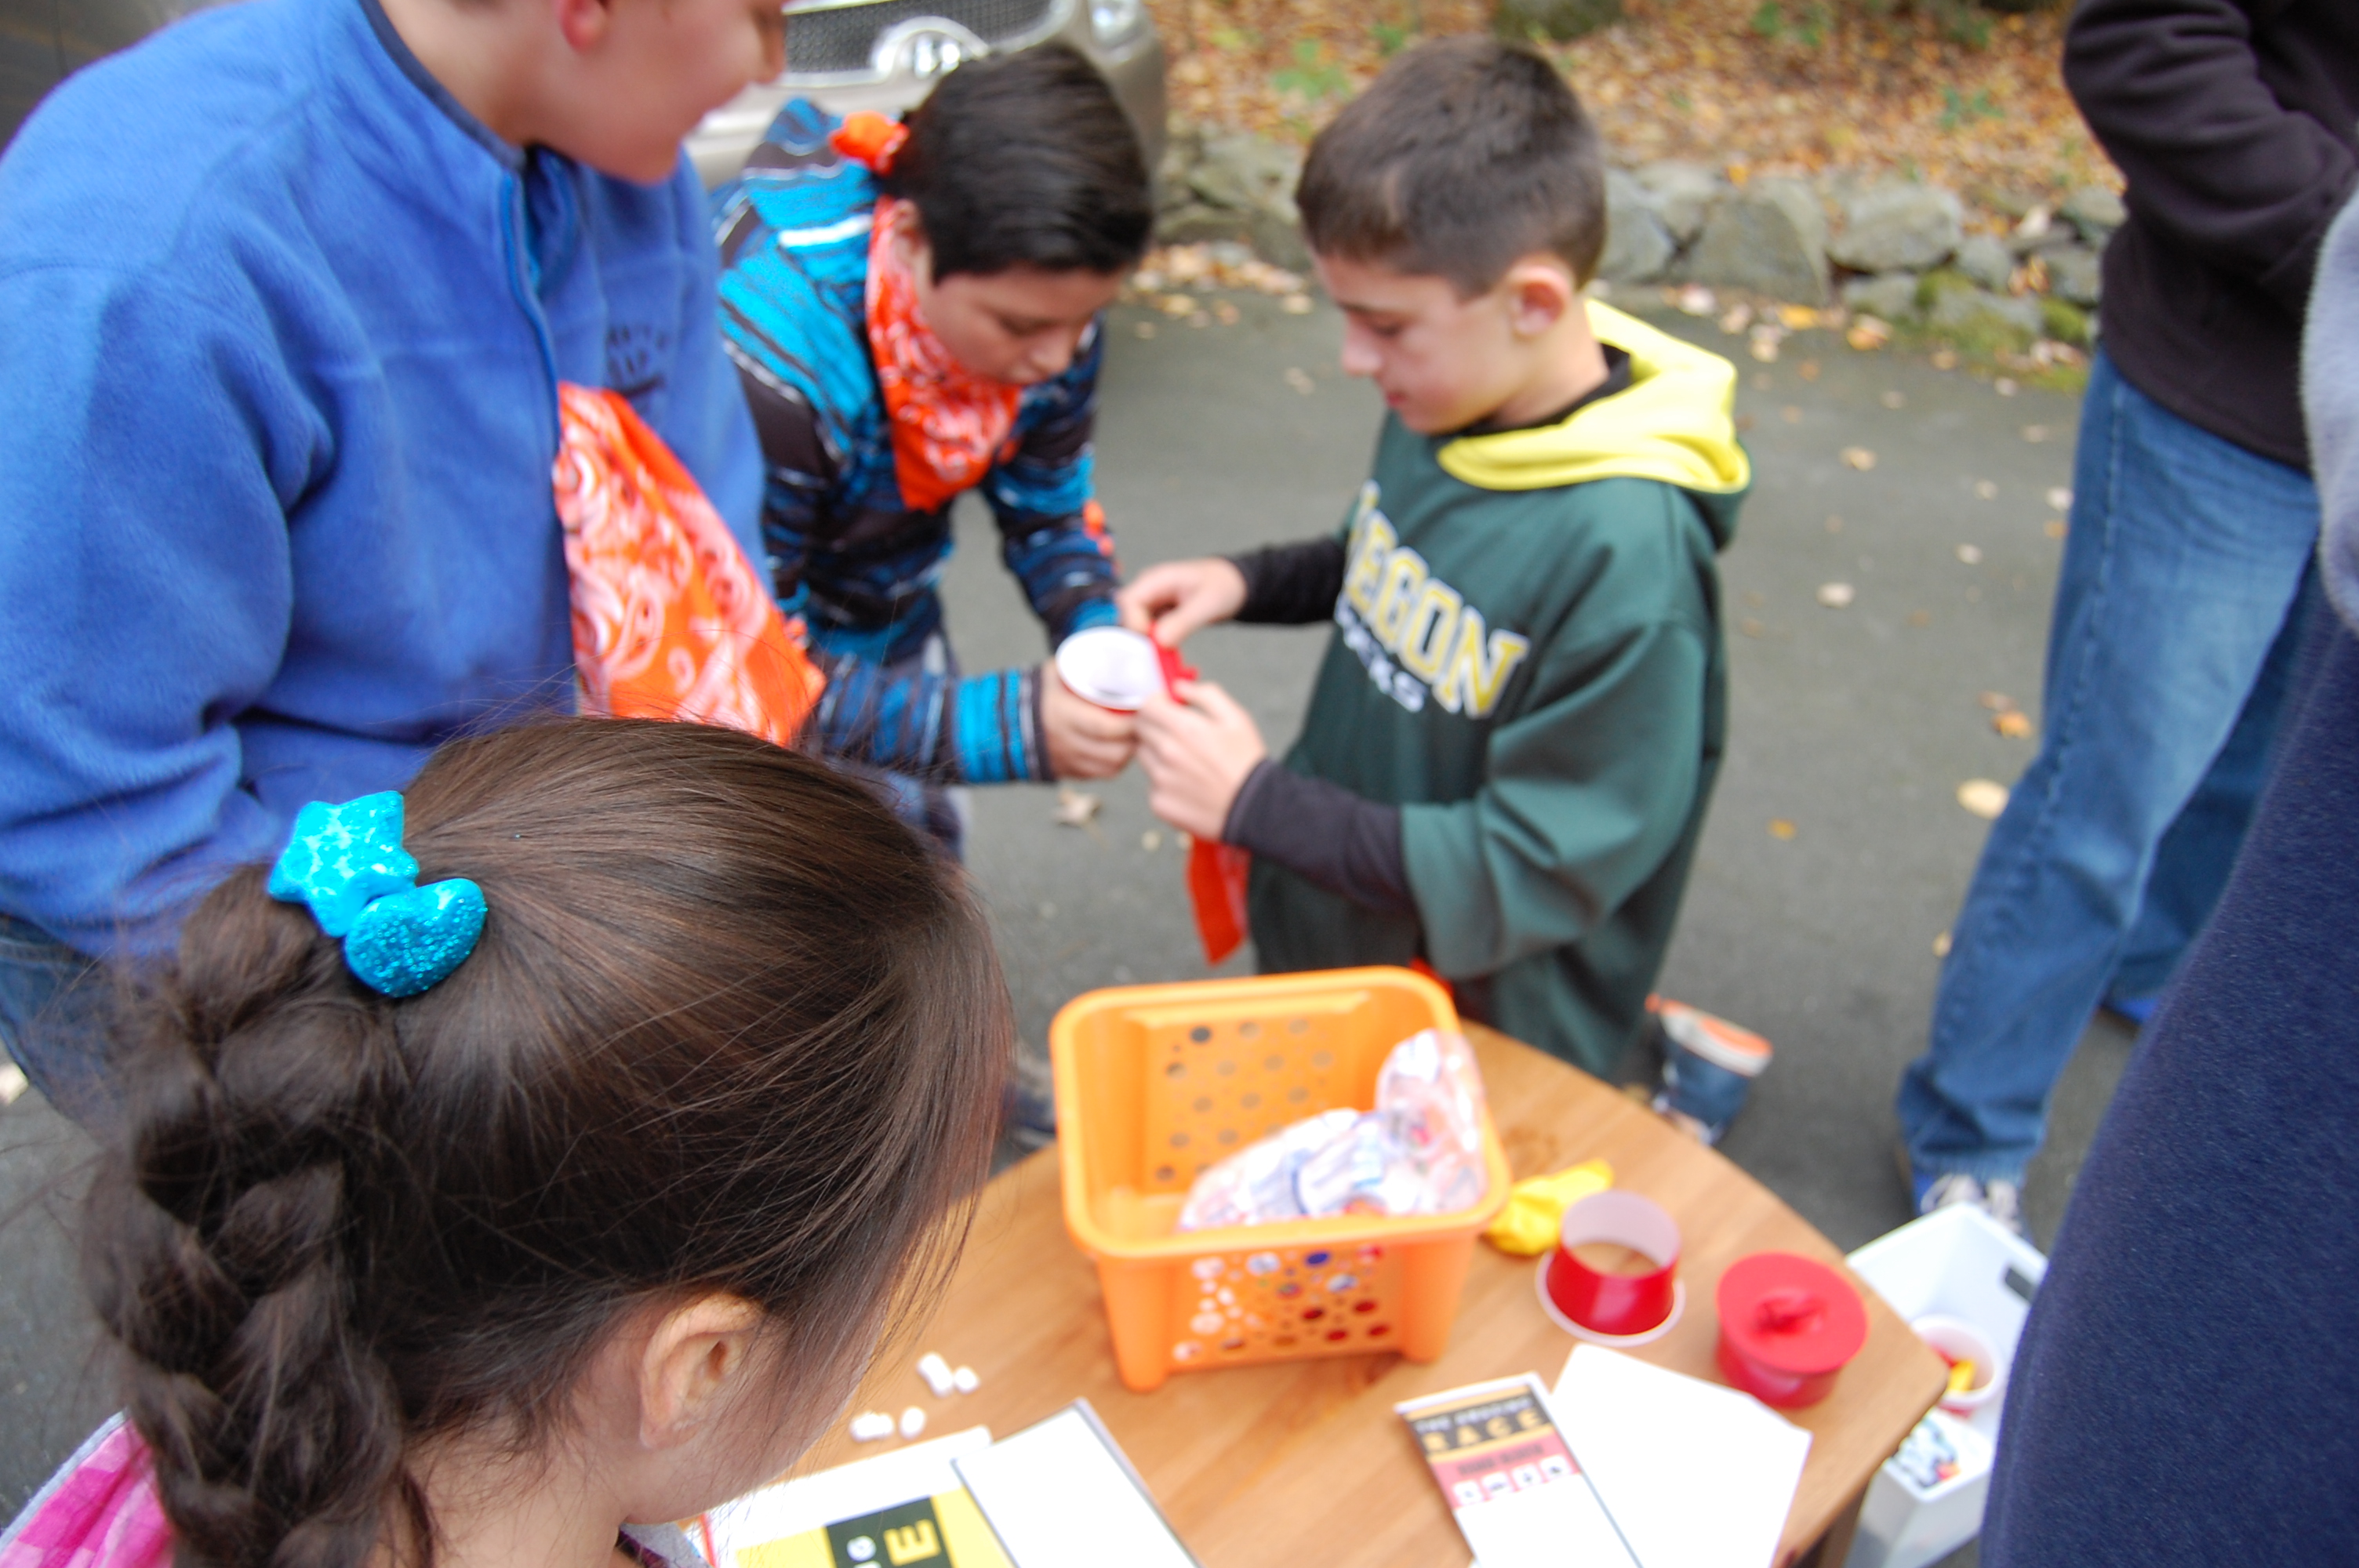
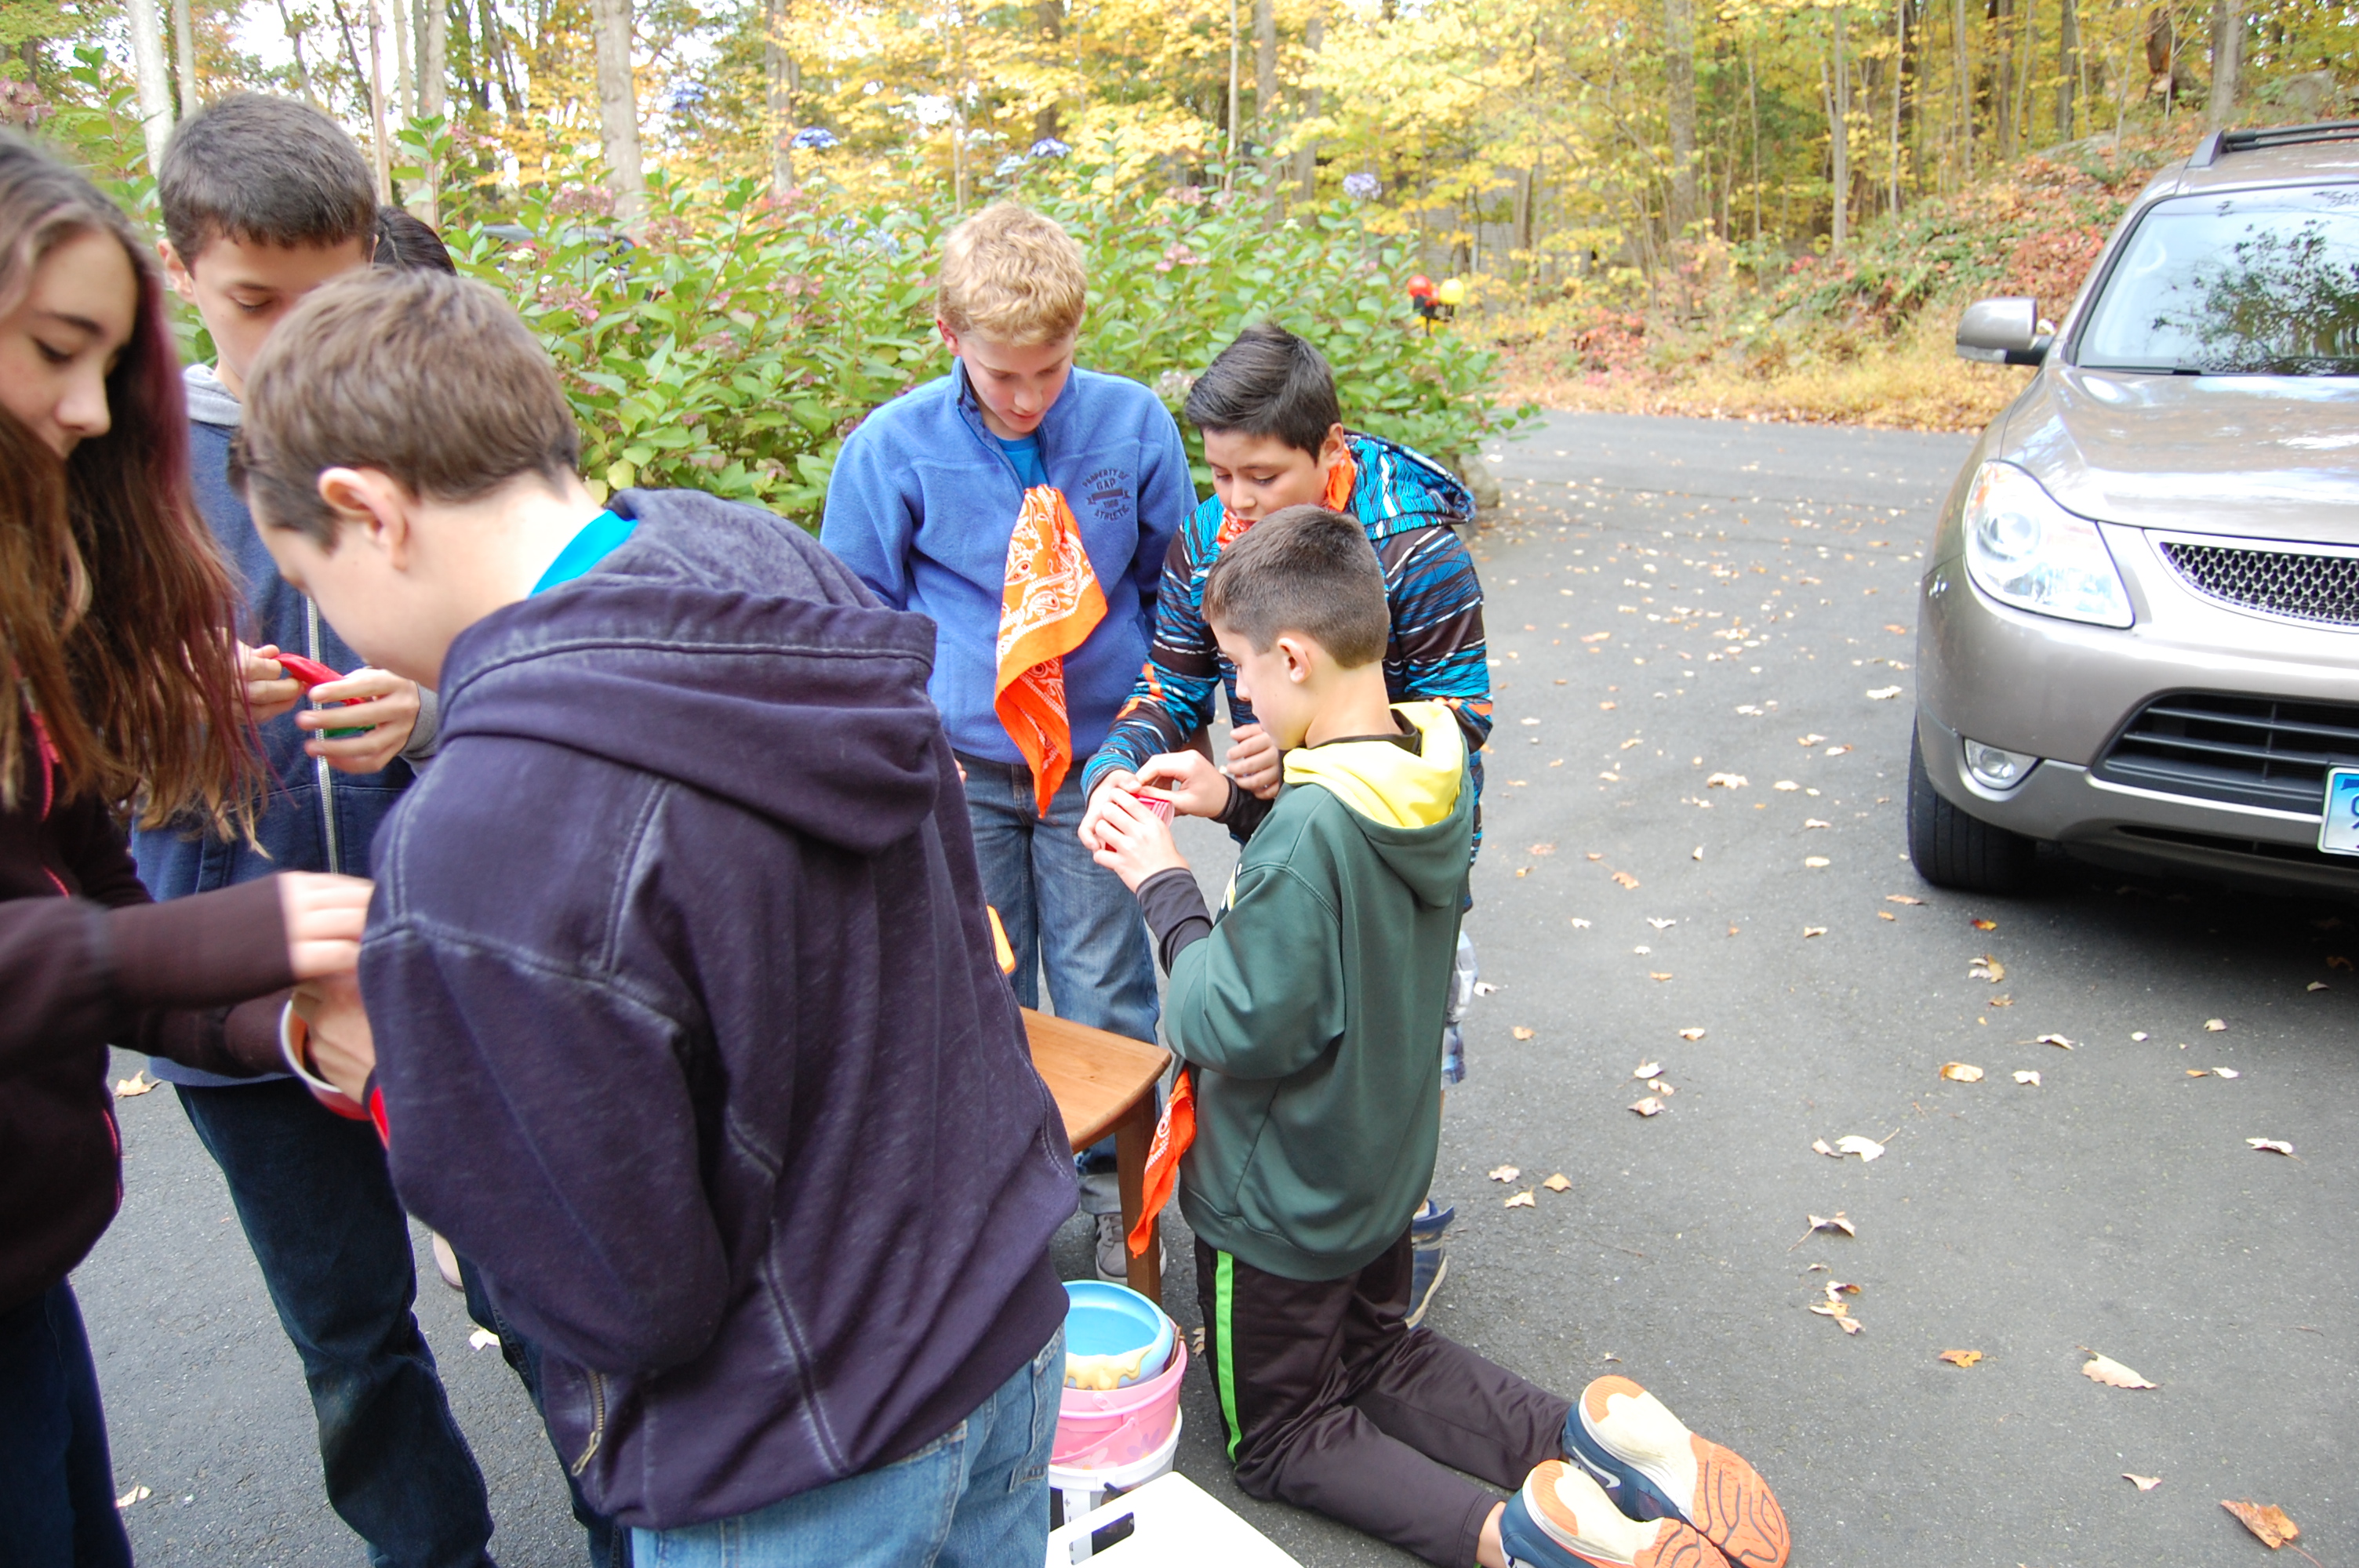
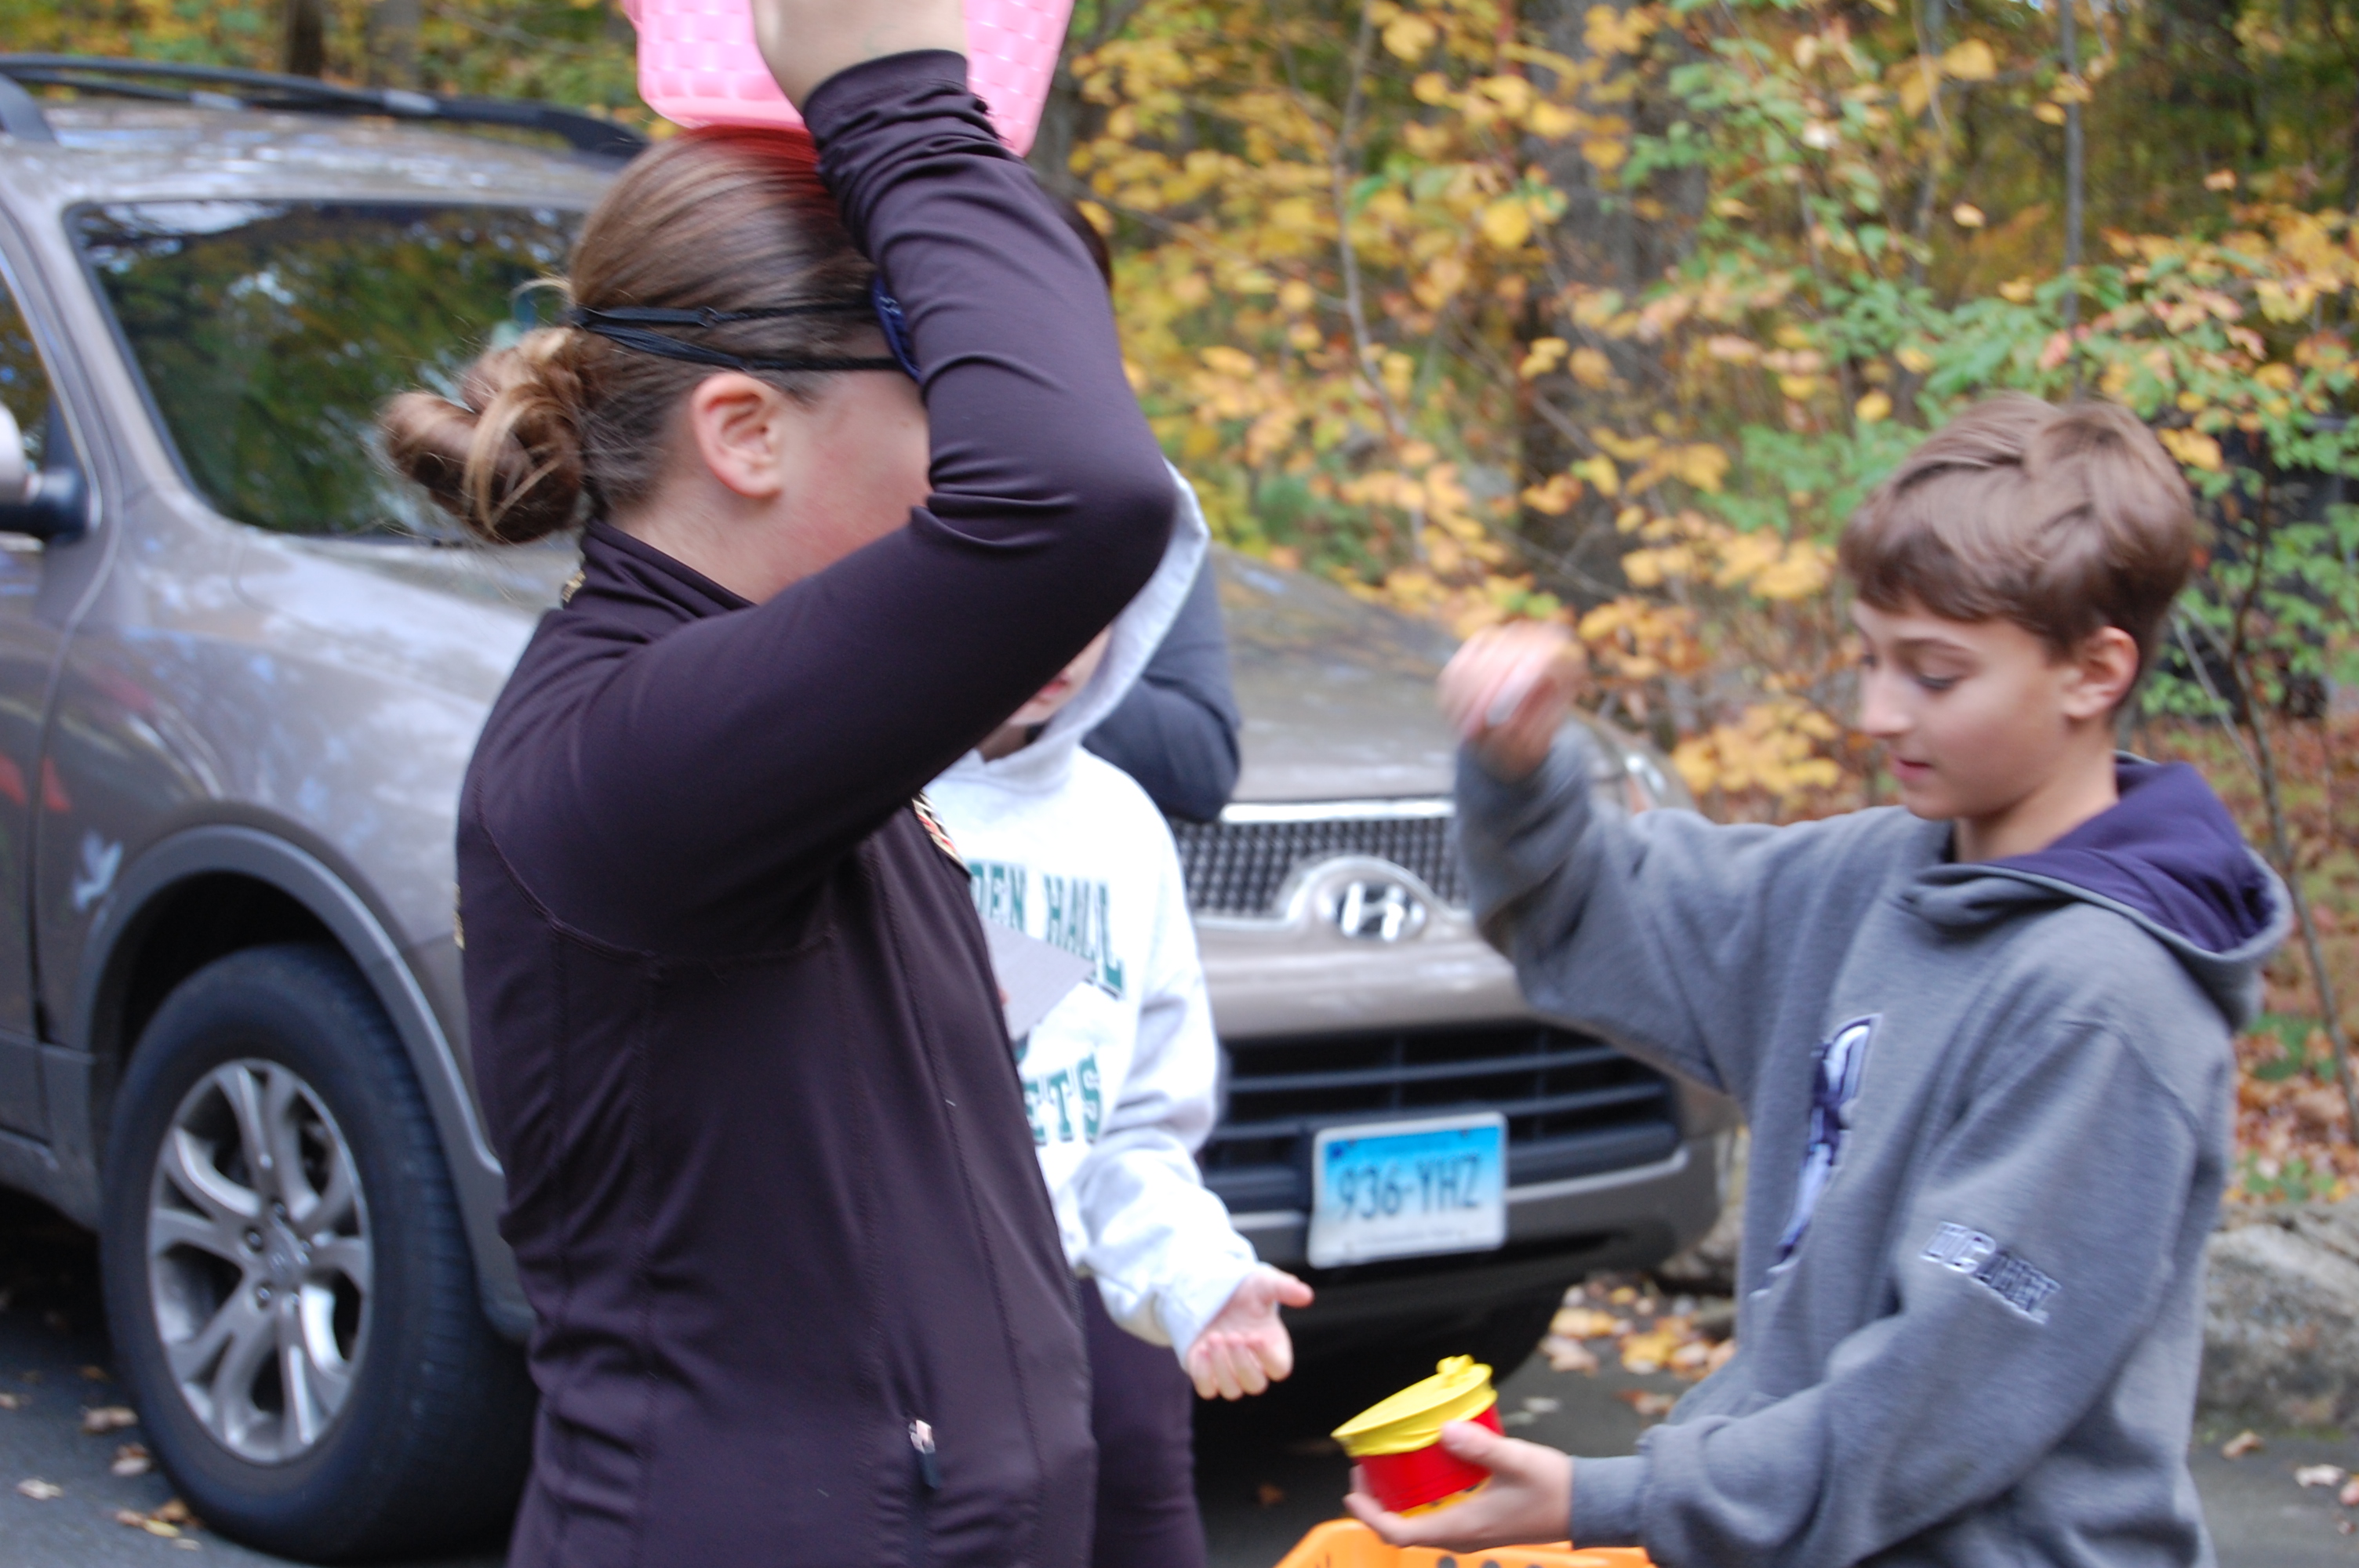
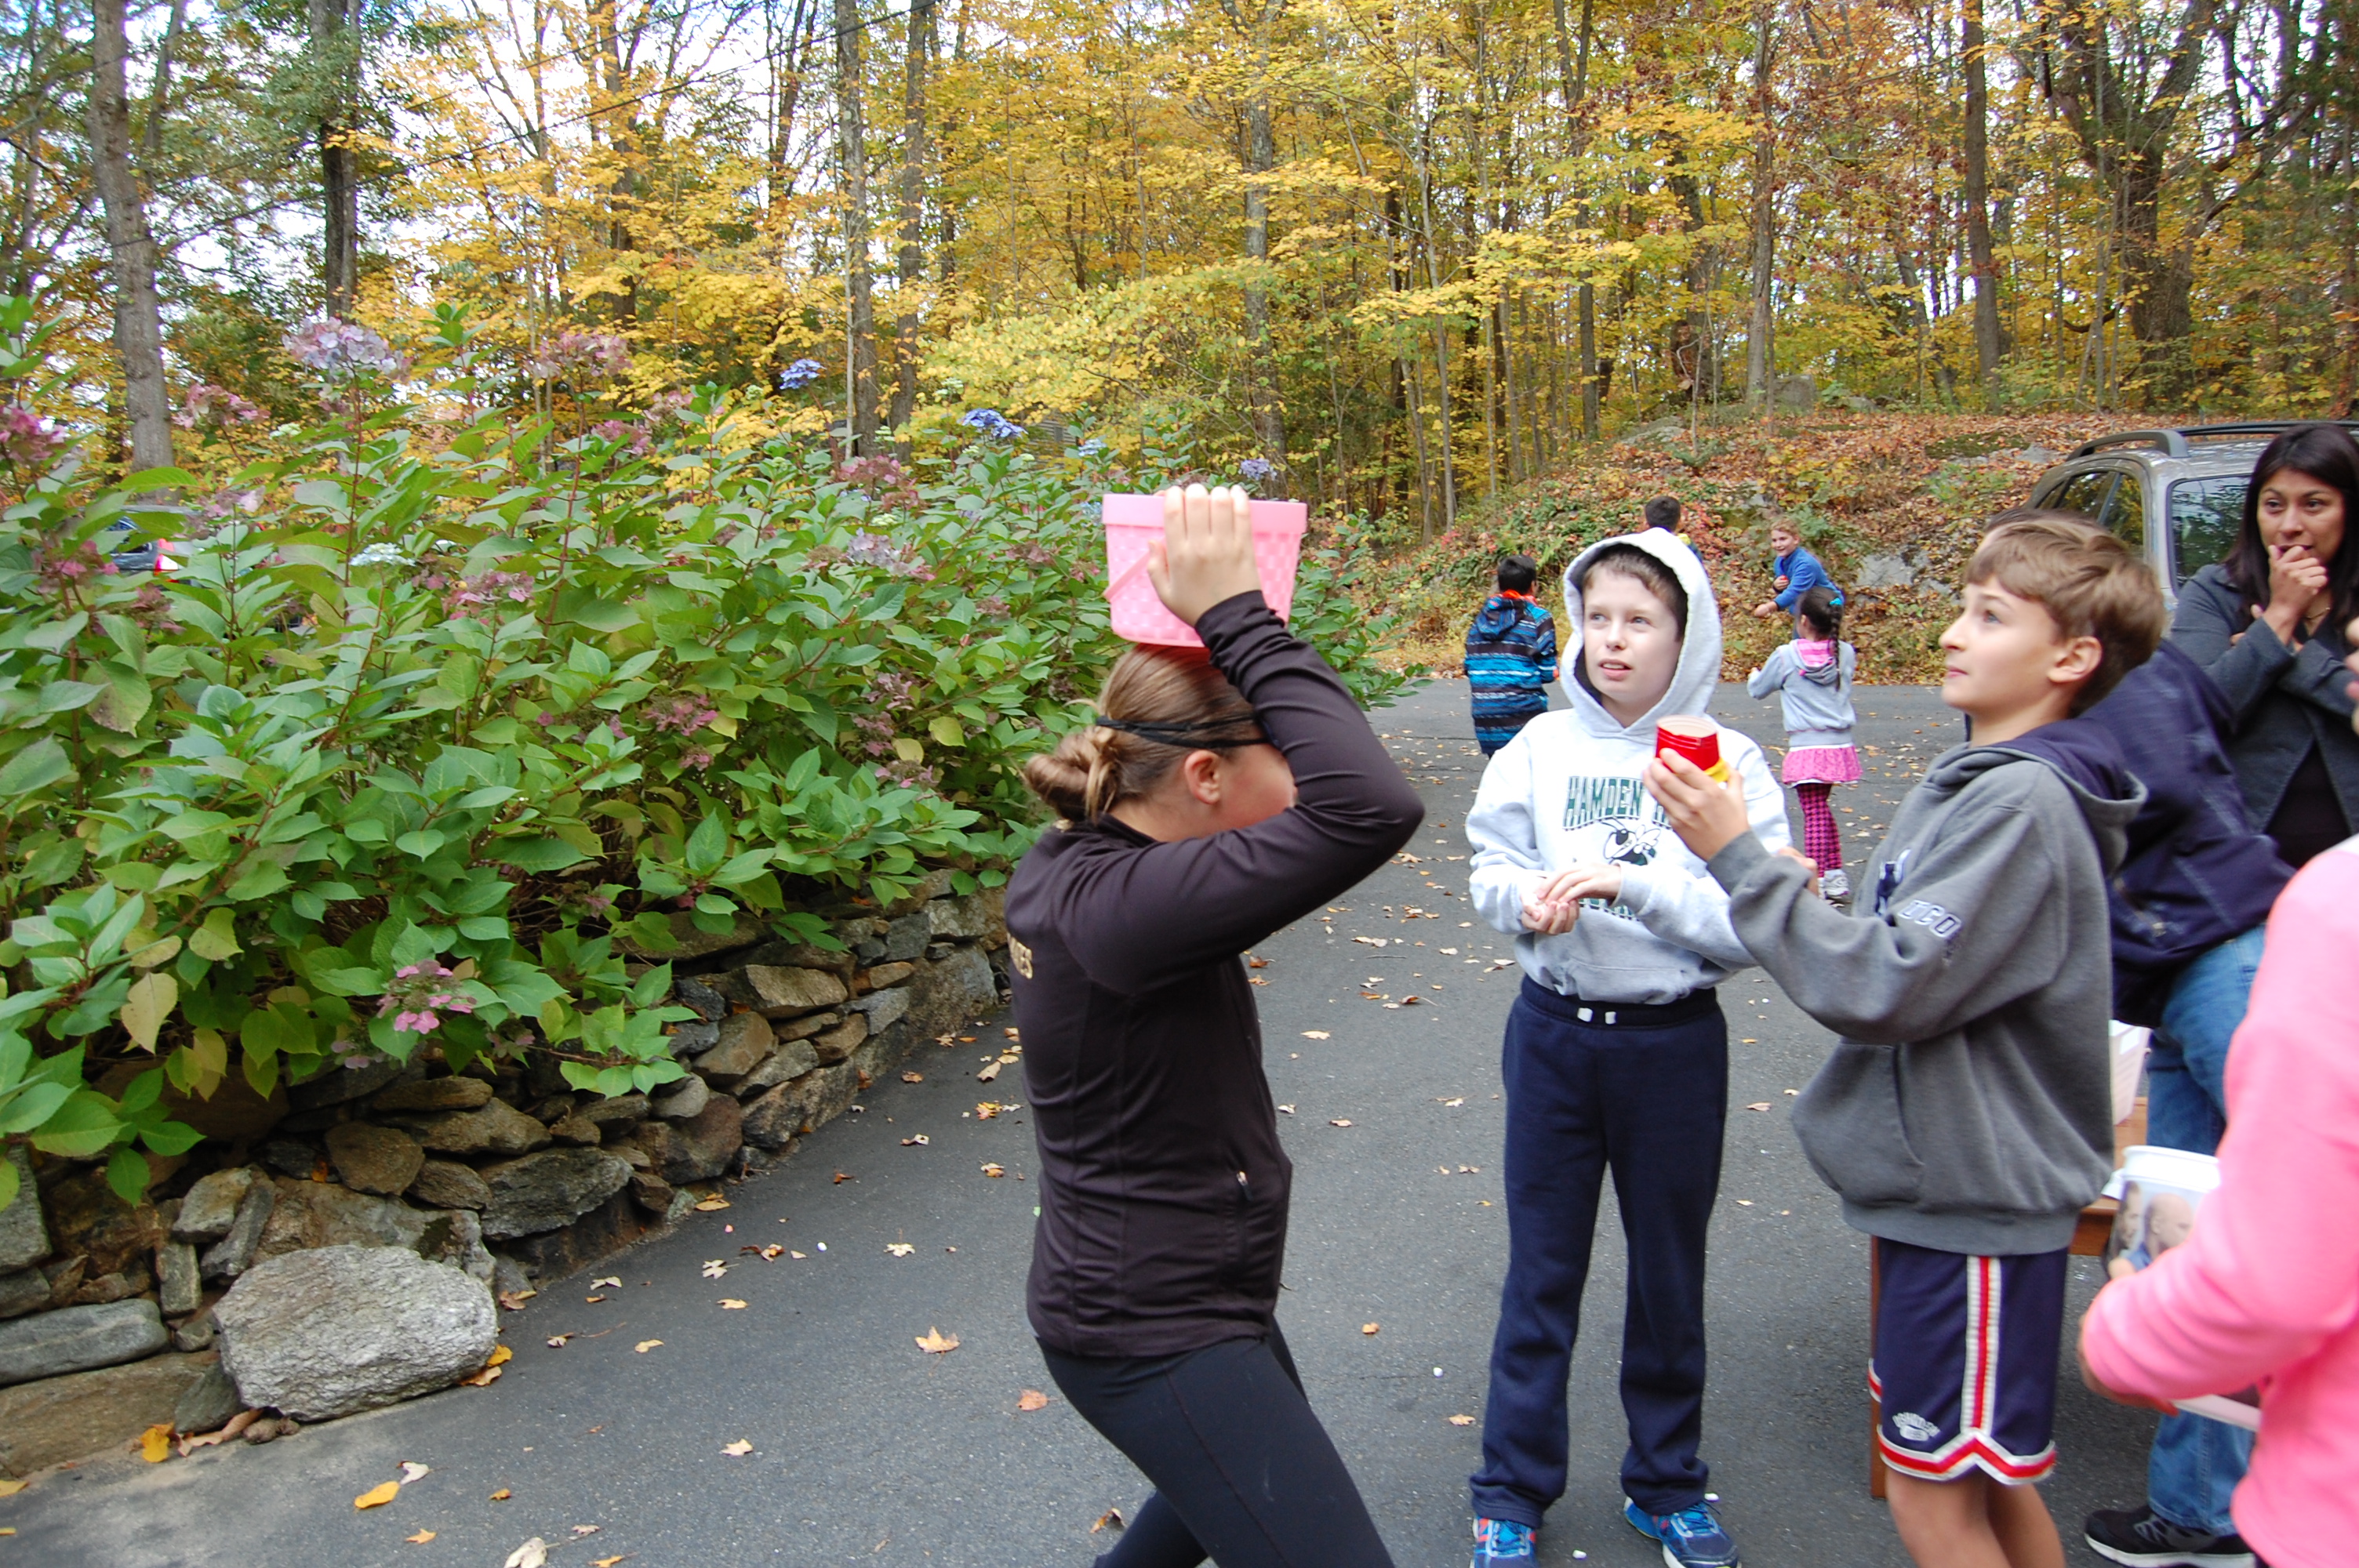
Here they had to build a marshmallow shooter out of a cup and balloon and then get three marshmallows into a bucket that was sitting on top of their team members head.


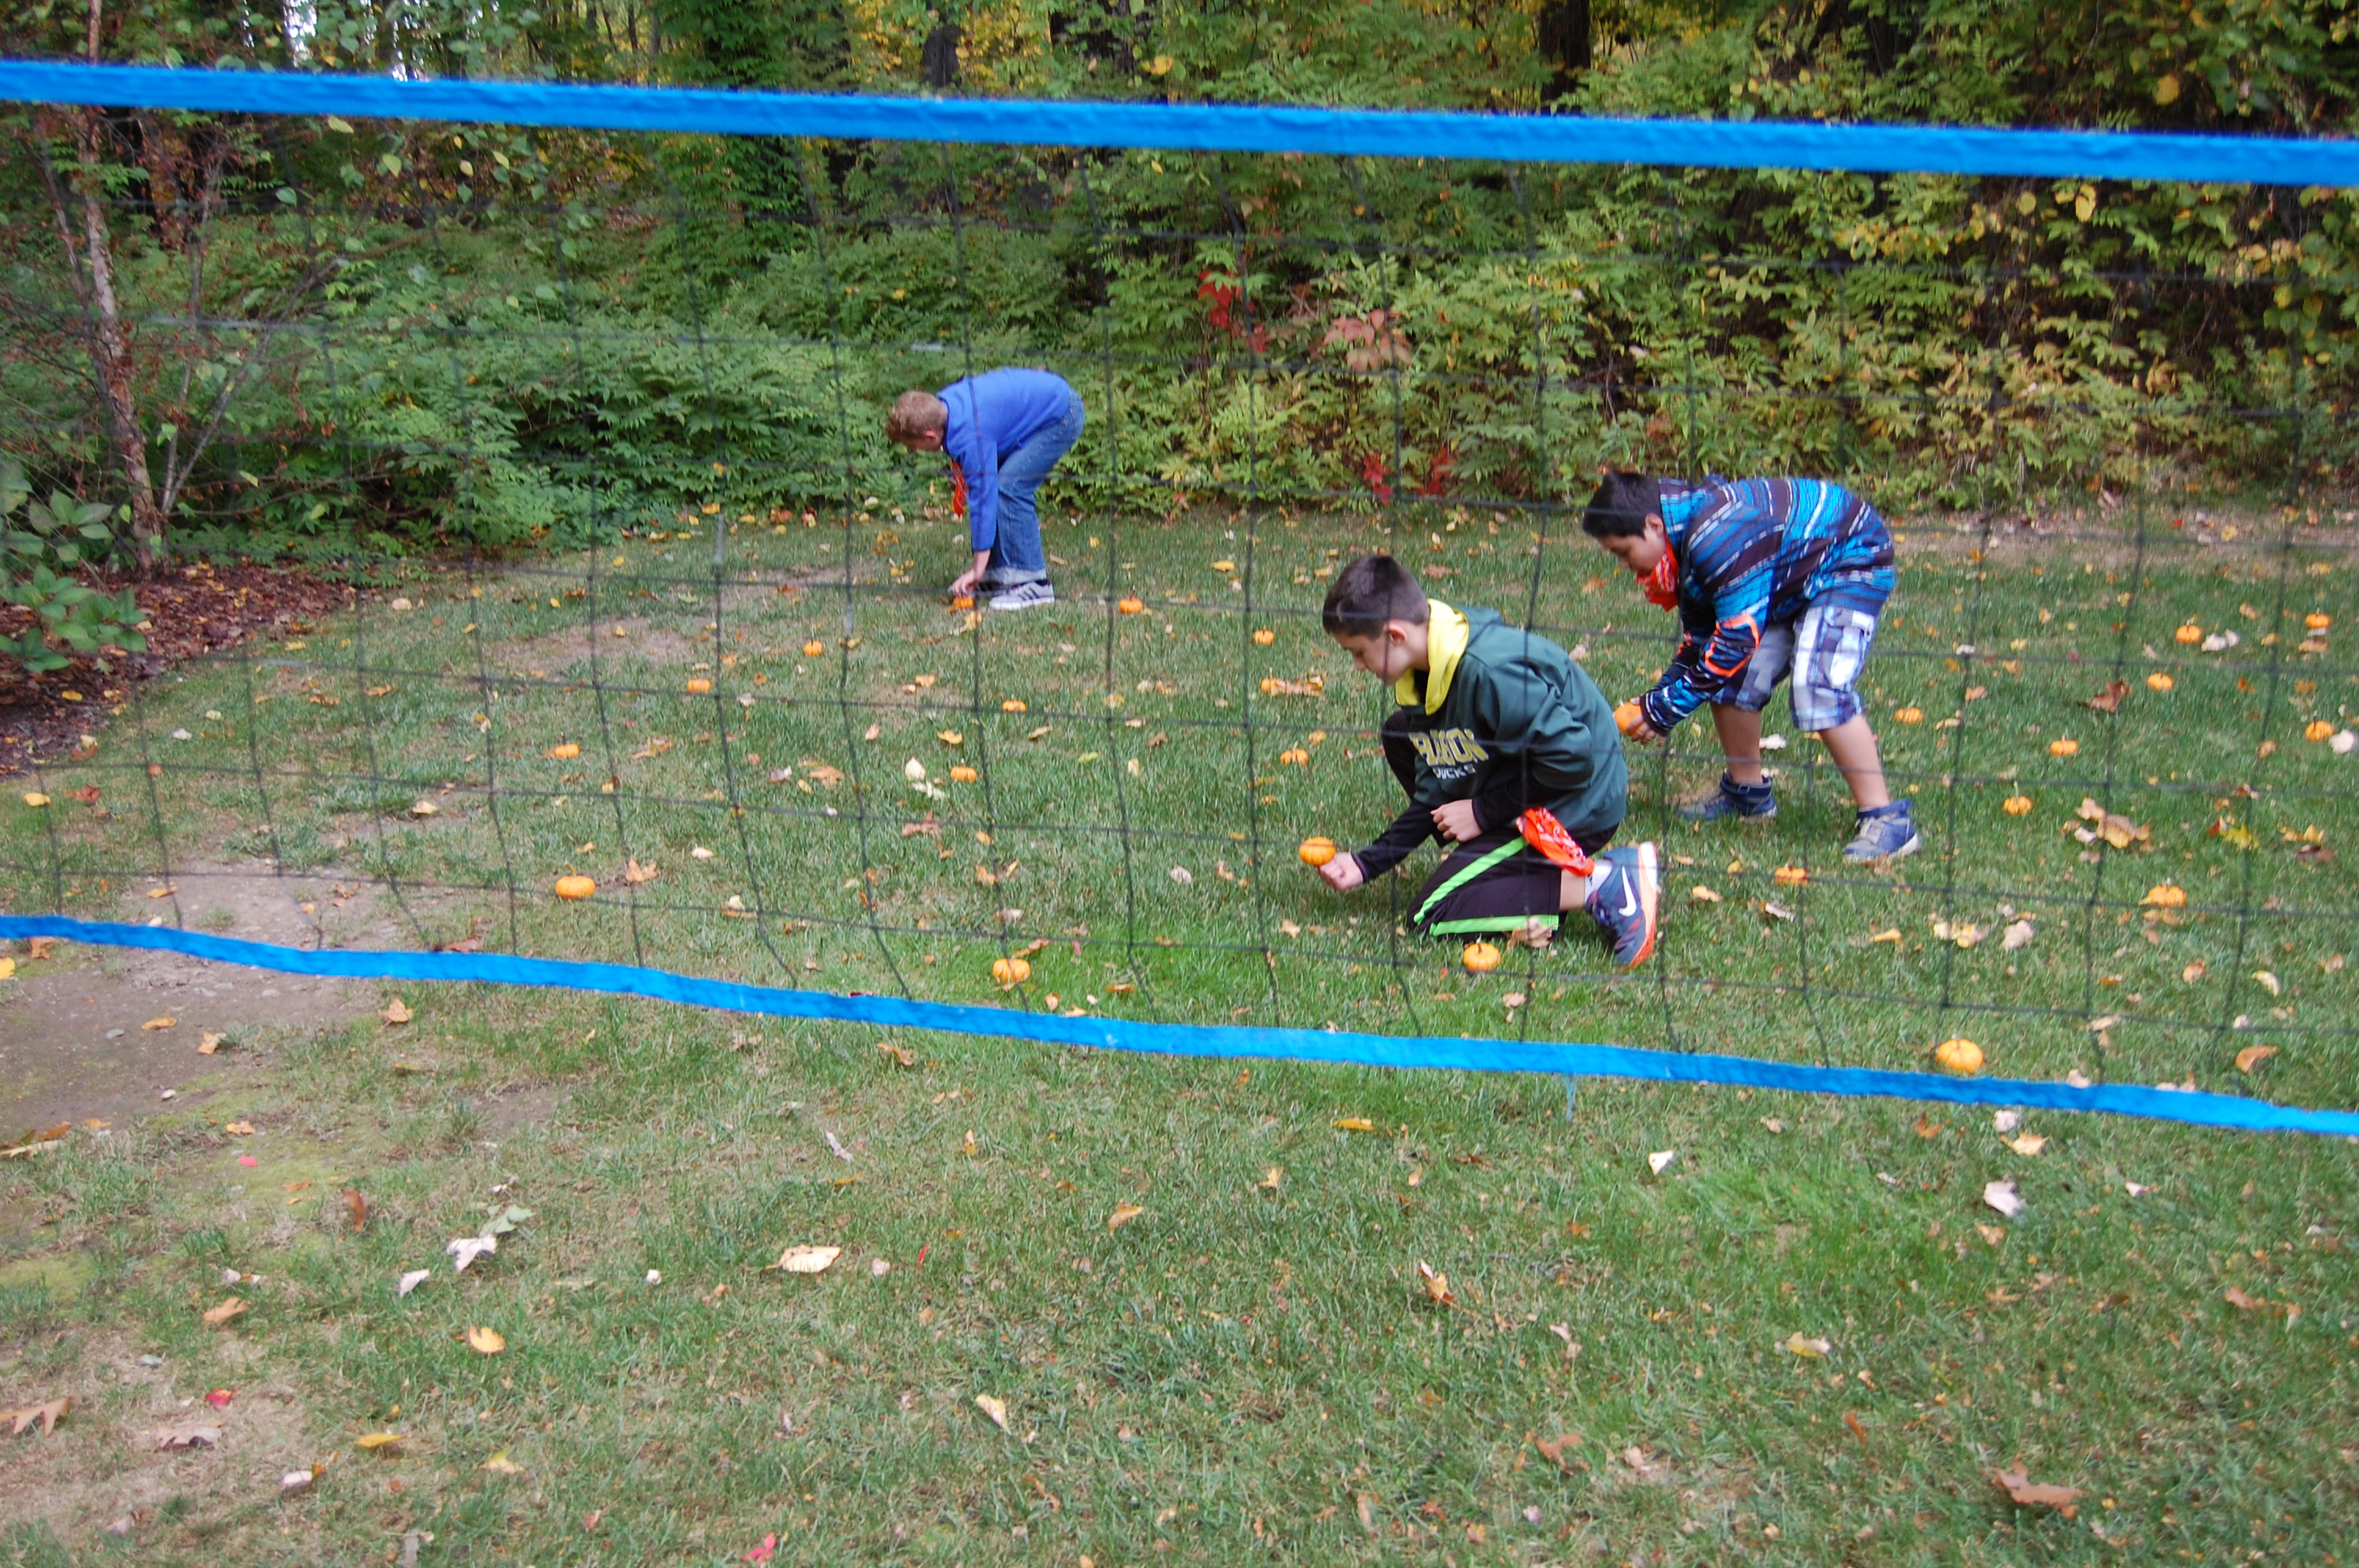
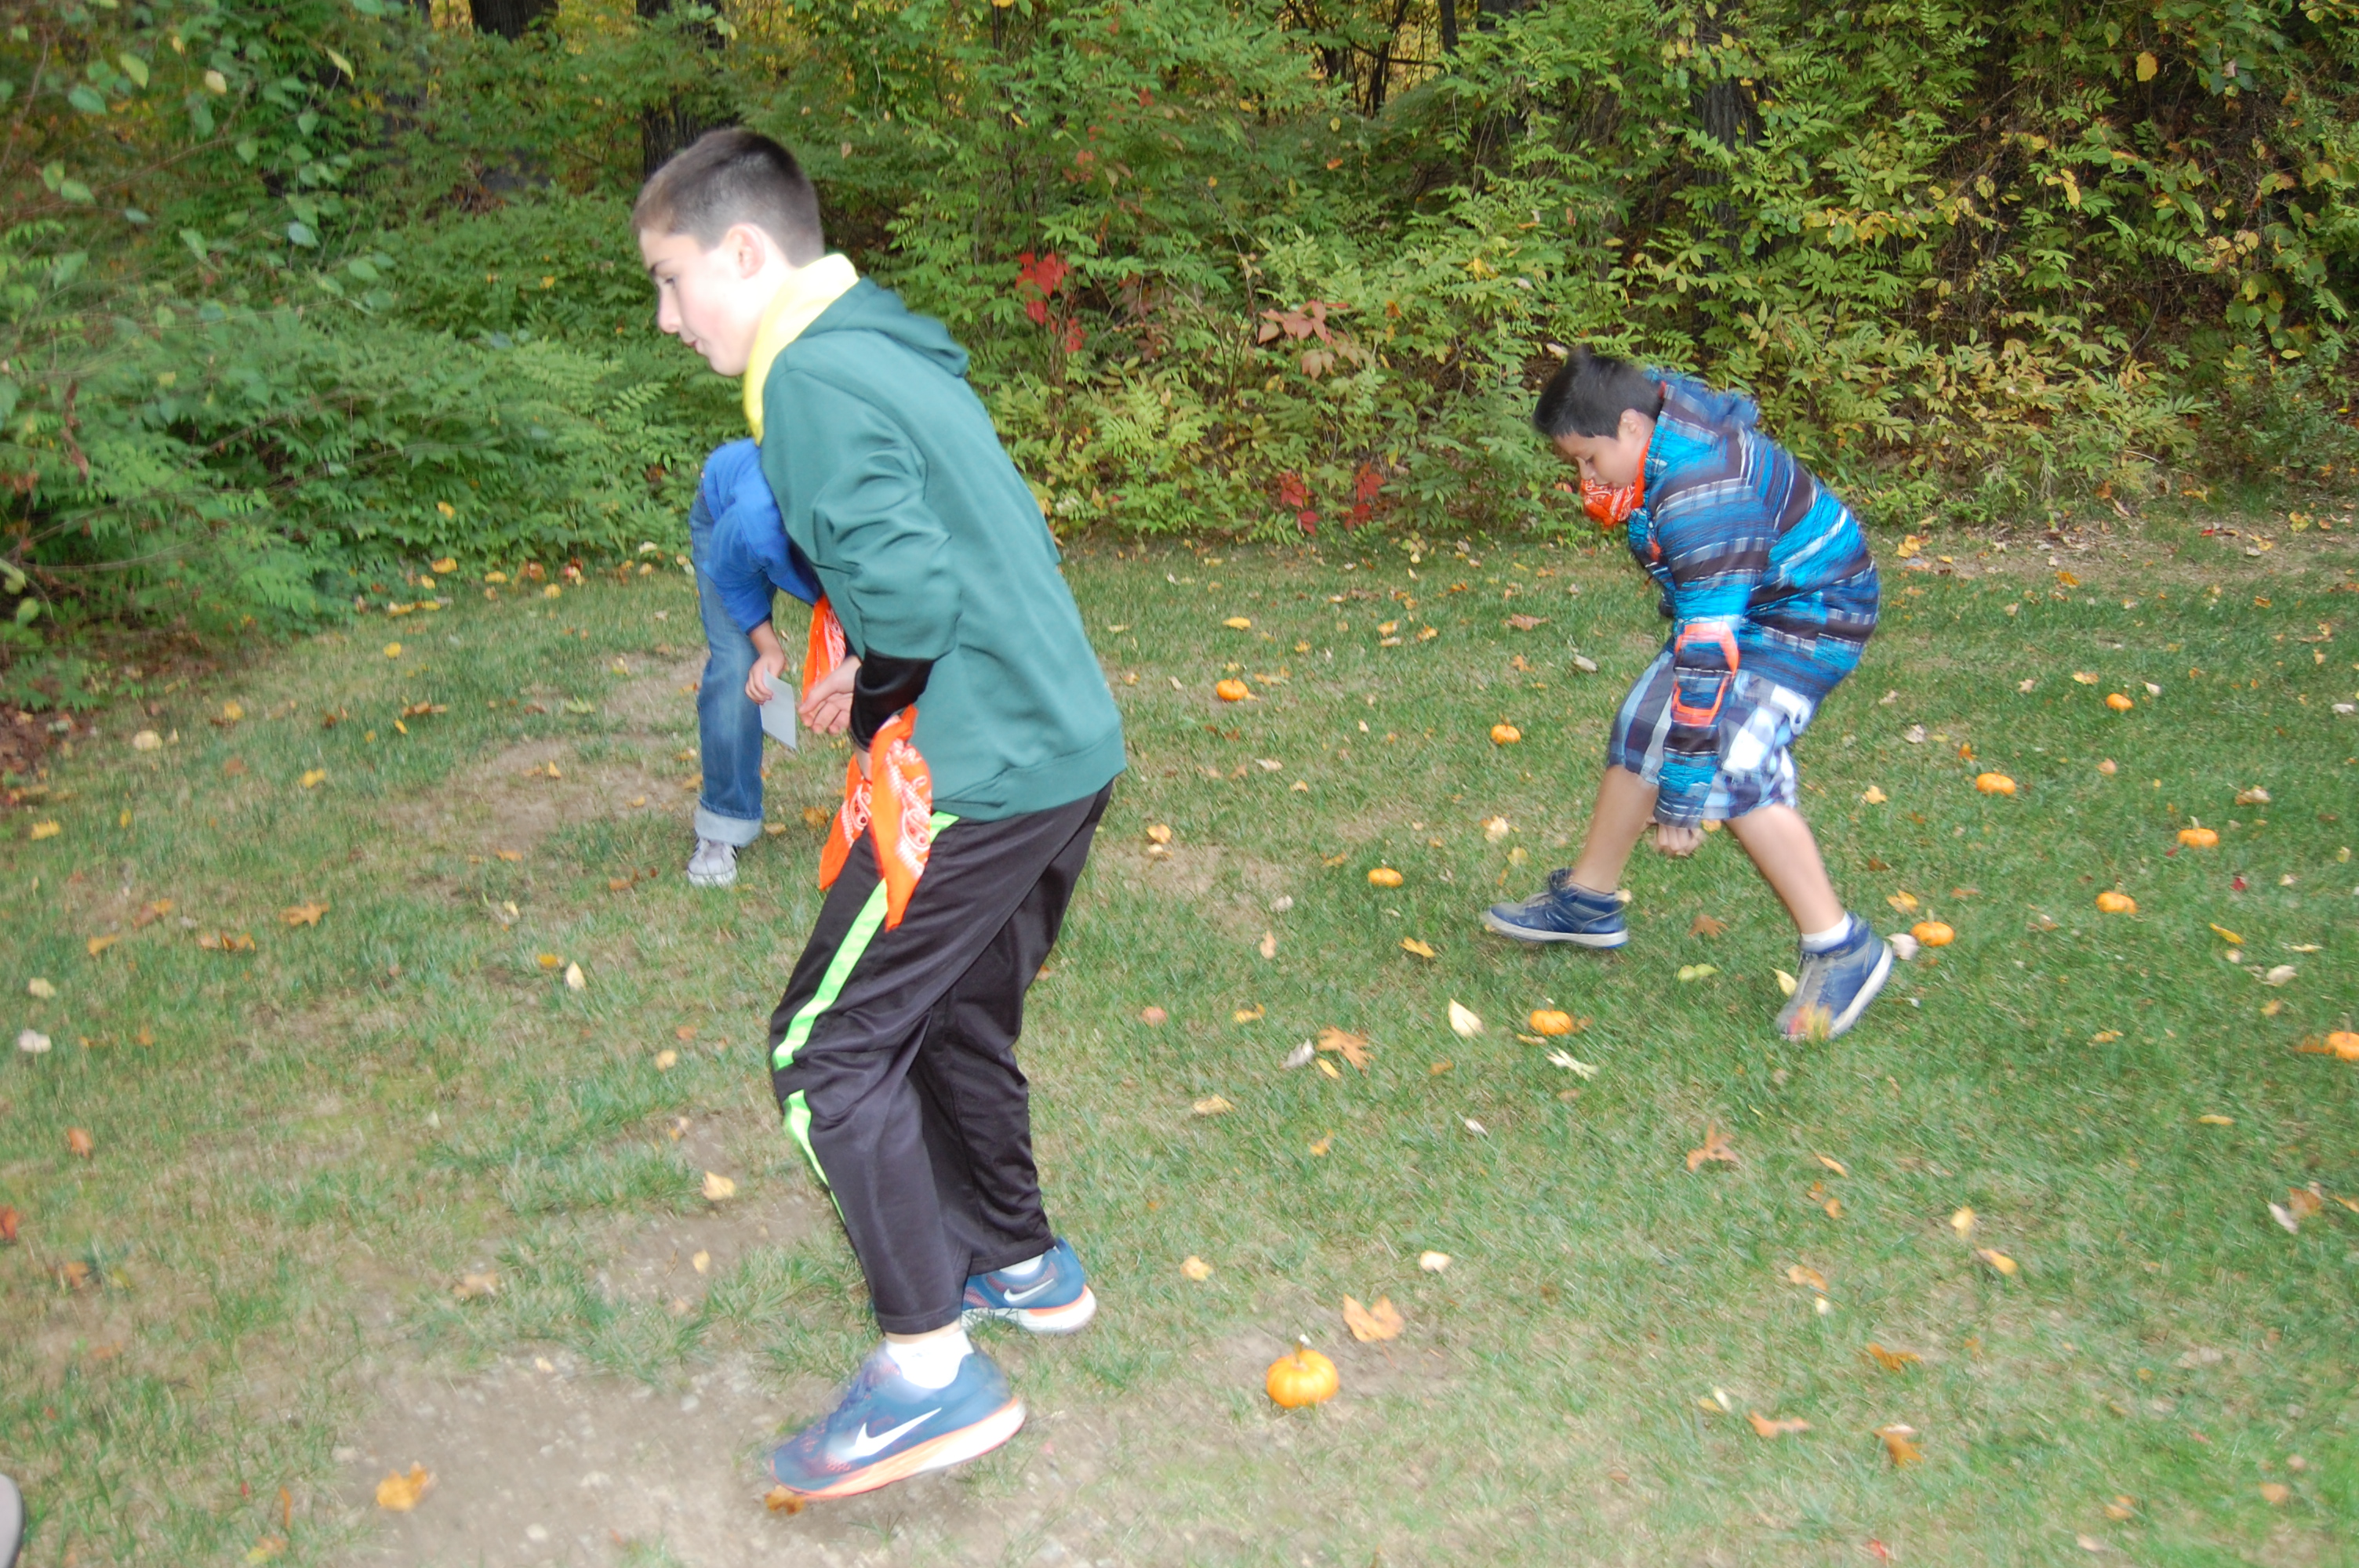
Challenge #5:
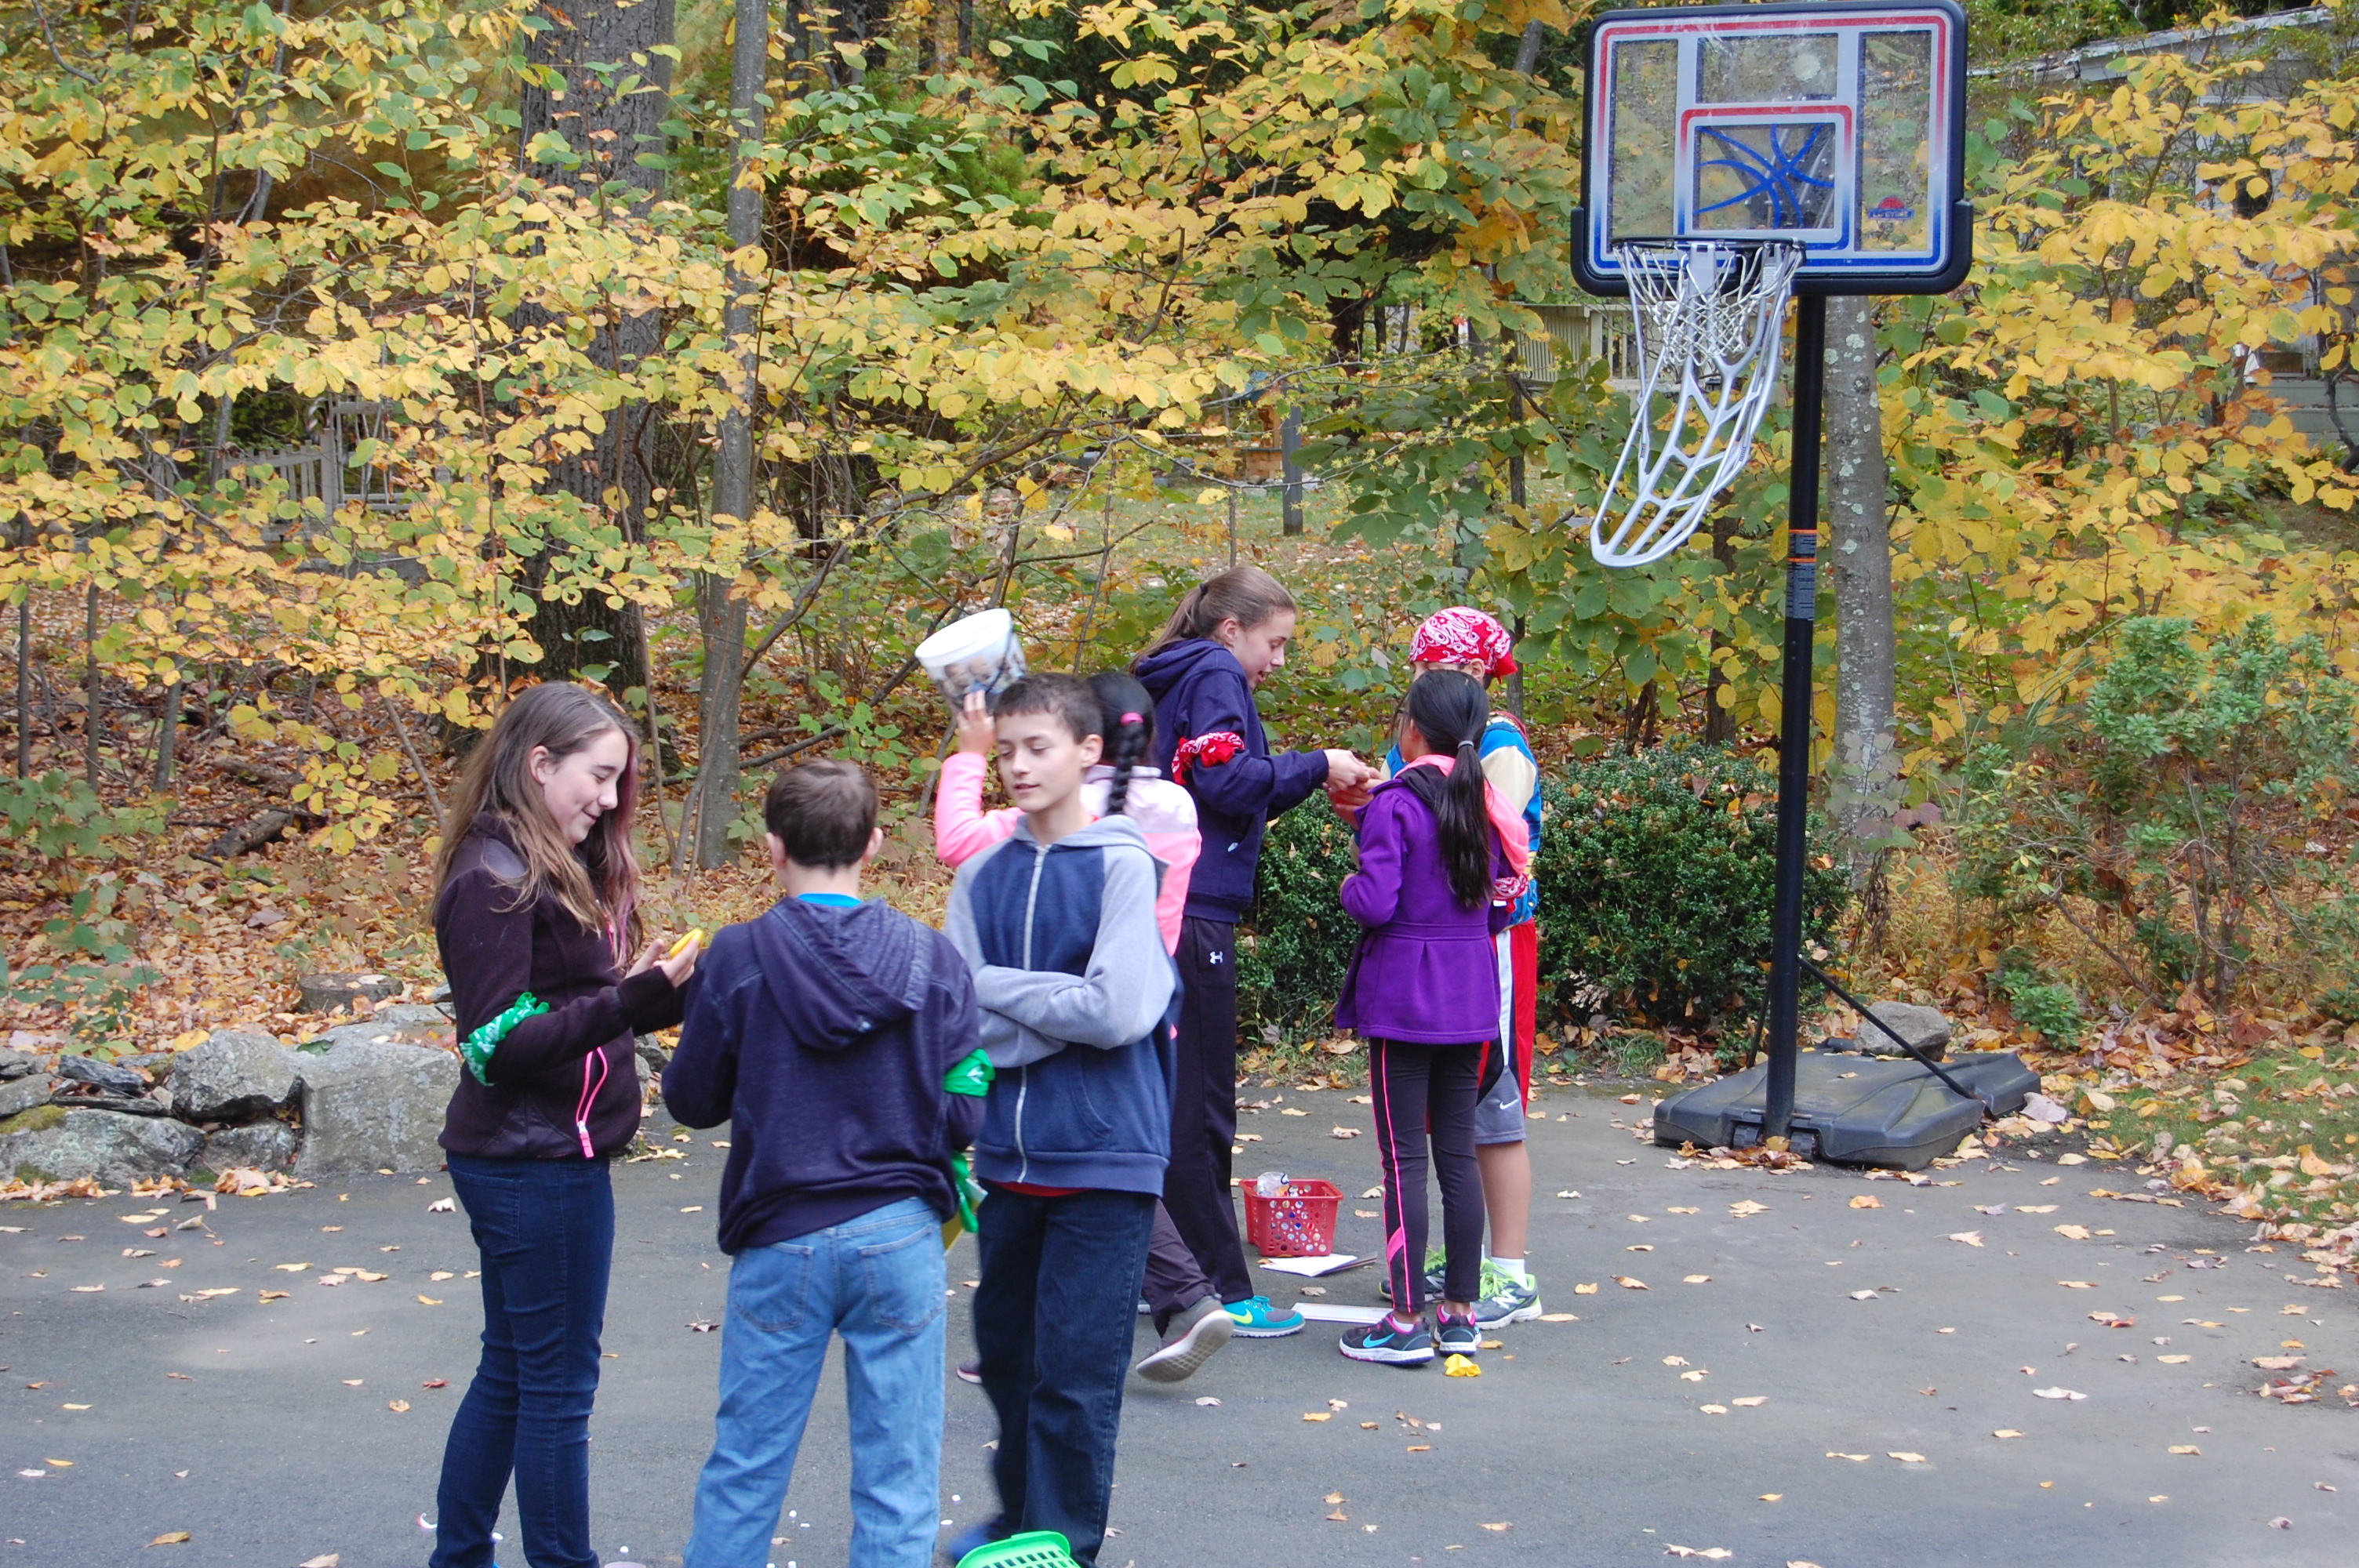
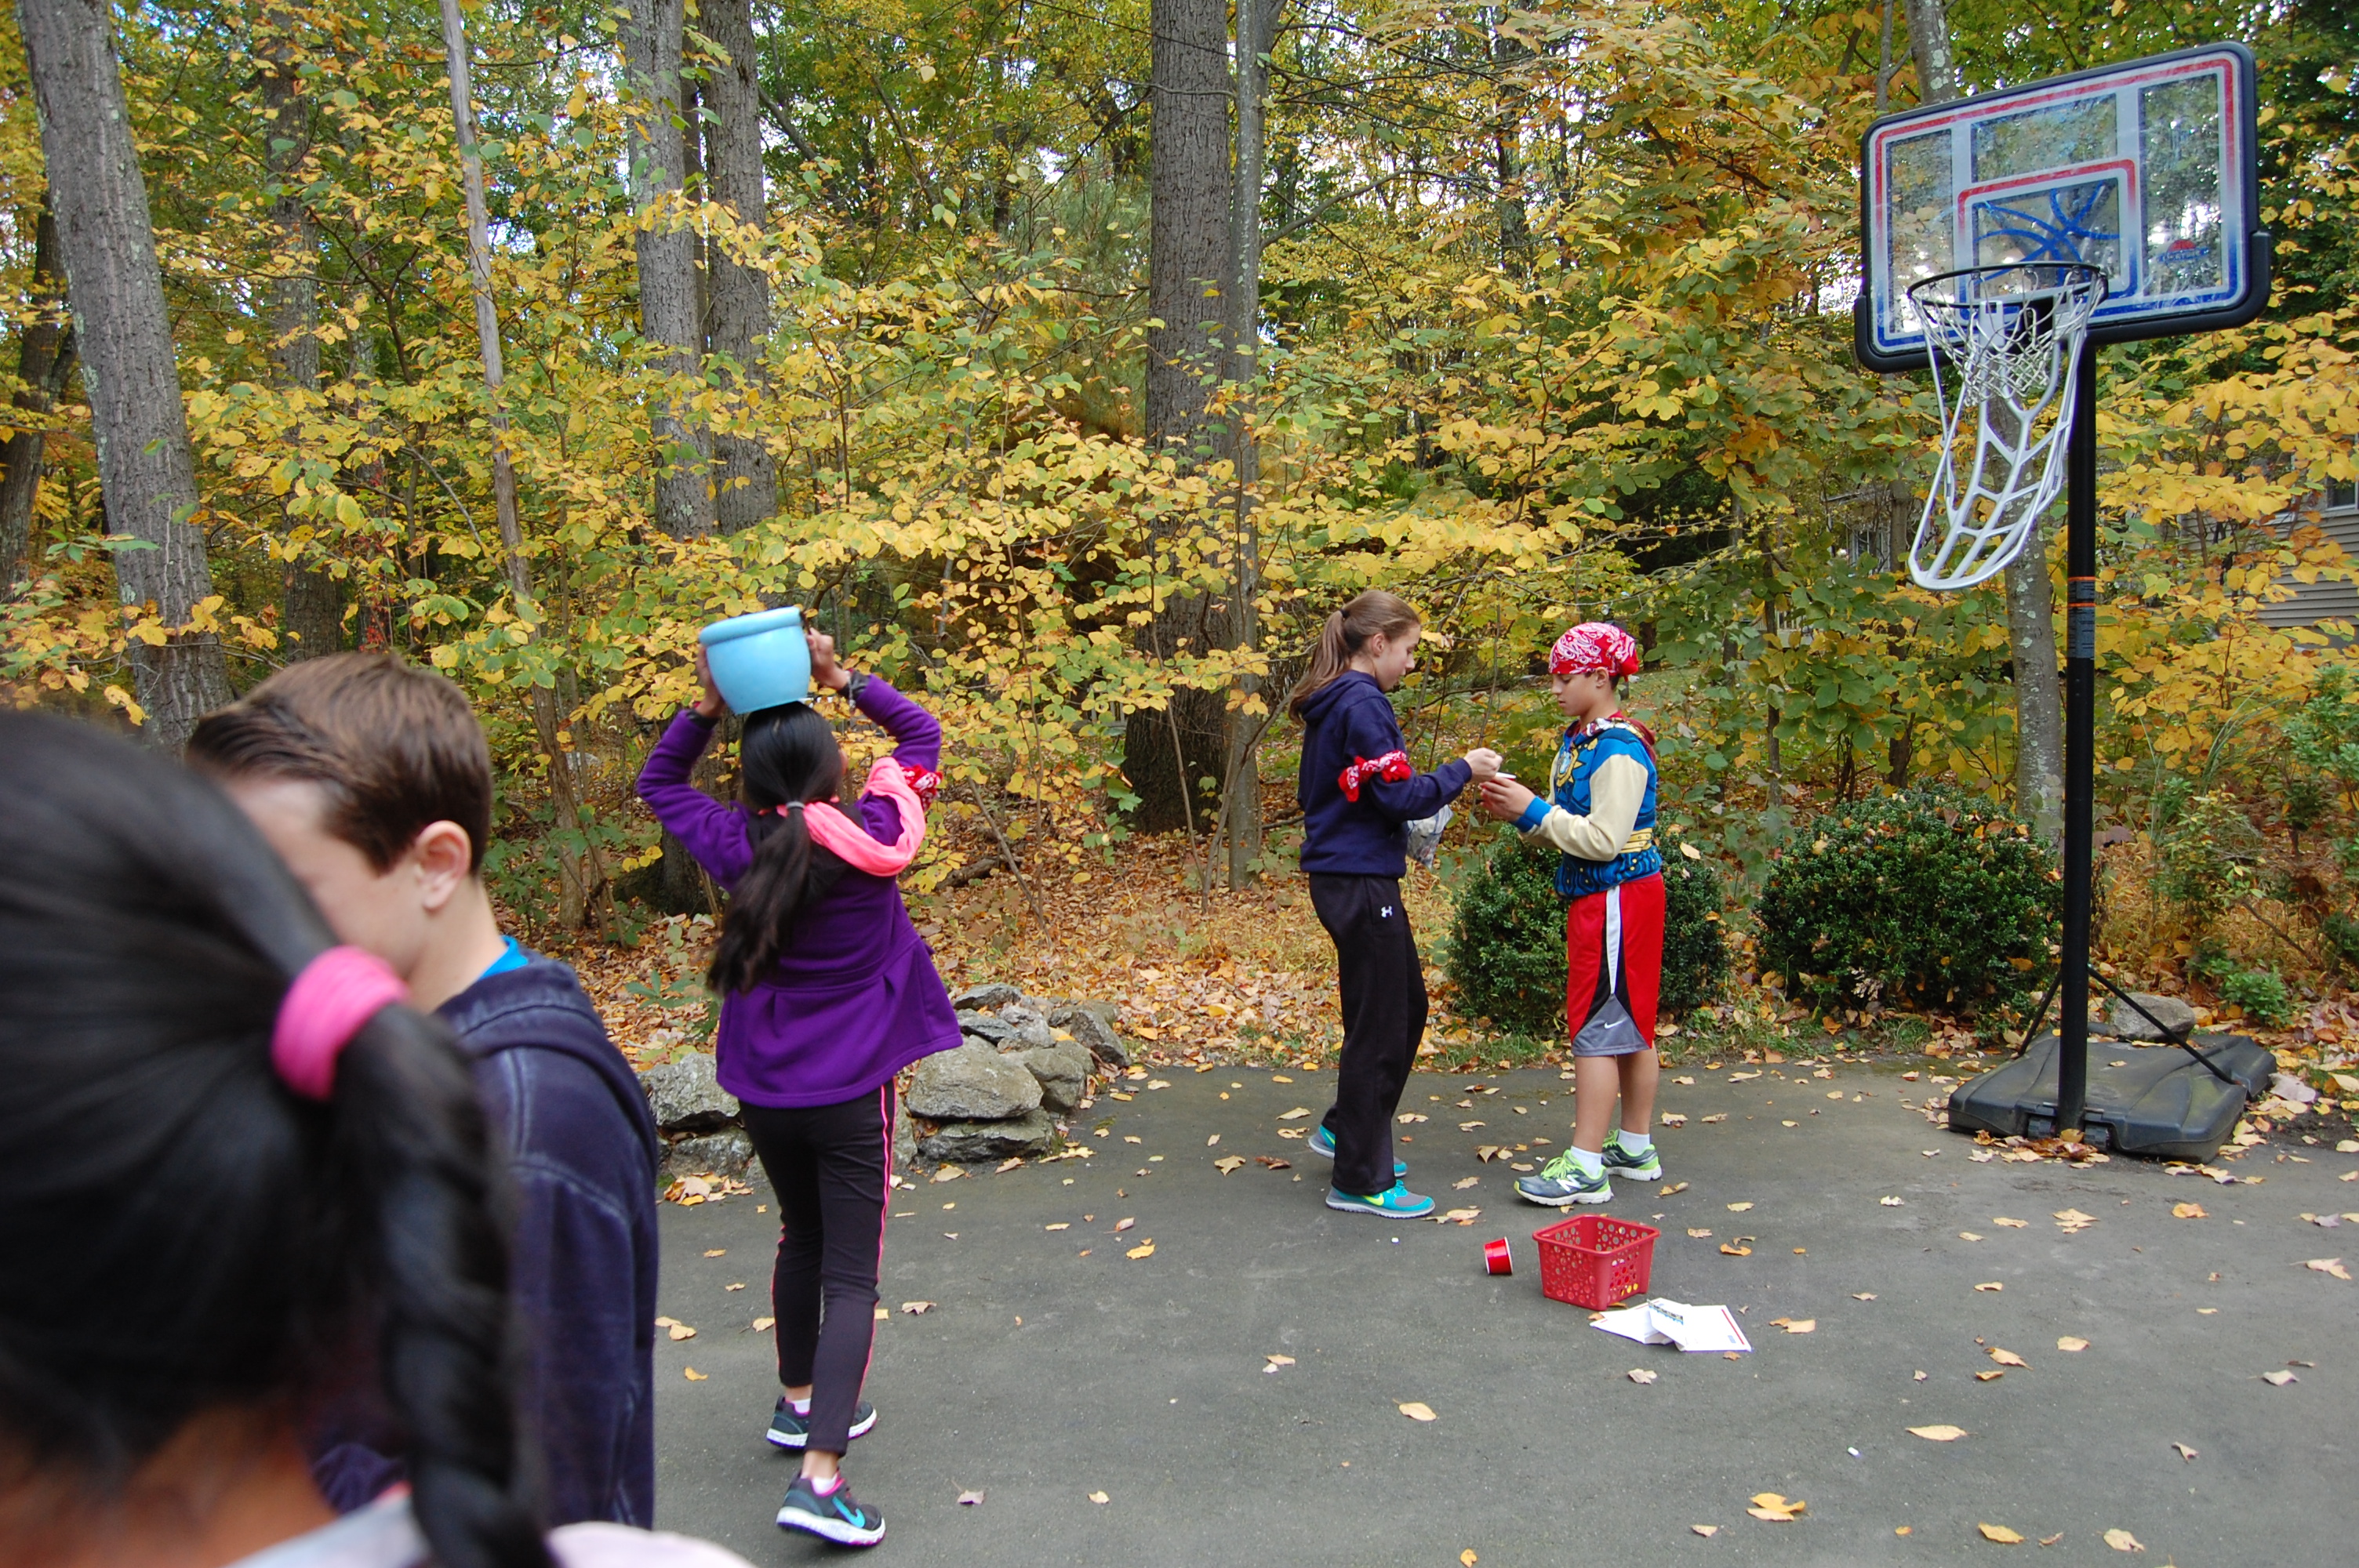
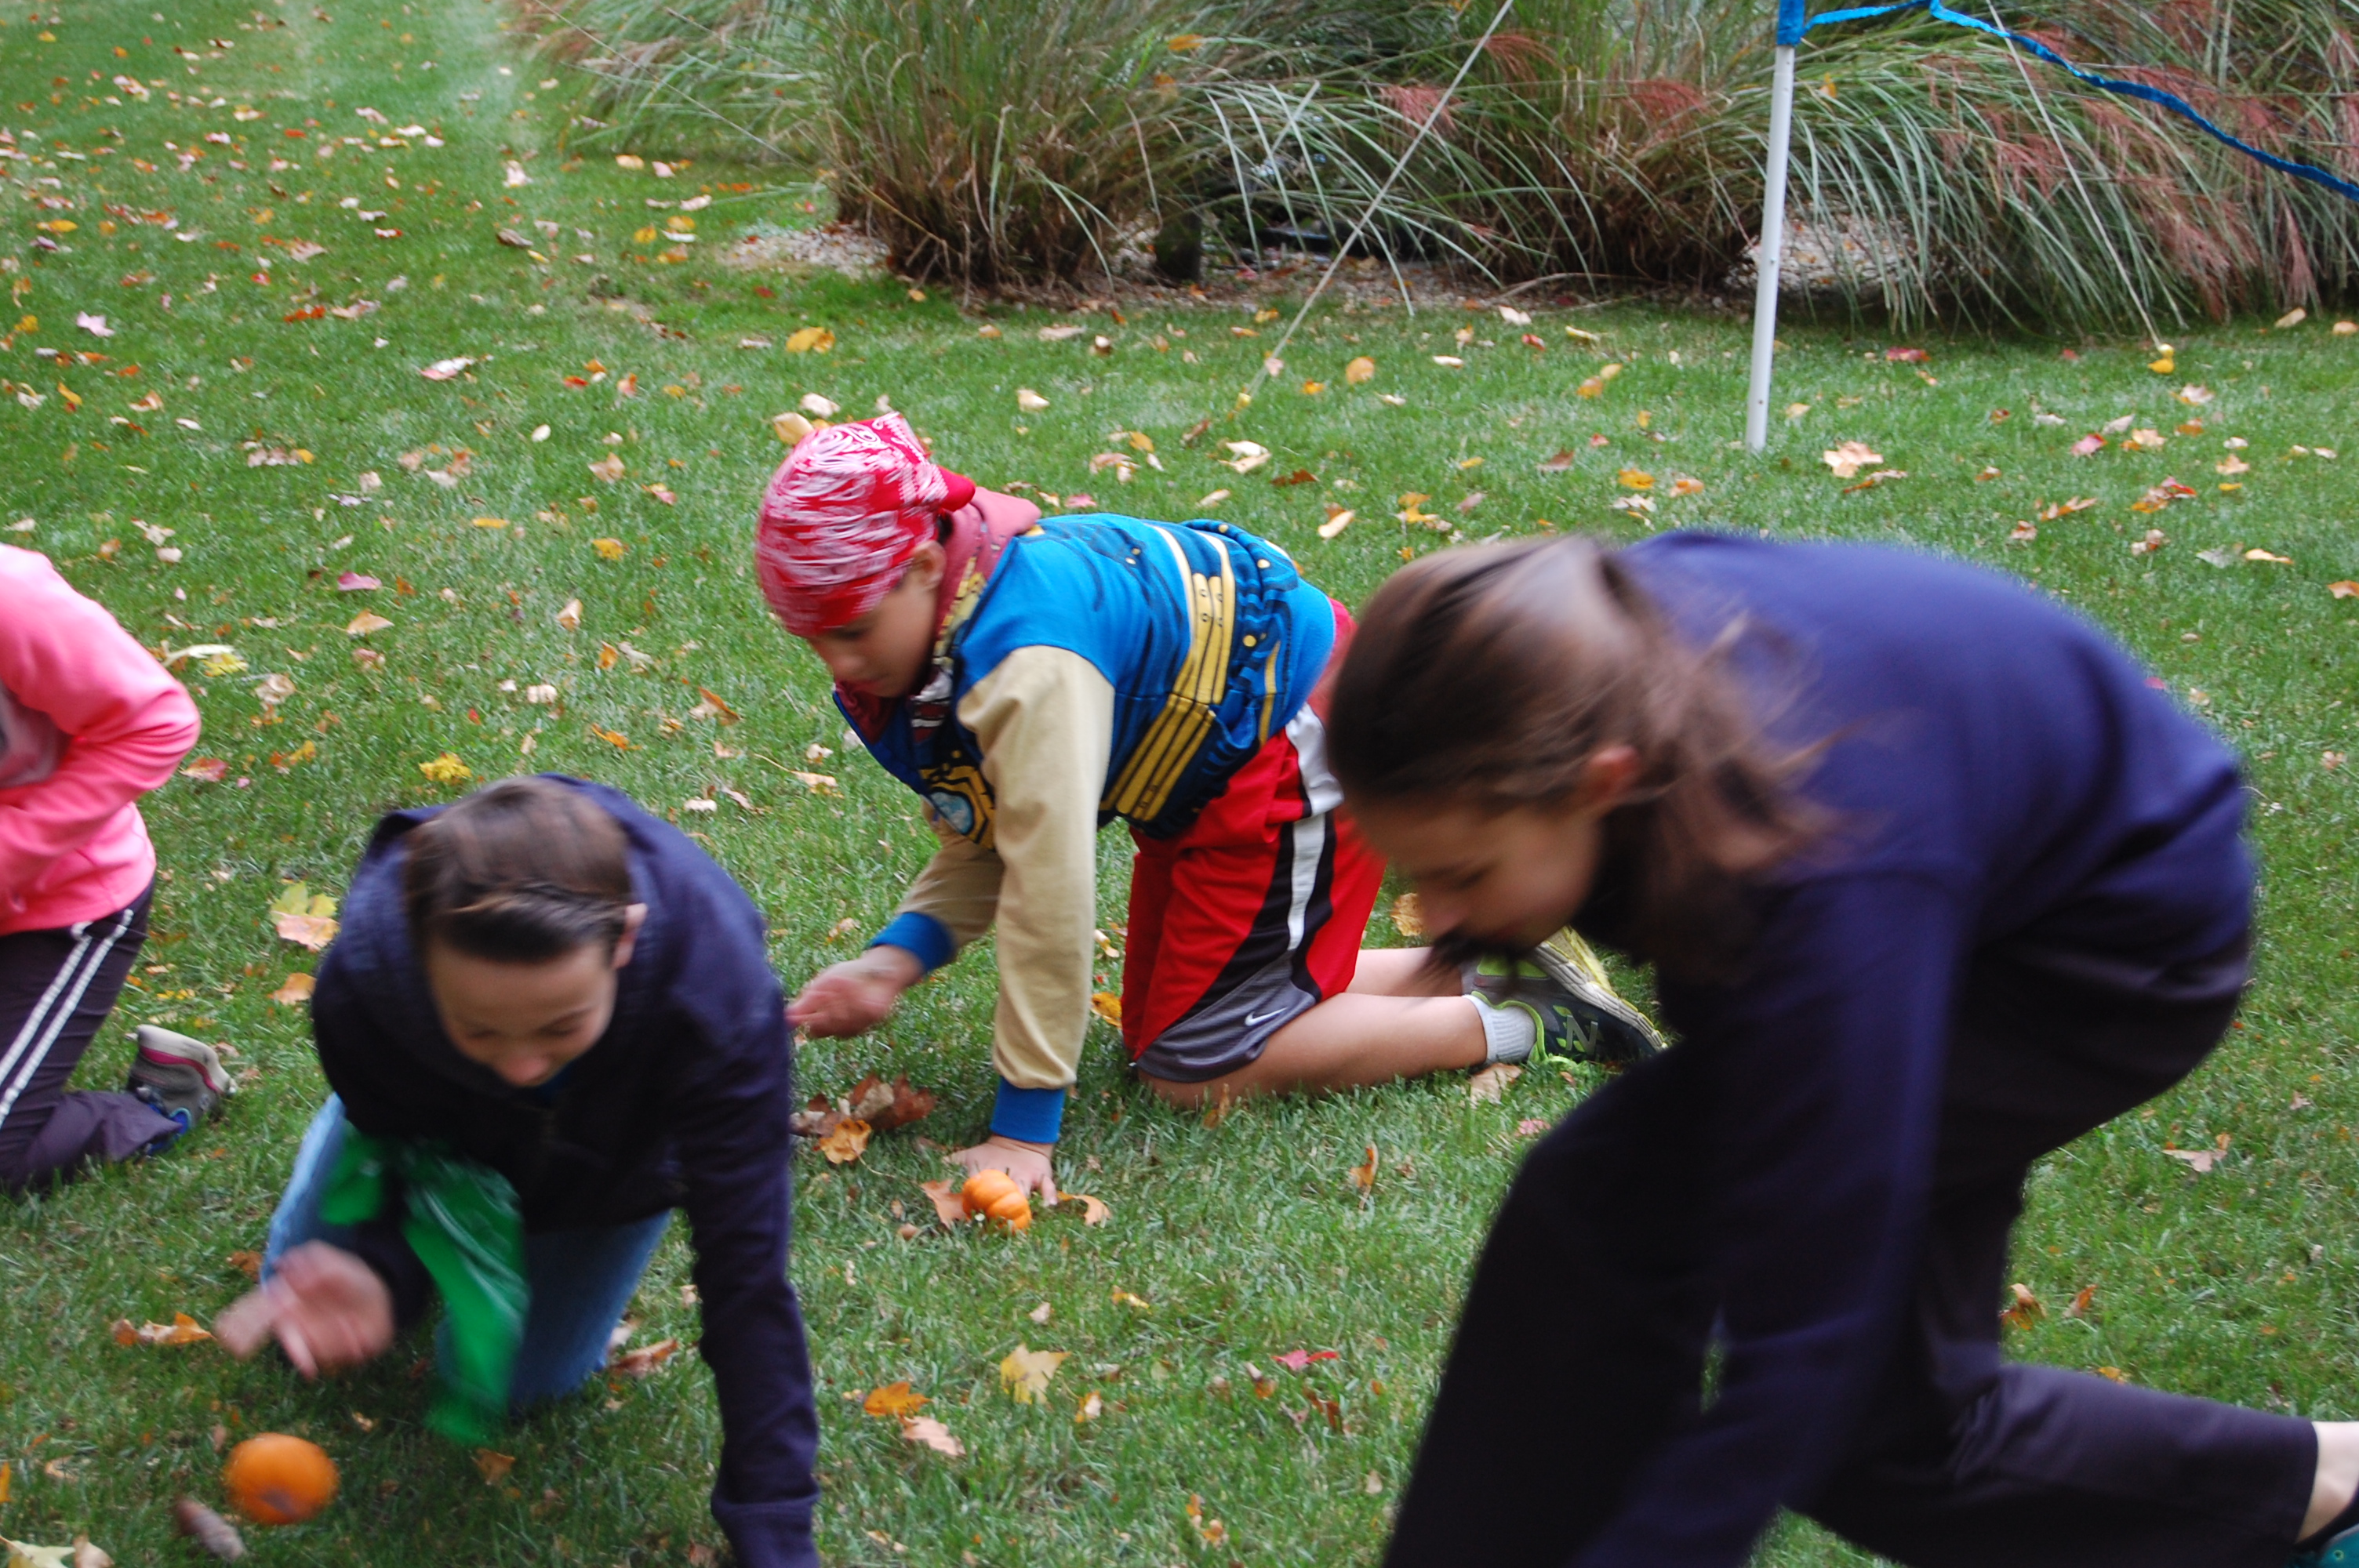
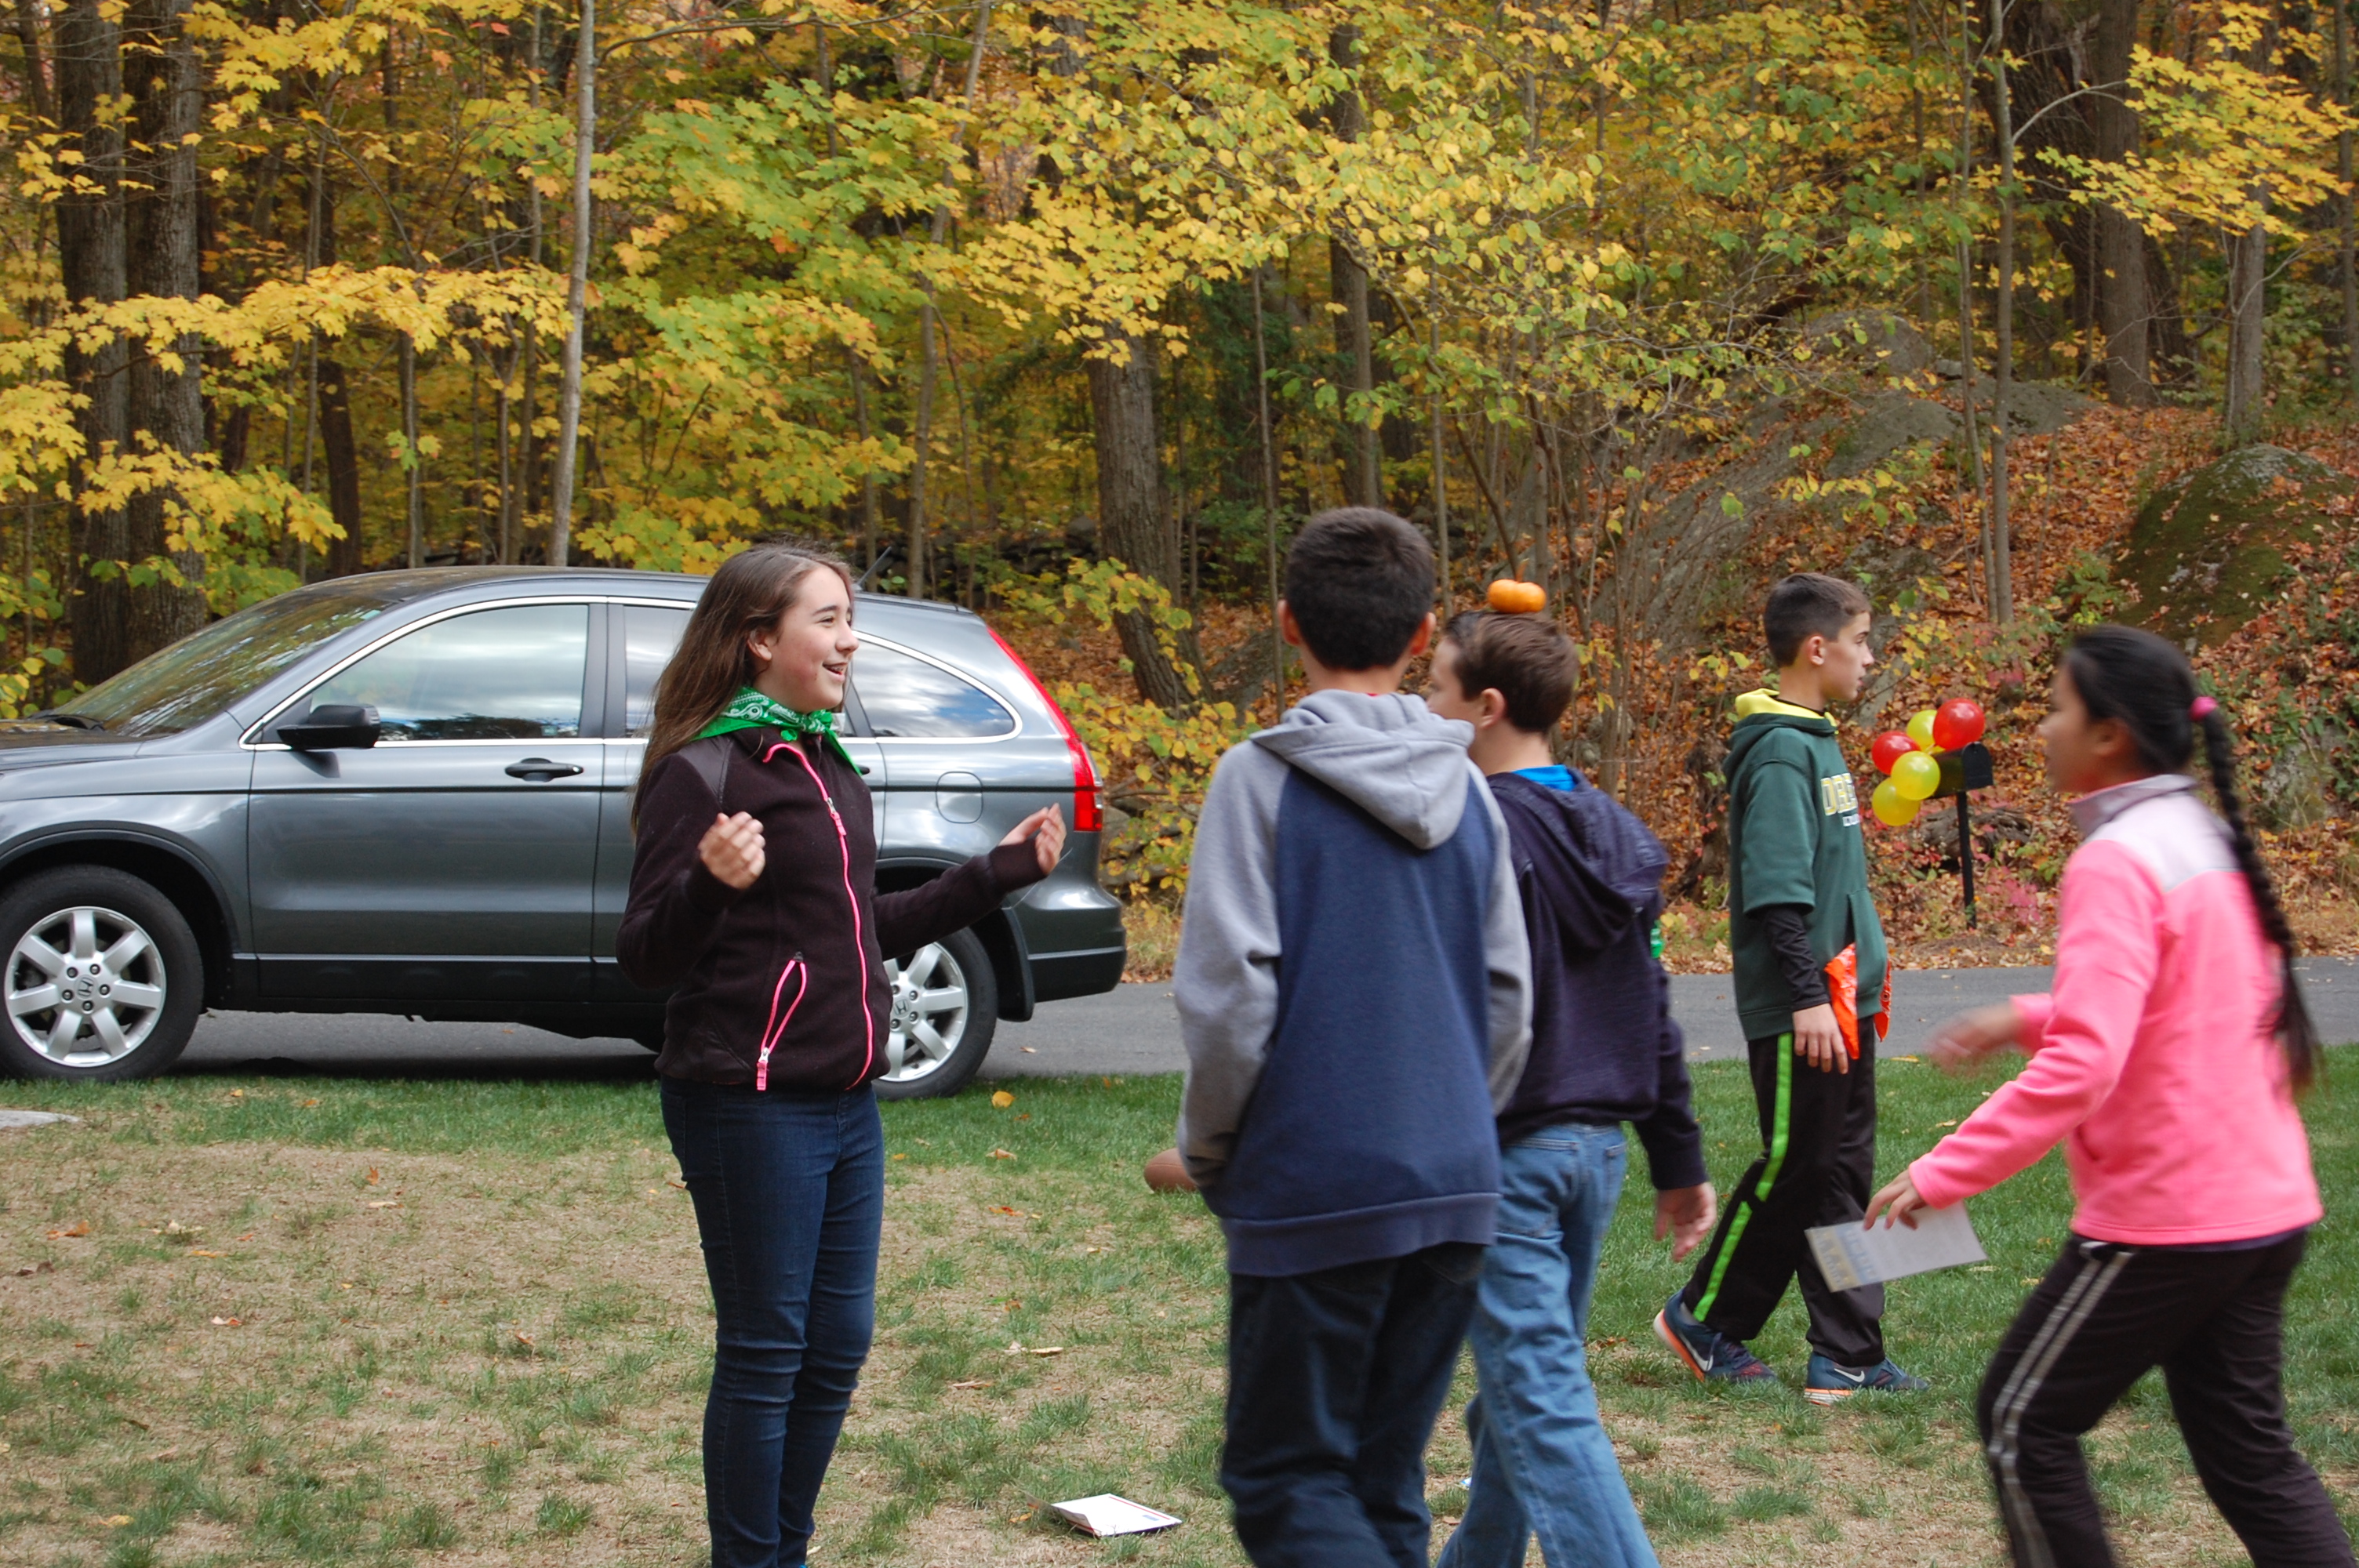
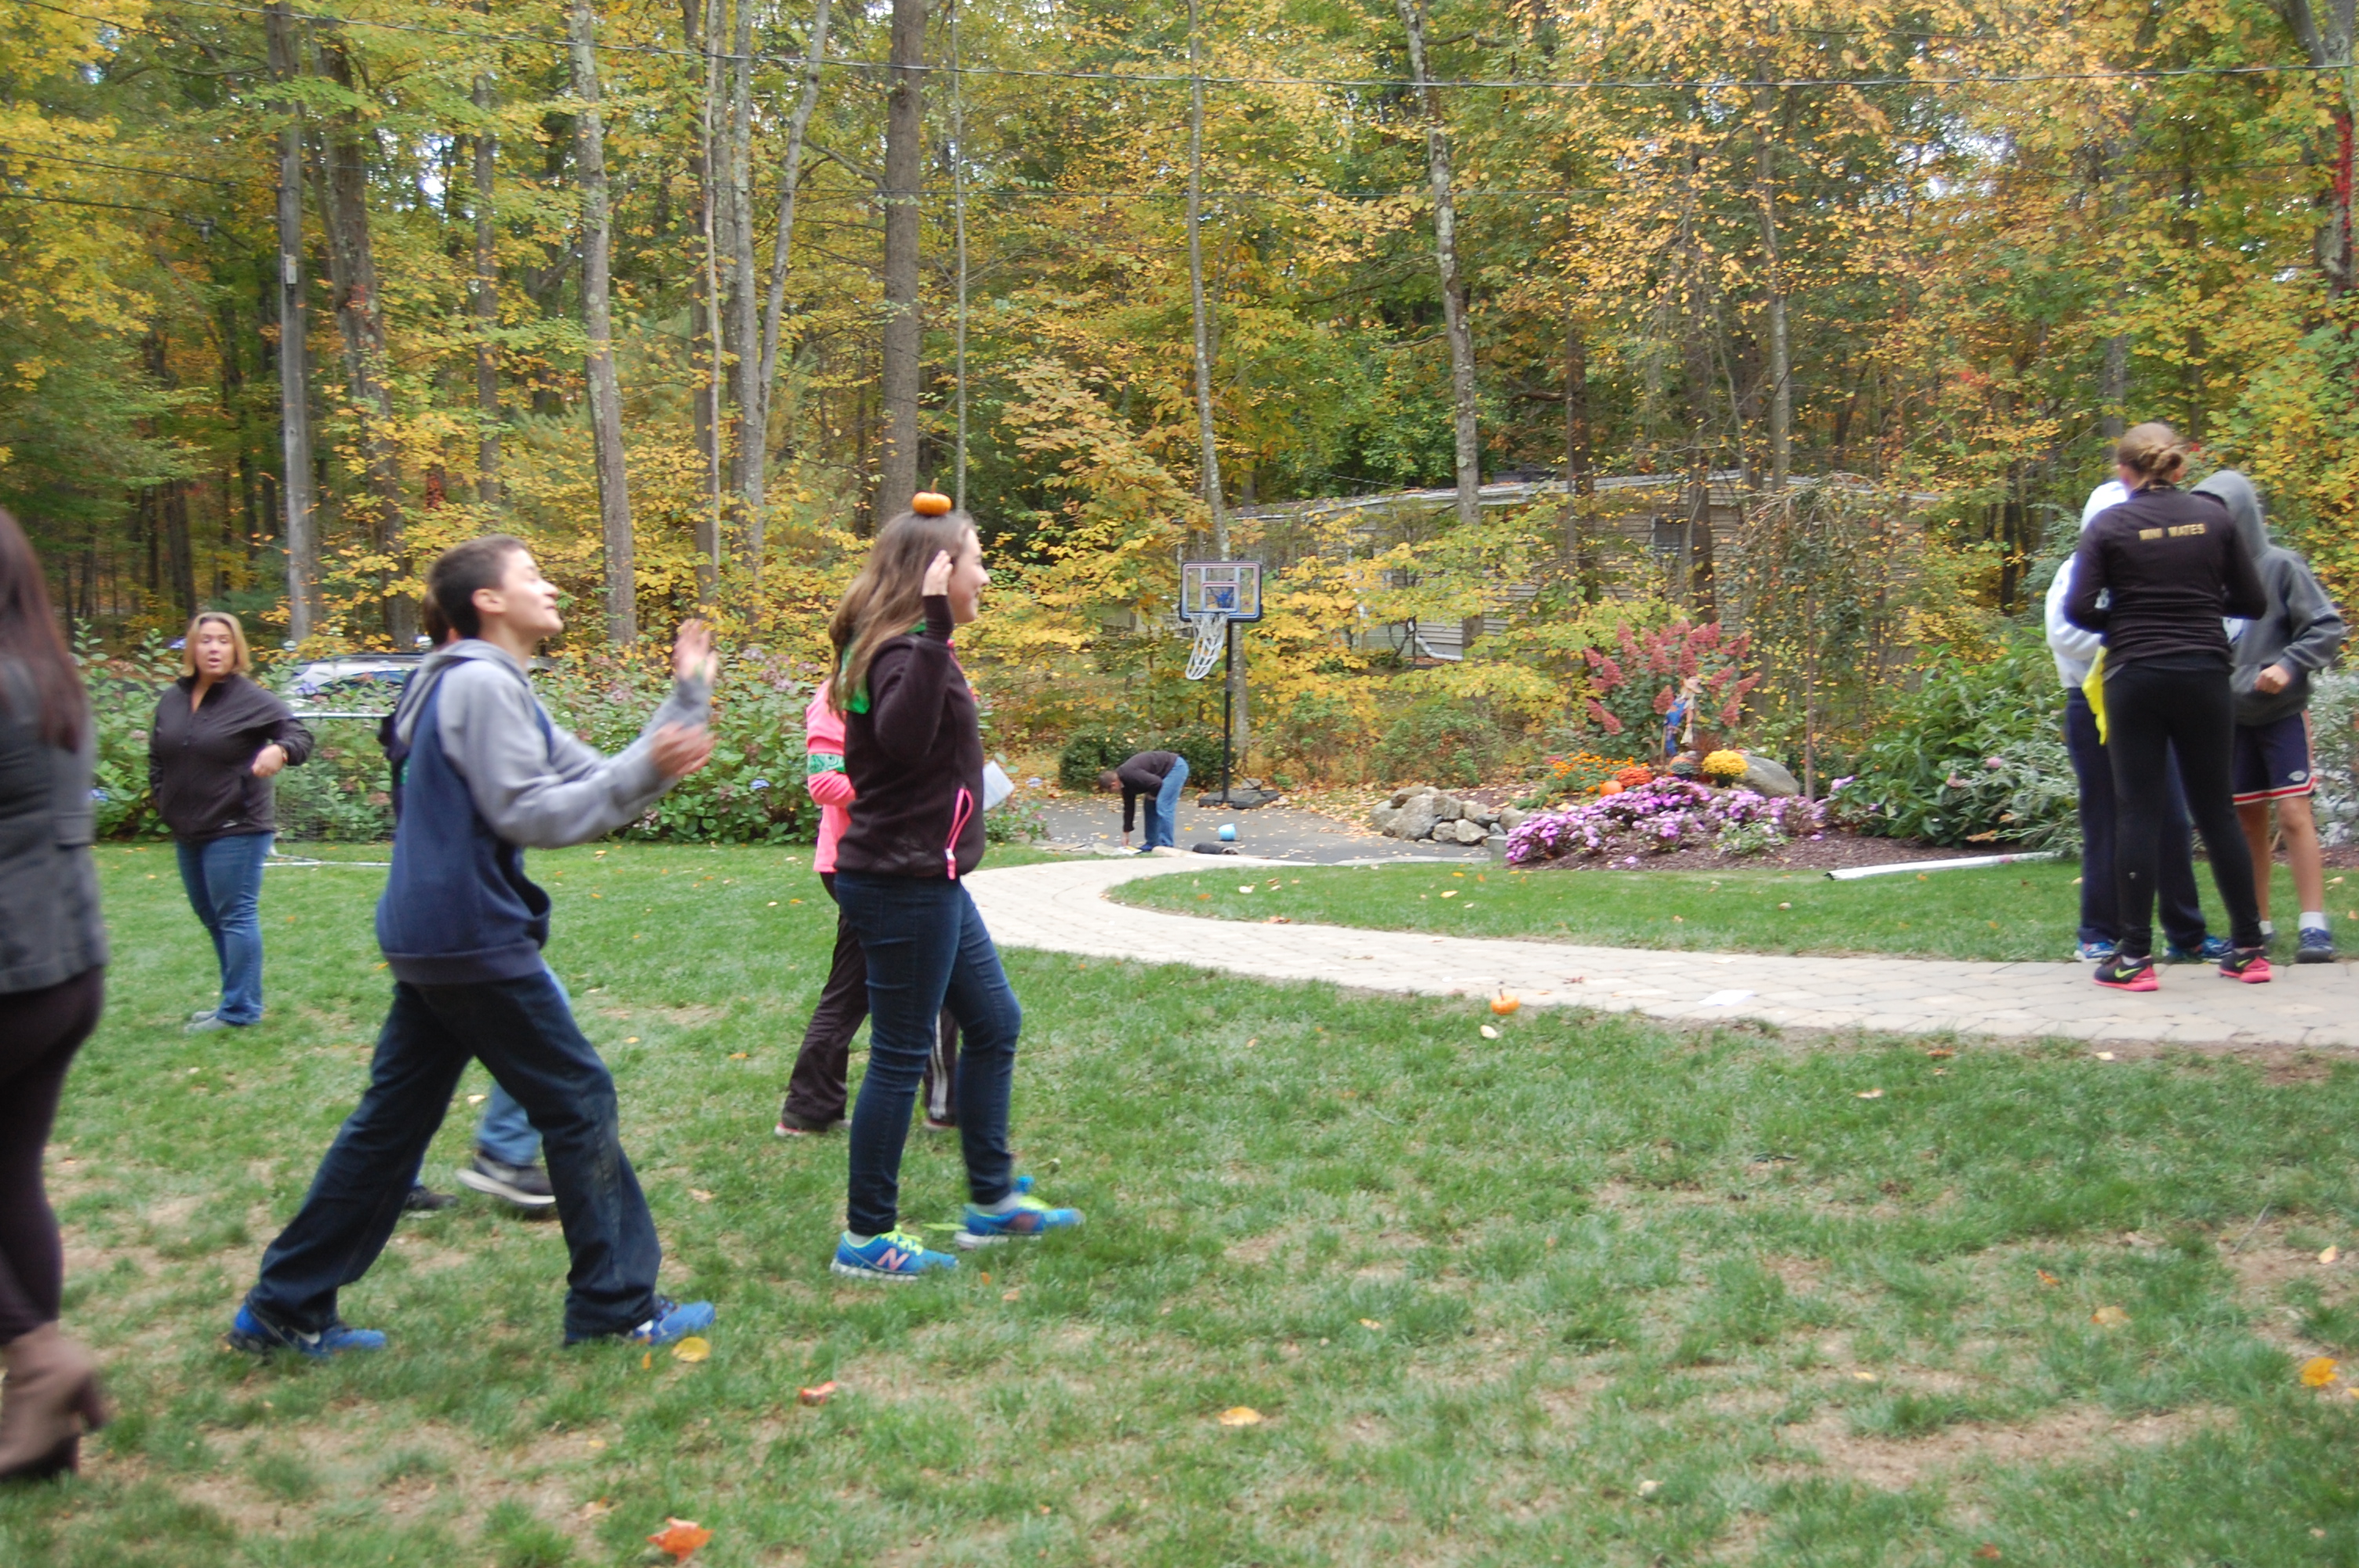
I set up a “mini” pumpkin patch using small pumpkins. There were 4 pumpkins that had a colored ribbon taped to the bottom representing each team color. They had to sort through all of the pumpkins in the patch until they found their color. Then they had to bring the pumpkin back and have a relay while balancing it on top of their heads!


Challenge #6:
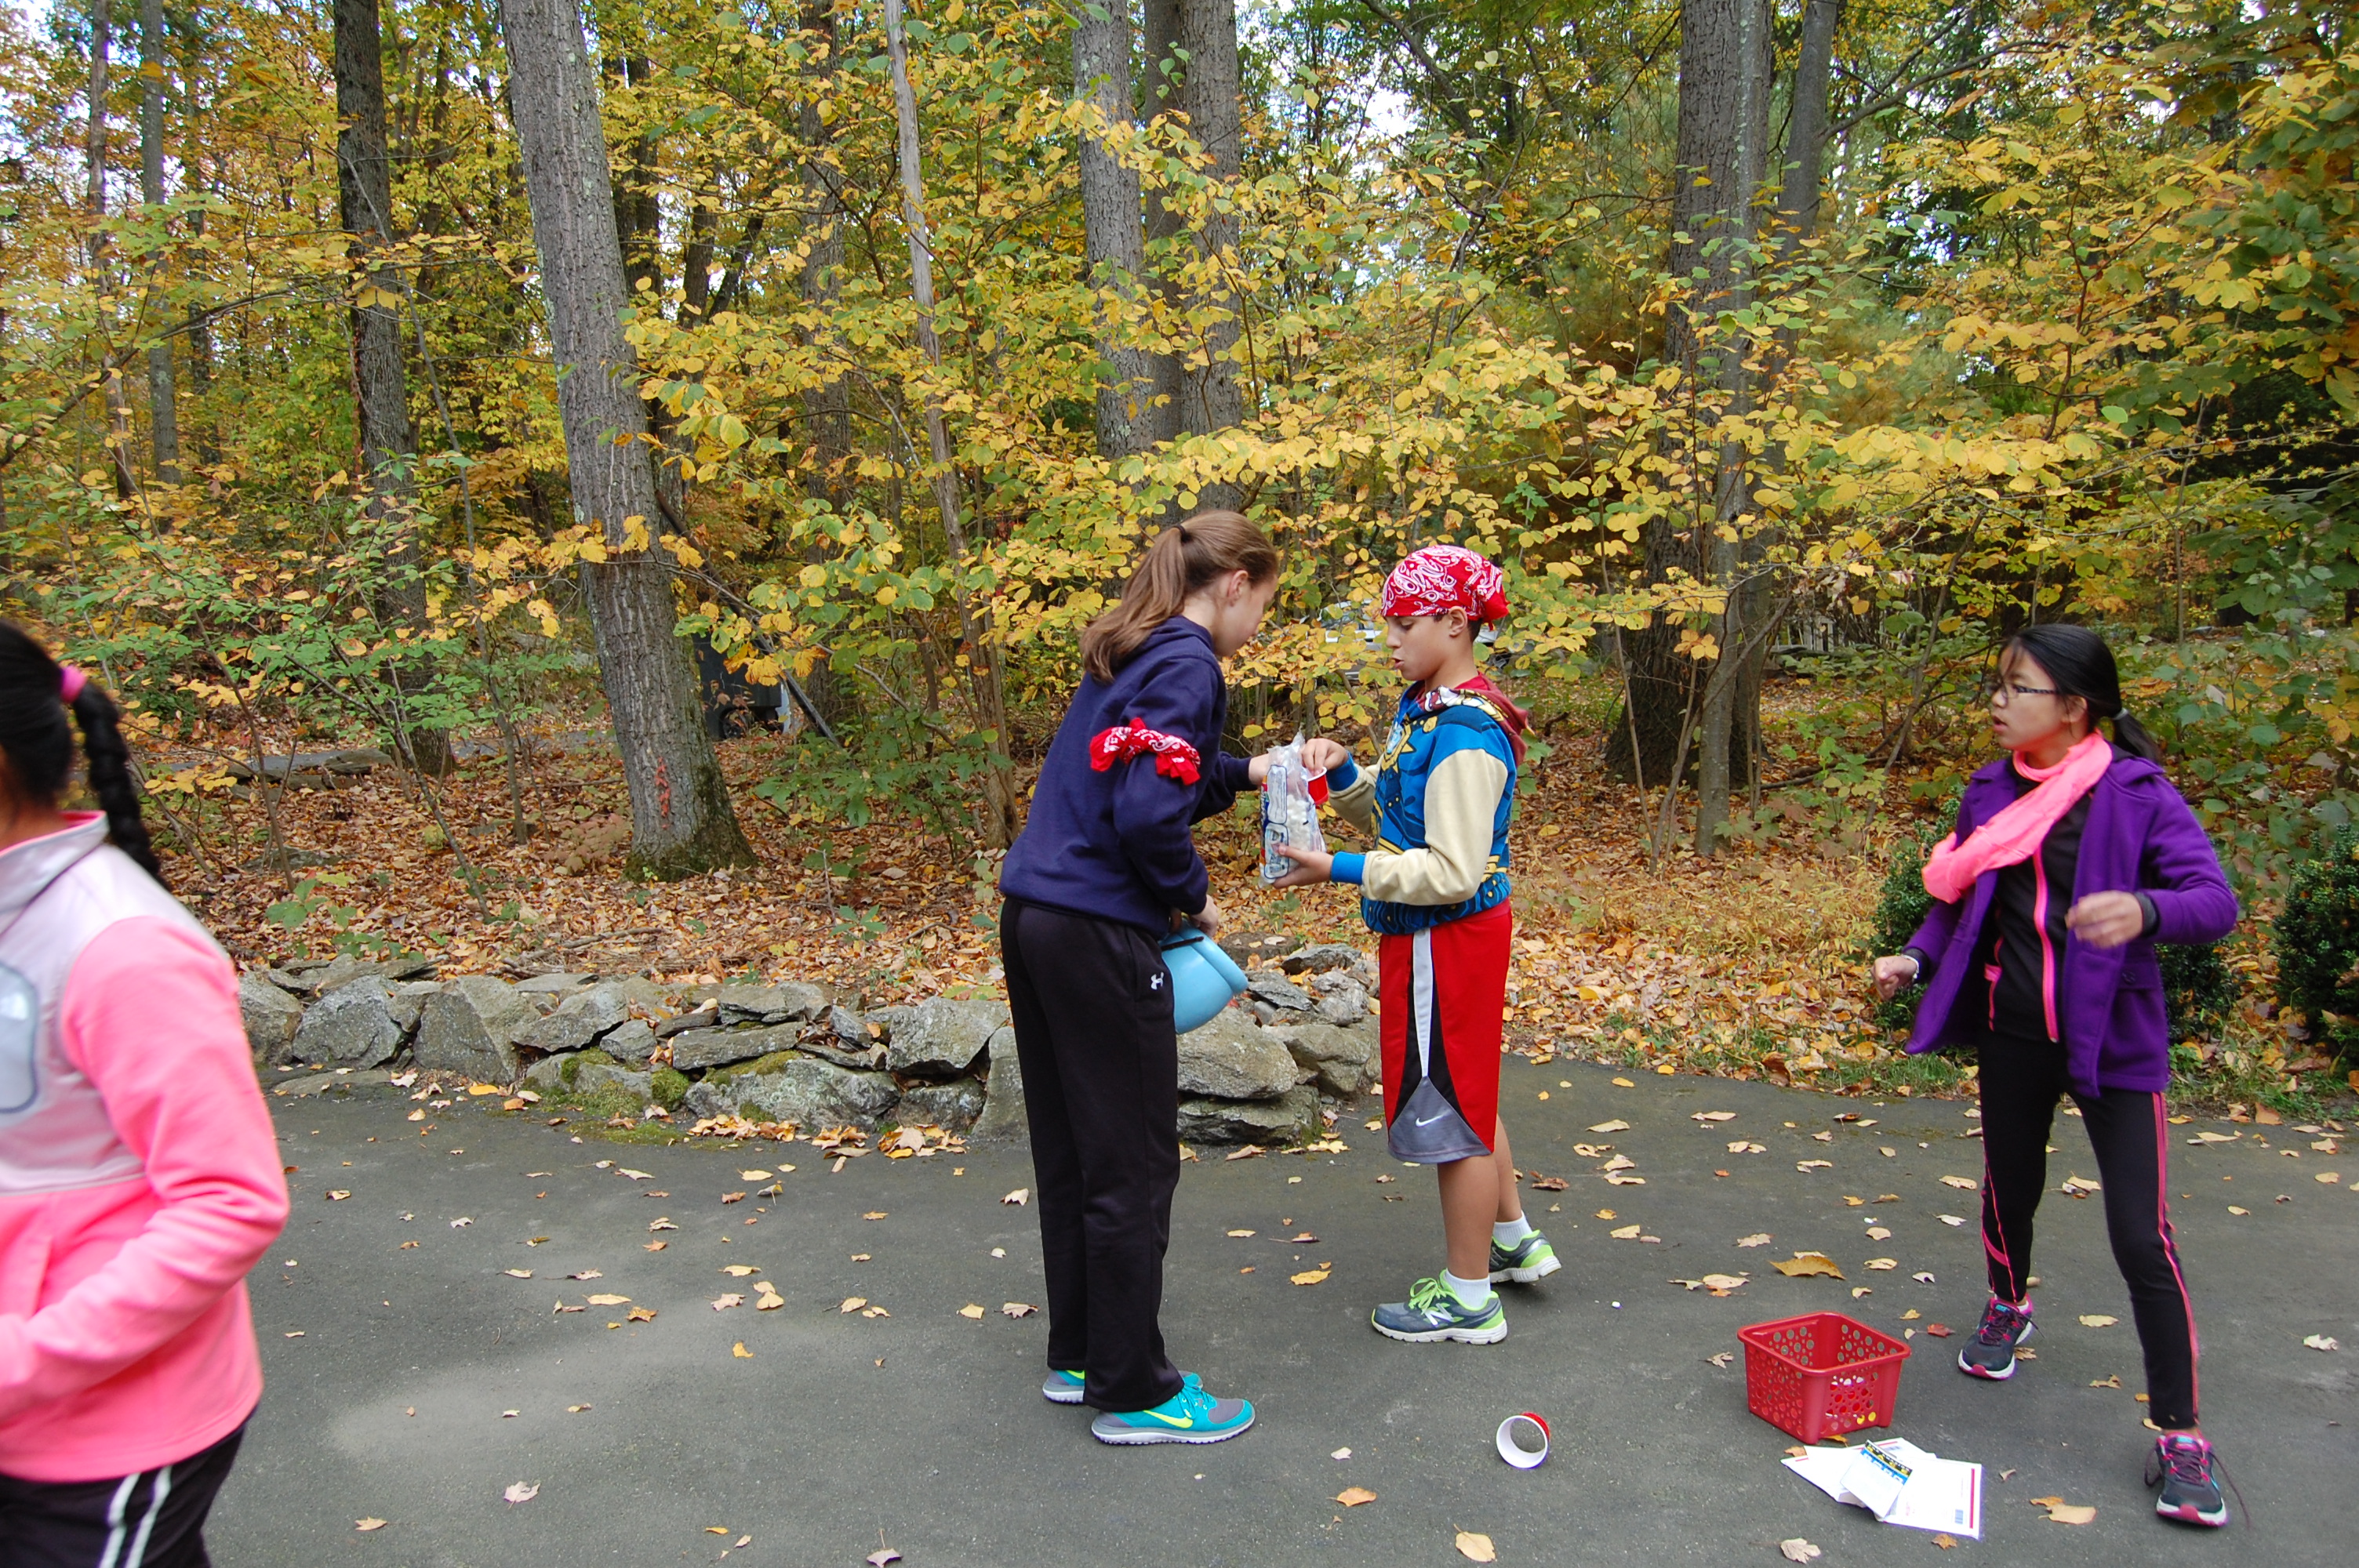
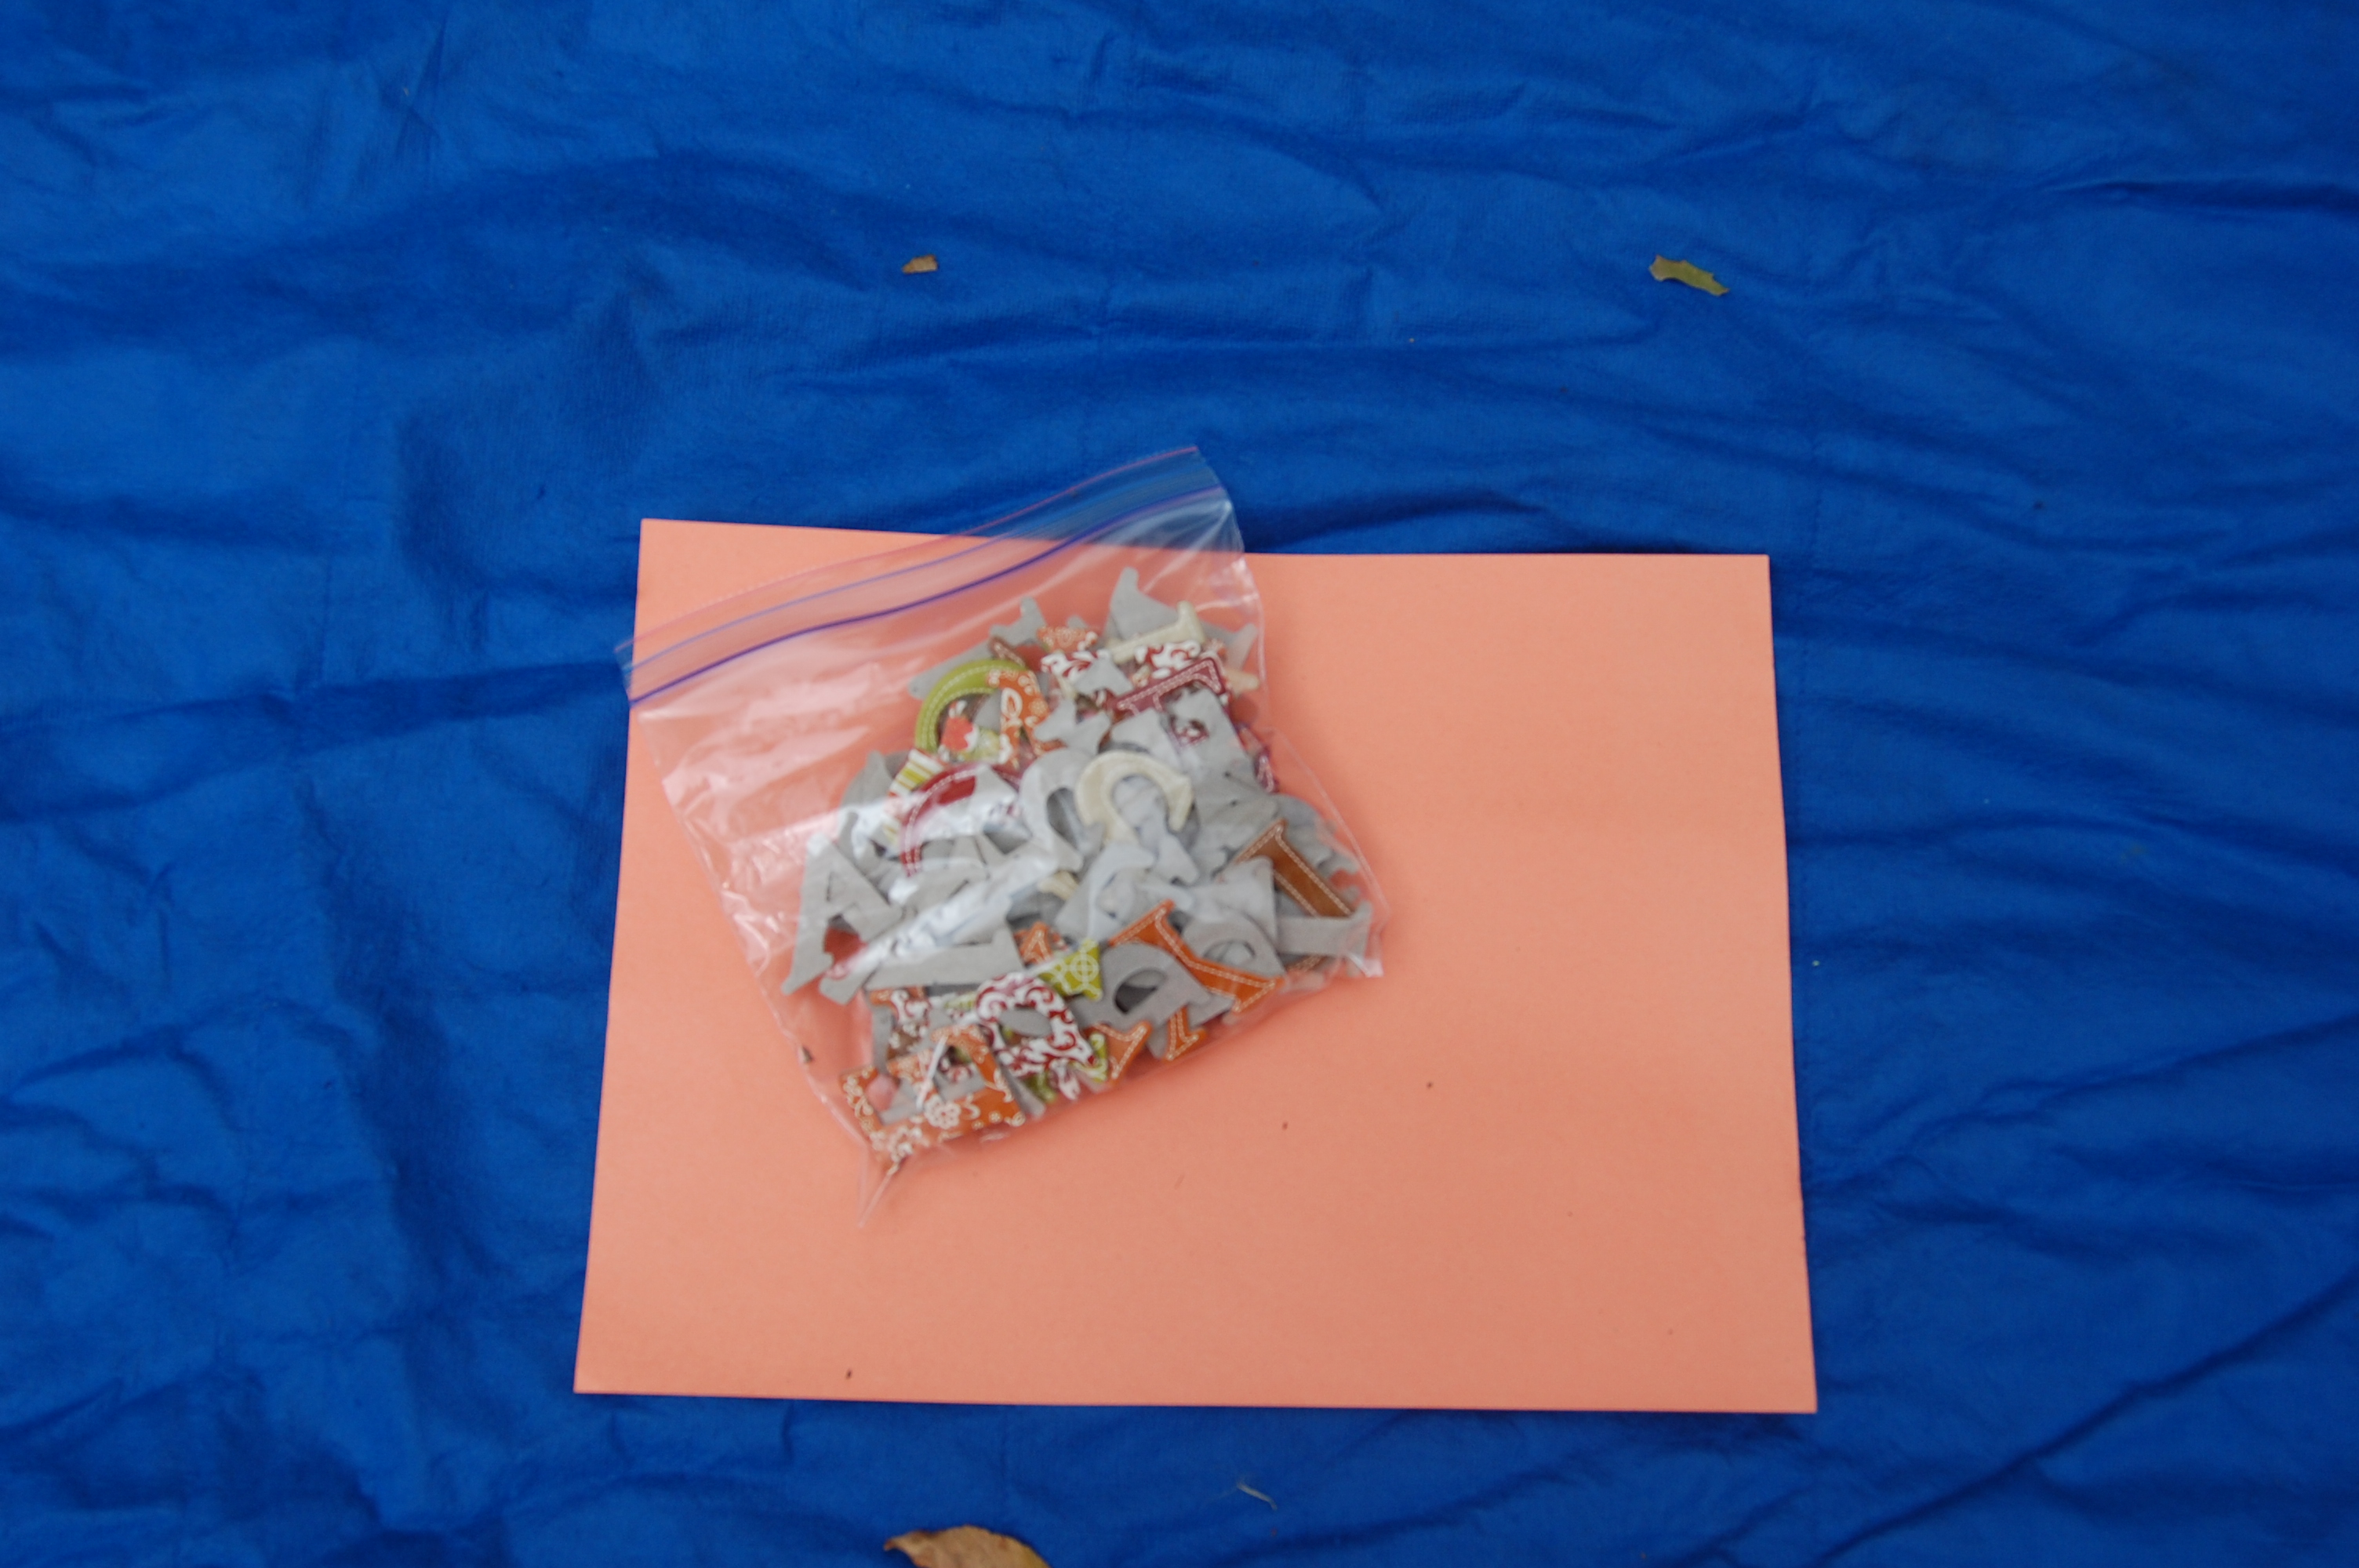
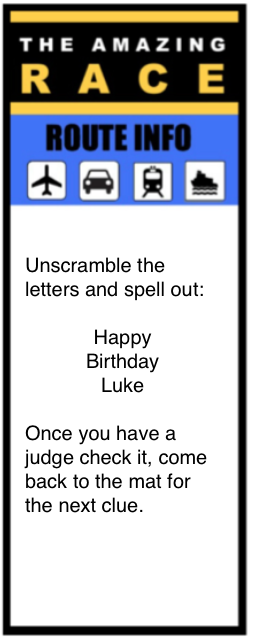
The teams each had a bag with the letters to spell “Happy Birthday Luke” along with other random letters mixed in. They had to unscramble the letters and spell out the phrase before they could move on.


Challenge #7:
For this challenge there were 10 ping pong balls (9 white and 1 pink and black) in a box with a small hole cut in the top. There was a belt threaded through the box to attach it to the kids’ waists. They had to jump up and down until the pink and black ball fell out. First team done, is finished with the Amazing Race and wins!


And we have our winners….The Yellow Team!
(I felt this was the best team picture we had- forgot to take one of them at the end!)

Each member of the winning team received a small prize bag with a few items in it and a winning medal.

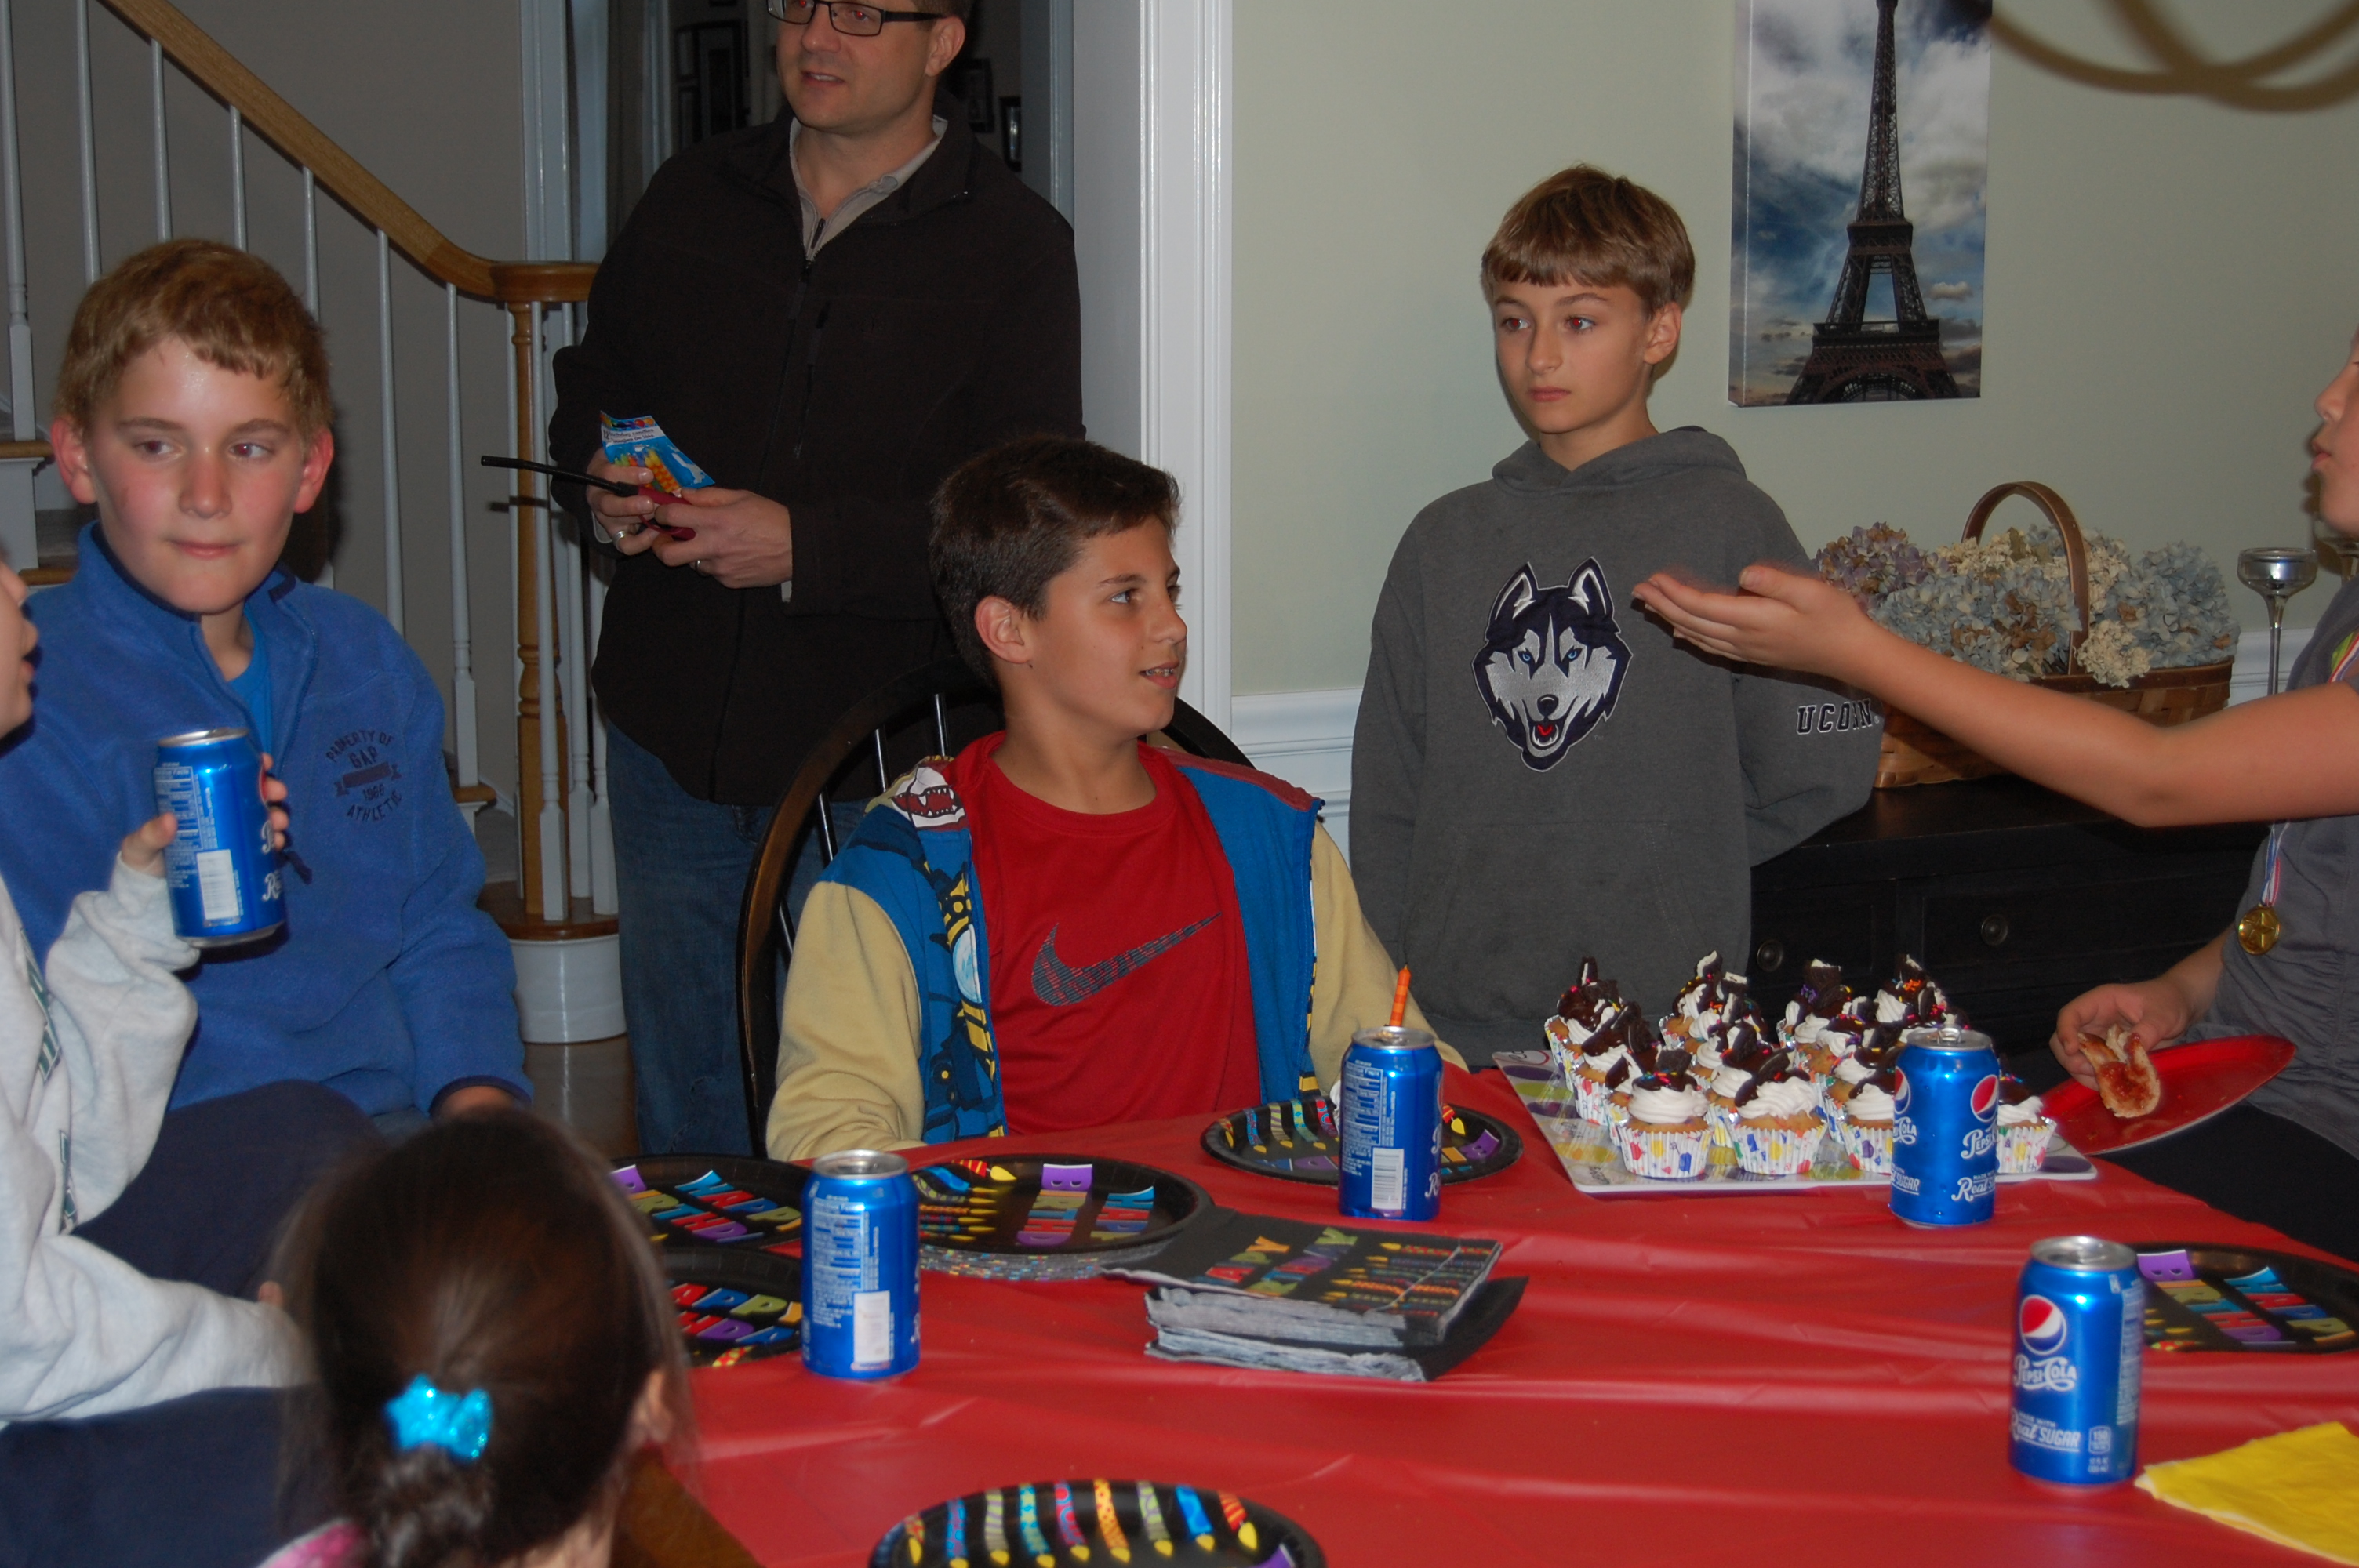
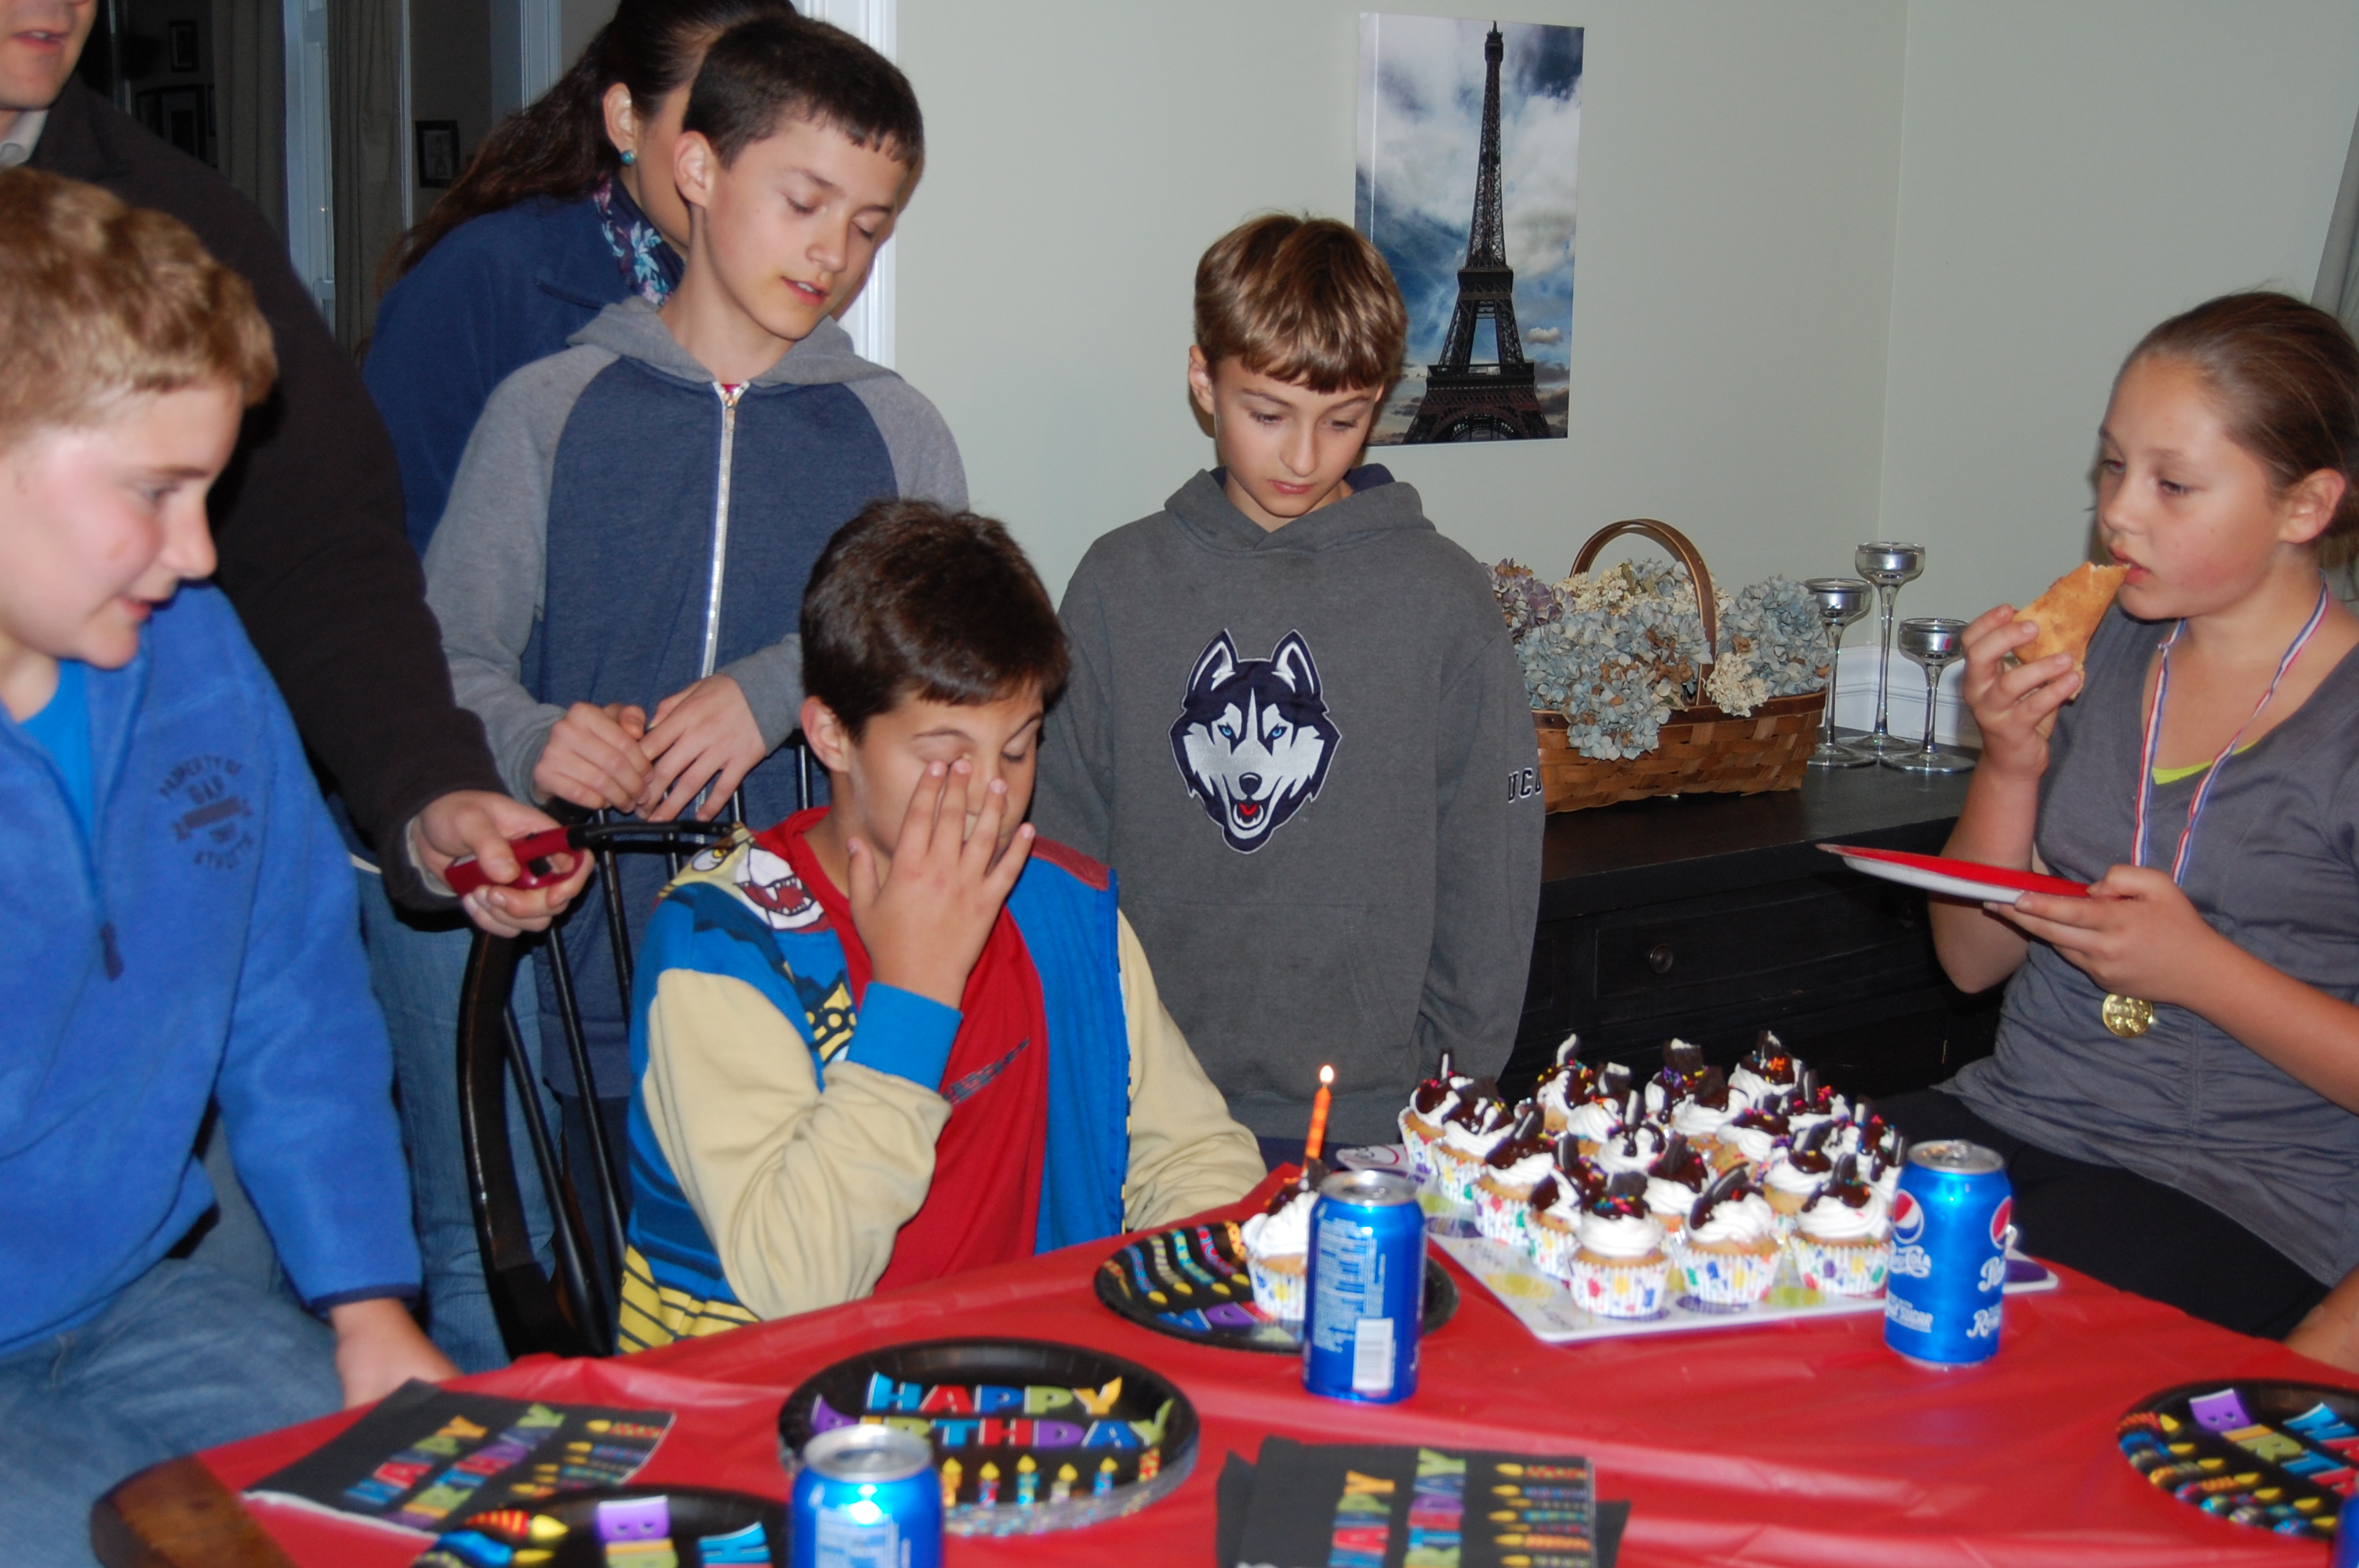
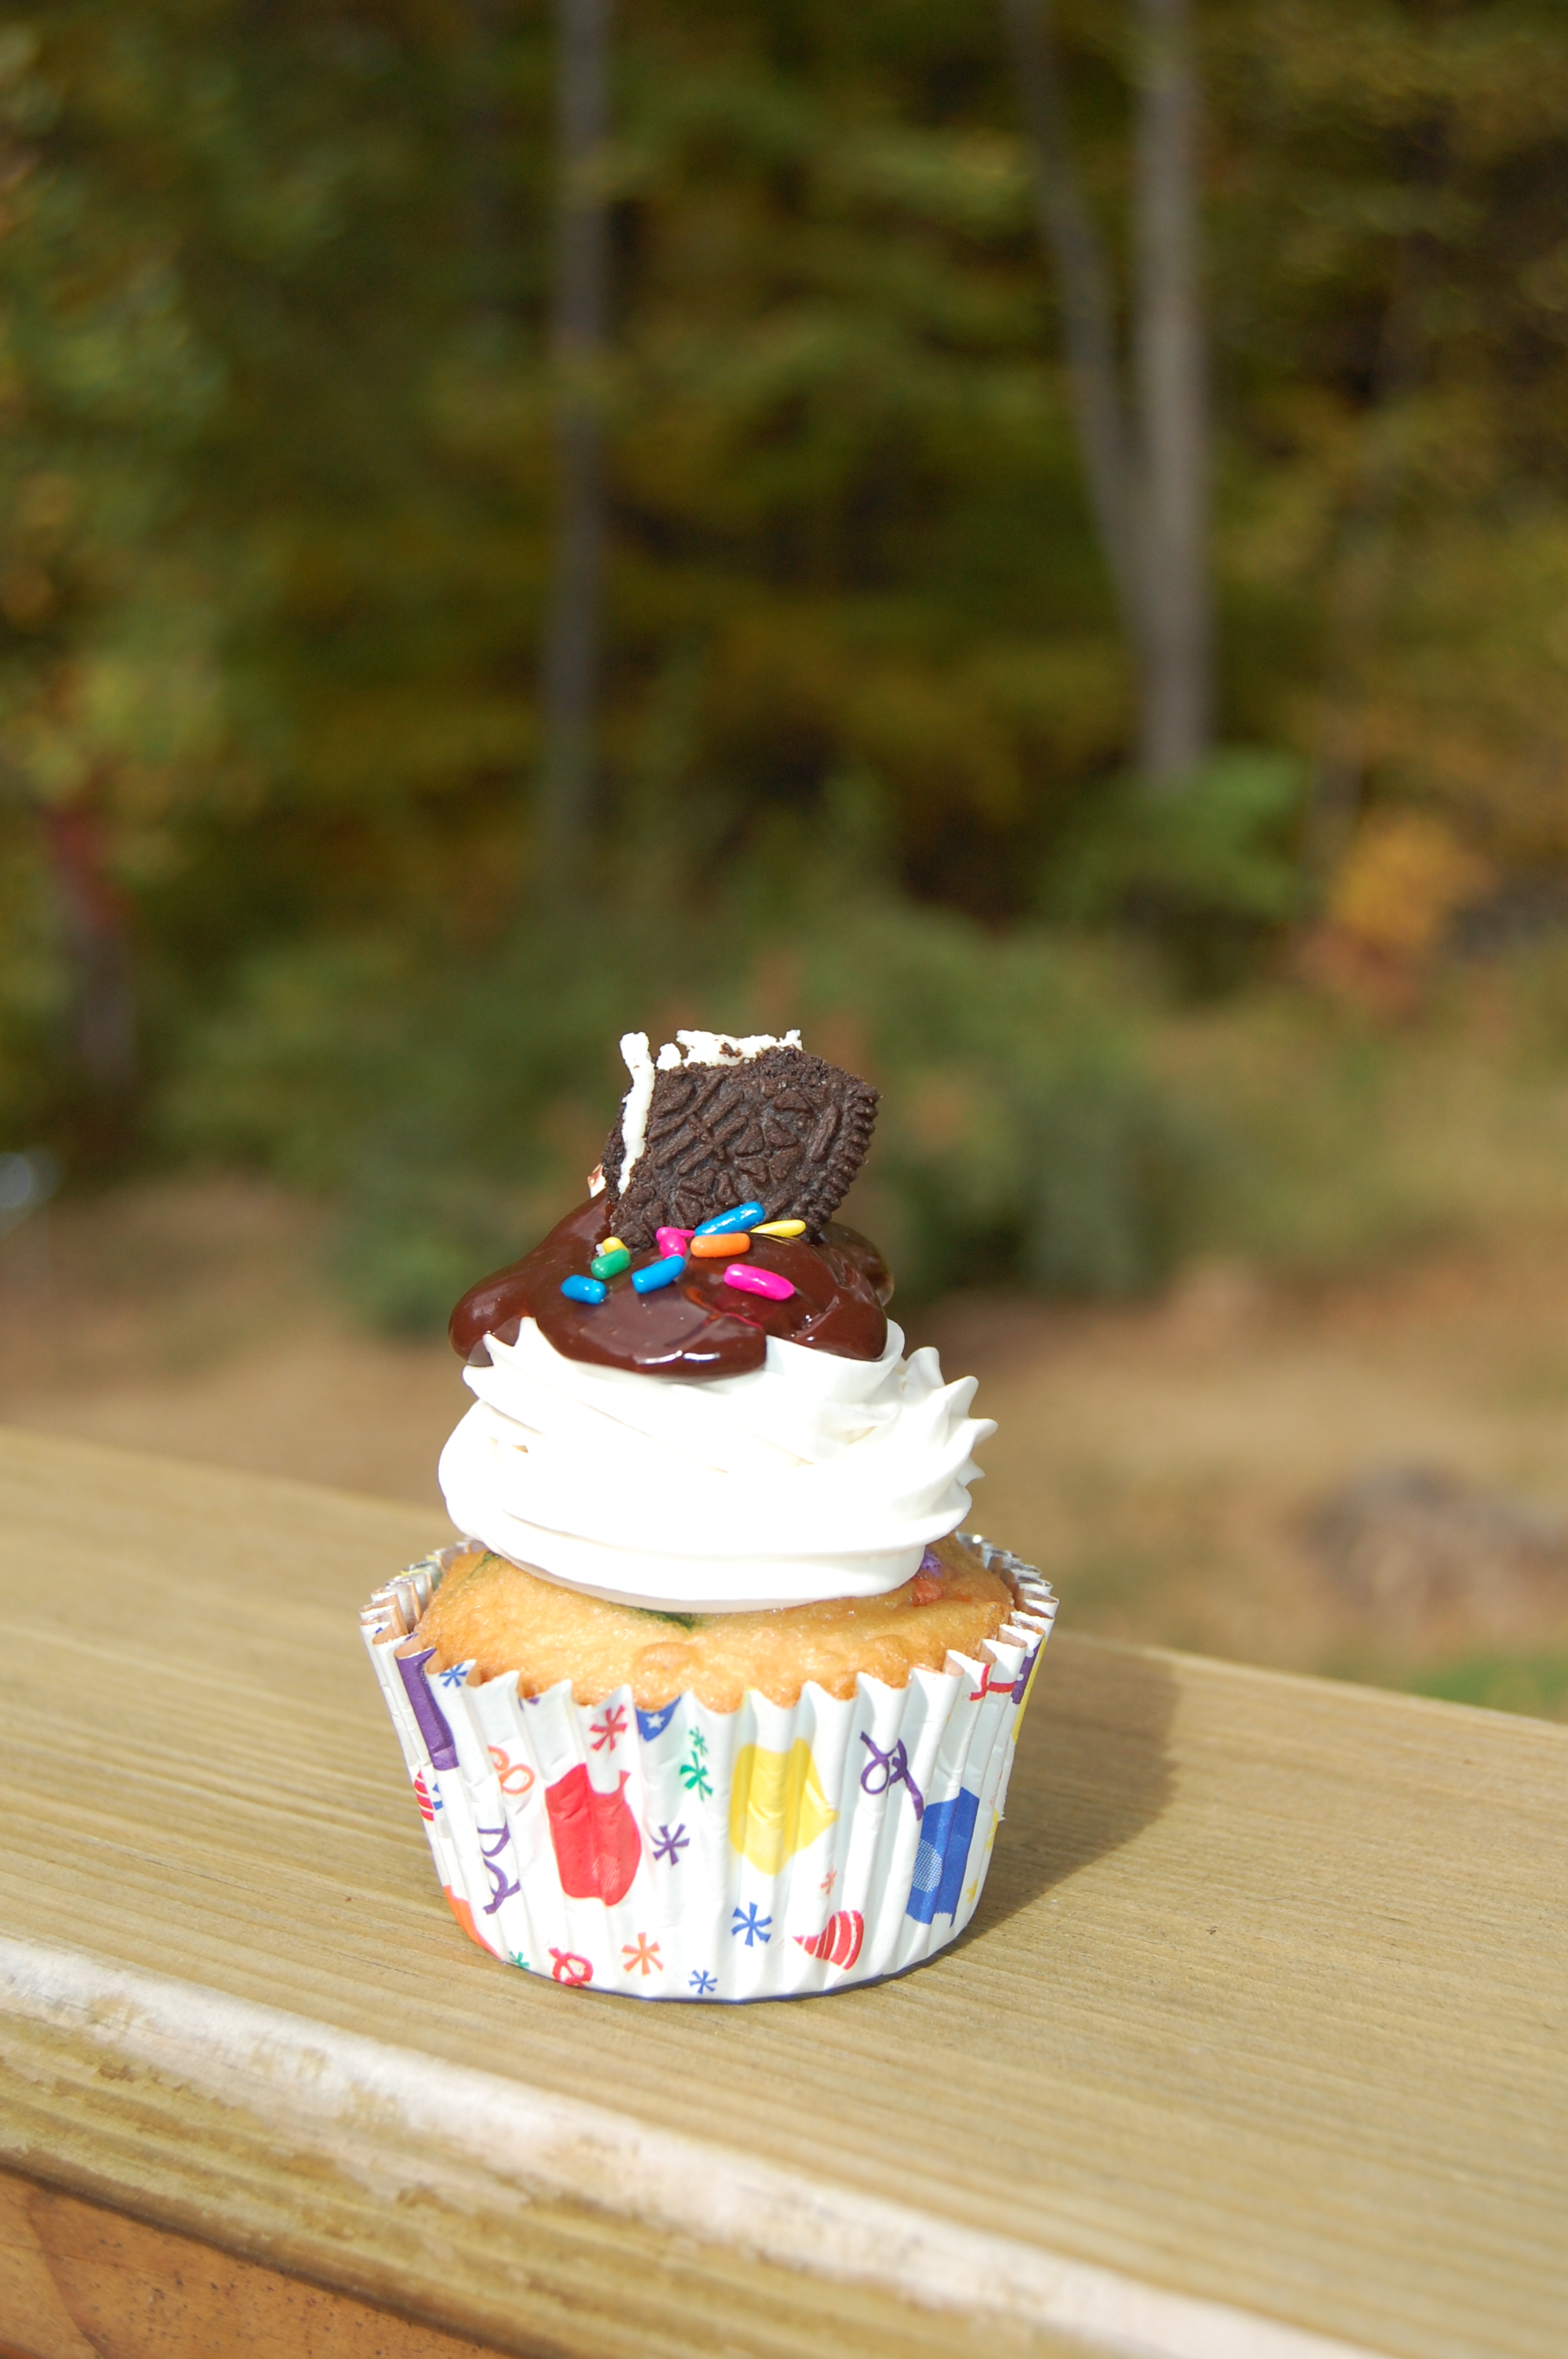
On to Pizza and Cupcakes! What a GREAT day!


Finally, for thank you notes, Luke personalized these and we included a $5 Dunkin Donuts Gift Card for each guest. They also got to take home their bandanas and a pumpkin if they wanted.

7 Fun Fall Nature Activities To Do With Your Kids
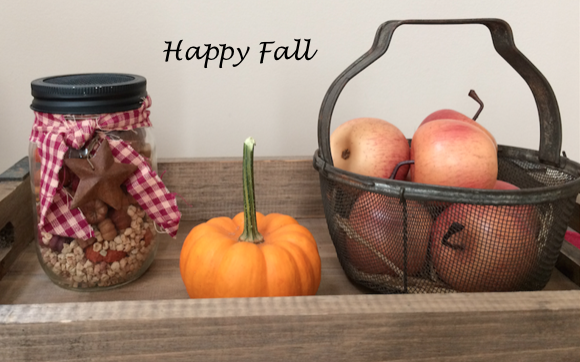
Fall is such a wonderful season here in the Northeast! It’s the season of pumpkin and apple picking, warm days, cool nights and falling leaves. The trees are topped with vibrant hues of red, orange and yellow and people have pumpkins and beautifully colored mums displayed in front of their houses.
A great way to celebrate the season is to use nature to do fun activities and great projects with the kids!
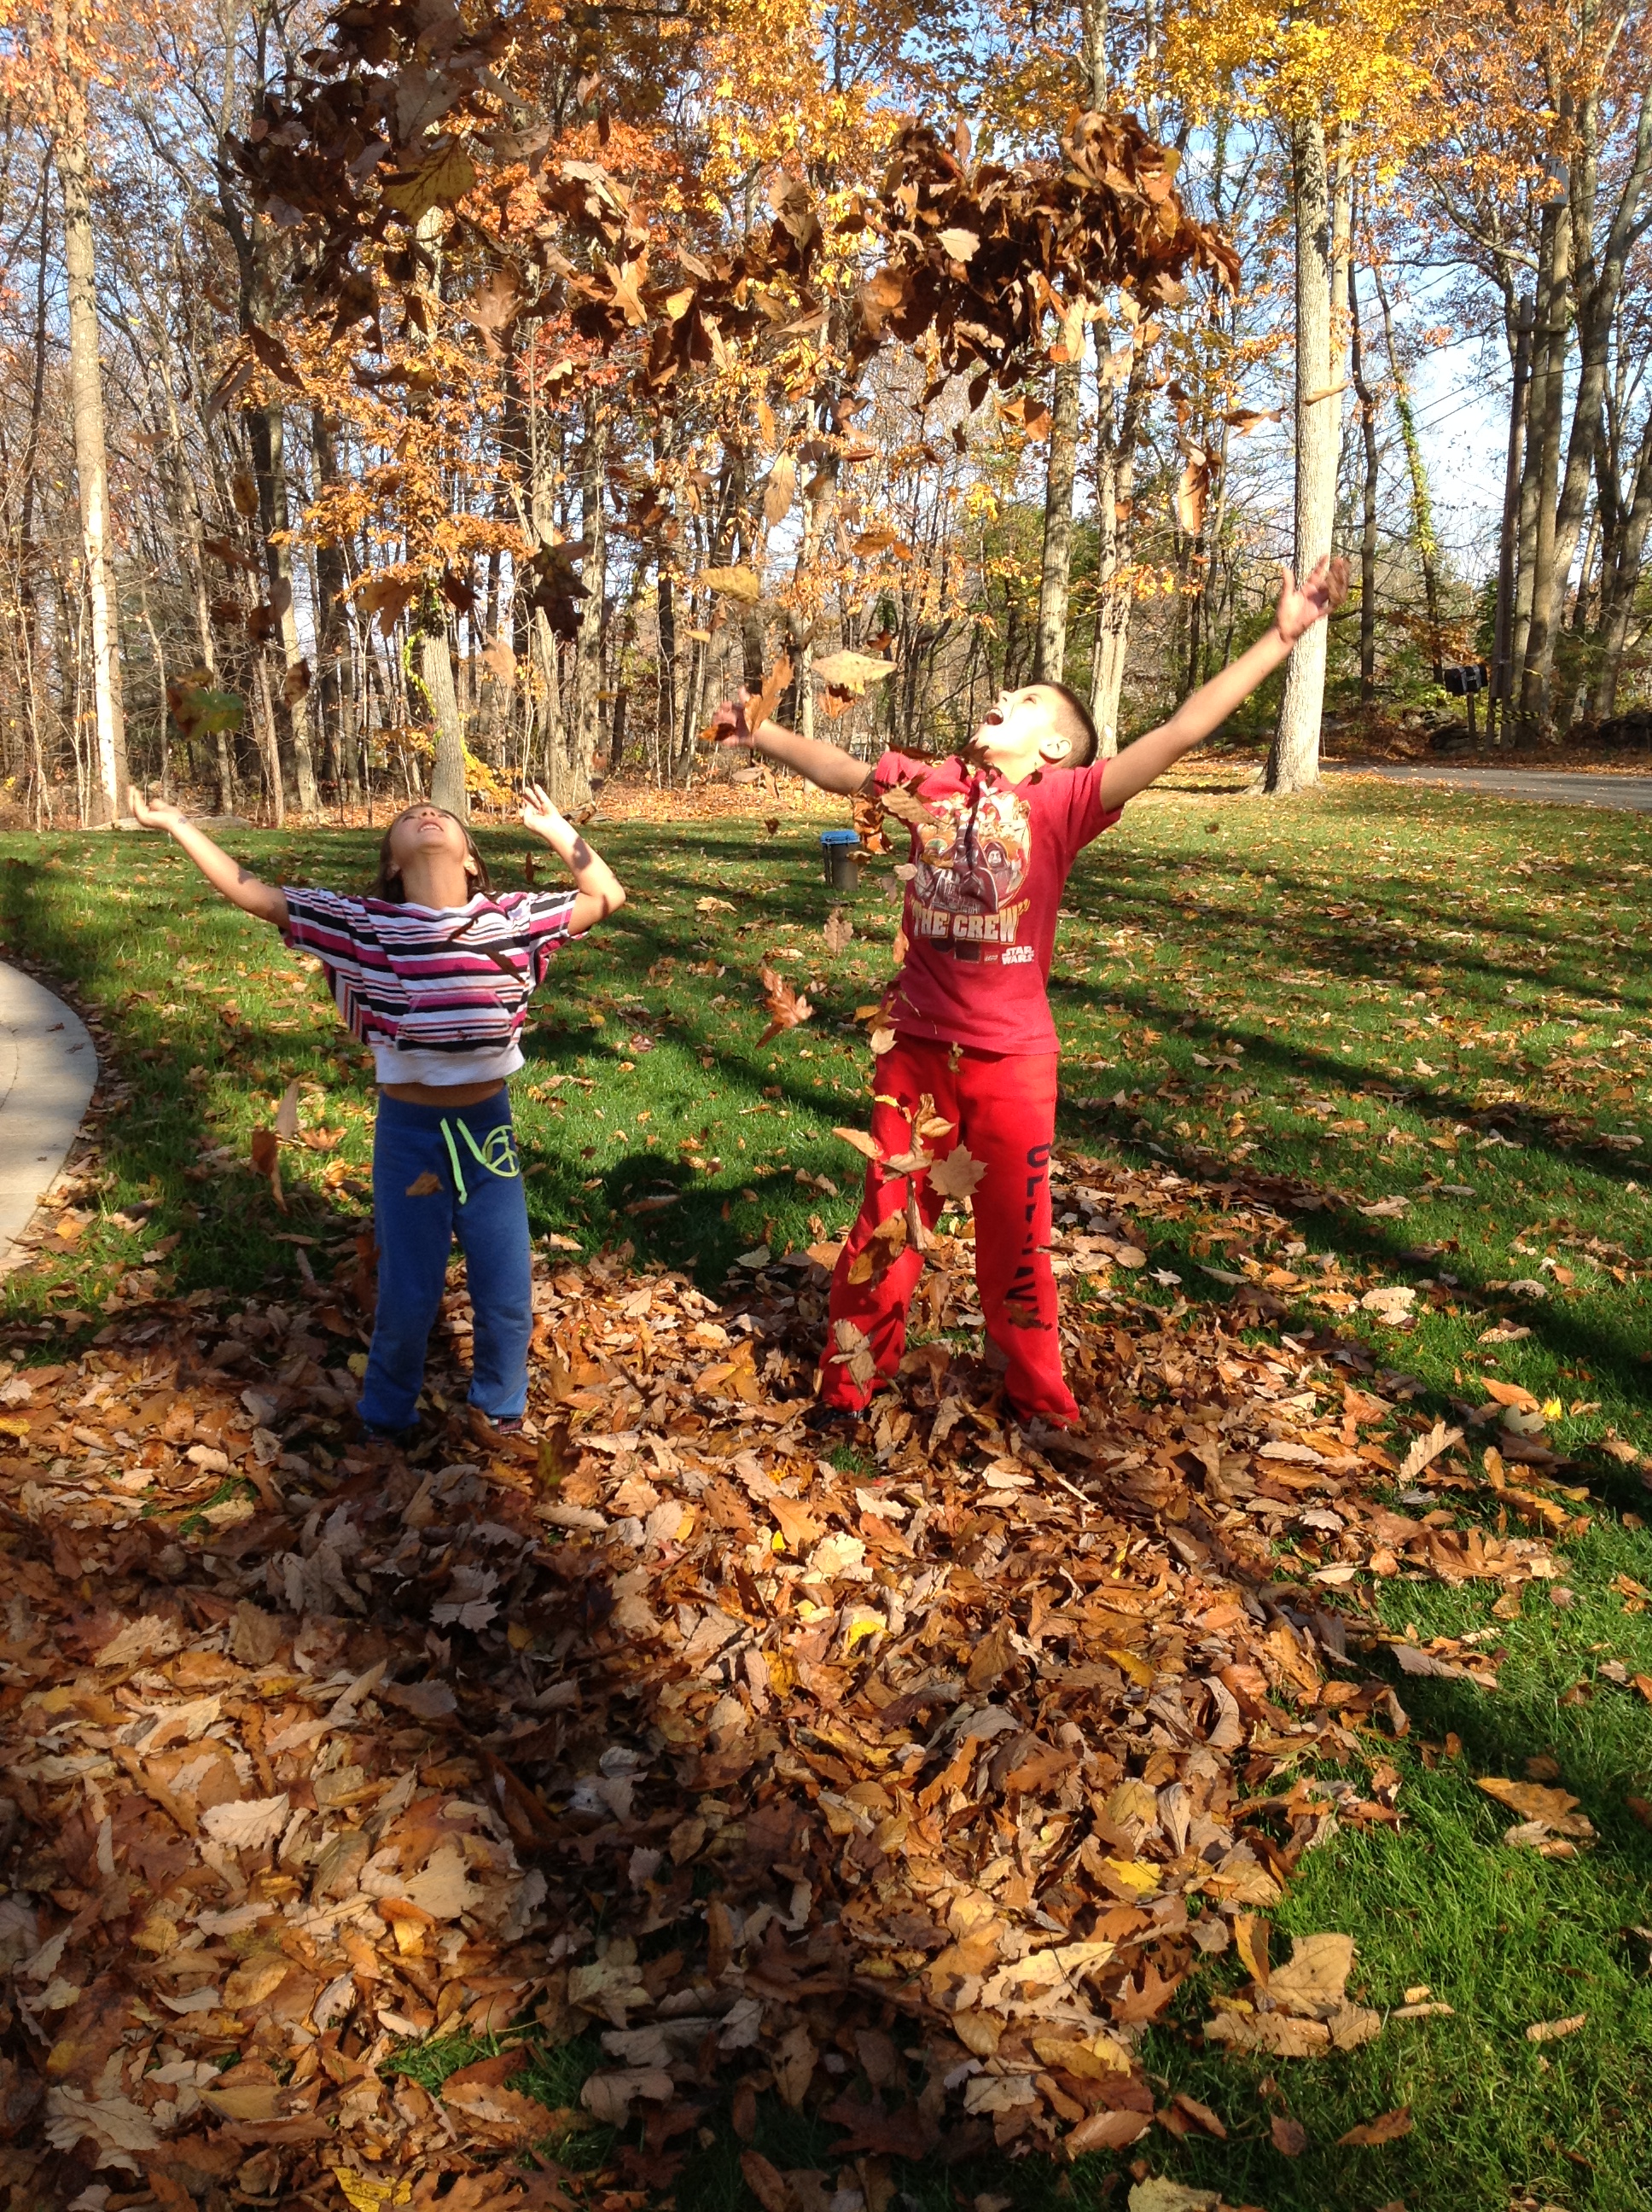
- The easiest and most fun fall activity- rake leaves into a pile and jump into them!

- Go on a fall themed nature scavenger hunt. Print this one for free from www.moritzfineblogdesigns.com

- Dye the leftover pumpkin seeds and make pumpkin seed art. You can find a tutorial here: http://greeningsamandavery.typepad.com/greening-sam-and-avery/crafts/page/2/


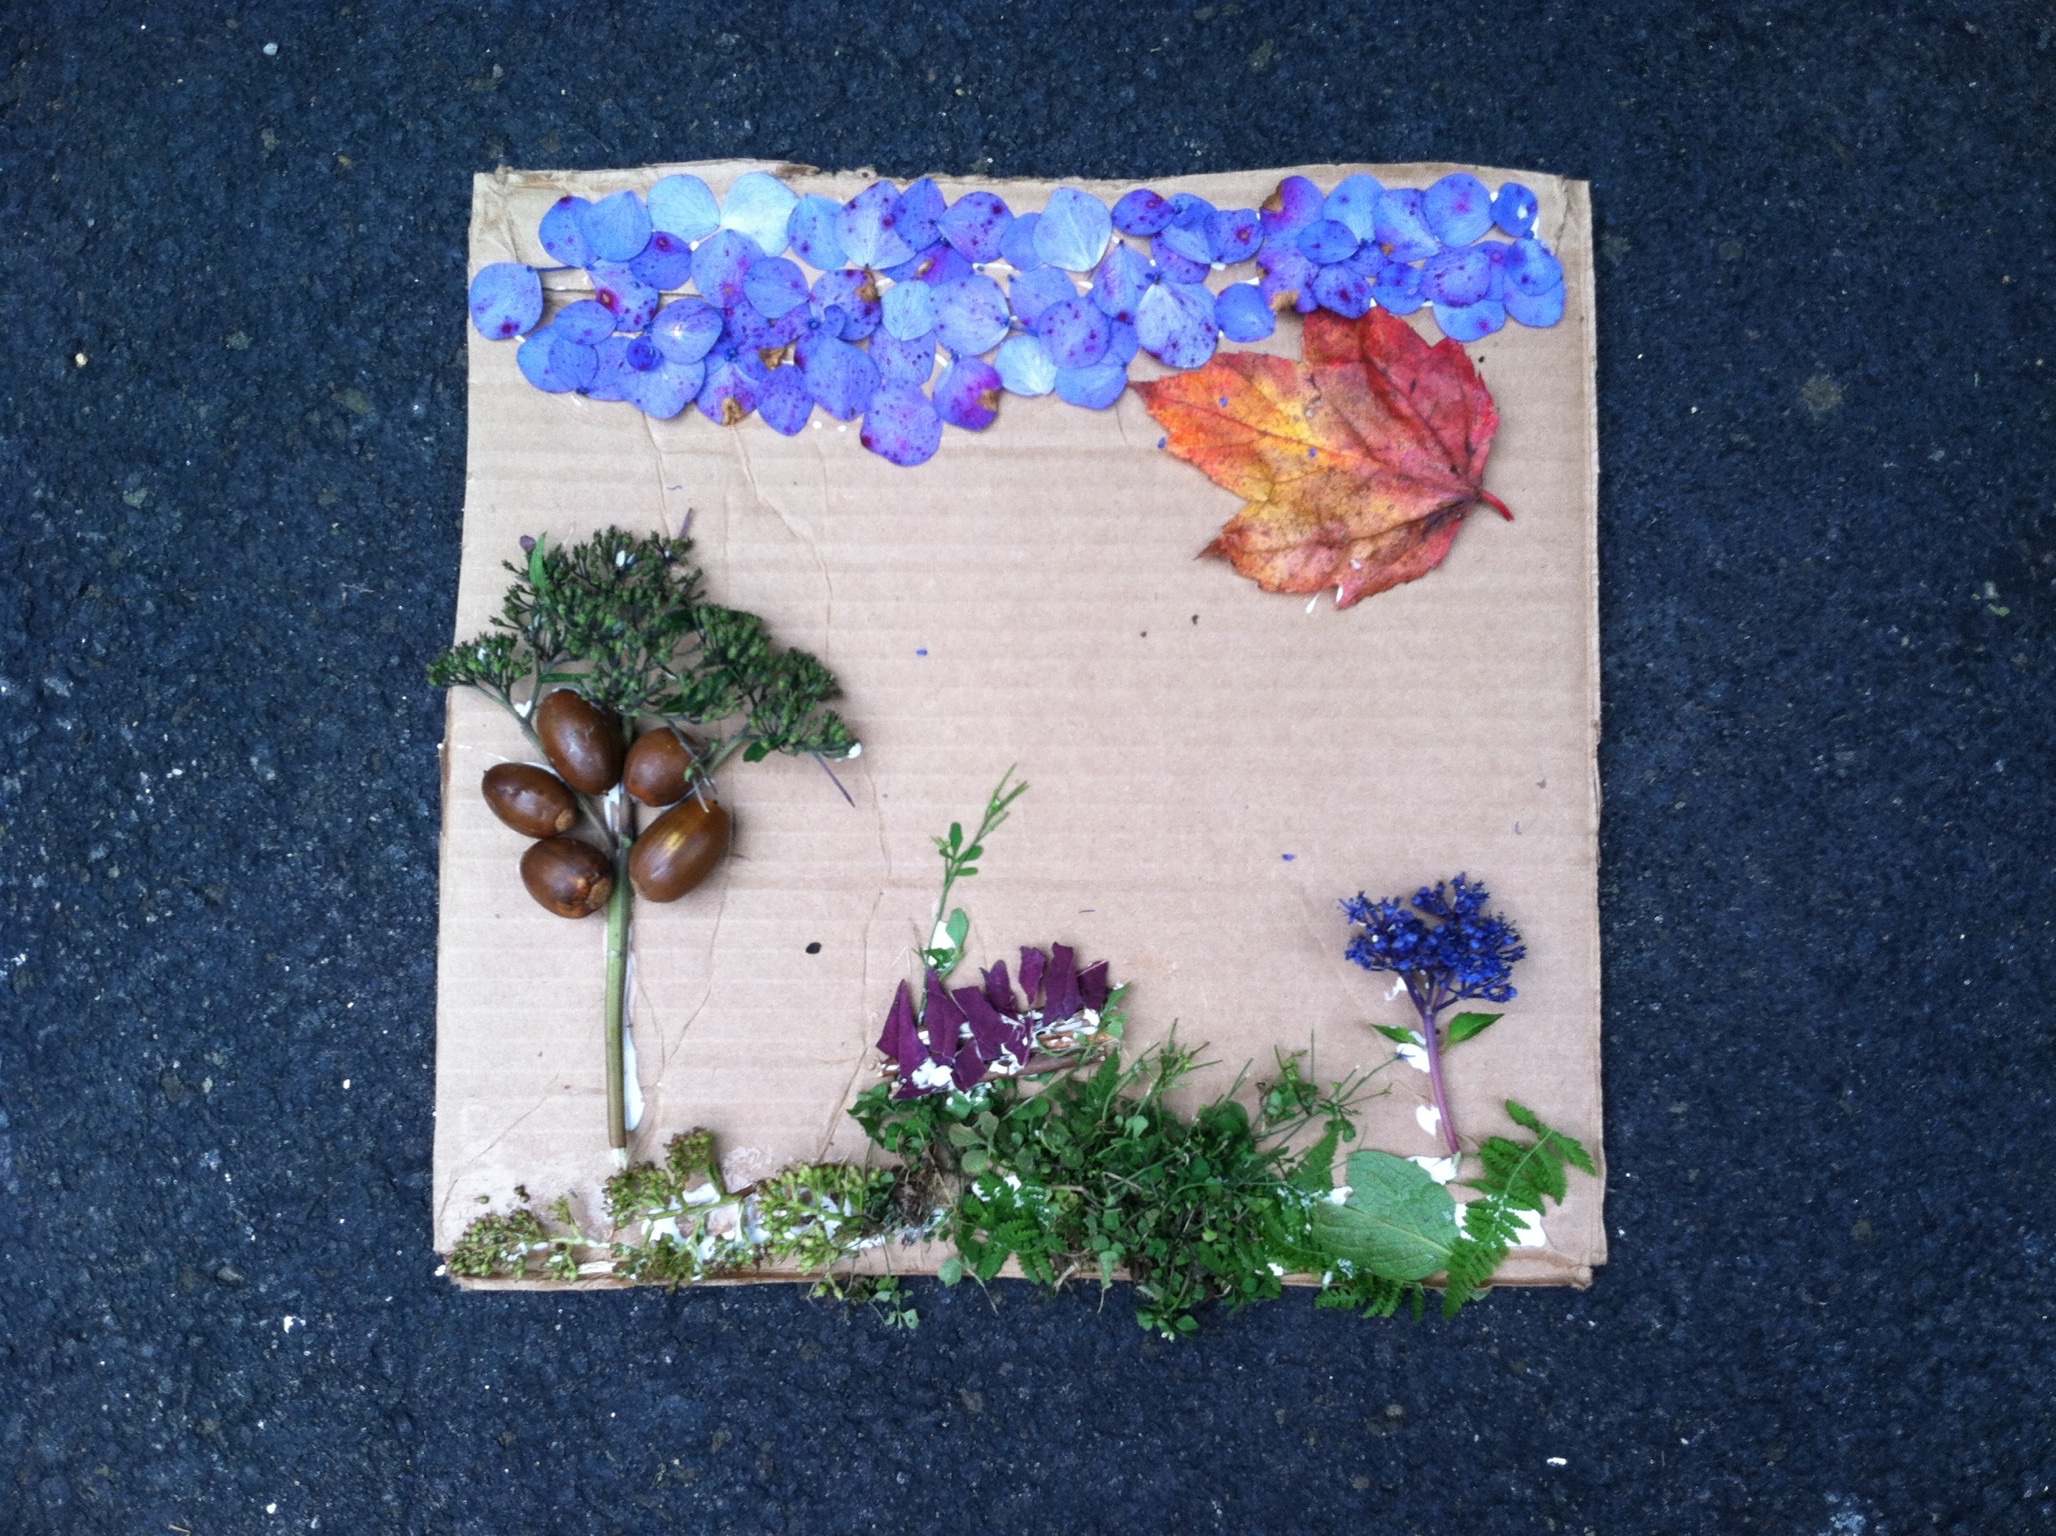
- Use leaves, flower petals, sticks, acorns and other bits of nature to make a sign or a scene.


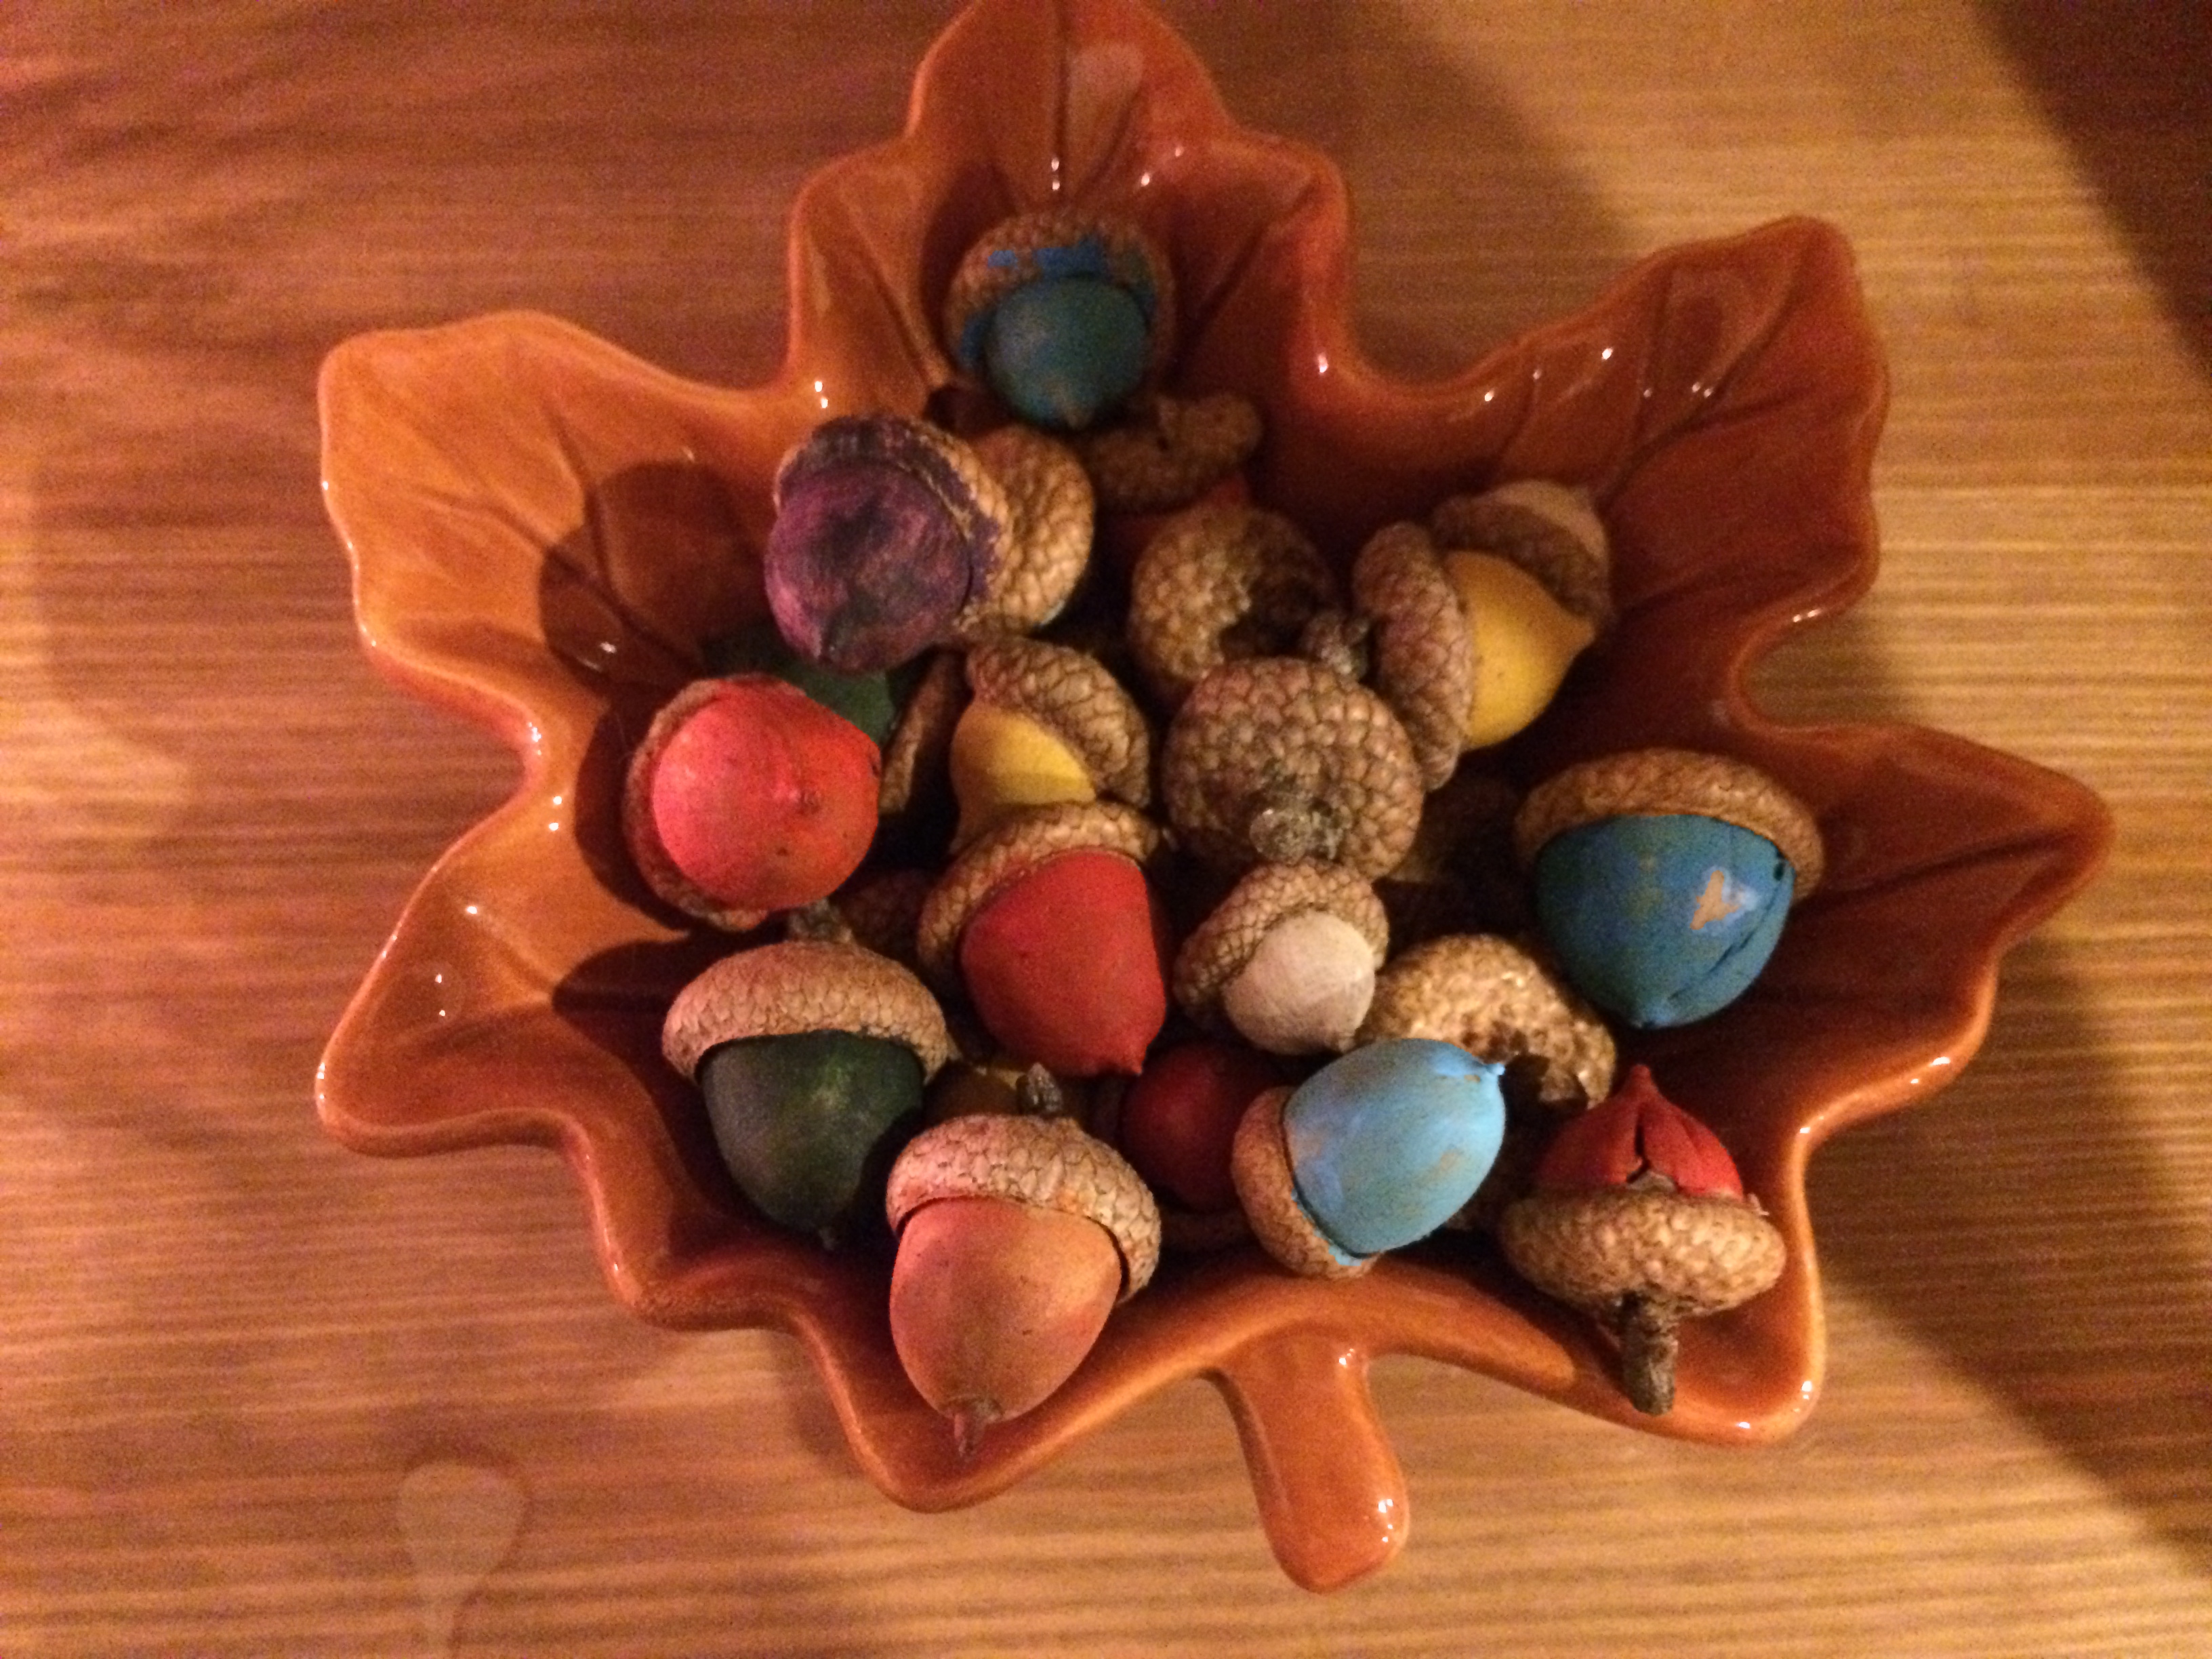
- Collect and paint acorns. A tutorial can be found here: http://www.homestoriesatoz.com/fall-2/how-to-paint-acorns.html


- Collect remaining flowers from bushes, your garden or wildflowers and press them. After we pressed ours (left them in books for a few weeks), we made a flower collage.

- Make a leaf painting using leaves as a stamp or painting around them for the outline.


DIY- Repurposed Antique Store Items
We went to an “antique” store while we were on vacation in the Catskills. To me it was more like a hunt like Mike and Frank from American Pickers go on, which was awesome! I found some really great objects and refinished and repurposed them.
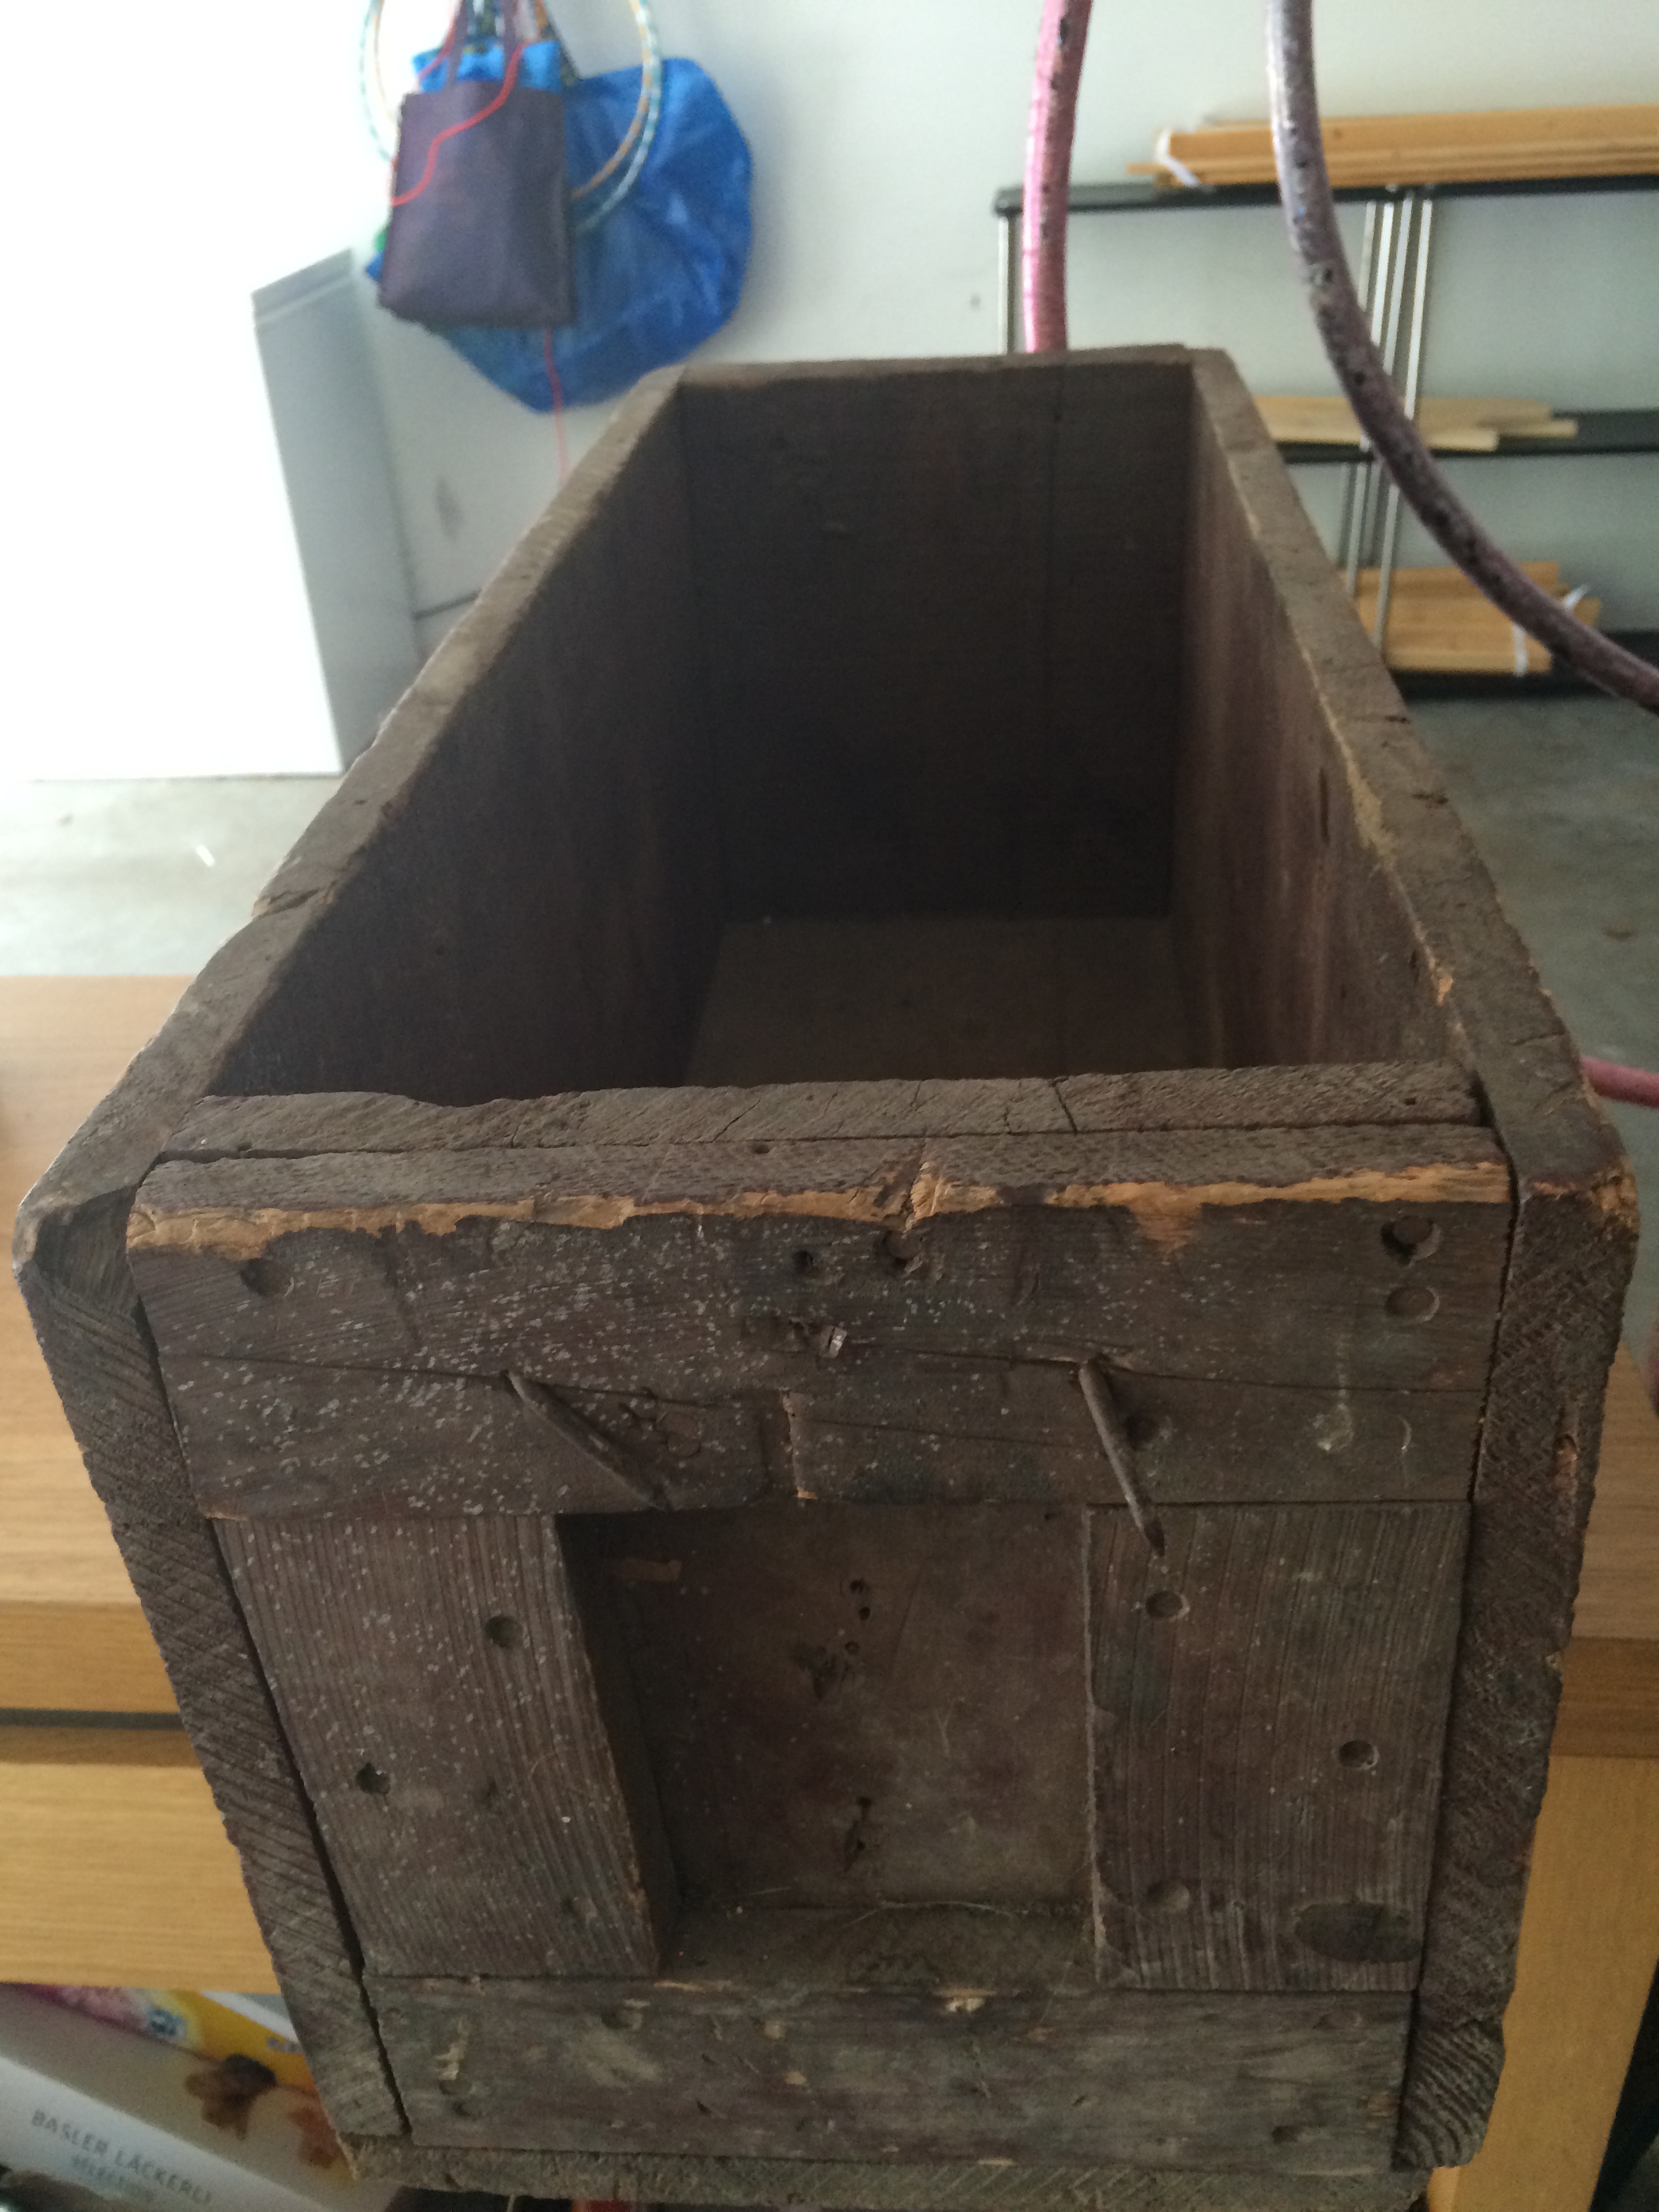
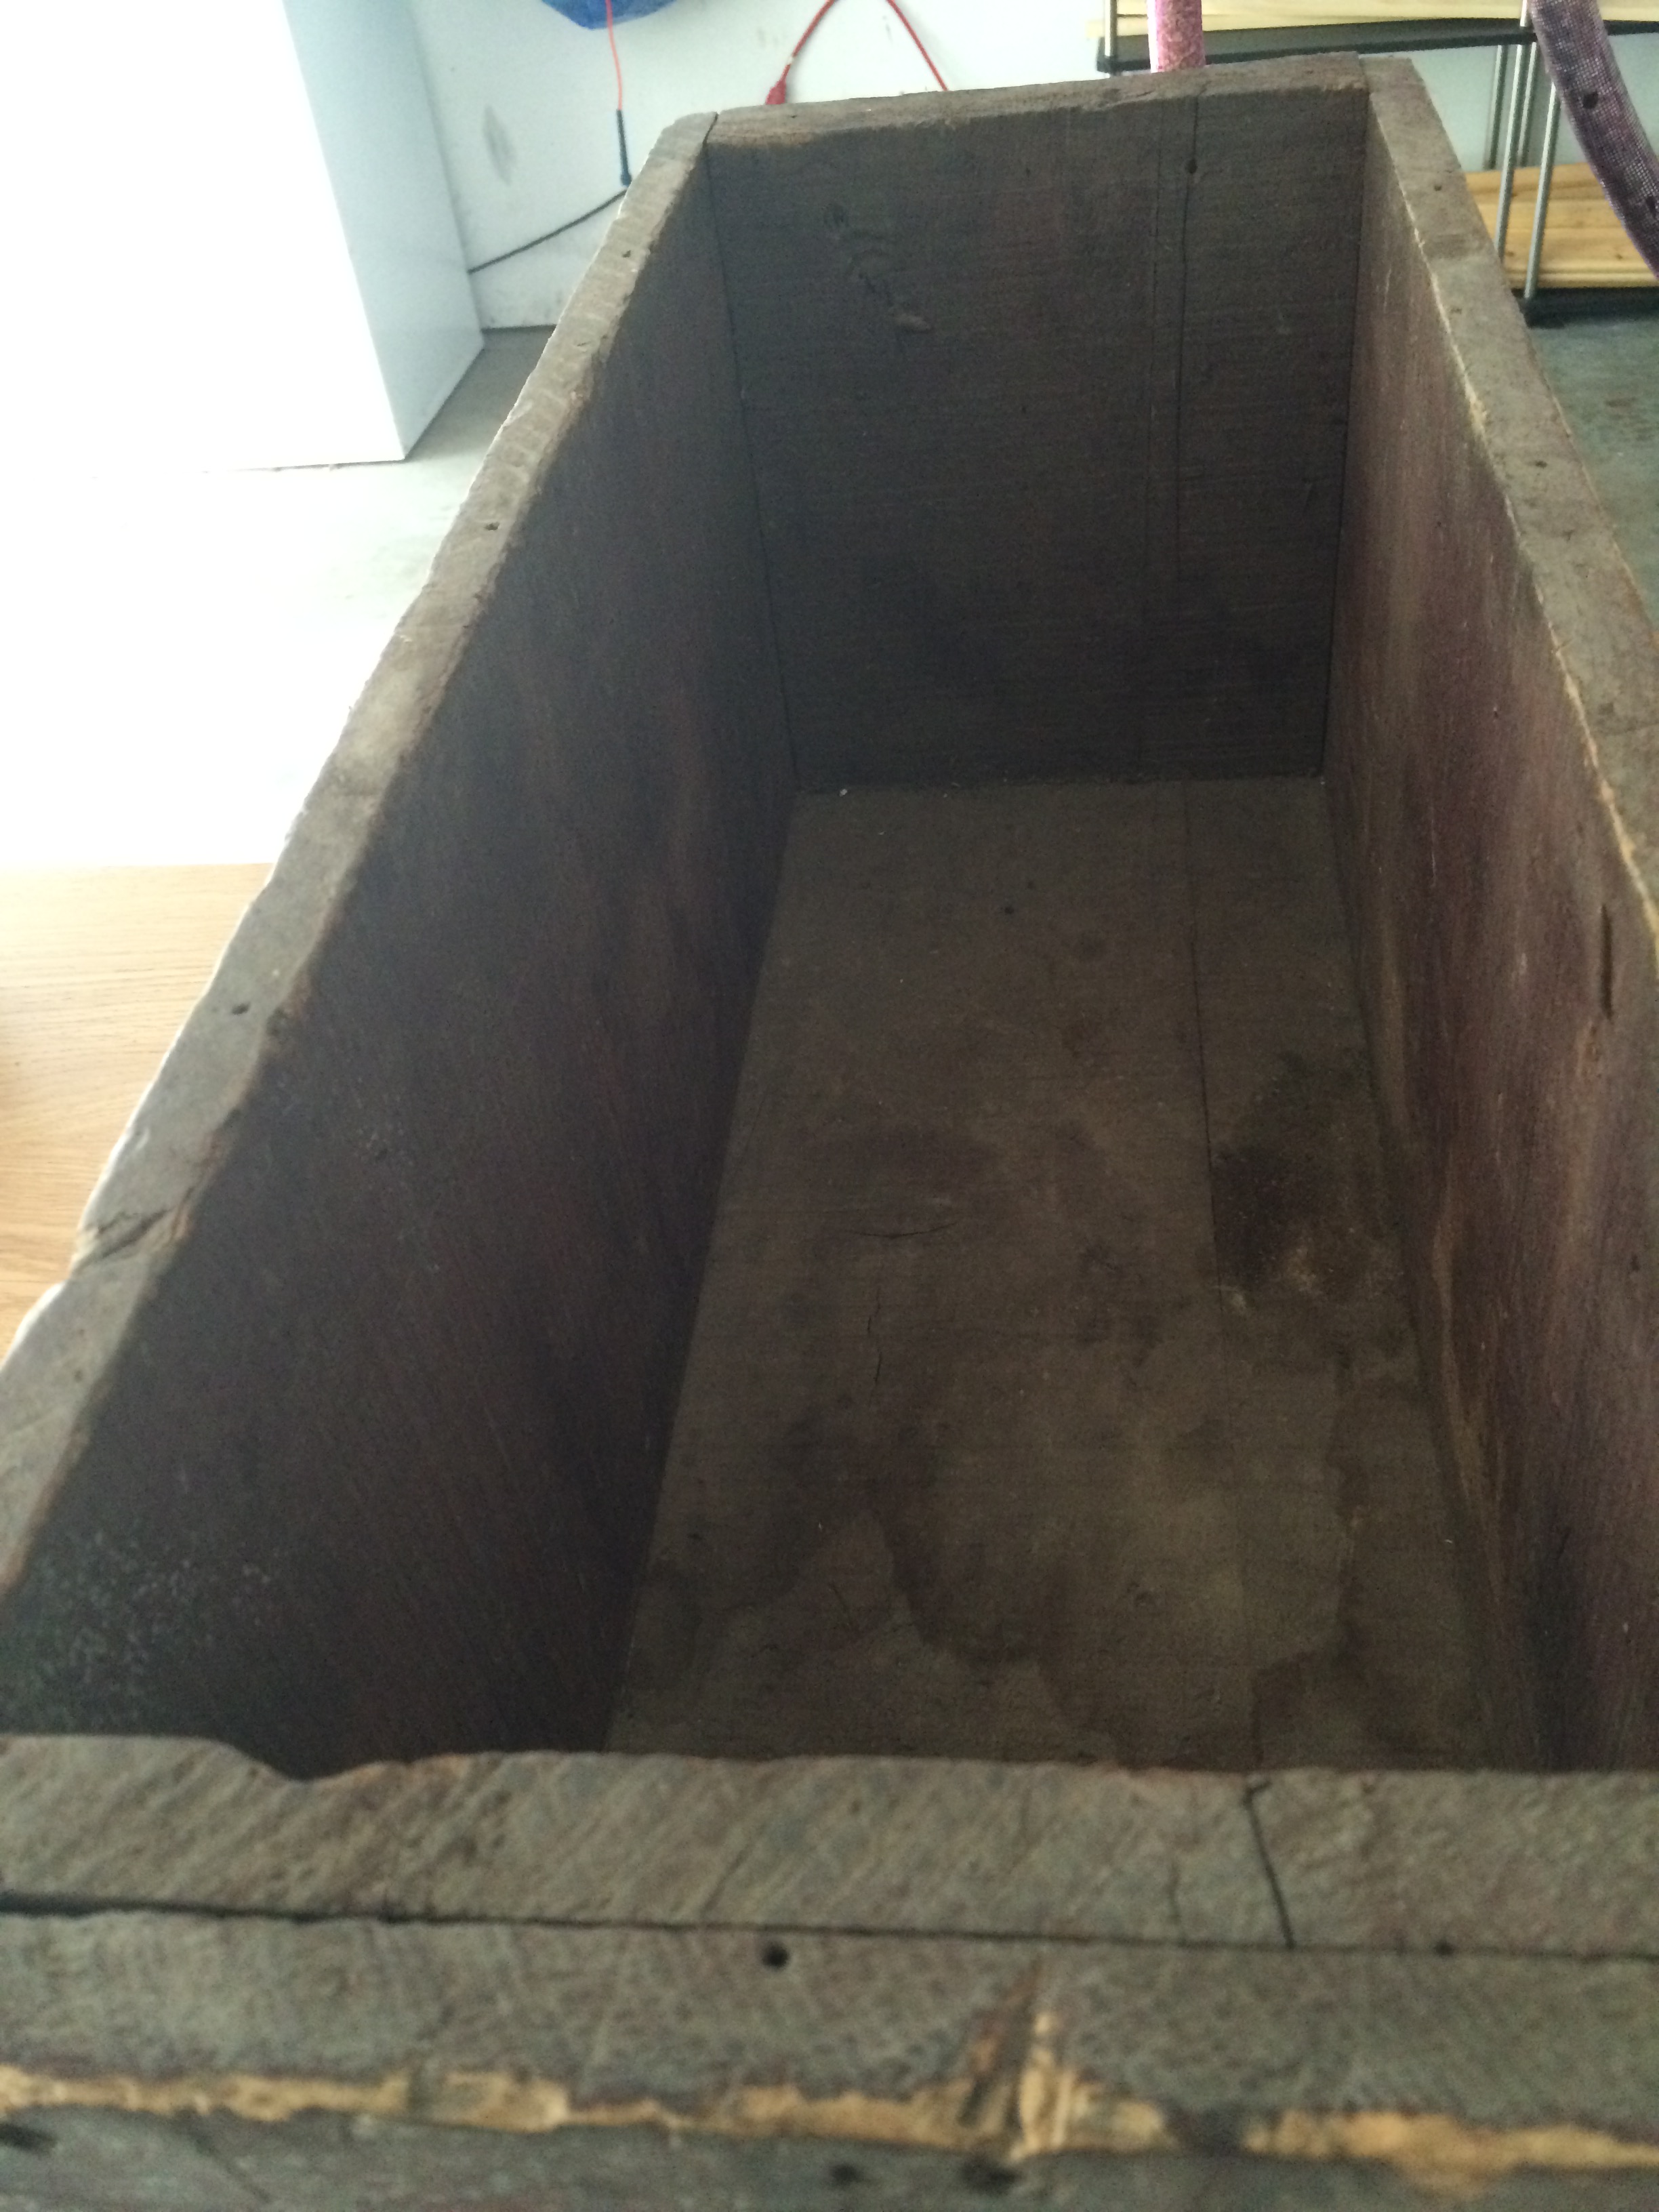
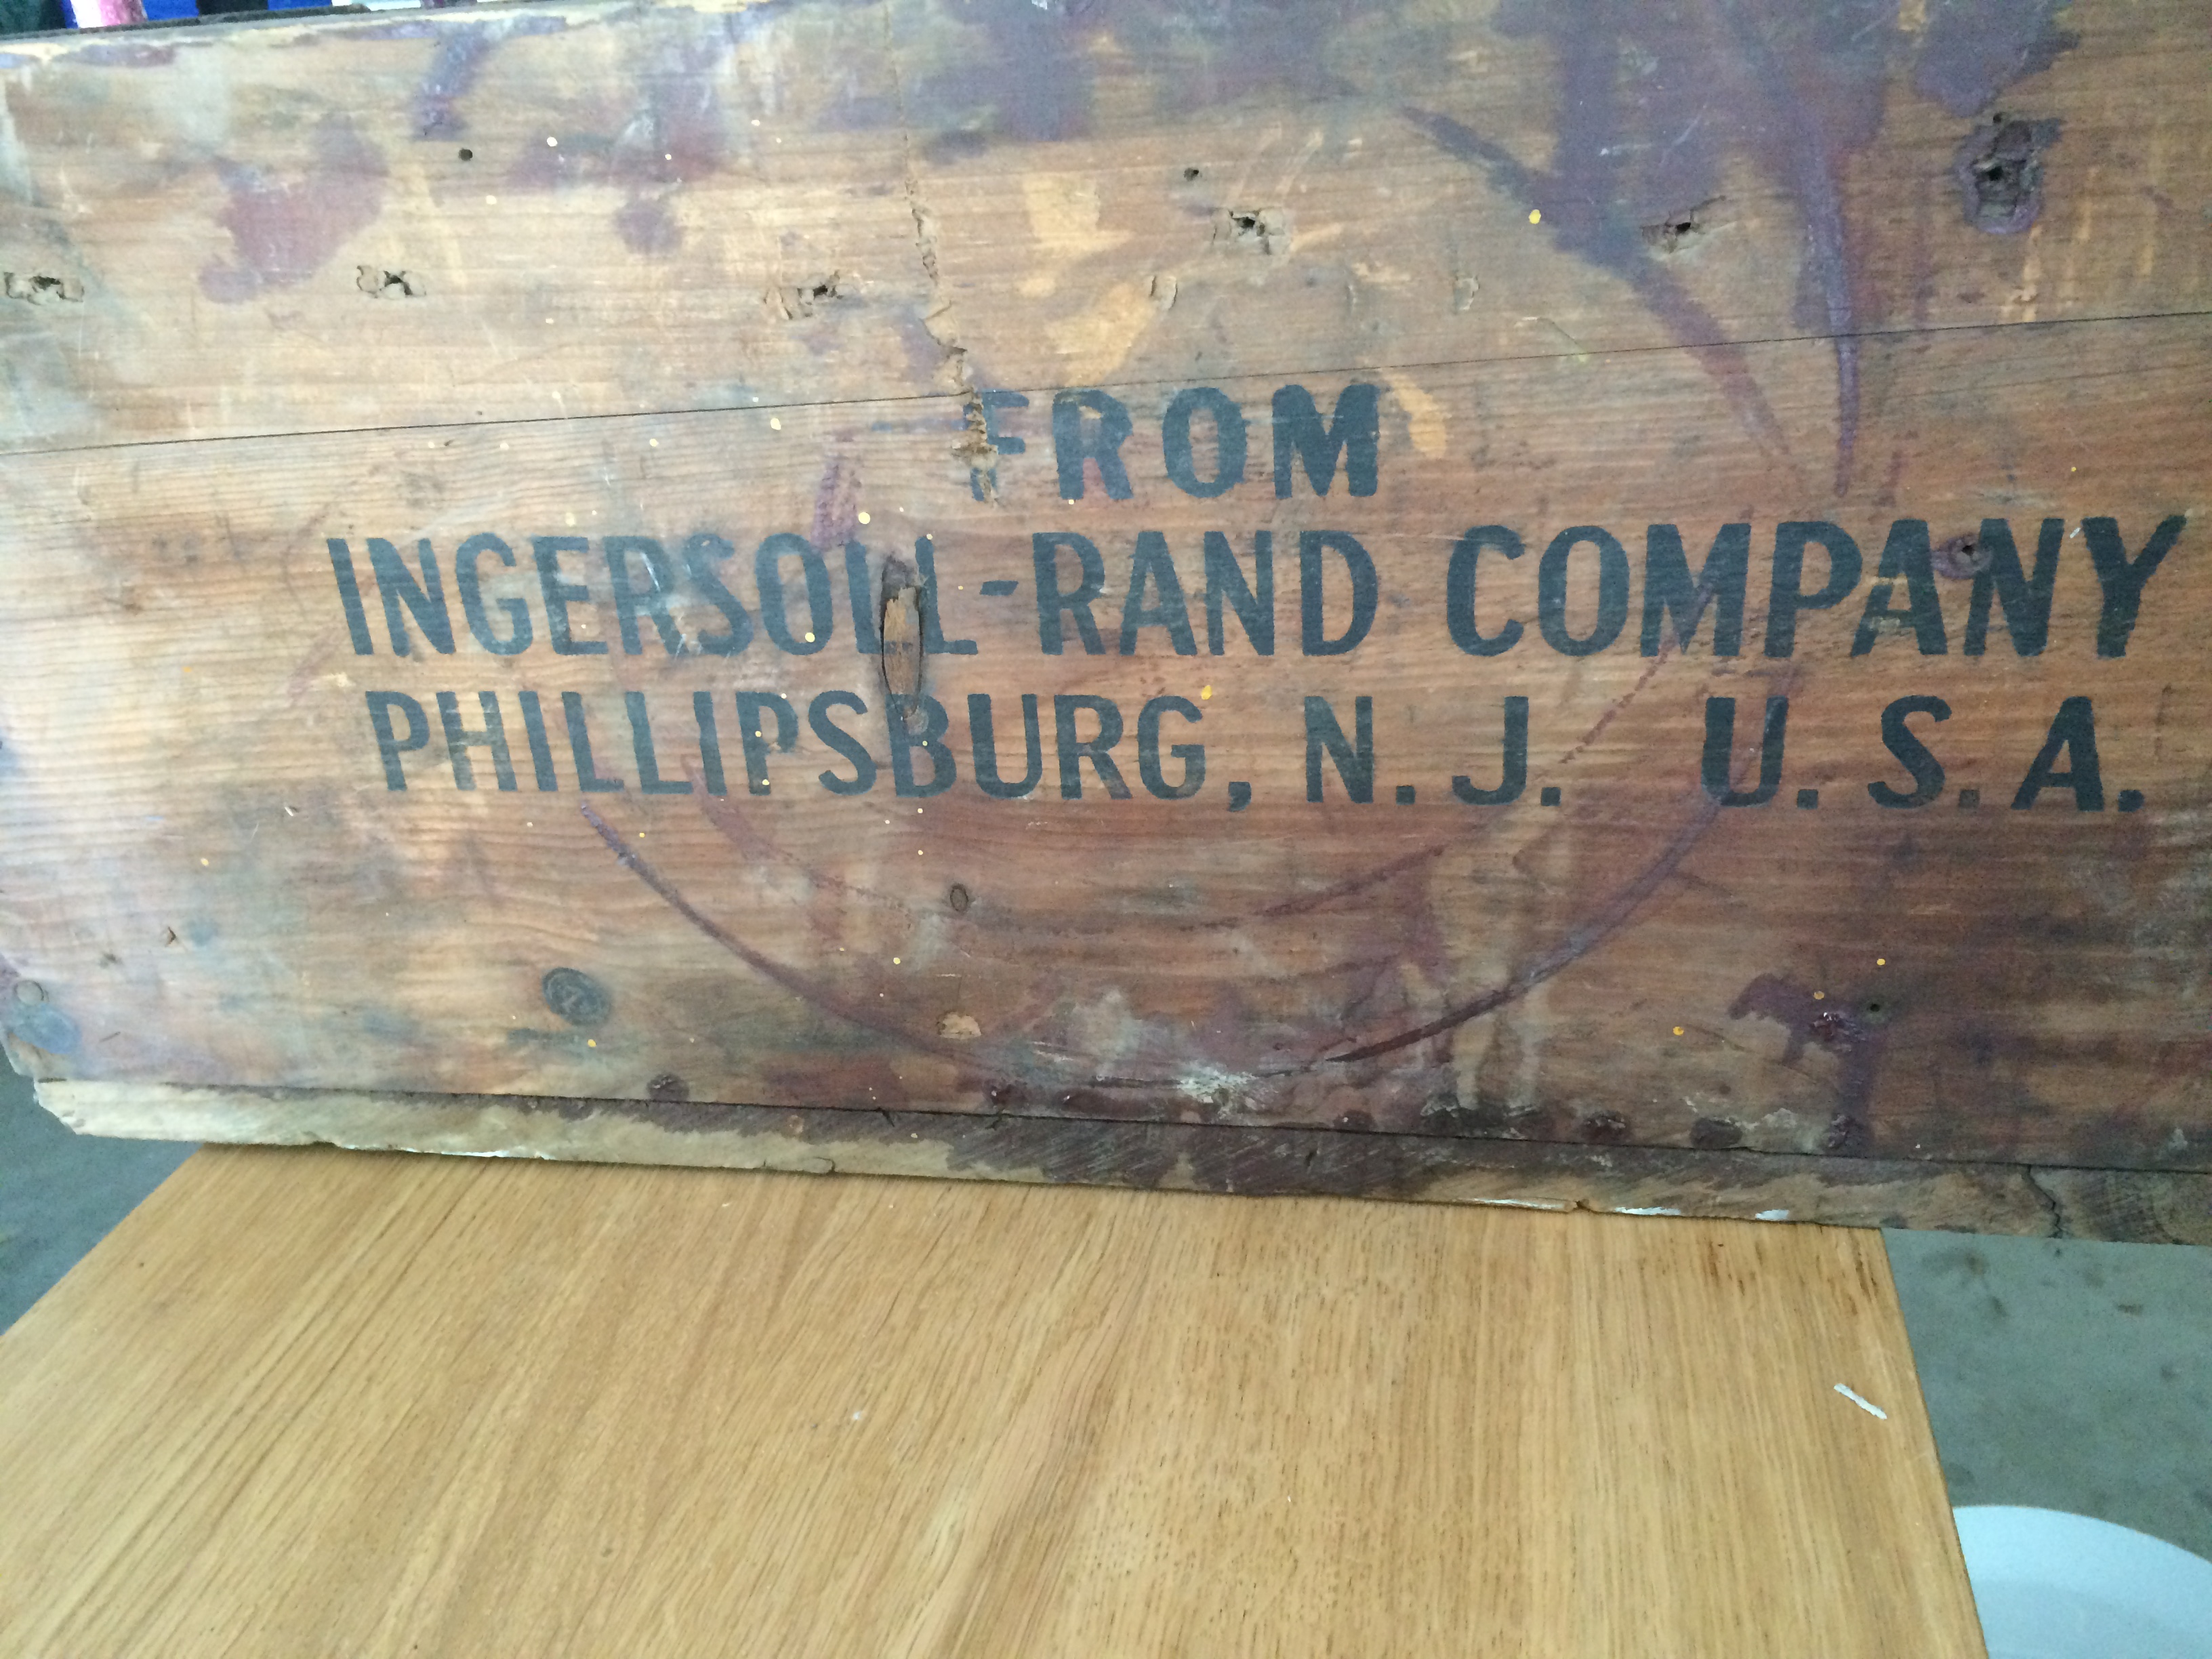
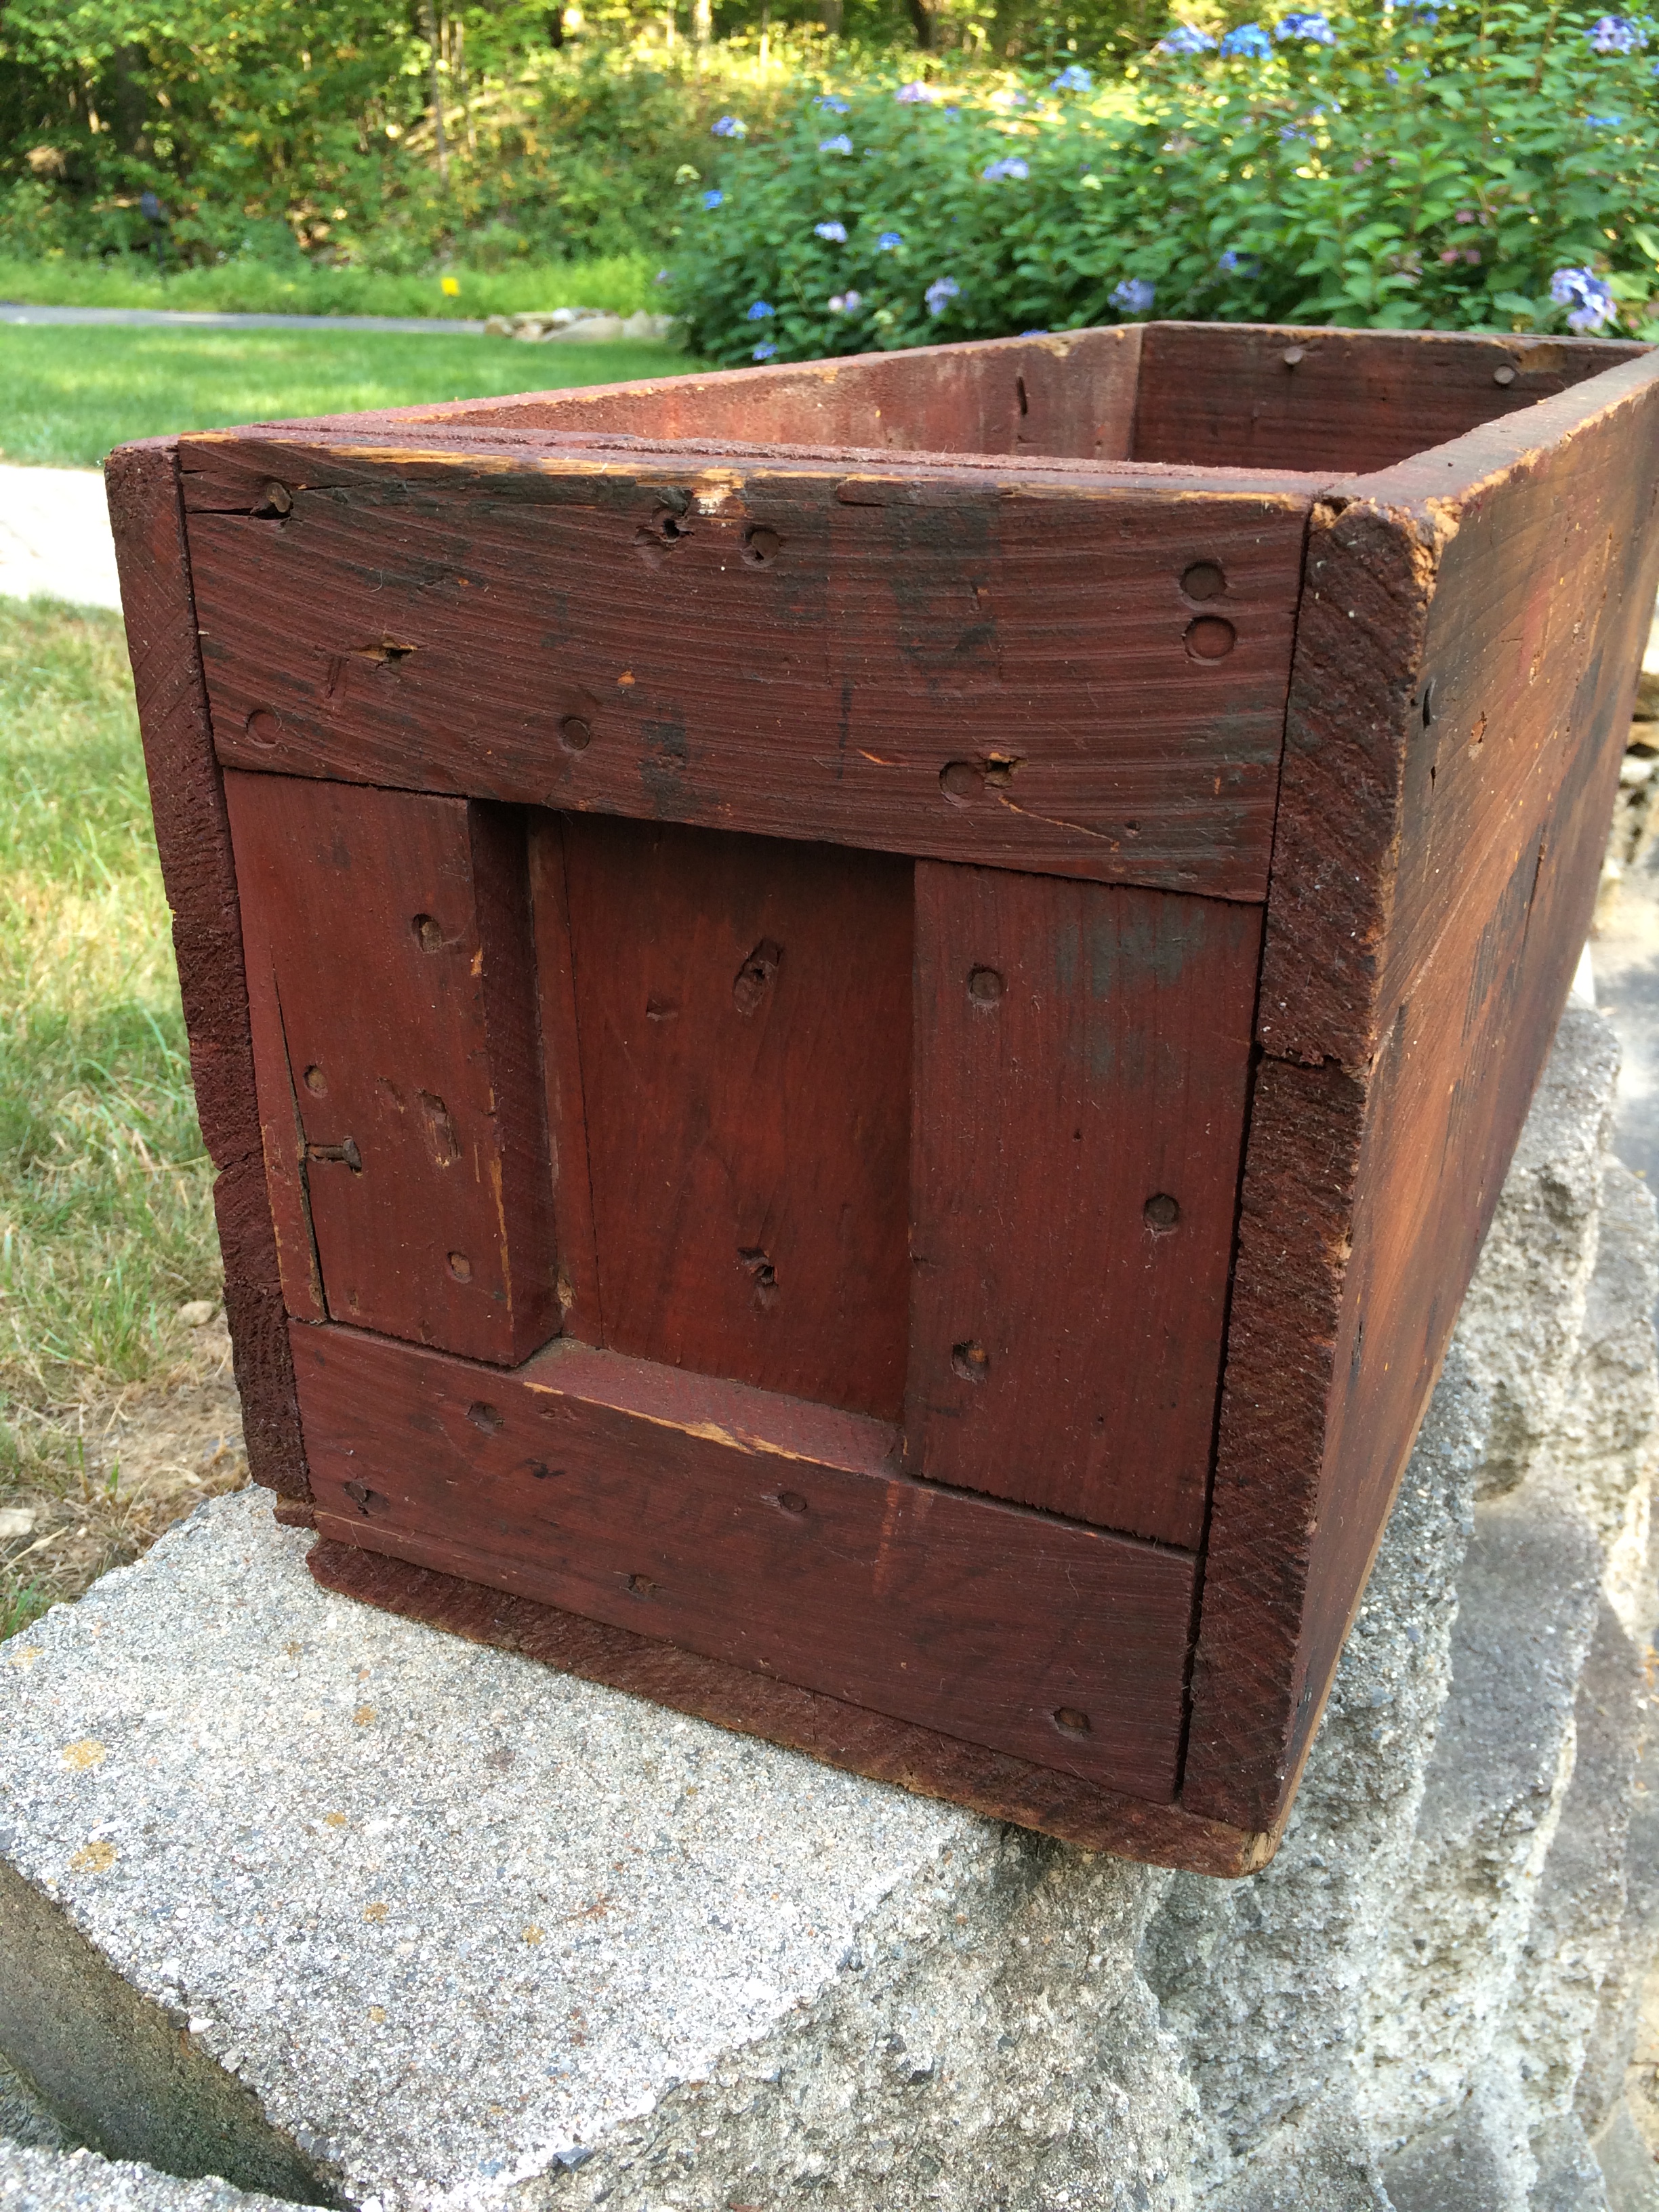
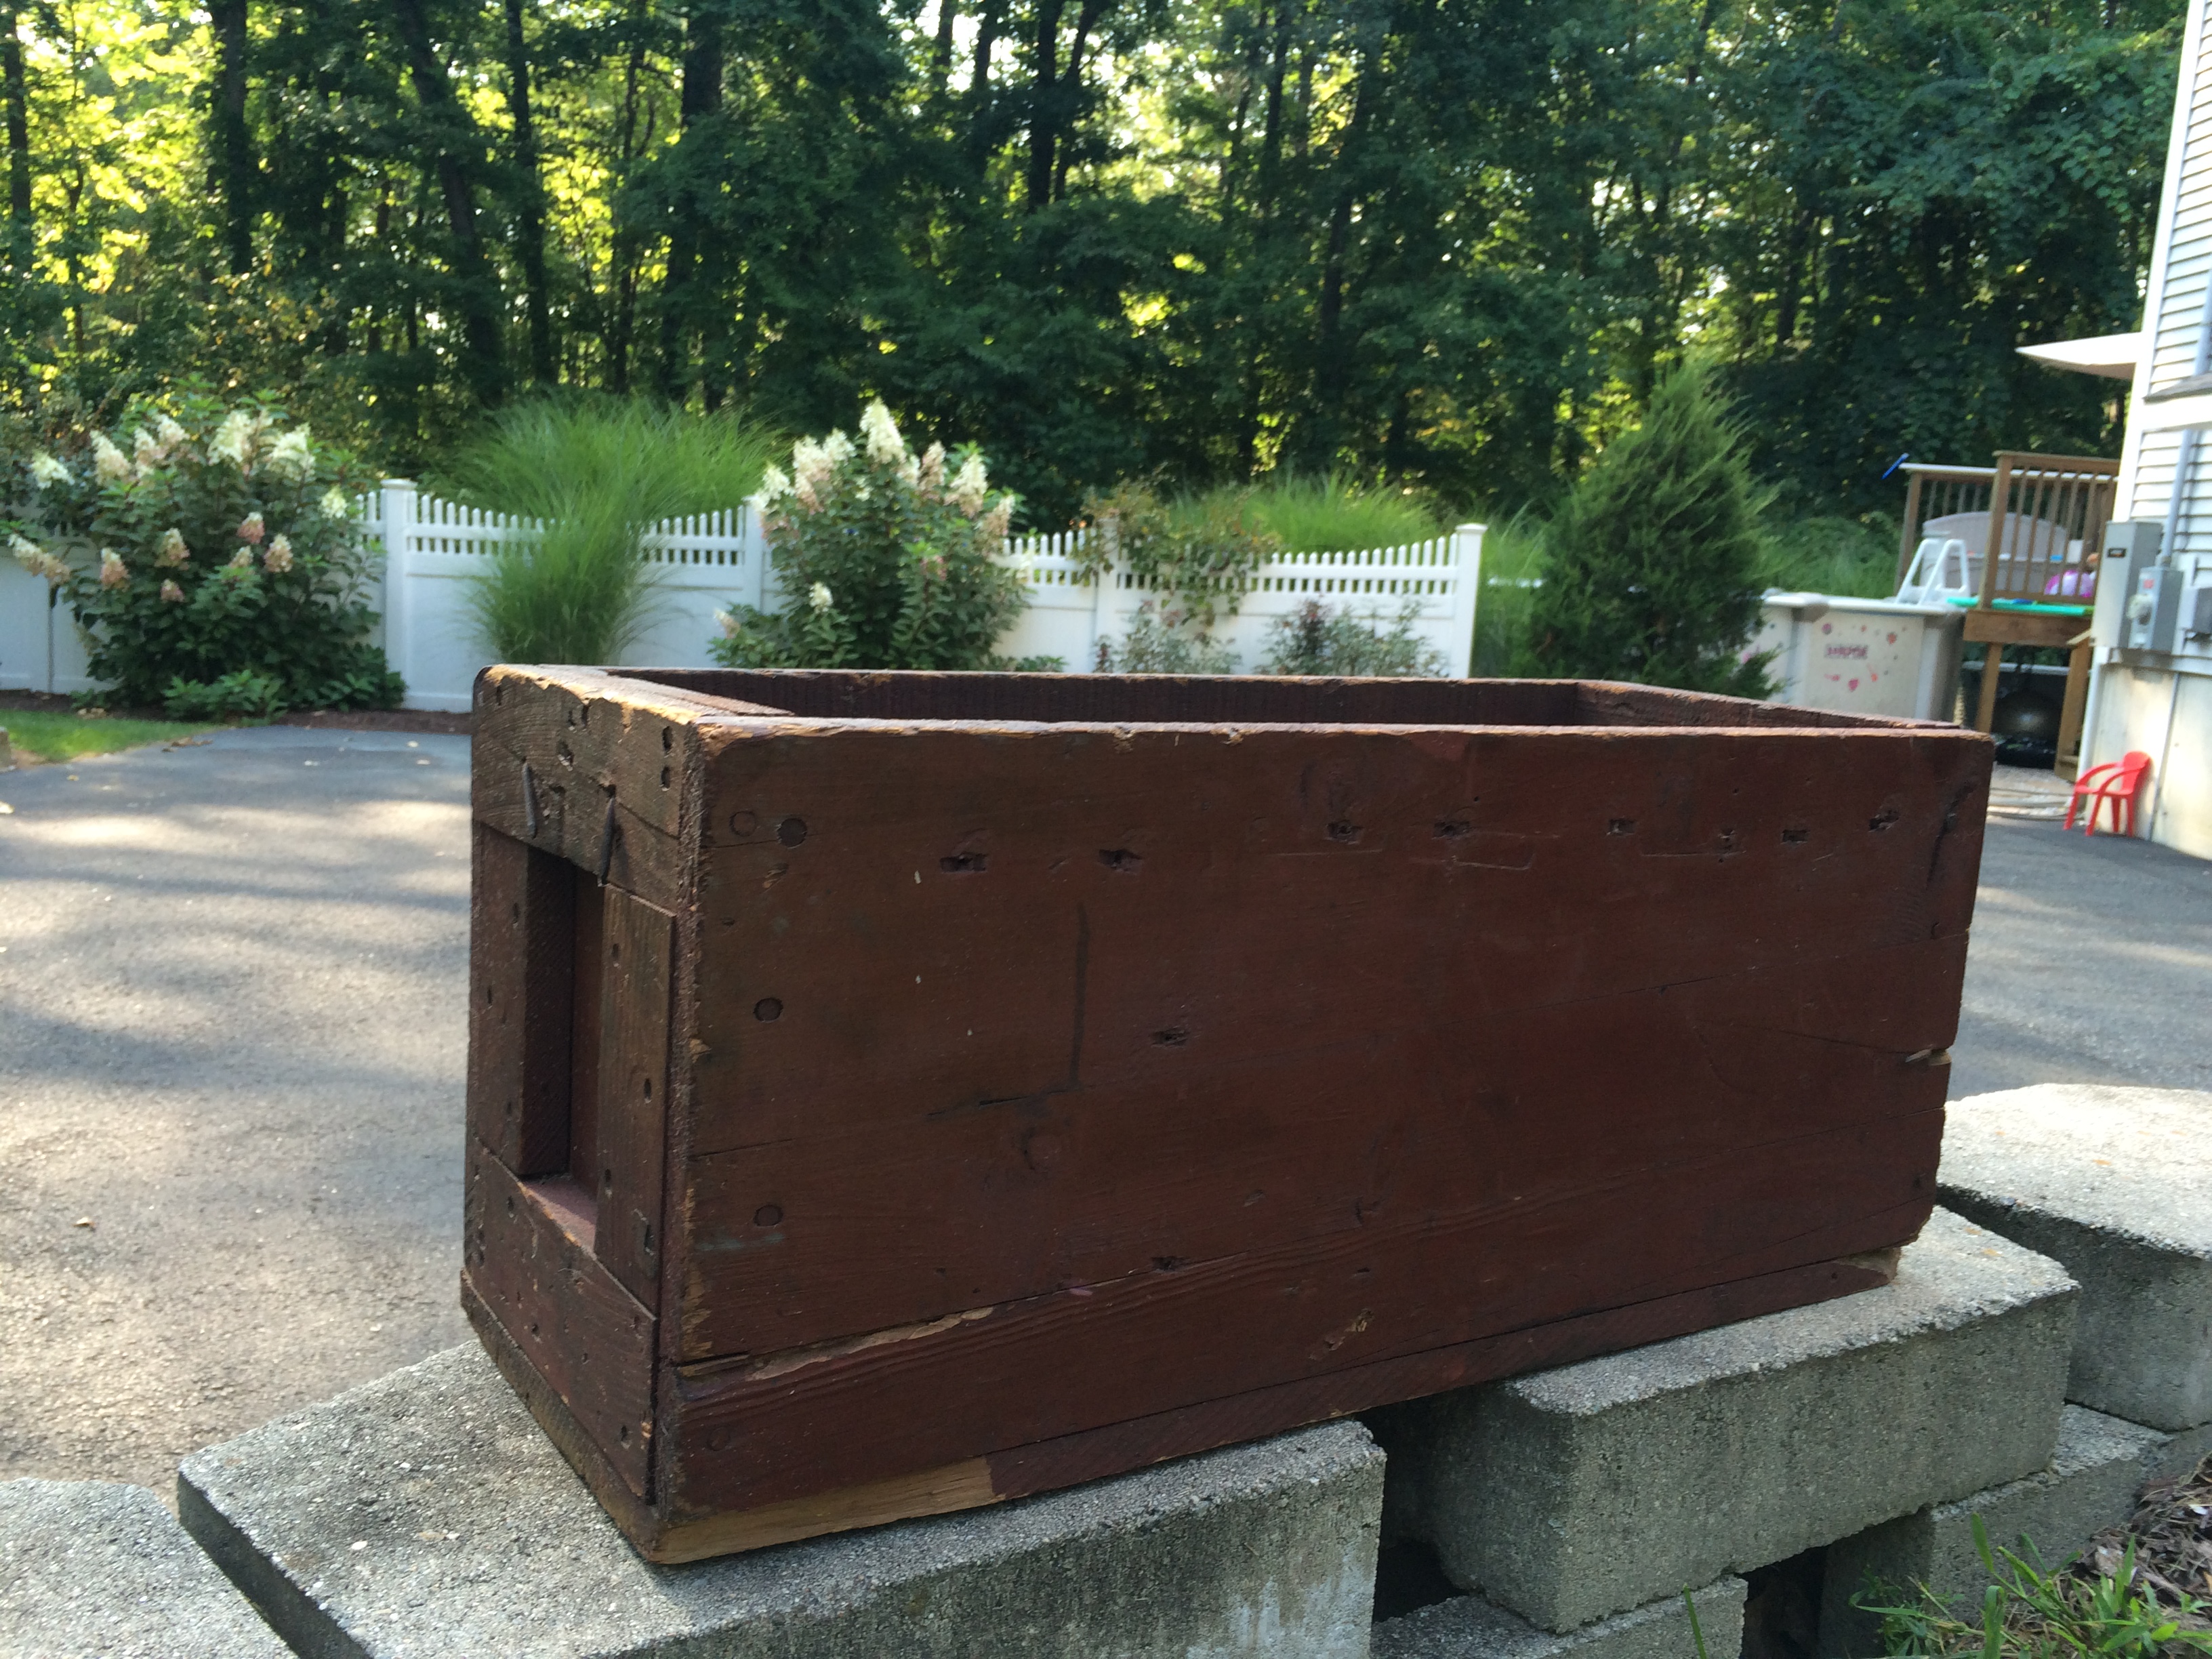
This wooden box appealed to me because as I’ve mentioned in another post, I am obsessed with wood. I liked the age and color of the box and it had some writing stamped on it which was cool. I cleaned it with soap and water and then wiped it down using a soft cloth with a mixture of olive oil and white vinegar and then again with coconut oil. Just by cleaning and oiling it, the natural red color of the box was exposed and everything on the box looked so much brighter and clear. I still haven’t made up my mind, but I think I will use it outside as a planter.
BEFORE:
AFTER:

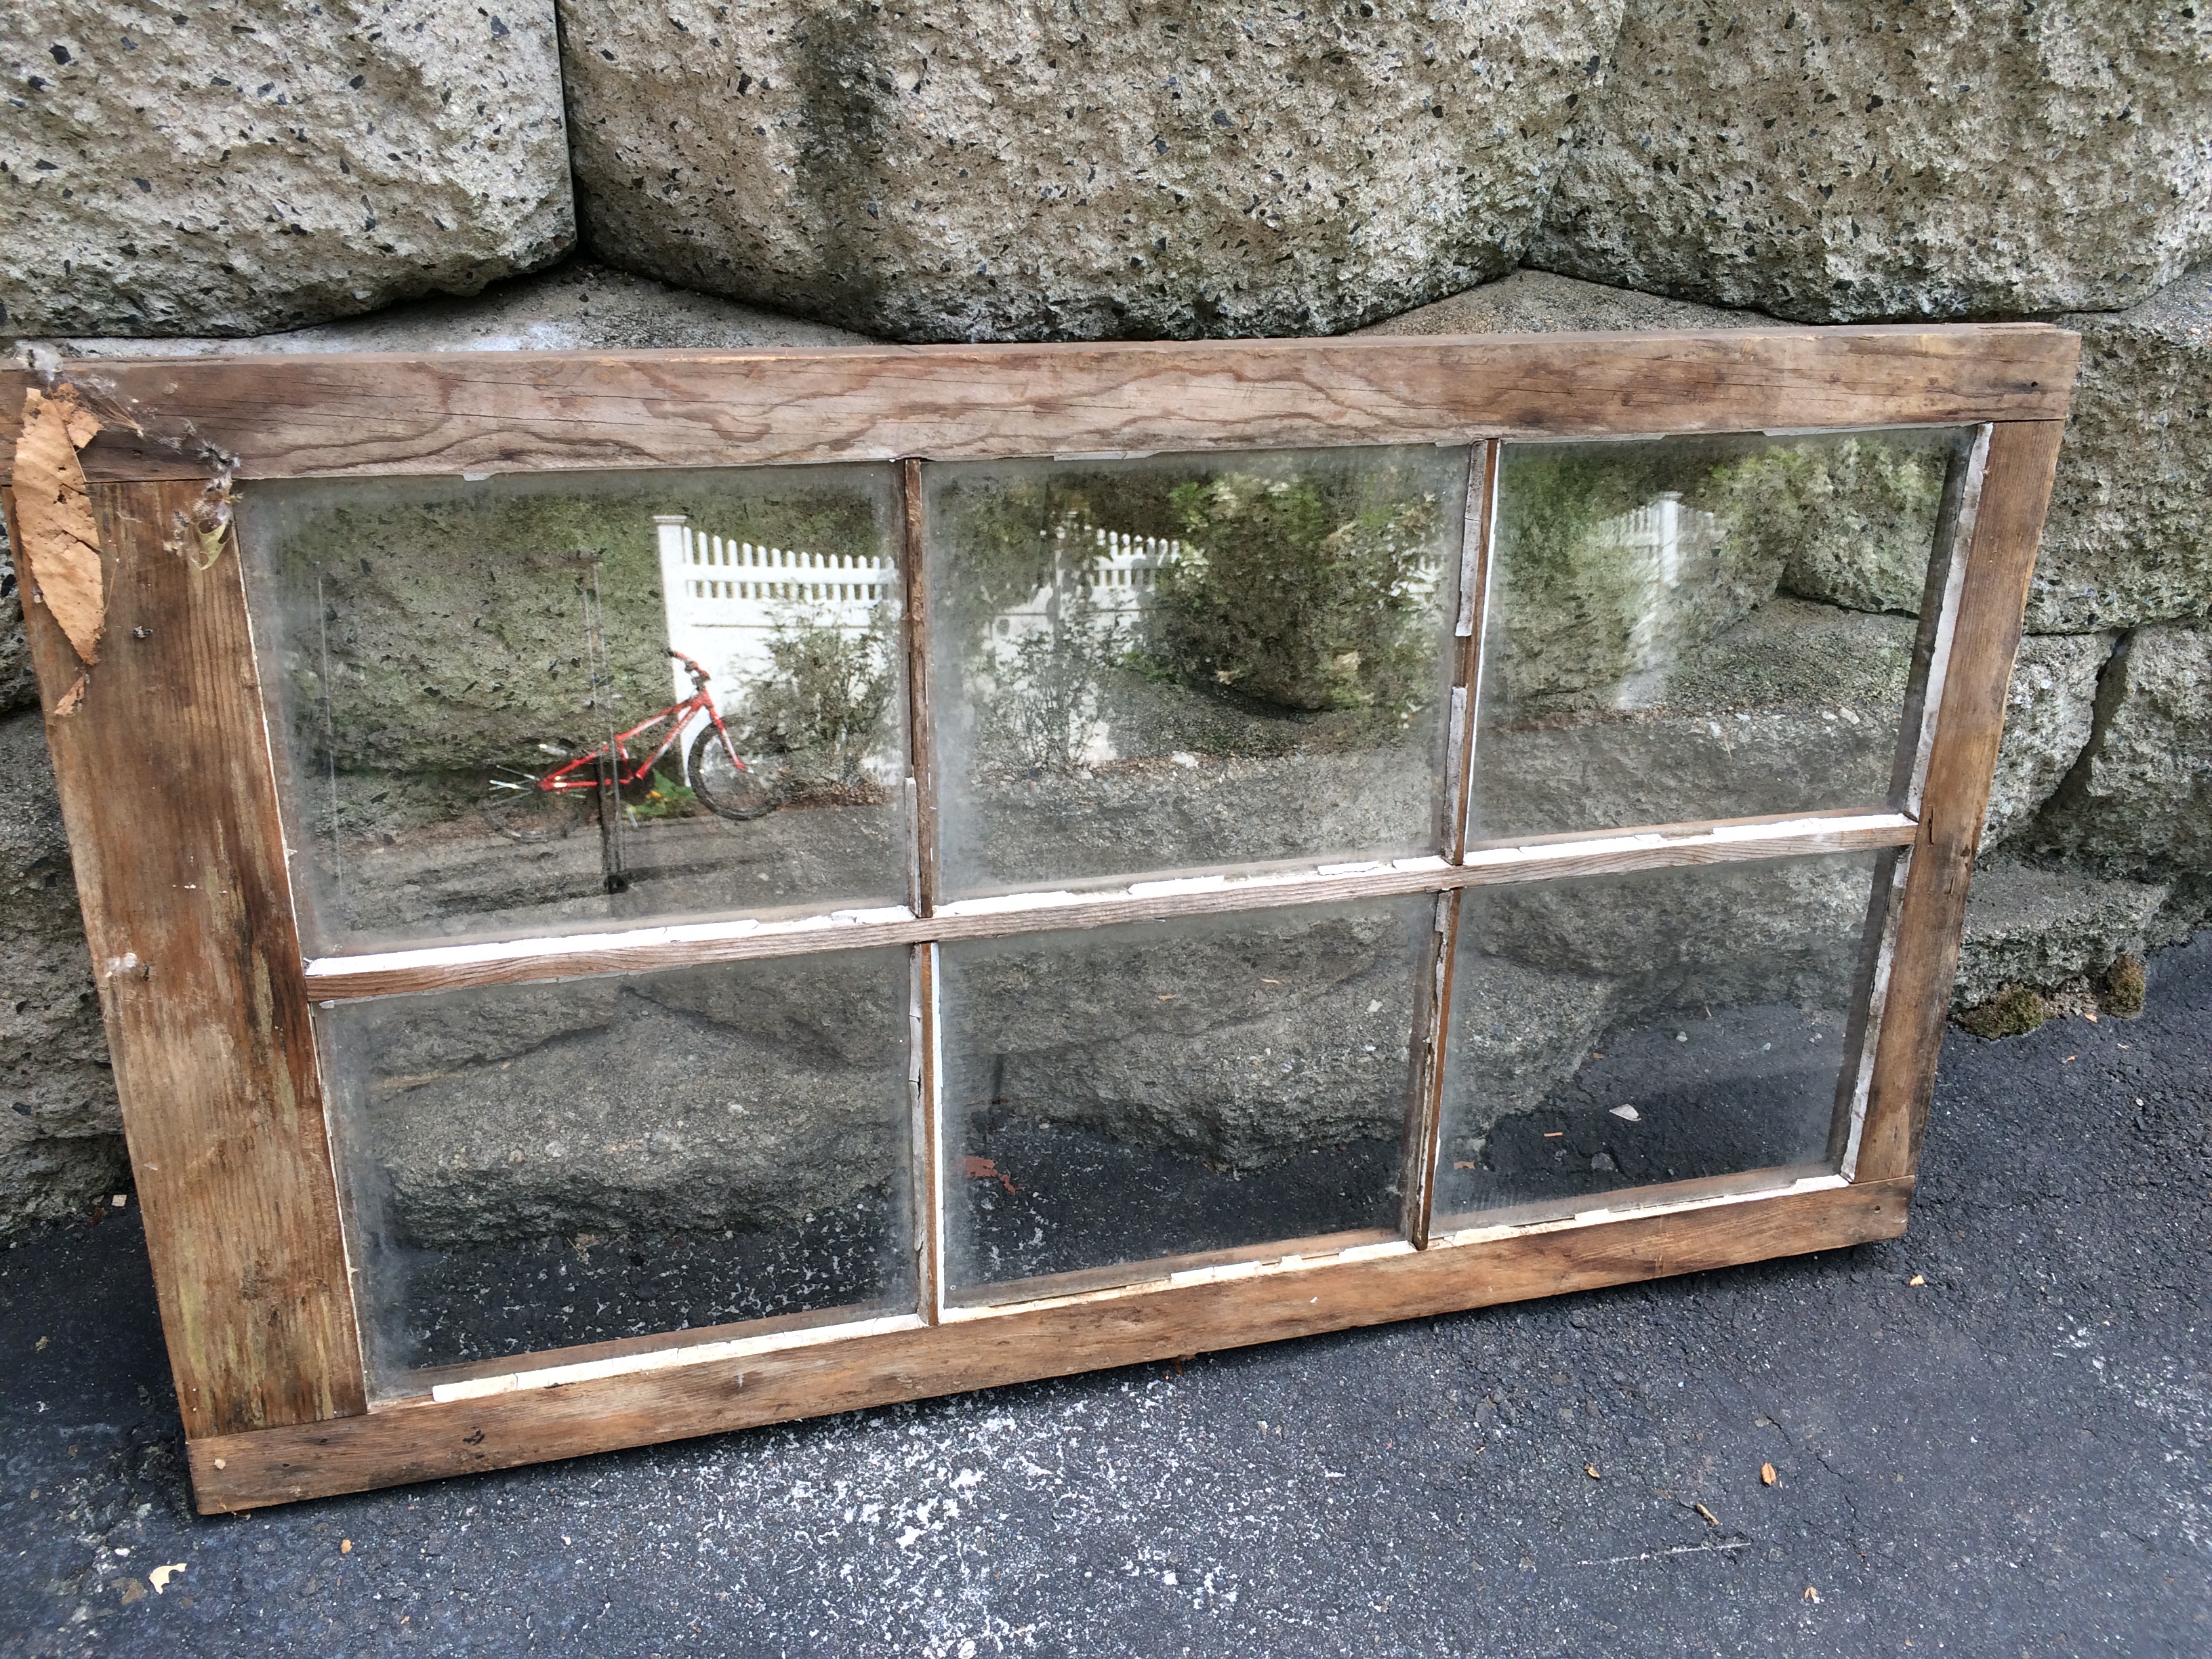
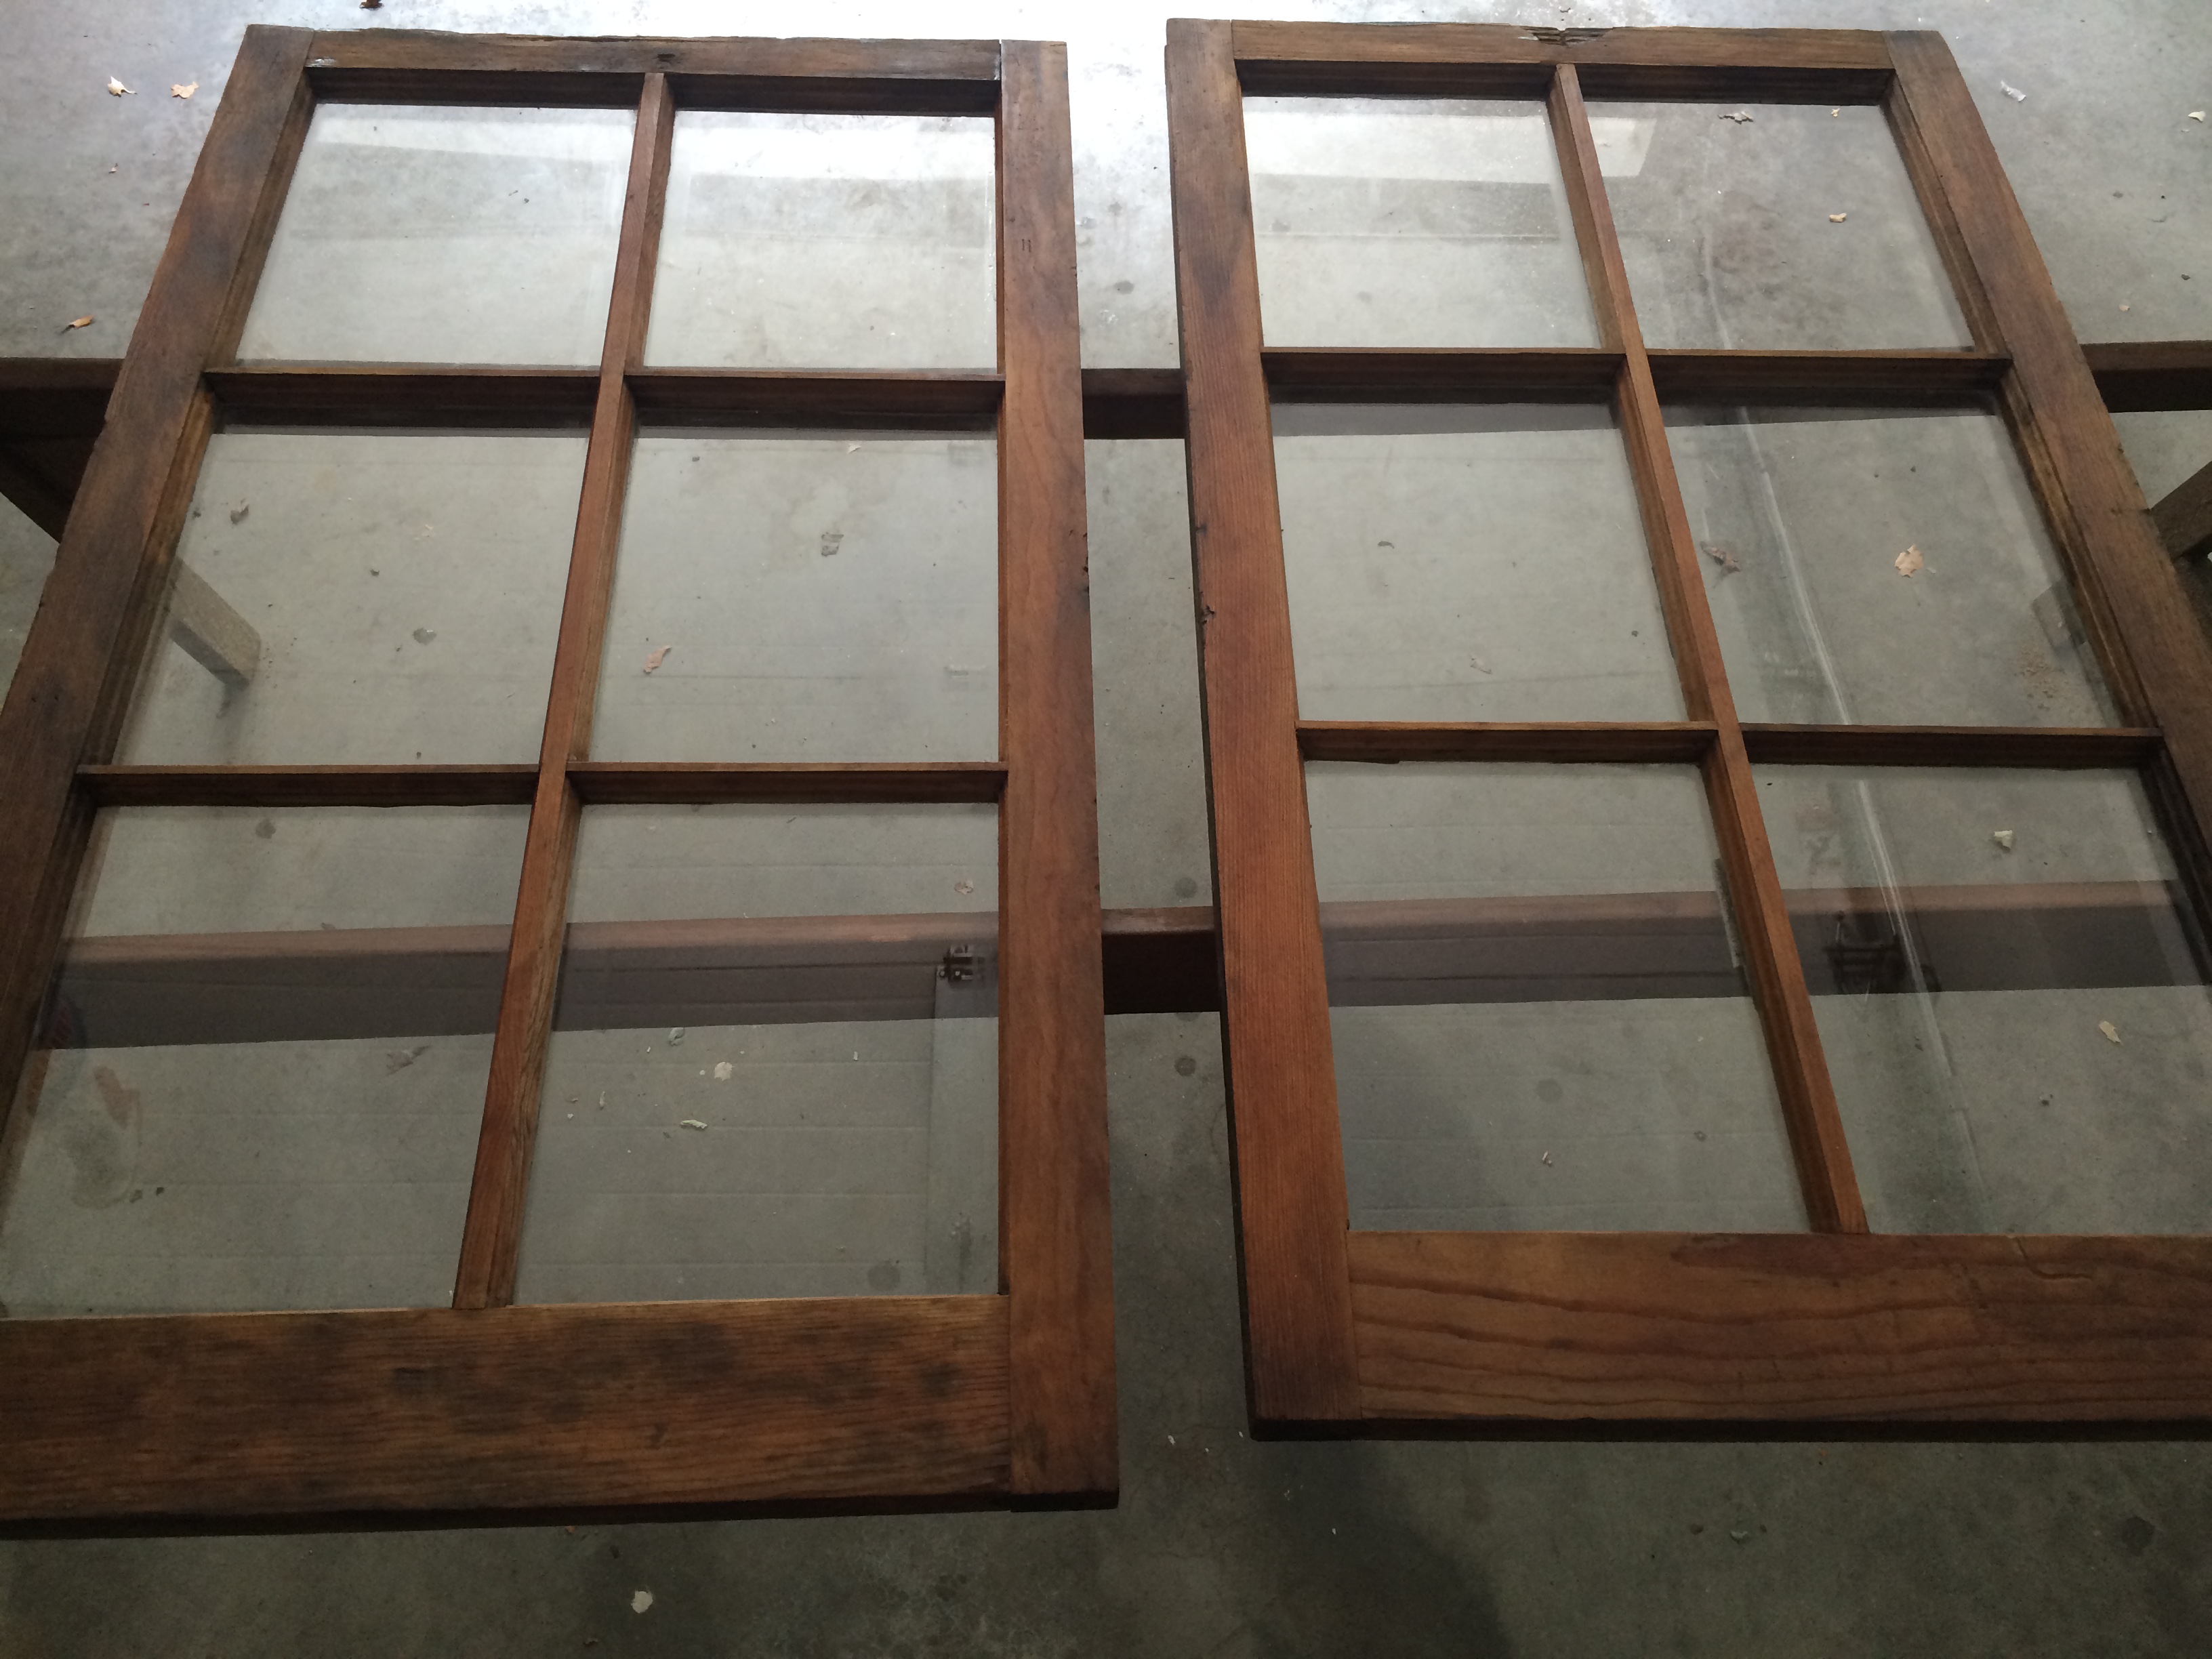
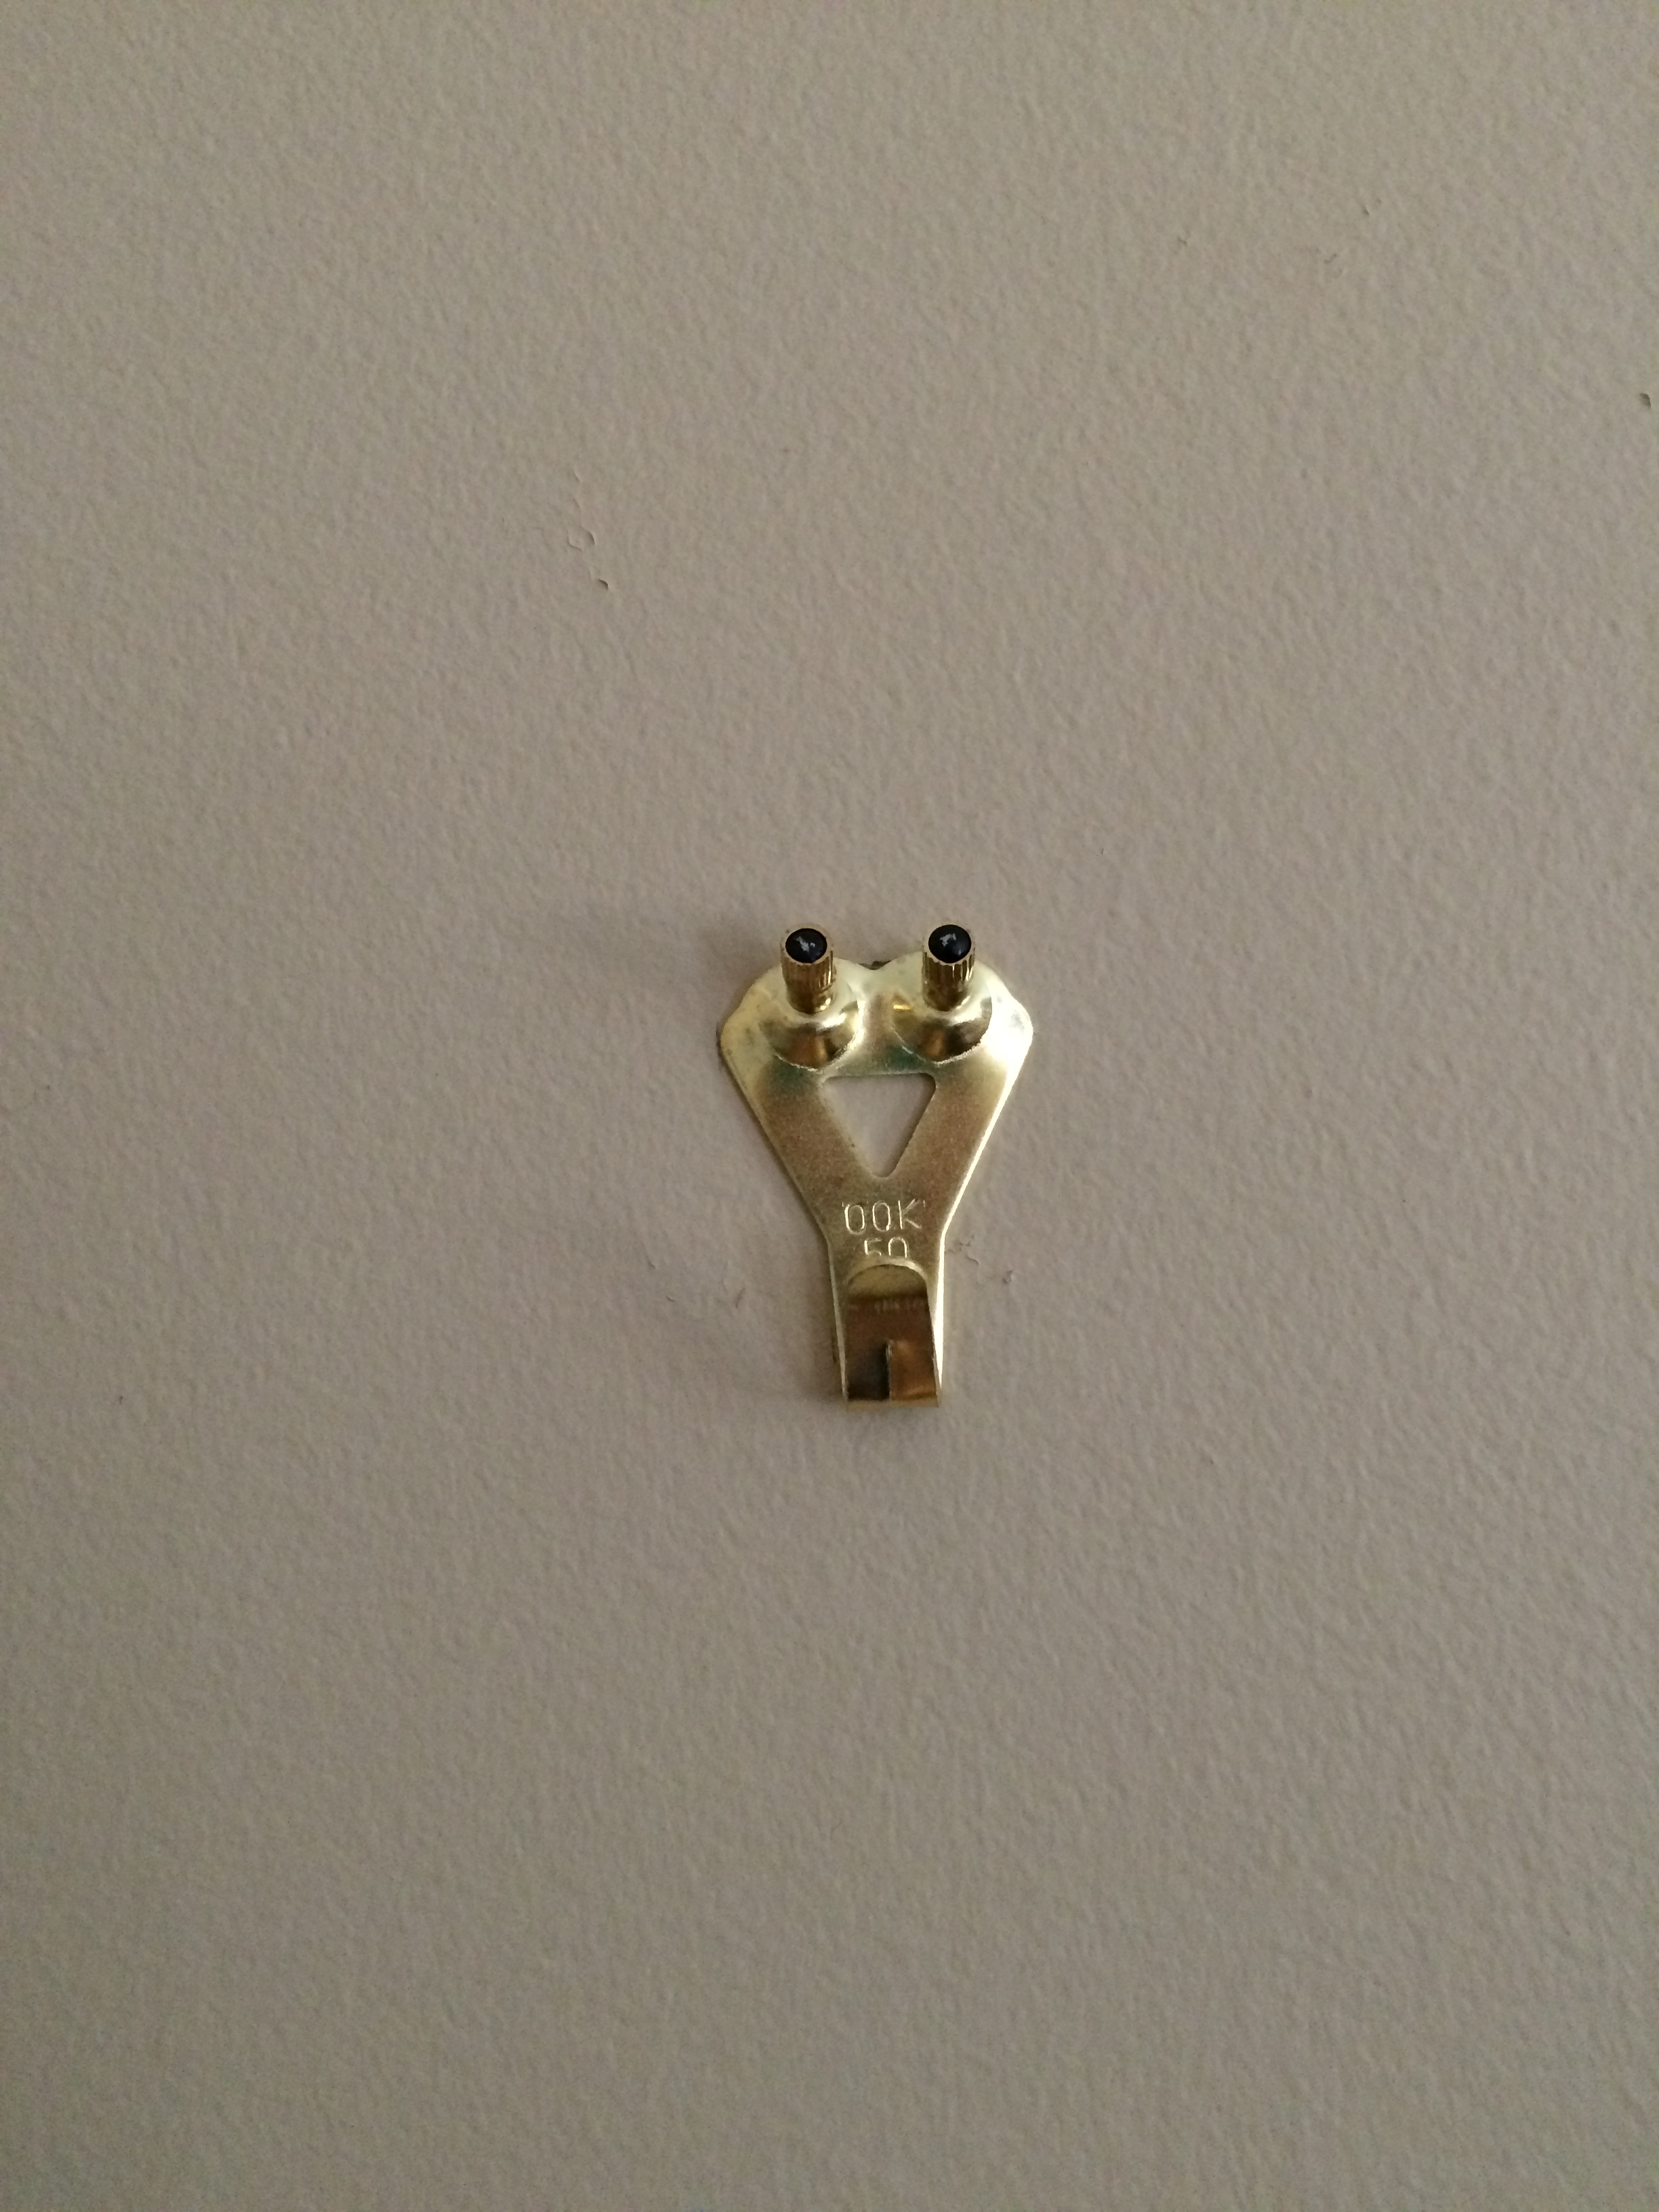
I’ve always wanted some old windows or an old door to do something with and I found these windows in pretty good shape, but really dirty. I cleaned them, oiled them using the same method as with the box and then I painted on two coats of clear polyurethane. The windows are heavy, so in order to hang them properly on the wall, I bought hooks that came in a set of a d-ring and picture hanger. I attached hooks to the back of the window and the wall and used the windows as frames on the wall in our family room. I attached the pictures with a small piece of double sided tape.
BEFORE:

AFTER:


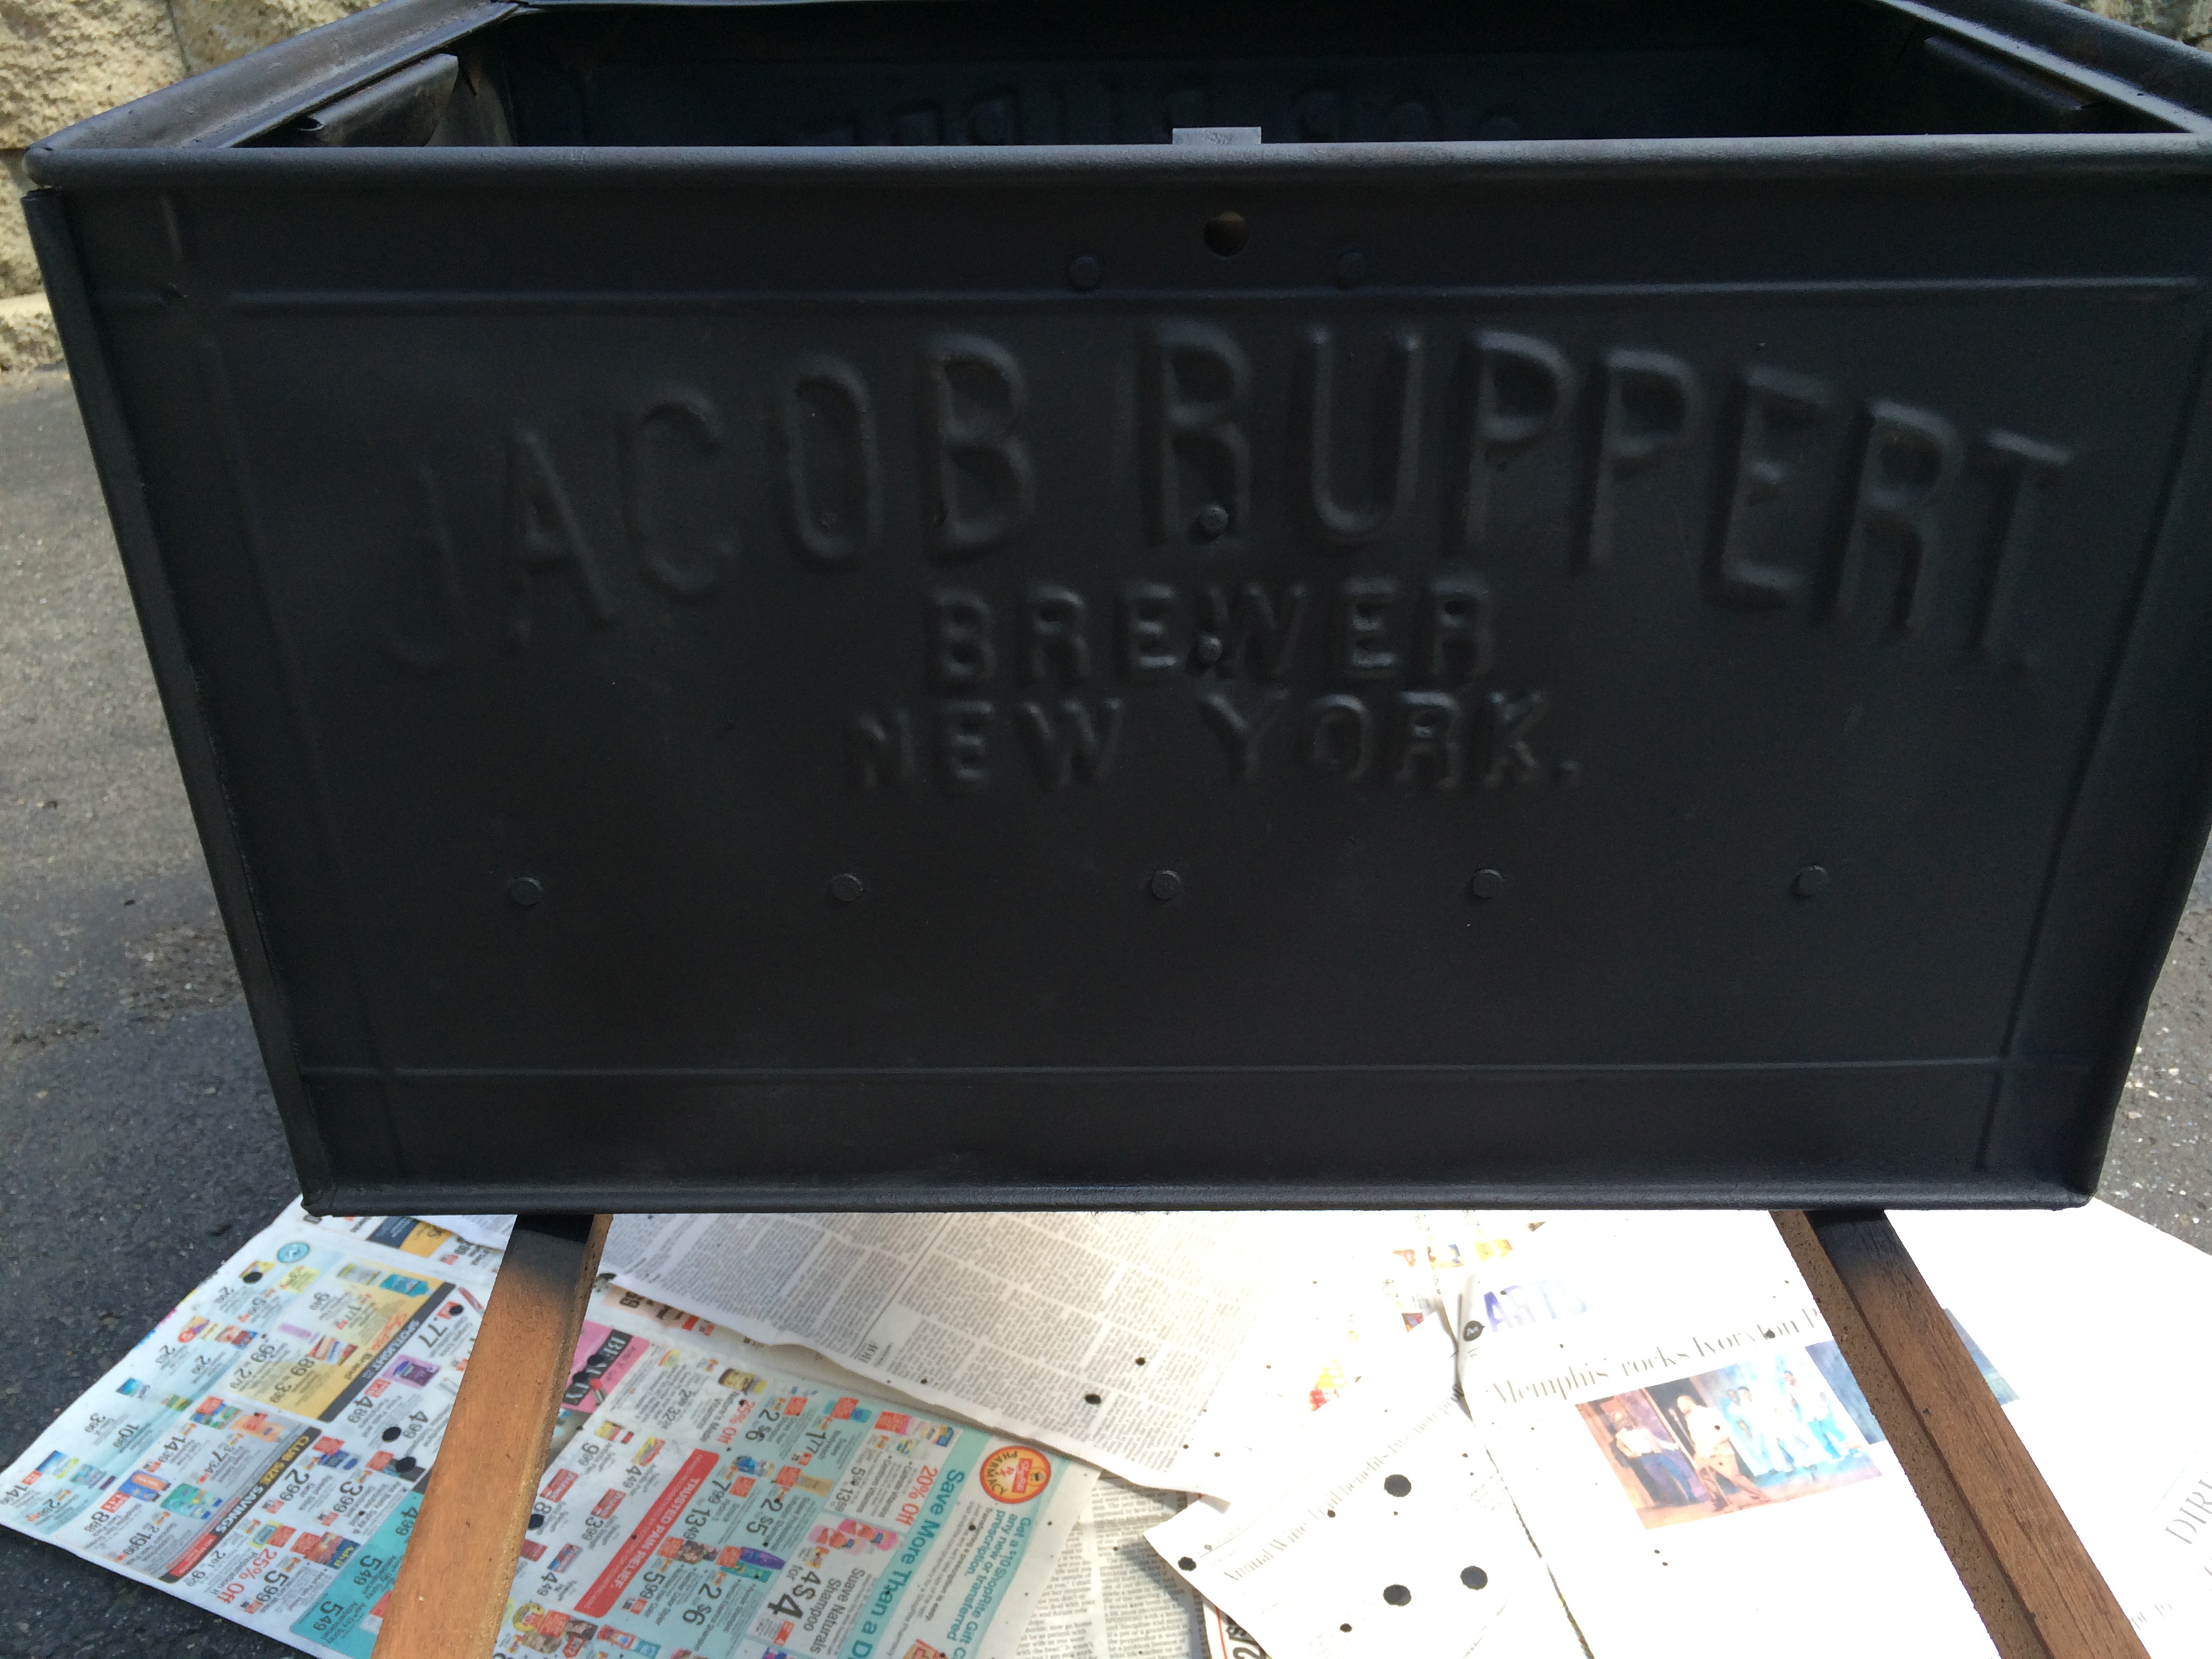
As we were walking back up to the front of the store, I had to take one more walk through the area and as I was approaching the cash register, I saw this metal box. When I opened it, it was full of old glass bottles. The owner told me that the beer box was from a company that served beer to Yankee Stadium. We thought it was really cool and it was from 1918! The beer box is from a company called Jacob Ruppert Brewery. When I got home I did a search on the company and it turns out that the beer wasn’t just sold at Yankee Stadium, the owner of the brewery was the second owner of the New York Yankees and was the one responsible for turning them into a successful franchise and acquiring players like Babe Ruth. That made this item even better!
BEFORE:
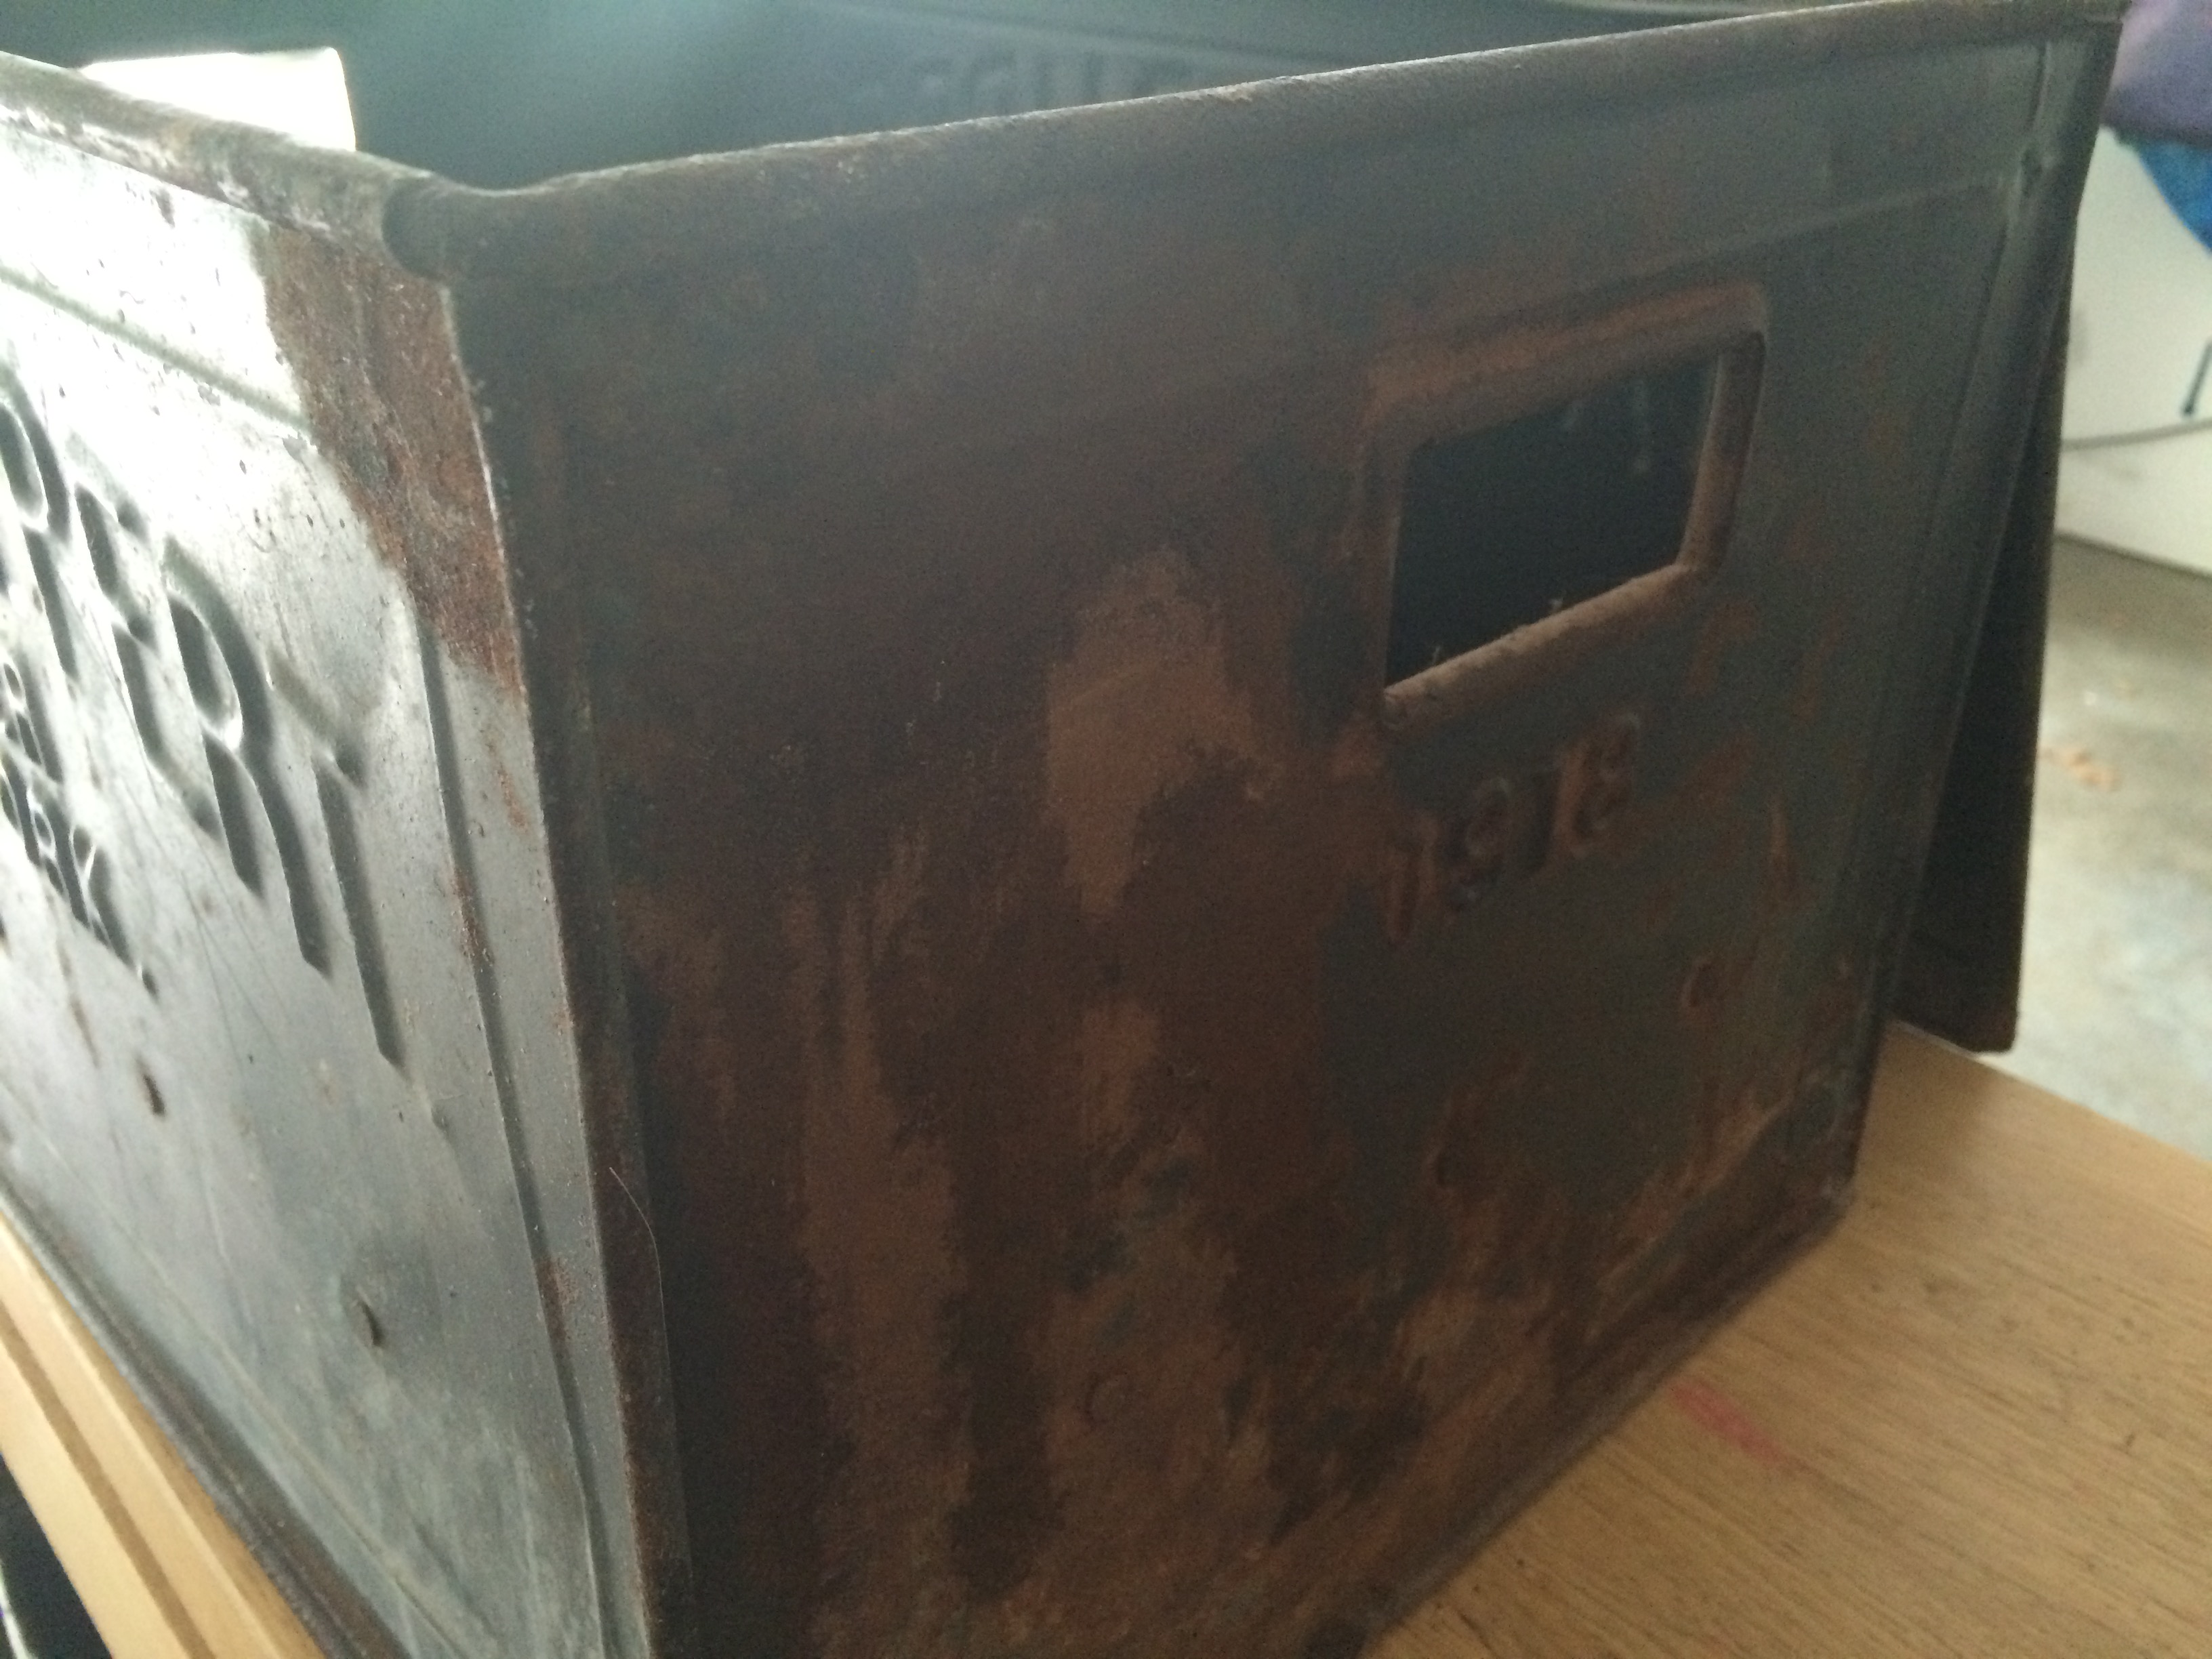

The box was a bit rusted on one side and dirty. I first cleaned it with soap and water. Then I used Rust-oleum Rust Reformer to spray over the rusted areas before spray painting.

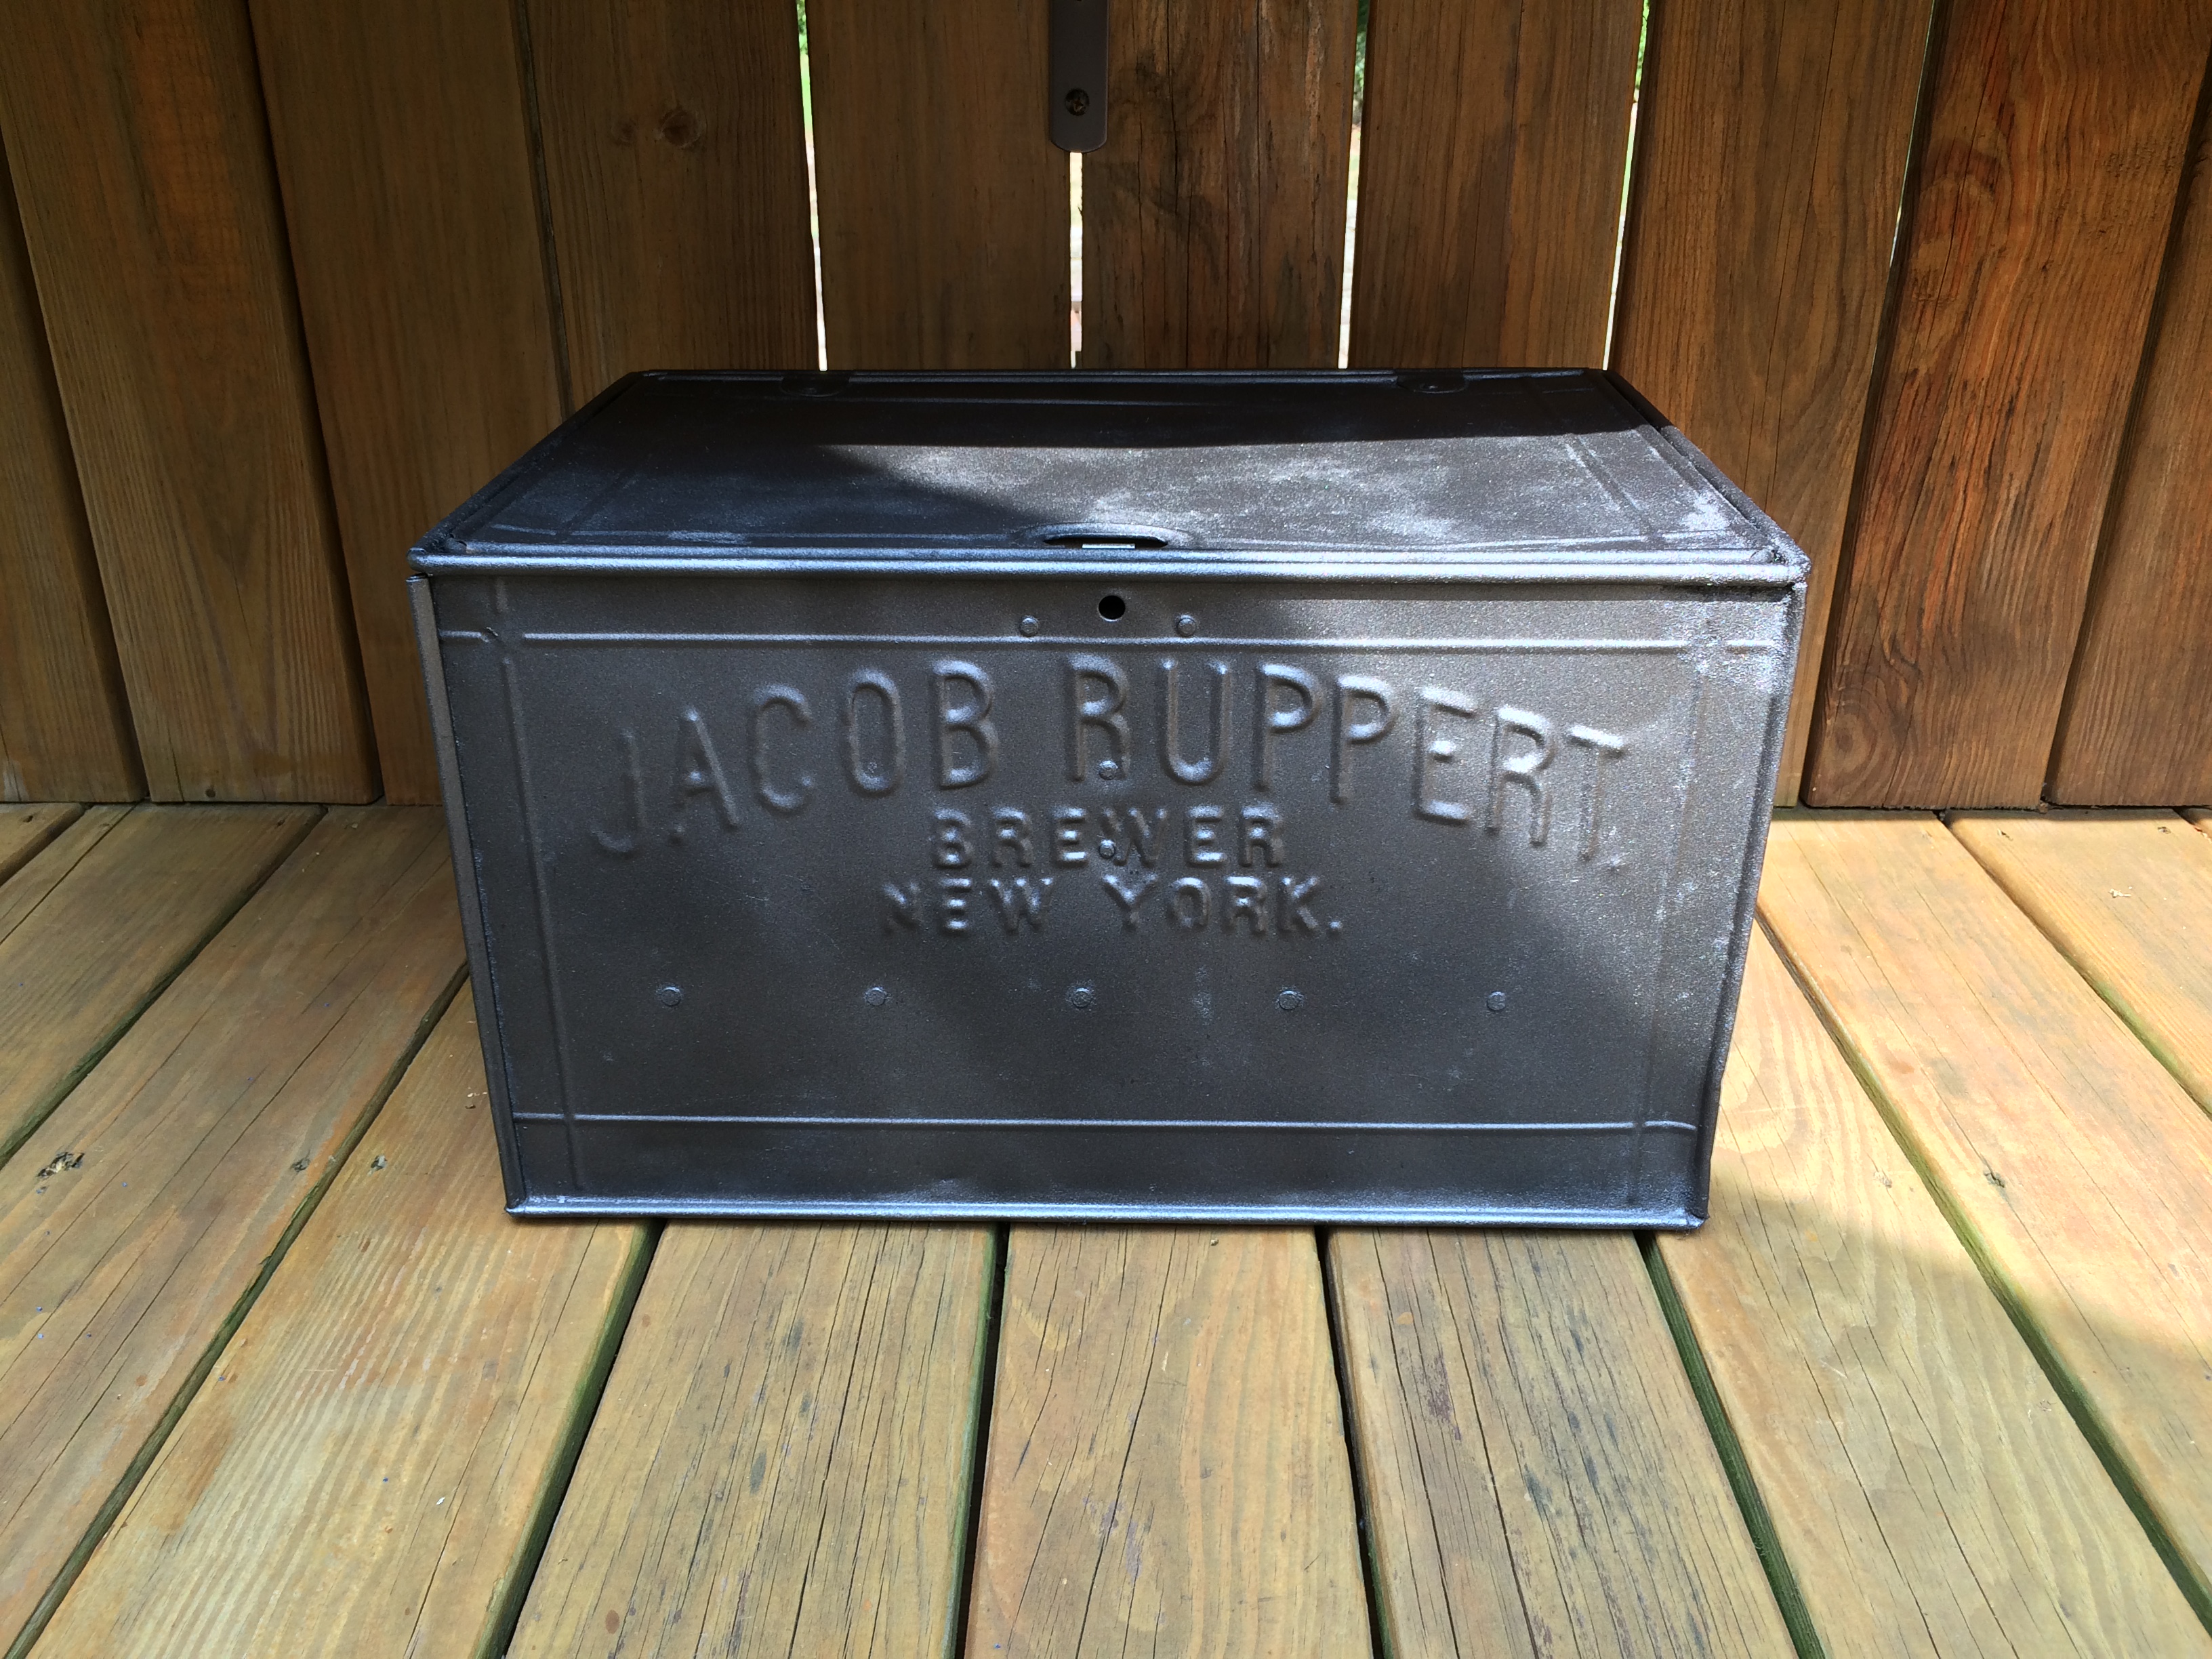
I wanted to keep the original look to the box, but it was hard to find a gray metallic color. I finally found Rust-oleum Metallic Primer and Paint. When I first sprayed it on, I wasn’t so sure I liked it because there was kind of a shimmer to it, but once it dried I actually really liked it. The box came back to life.

AFTER:


Finally, while walking through, literally a junk yard, I saw this metal shelf. It was a bit dented and the owner had sprayed a rust colored rust preventative paint on some of it and it had a live bee hive inside. But, I liked it. You could see the some of the original color on it and that really appealed to me. I didn’t really know what I would do with this, but I liked it enough to buy it and figure it out. Unfortunately, I forgot to take a picture of it before I painted it, but wouldn’t you know searching through my photos I found one I must have taken by accident and you can get the idea of what it looked like.
BEFORE:
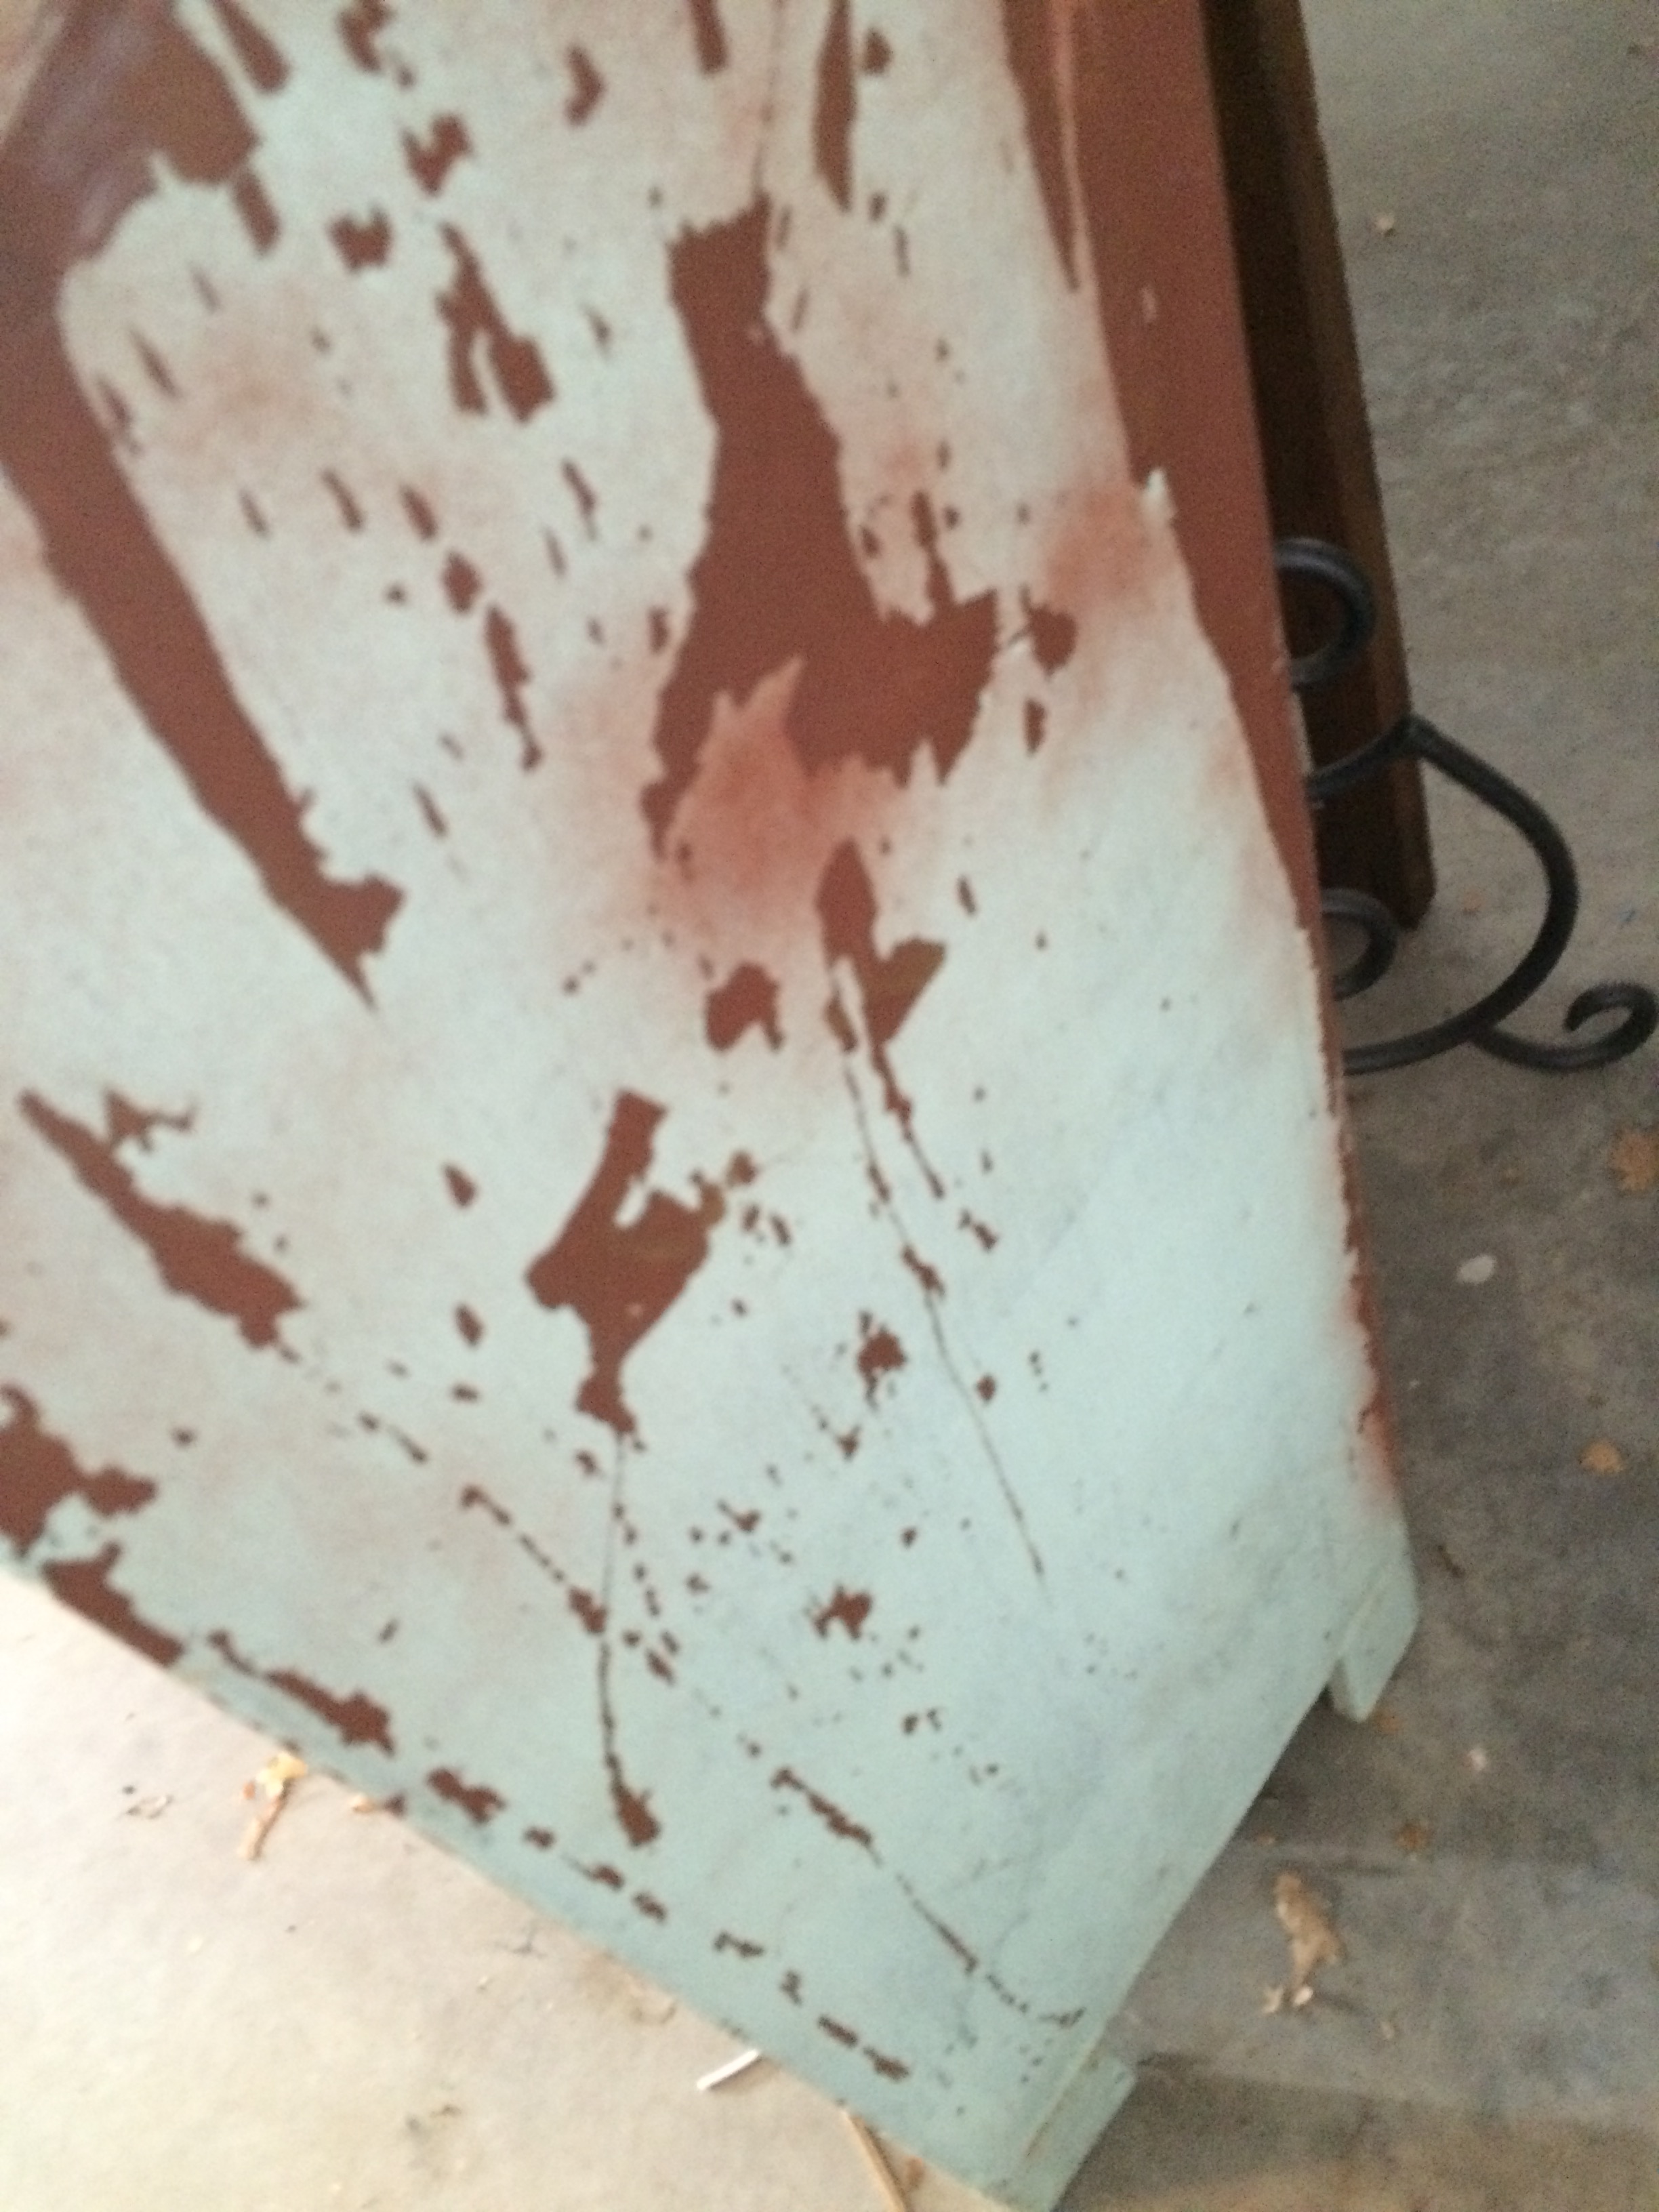
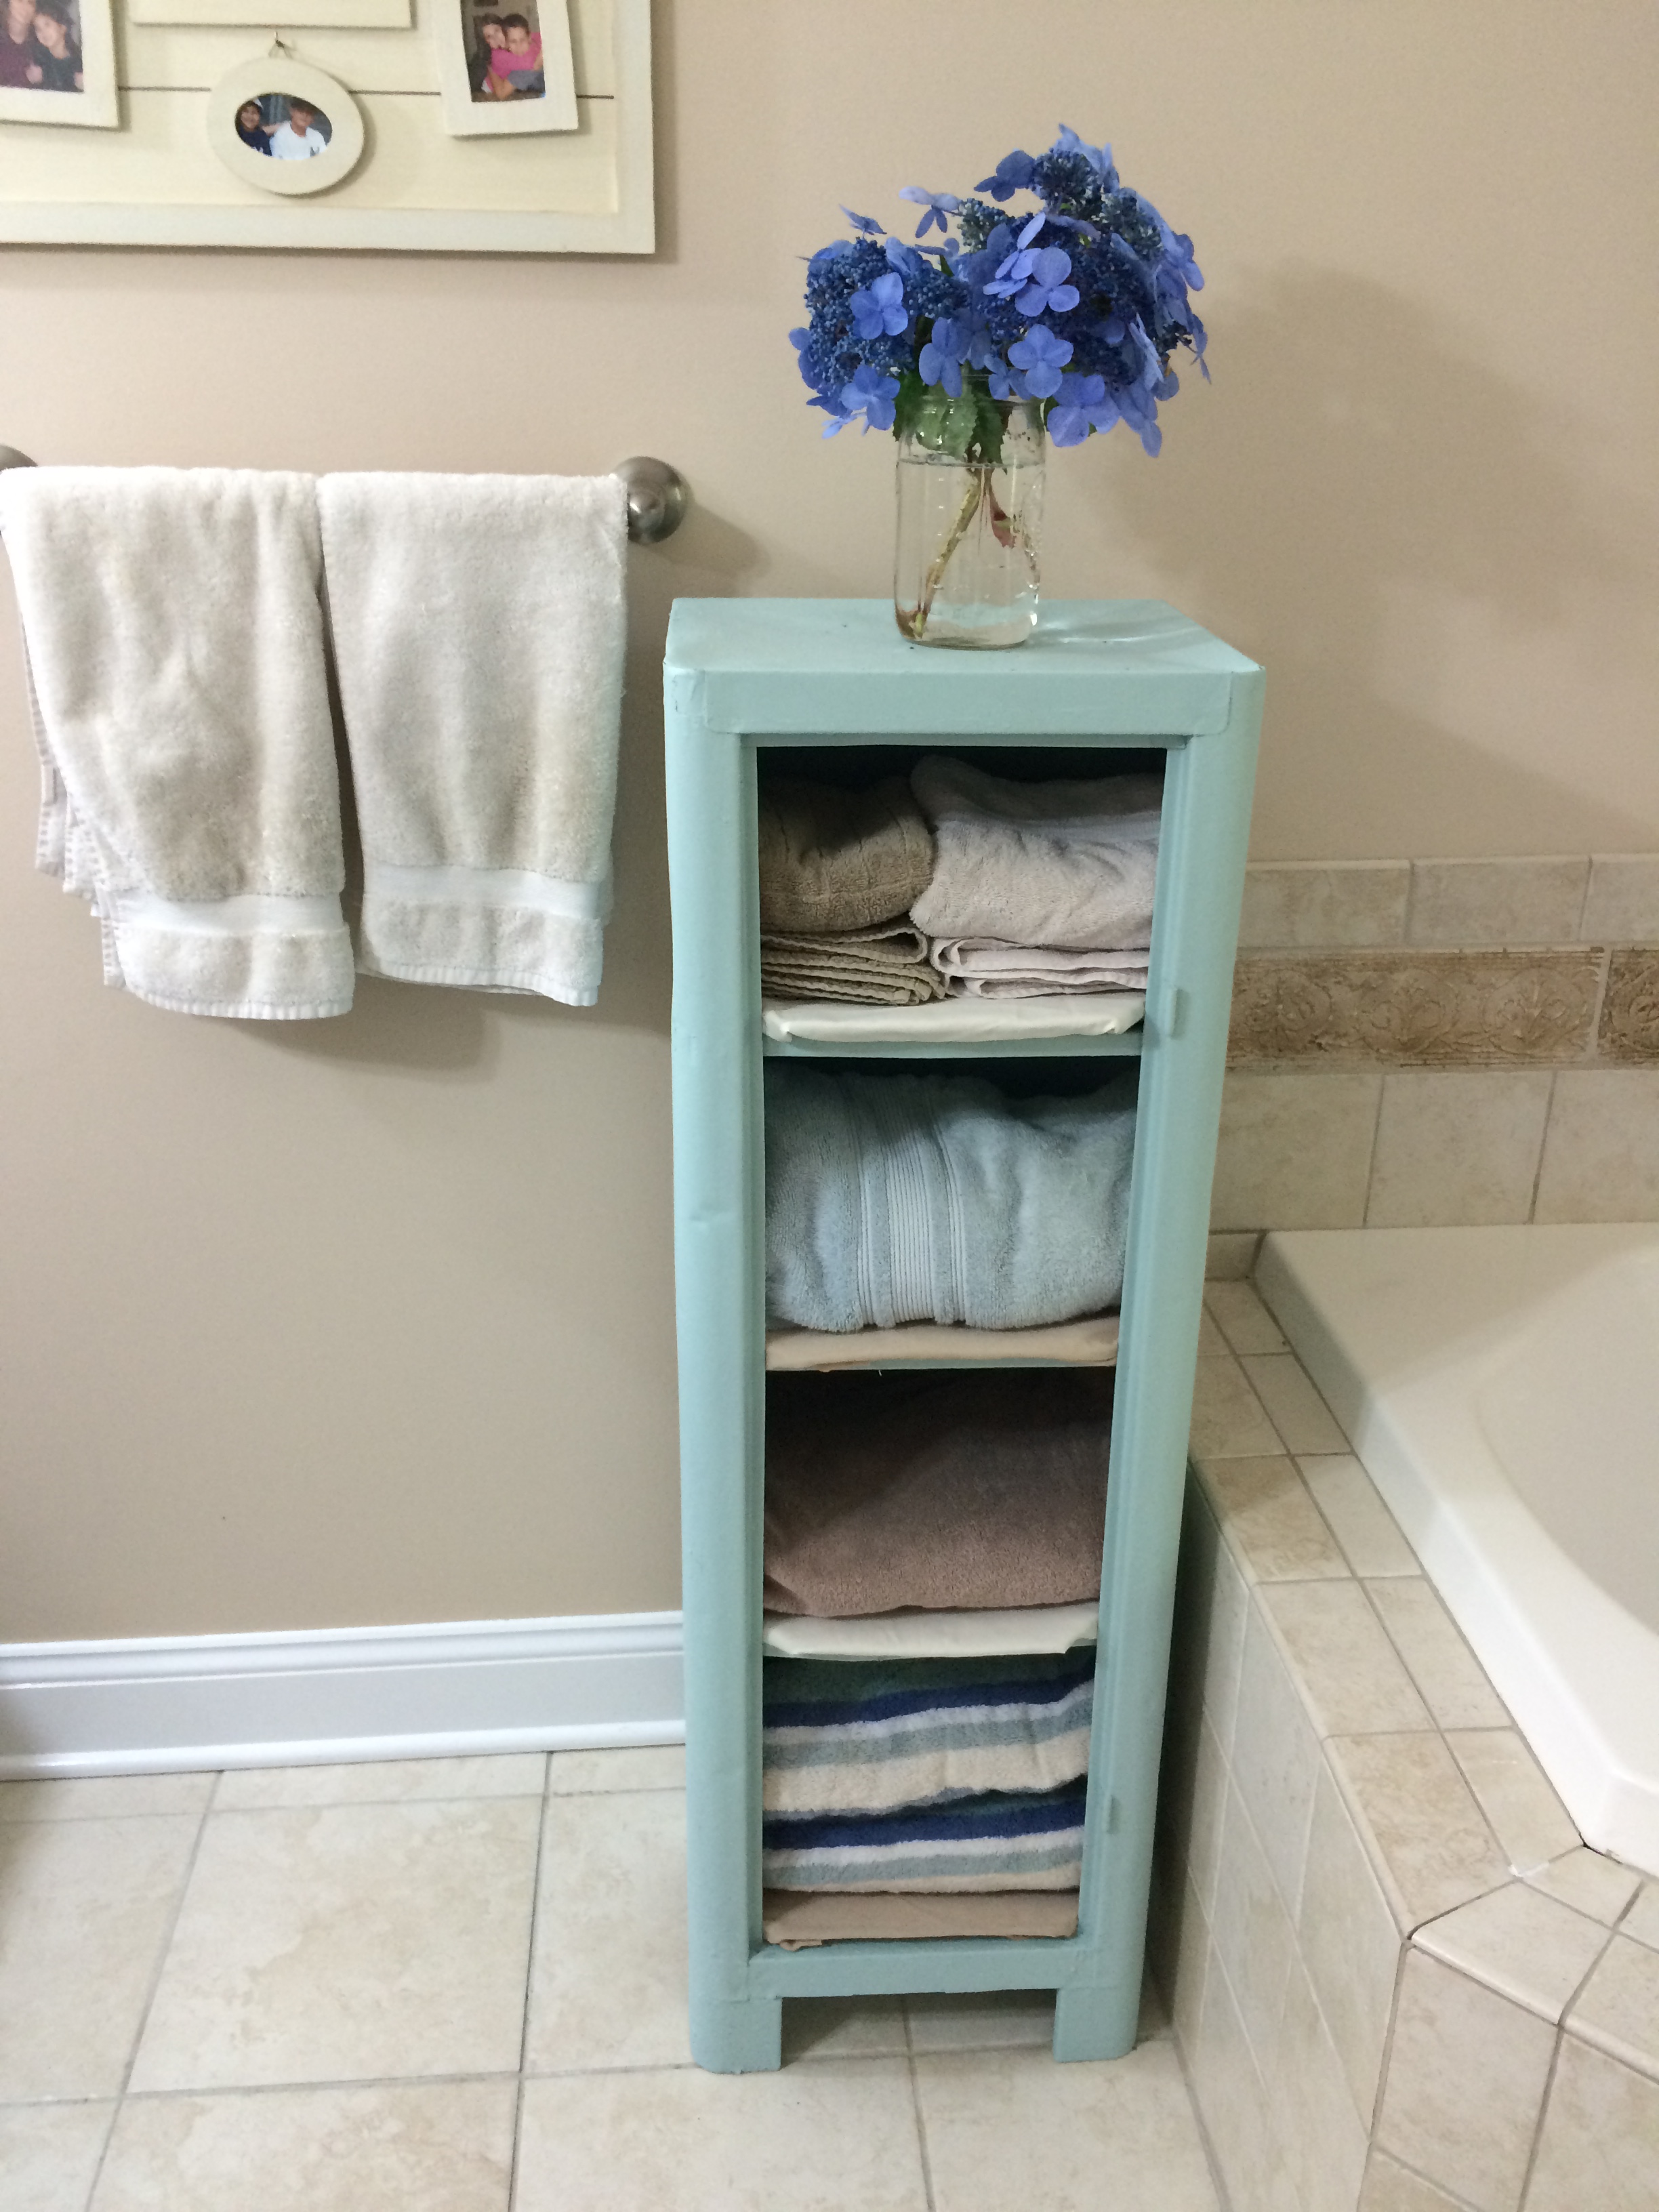
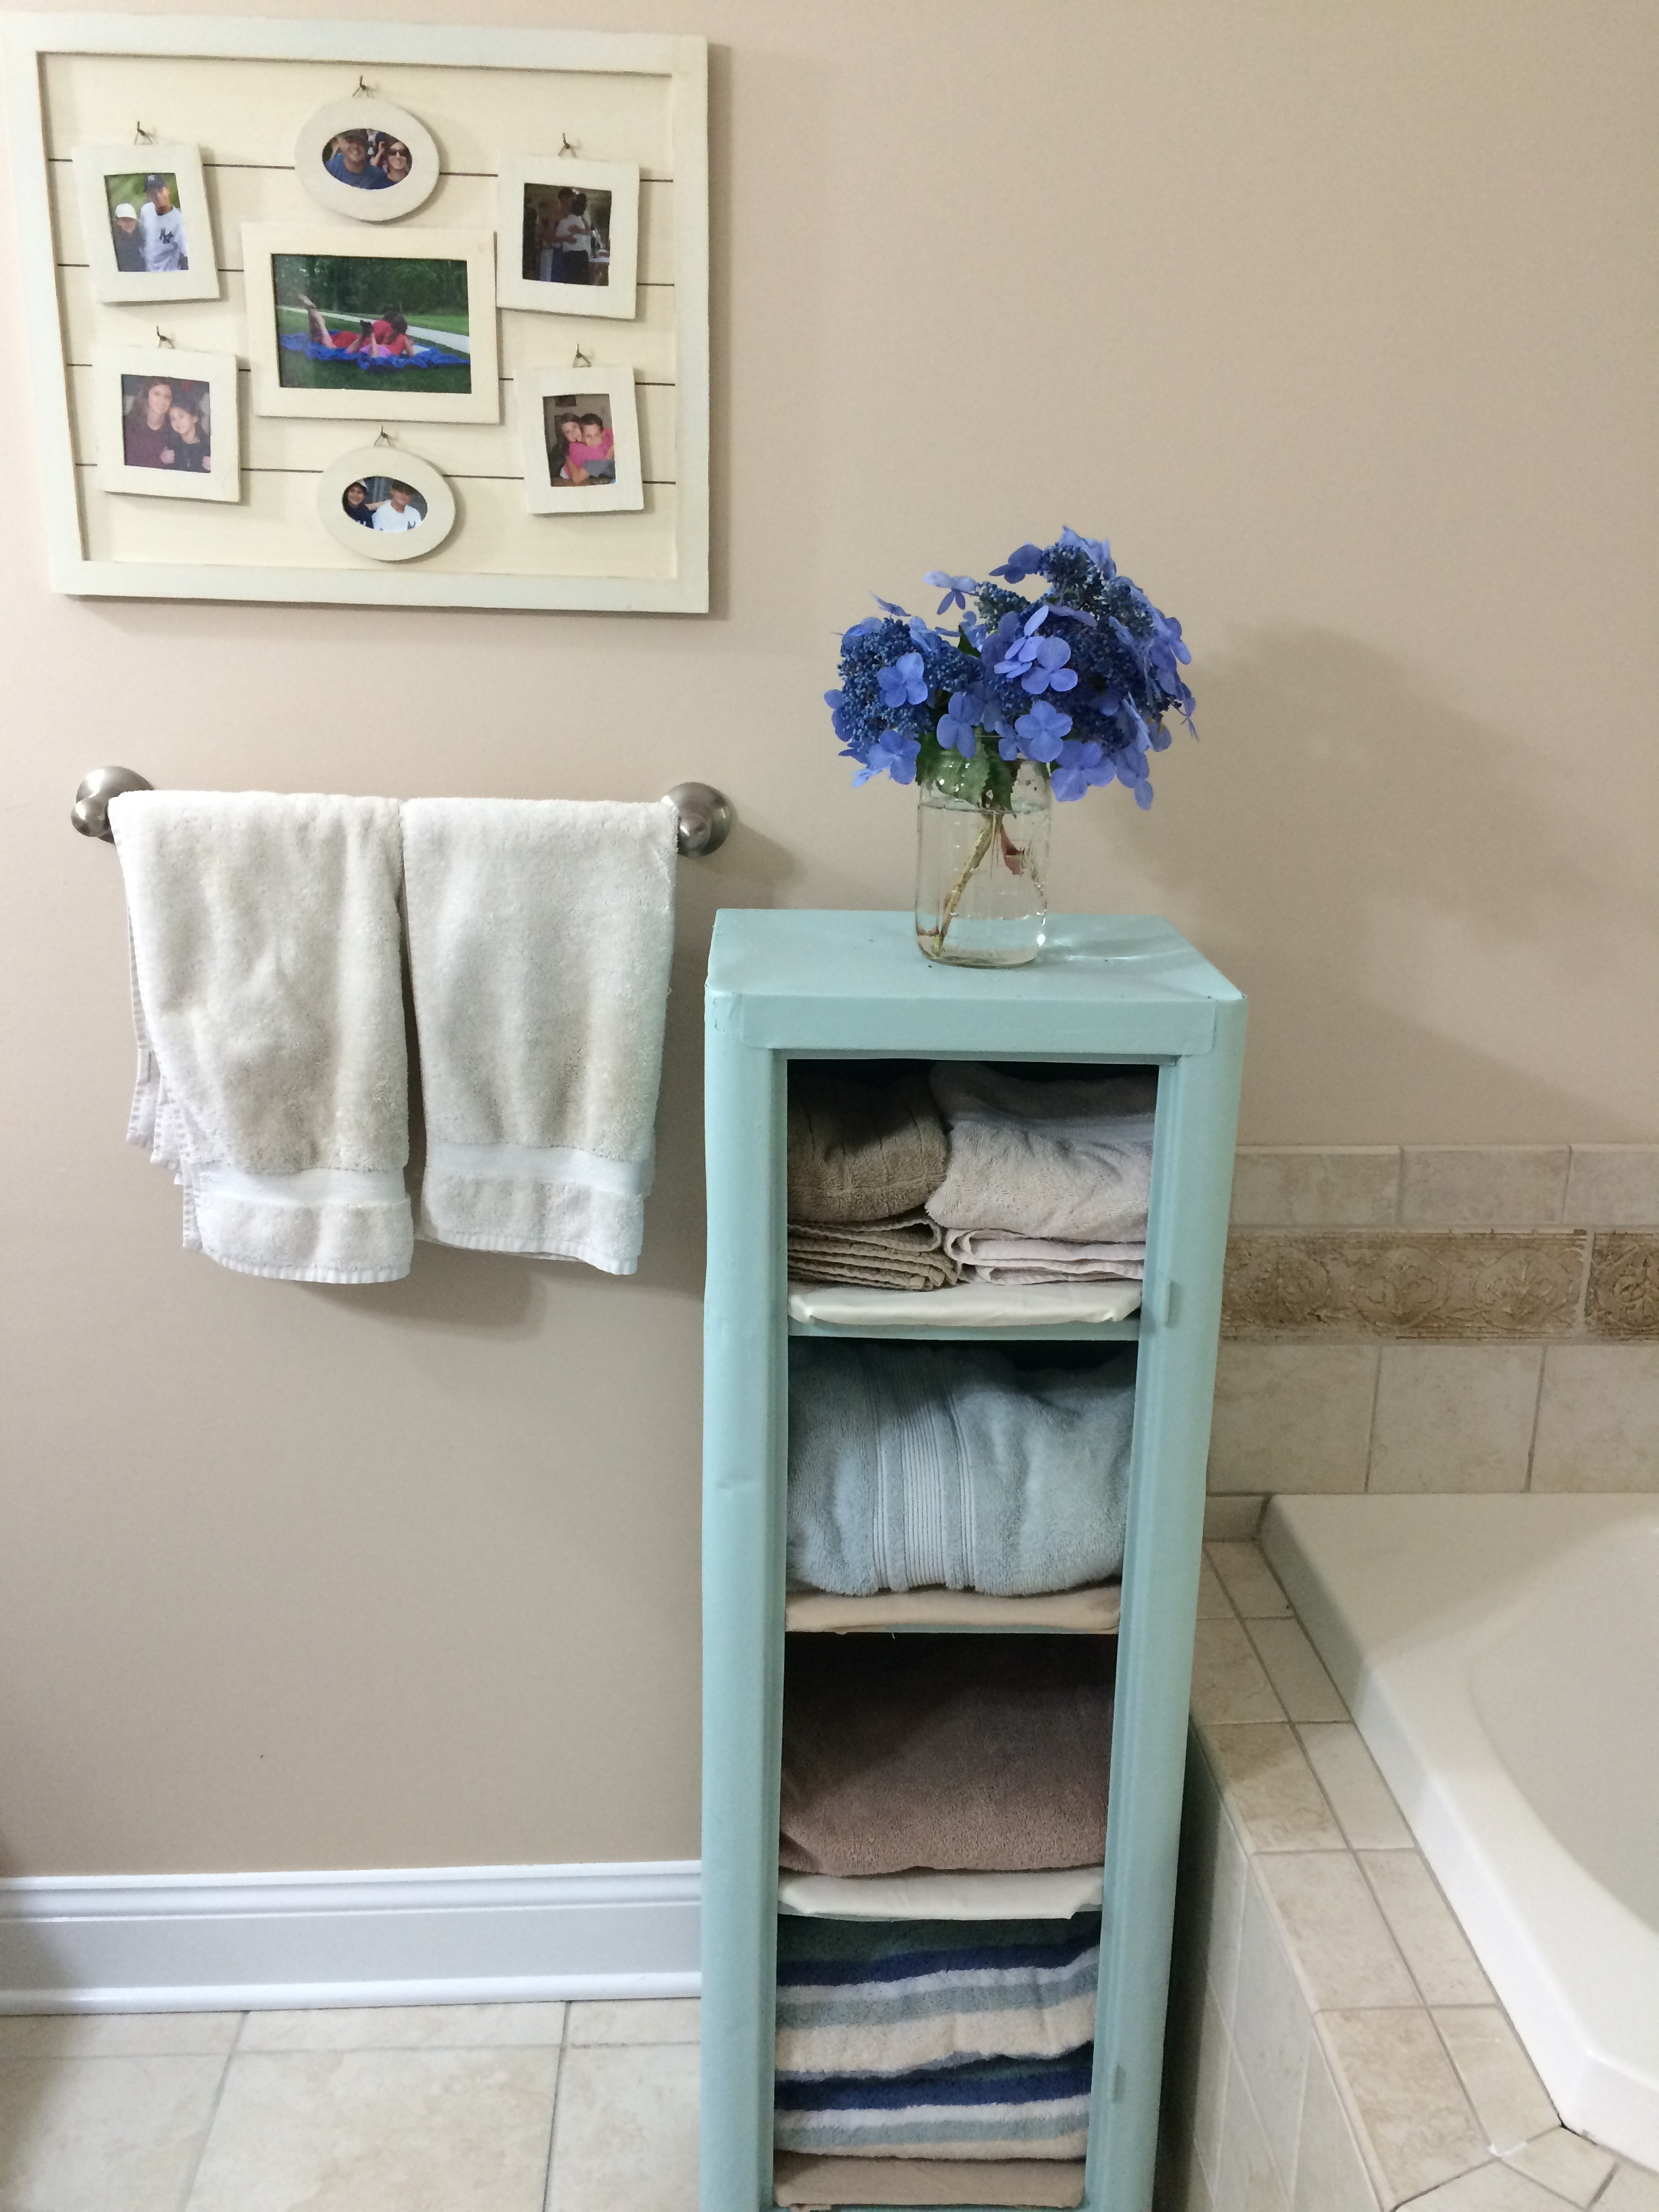
I hosed it down numerous times and cleaned out the years of outside “stuff” it had collected, including spiders and apparently most of the bee hive- I thought the owner took it out- thank goodness there were no bees in there. I liked the way the Rust-Oleum product I used on the metal box sprayed on, the trigger was easy to use and the paint sprayed very evenly. So I went to Home Depot and bought that spray paint in the color of “robin’s egg”. After using four cans of spray paint and multiple coats, it looked really good! I made shelf liners by covering and hot gluing fabric to pieces of cardboard I cut out to fit the shelves. There are hinges on the side, so I would like to put a glass door on it one day. I decided to use it in my bathroom to hold towels and because I have a lot of this color in my bathroom anyway, it fit well!
AFTER:


Apples!
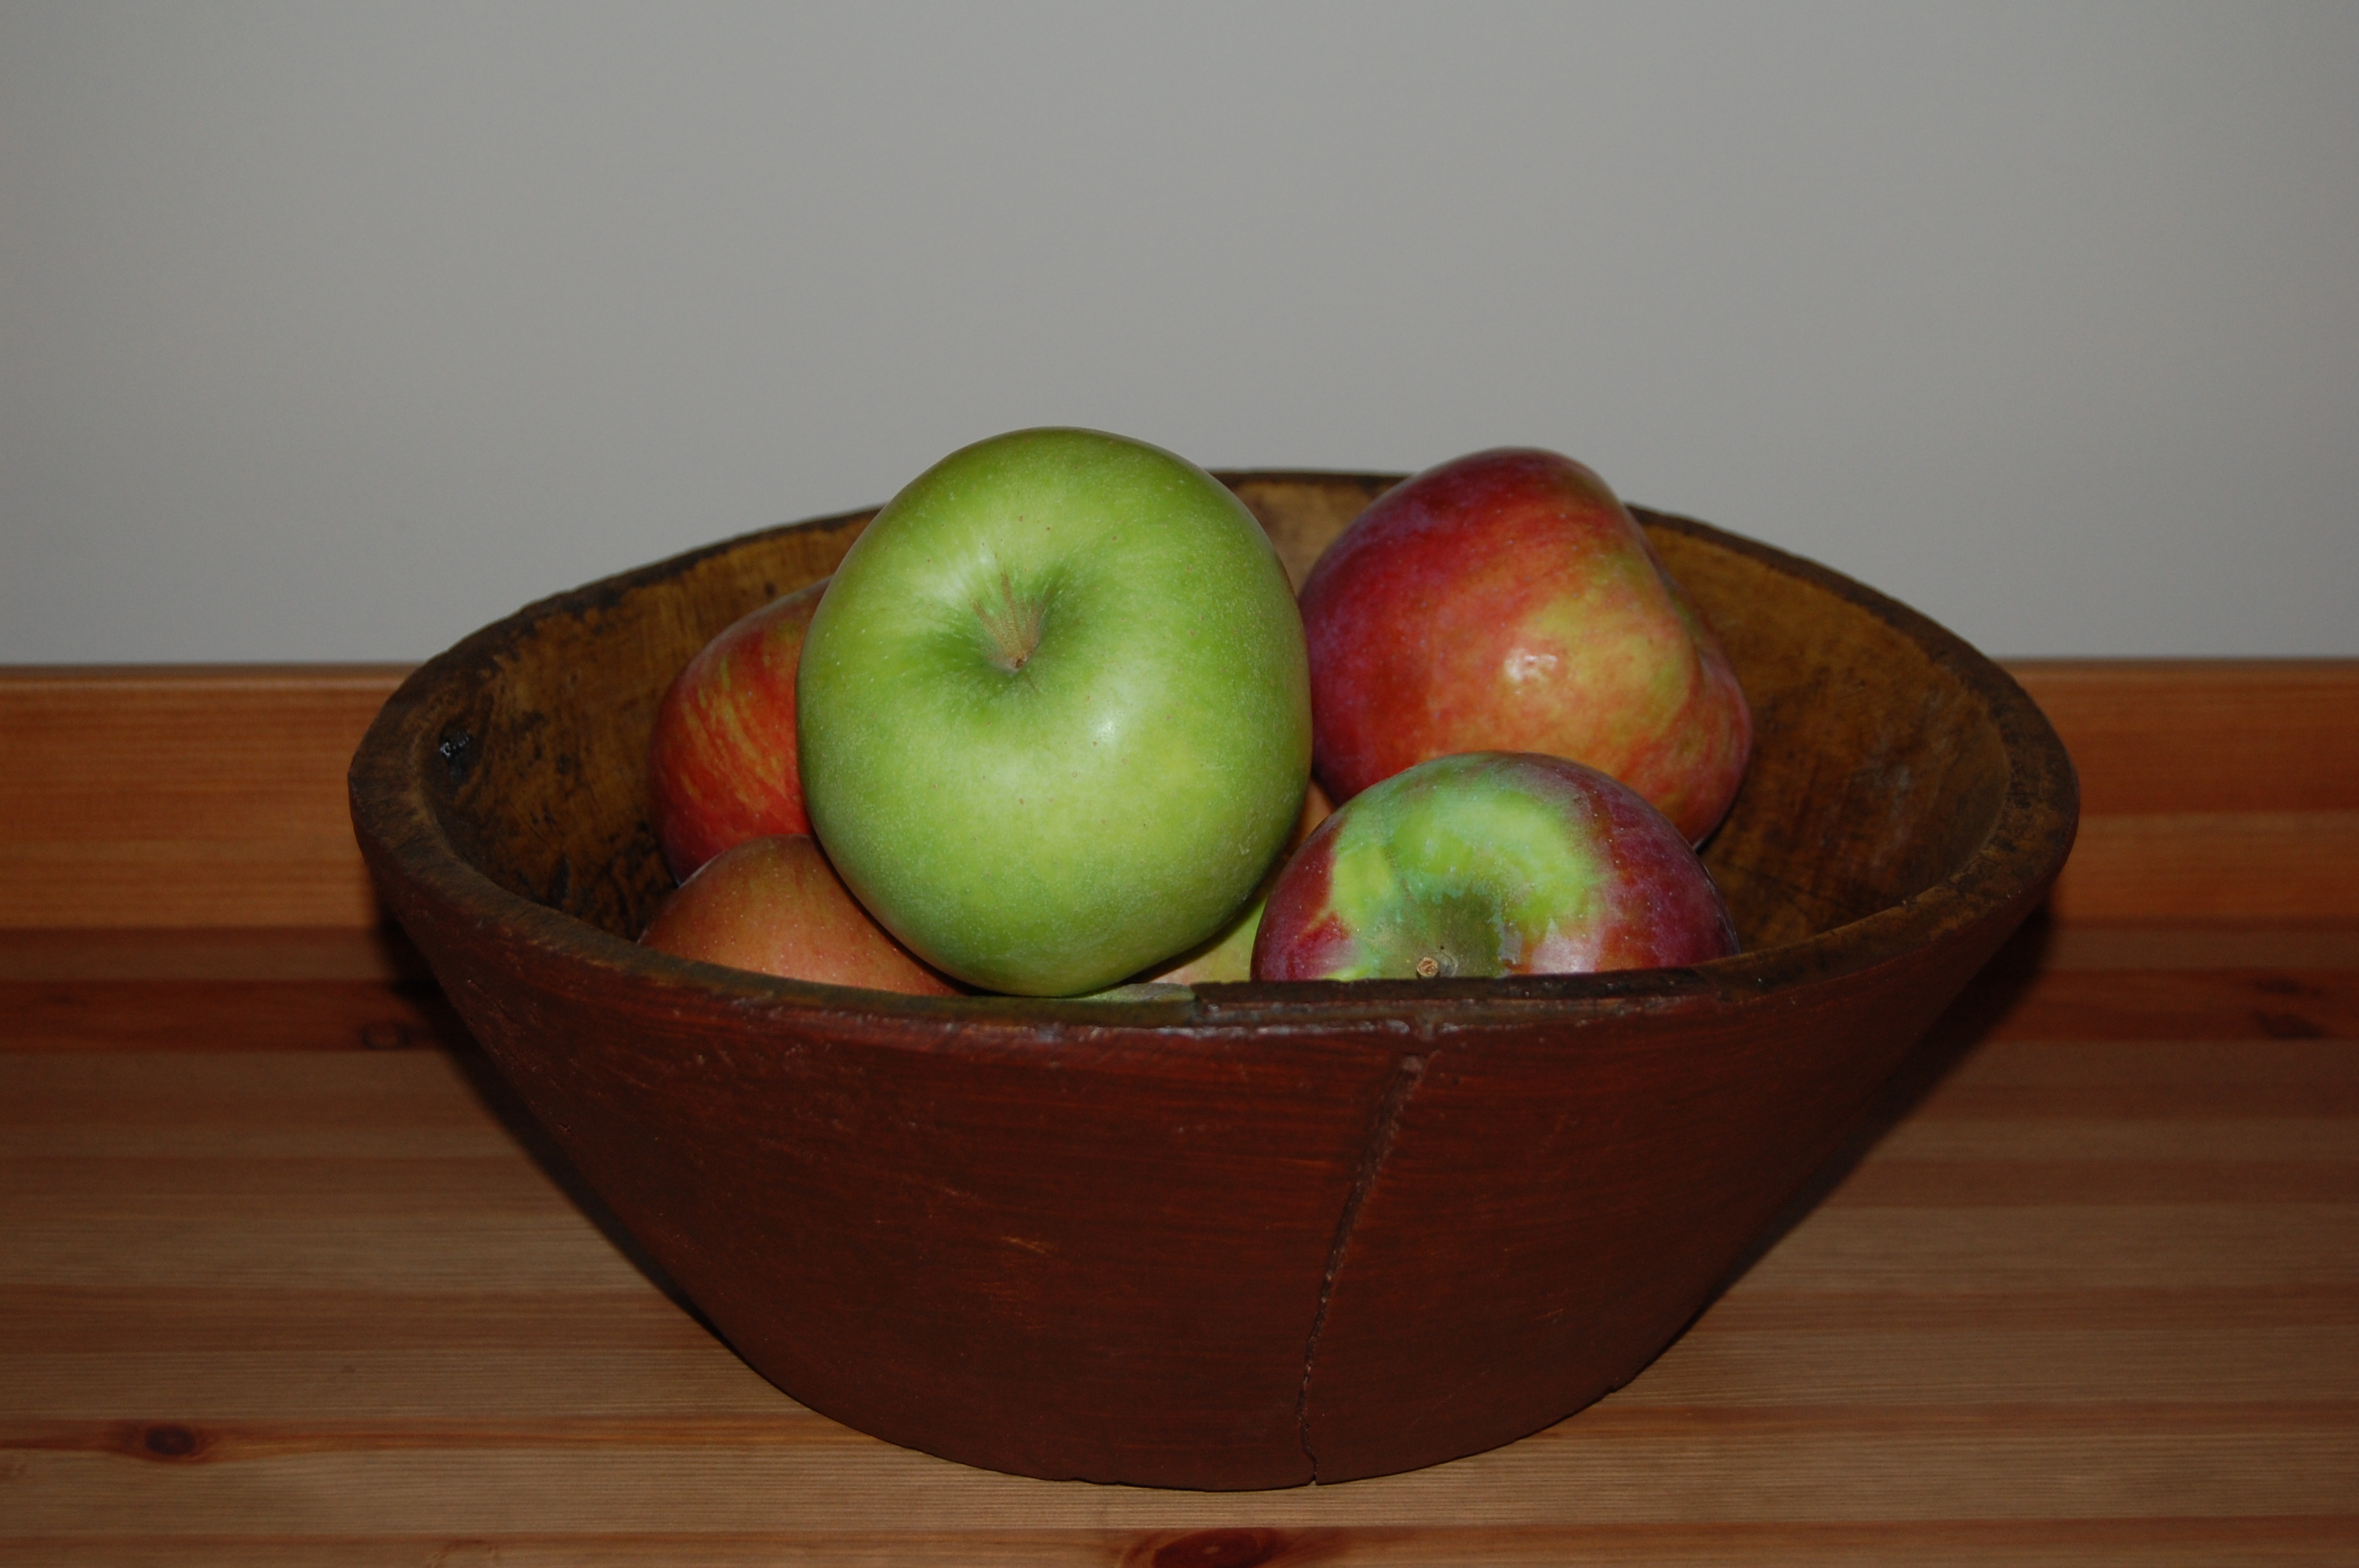 It’s that time of year in New England when we take a day to go to an orchard and pick apples. But there are so many varieties. Which ones do you pick? What do you do with them when you get home? To be honest, even though we do this every year, I had no idea what each variety is good for, we just picked! So I decided to do my research and share it in case there is anyone else out there who is clueless as to what to do with a bowl full of apples. I’ve put together a guide of the kinds of apples you might find at your local orchard and what each variety can be used for (besides eating of course)!
We live in Connecticut and enjoy going to March Farm in Bethlehem. They have a lot of trees in their orchards to pick from as well as playgrounds, corn maze and shop.

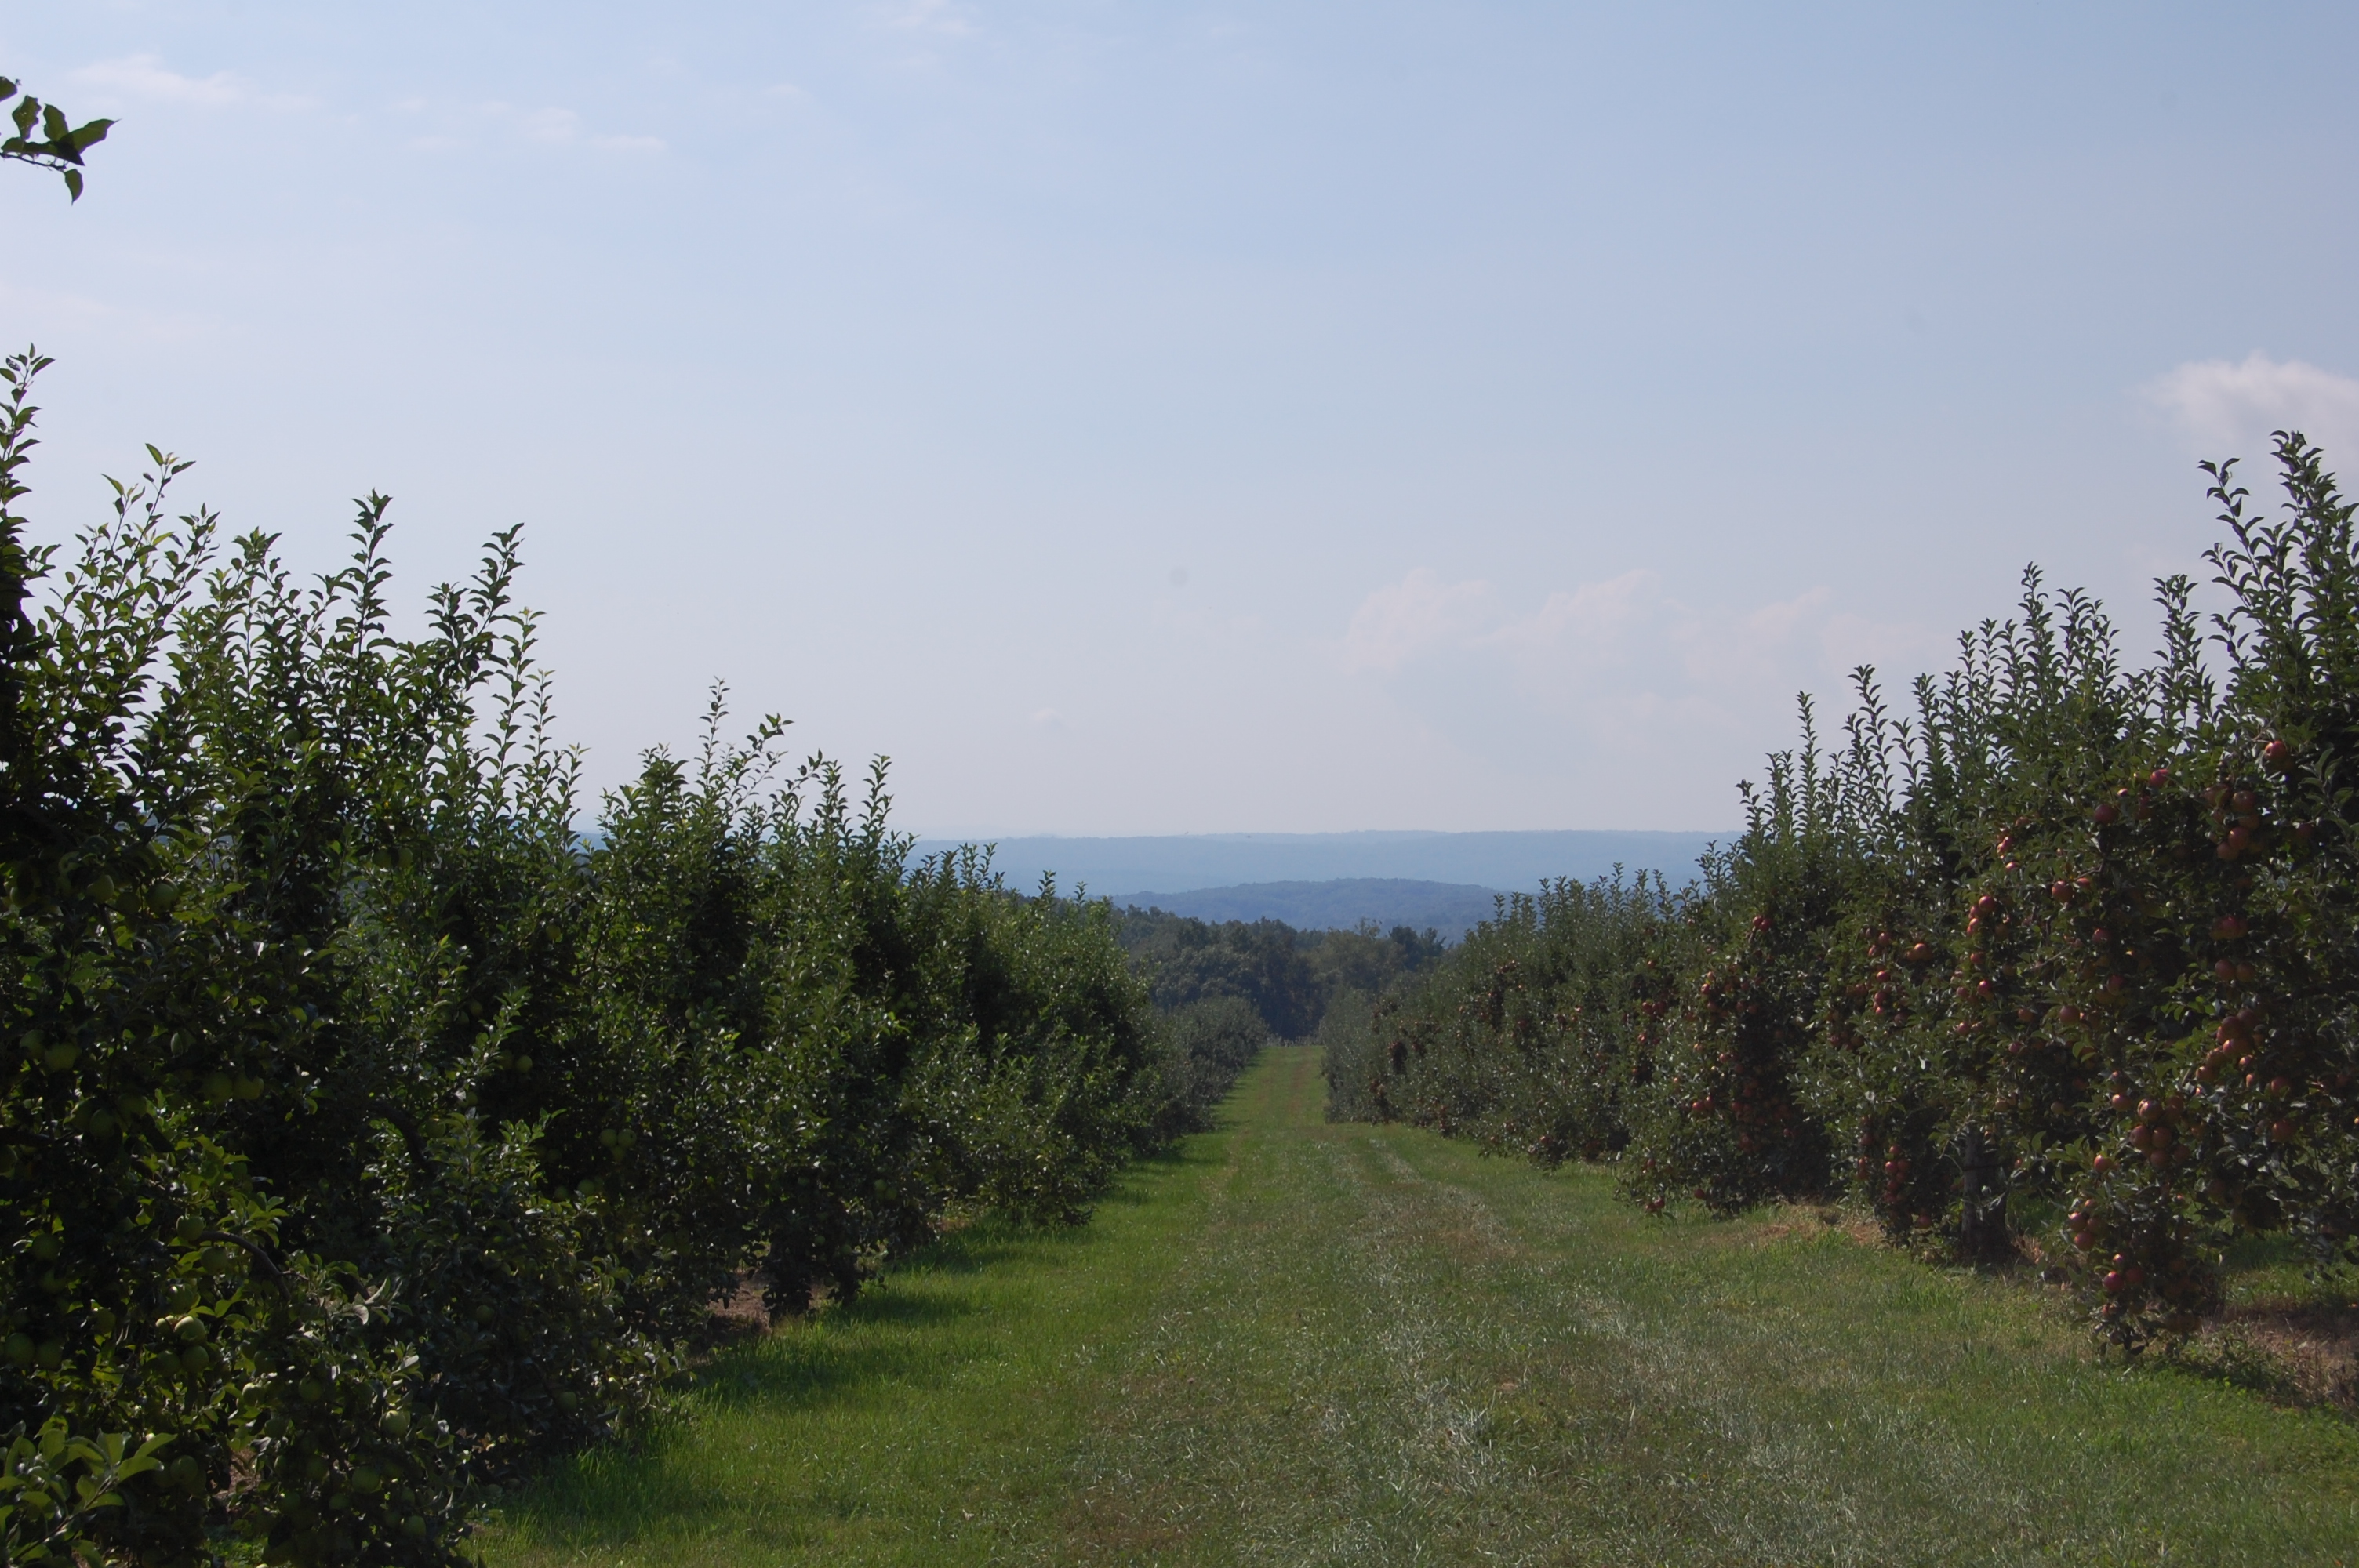

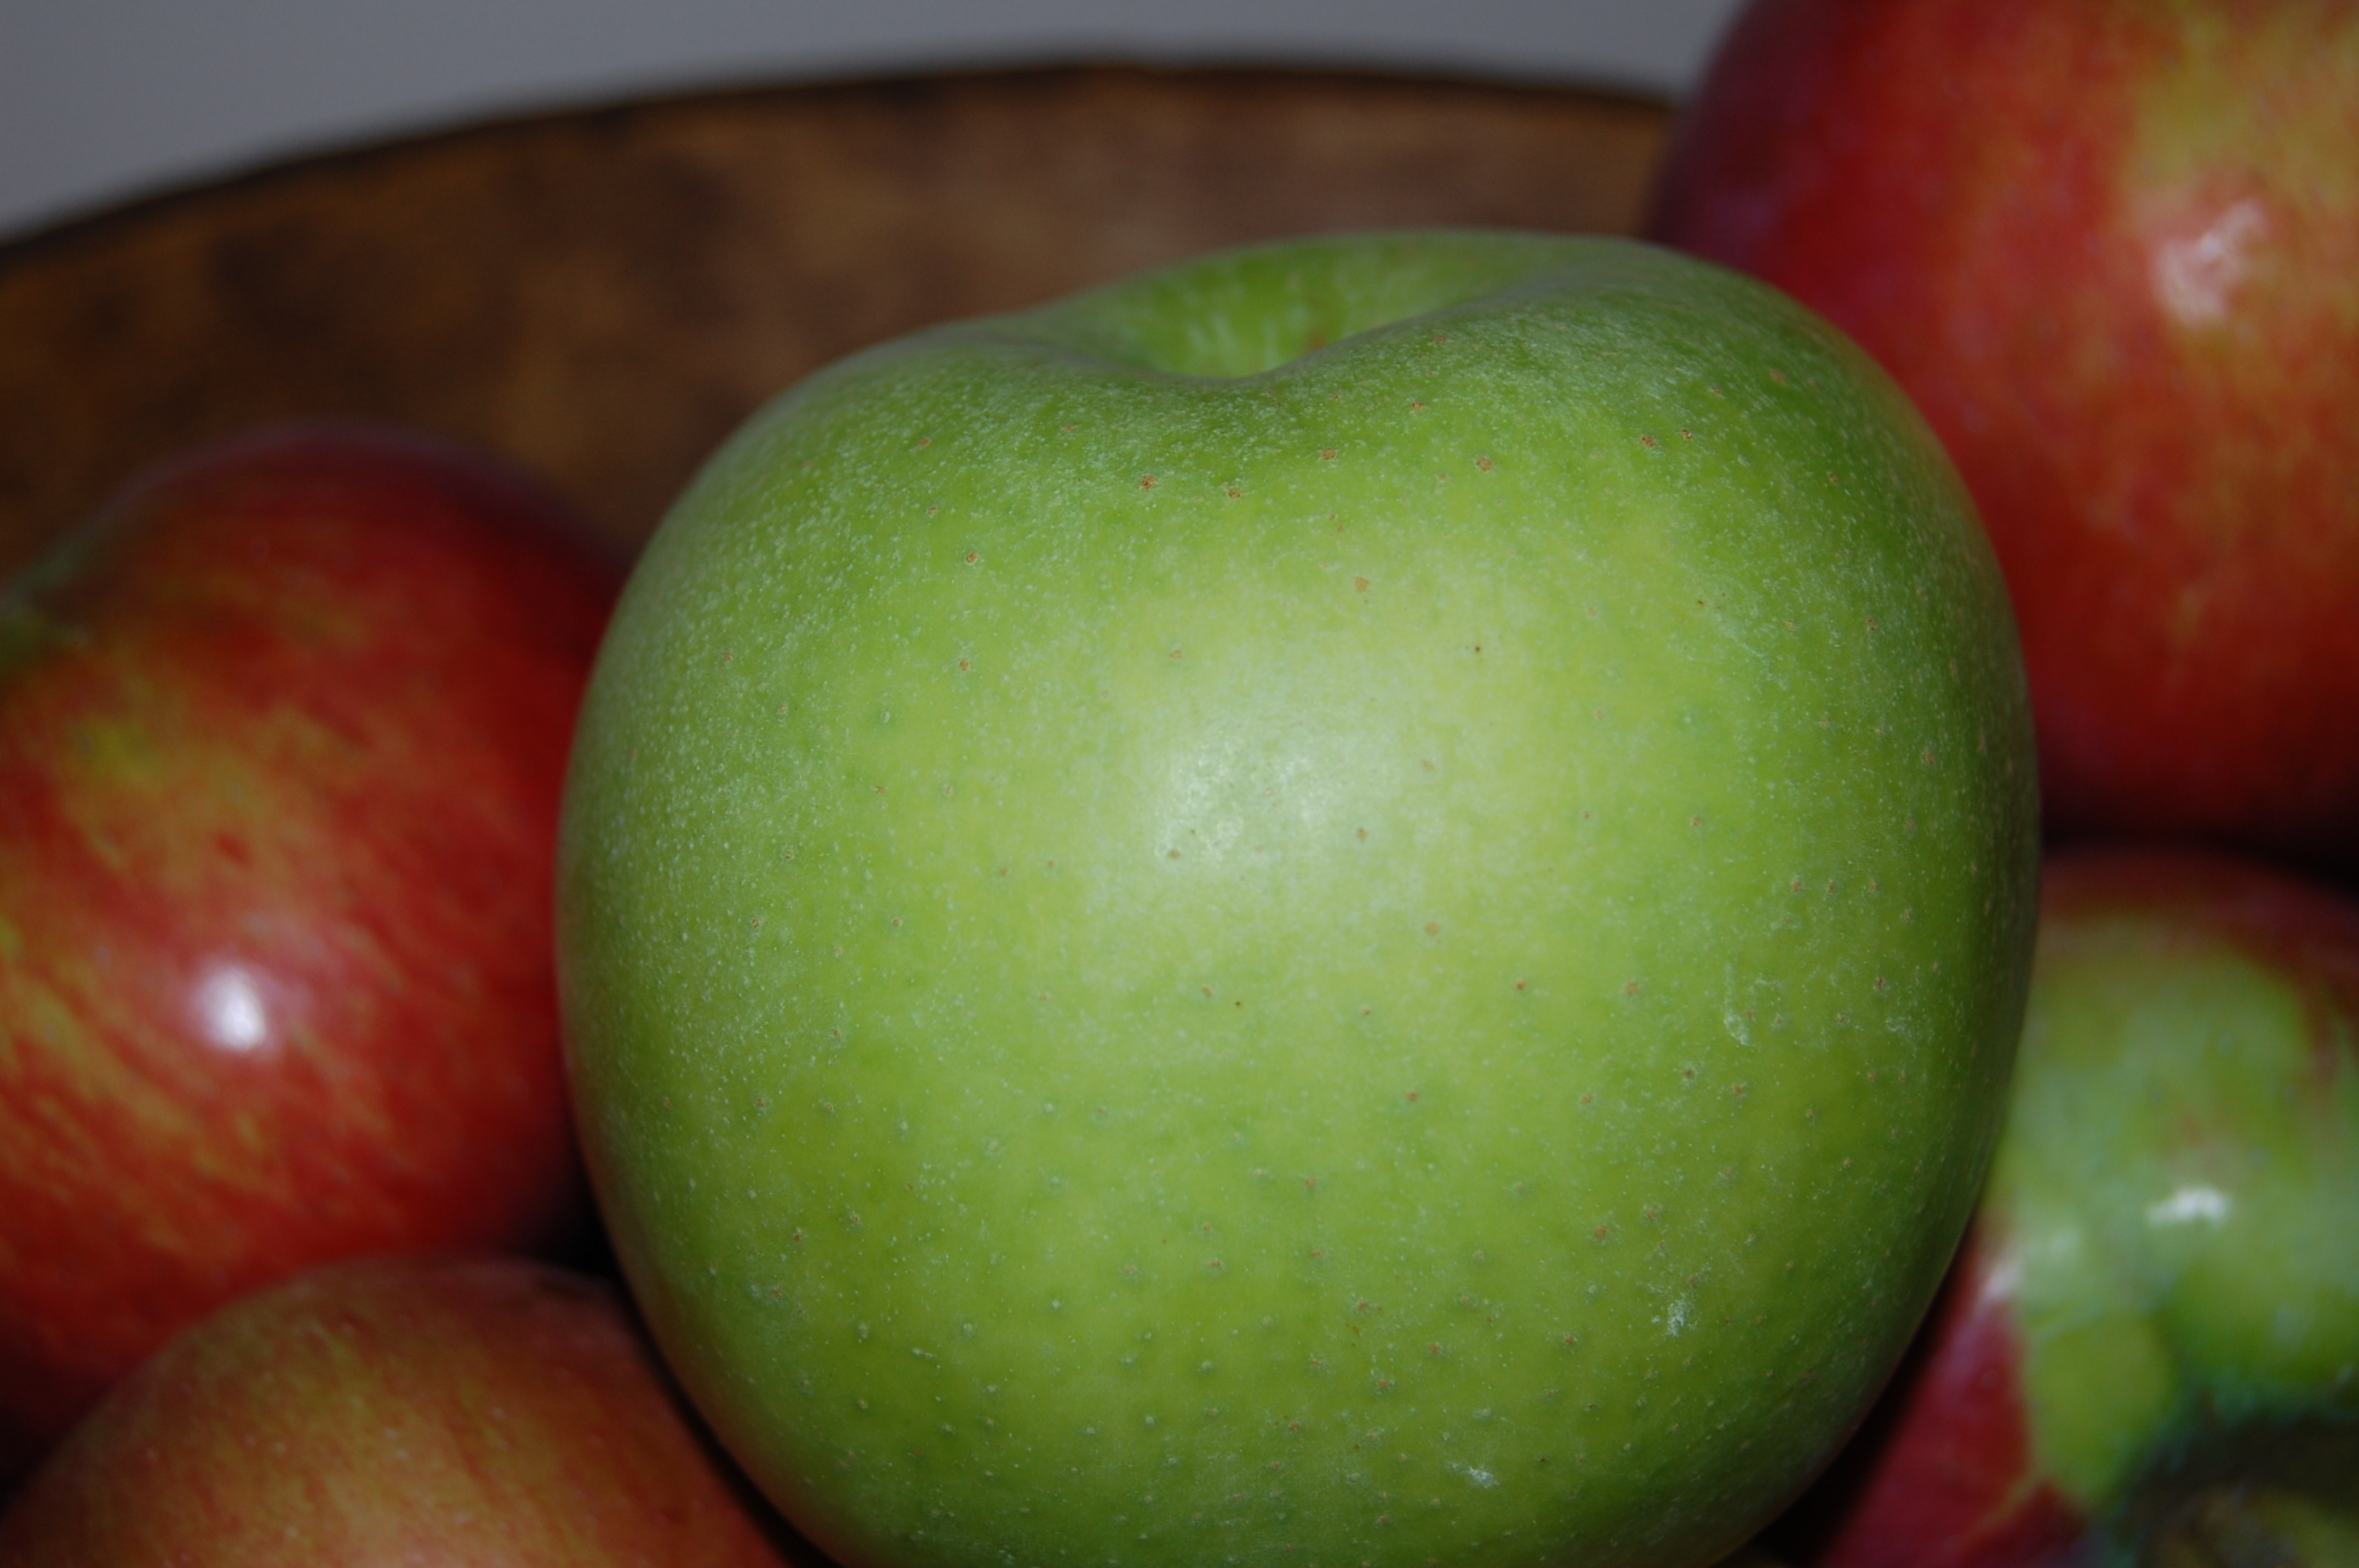
And look at the size of those apples!!


Thanks to ctapples.org, I am able to provide myself and you with some information. Epicurious also has a great guide on varieties http://www.epicurious.com/archive/seasonalcooking/farmtotable/visualguideapples.
SEPTEMBER
Macoun
With their wine-red color with gold accents, Macouns are highly regarded for their aroma and sweet-tart, juicy flavor. Excellent for snack and desserts and good for all culinary uses. Developed in 1909 from Jersey Black and McIntosh parents. Ripens in mid-September.

Gala
Red-orange, with yellow stripes. A sweet crisp flavor and texture. Very good for salads and sauces. Introduced in 1934. Ripens in late September.
Cortland
A larger apple good for baking, with a deep, purple-red color. Moderately juicy and fairly sweet. Their white flesh doesn’t brown when sliced so Corlands are a standout for fruit salads, dipping in toppings, or eating wit a plate of sharp cheddar cheese. Developed in 1898, across between a McIntosh and Ben Davis. Ripens late September.

Ida Red
Bright golden red. Their tangy taste mellow at maturity. Excellent for snacks and all culinary uses. Developed in 1942. Ripens in late September.
Empire
Deep red skin brushed with gold and green. The Empire is mildly tart-sweet and has juicy quality dessert apple, good for all culinary uses. A newer variety introduced in 1966 from McIntosh and Delicious parents. Ripens late September.

Pippin
Green with yellow highlights. Tangy sweet. Best for cooking and baking. Dates back to 1700. Ripens in September.
Honey Crisp
Deep red over yellow skin. Produced from a 1960 cross of Macoun and Honey-gold. Exceptionally crisp and juicy texture. Its flesh is cream colored and coarse. A large apple excellent for desserts. Ripens late September.

Spartan
Red and green skin. Juicy, tart-sweet taste is good for snacks and salads. Introduced in 1936. Ripens in late September.
OCTOBER
Fuji
Red blush with green and yellow stripes. Crisp, firm, juicy flesh. Developed in Japan in 1939. Ripens in October.

Jonagold
Bright red with gold. Crisp and juicy, Jonagolds are good fresh, in salads, and for cooking and baking. Introduced in 1968 from Golden Delicious and Jonathan parents. Ripens in October.

Eastern Red Delicious
The unique shape of this red apple tapers to a five-knobbed base. Sweet, tender and juicy. Best for crunching out of hand and in fruit cups and salads. Developed in 1872, Red Delicious is America’s most plentifully grown apple. Ripens early October.

Golden Delicious
Golden or light-green, with pink blush. Tender, mellow, sweet. Wonderful fresh and in salads. Developed in 1912. Ripens in October.

Rome
A medium large, bright red, round apple with a slightly tart taste. Rome is considered on eof the finest baking apples available. First propagated from seed in 1828. Ripens mid-October.
Liberty
Green-yellow skin witha red semi-stripe. Flesh is cream-colored, sweet and juicy. Introduced in a 1978, a cross between a Macoun and Purdue. An all-purpose apple. Ripens in early October.

Crispin (Mutsu)
Greenish yellow to yellow. Good for cooking. Introduced in U.S. in 1968. Ripens mid-October.

 Recipes
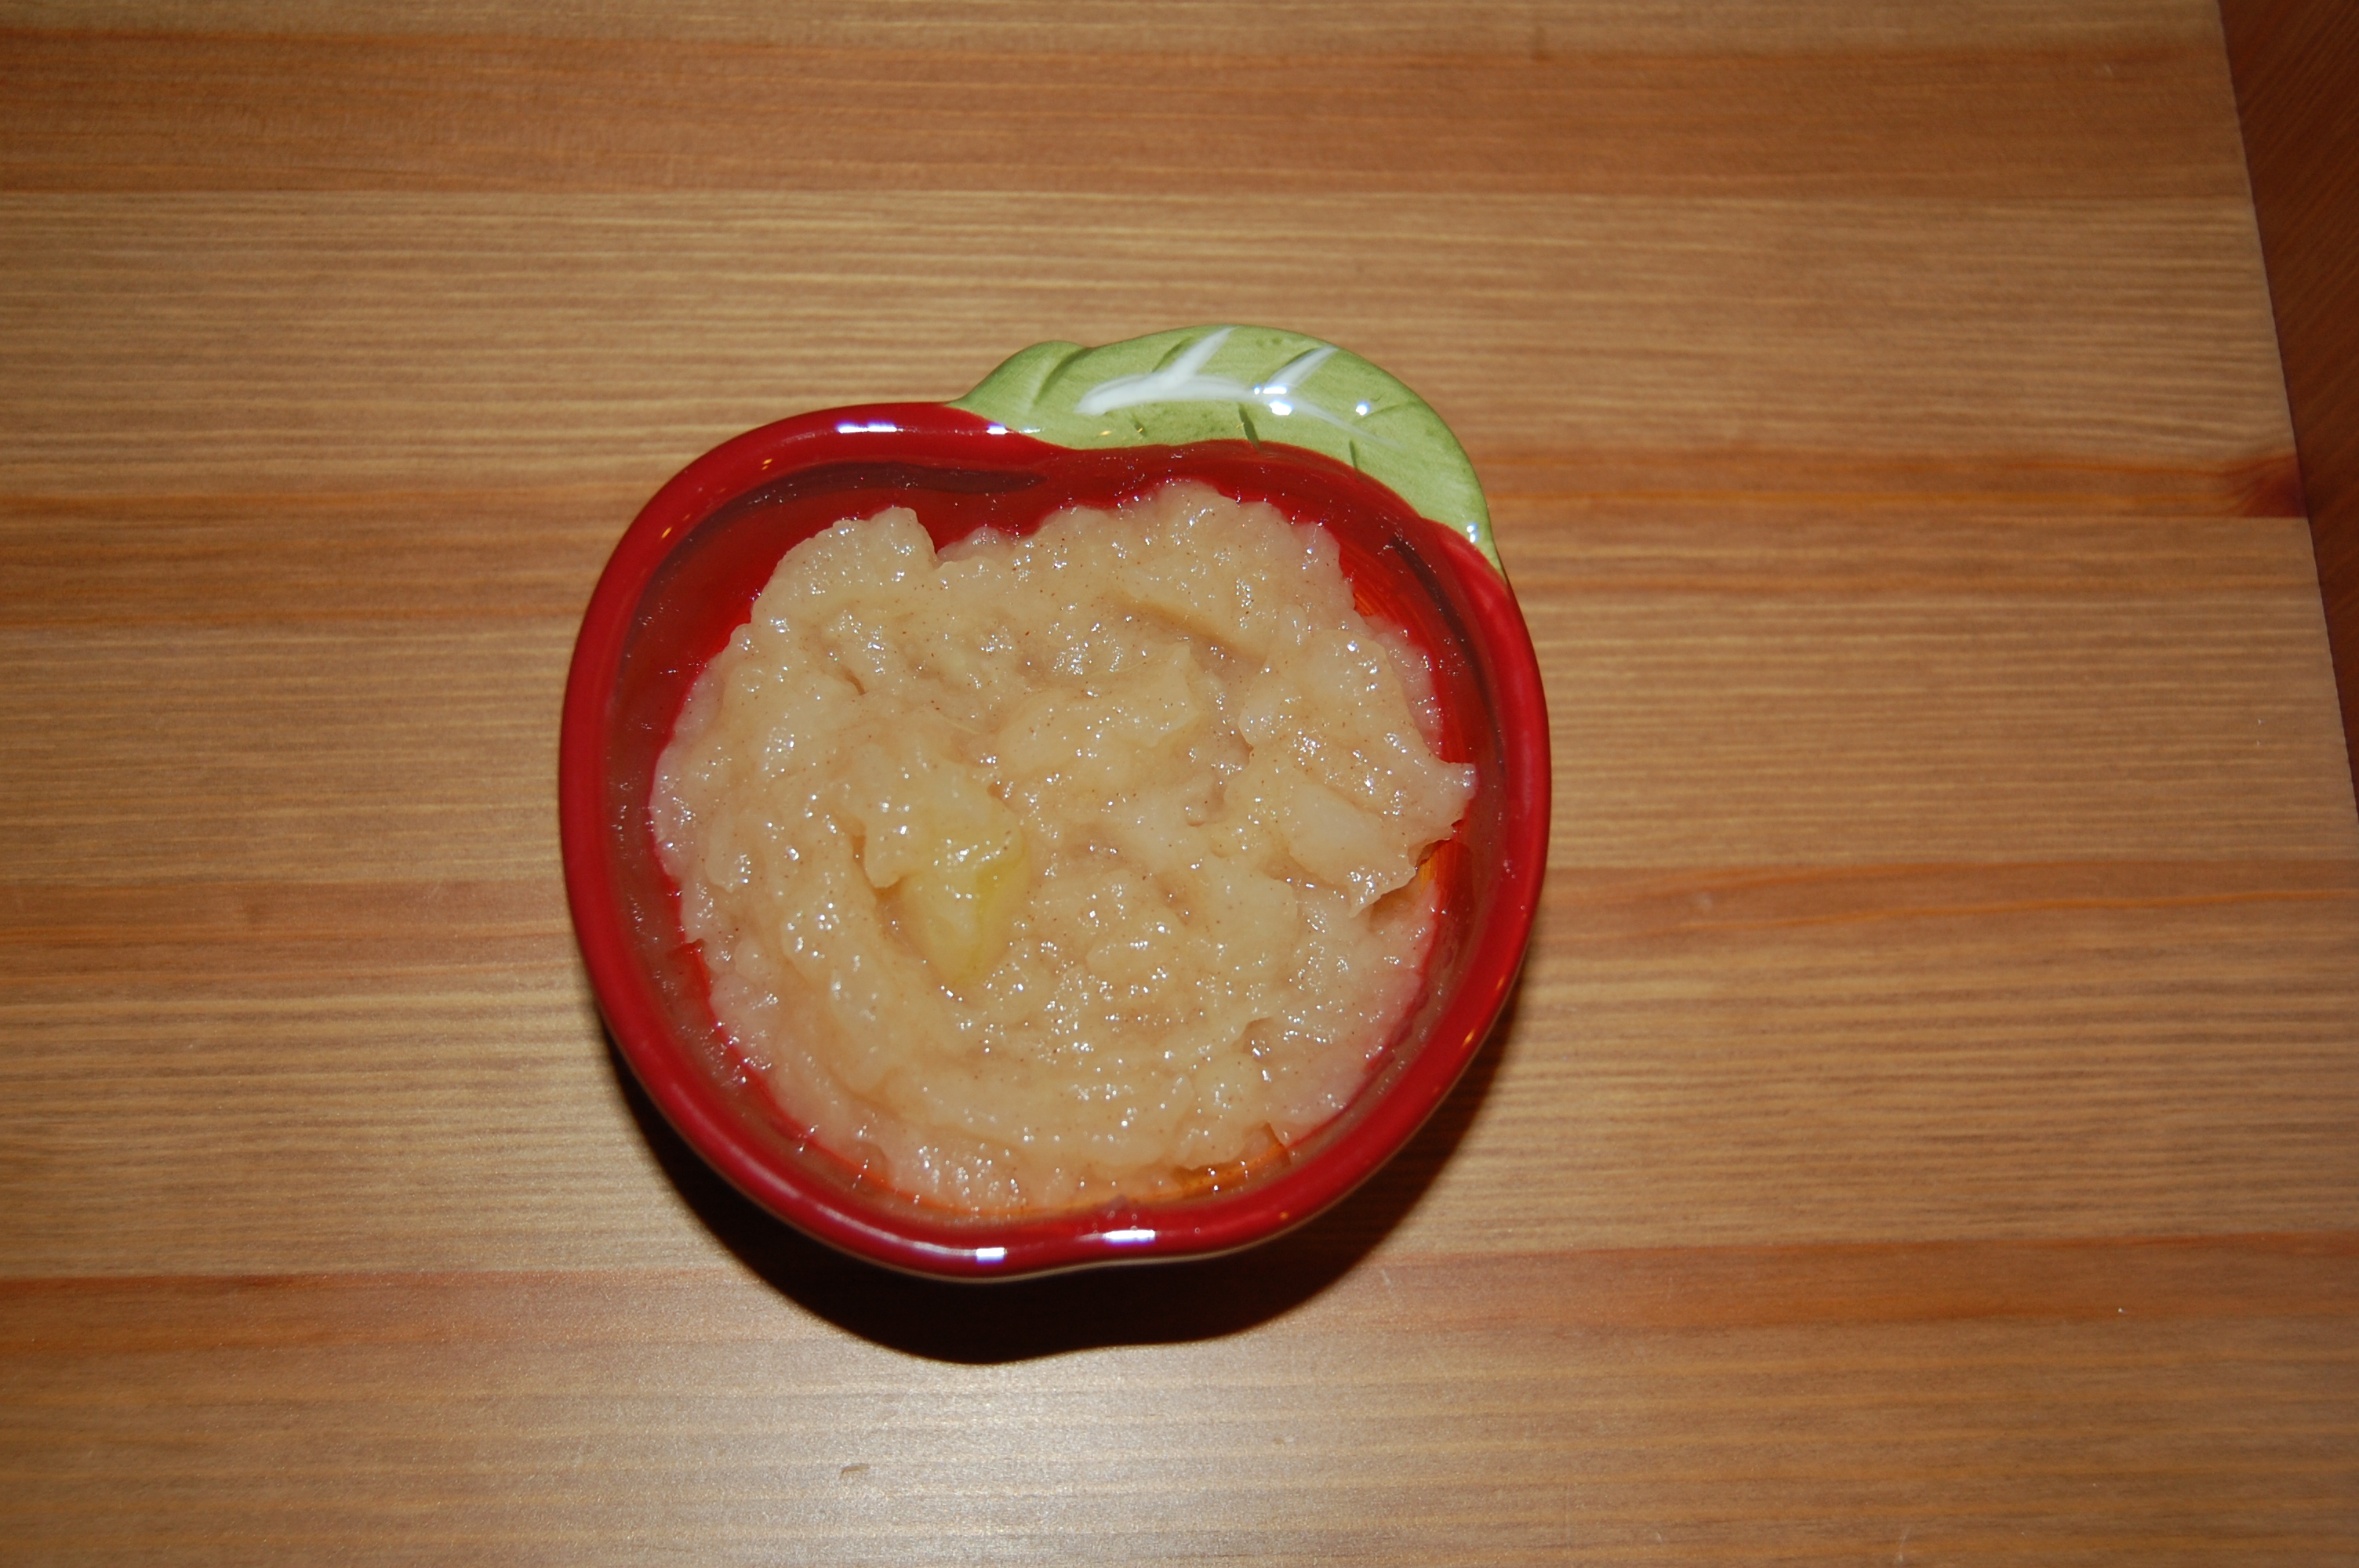
You can find recipes for all varieties here: http://www.ctapples.org/#!recipes/c1ydi. I used a mixture of the apples we picked to make homemade applesauce and it was so good! (see below)
Homemade Applesauce Recipe
Makes 6 servings (baed on a two tablespoon serving size)
1. I chose only three apples because they were so big.
2. Peel the apples and slice them.
3. Put the apples in a pot over medium heat and sprinkle cinnamon and sugar over them. I used a premixed cinnamon/sugar that we bought at the farm. Stir to mix the cinnamon and sugar in well with the apples.

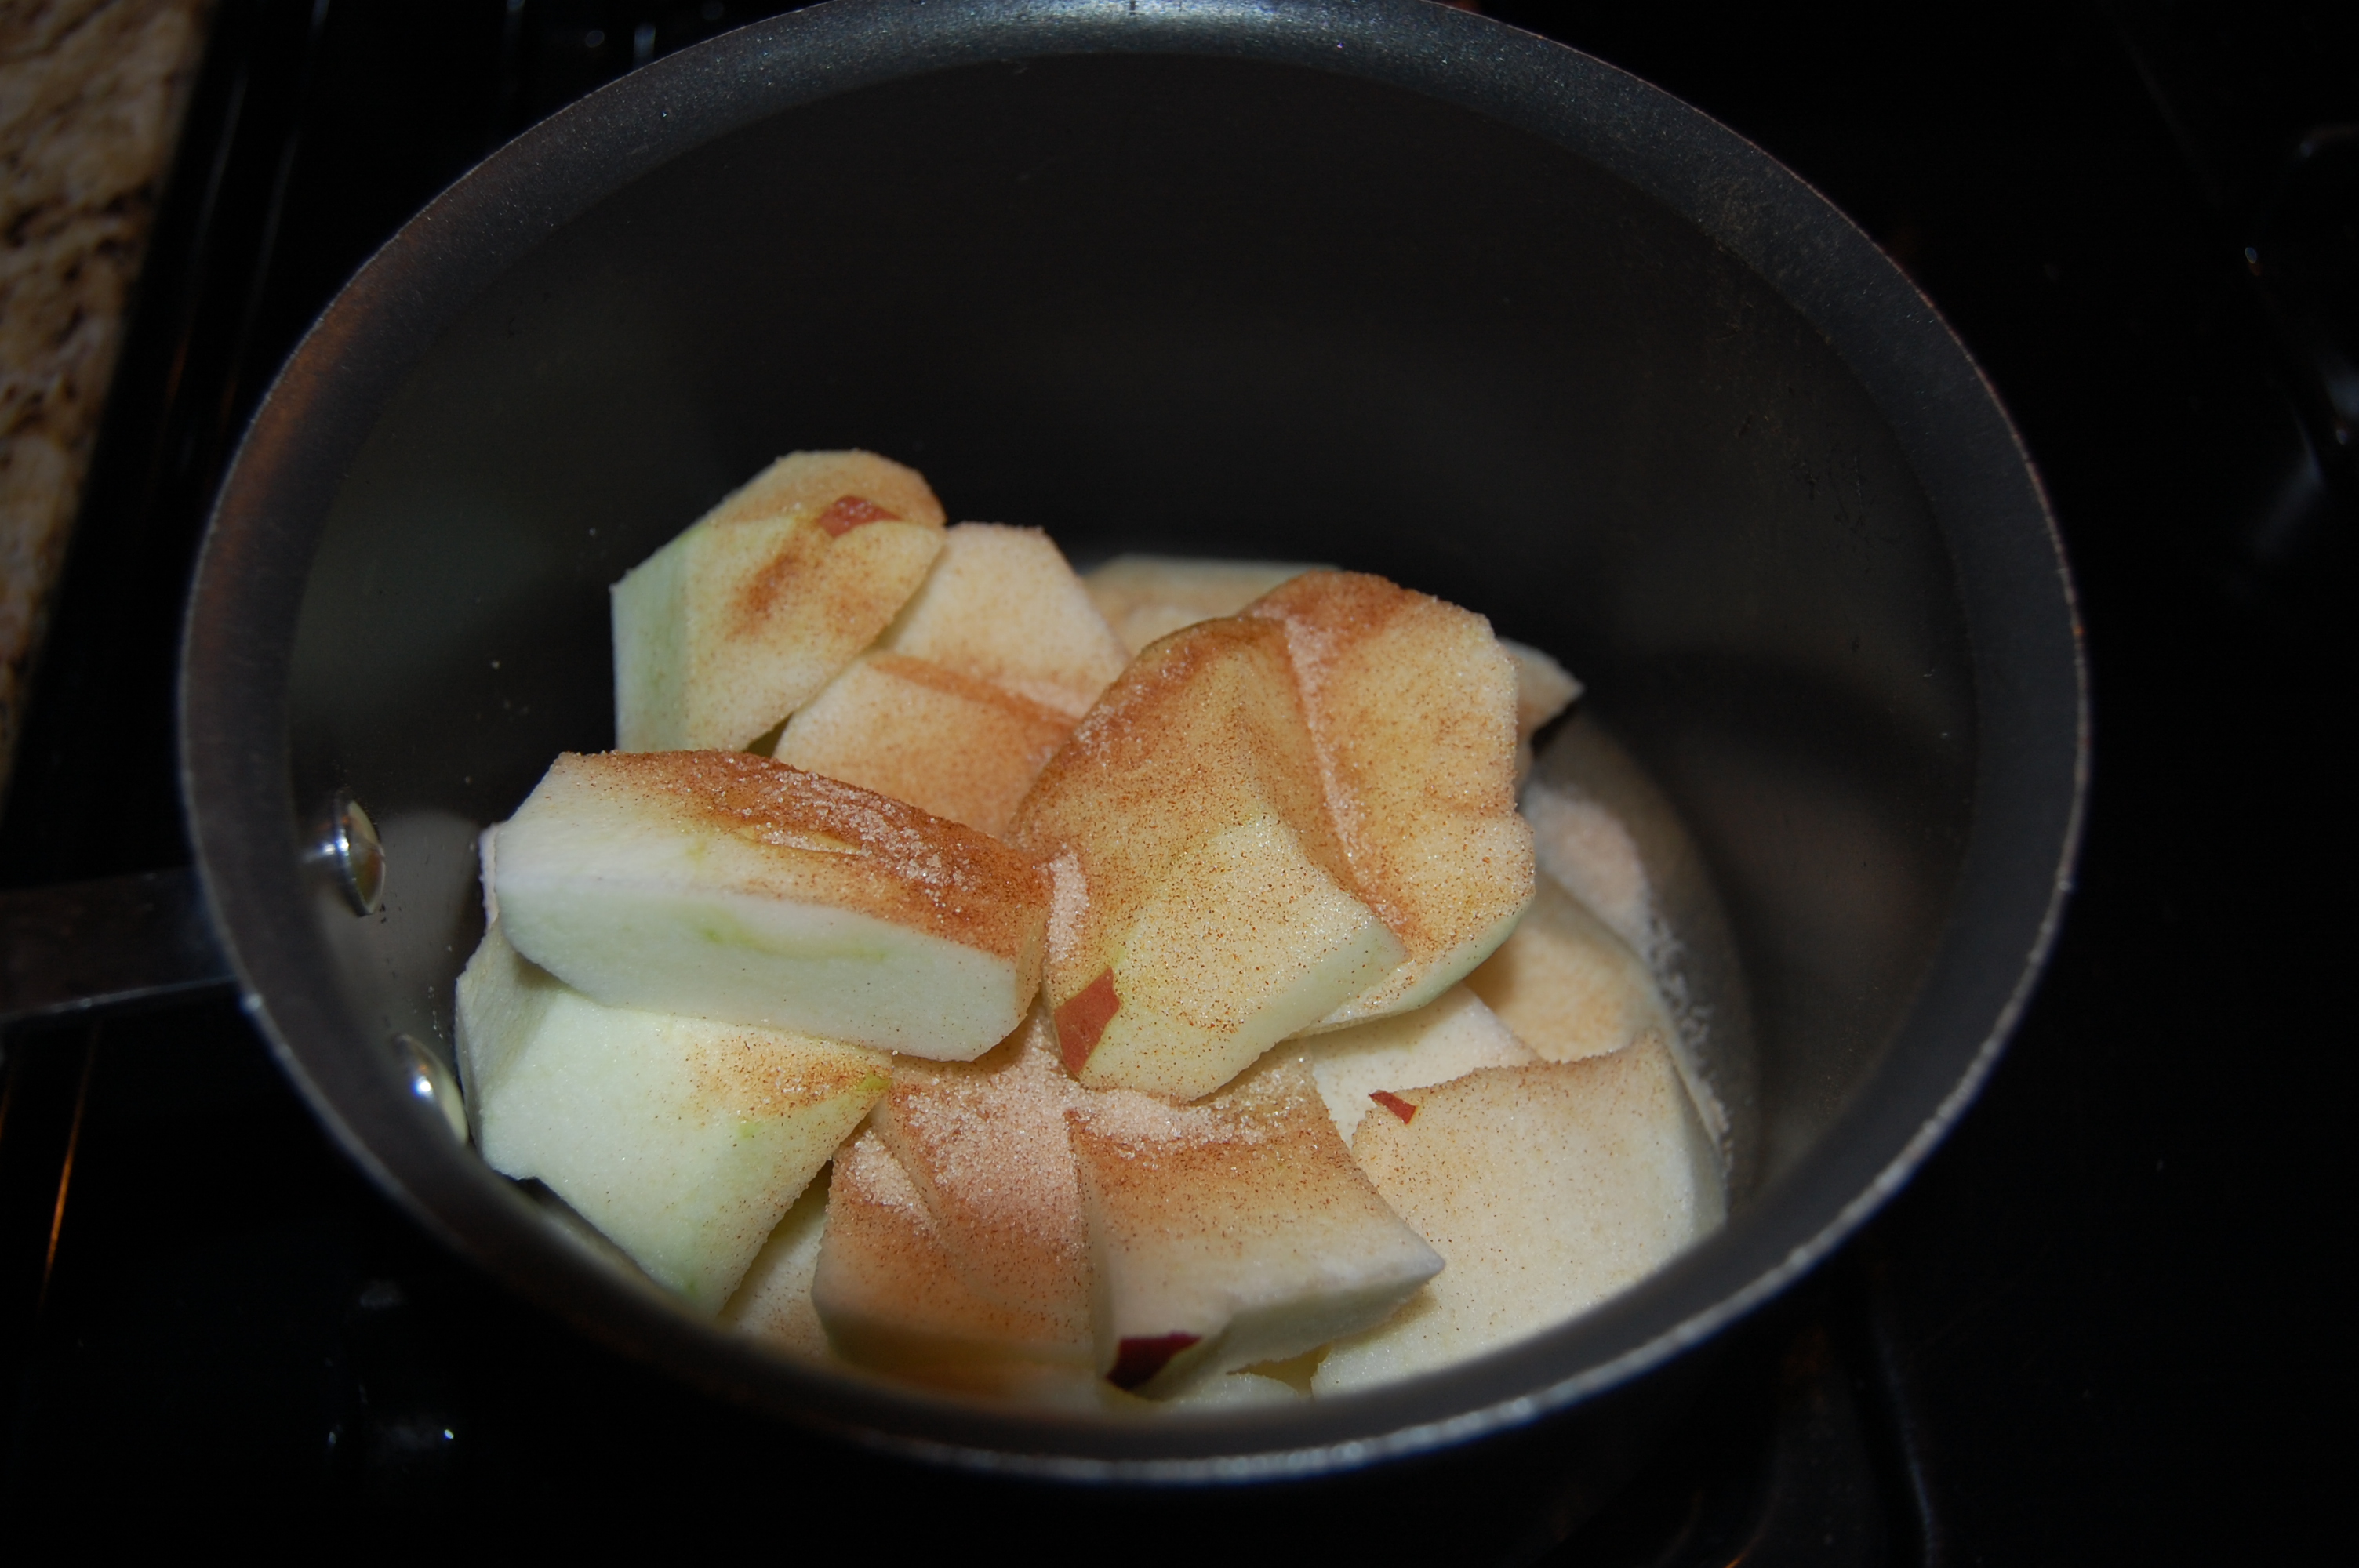
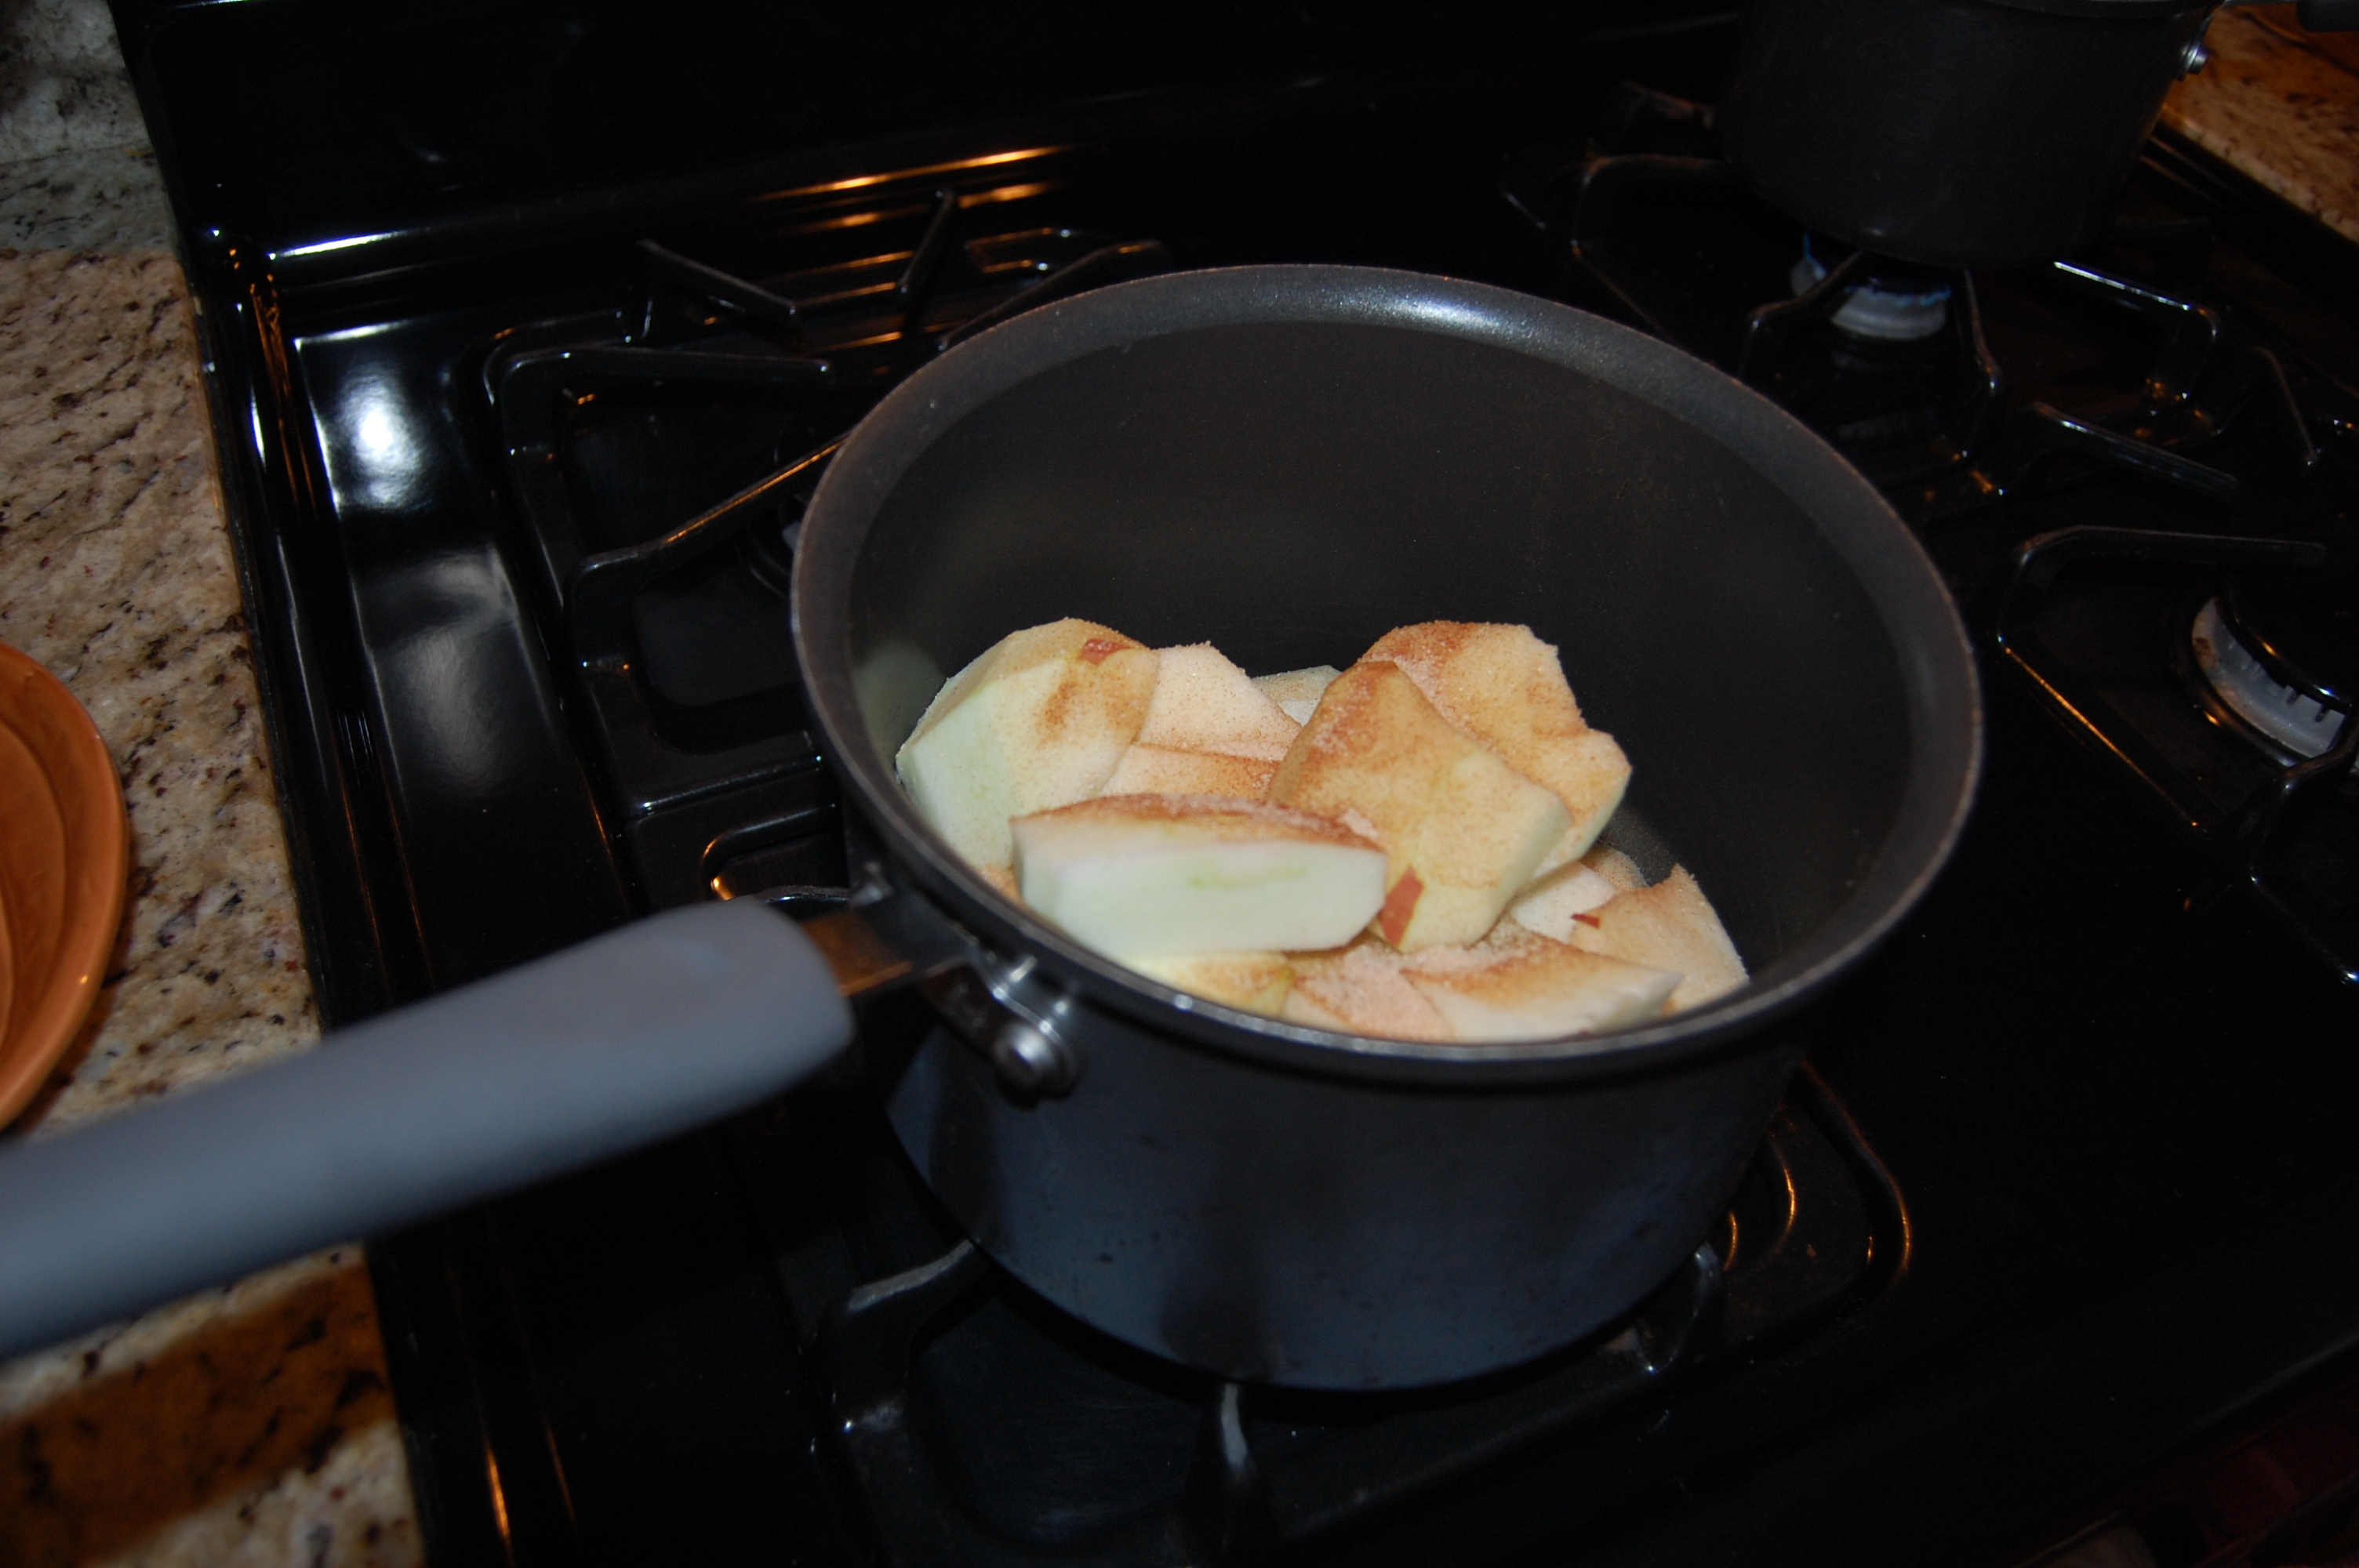
4. Cover and cook over medium/low heat, stirring frequently.
5. When apples are soft and tender, you can use a fork or a potato masher to mash the apples into a sauce.
6. Mix well and serve warm or cold.
