Month: August 2015
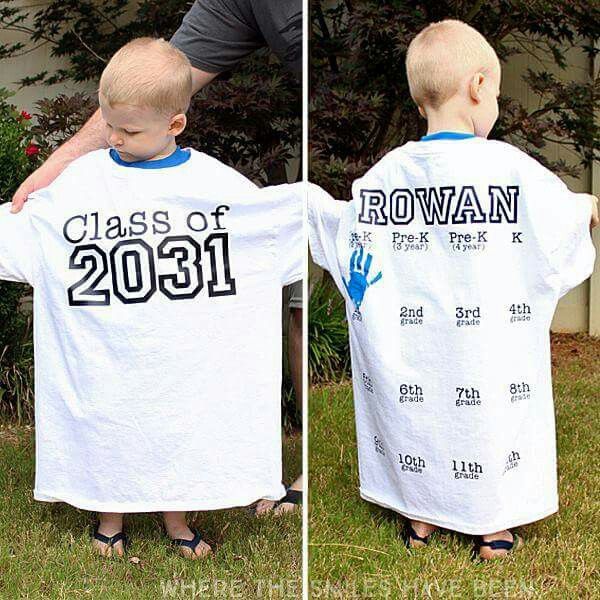
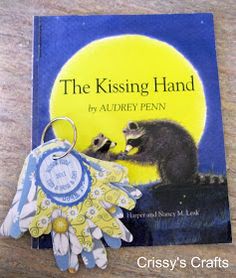
First Day of School Ideas

It’s back-to-school time already! The summer flew by and as much as the lazy days of summer will be missed, I think kids and parents alike are ready to go back to school and get back into a routine (although your kids won’t tell you that!)
I’ve put together some ideas for marking the first day of school. These ideas are a nice way to give your kids their school send off and mark the start of another year where they will learn and grow so much!


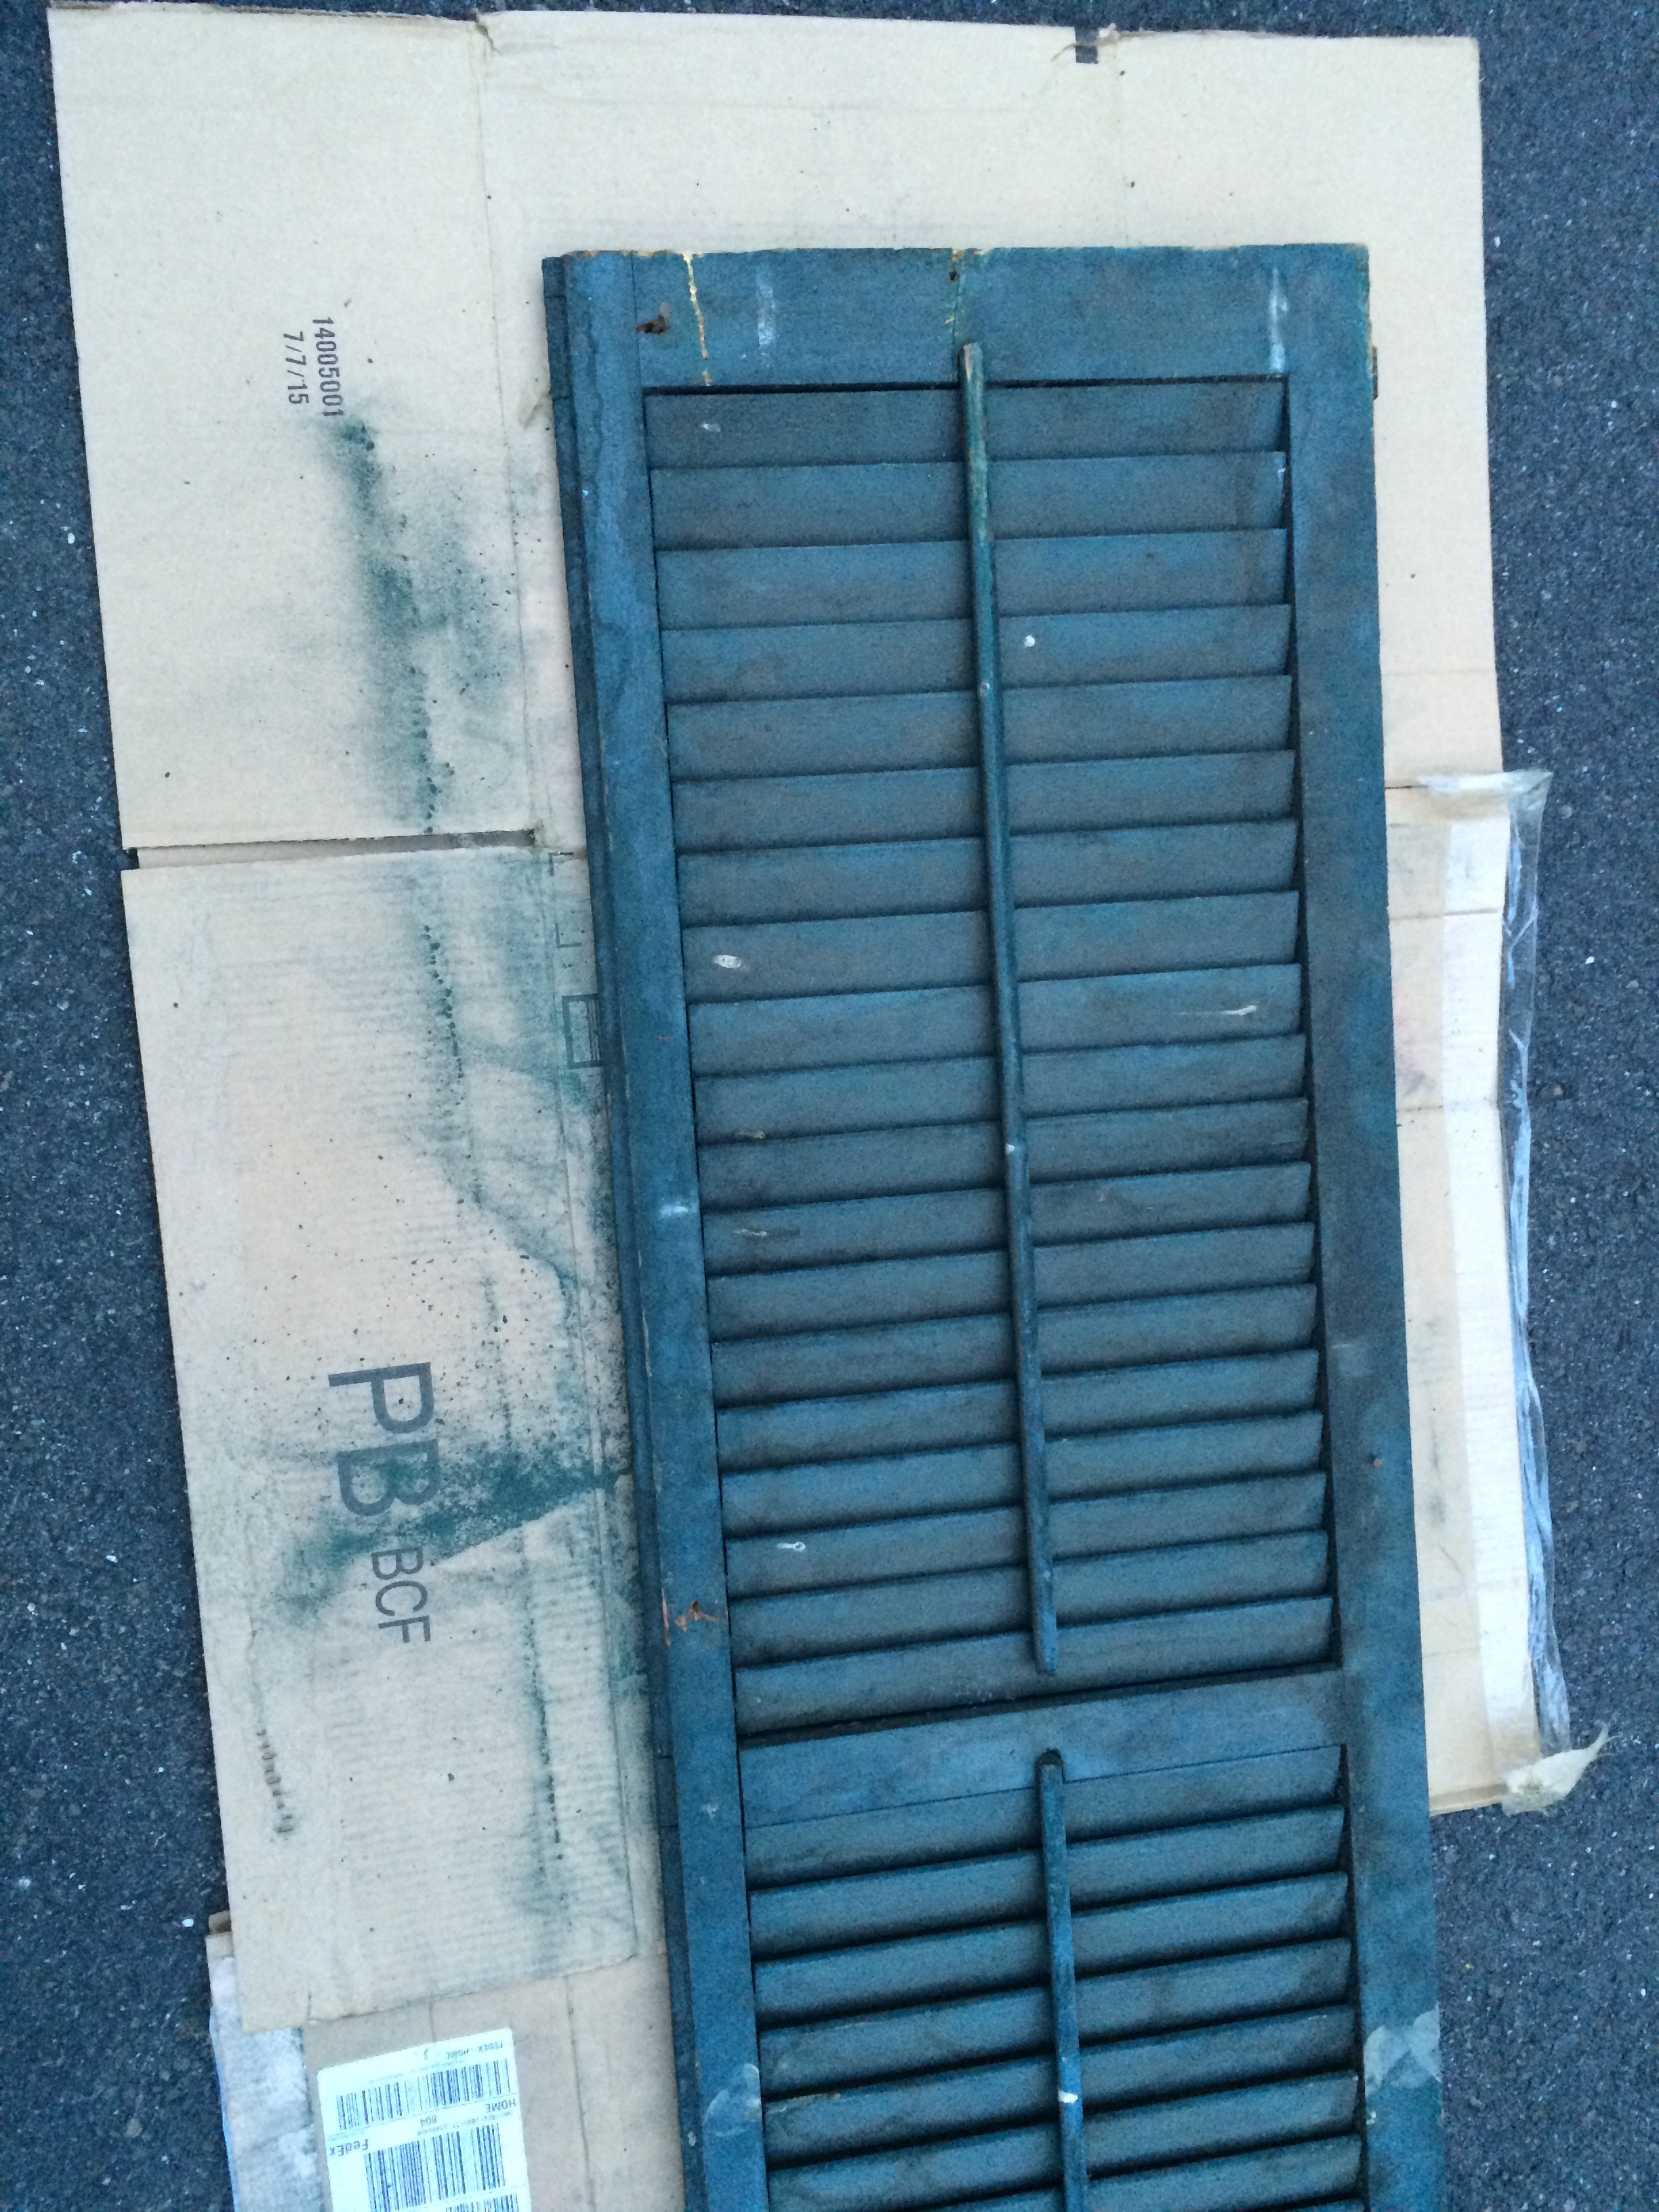
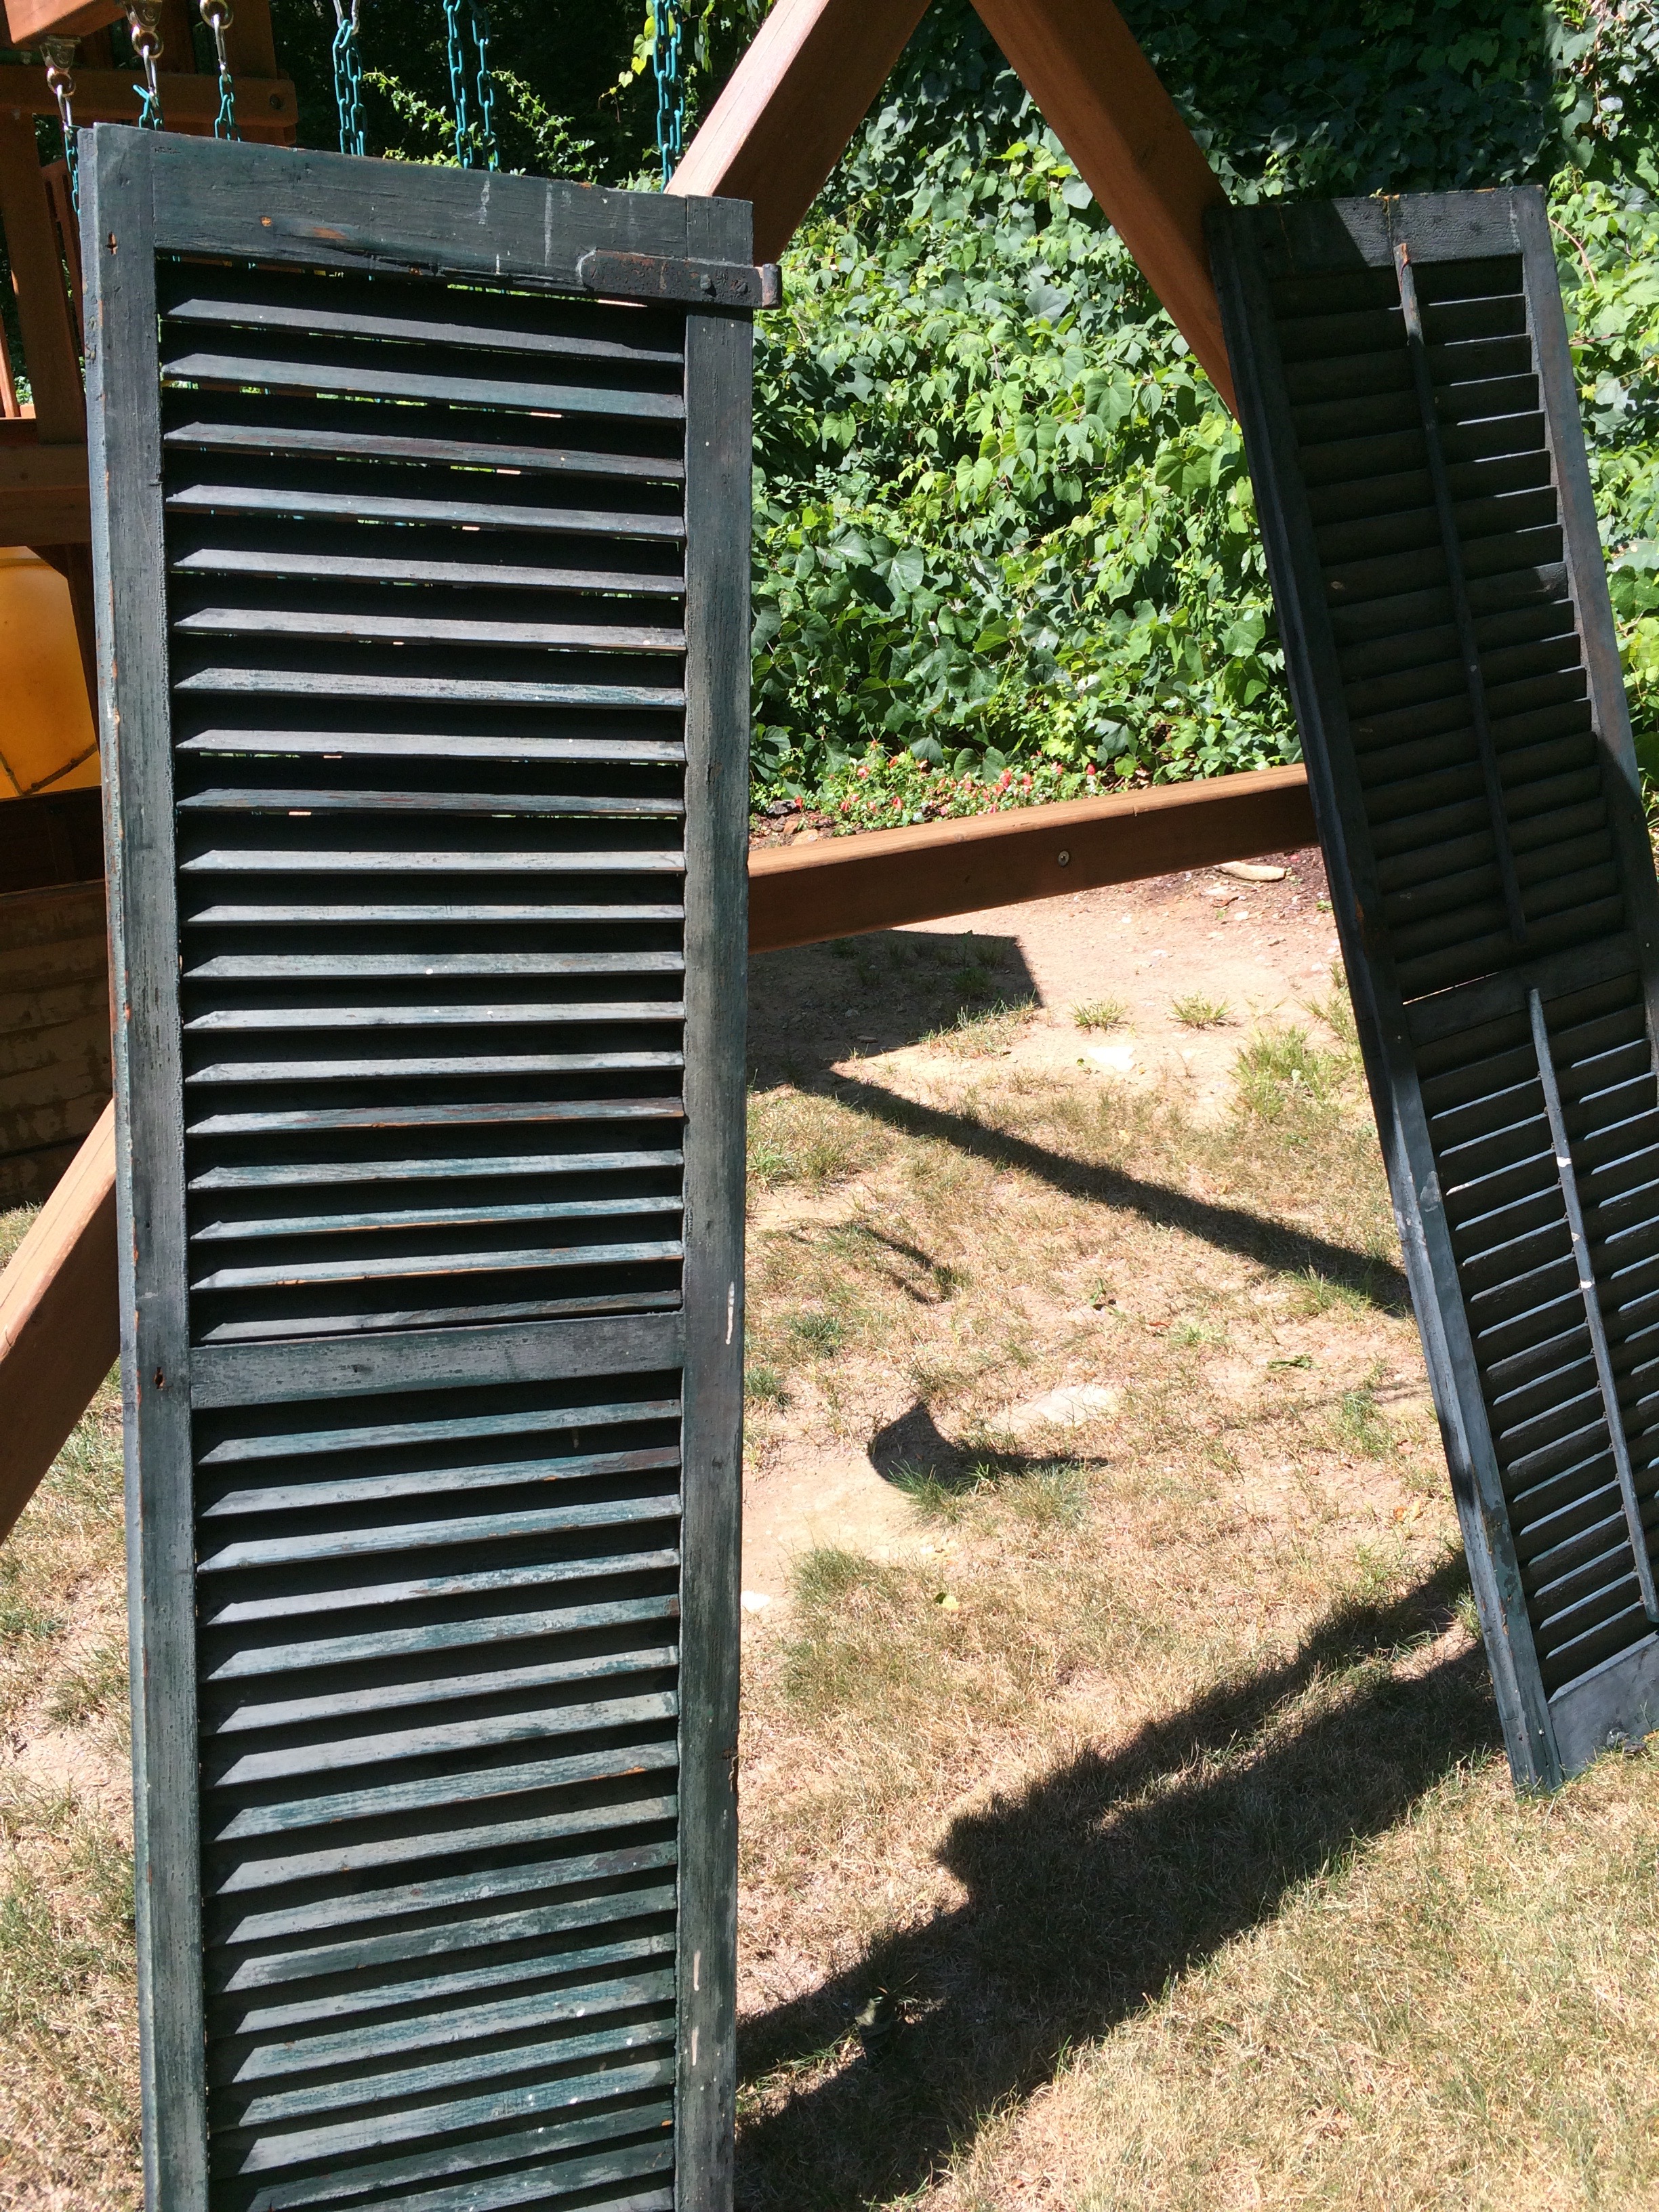
Shutter Shelves- DIY
I was at a tag sale and saw old green wooden barn shutters for sale. I bought them all at a relatively cheap price with nothing specific in mind, but knew I could do something with them. At first I was going to build a picnic table using two as the top base and one each as the bench base. But then when I wasn’t convinced that would work (or I could pull it off), I decided to use two of them as shelves on our deck where we have a dead space. We took a trip to Home Depot and bought sand paper, spray paint, brackets and screws. I started by sanding them down on the front only, thinking I wouldn’t need to paint the backs. I did end up spraying the back so in hindsight I should have sanded both sides. Then I mixed some dish soap and water in a spray bottle and sprayed both sides and washed them down with the hose. They dried relatively fast in the sun.

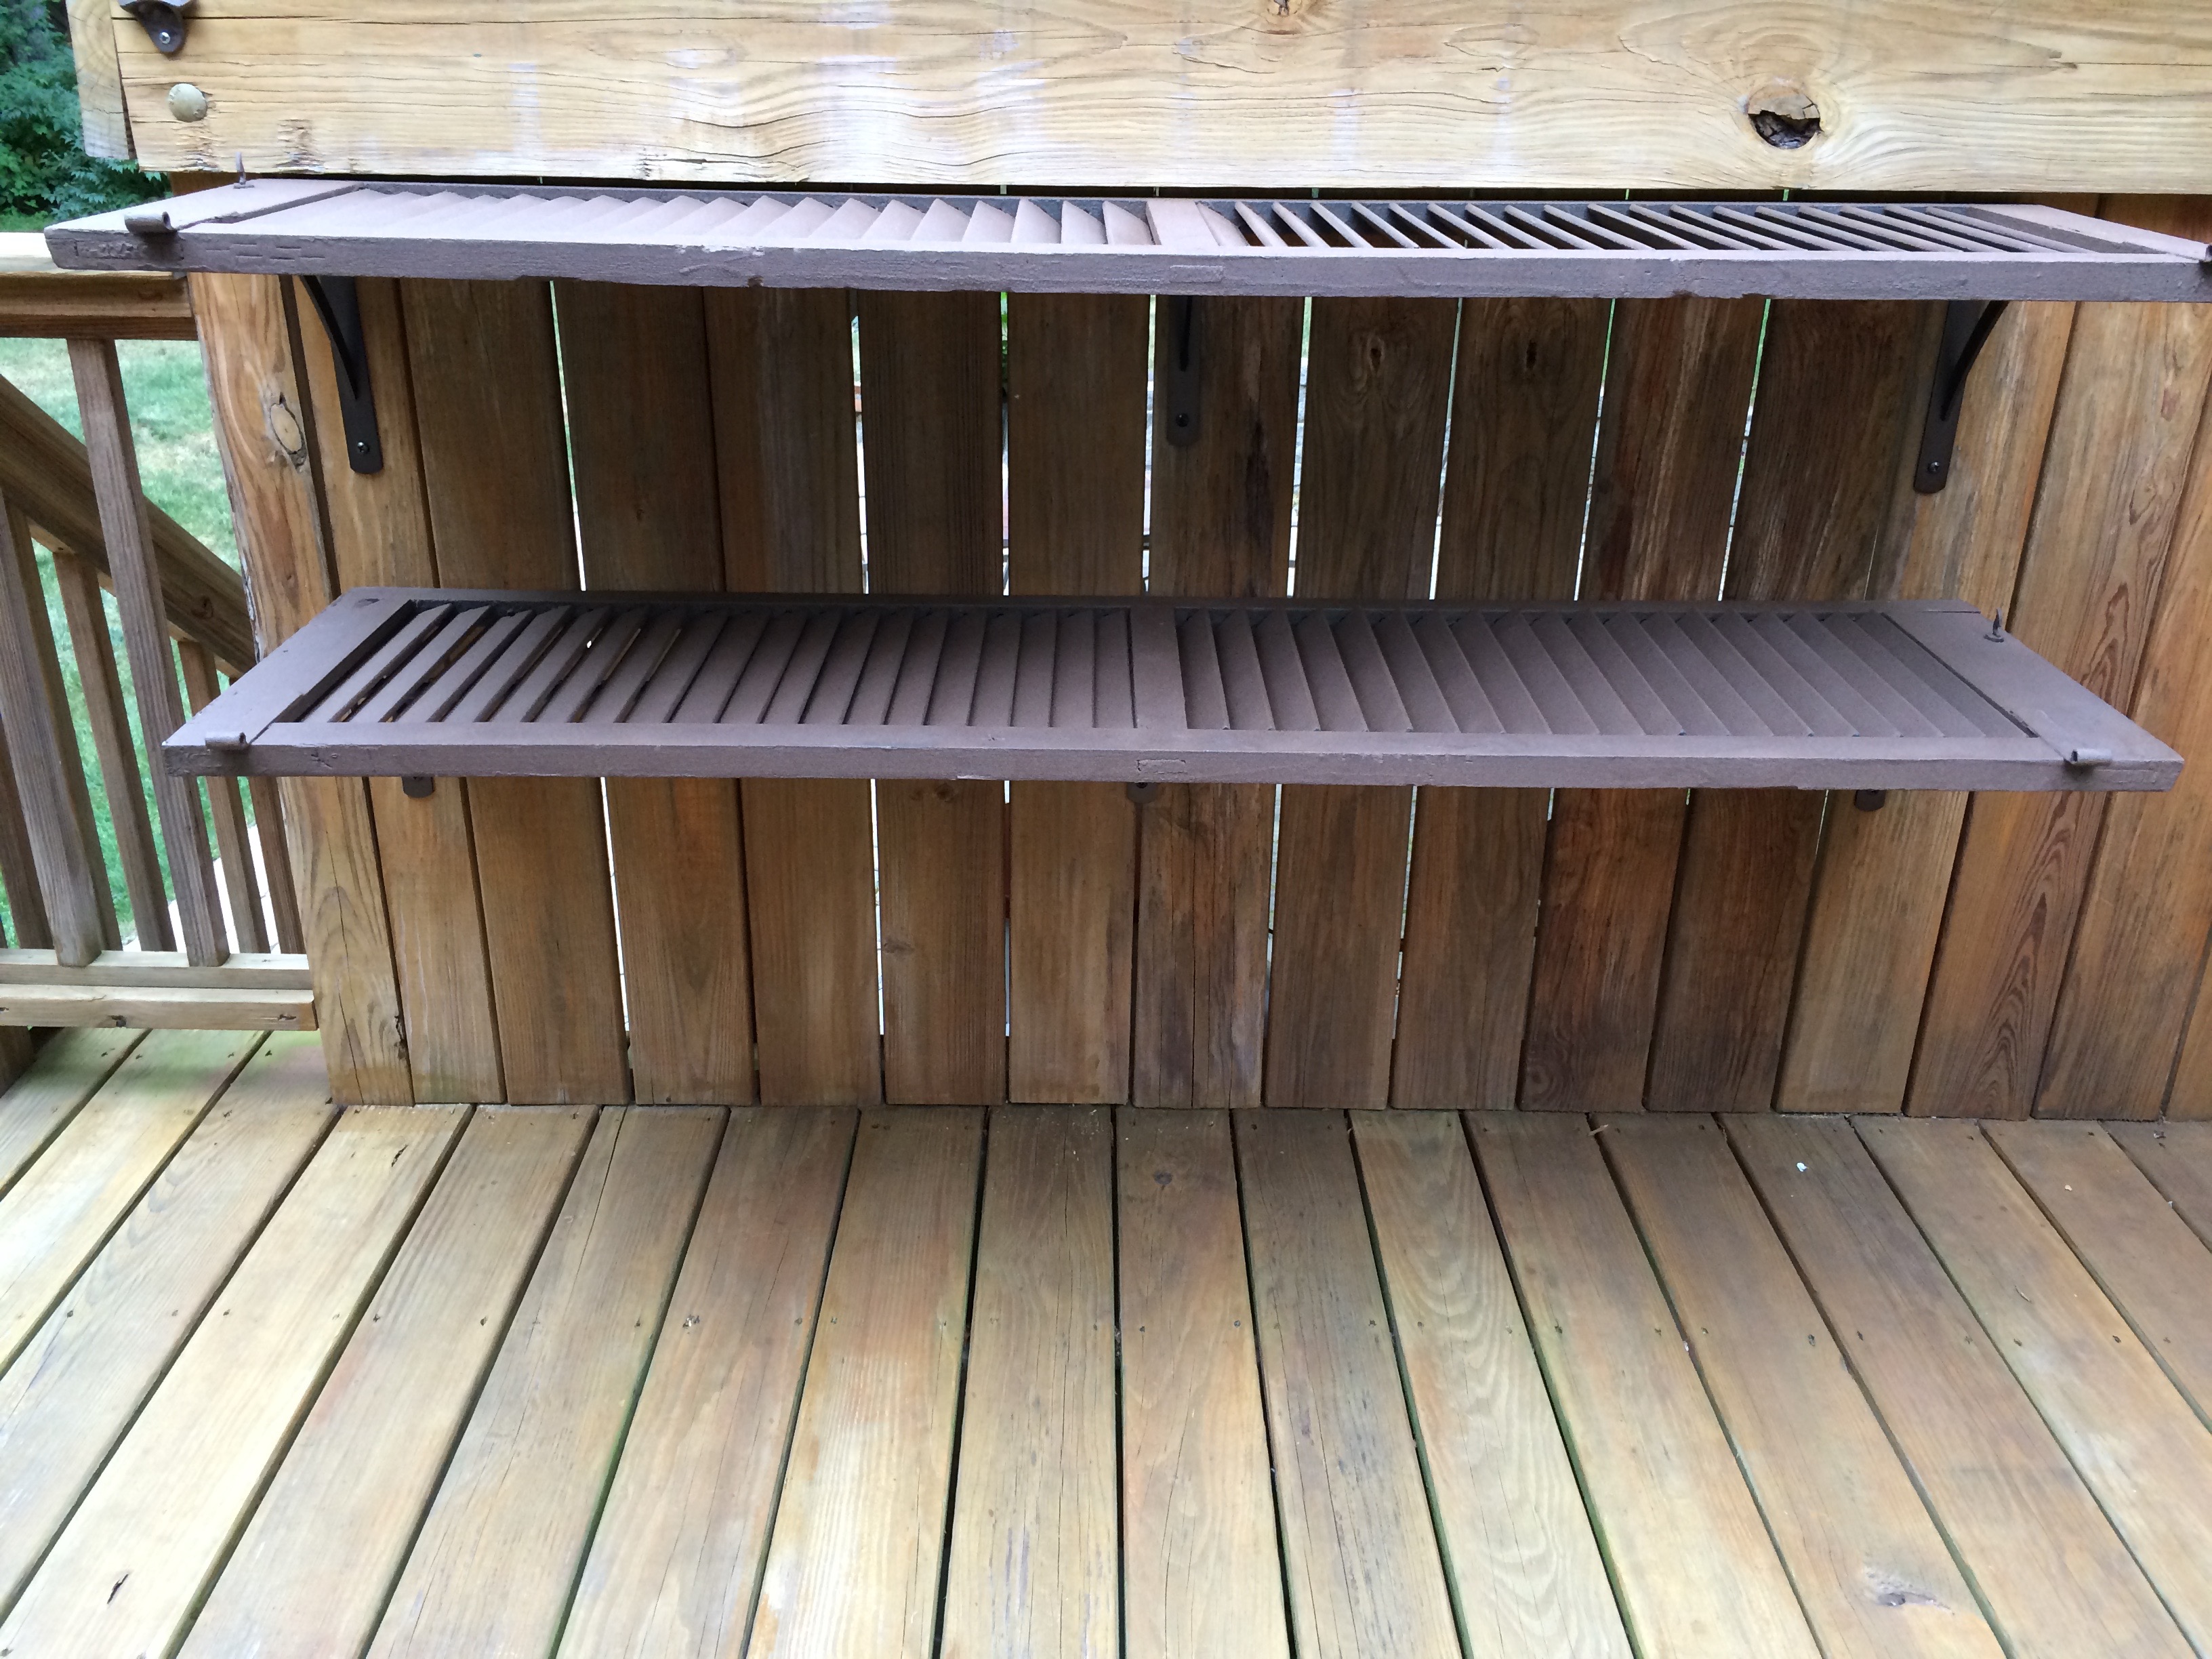
Once dry, I applied Rustoleum spray paint. I used a lot more then I thought I would, almost 6 cans for two shutters. It was a little more than one can for each front and back and then I had to spray the sides, top and bottom and some touch up. The only issue I had with the spray paint was that in two spots it bubbled. I think because it was too humid the day I sprayed.


After the spray paint dried, we measured and attached the brackets to the wood that makes a sort of “wall” on the deck. Then laid the shutters on top and attached the brackets to the shutters. We had originally purchased two brackets, but went out and bought another to support the middle of each shelf. Once everything was in place, all screwed in and secure, we had two shelves that could be used to hold drinks, food, plates or almost anything! Despite the few mistakes along the way, all-in-all, being one of of first home DIY projects, it came out pretty well!


Playground Playhouse Makeover
We bought a Costco playground a few years ago and it’s taken me that long to realize that there was more use we could get out of it than just swinging.
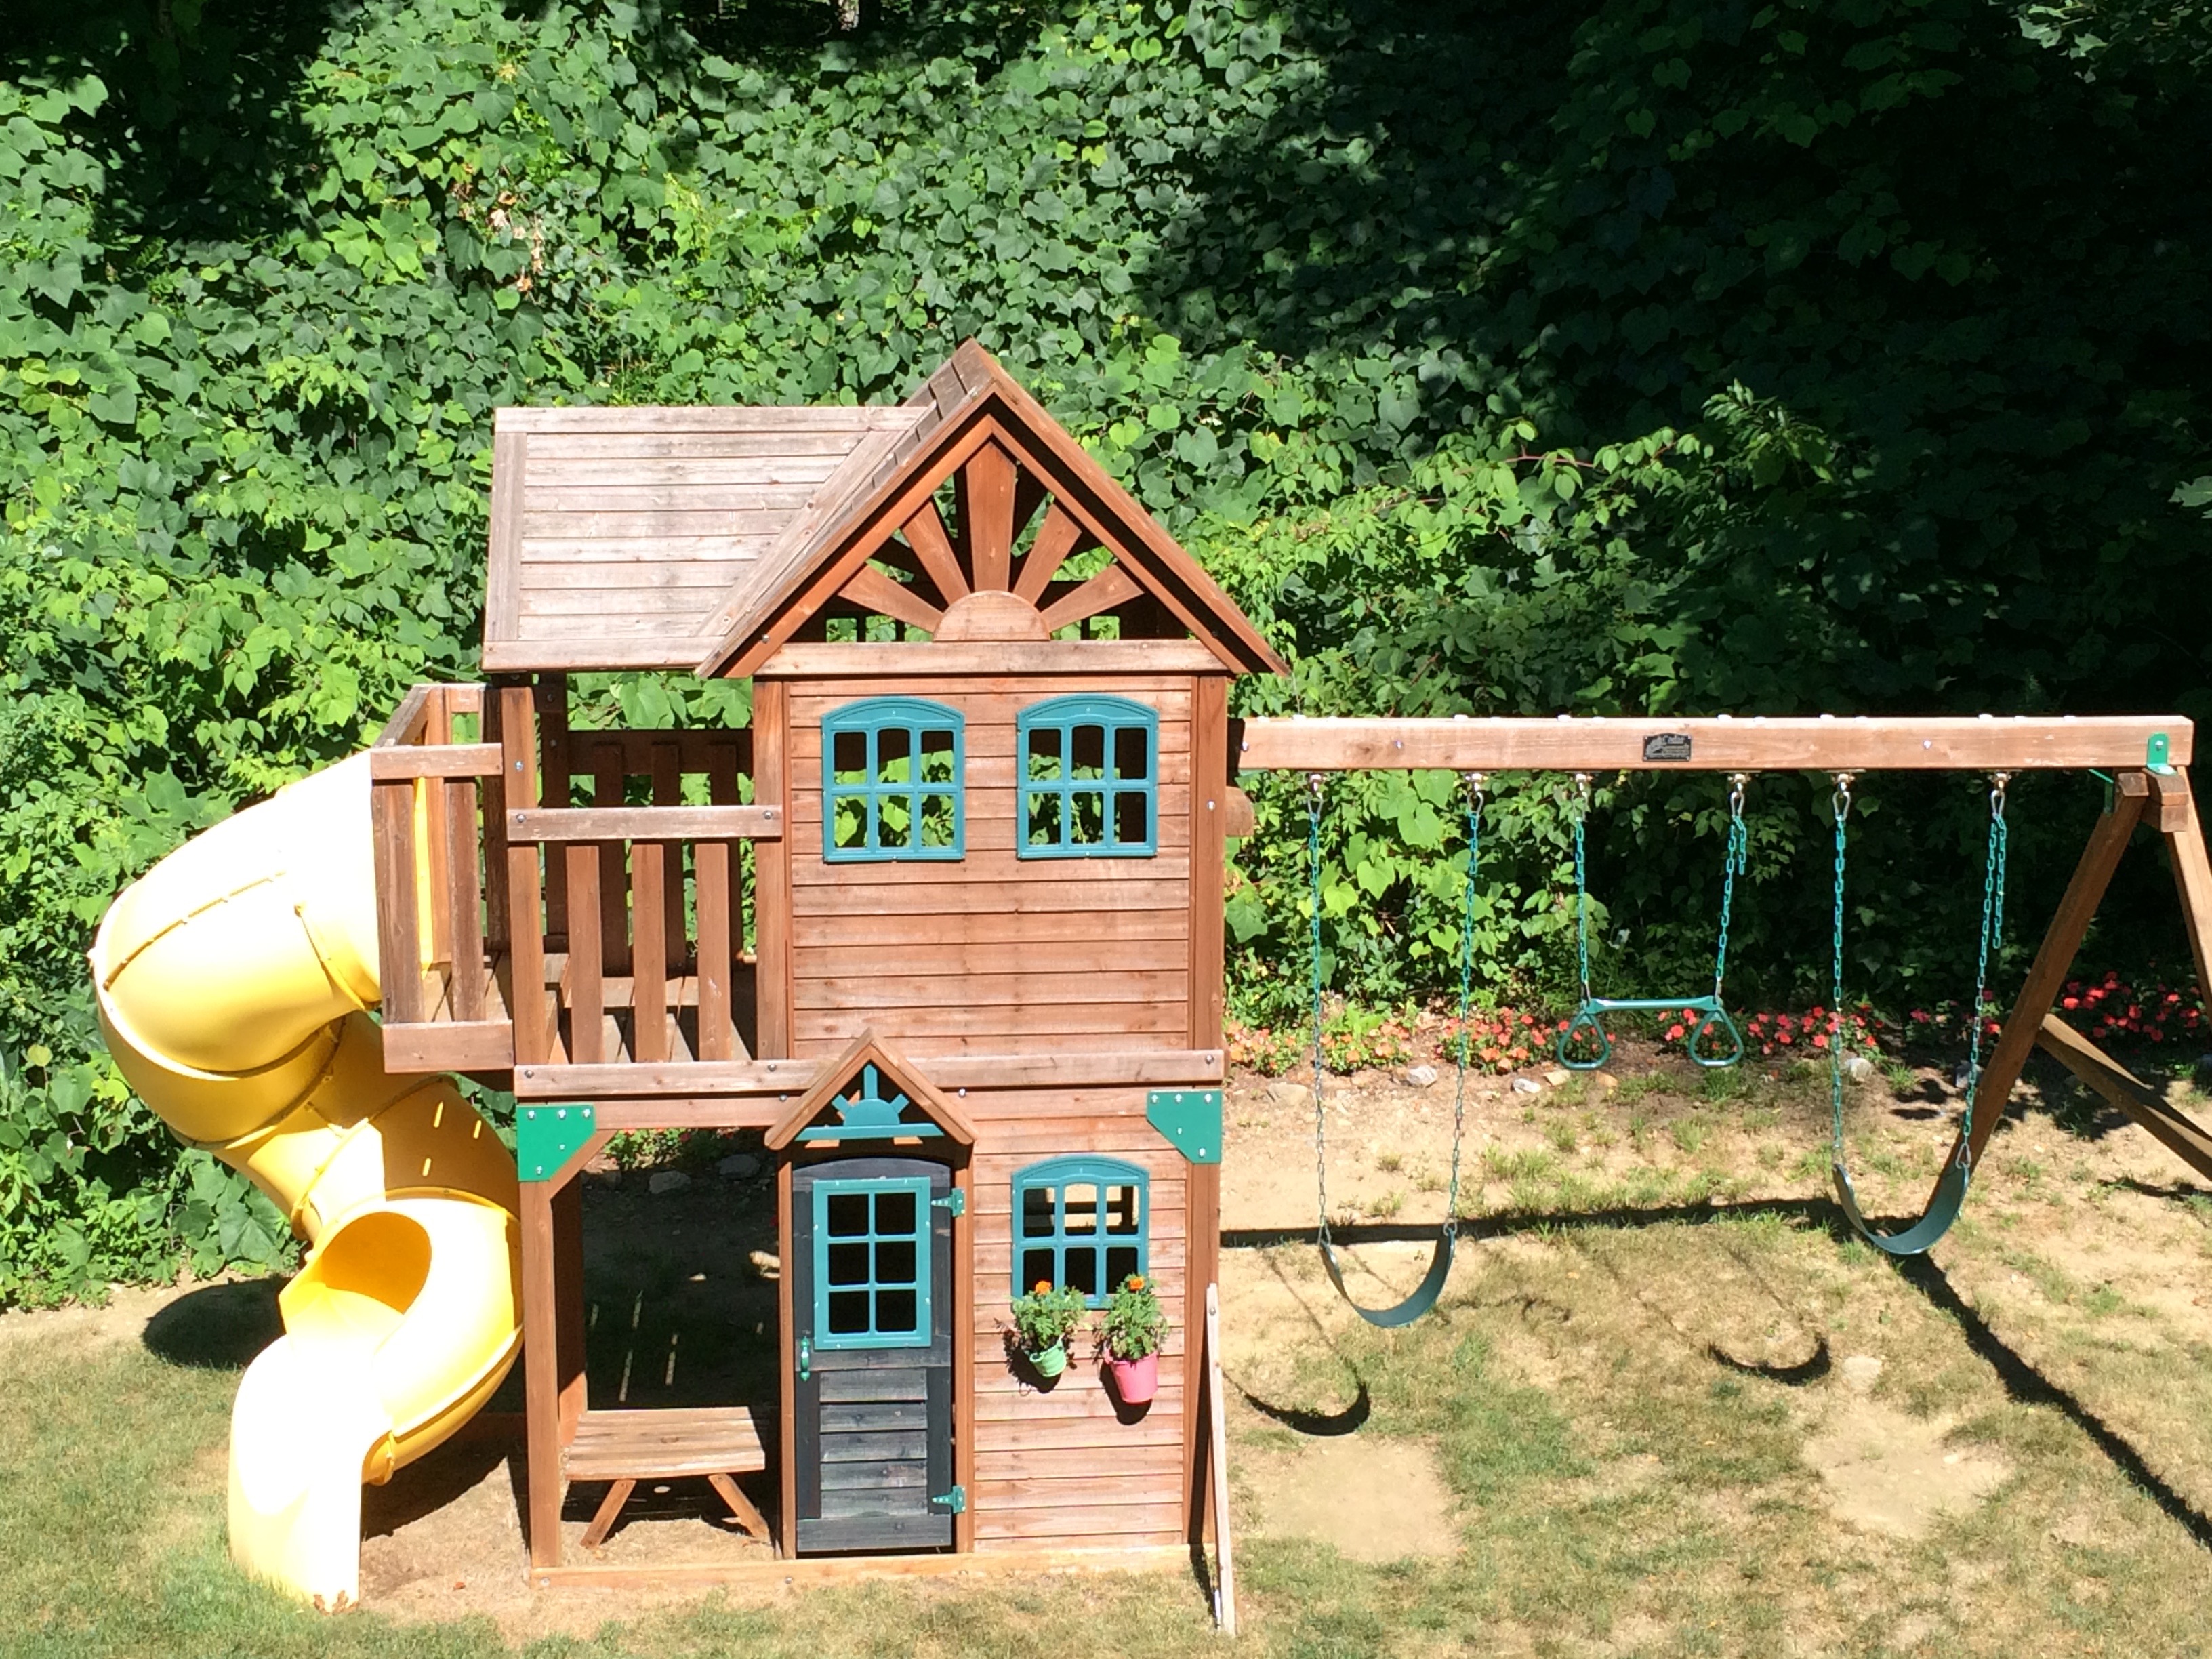
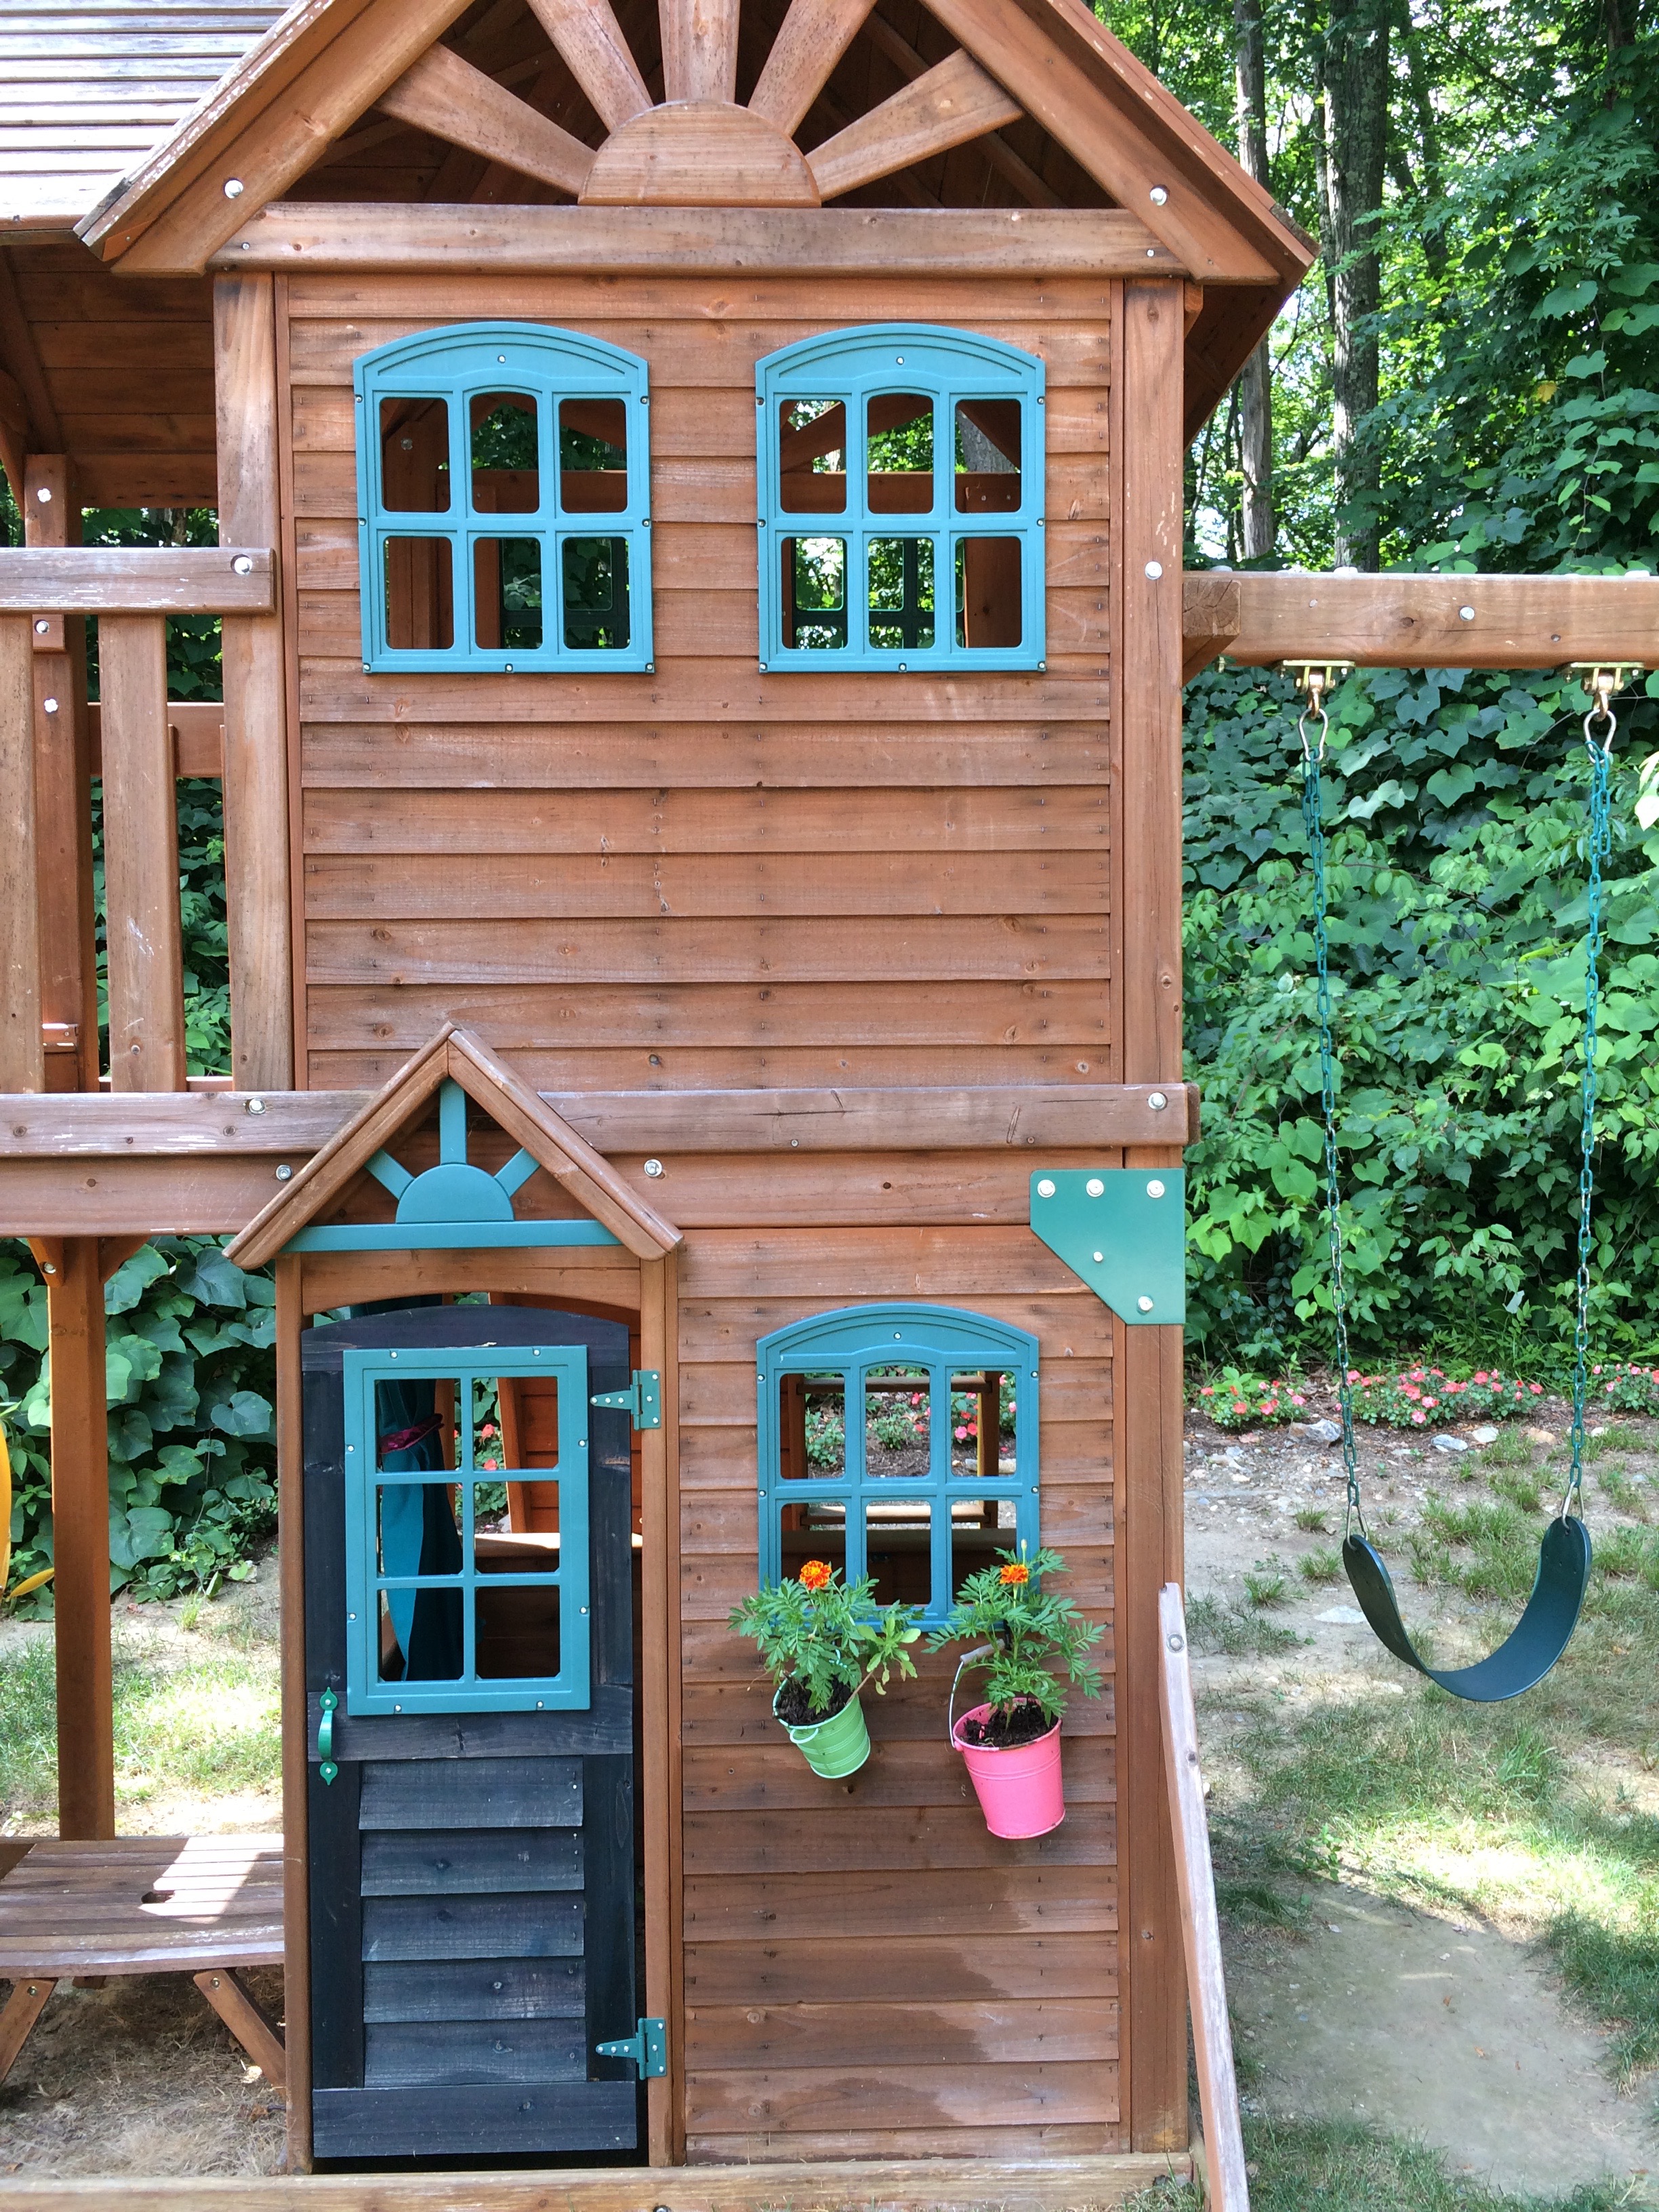

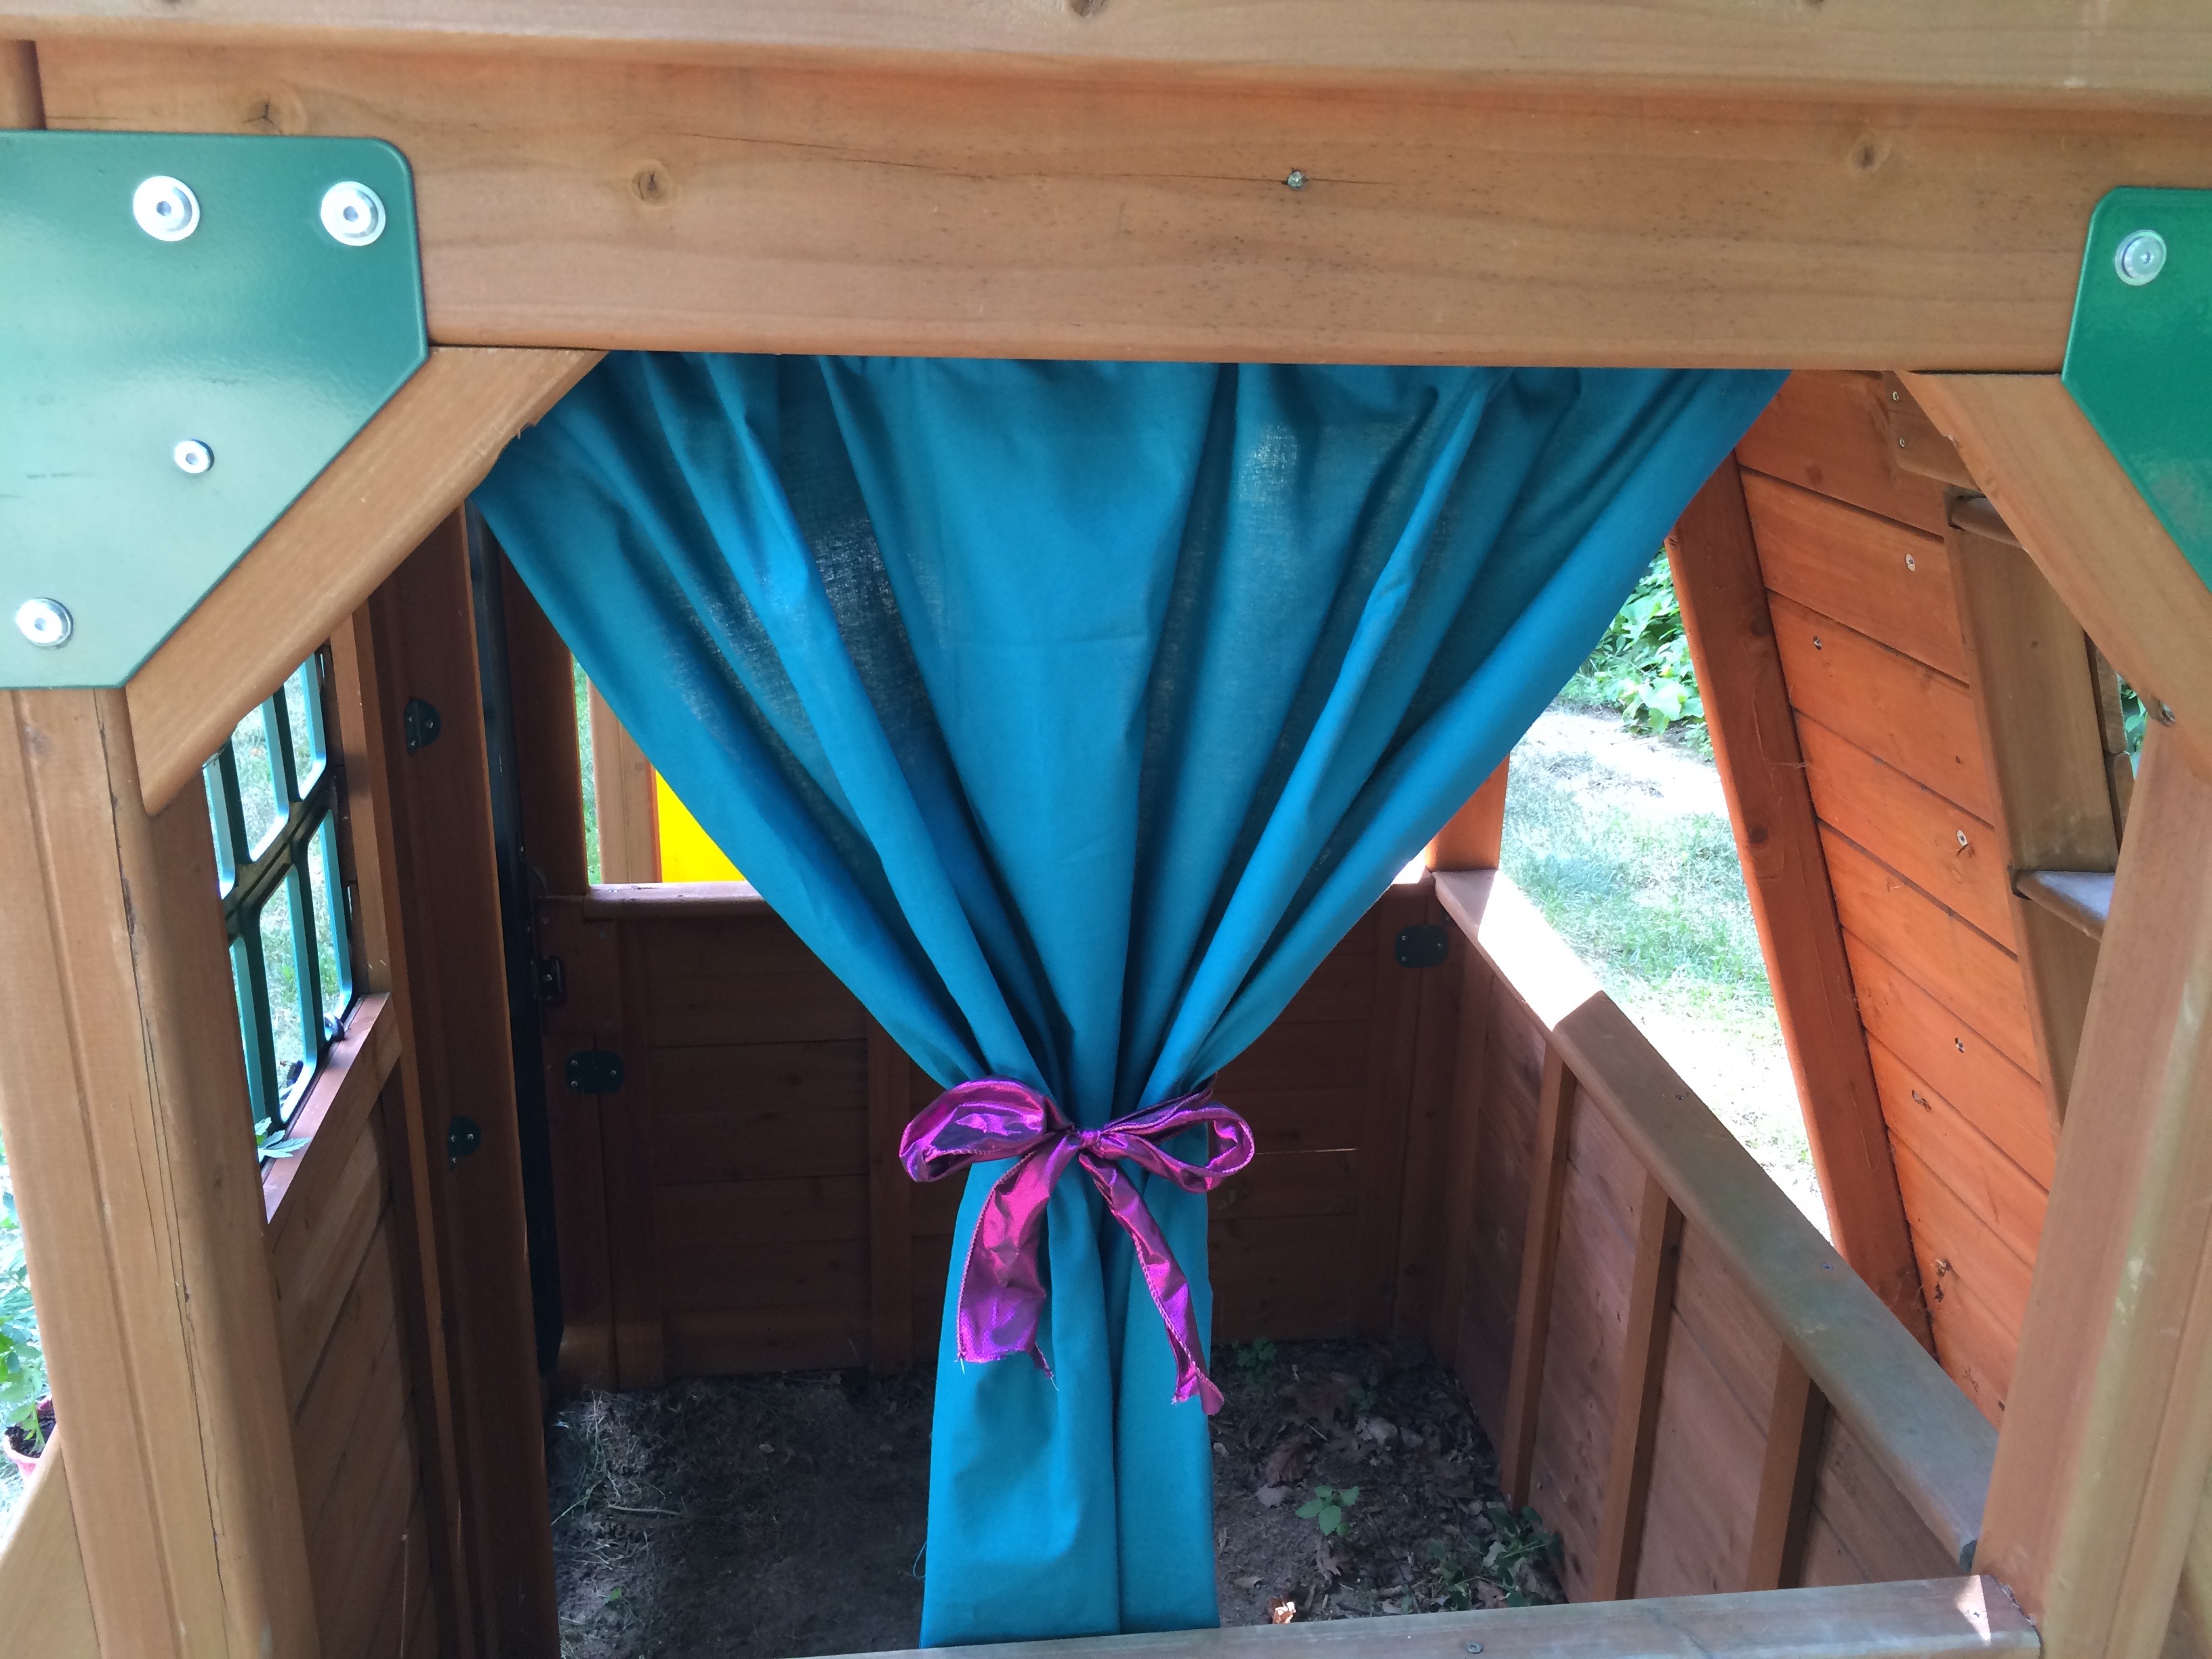
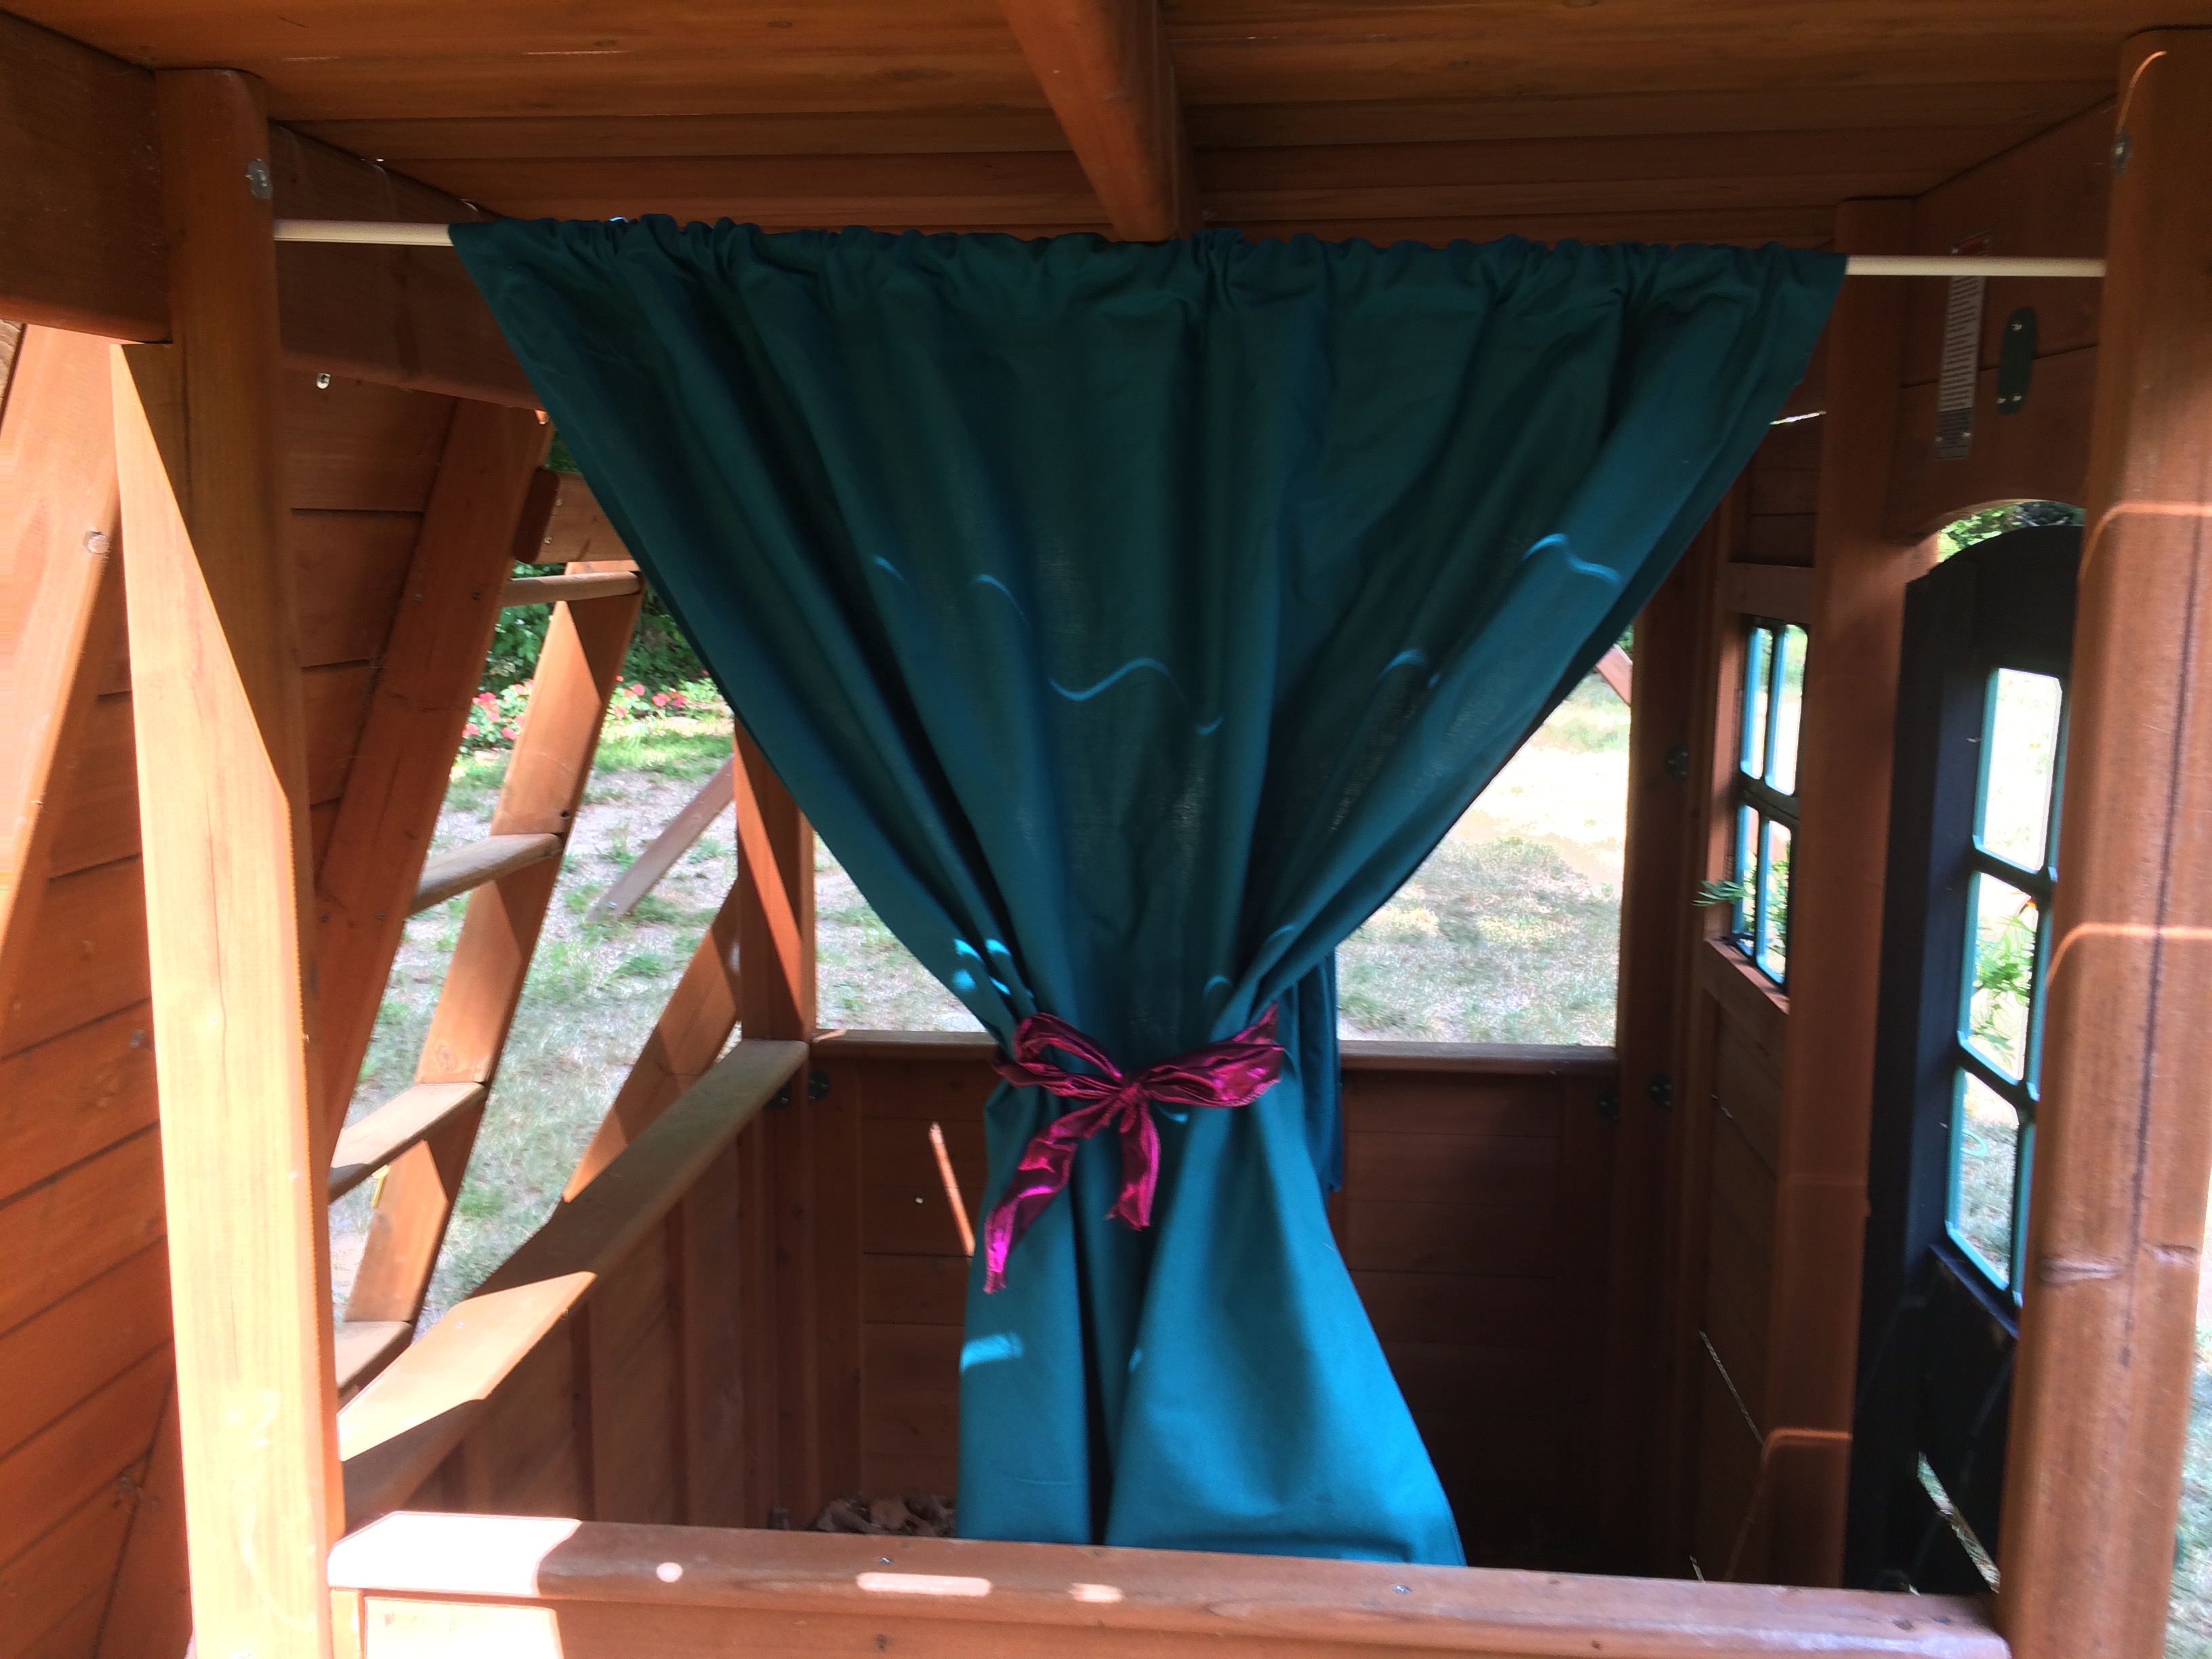
My son is kind of outgrowing the swingset and wants to build a fort. That got me thinking about a playhouse for my daughter. The bottom of the set has a space that she can still stand up under and has a door and open areas like windows. I thought it would be fun to put curtains in the windows and maybe a shelf inside for her to create an outdoor play kitchen or room. Of course, I assumed that the project was well thought through. It was, kind of. I picked up expandable spring tension rods from Target and knew I had fabric and Stitch Witchery to use so this could be a no-sew project. After measuring and planning (I don’t know why I bother with those steps anymore, it never comes out that way), I picked a fabric, cut it and ironed the rough edges in with the Stitch Witchery. No surprise, I ran out of Stitch Witchery and left the bottom of one curtain unfinished. That’s ok though because I cut them too long anyway so you couldn’t see it from the outside of the window. I then threaded them through the rod and tied with ribbon. Would you believe when I picked out the fabric I didn’t even realize that the color matched the swingset perfectly- awesome!
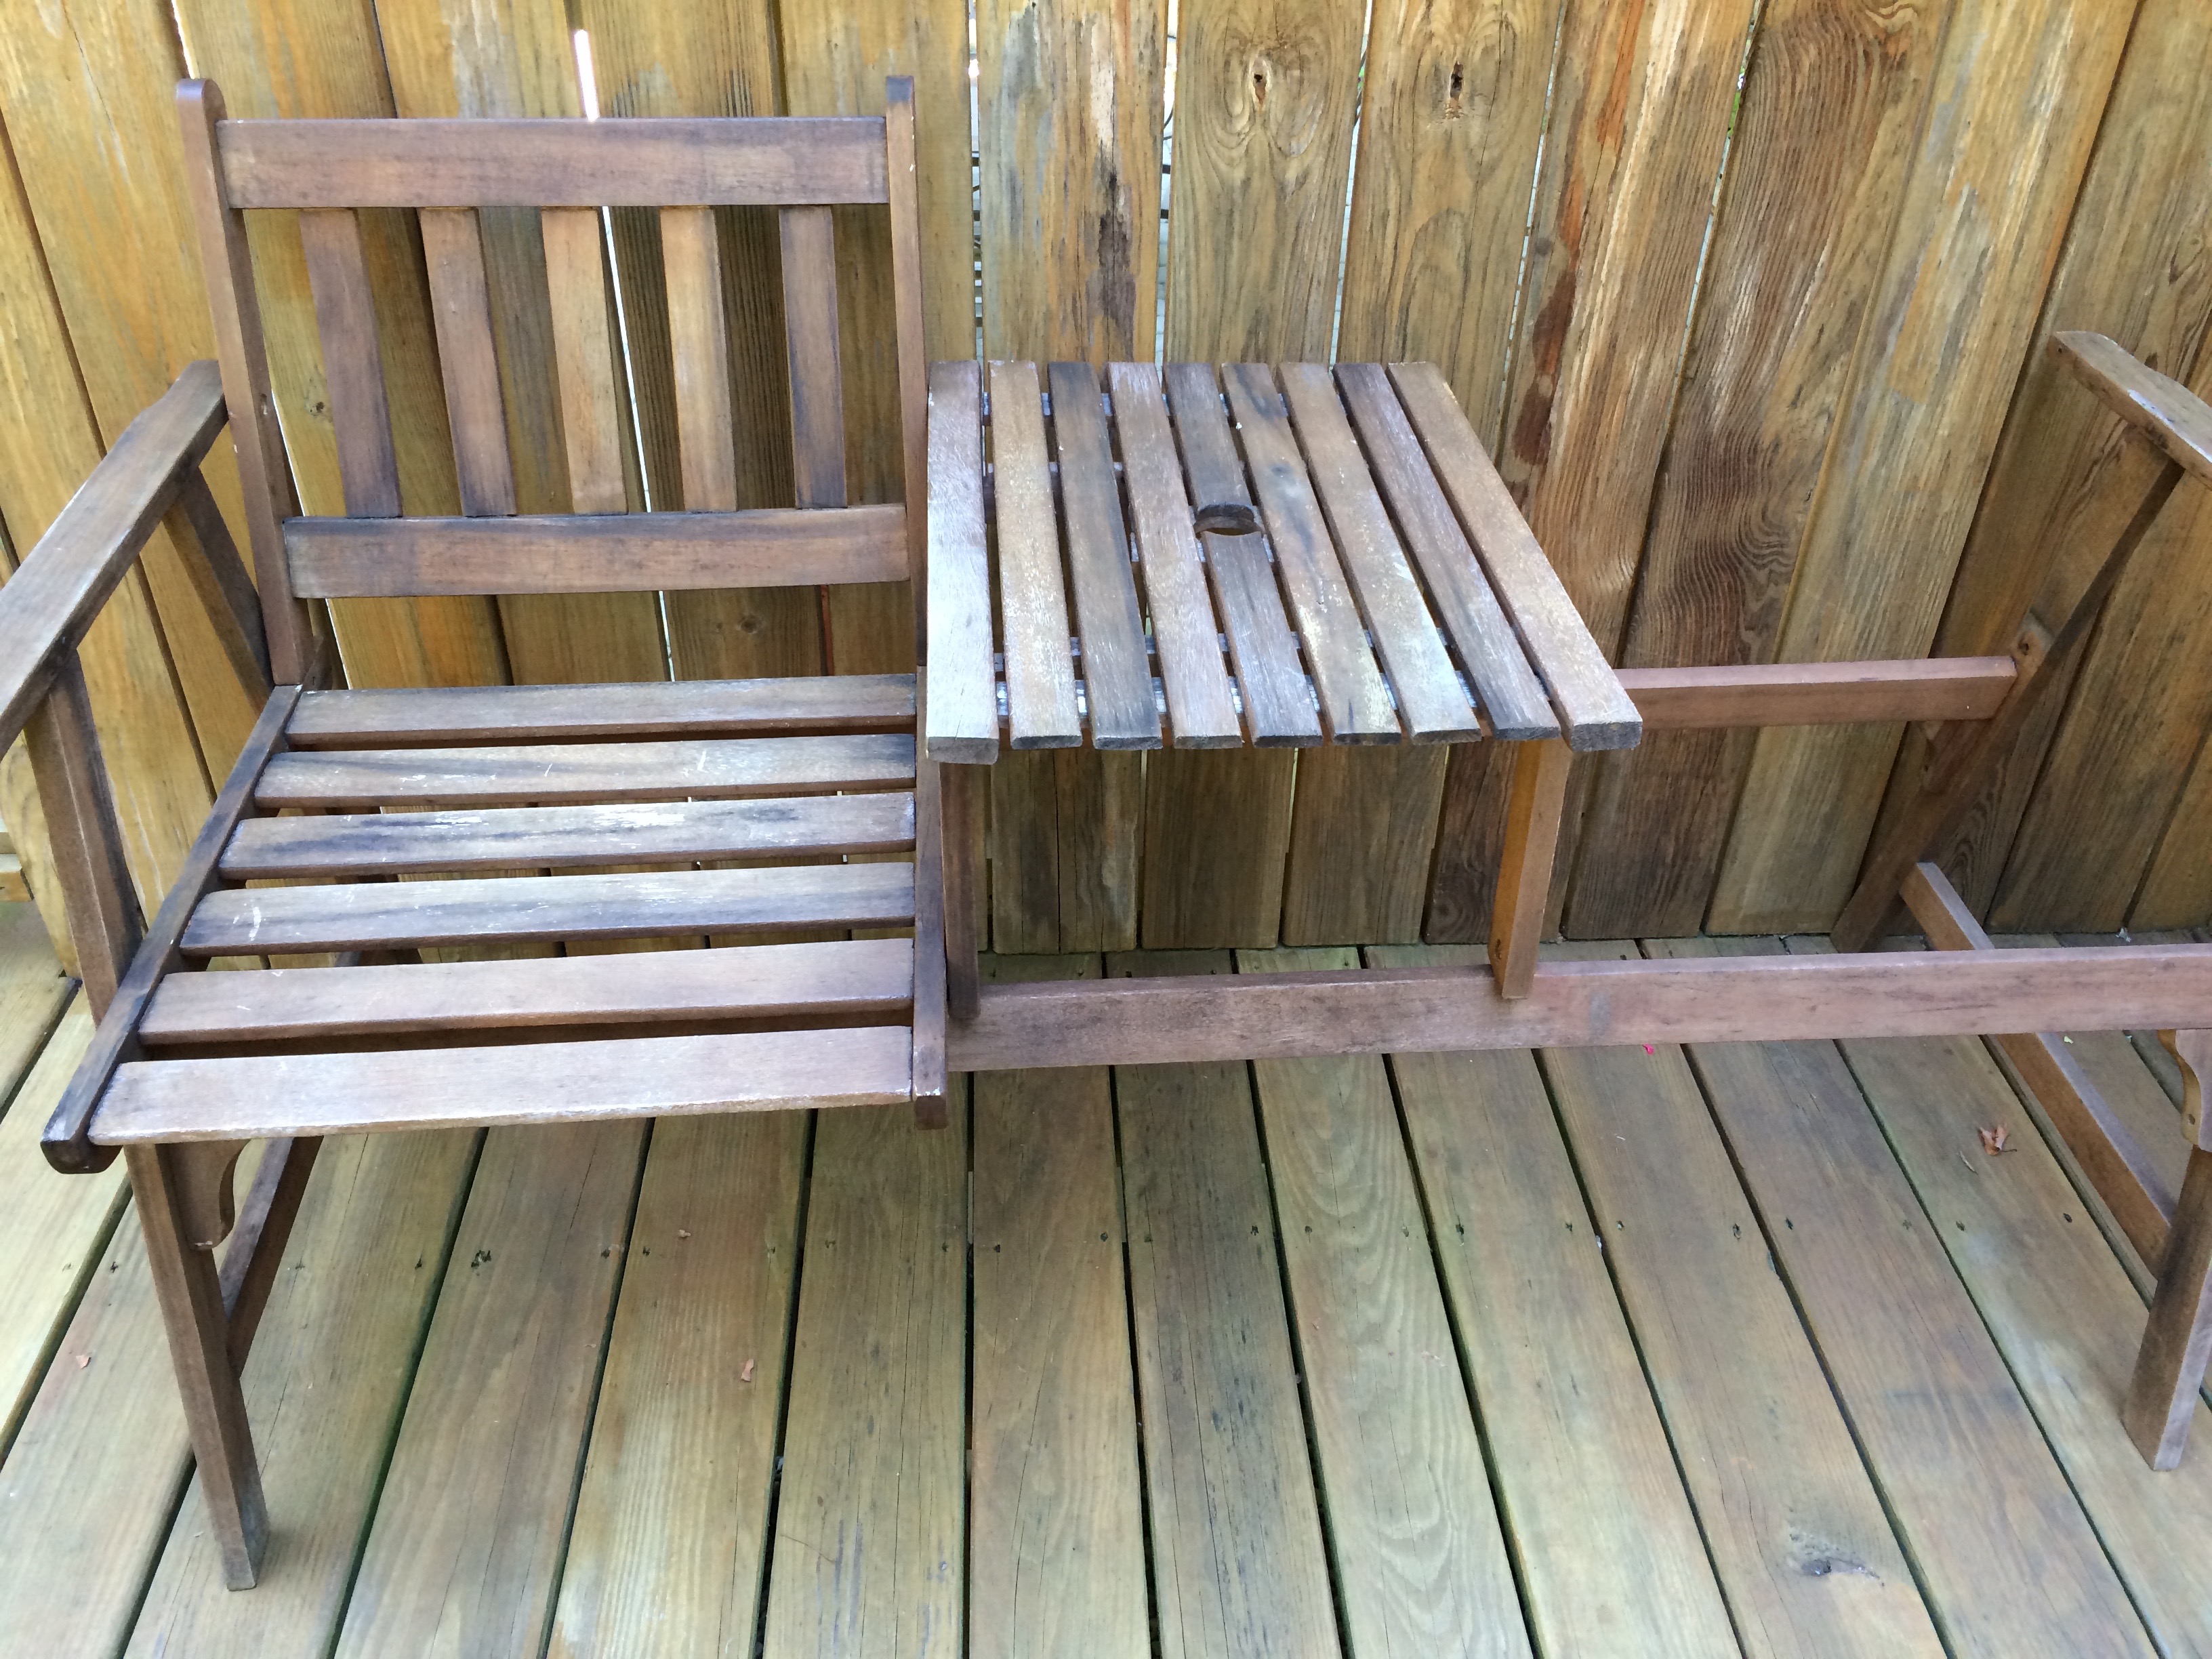
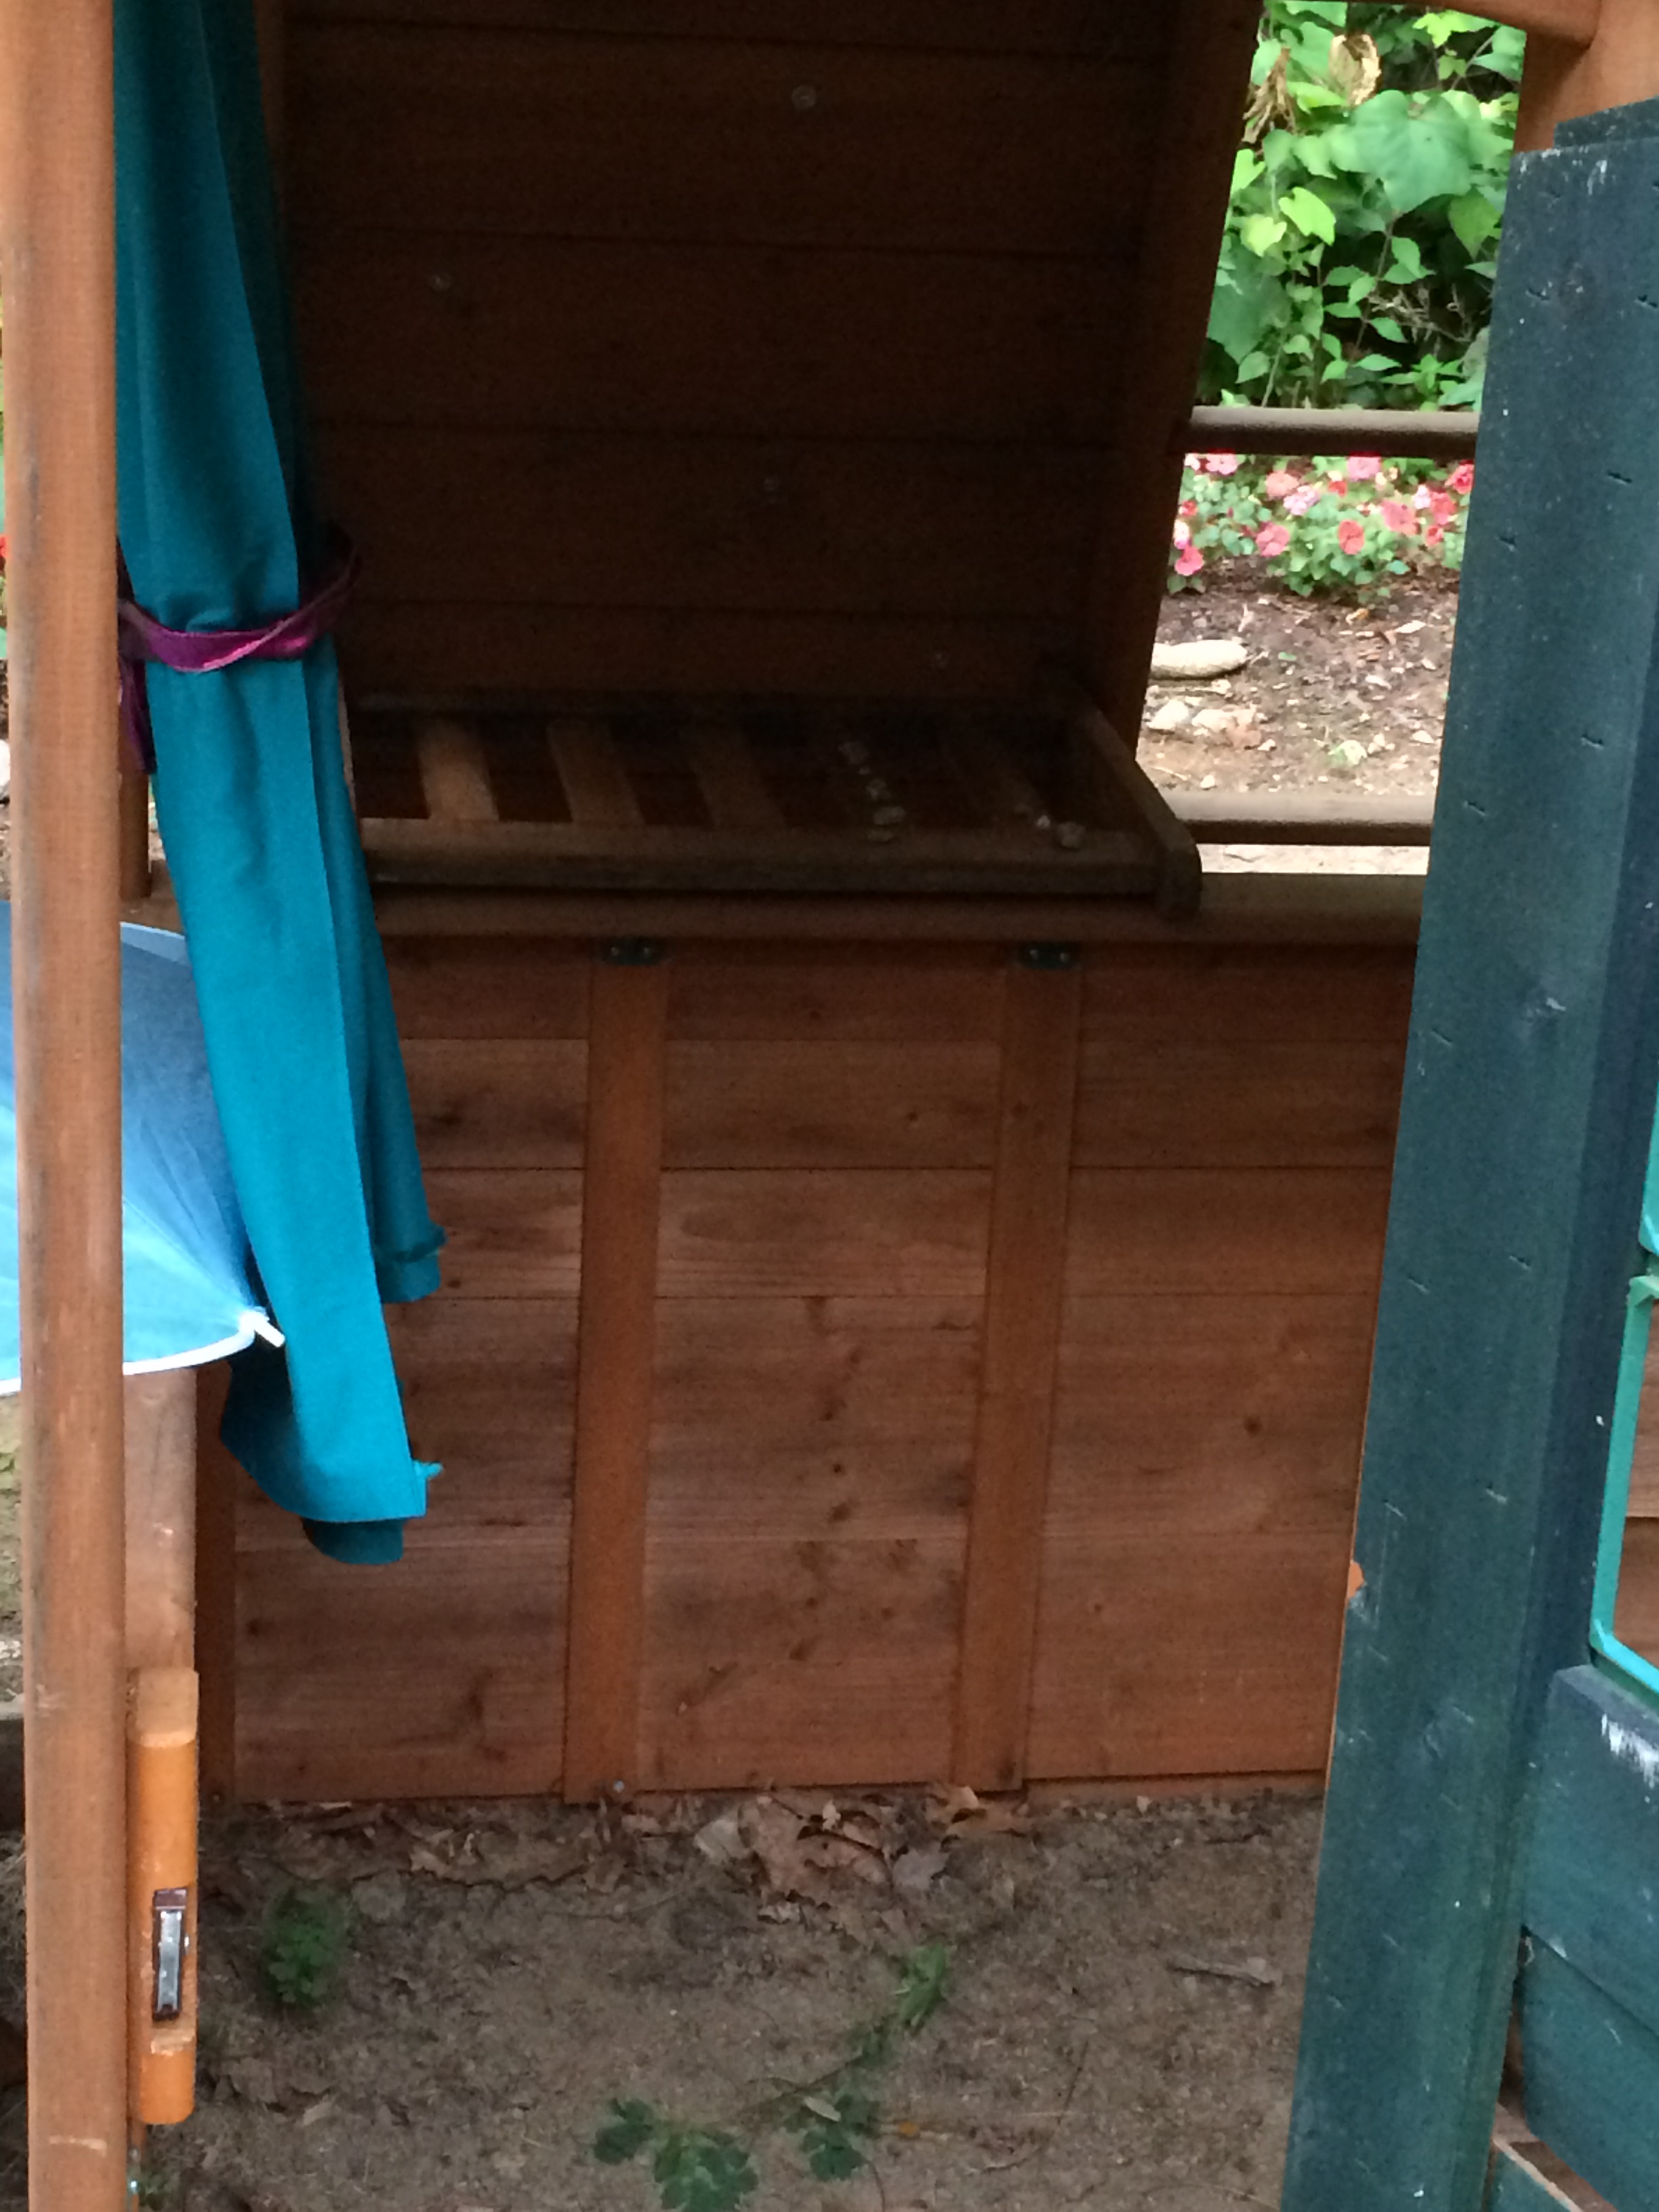
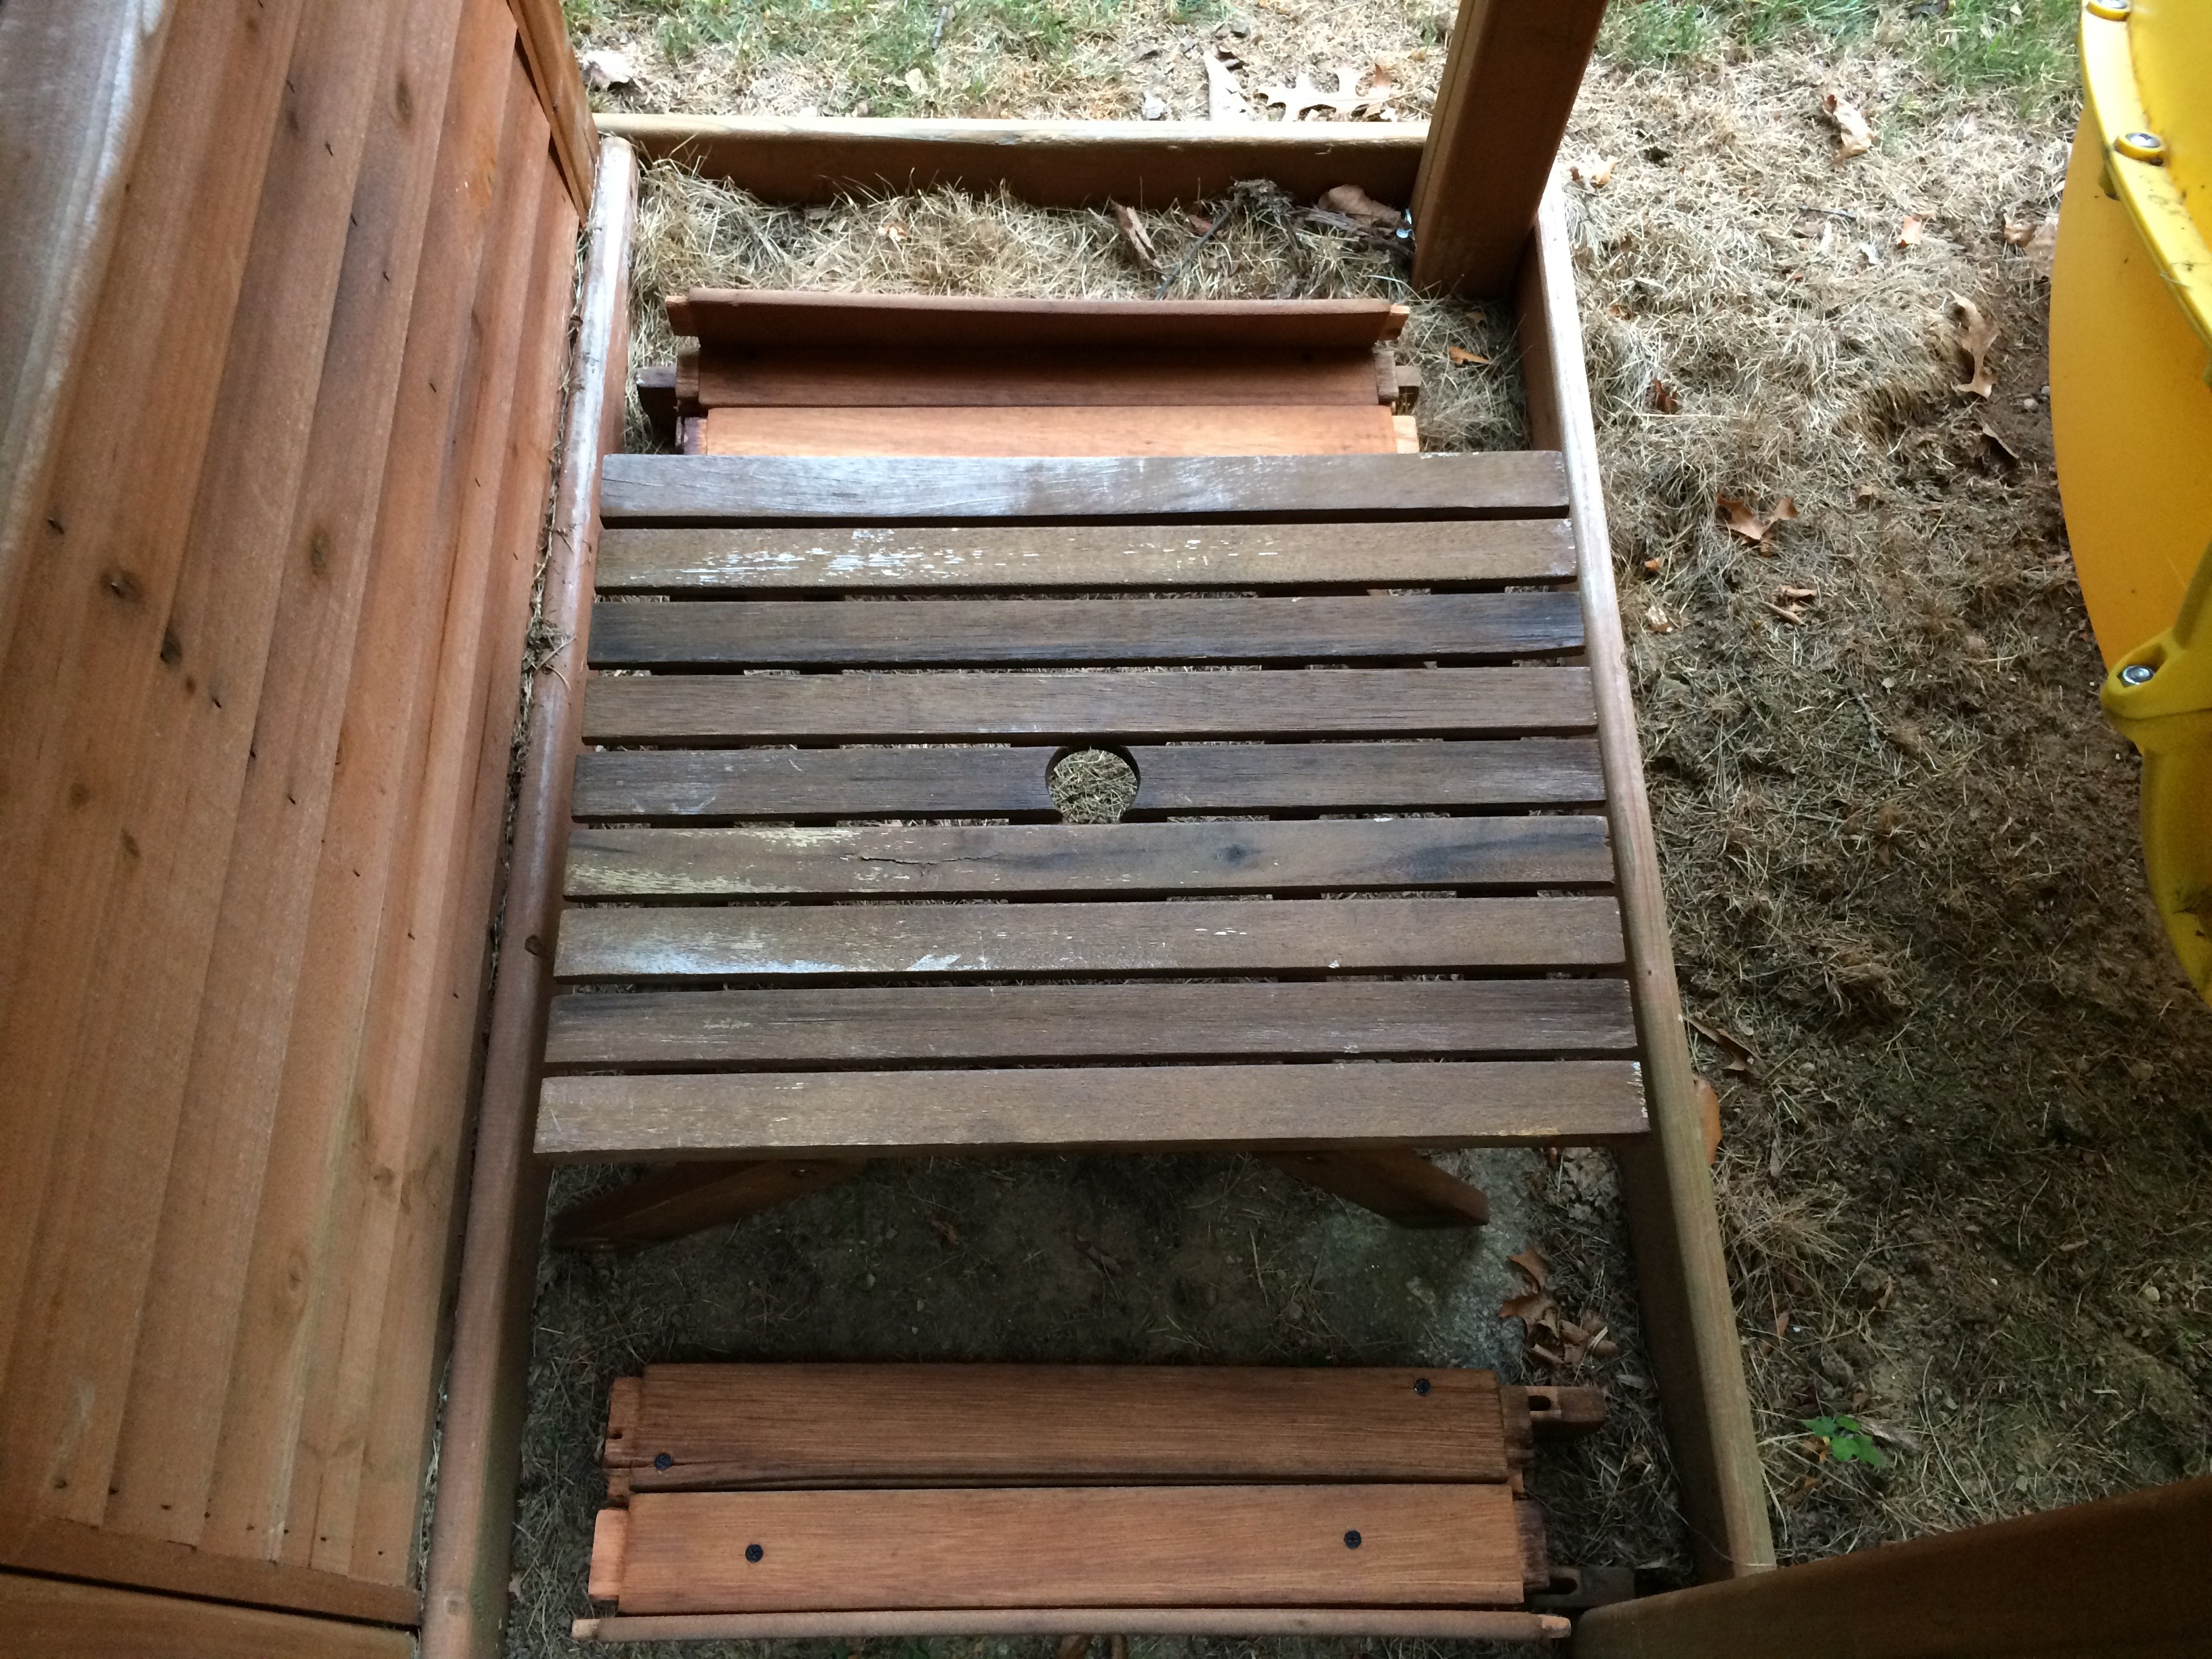
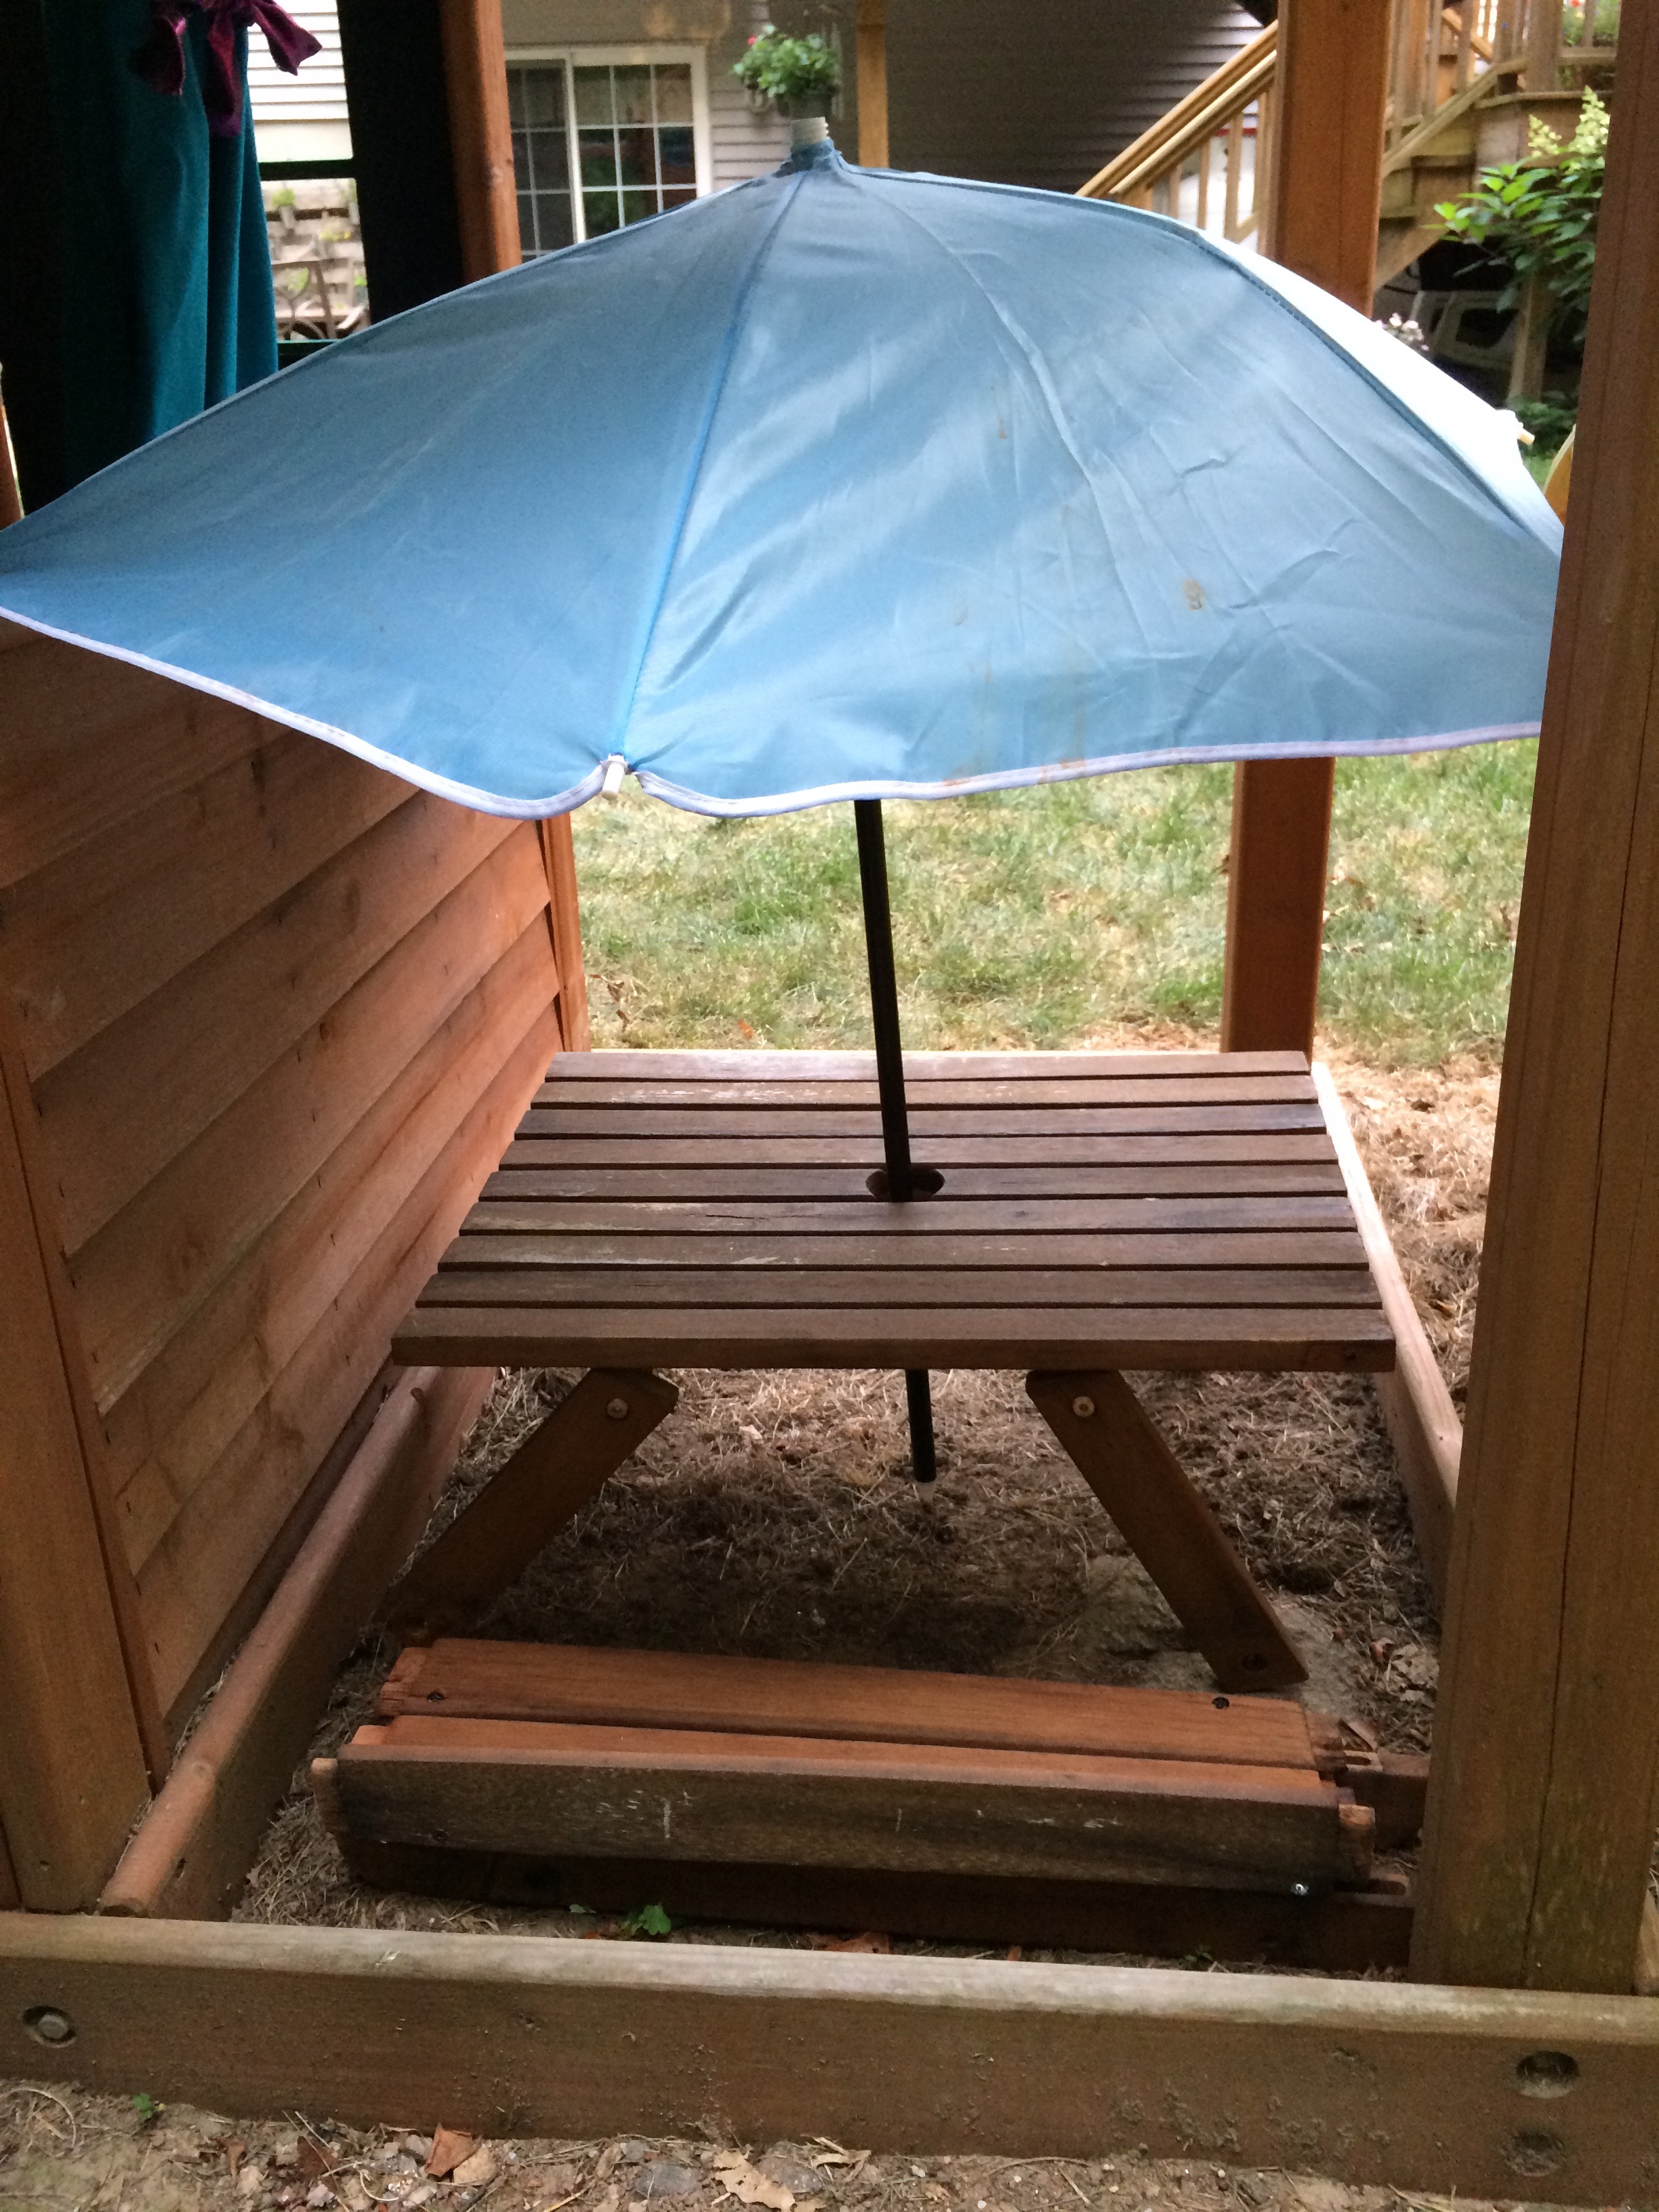
We had a bench/table thing that we no longer wanted so we took it apart and used the table as a mini picnic table for my daughter’s dolls. Then we used part of the chair as a shelf on the inside and the other parts to make picnic benches. She accessorized with an old umbrella she found off a summer chair she no longer fits in.

The biggest issue with this project was that we found an underground bee nest right under the slide next to this playhouse area. But, after we took care of the nest she was ready to play inside!

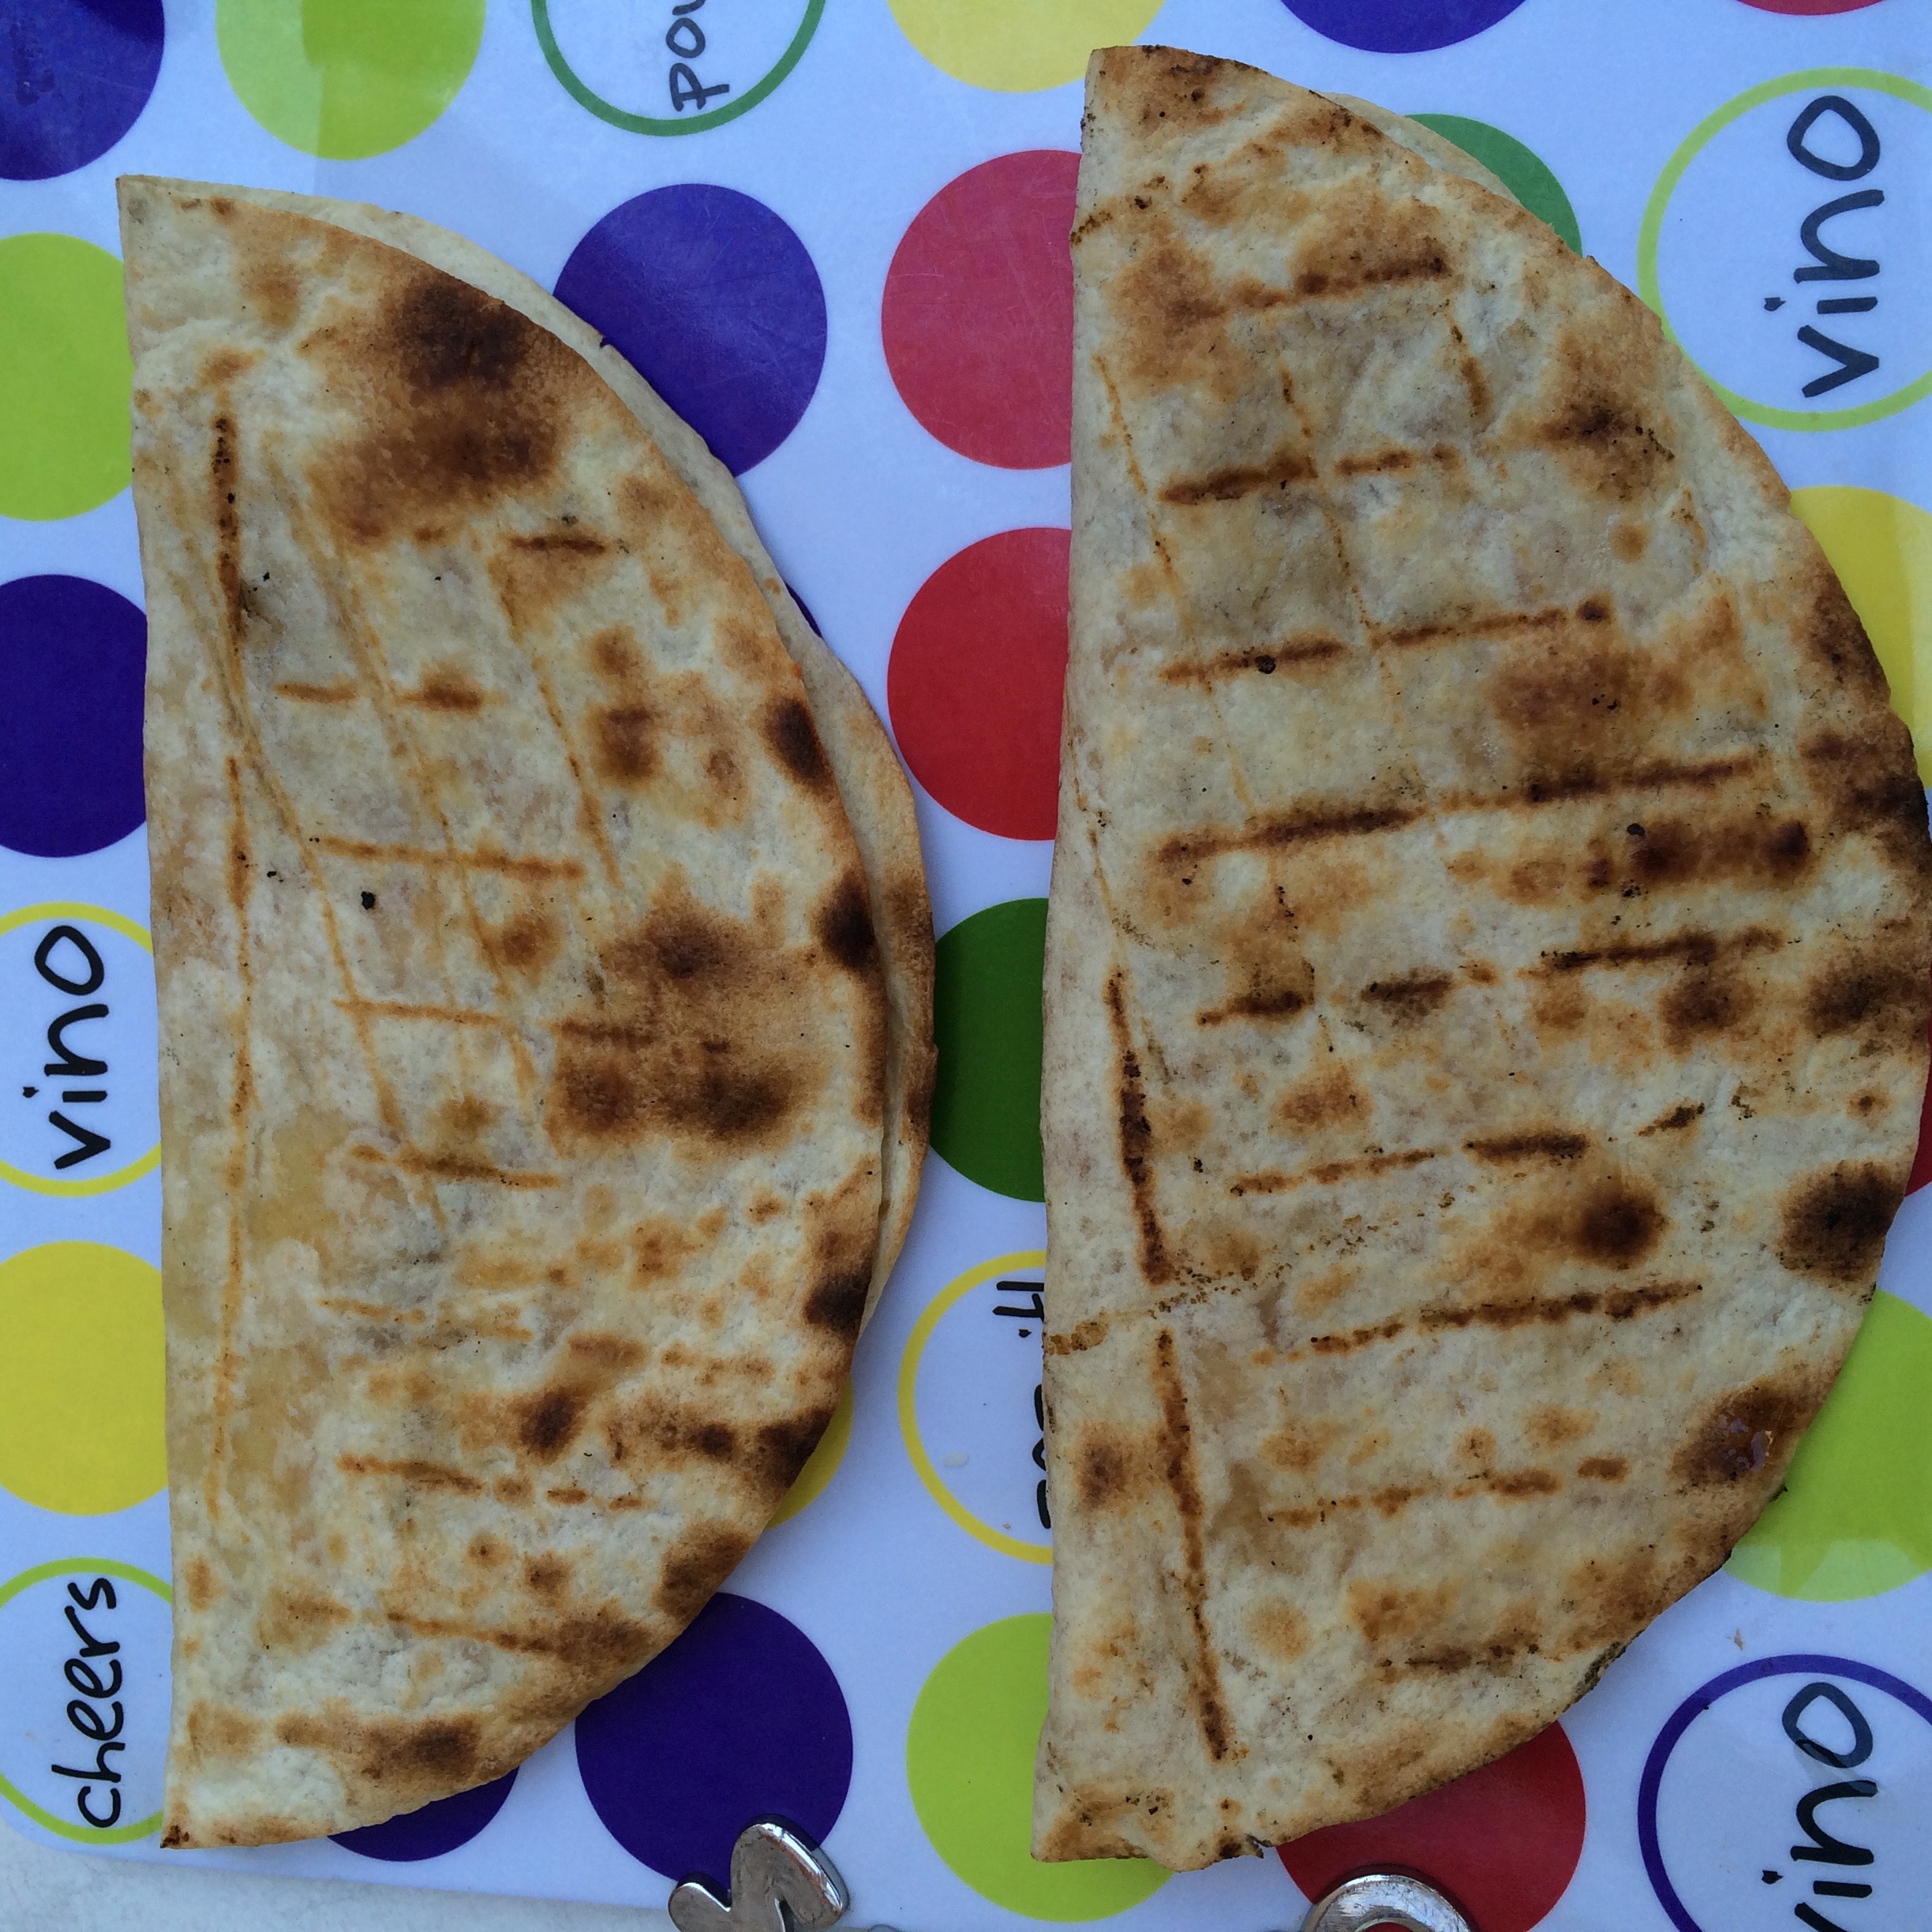
Chicken and Cheese Quesadillas on the Grill

Makes 5 Large Quesadillas
Ingredients:
5 Tortillas (You can use any kind, I used 10-inch white, flour)
4 Chicken Breasts
About 2 cups of cheese (I used a mix of a Mexican blend and Mozzarella)
Olive oil
Salt and Pepper
I made this whole recipe on the grill. The quesadillas cook fast on the grill and they had an extra crisp which was really good!
1. Gather ingredients. Mix a small amount of olive oil and salt and pepper in a bowl and brush on chicken. 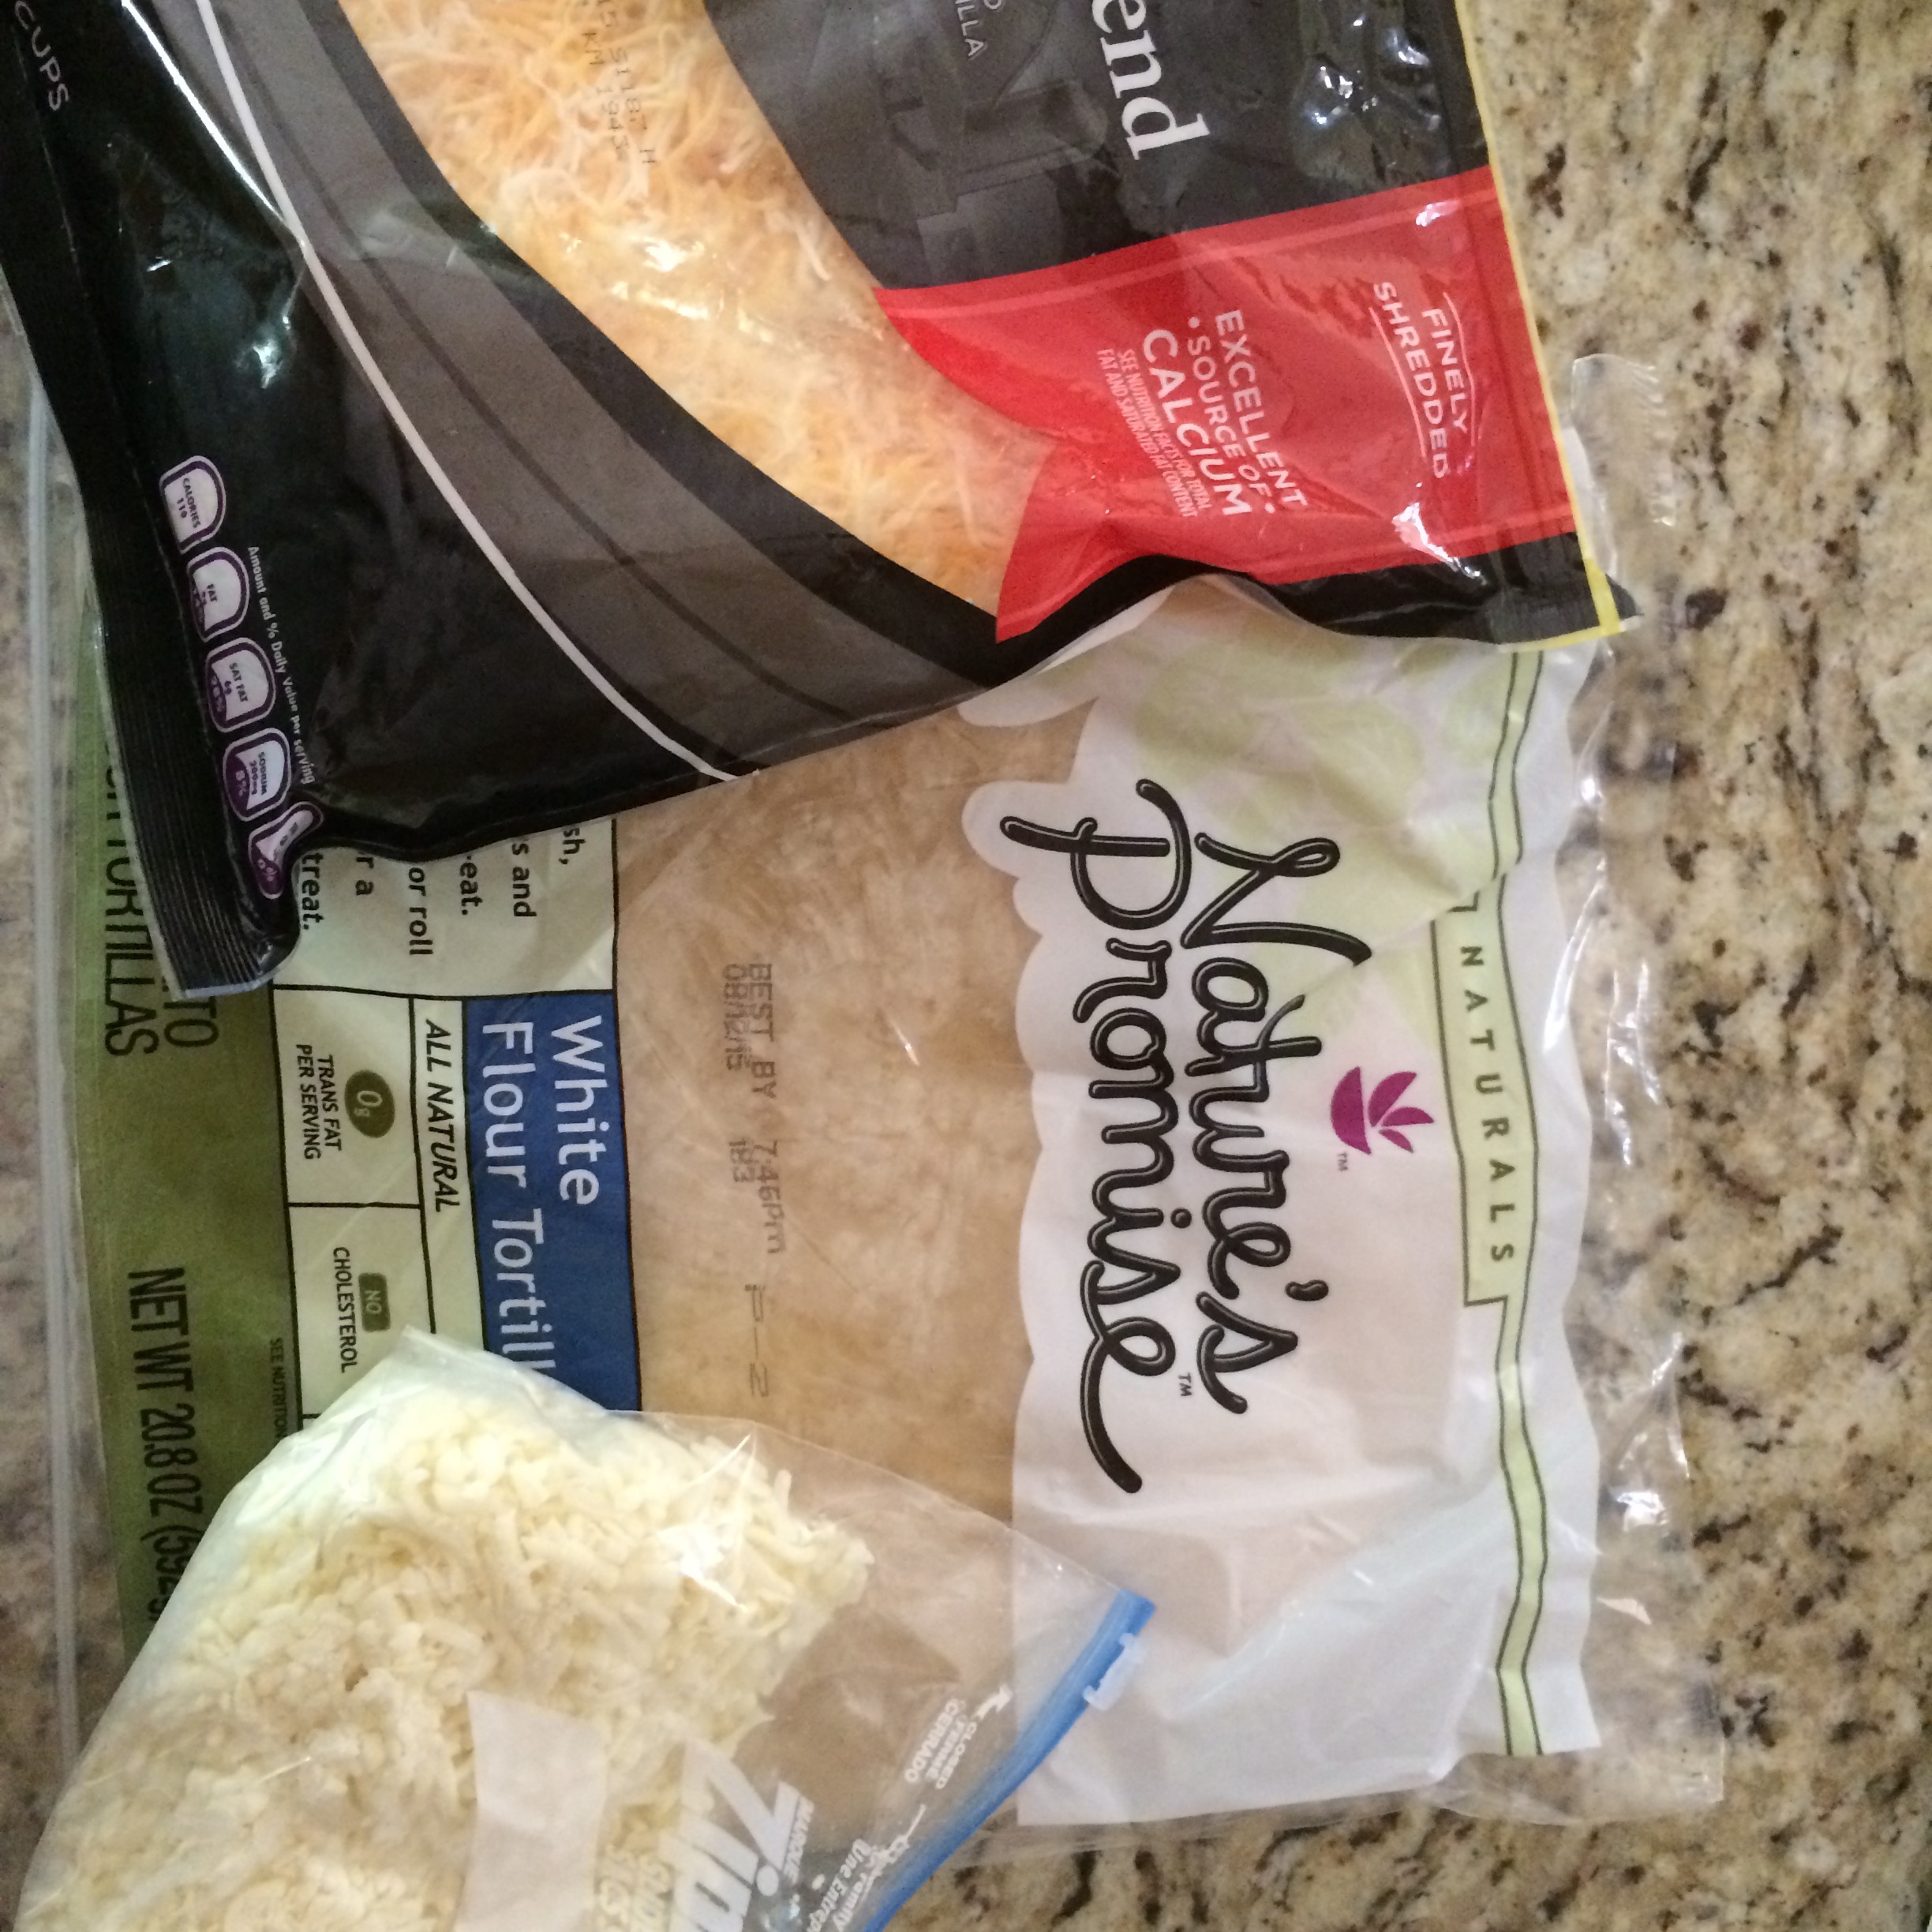 2. Grill chicken on both sides until cooked through – 4-6 minutes on each side or until no longer pink on the inside.

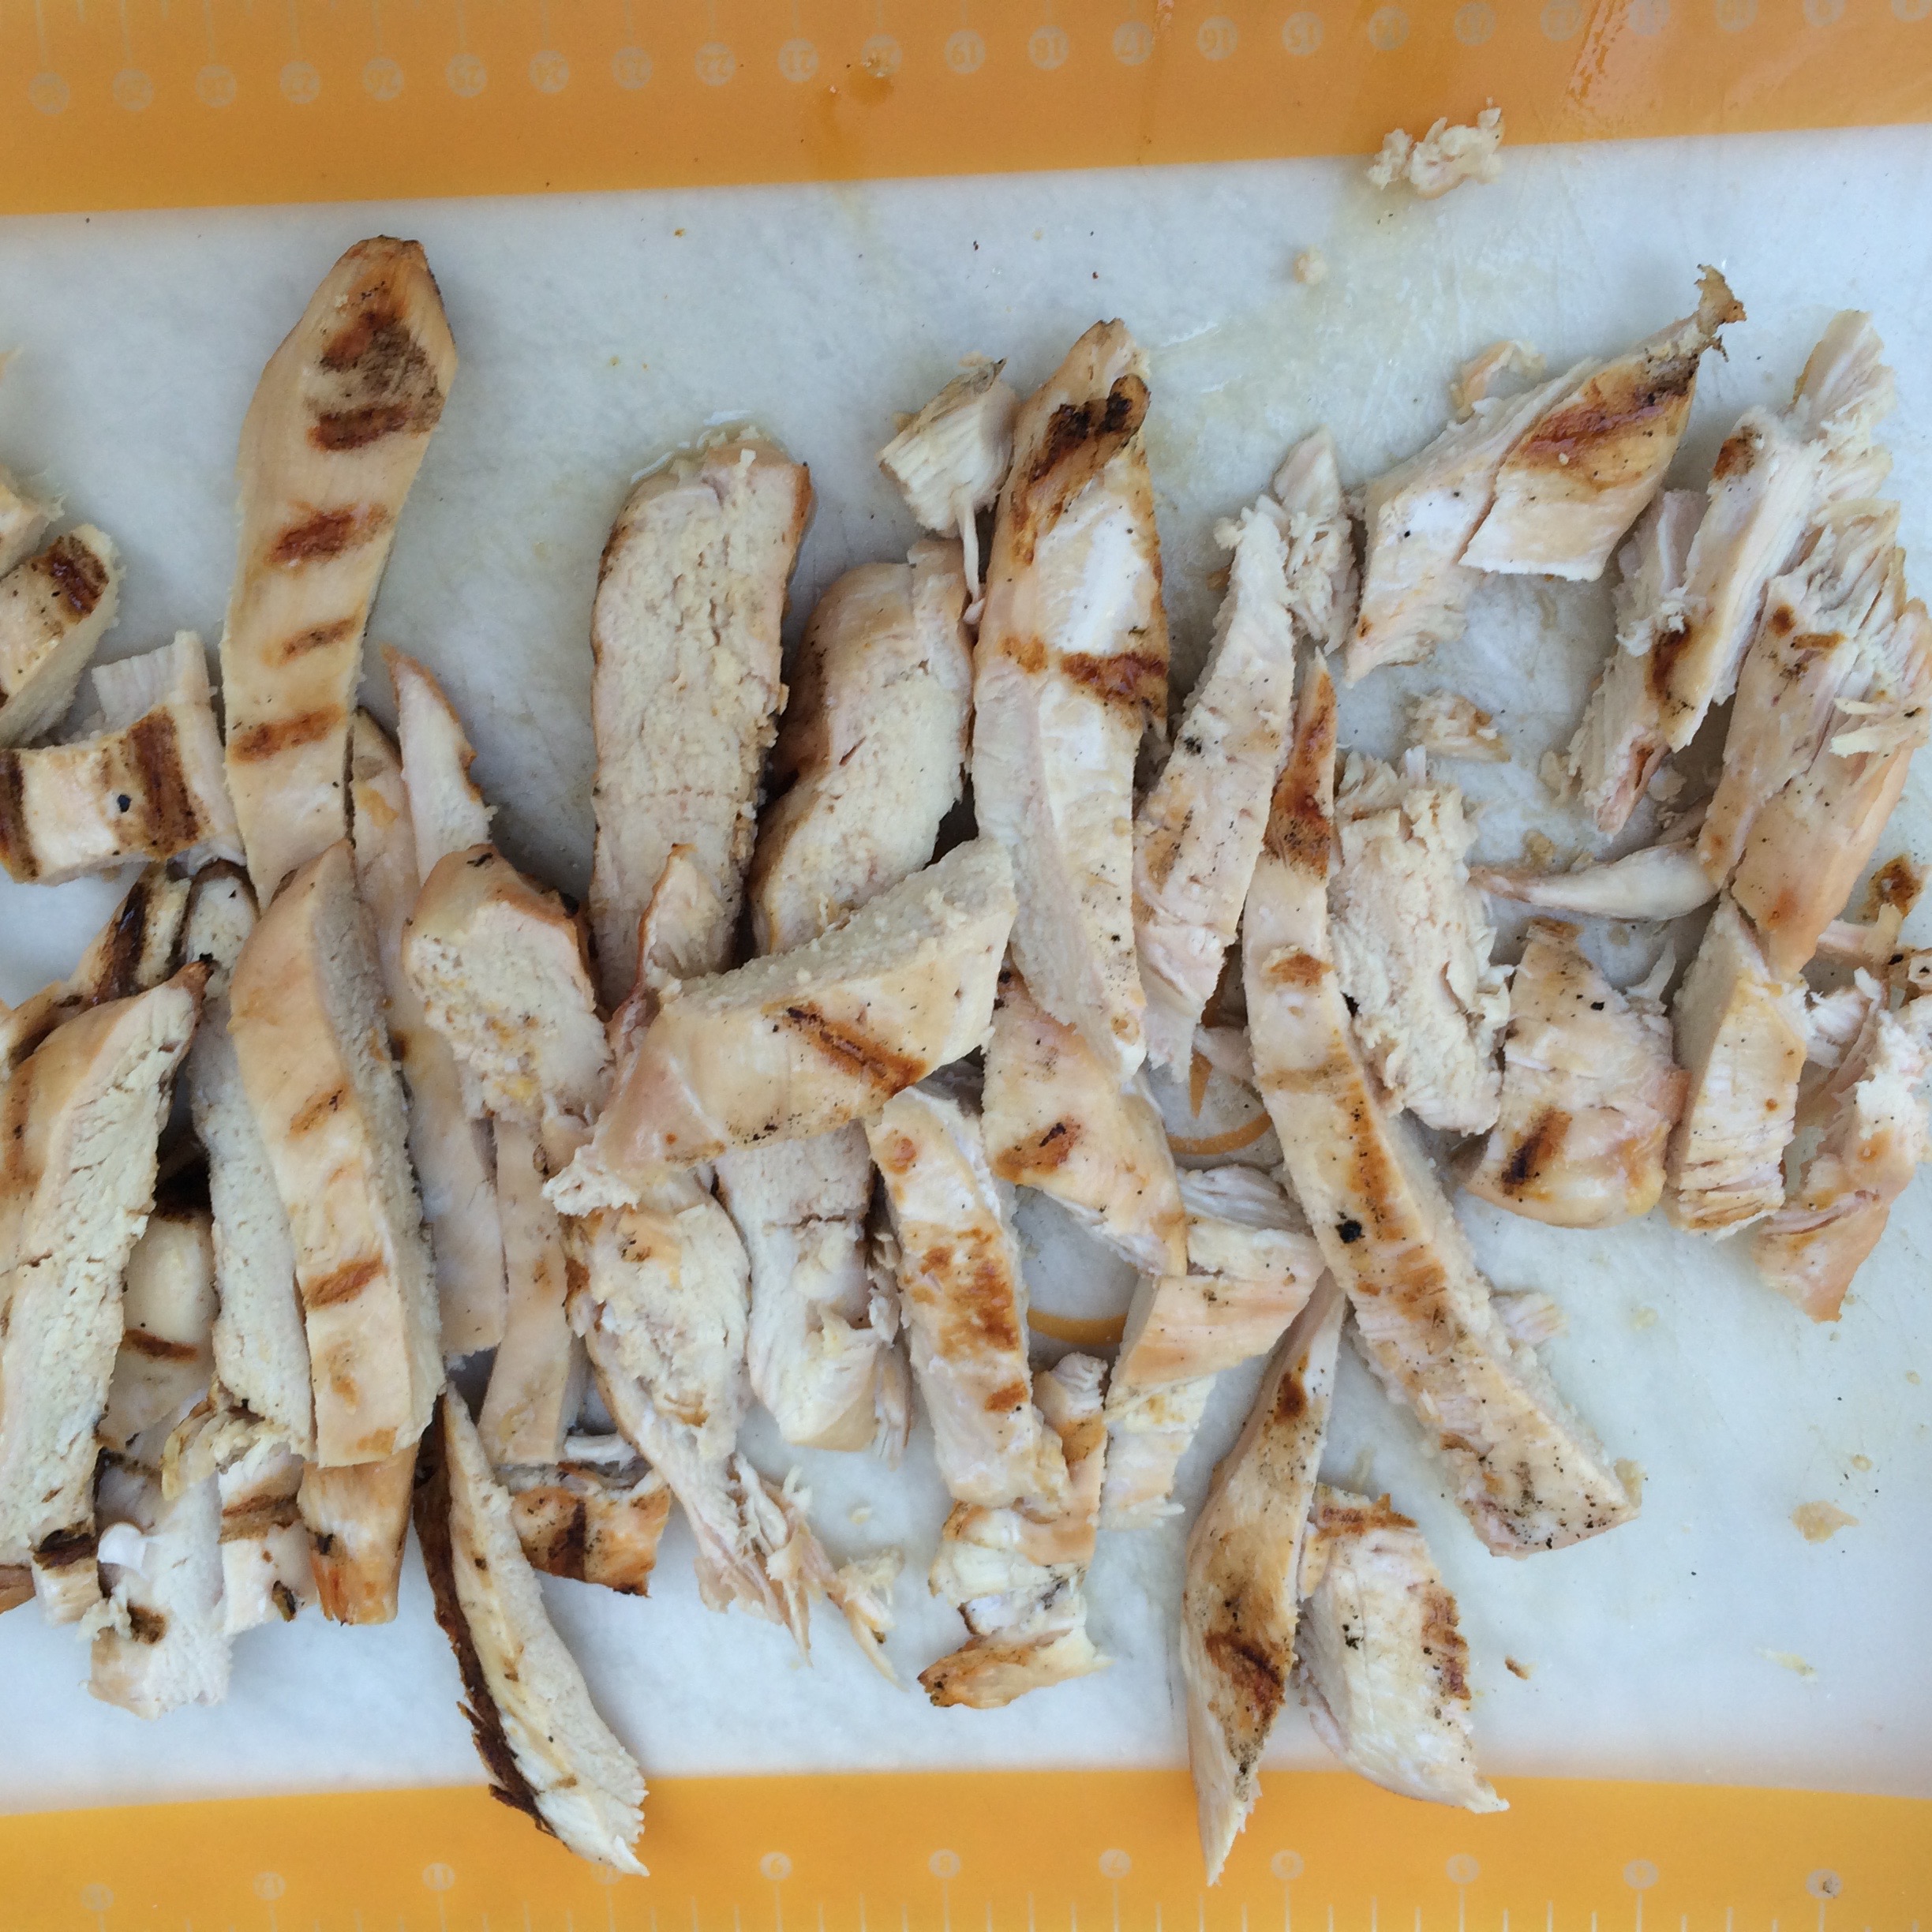
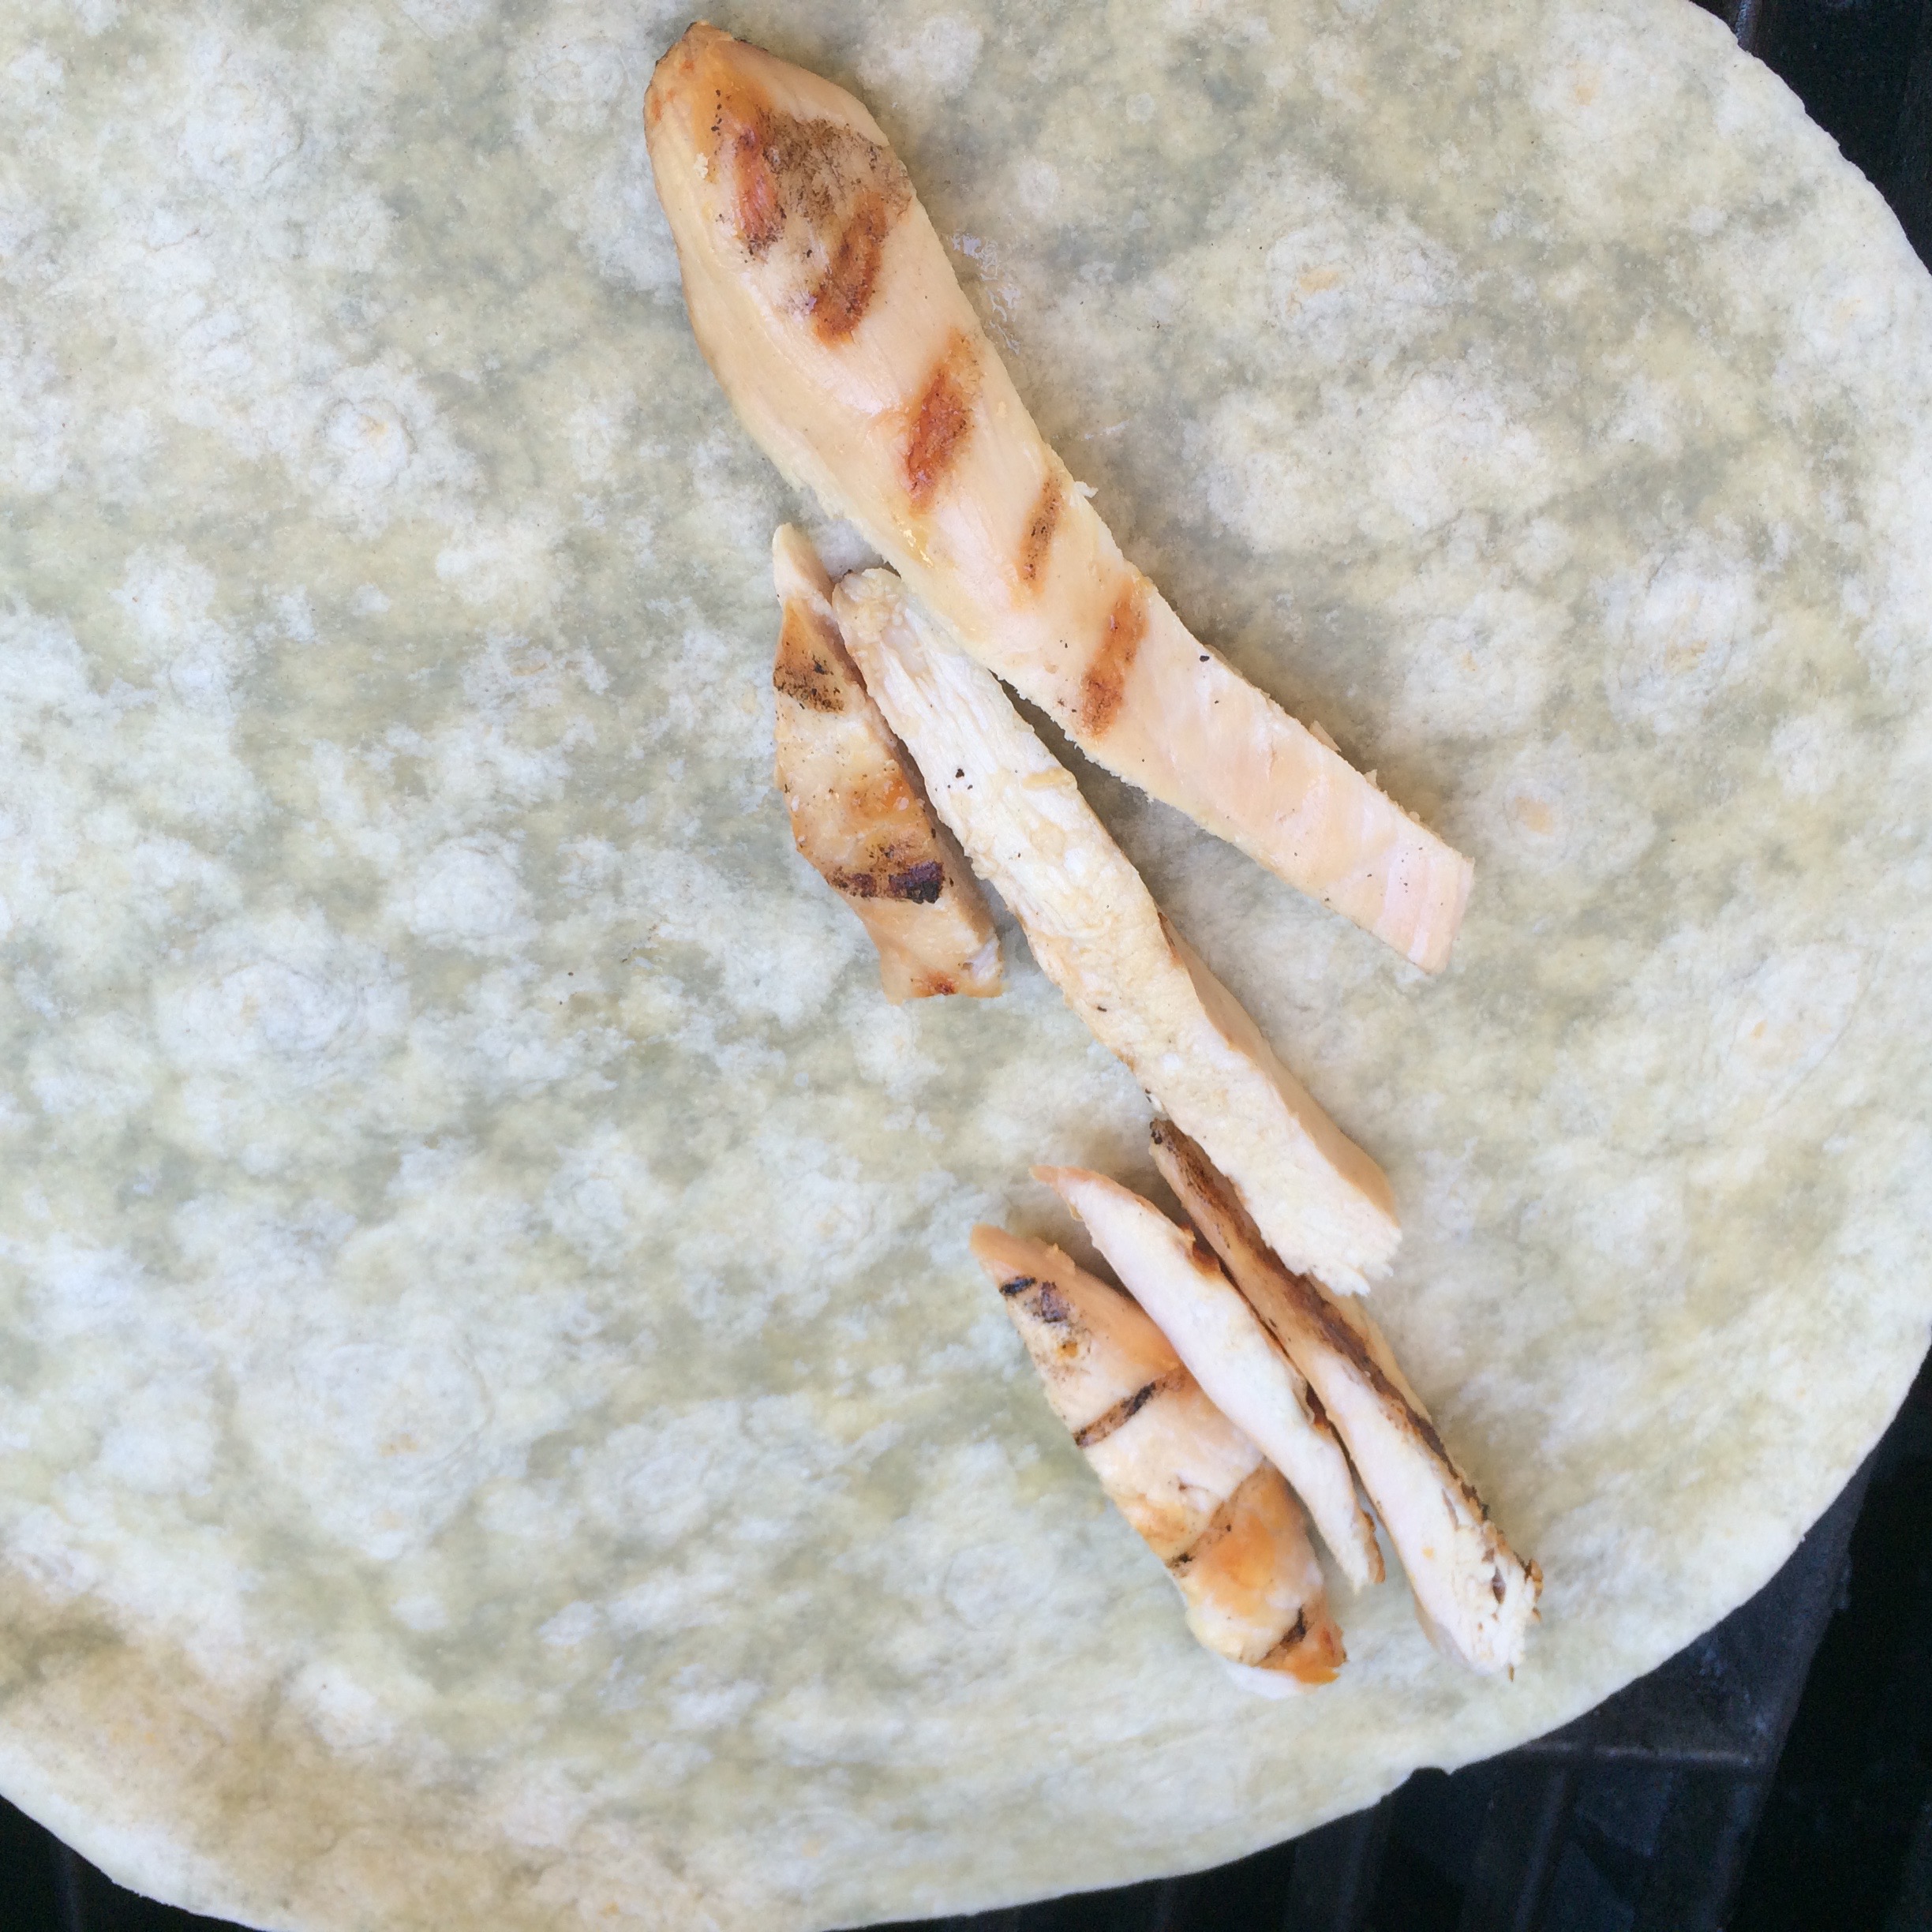
3. Remove chicken from grill and slice into strips.
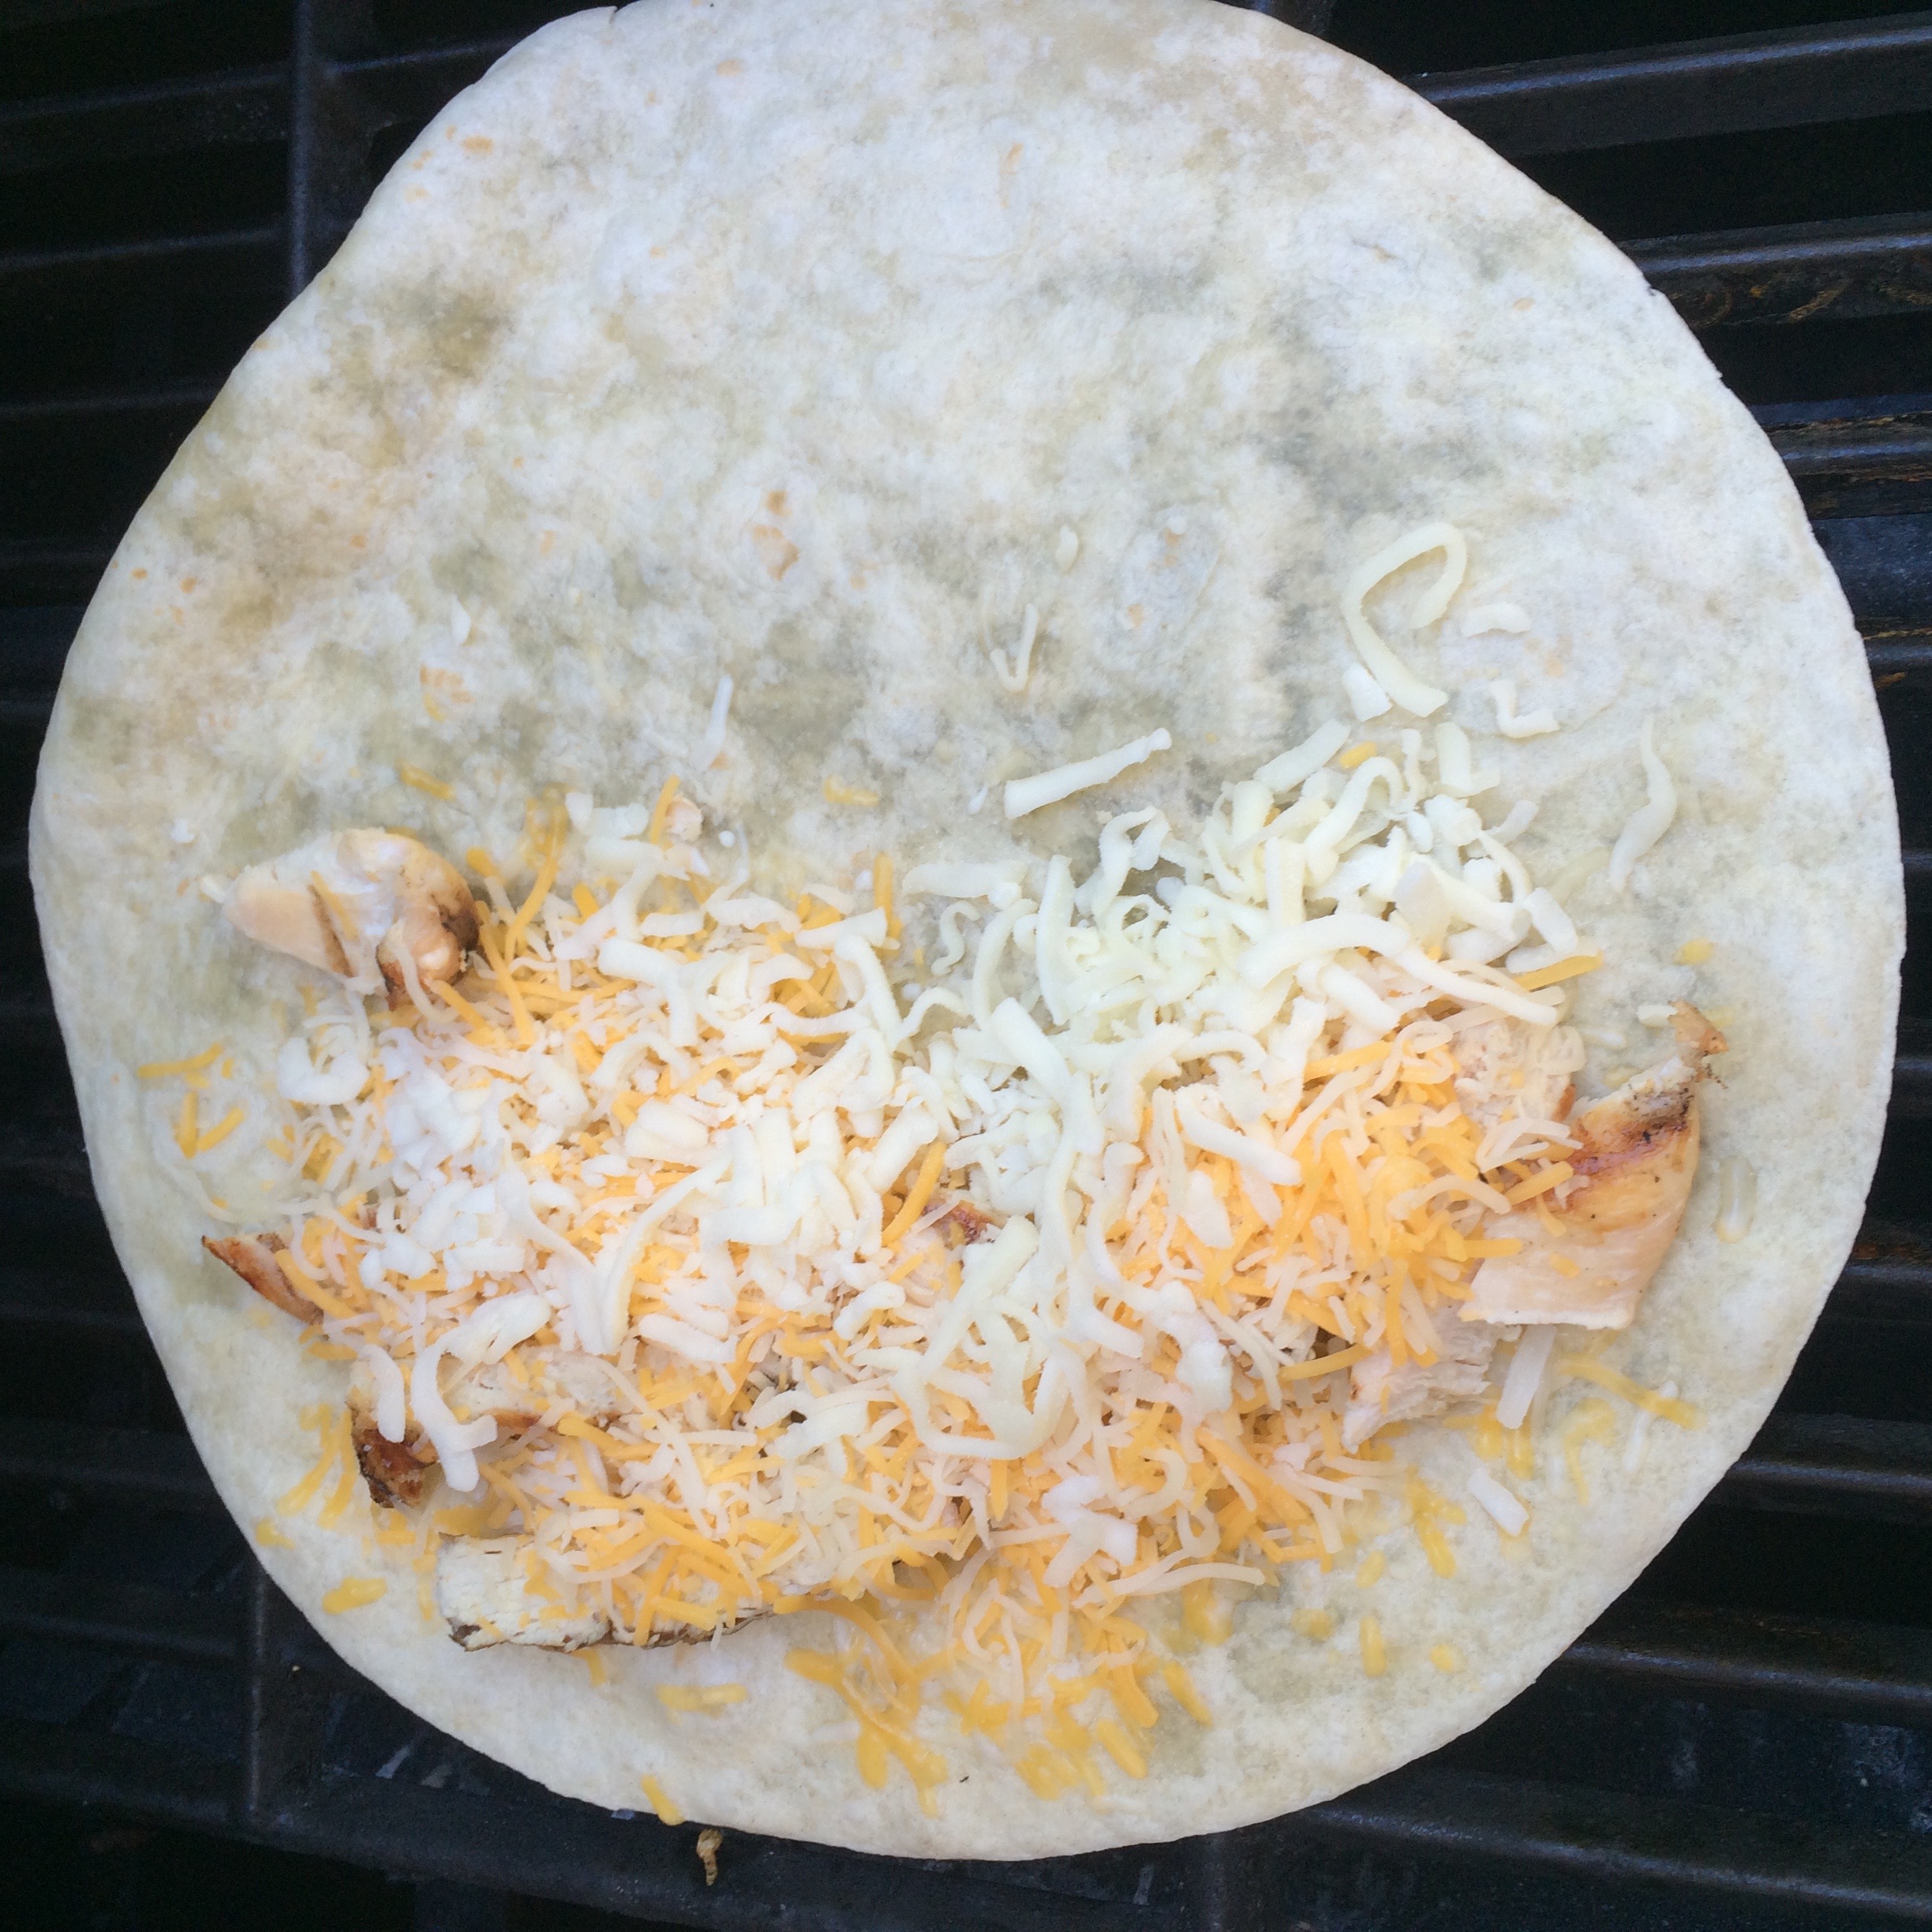
 4. Place a tortilla on the grill and line one side with a few strips of chicken and enough cheese to cover. Flip the empty half on top and then brush that half (the half of the tortilla facing you) with some olive oil. After about 1-2 minutes, carefully flip the quesadilla to grill on opposite side. Grill for another 1-2 minutes or until cheese is melted.


5. Repeat steps until all of your quesadillas are grilled. Serve alone or with a side of sour cream, salsa or guacamole.