Shutters
Shutter Shelves- DIY
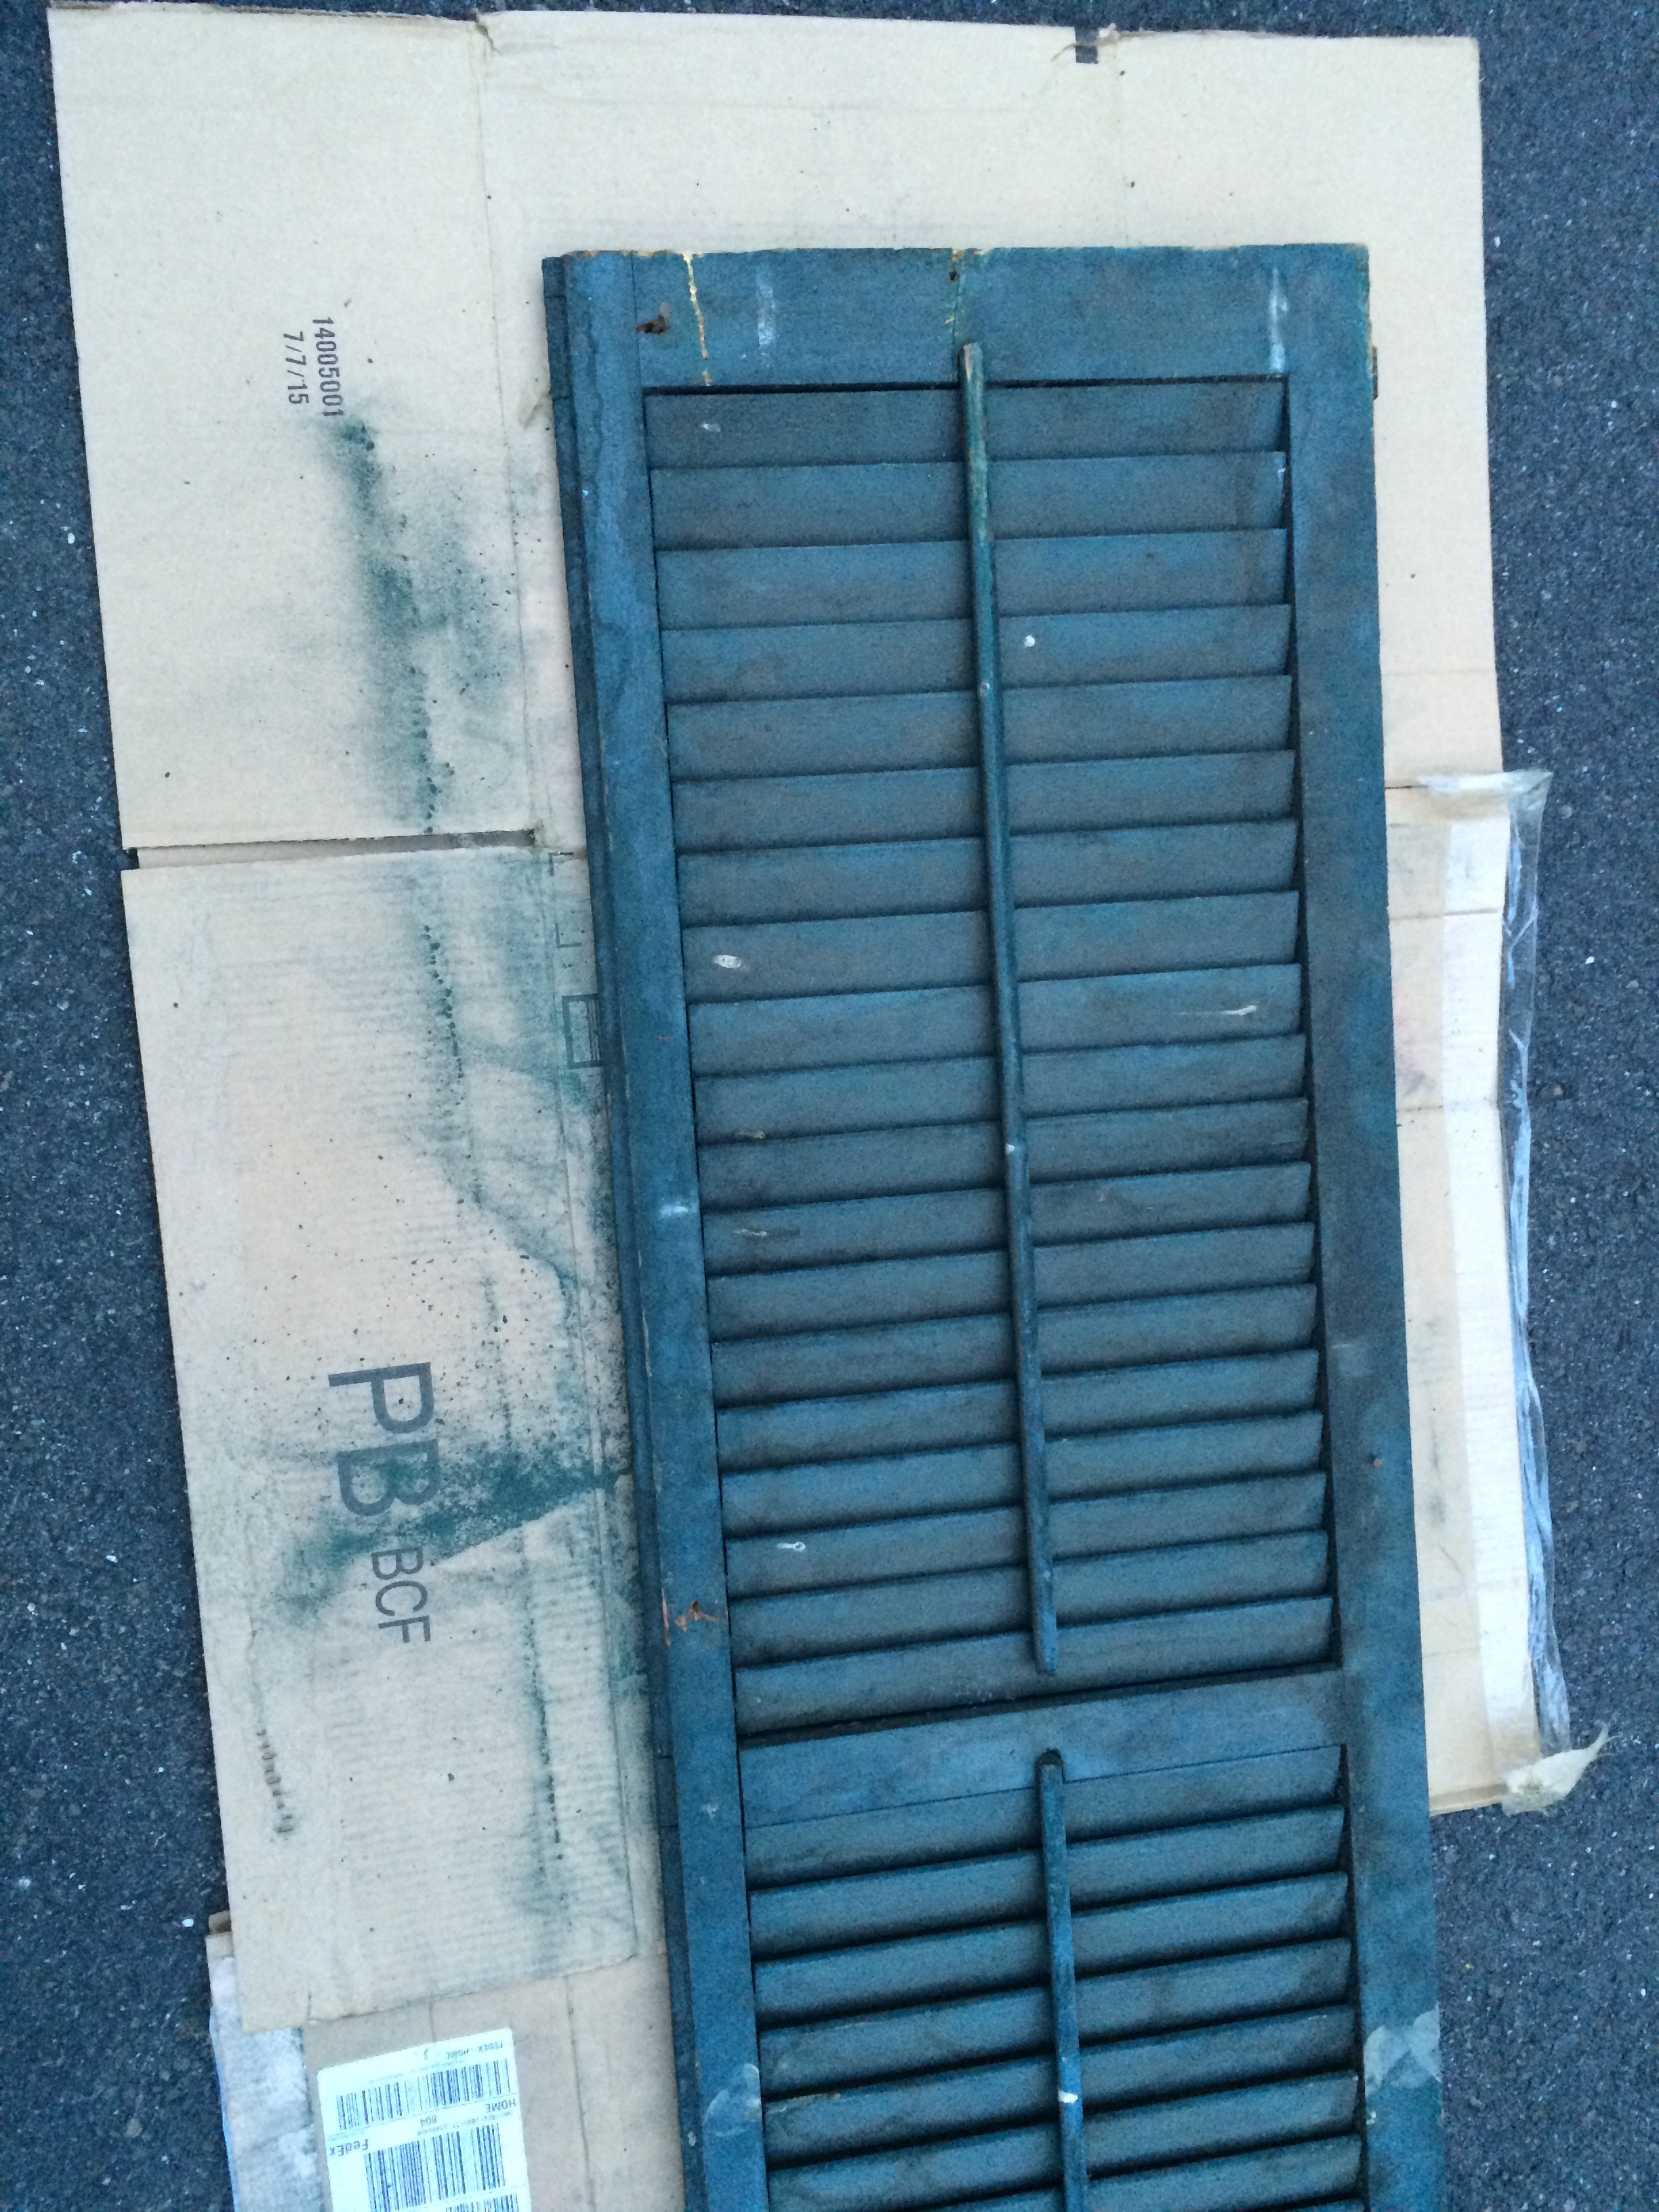
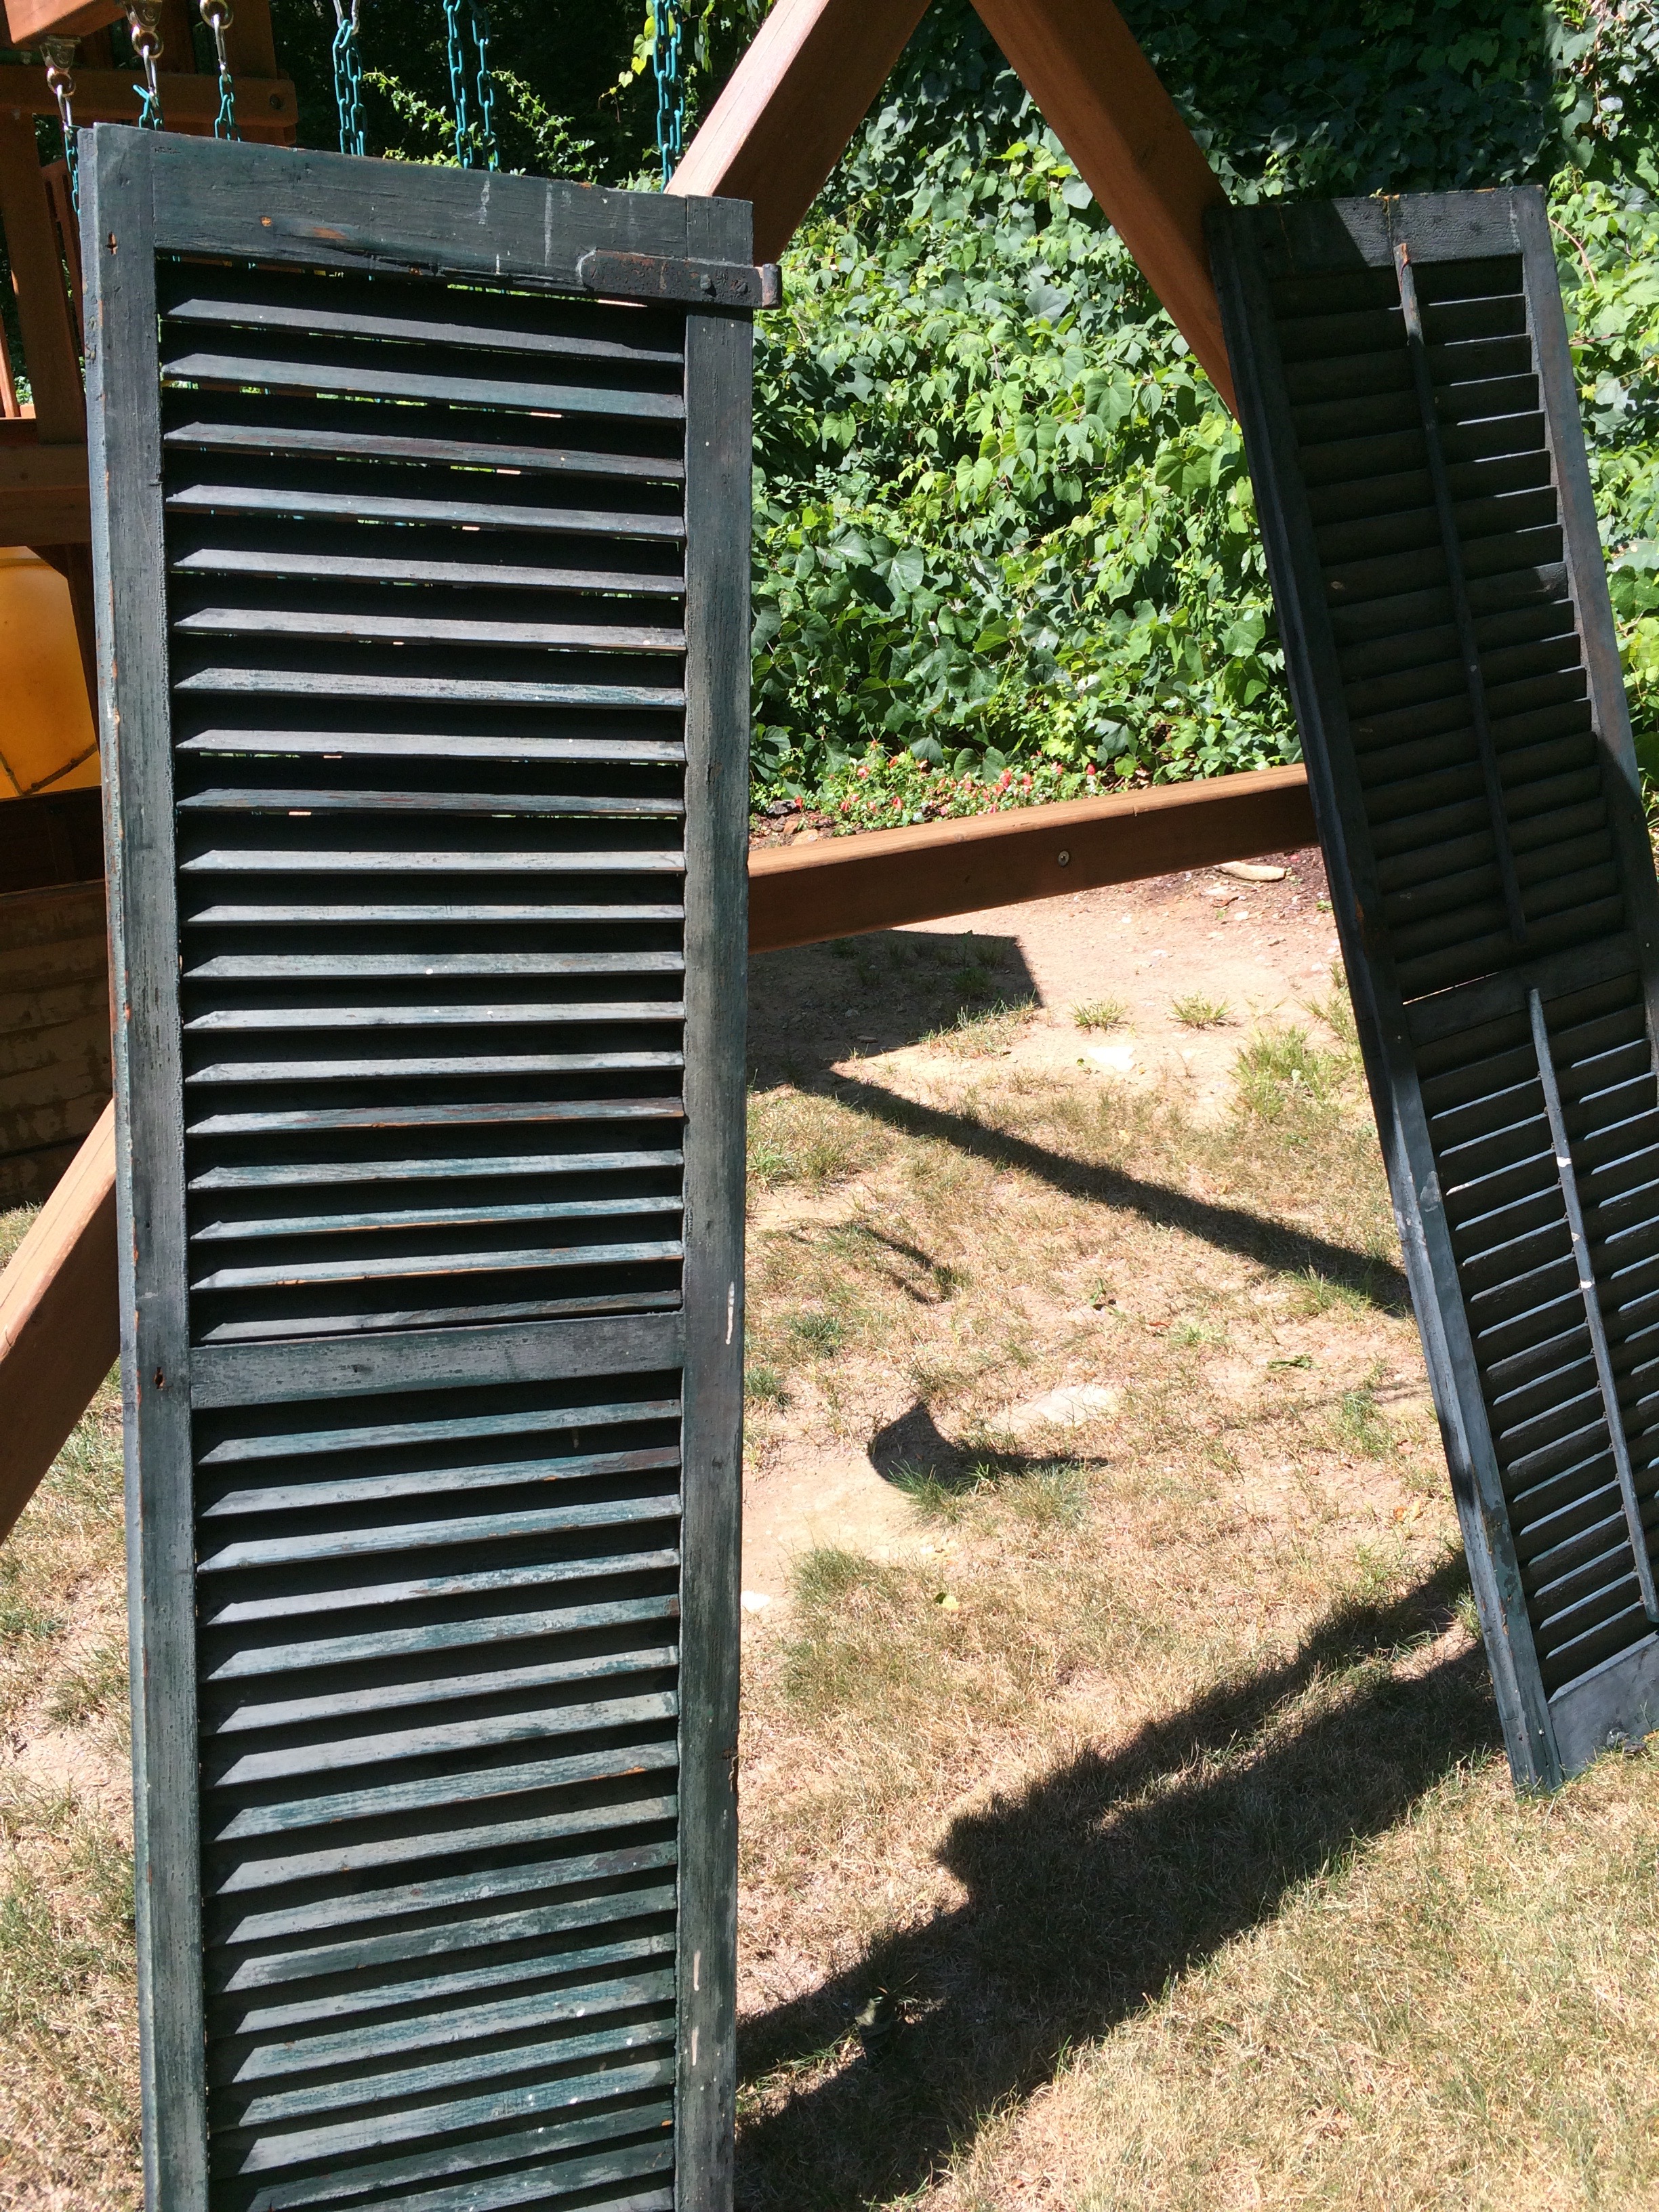
I was at a tag sale and saw old green wooden barn shutters for sale. I bought them all at a relatively cheap price with nothing specific in mind, but knew I could do something with them. At first I was going to build a picnic table using two as the top base and one each as the bench base. But then when I wasn’t convinced that would work (or I could pull it off), I decided to use two of them as shelves on our deck where we have a dead space. We took a trip to Home Depot and bought sand paper, spray paint, brackets and screws. I started by sanding them down on the front only, thinking I wouldn’t need to paint the backs. I did end up spraying the back so in hindsight I should have sanded both sides. Then I mixed some dish soap and water in a spray bottle and sprayed both sides and washed them down with the hose. They dried relatively fast in the sun.

Once dry, I applied Rustoleum spray paint. I used a lot more then I thought I would, almost 6 cans for two shutters. It was a little more than one can for each front and back and then I had to spray the sides, top and bottom and some touch up. The only issue I had with the spray paint was that in two spots it bubbled. I think because it was too humid the day I sprayed.


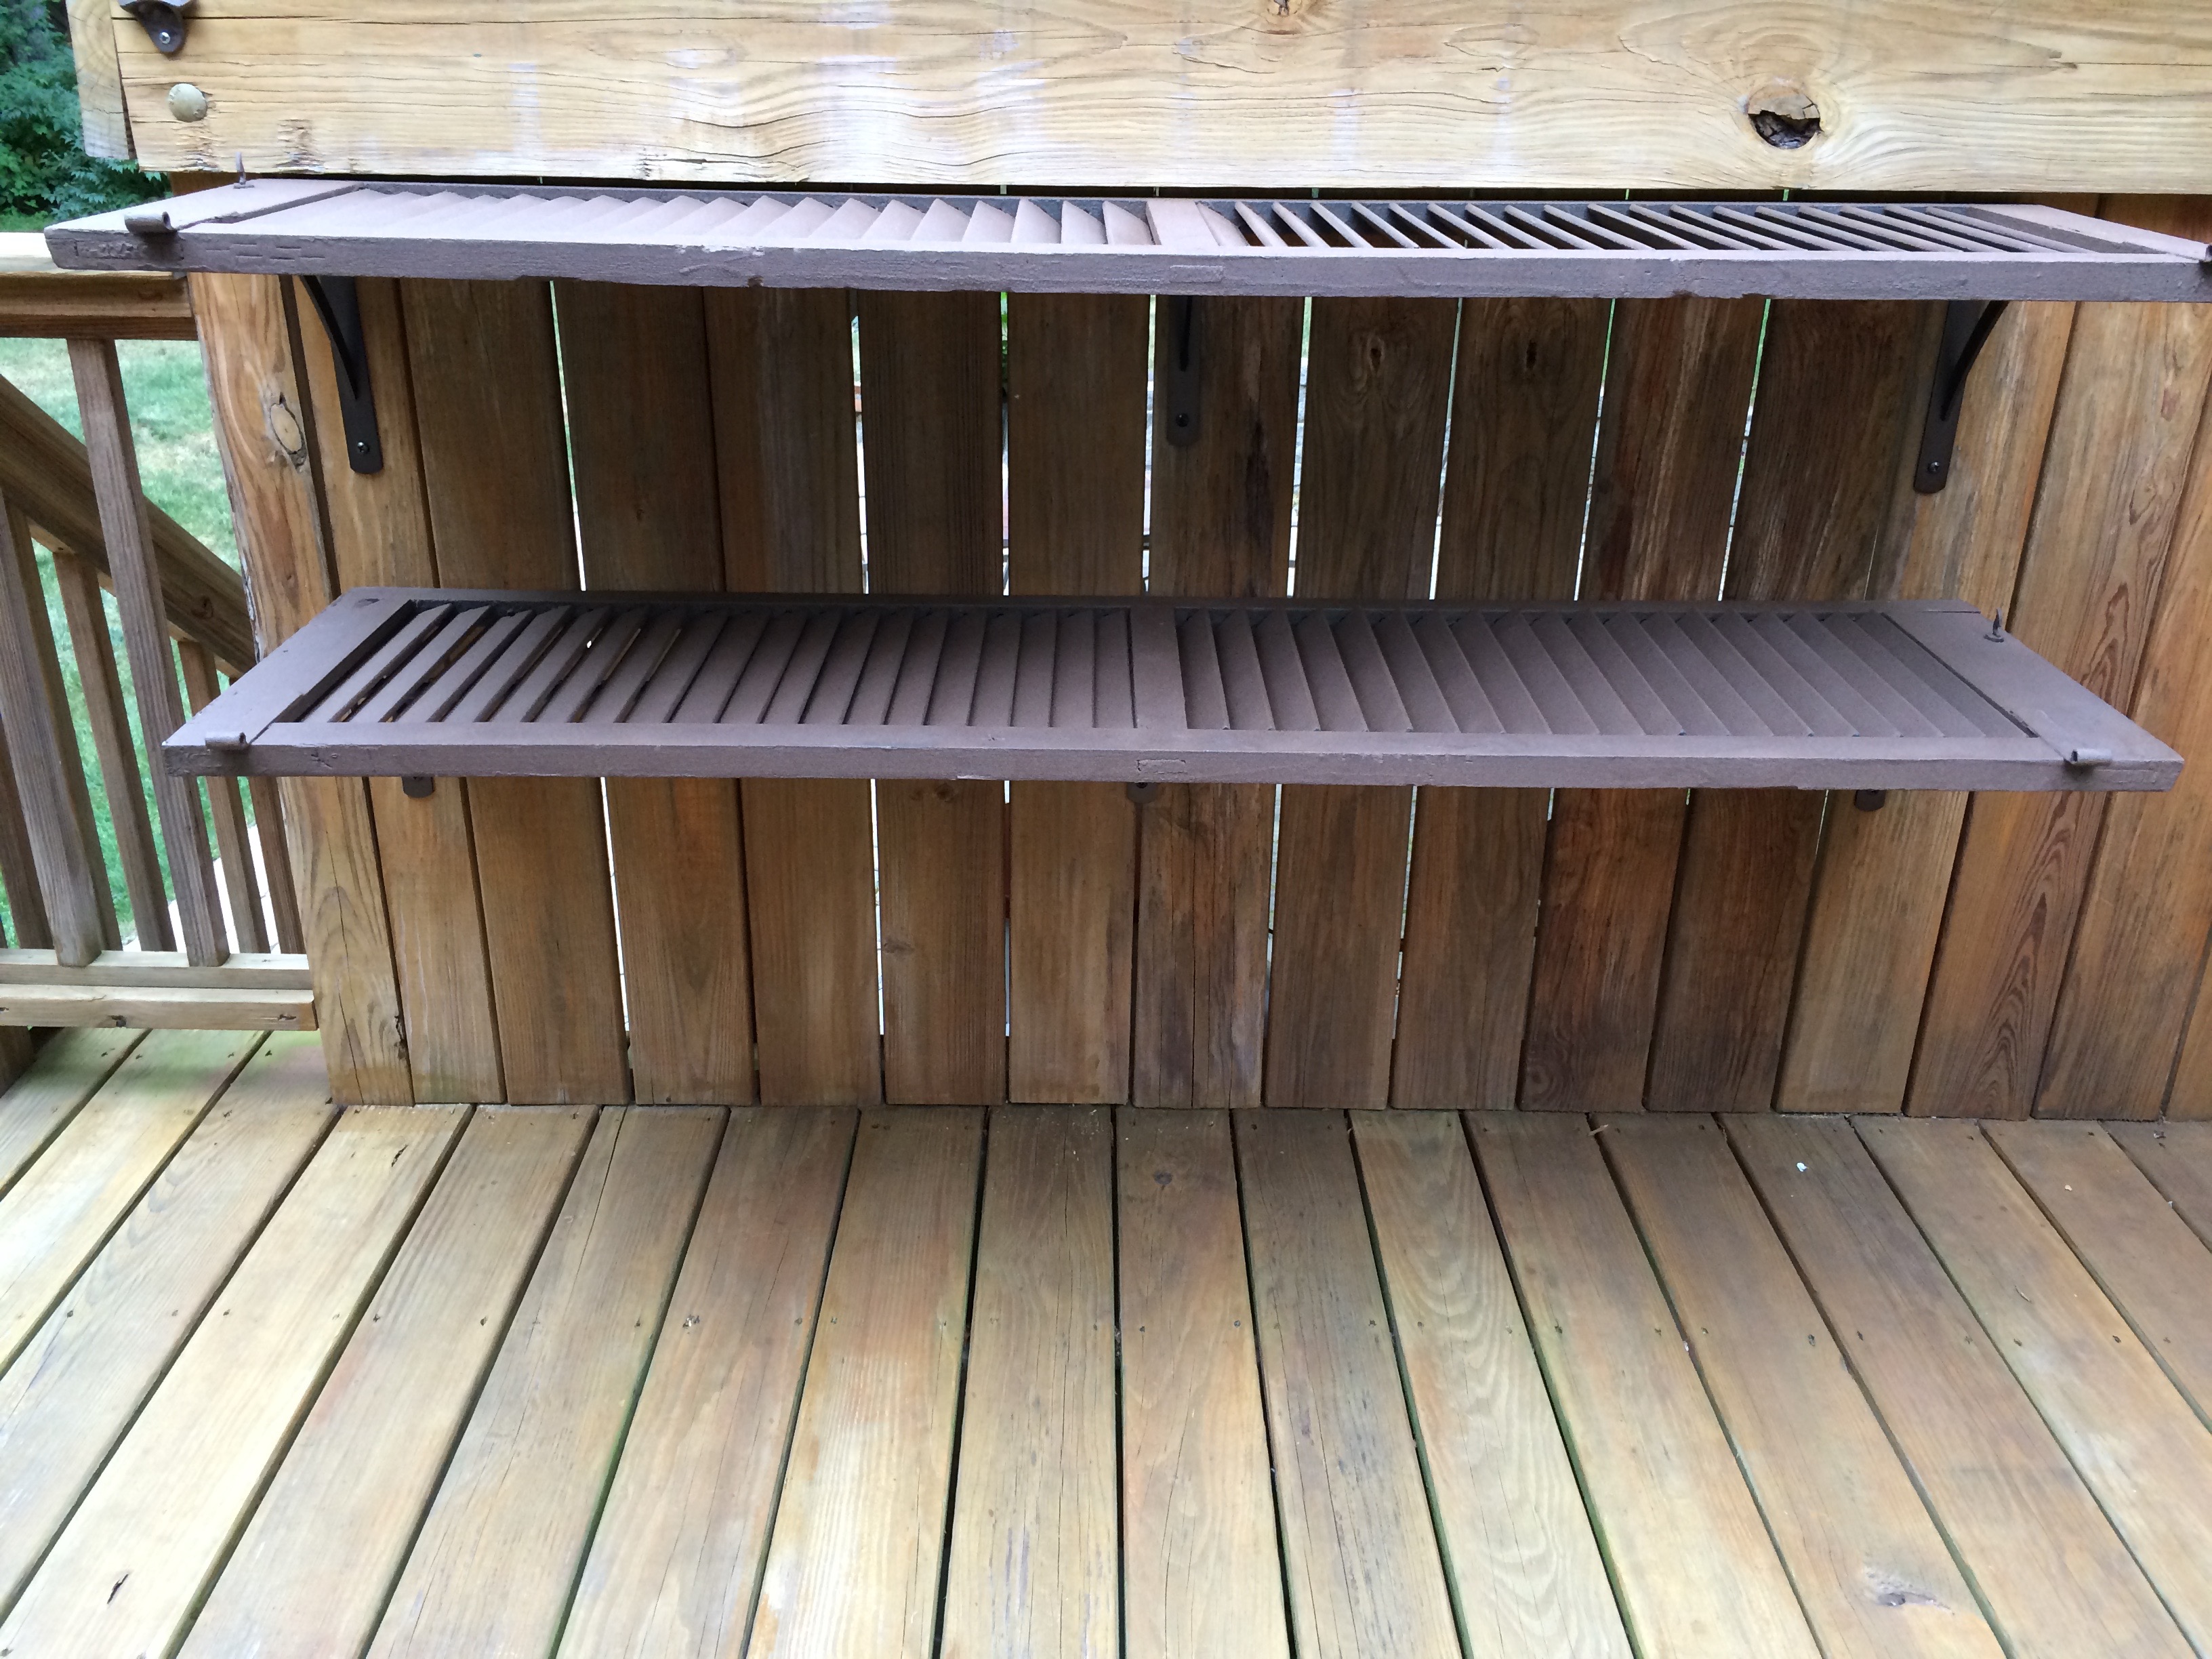
After the spray paint dried, we measured and attached the brackets to the wood that makes a sort of “wall” on the deck. Then laid the shutters on top and attached the brackets to the shutters. We had originally purchased two brackets, but went out and bought another to support the middle of each shelf. Once everything was in place, all screwed in and secure, we had two shelves that could be used to hold drinks, food, plates or almost anything! Despite the few mistakes along the way, all-in-all, being one of of first home DIY projects, it came out pretty well!