
Imperfect Crafter
Christmas Crafts To Do With Kids

I can not believe that It’s soon that time of the year again- but my favorite! Christmas!! Every year my kids and I do Christmas crafts and my kids also make a handmade gift for their grandparents and godparents. This post is a cumulation of the grandparent/godparent gifts, fun Christmas activities to do together and other Christmas crafts we’ve done in the past along with a few new ideas I have found and would like to try.
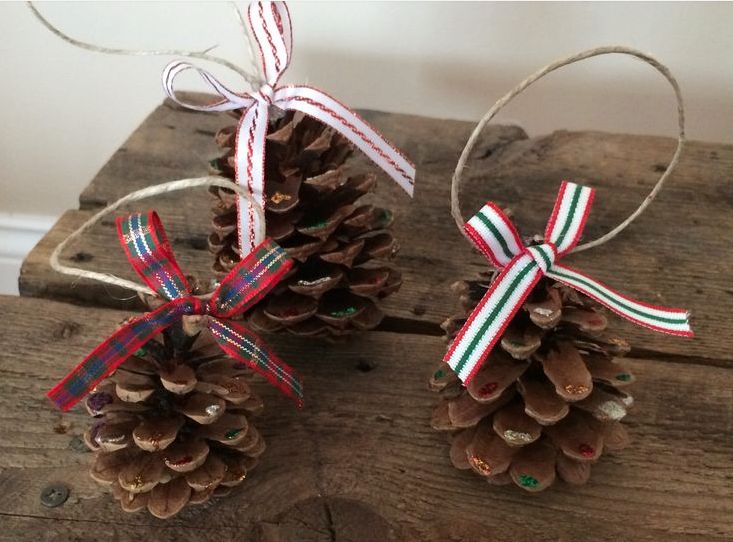
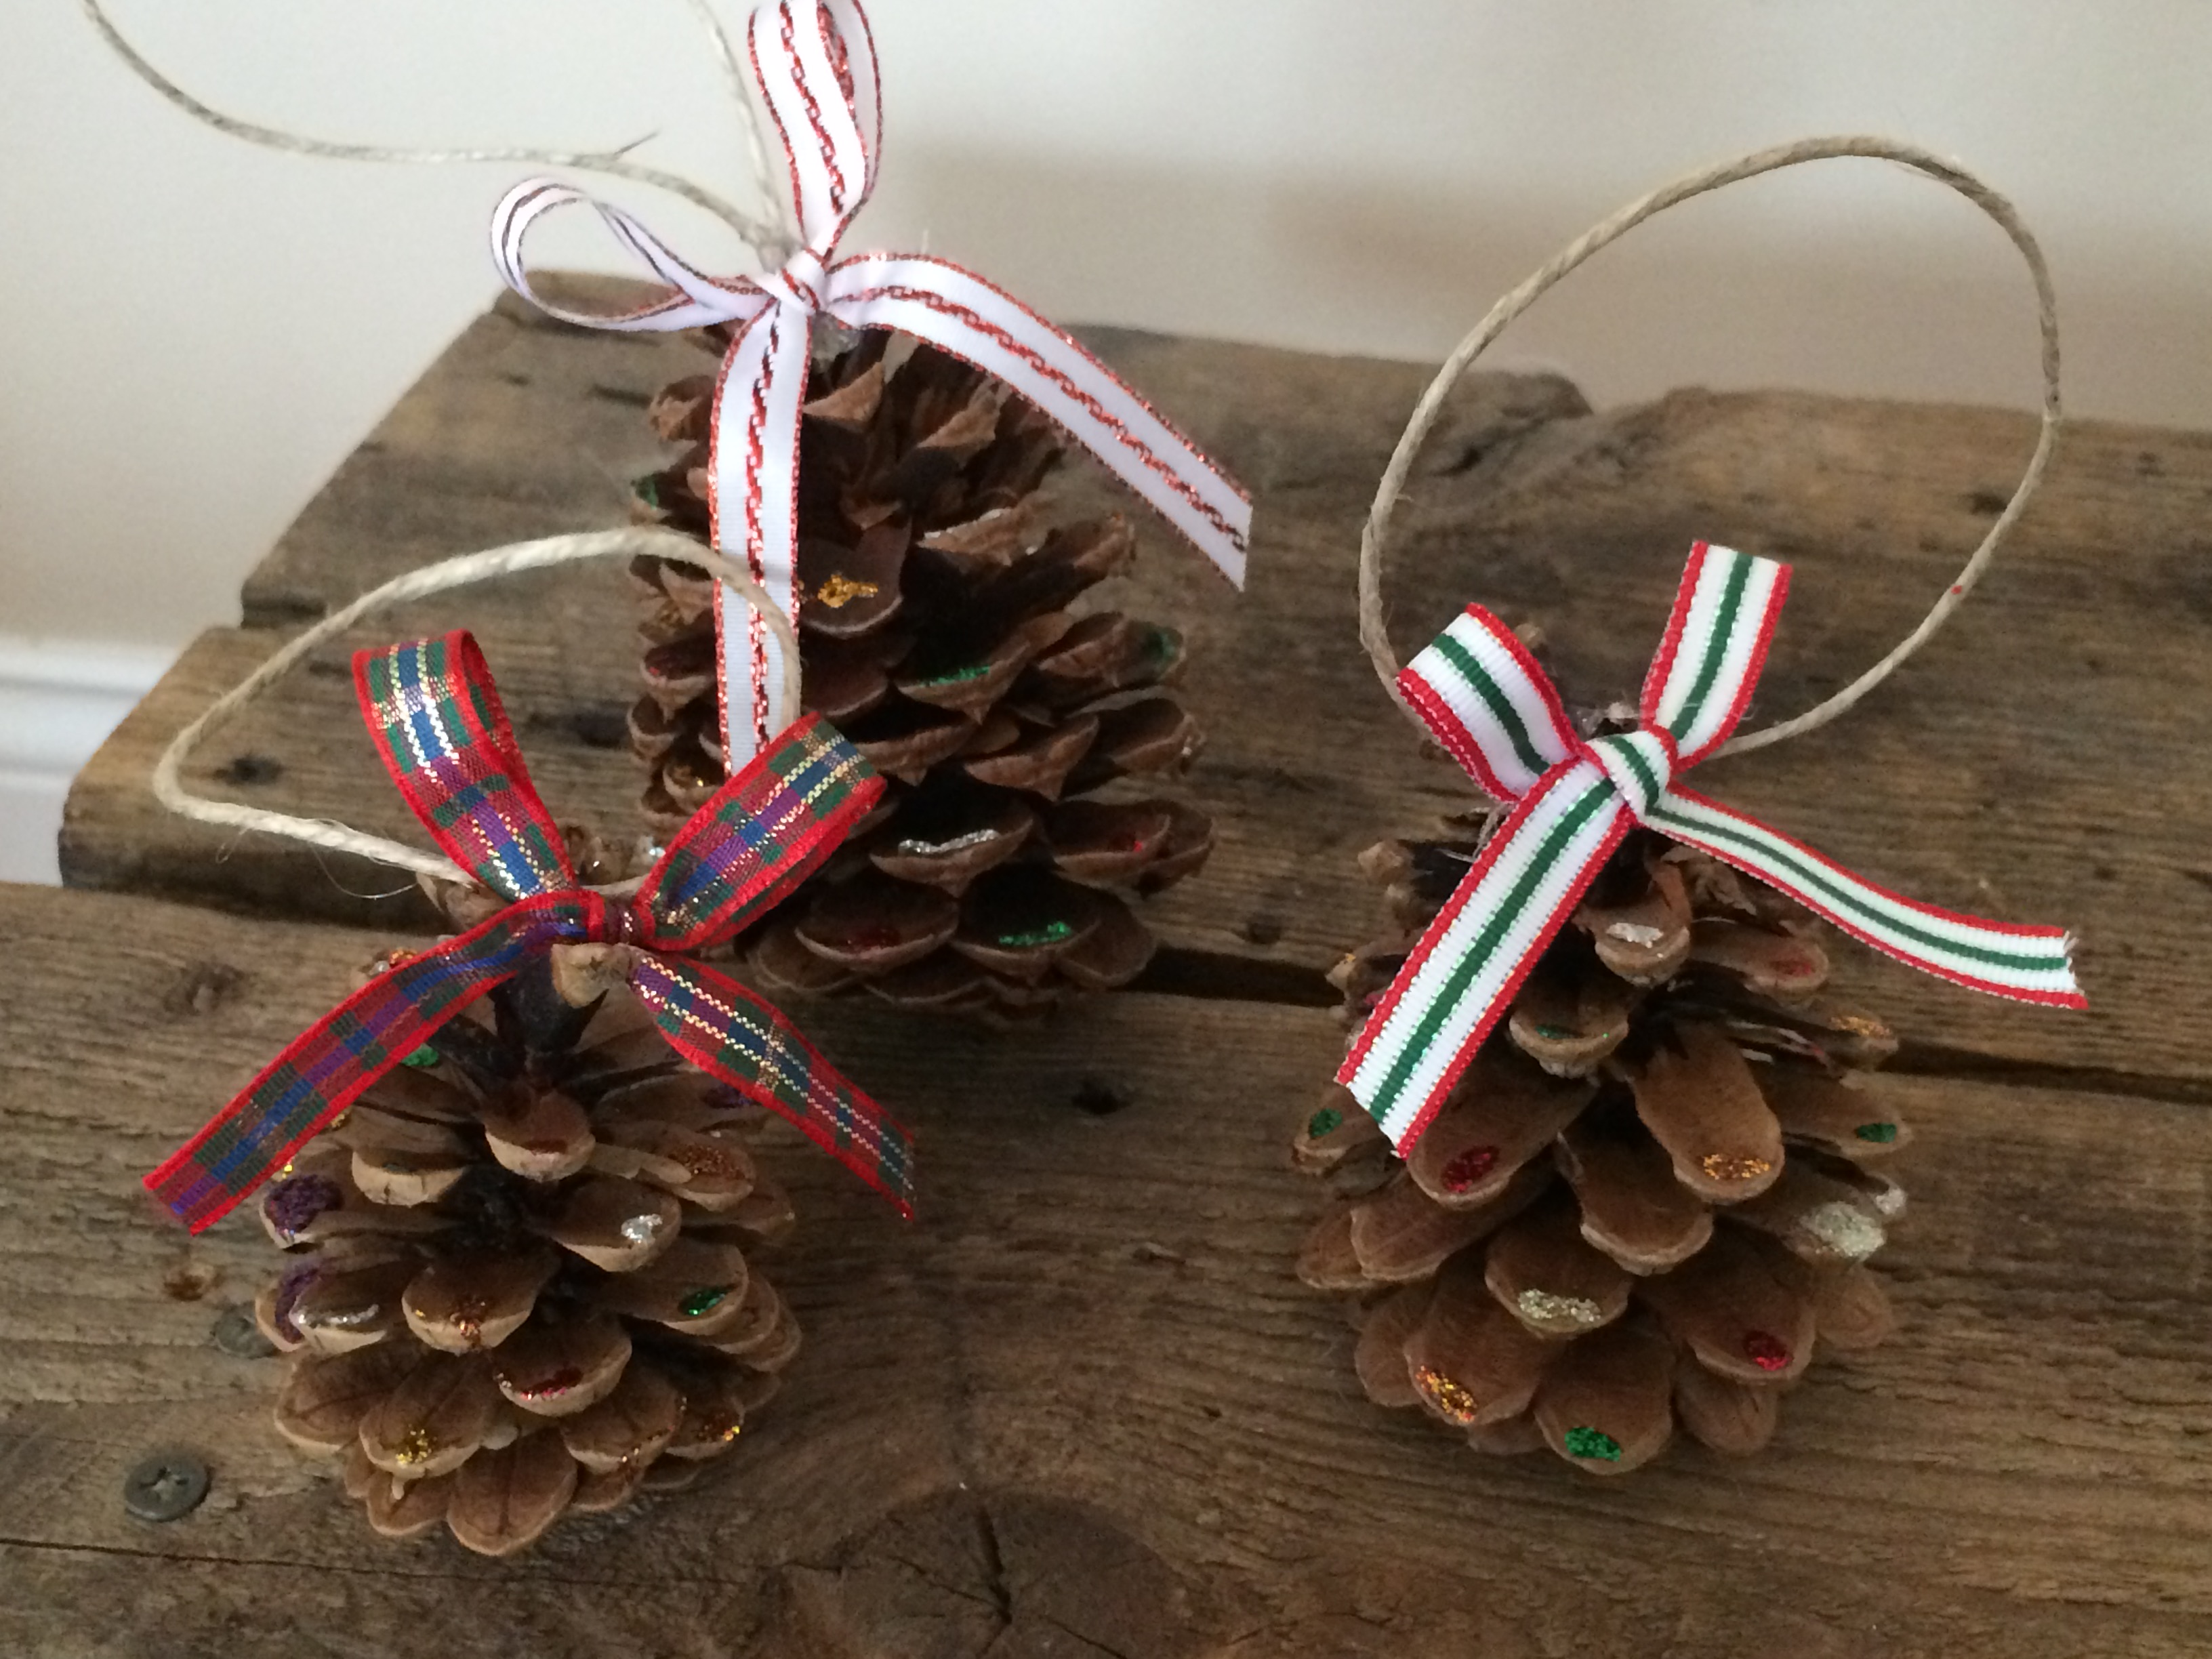
Glitter Glue Pine Cone Ornaments
We made these to give as favors to guests who attended our Christmas Open House Party. They were very easy to make and look really nice on the tree. If you can’t find any pinecones in your yard, you can purchase them at a craft store. We put small dabs of colored glitter glue around the cone and hot glued a bow made out of Christmas ribbon and a piece of twine as the hanger.
Candy Cane Reindeer
This was another favor we made to give out to guests after one of our Christmas Open House Parties. We glued on google eyes and small red pom poms for the nose. Then we used brown pipe cleaners to ties on the top as the antlers. I then grouped them and wrapped with a Christmas ribbon and each one had a tag with the family’s name on it.

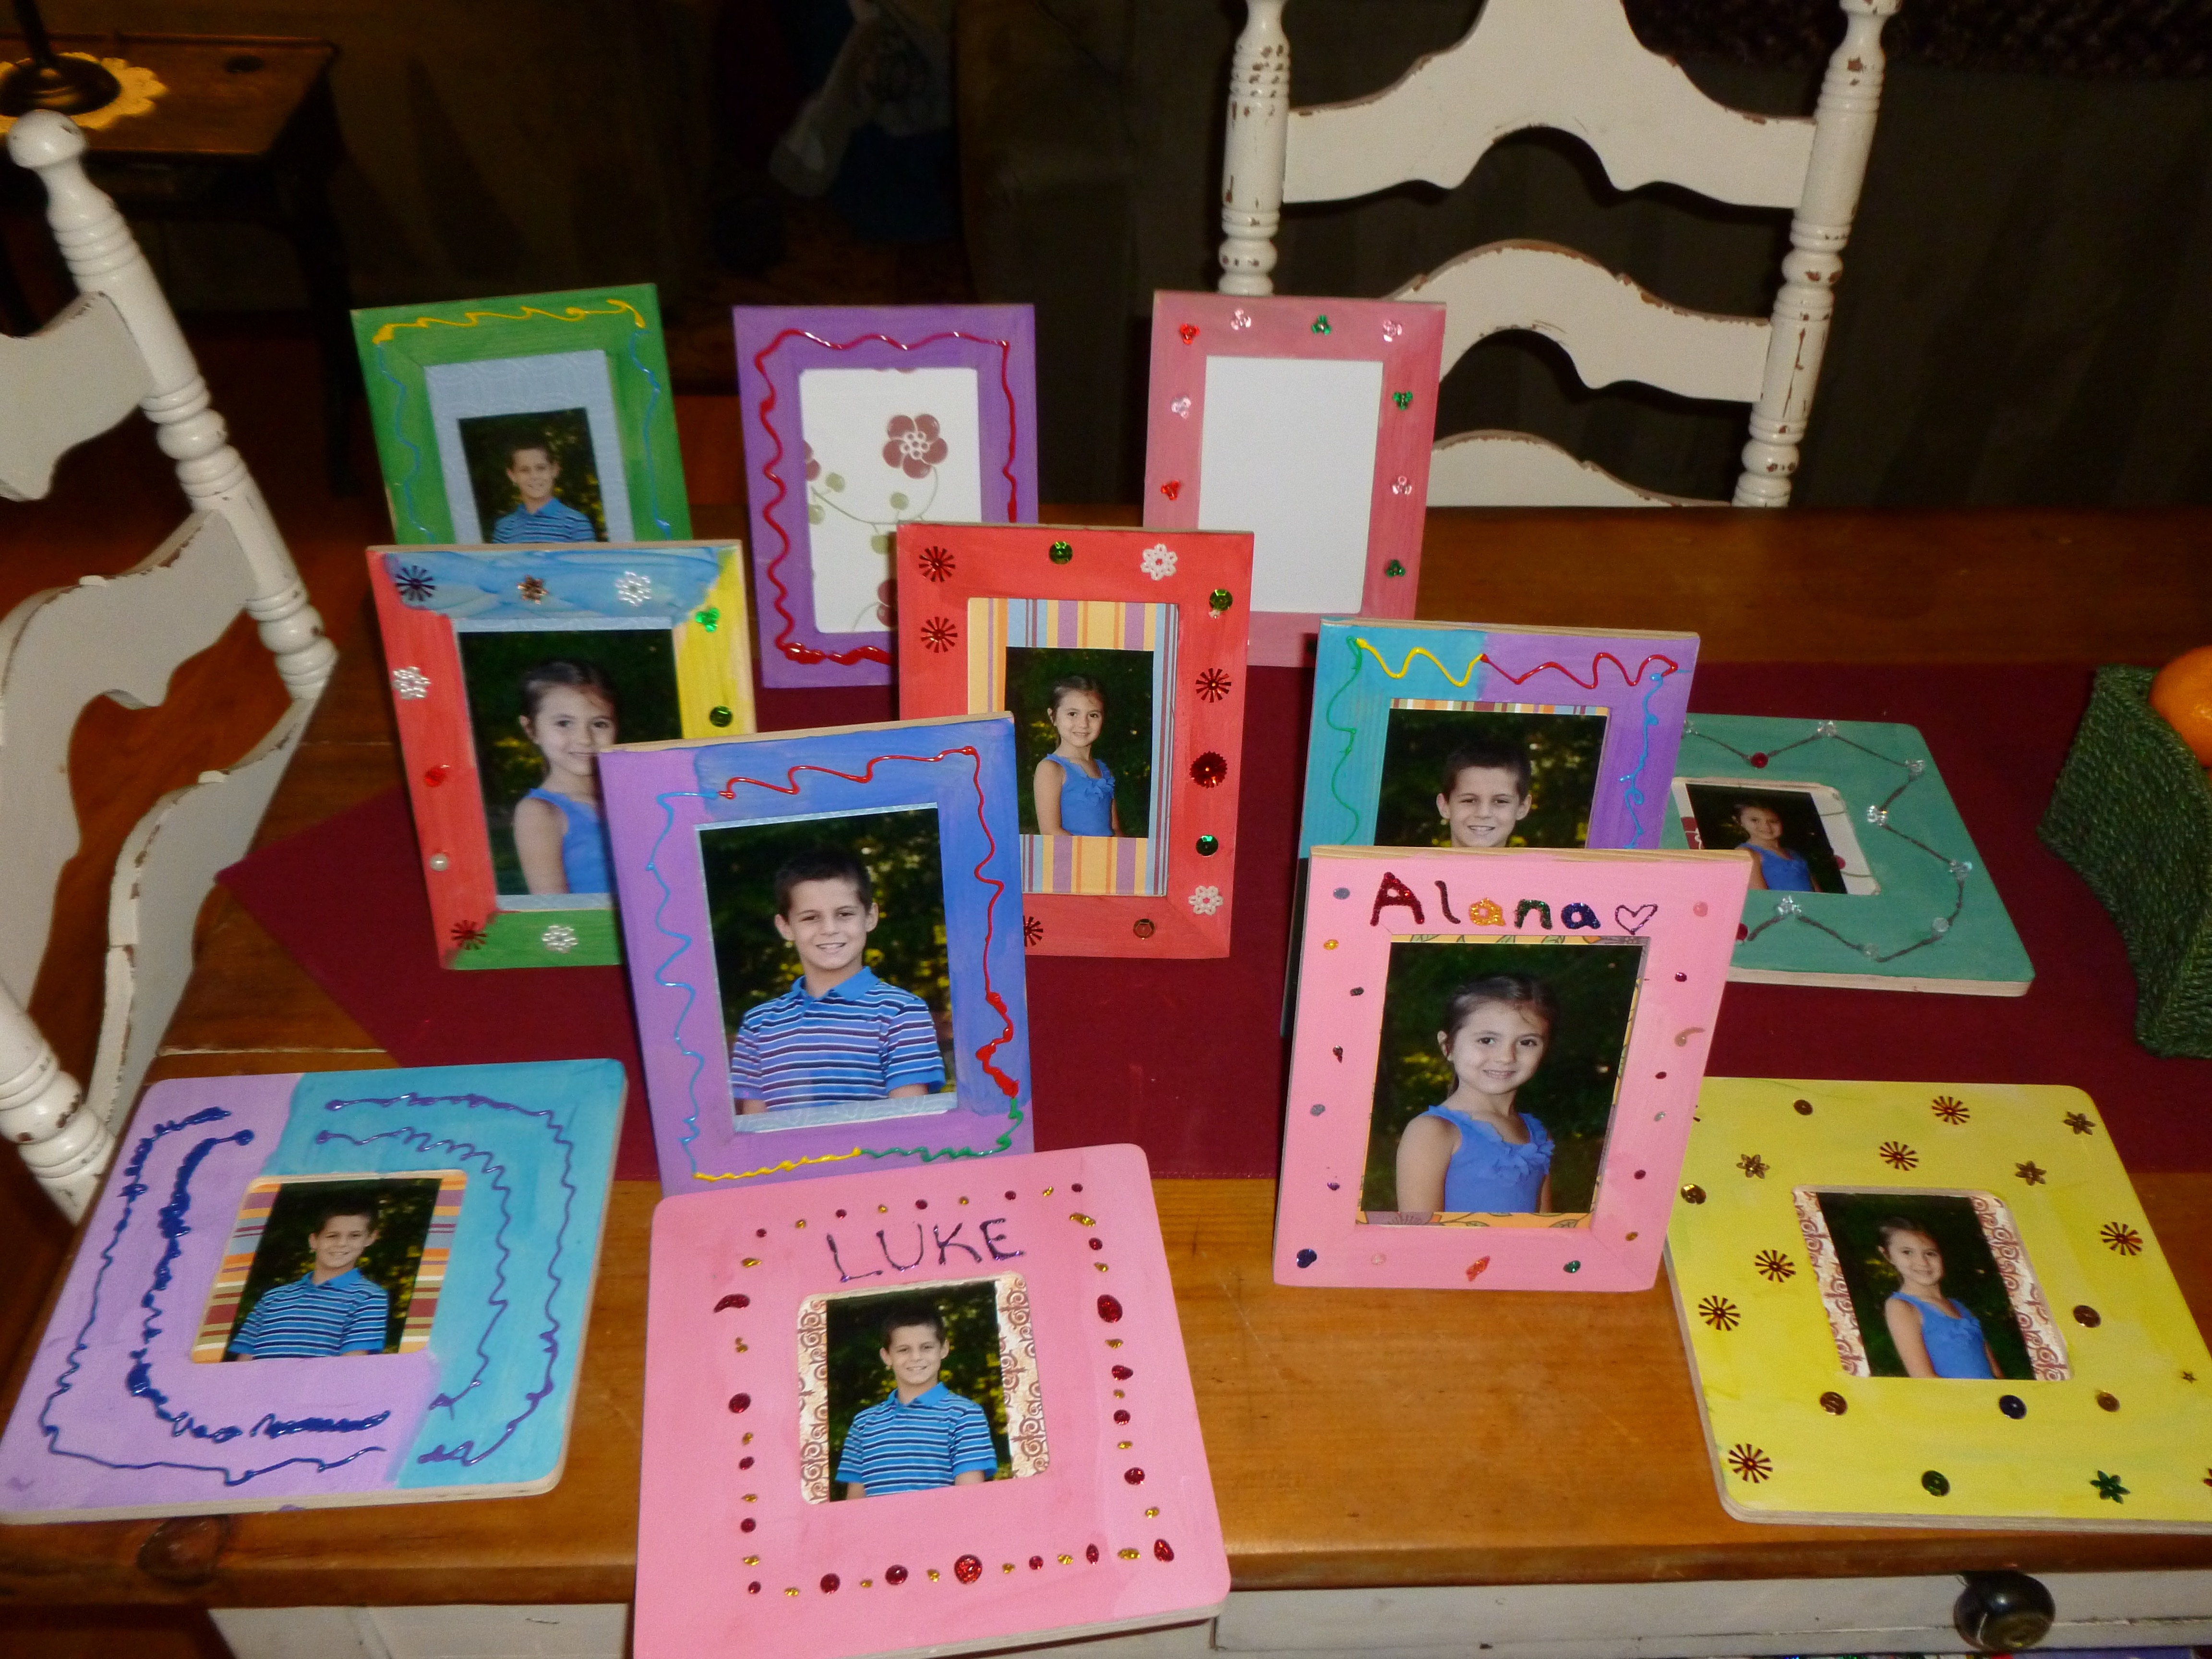
Photo Frames
This was a grandparent/godparent gift. I picked up a bunch of wooden frames from the craft store and the kids painted and decorated each one and then we put their school photo inside and they made really nice gifts.
Button Christmas Trees
I saw this idea on Pinterest and liked it, but modified it a little bit (our project is the picture on the right). We actually did this project during one of our homeschool days. As you can see, I cut out a different shaped tree, gave them glue and buttons. Both kids and I came up with completely different designs and it was fun to ask people to guess who made which tree.


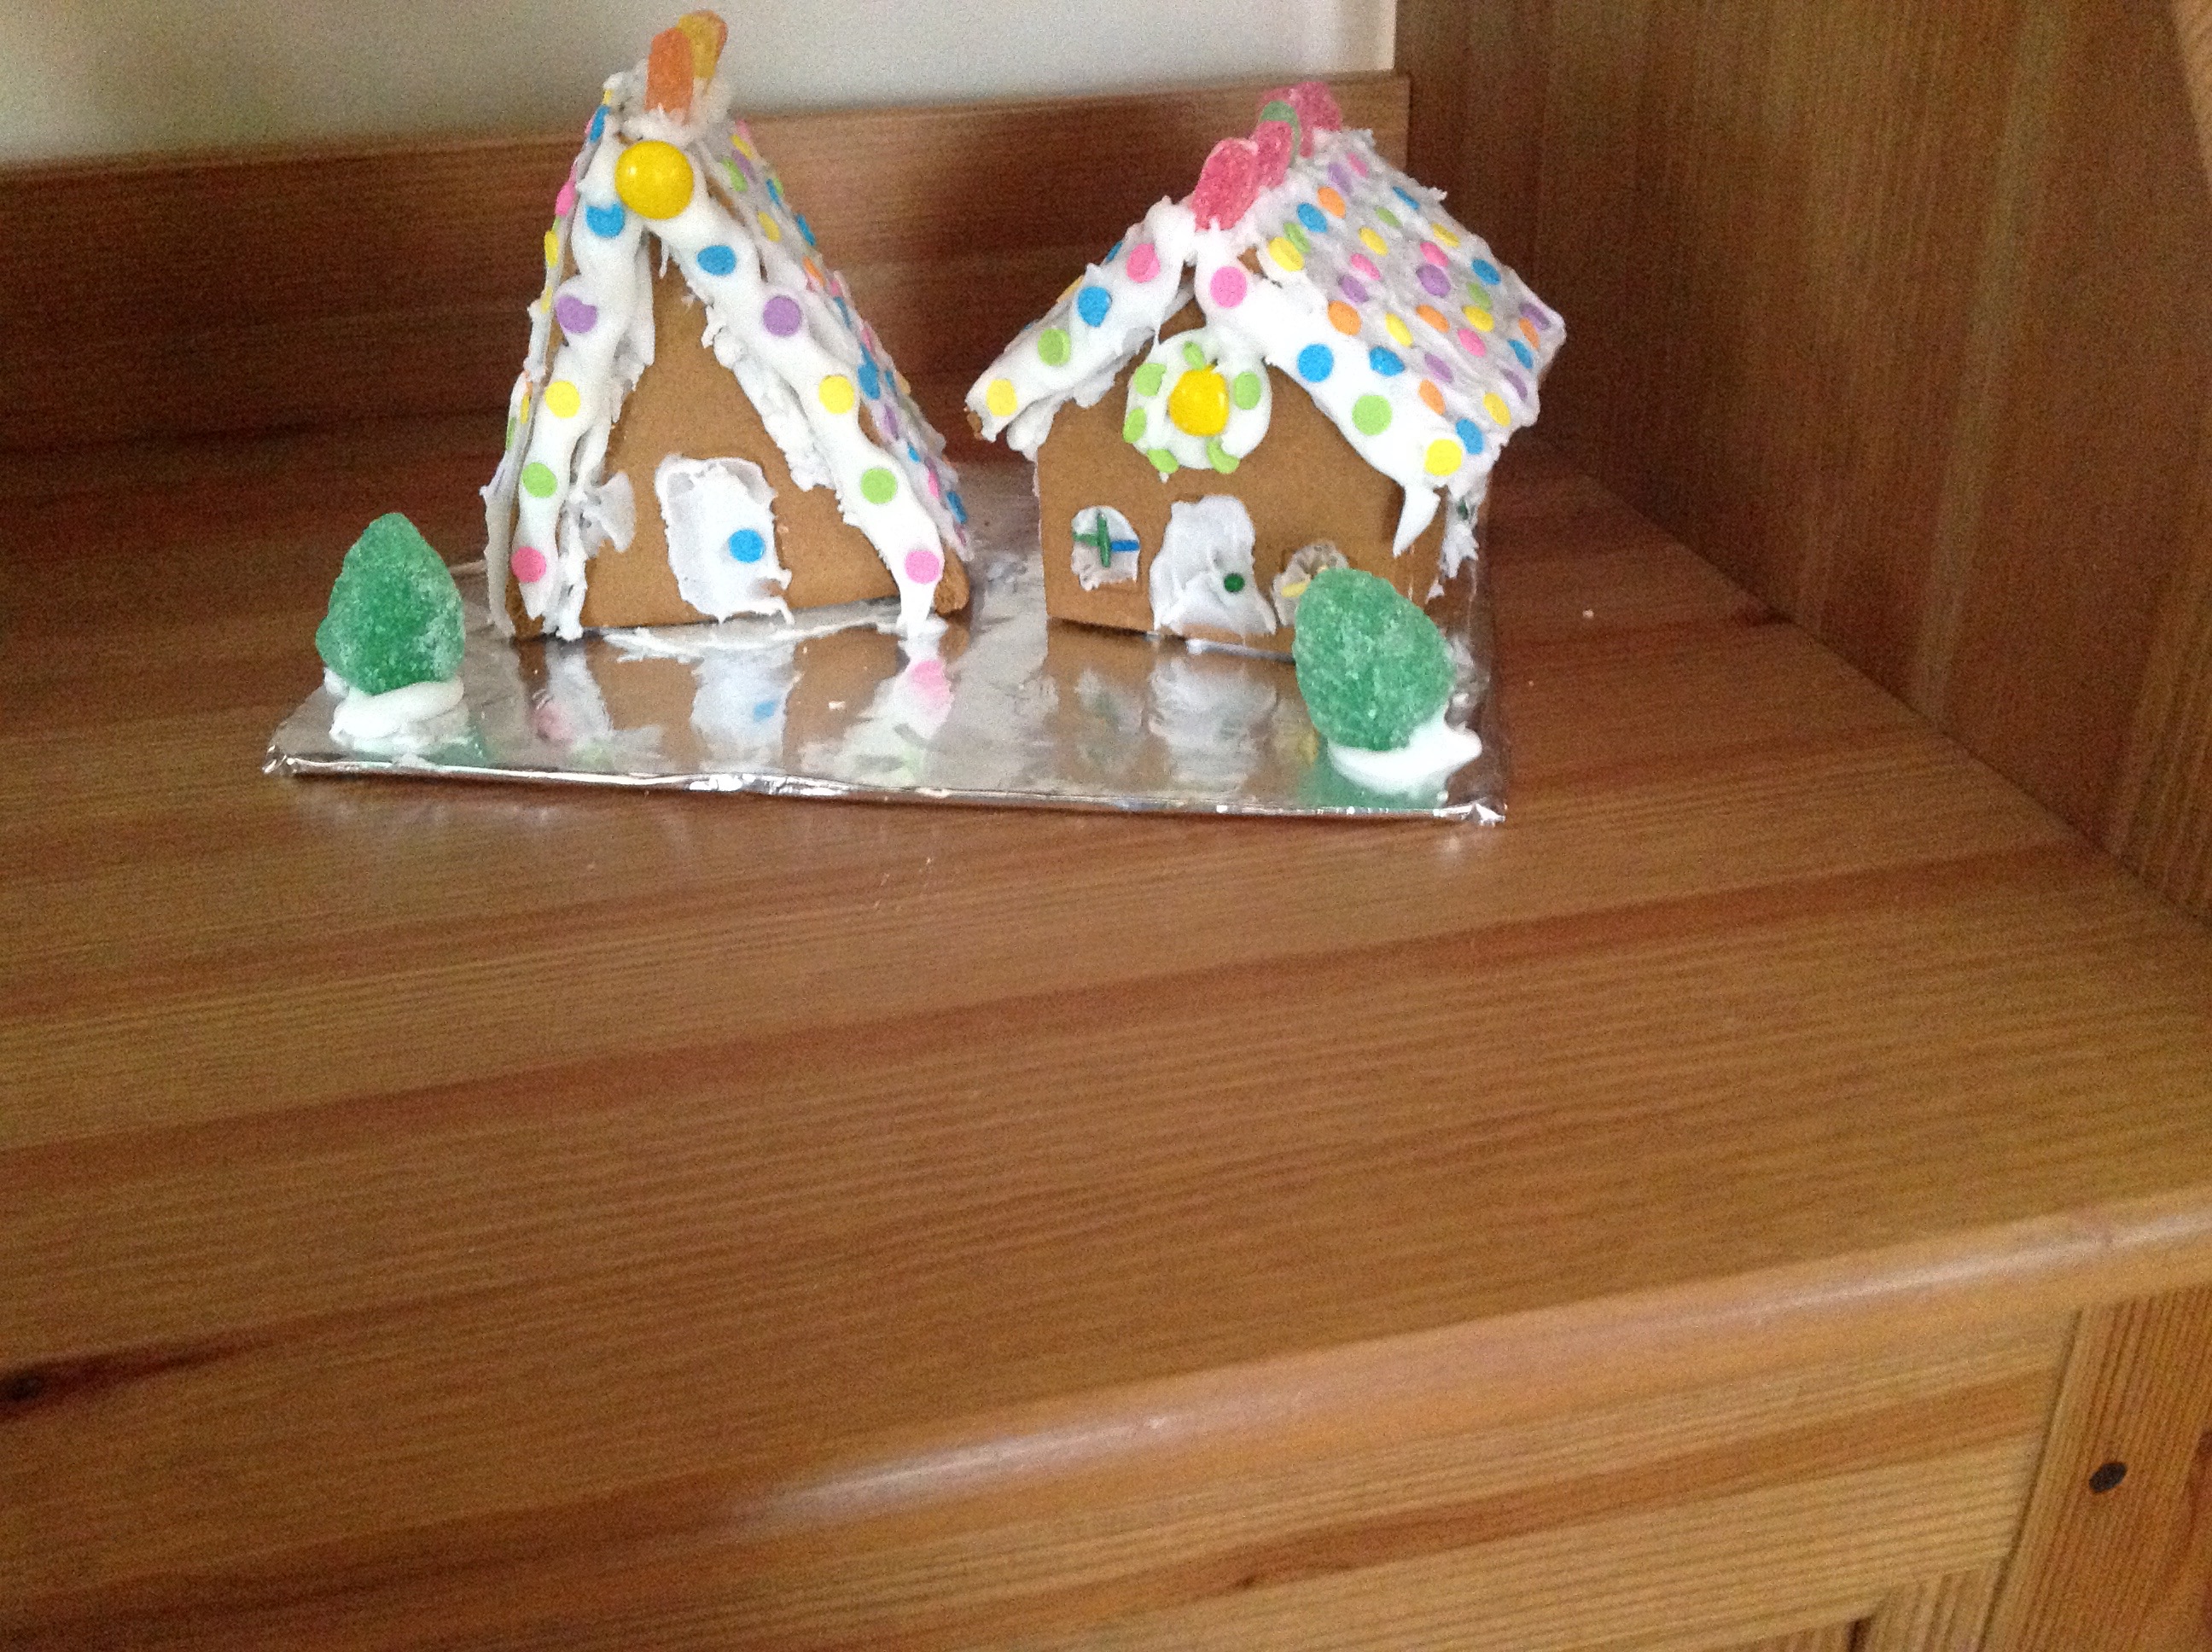
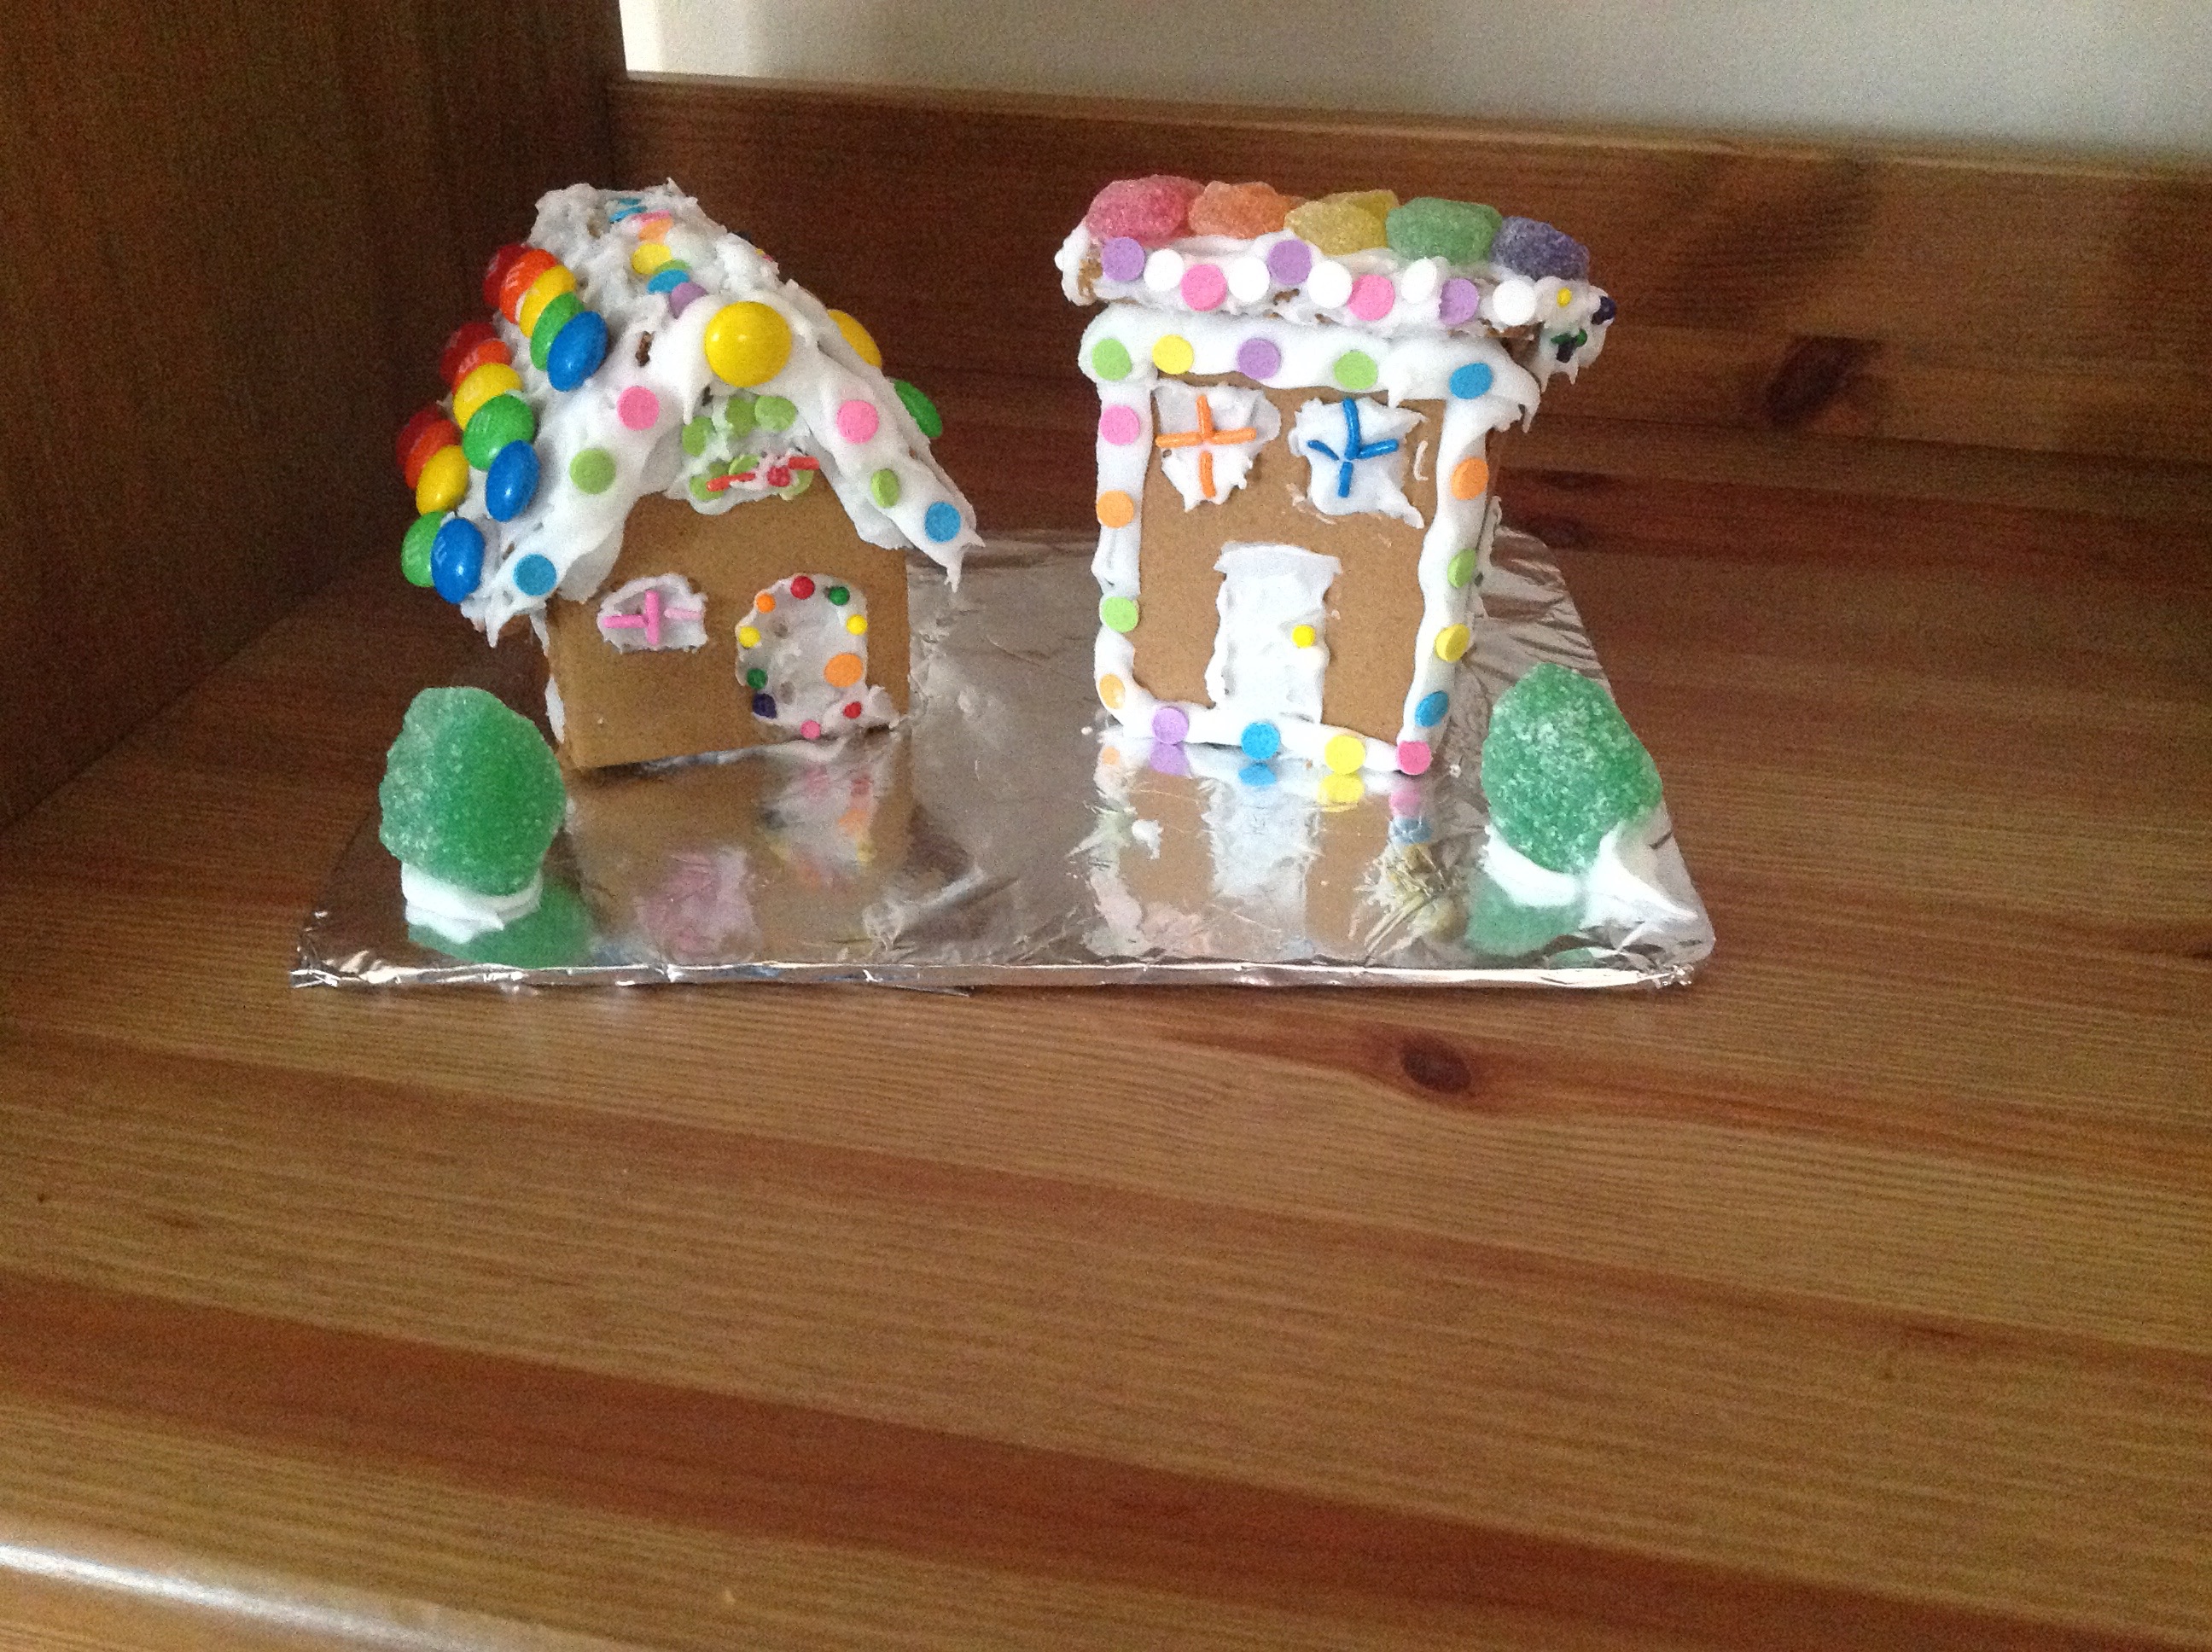
Gingerbread Houses
Of course you can always do the classic gingerbread house. I love getting the houses that are pre-iced because it saves a lot of time and in my case, a lot of mess! In the past years I have seen many variations pop up as well including Mickey Mouse house, princess castle, trains, etc. You can find the kits anywhere, I have seen them in Christmas Tree Shop, Joann Fabrics, Michaels, Costco and at most grocery stores.
I discovered a few years back that having one house was not going to cut it in my house. My son likes to follow the picture on the box, while my daughter tends to want to do her own thing. So I started buying the village. It comes with four houses. They each get two and can decorate however they like. You do however have to put these together yourself, which in my experience was a little messy and frustrating. The triangles tend to slide off. Since we don’t eat them, maybe this year I will hot glue it and then cover in frosting.
Pineapple Top Bird Feeder
I was cutting a pineapple and the top was so perfect and looked like a Christmas tree to me. I started thinking about what I could do with it instead of throwing it out. I decided to make a bird feeder out of it. I spread Crisco shortening on the leaves to provide a base for the bird food to stick and then sprinkled in plenty of bird food. I topped it off with a piece of pineapple that I cut into a star (every Christmas tree needs a star)! I placed it out on the back deck and the birds loved it.


Cork Christmas Tree
I found this on Pinterest and thought it was a really cute craft to make (picture linked to source). I save all my corks and this is a great way to reuse them. I haven’t made this yet, but might use the idea for one of our grandparent/godparent gifts in the future.

Twig Stars
This is another idea I found on Pinterest, but have not made yet (picture linked to source). I think these are very cute to use as Christmas decorations and look easy enough to make that the kids can definitely help!

Sock Snowmen
Last, but not least, cute idea, but major fail for us! First picture is what is should look like, second picture is mine. See my post about this project here: http://wp.me/p67FXB-1q


I hope you find a useful and fun idea here! If so, let me know how it works out for you! Happy Christmas crafting!
7 Fun Fall Nature Activities To Do With Your Kids
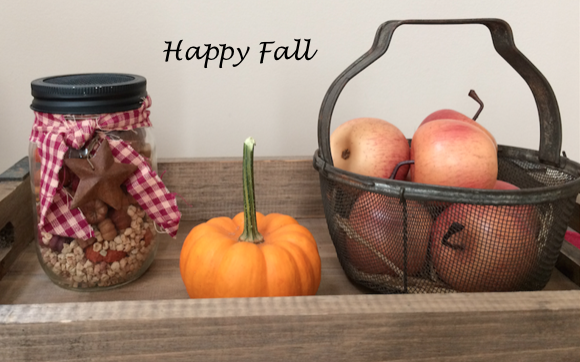
Fall is such a wonderful season here in the Northeast! It’s the season of pumpkin and apple picking, warm days, cool nights and falling leaves. The trees are topped with vibrant hues of red, orange and yellow and people have pumpkins and beautifully colored mums displayed in front of their houses.
A great way to celebrate the season is to use nature to do fun activities and great projects with the kids!
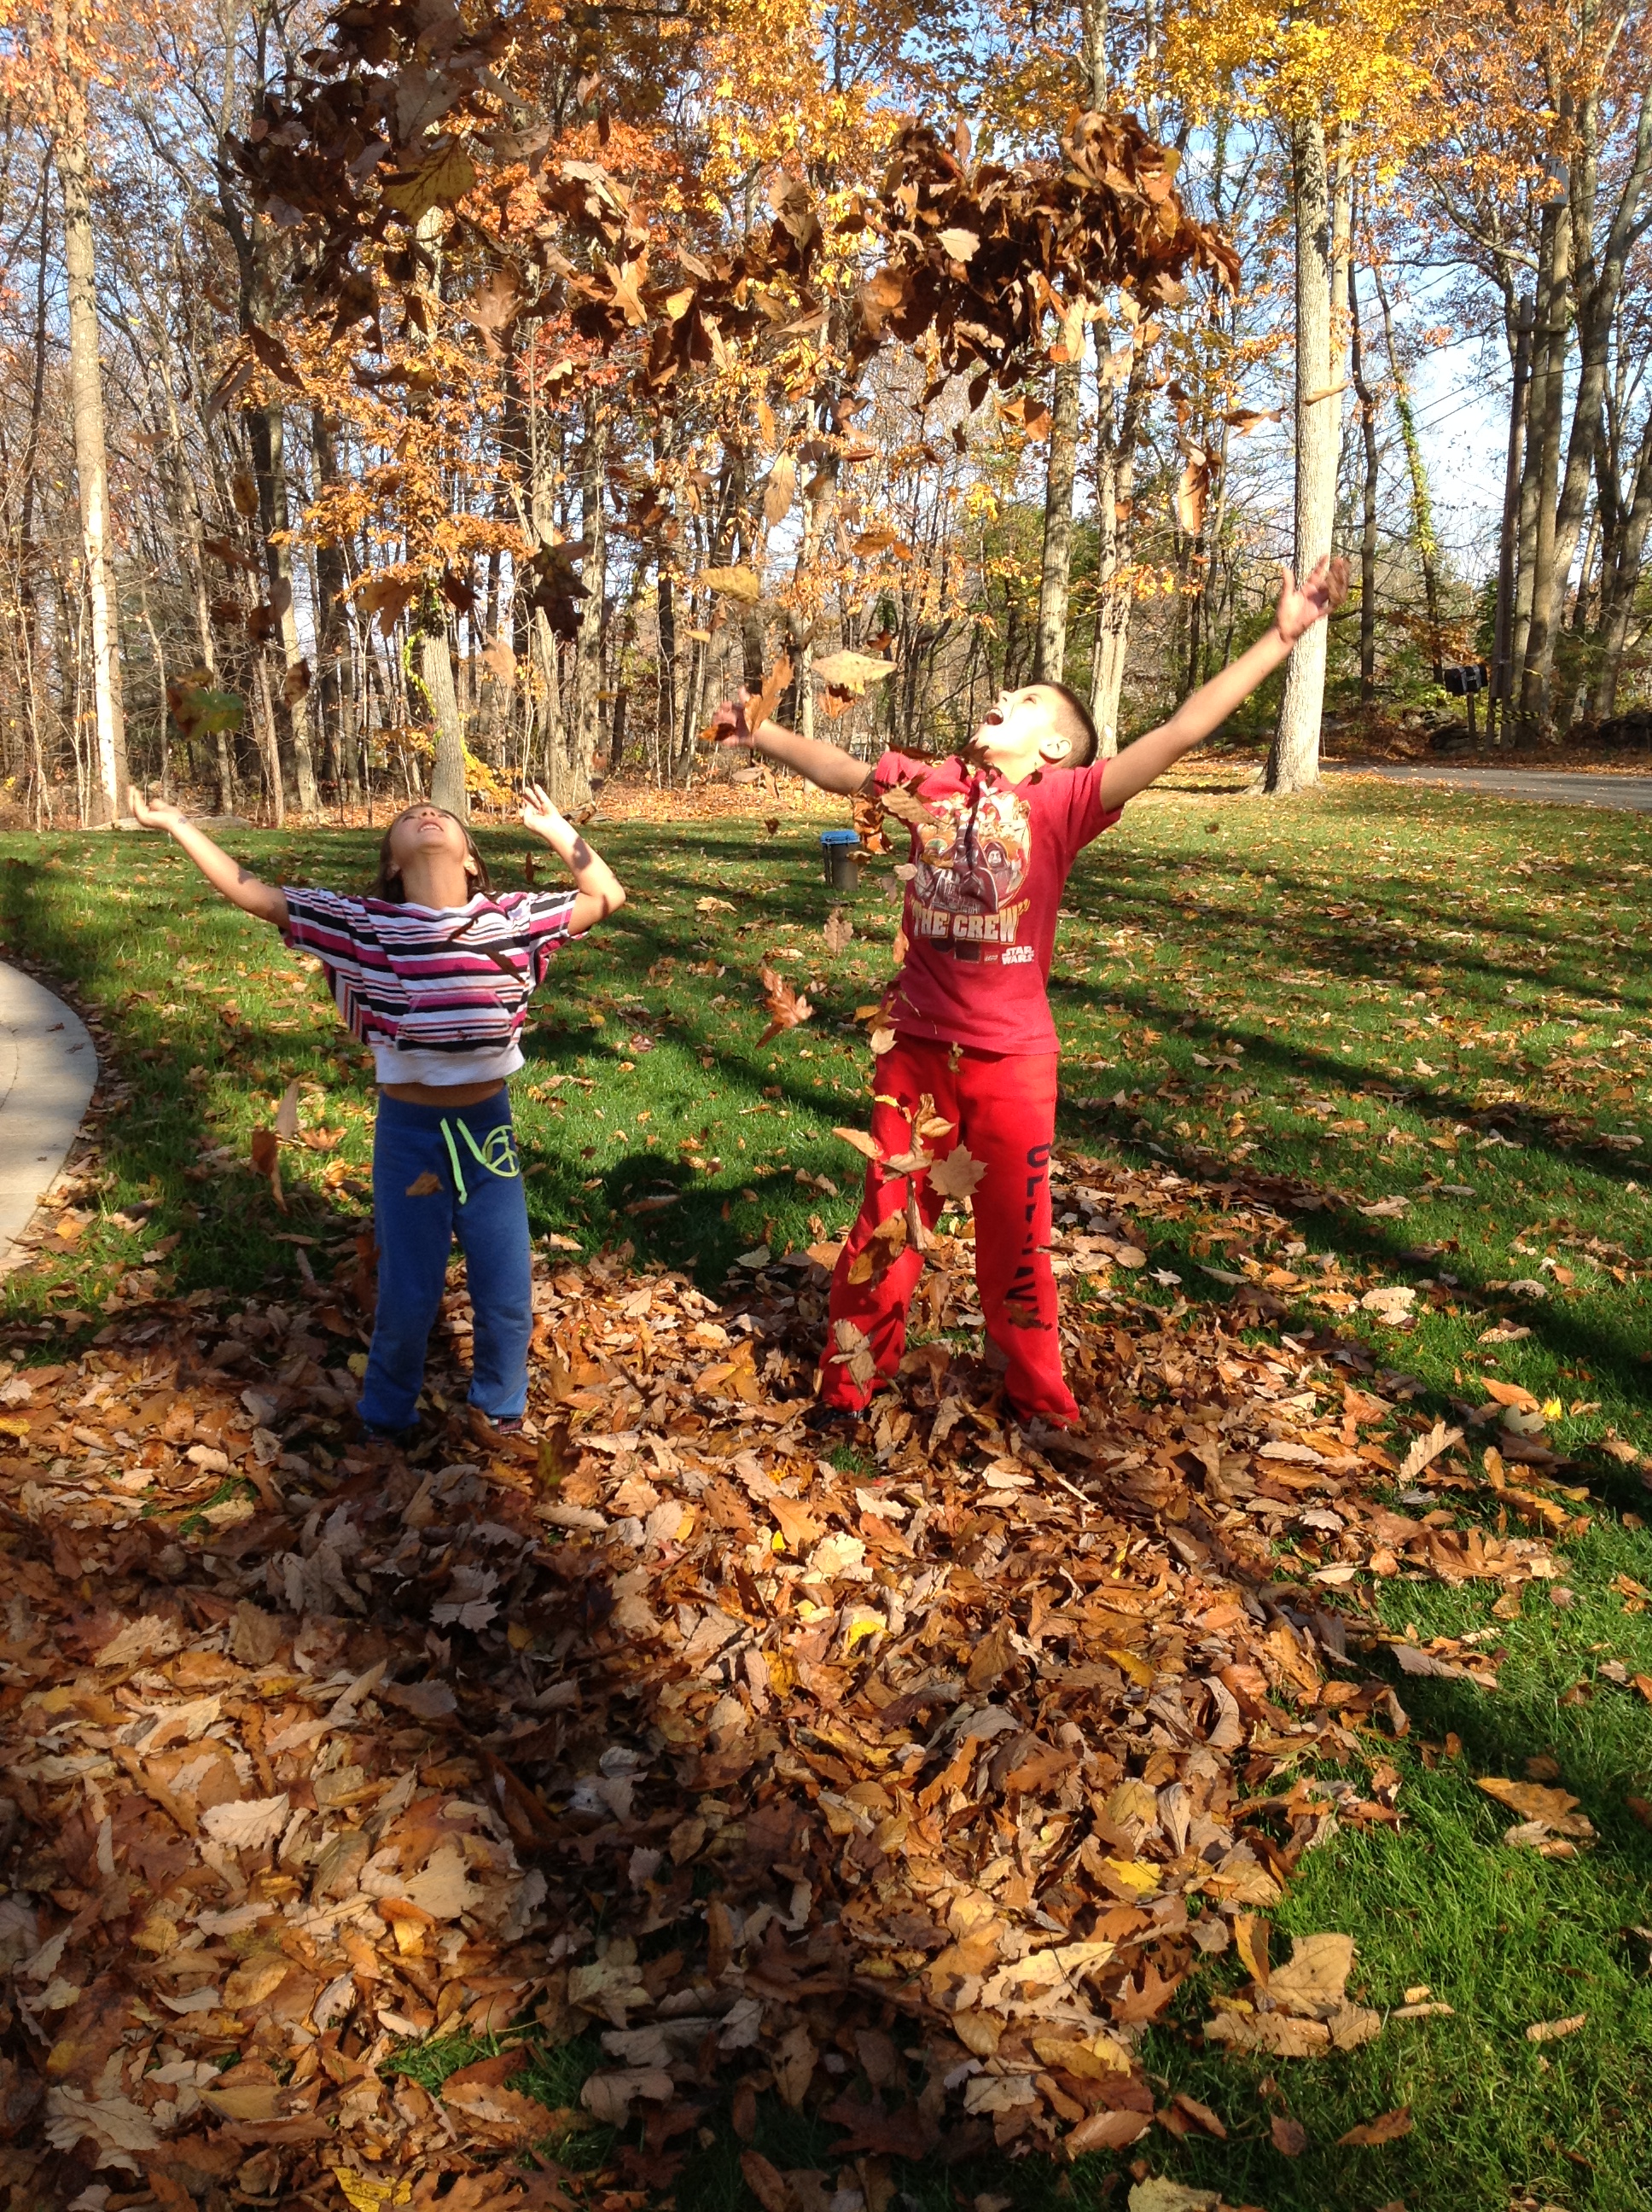
- The easiest and most fun fall activity- rake leaves into a pile and jump into them!

- Go on a fall themed nature scavenger hunt. Print this one for free from www.moritzfineblogdesigns.com

- Dye the leftover pumpkin seeds and make pumpkin seed art. You can find a tutorial here: http://greeningsamandavery.typepad.com/greening-sam-and-avery/crafts/page/2/


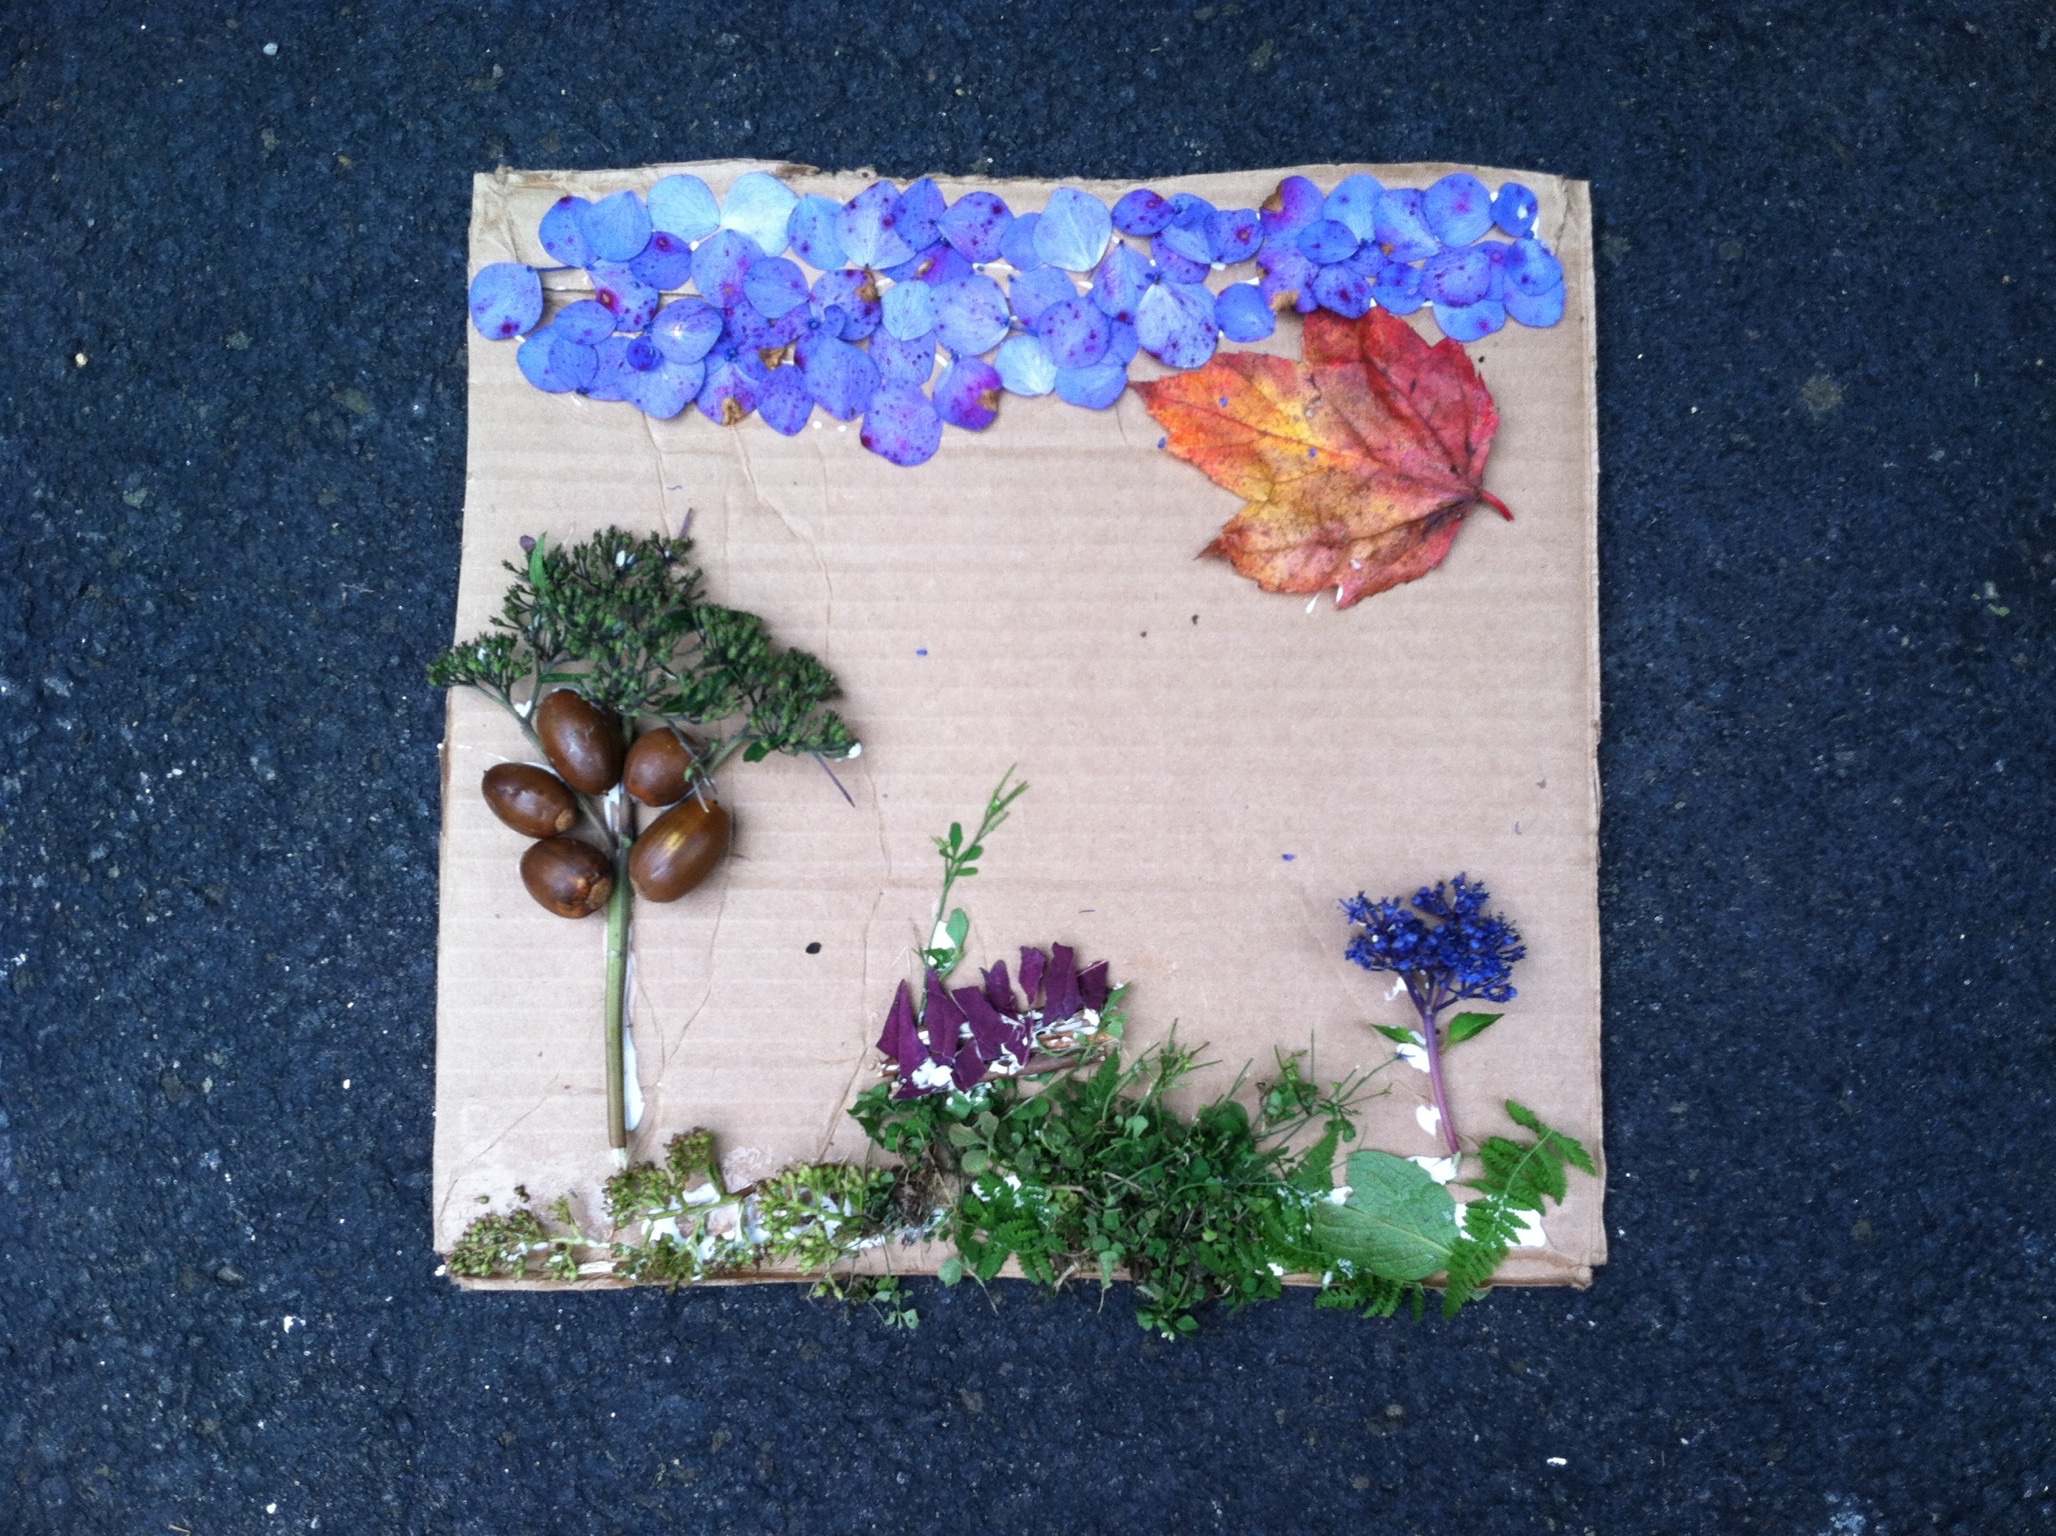
- Use leaves, flower petals, sticks, acorns and other bits of nature to make a sign or a scene.


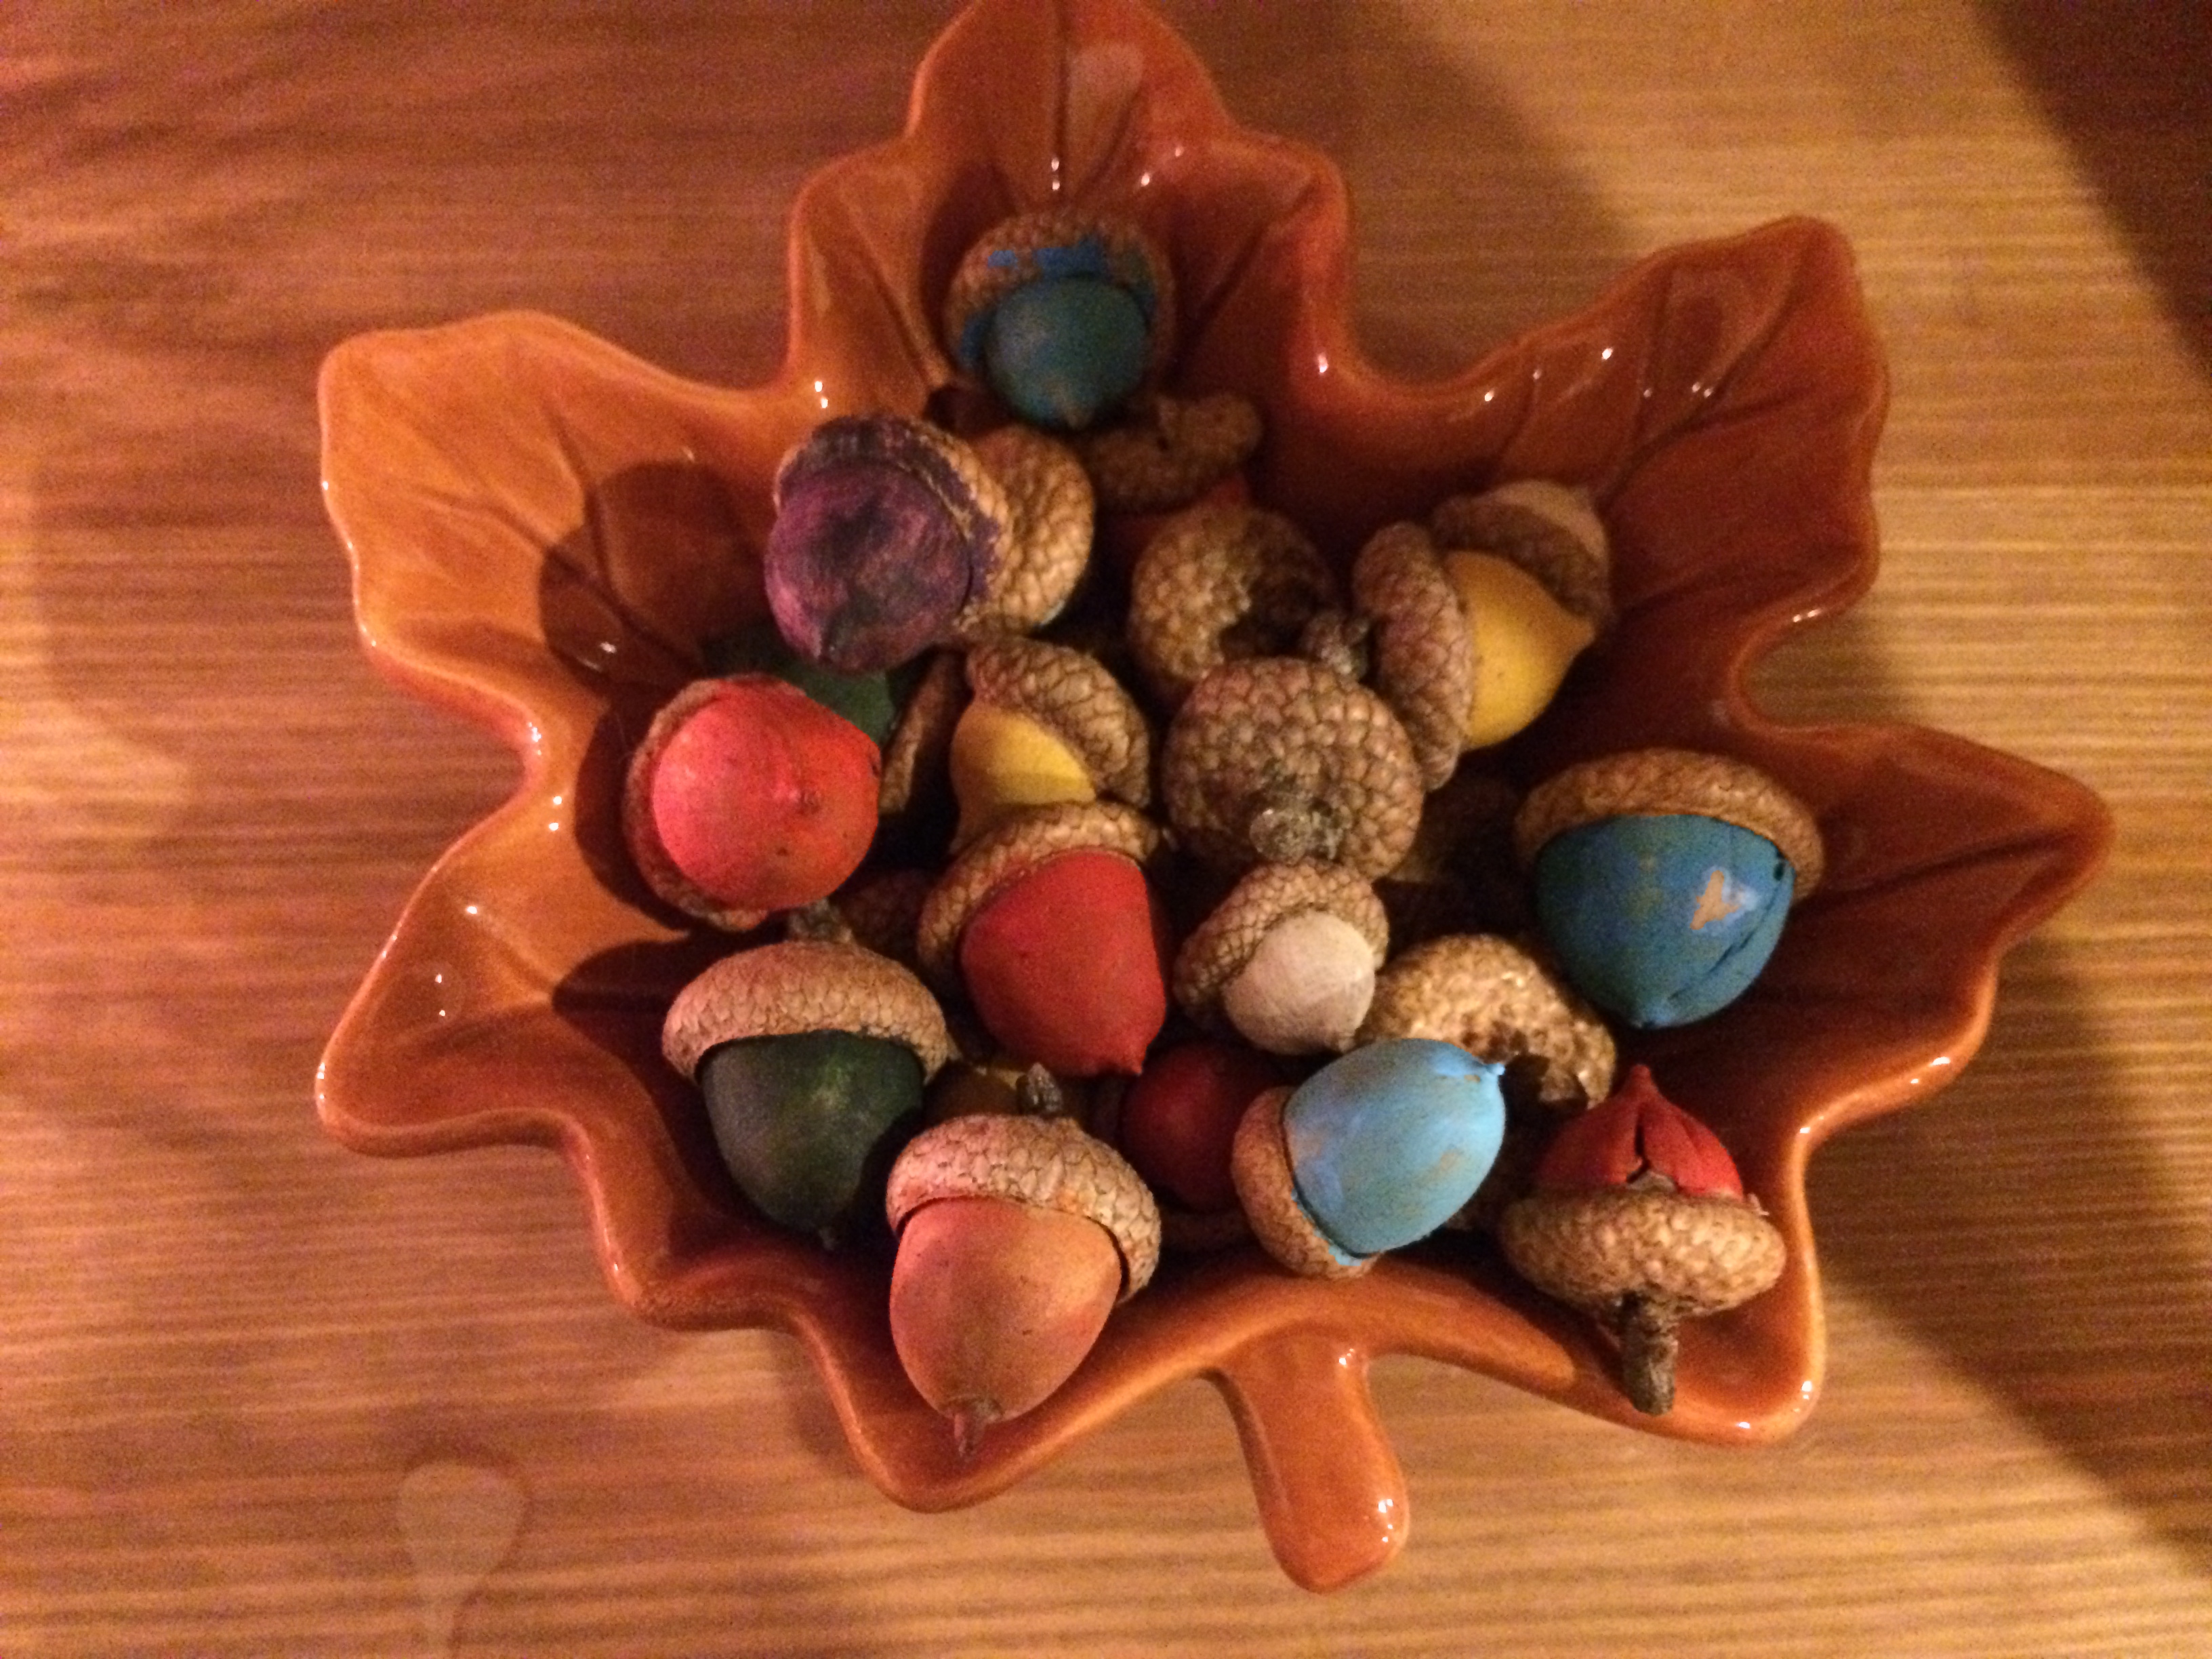
- Collect and paint acorns. A tutorial can be found here: http://www.homestoriesatoz.com/fall-2/how-to-paint-acorns.html


- Collect remaining flowers from bushes, your garden or wildflowers and press them. After we pressed ours (left them in books for a few weeks), we made a flower collage.

- Make a leaf painting using leaves as a stamp or painting around them for the outline.


DIY- Repurposed Antique Store Items
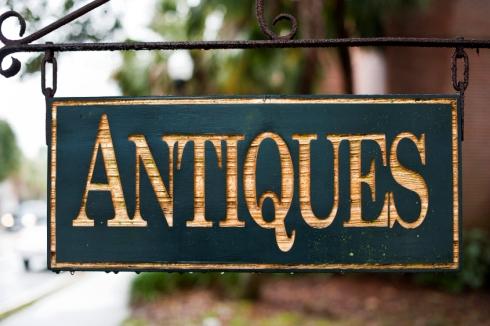
We went to an “antique” store while we were on vacation in the Catskills. To me it was more like a hunt like Mike and Frank from American Pickers go on, which was awesome! I found some really great objects and refinished and repurposed them.
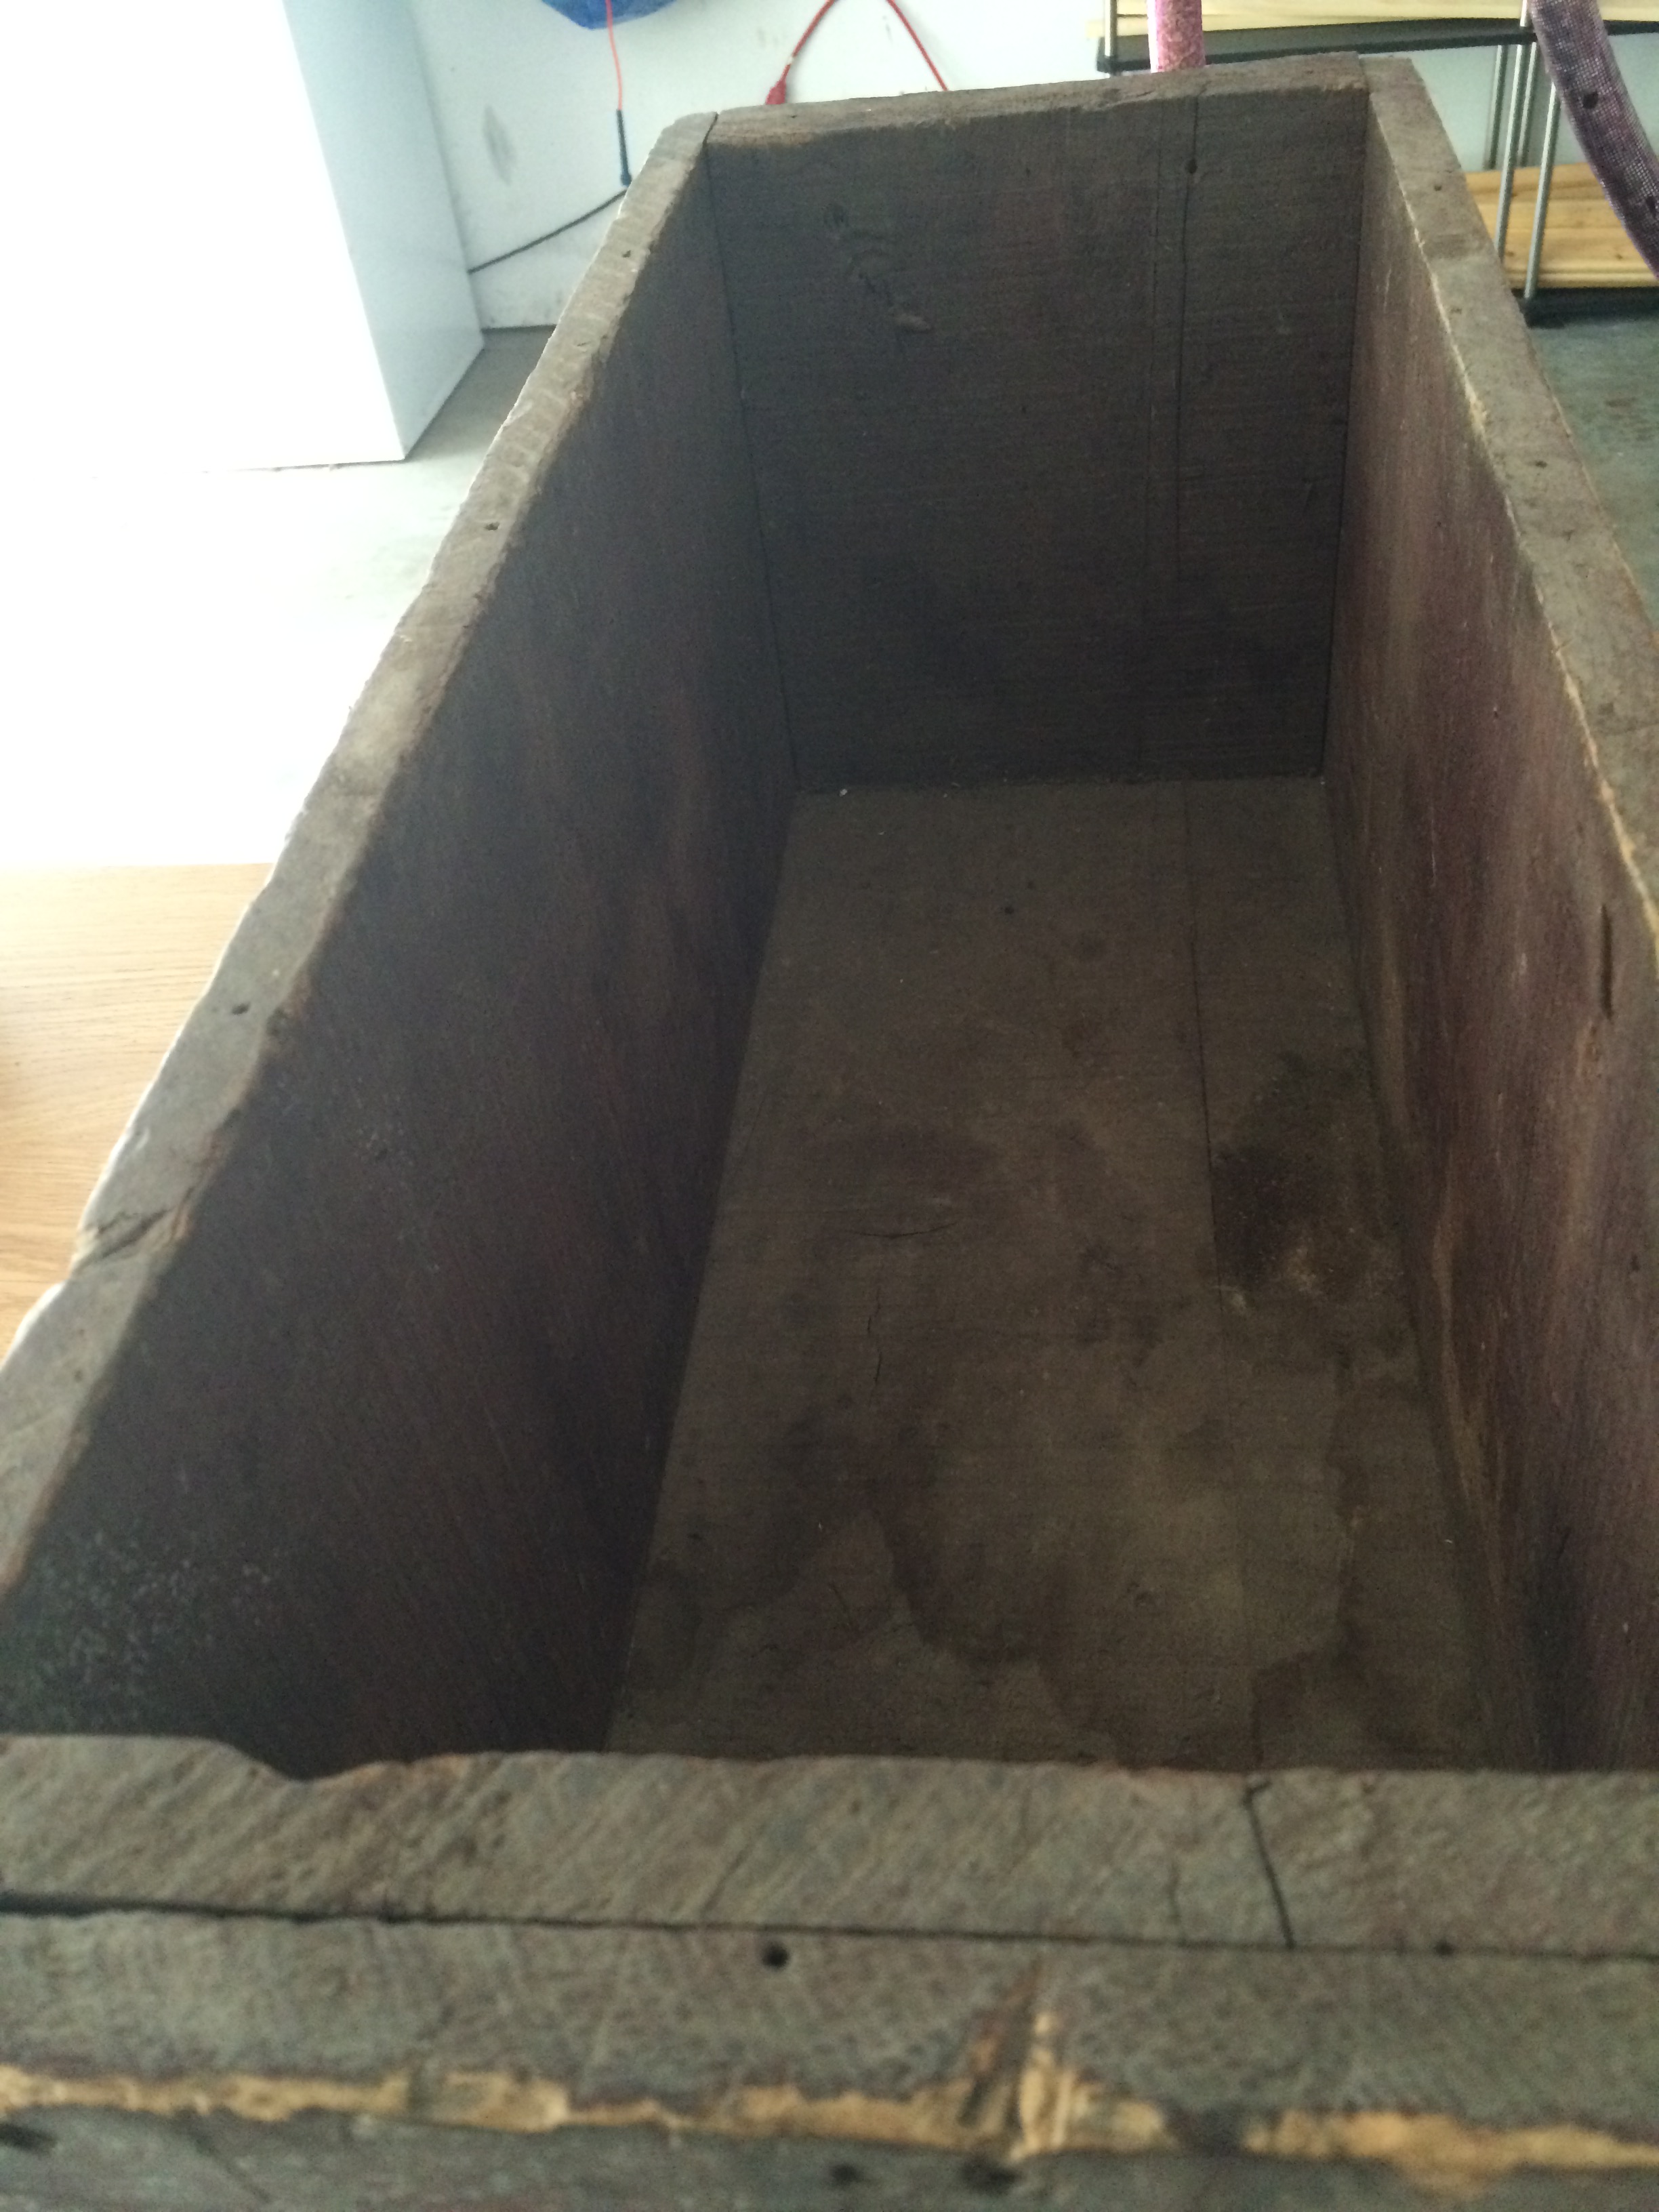
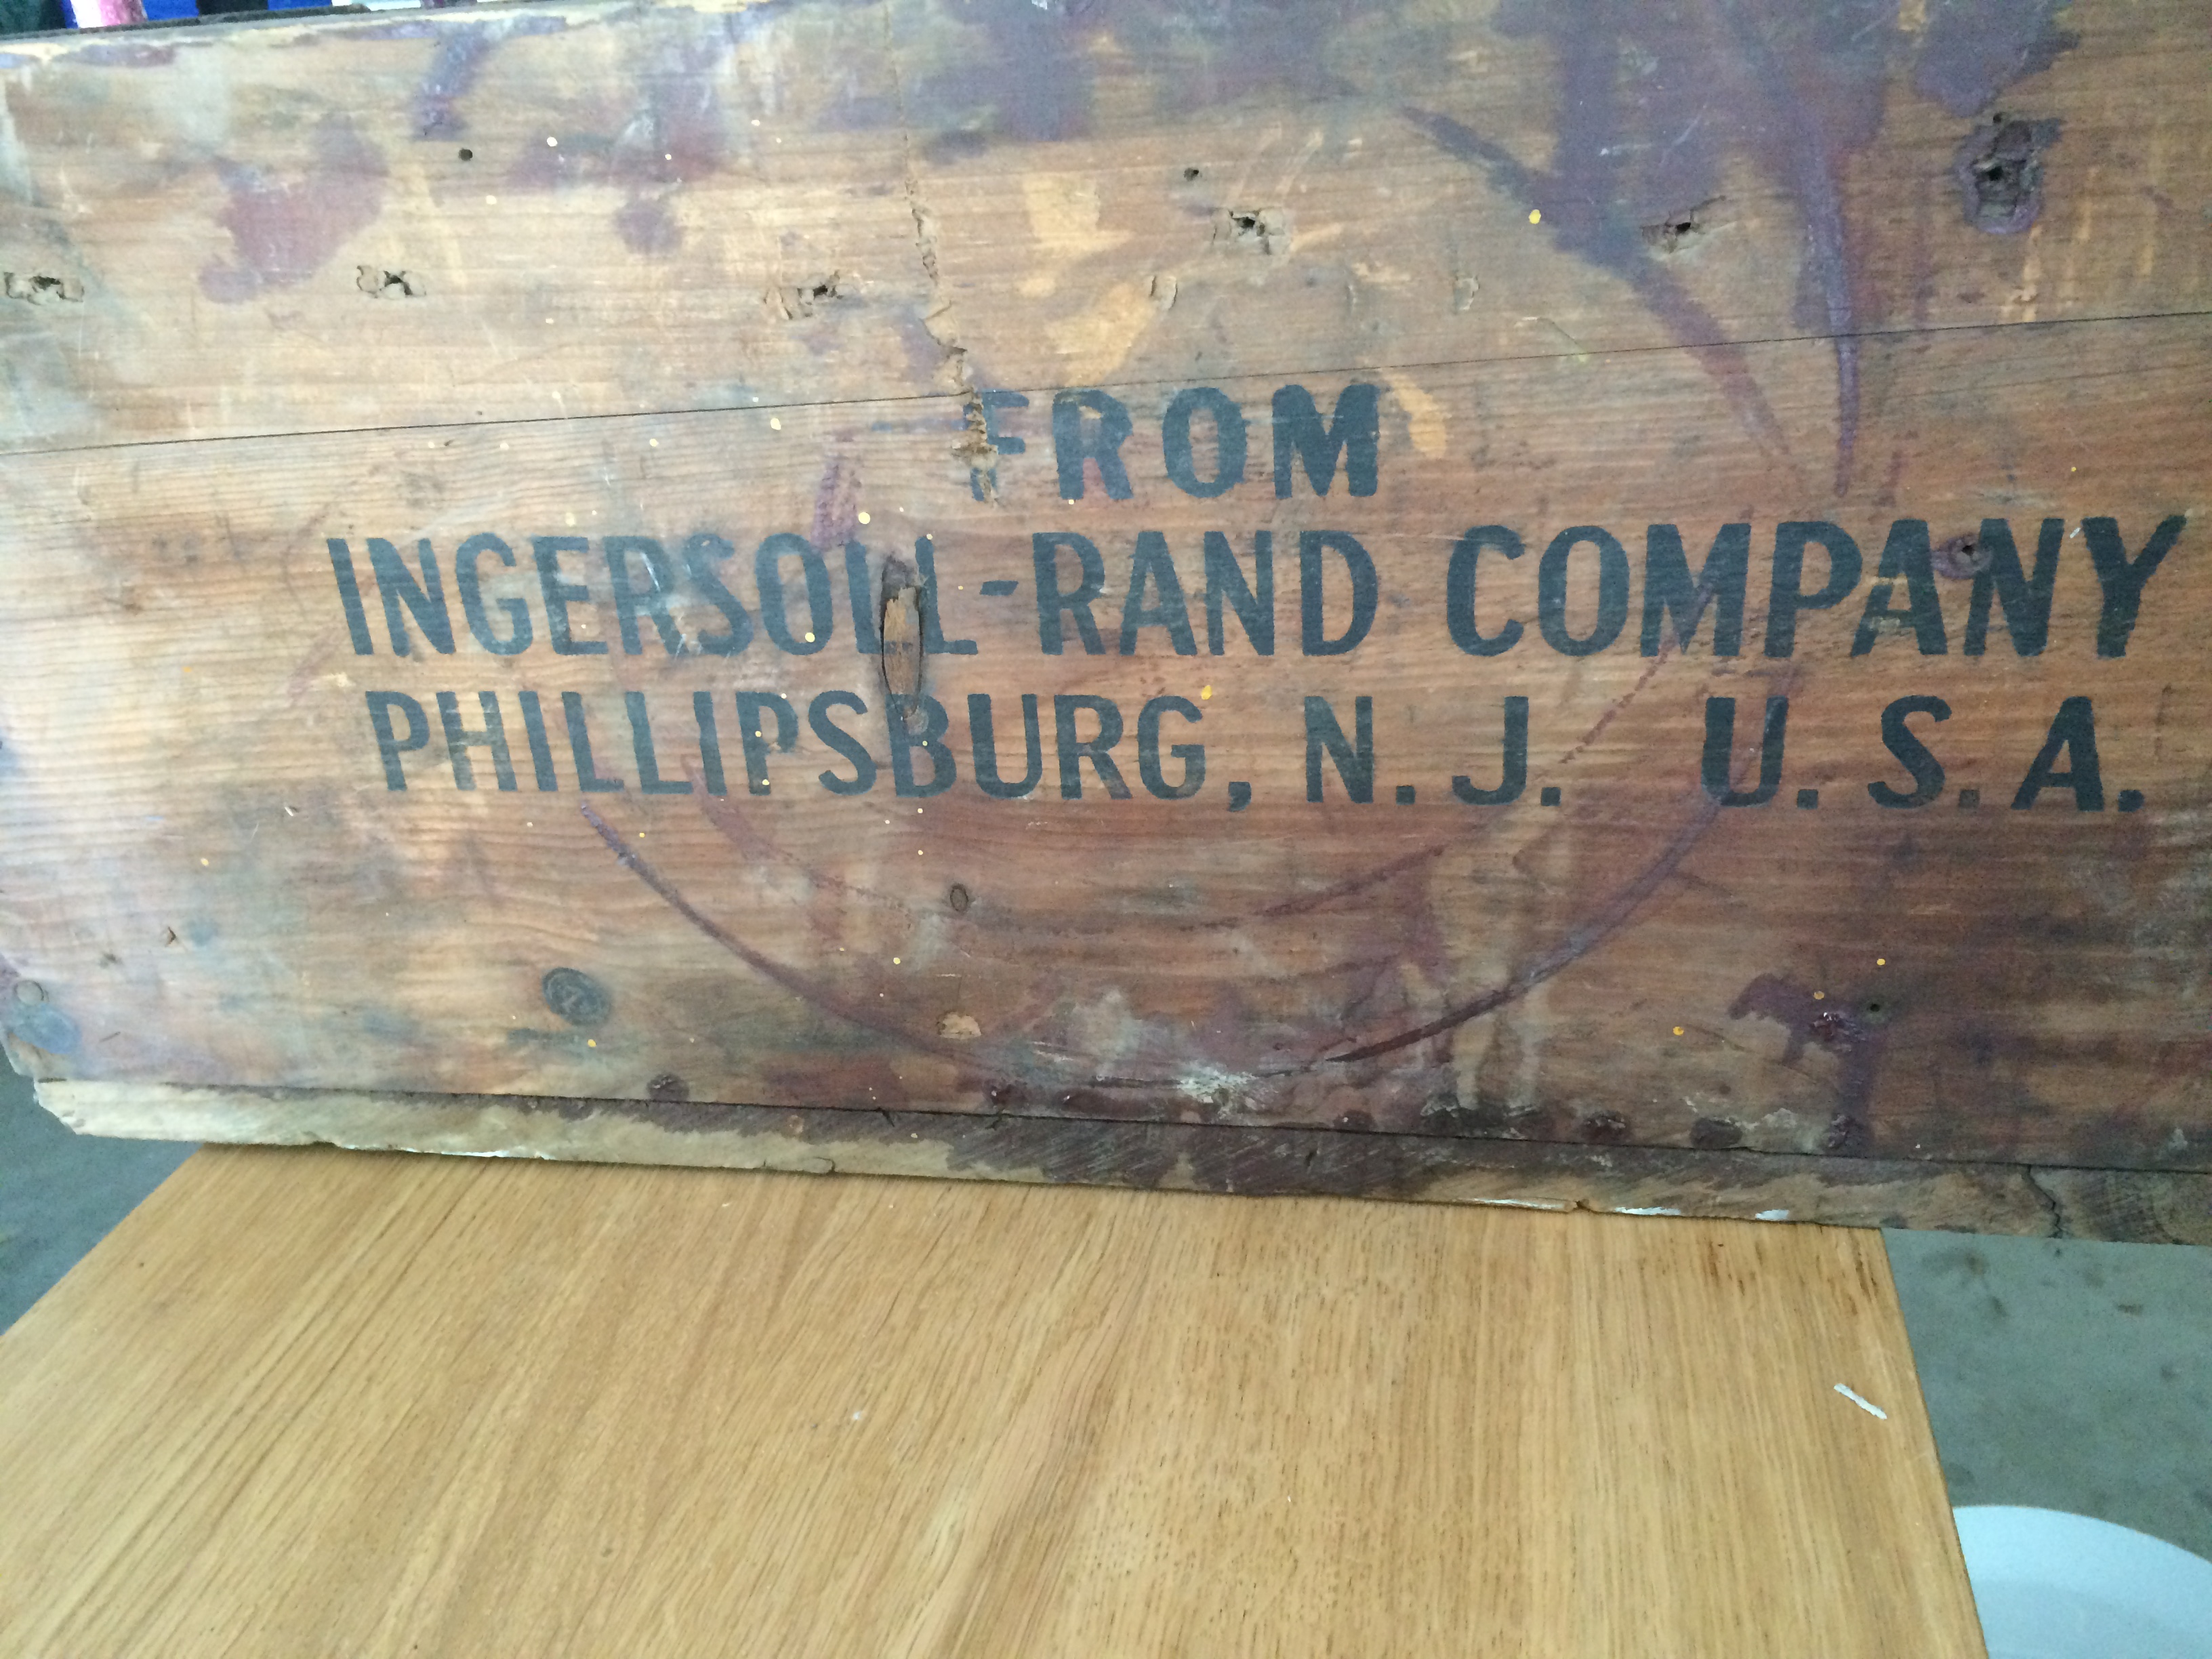
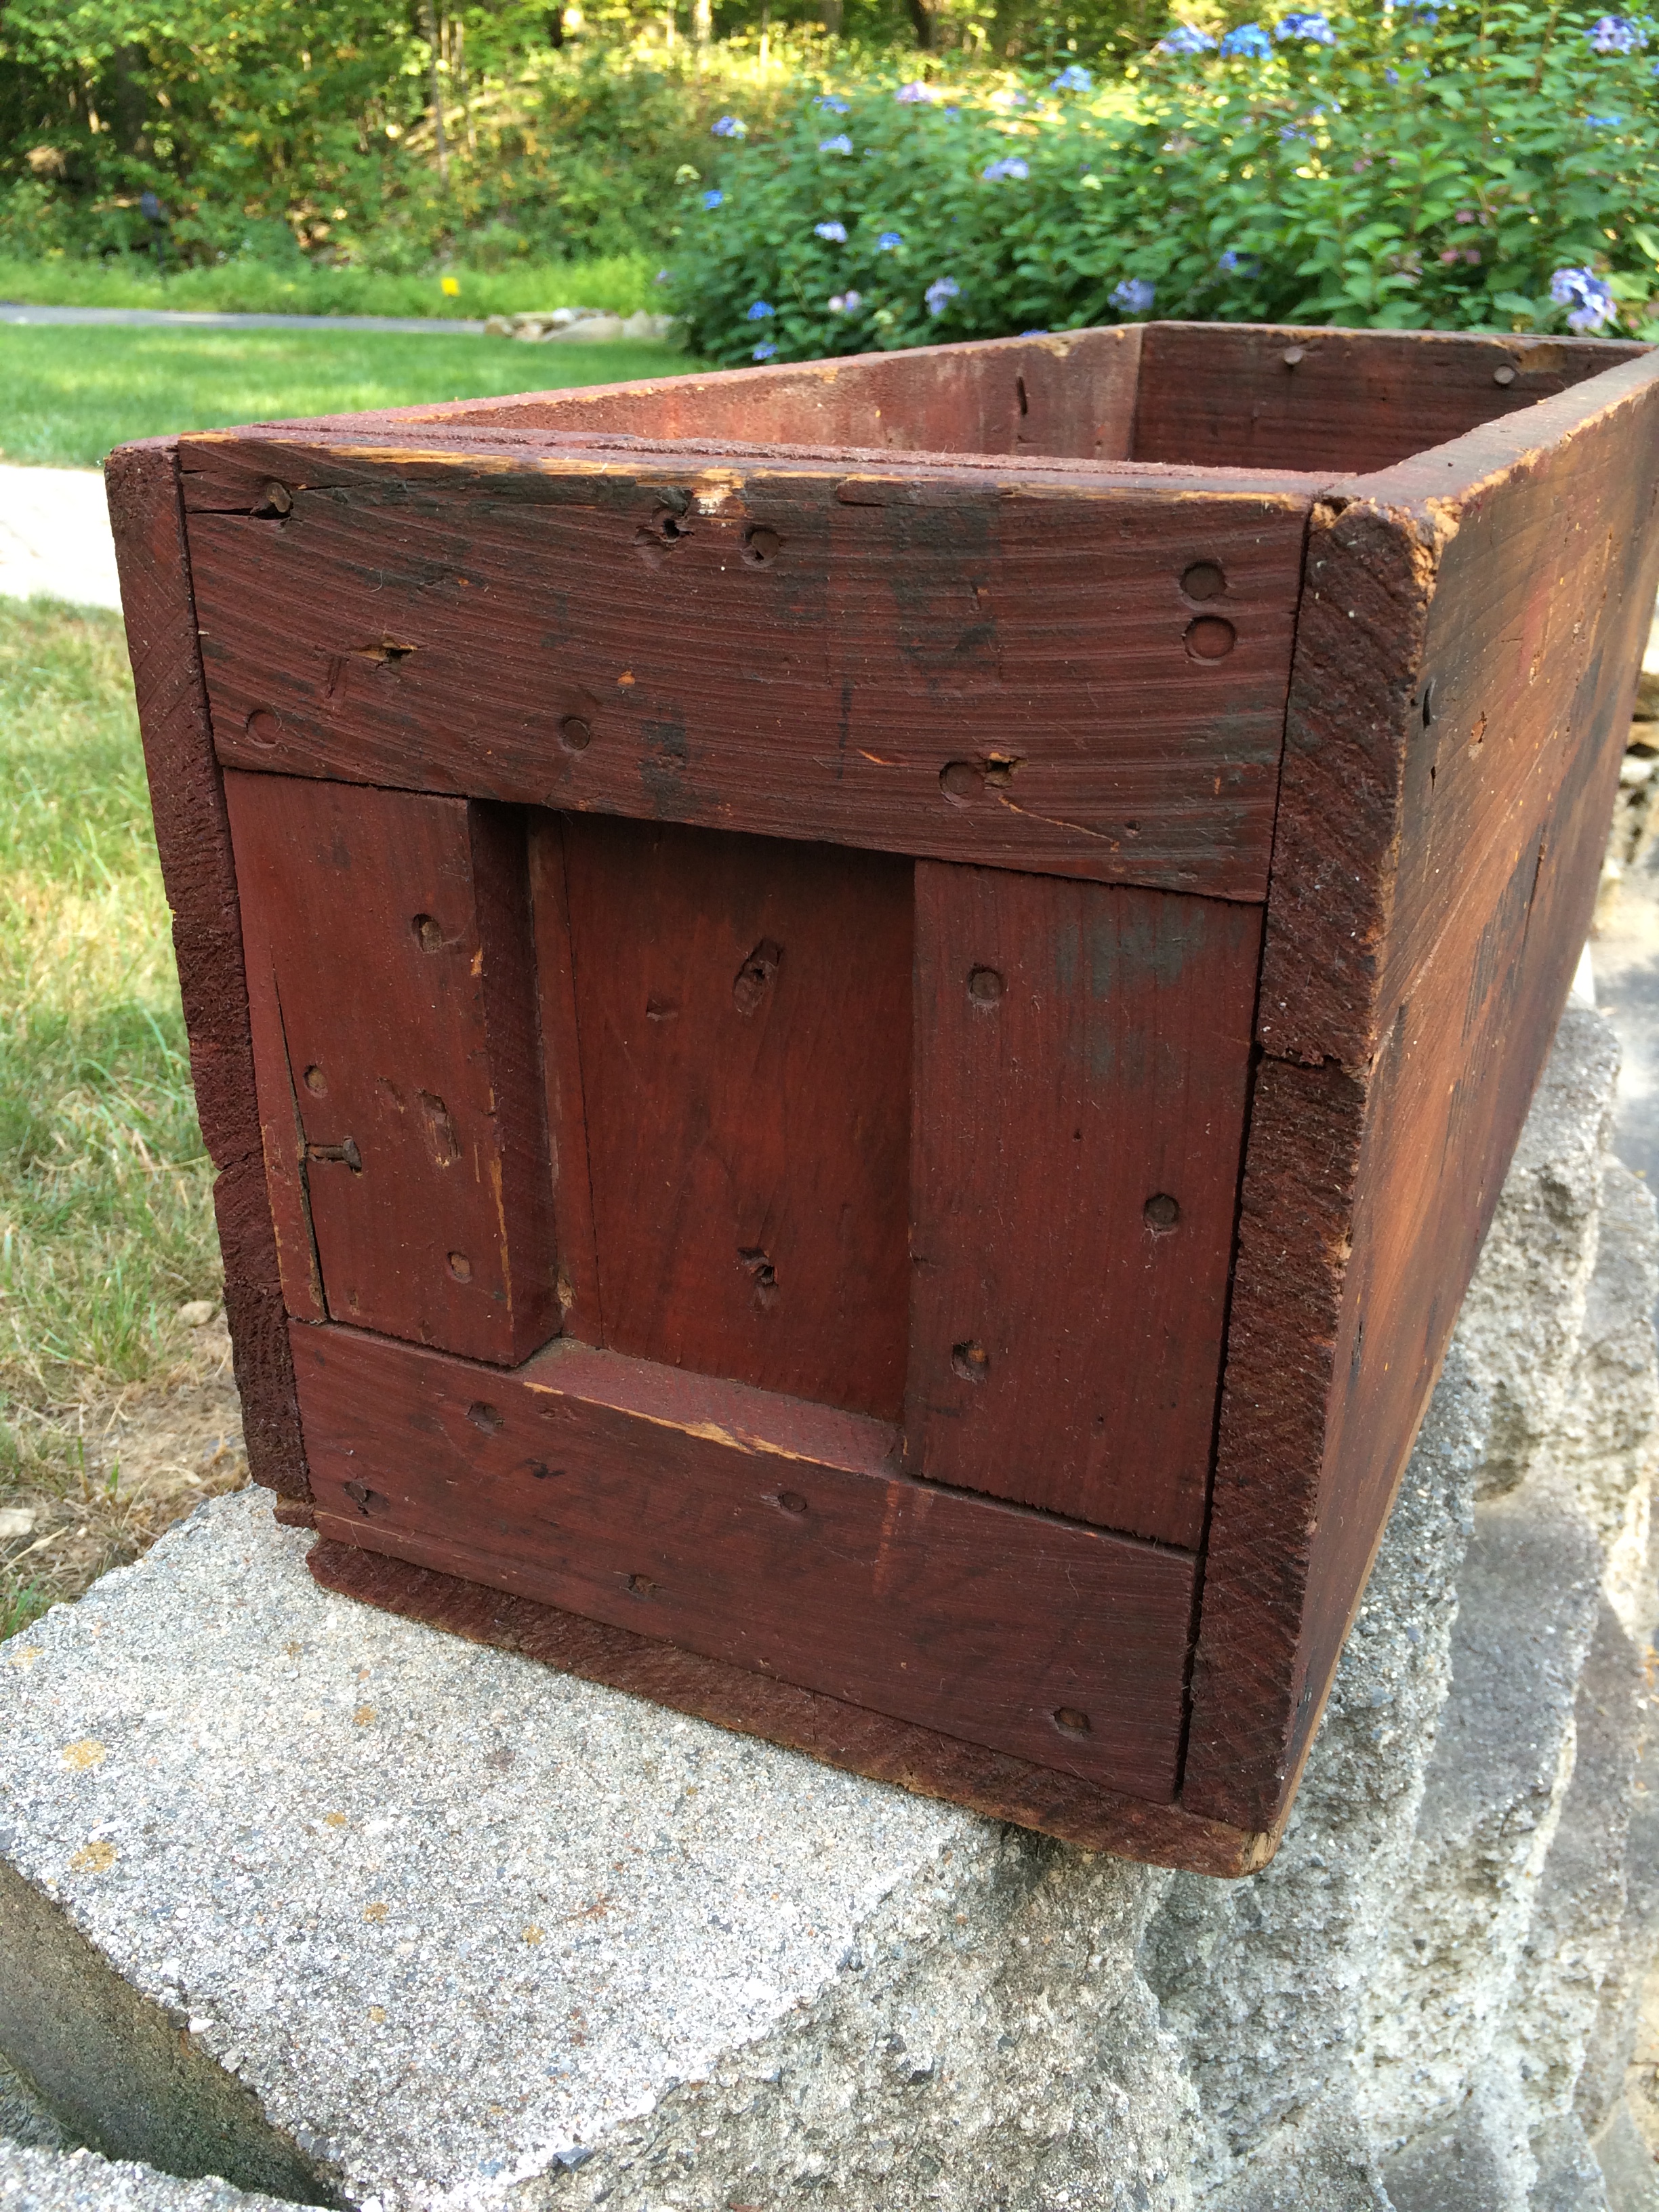
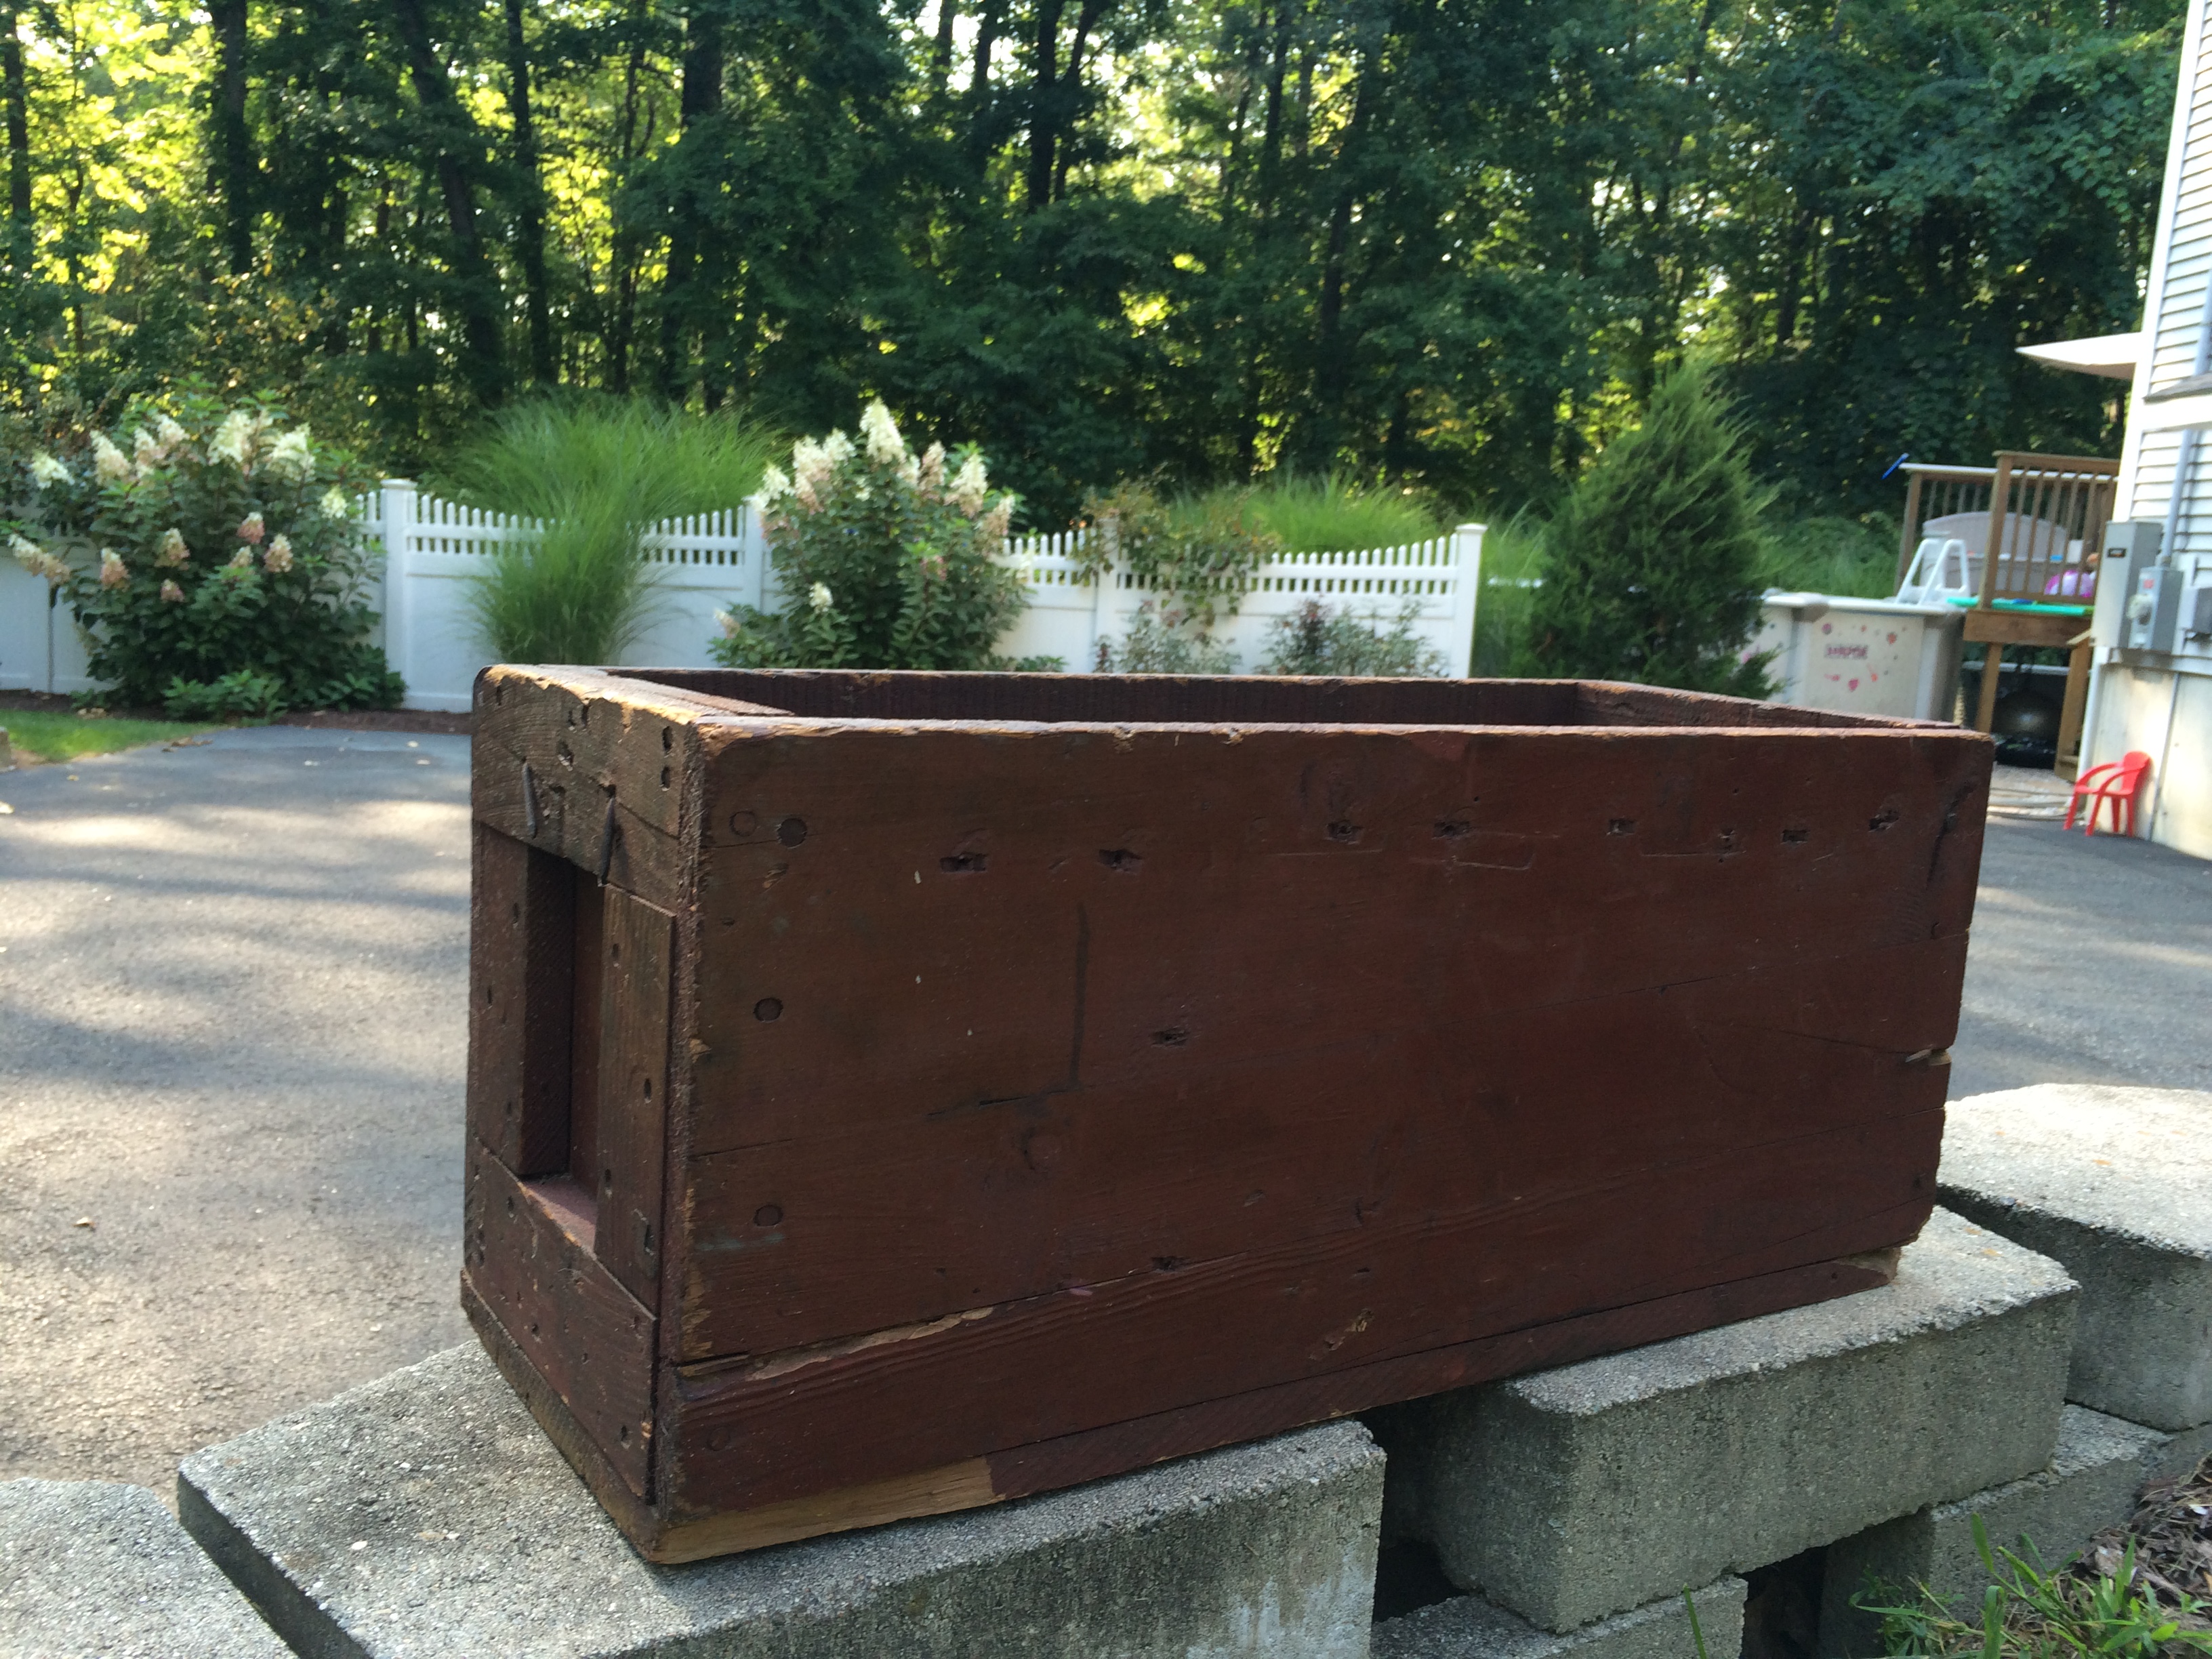
This wooden box appealed to me because as I’ve mentioned in another post, I am obsessed with wood. I liked the age and color of the box and it had some writing stamped on it which was cool. I cleaned it with soap and water and then wiped it down using a soft cloth with a mixture of olive oil and white vinegar and then again with coconut oil. Just by cleaning and oiling it, the natural red color of the box was exposed and everything on the box looked so much brighter and clear. I still haven’t made up my mind, but I think I will use it outside as a planter.
BEFORE:
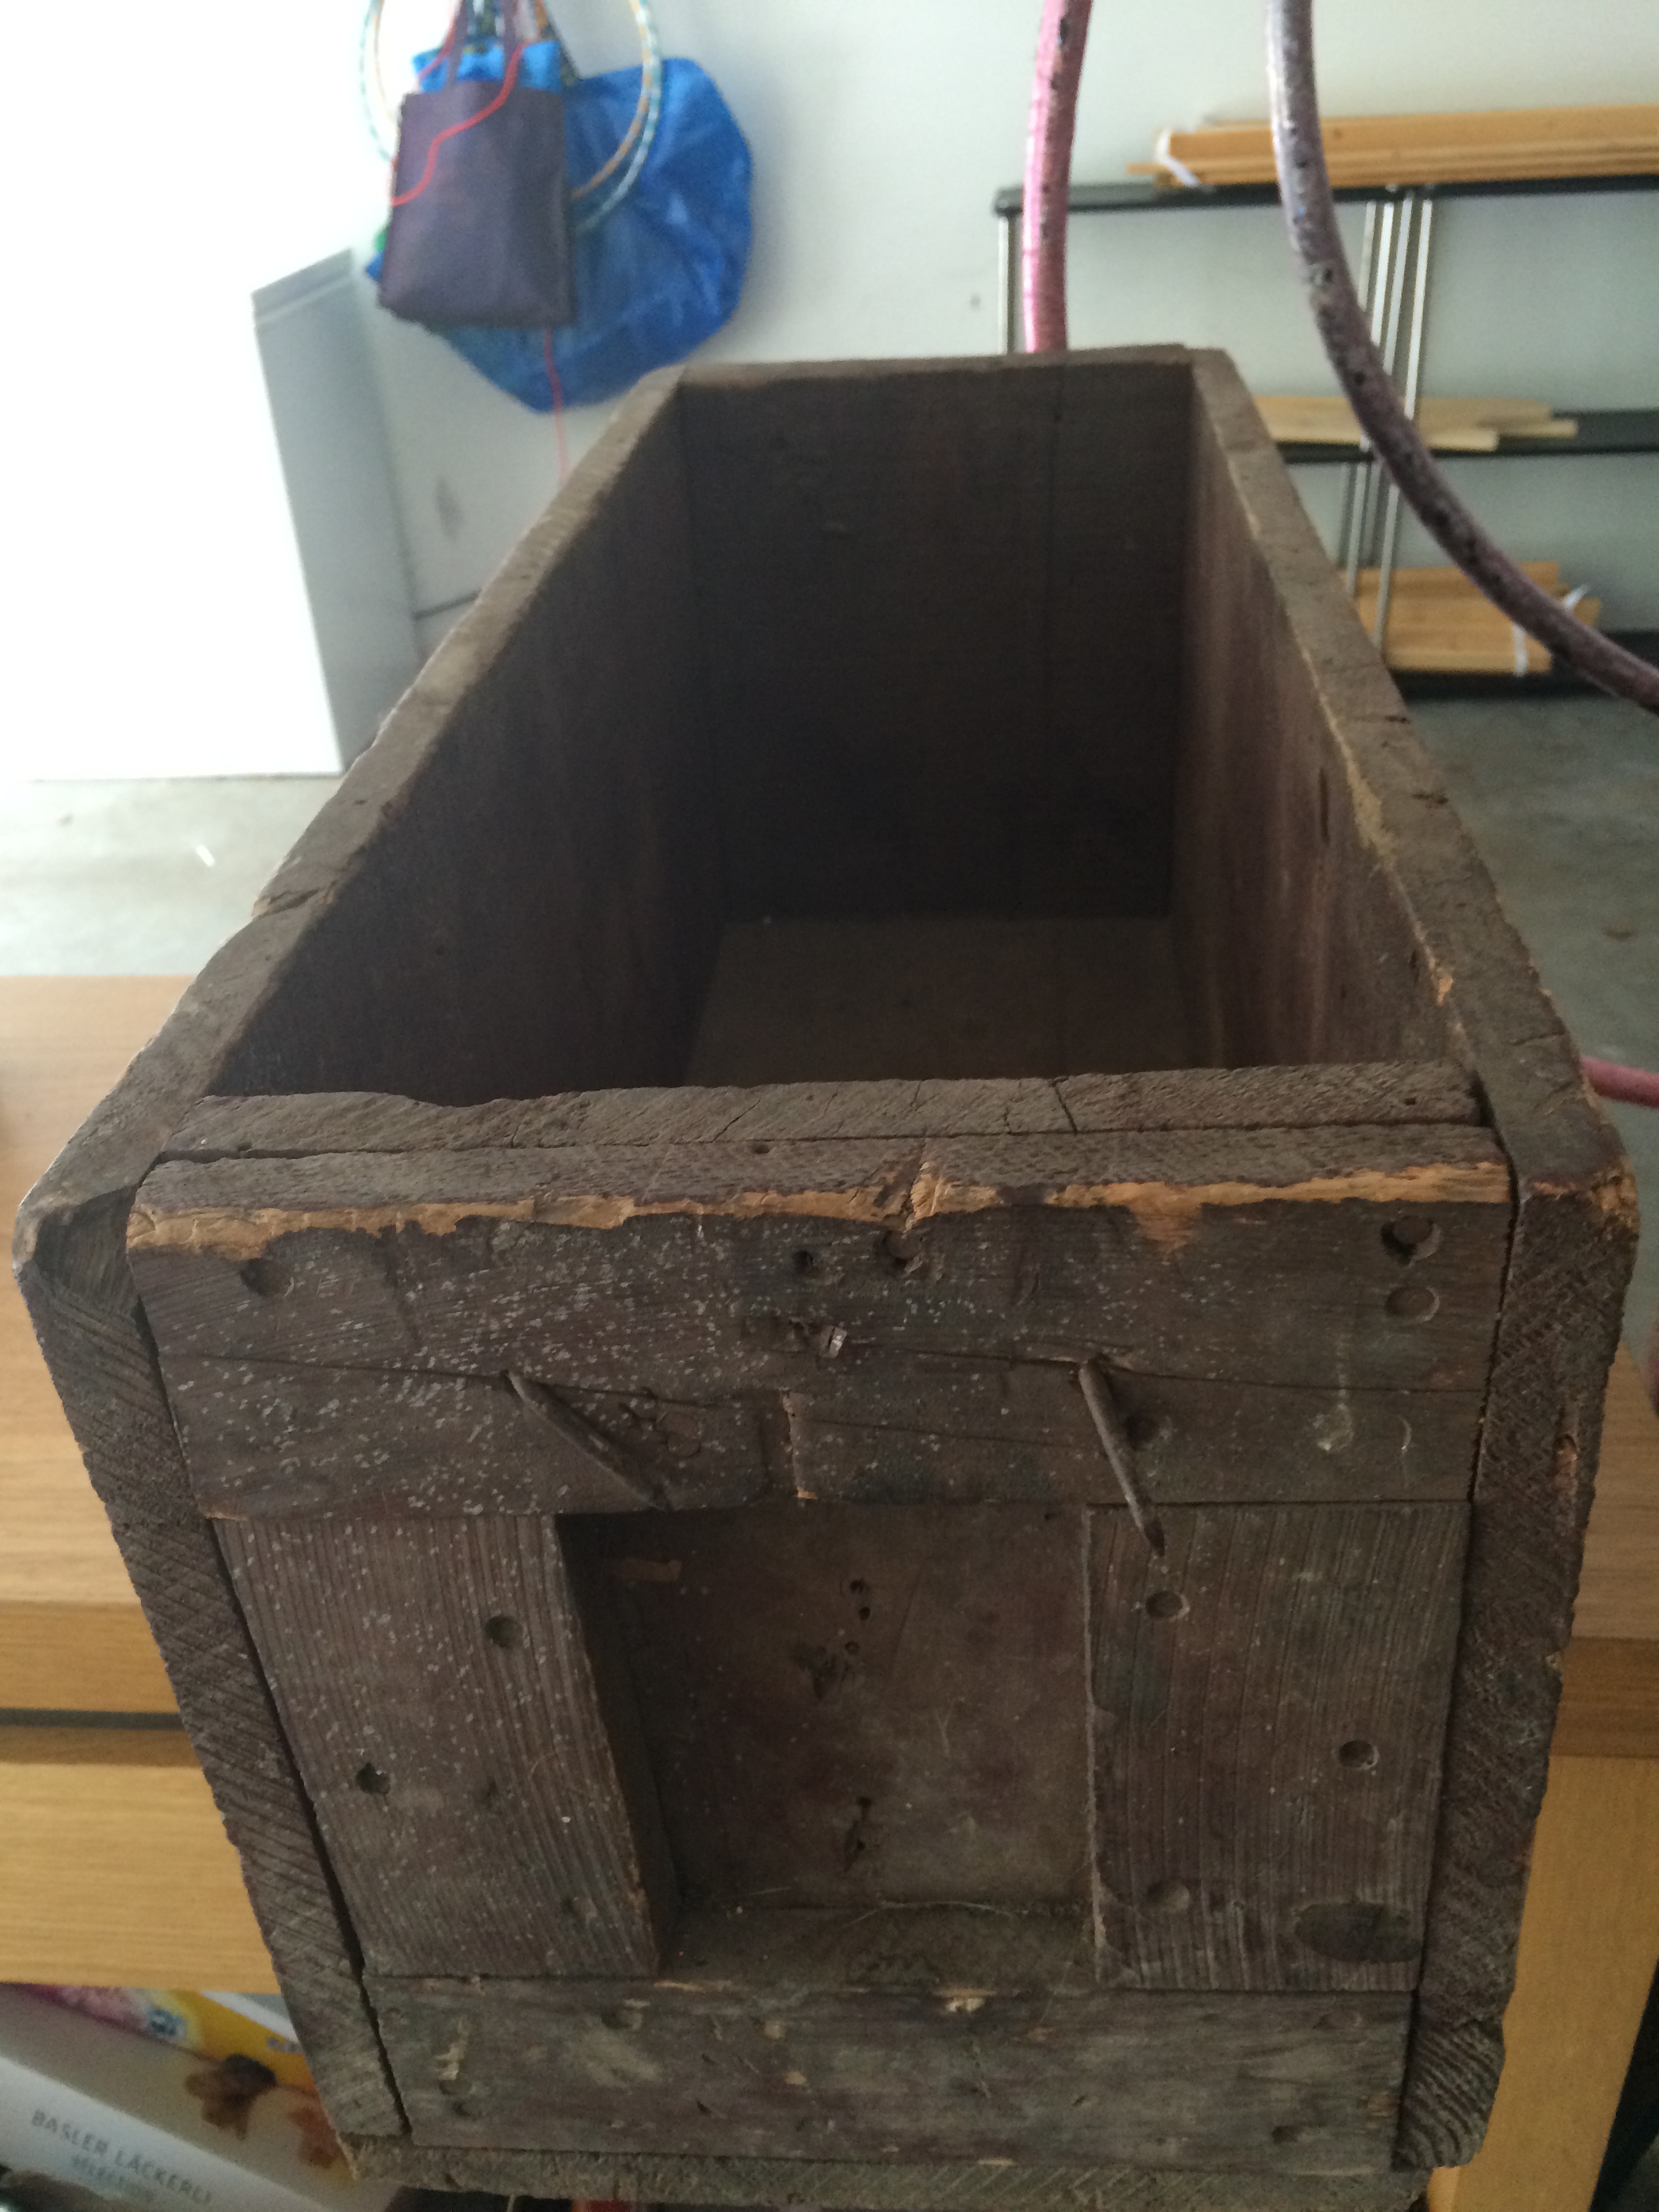
AFTER:

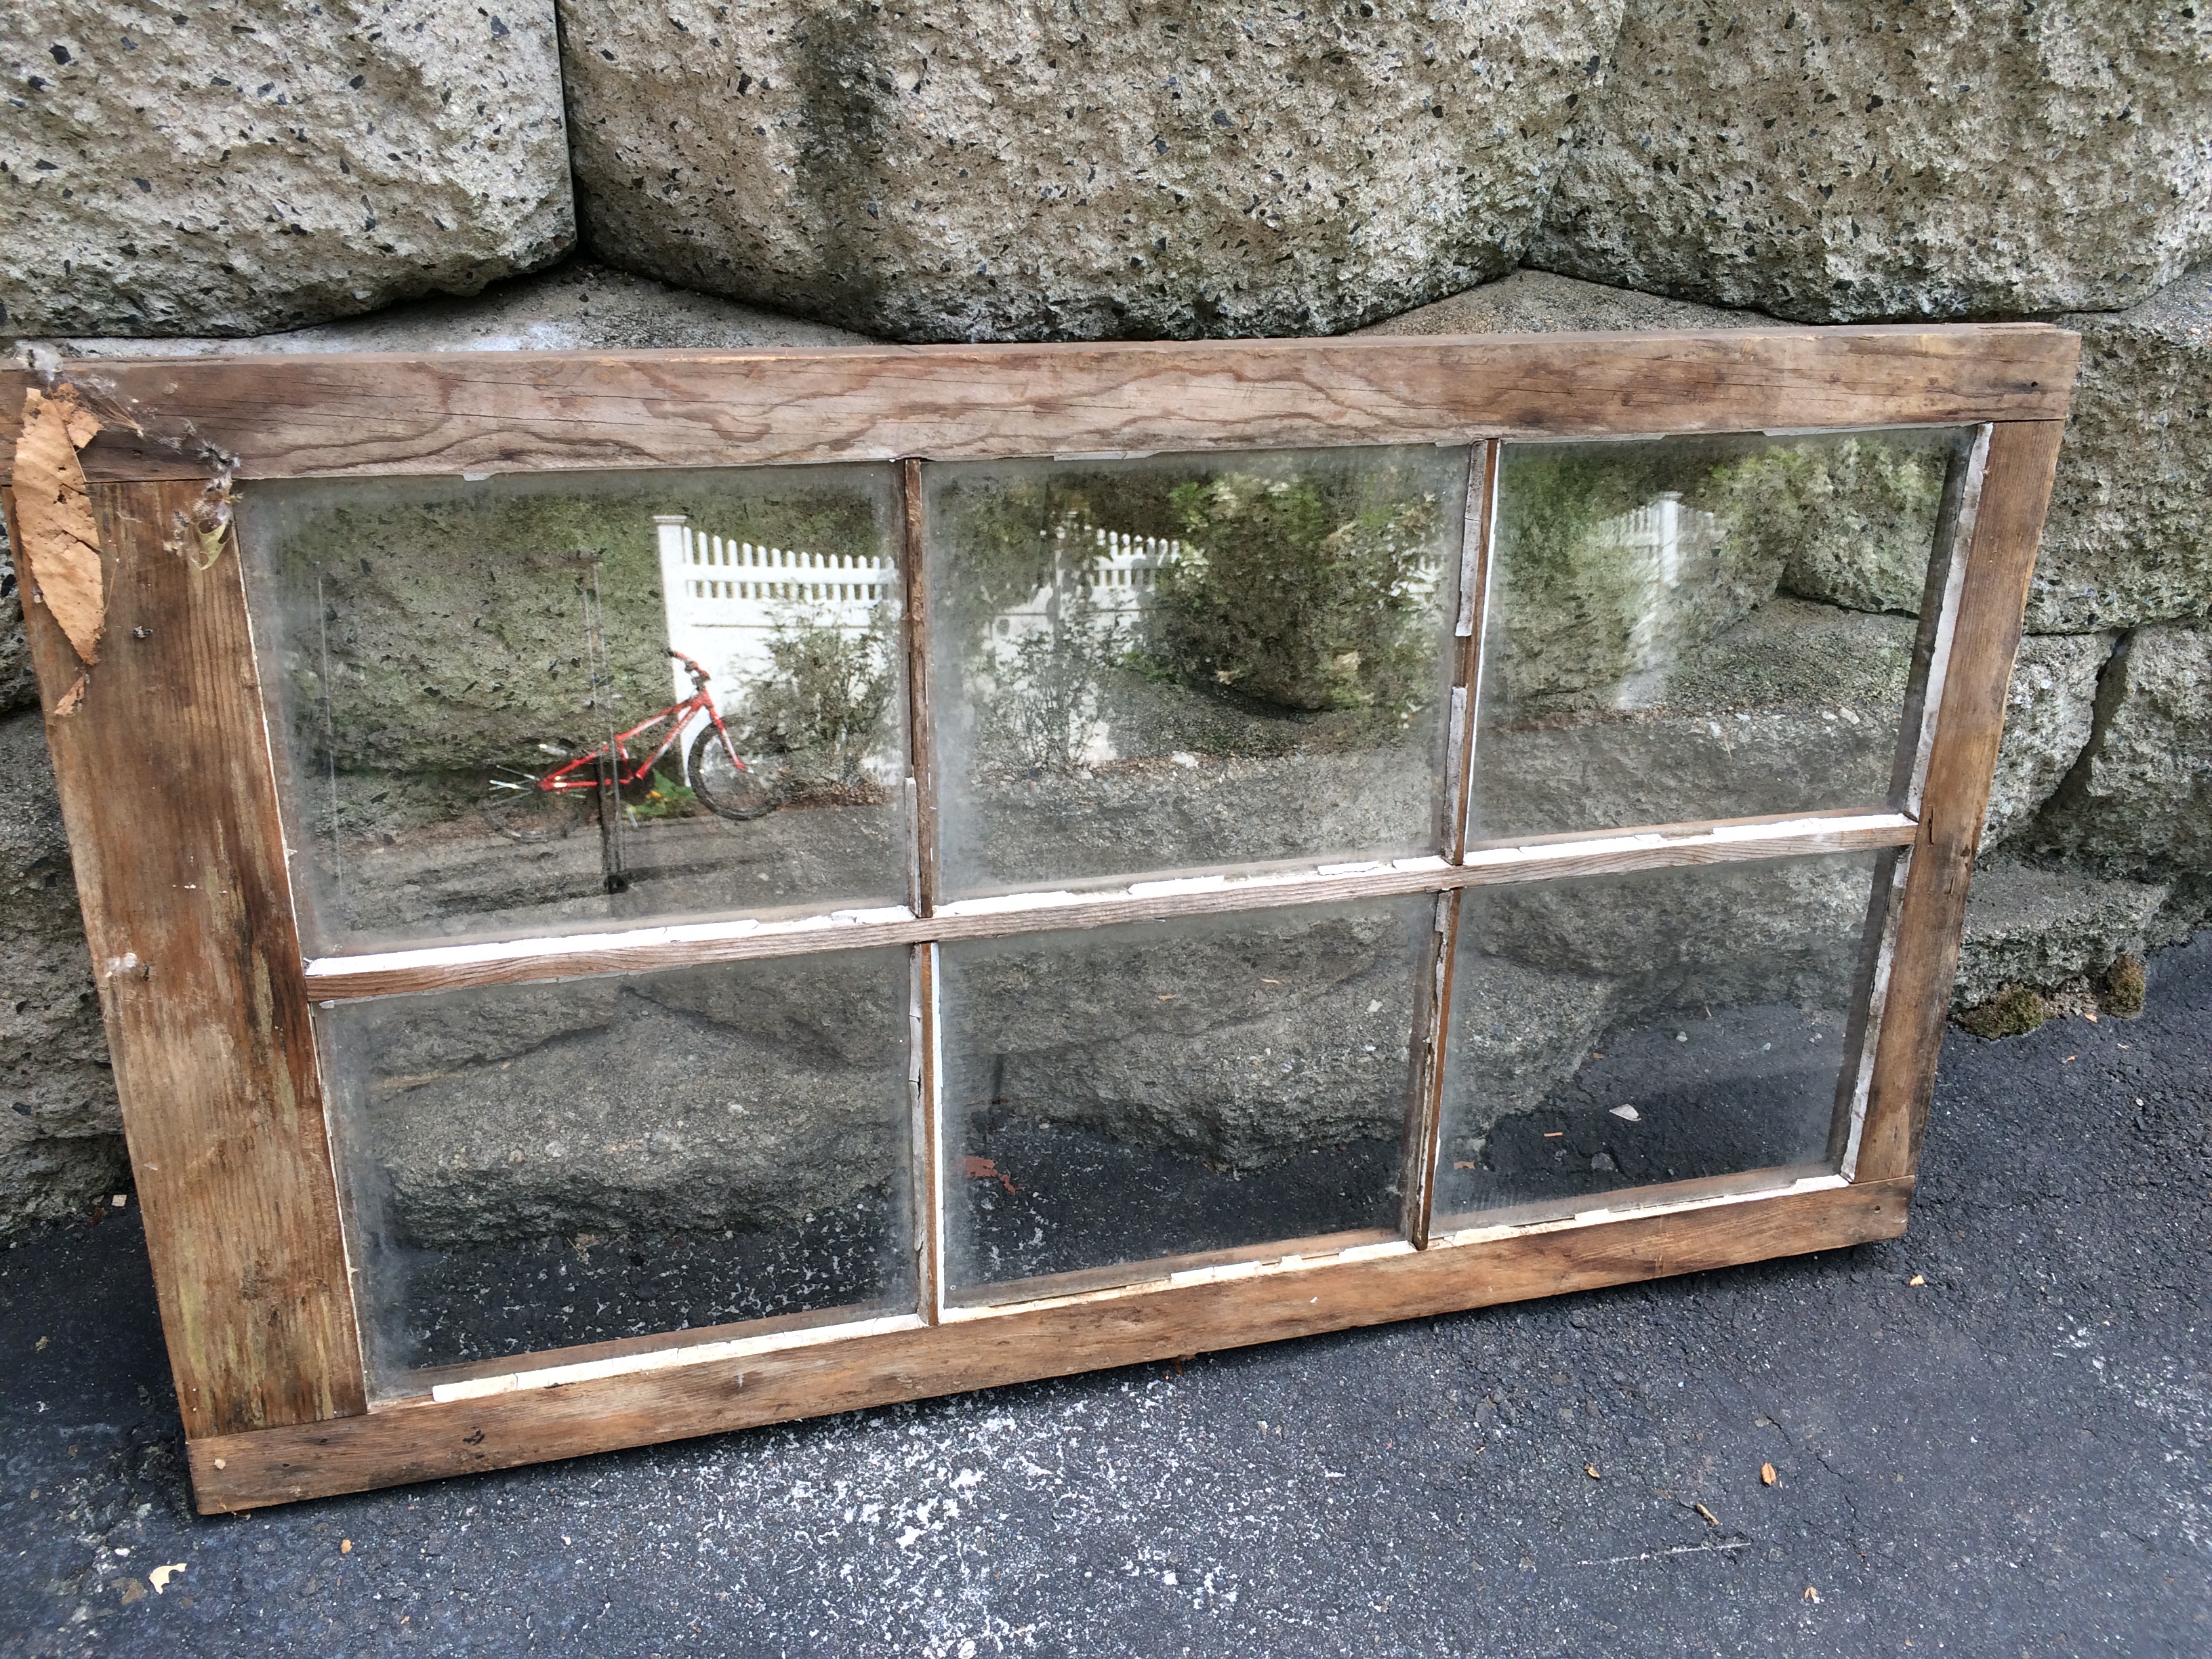
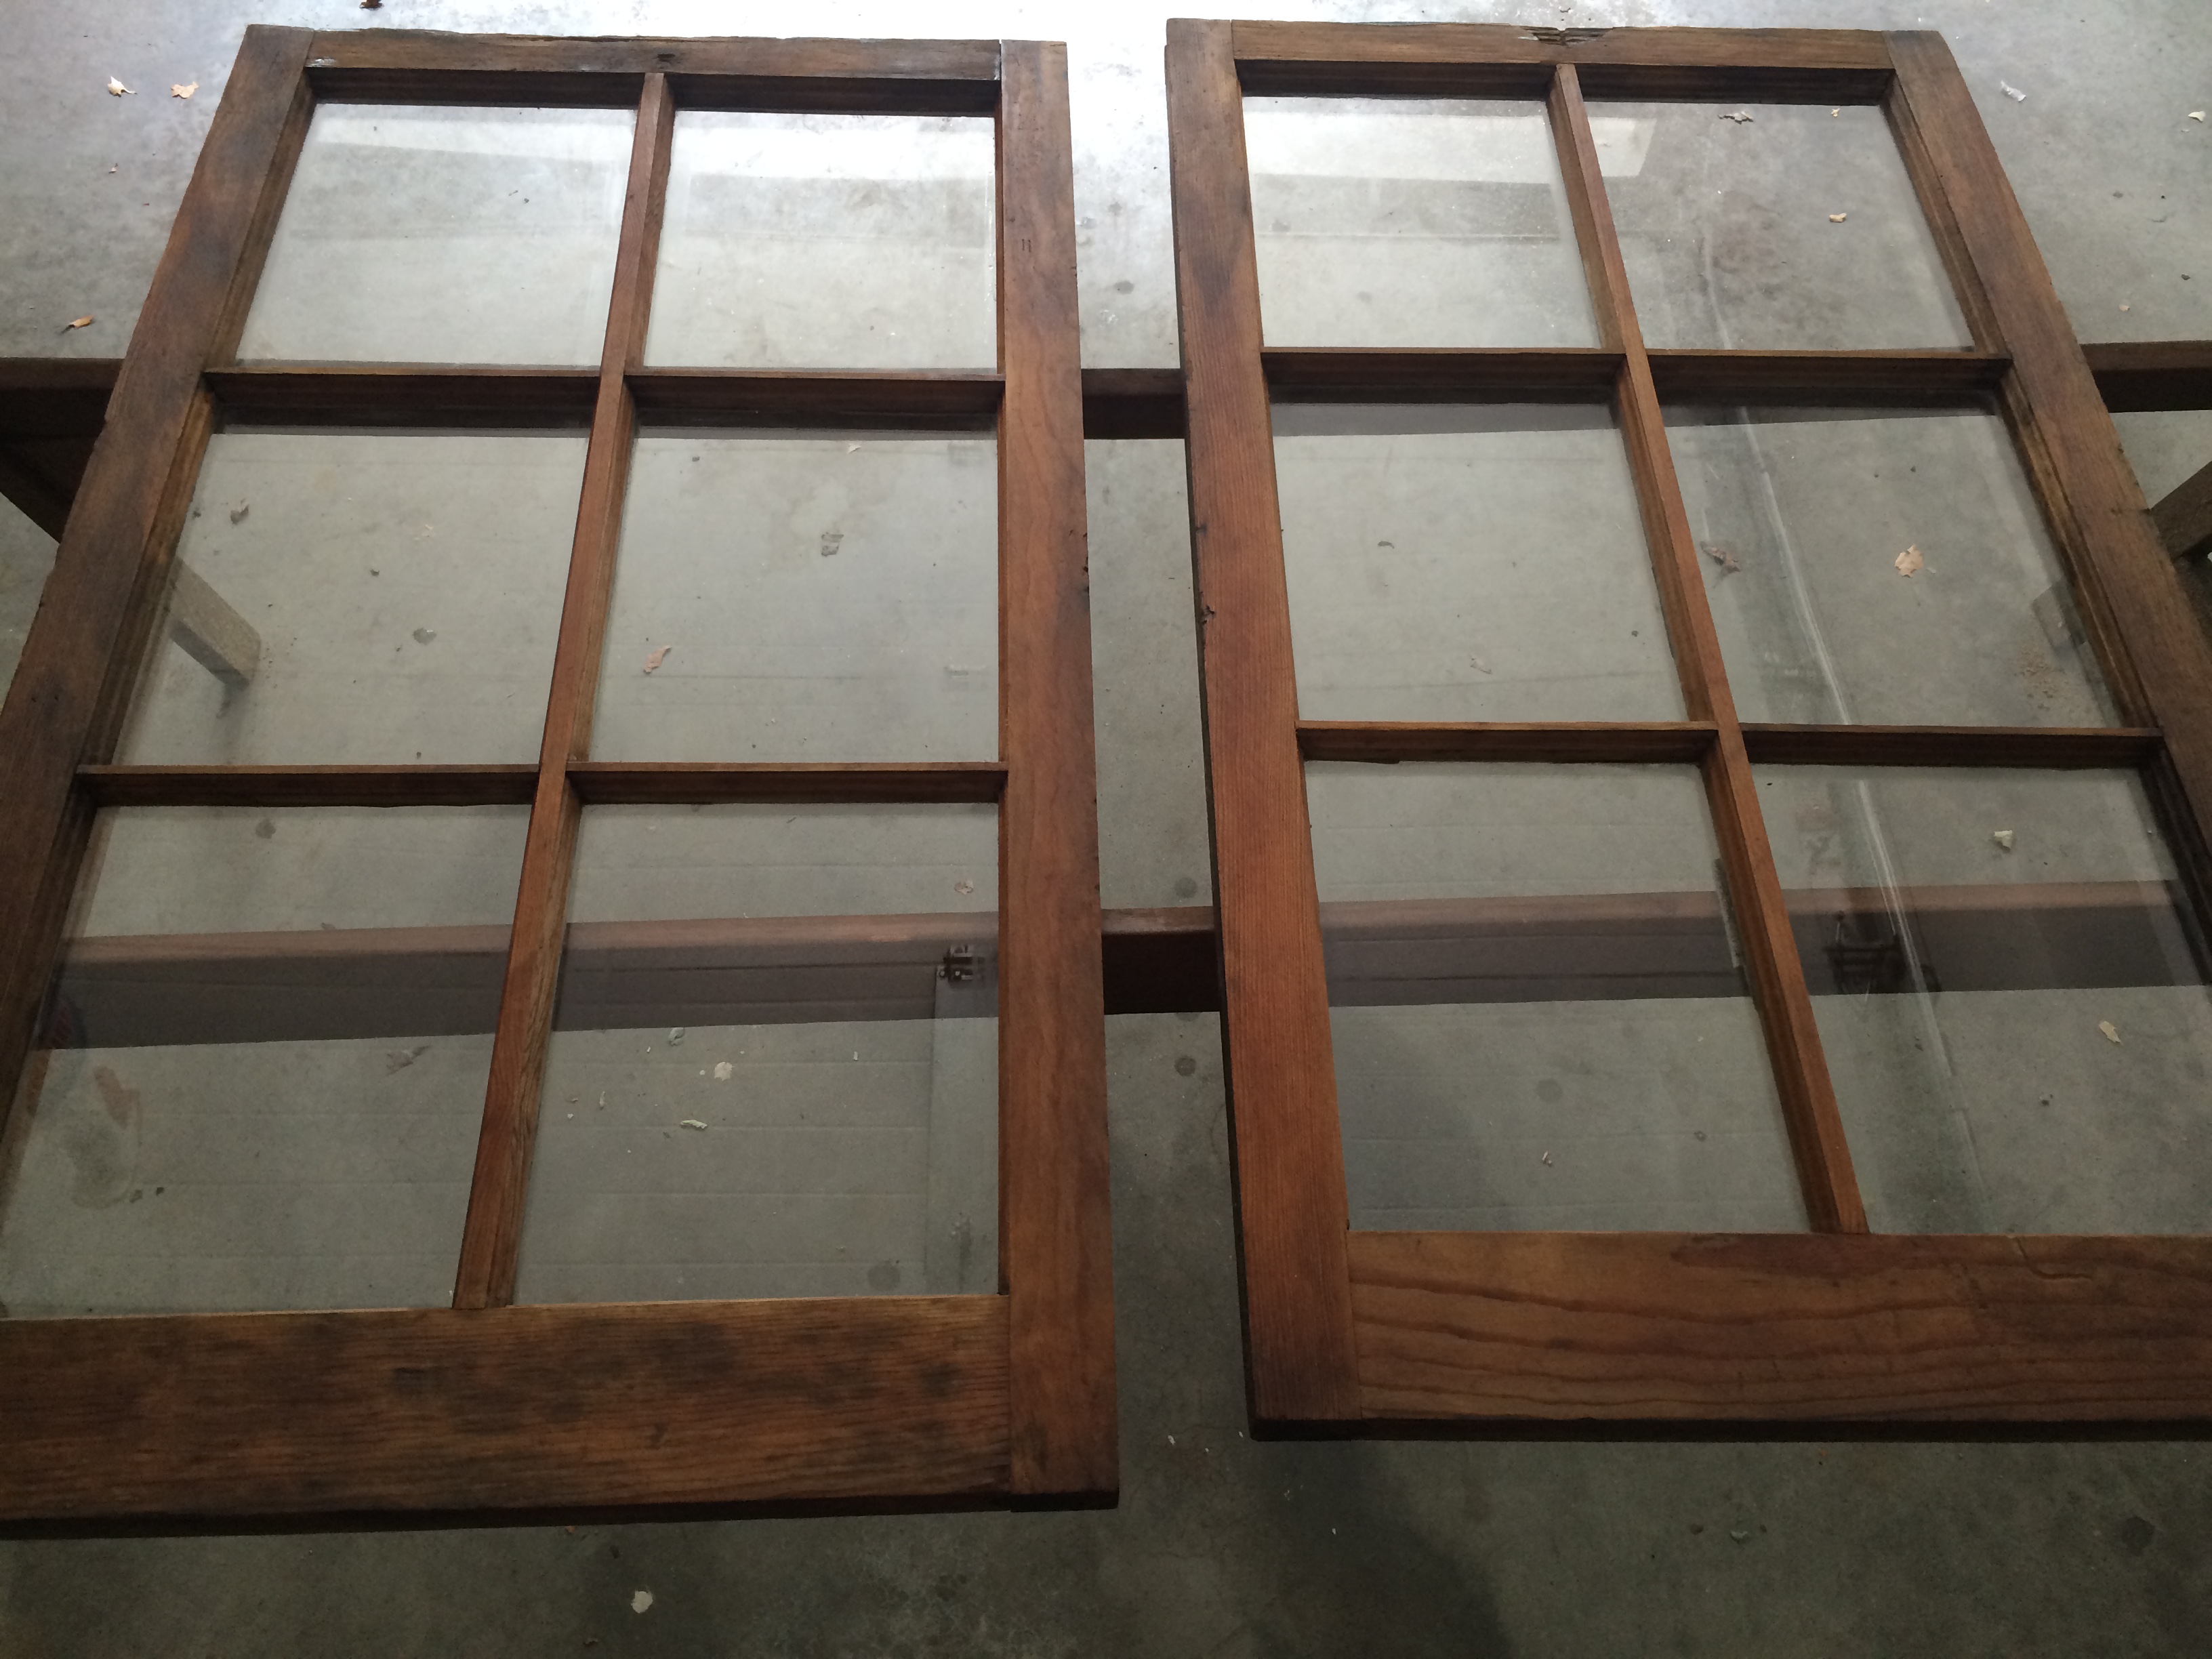
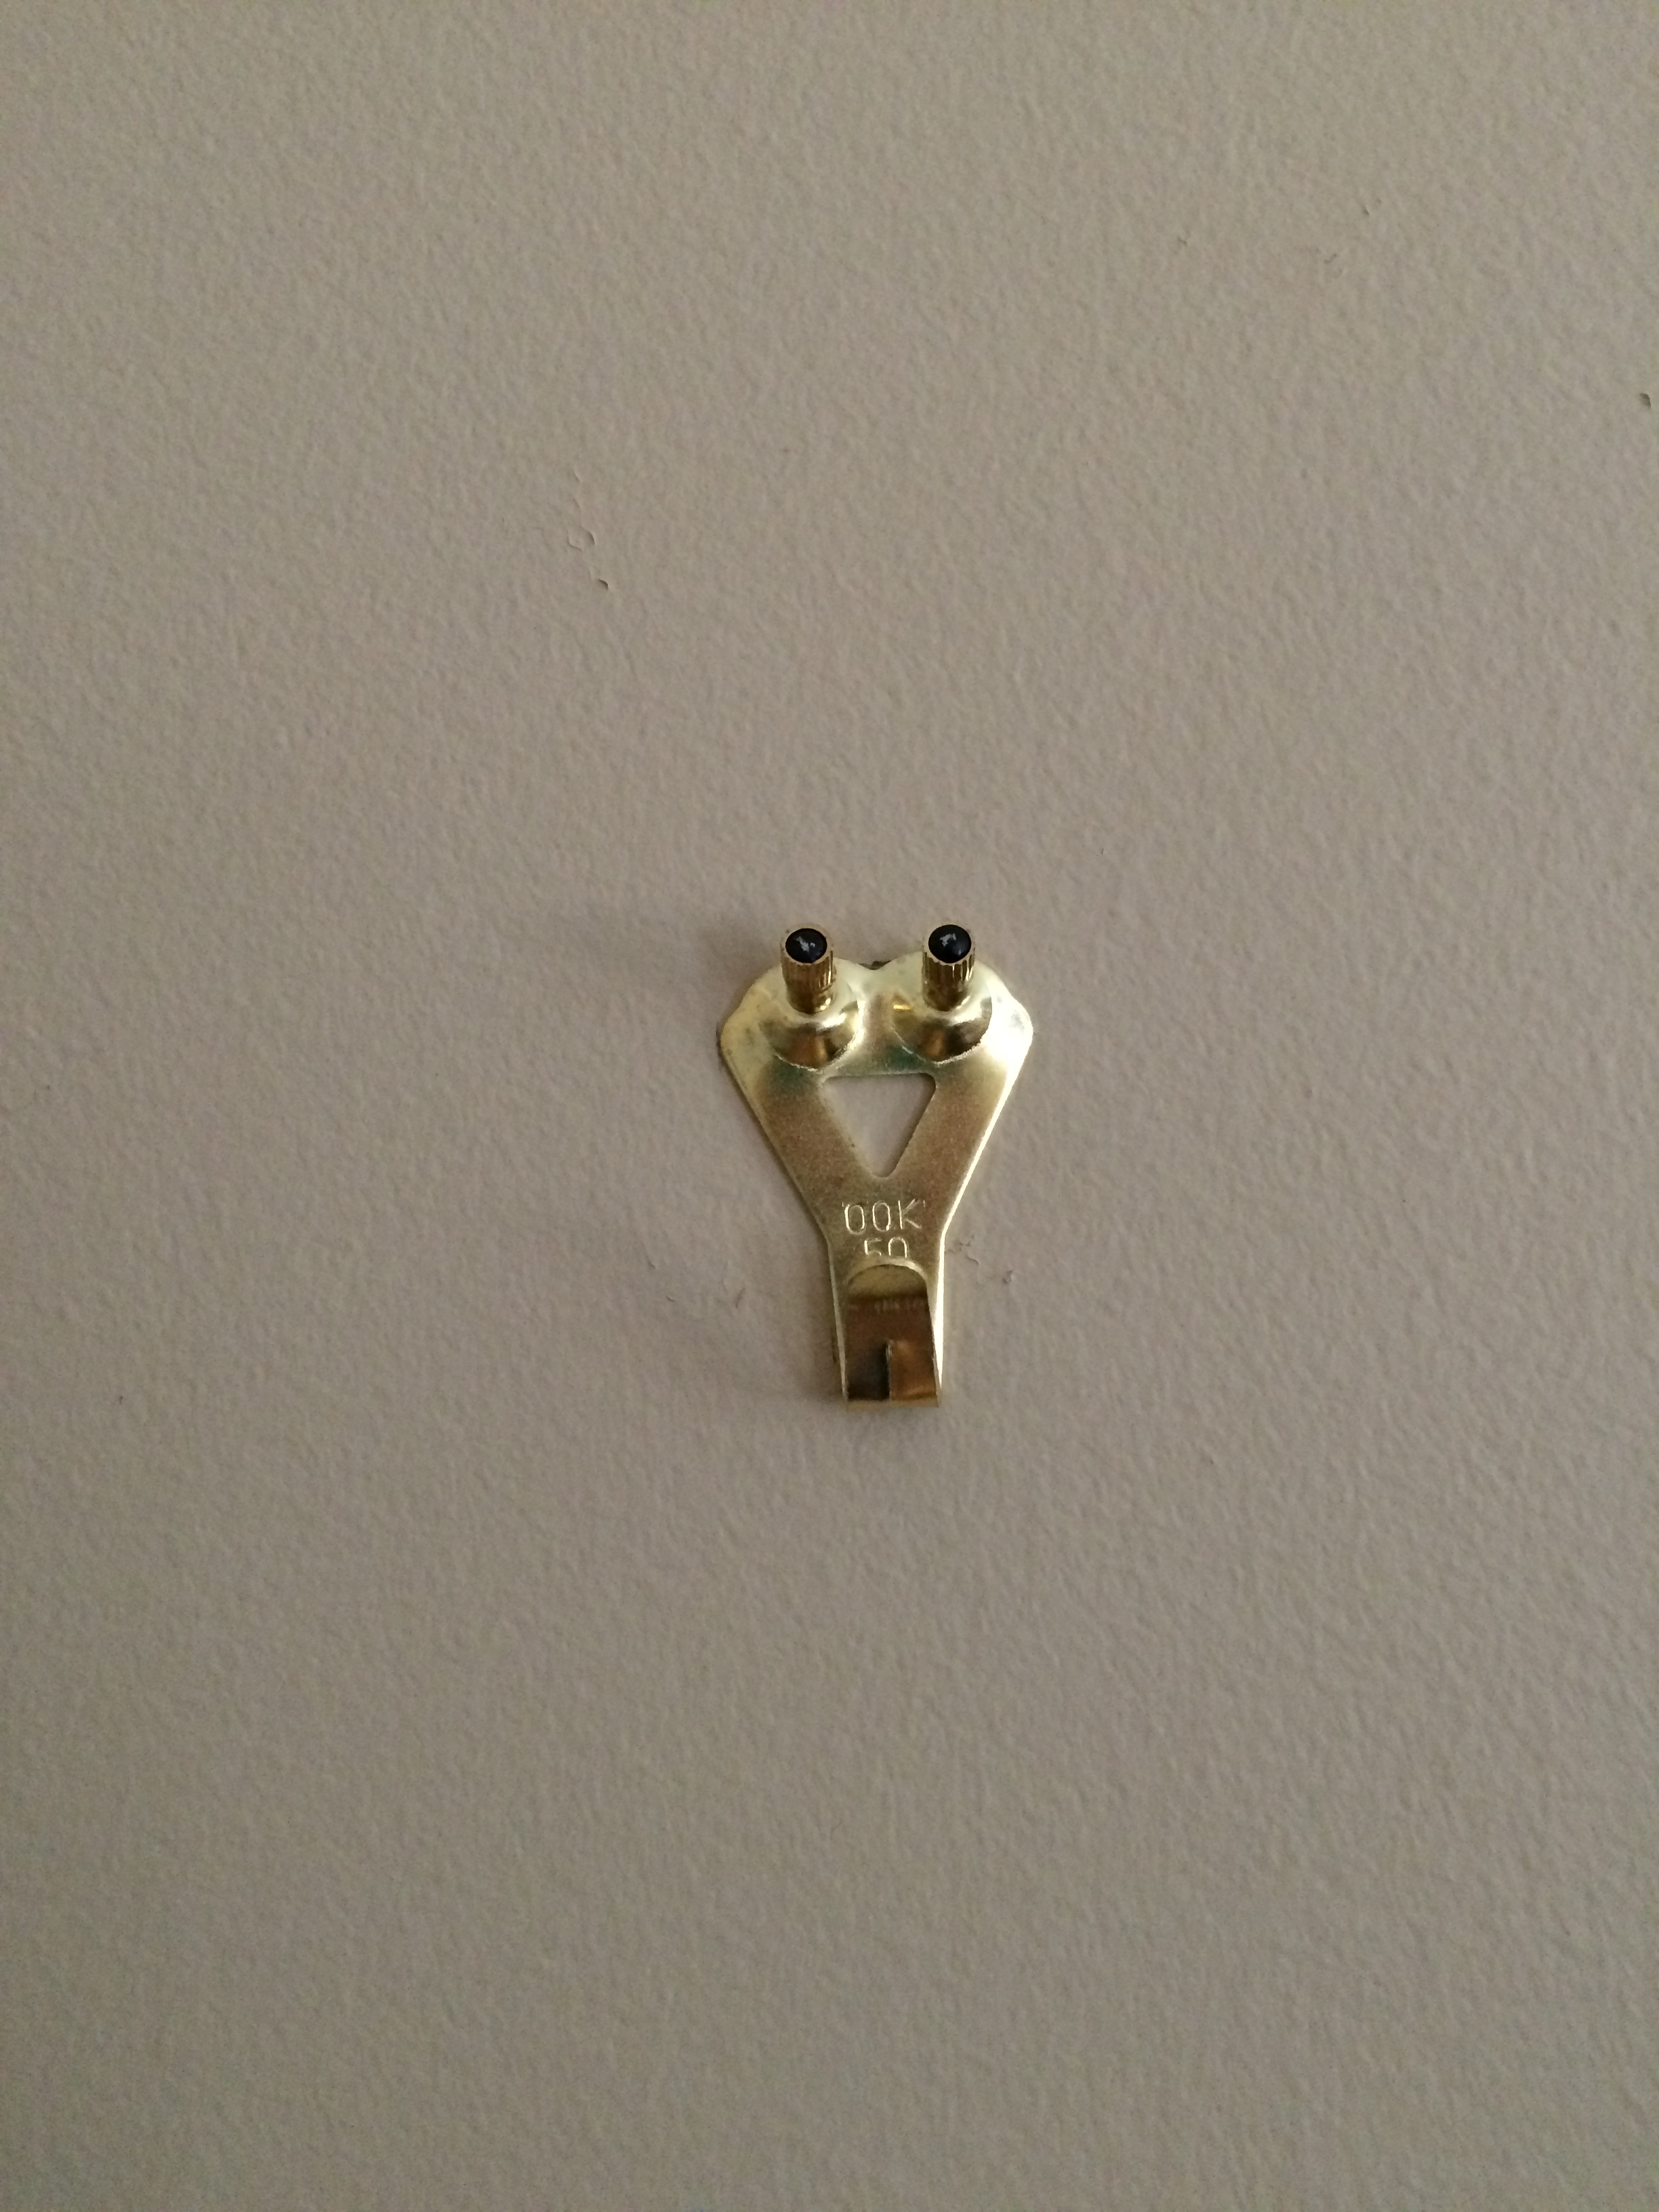
I’ve always wanted some old windows or an old door to do something with and I found these windows in pretty good shape, but really dirty. I cleaned them, oiled them using the same method as with the box and then I painted on two coats of clear polyurethane. The windows are heavy, so in order to hang them properly on the wall, I bought hooks that came in a set of a d-ring and picture hanger. I attached hooks to the back of the window and the wall and used the windows as frames on the wall in our family room. I attached the pictures with a small piece of double sided tape.
BEFORE:

AFTER:


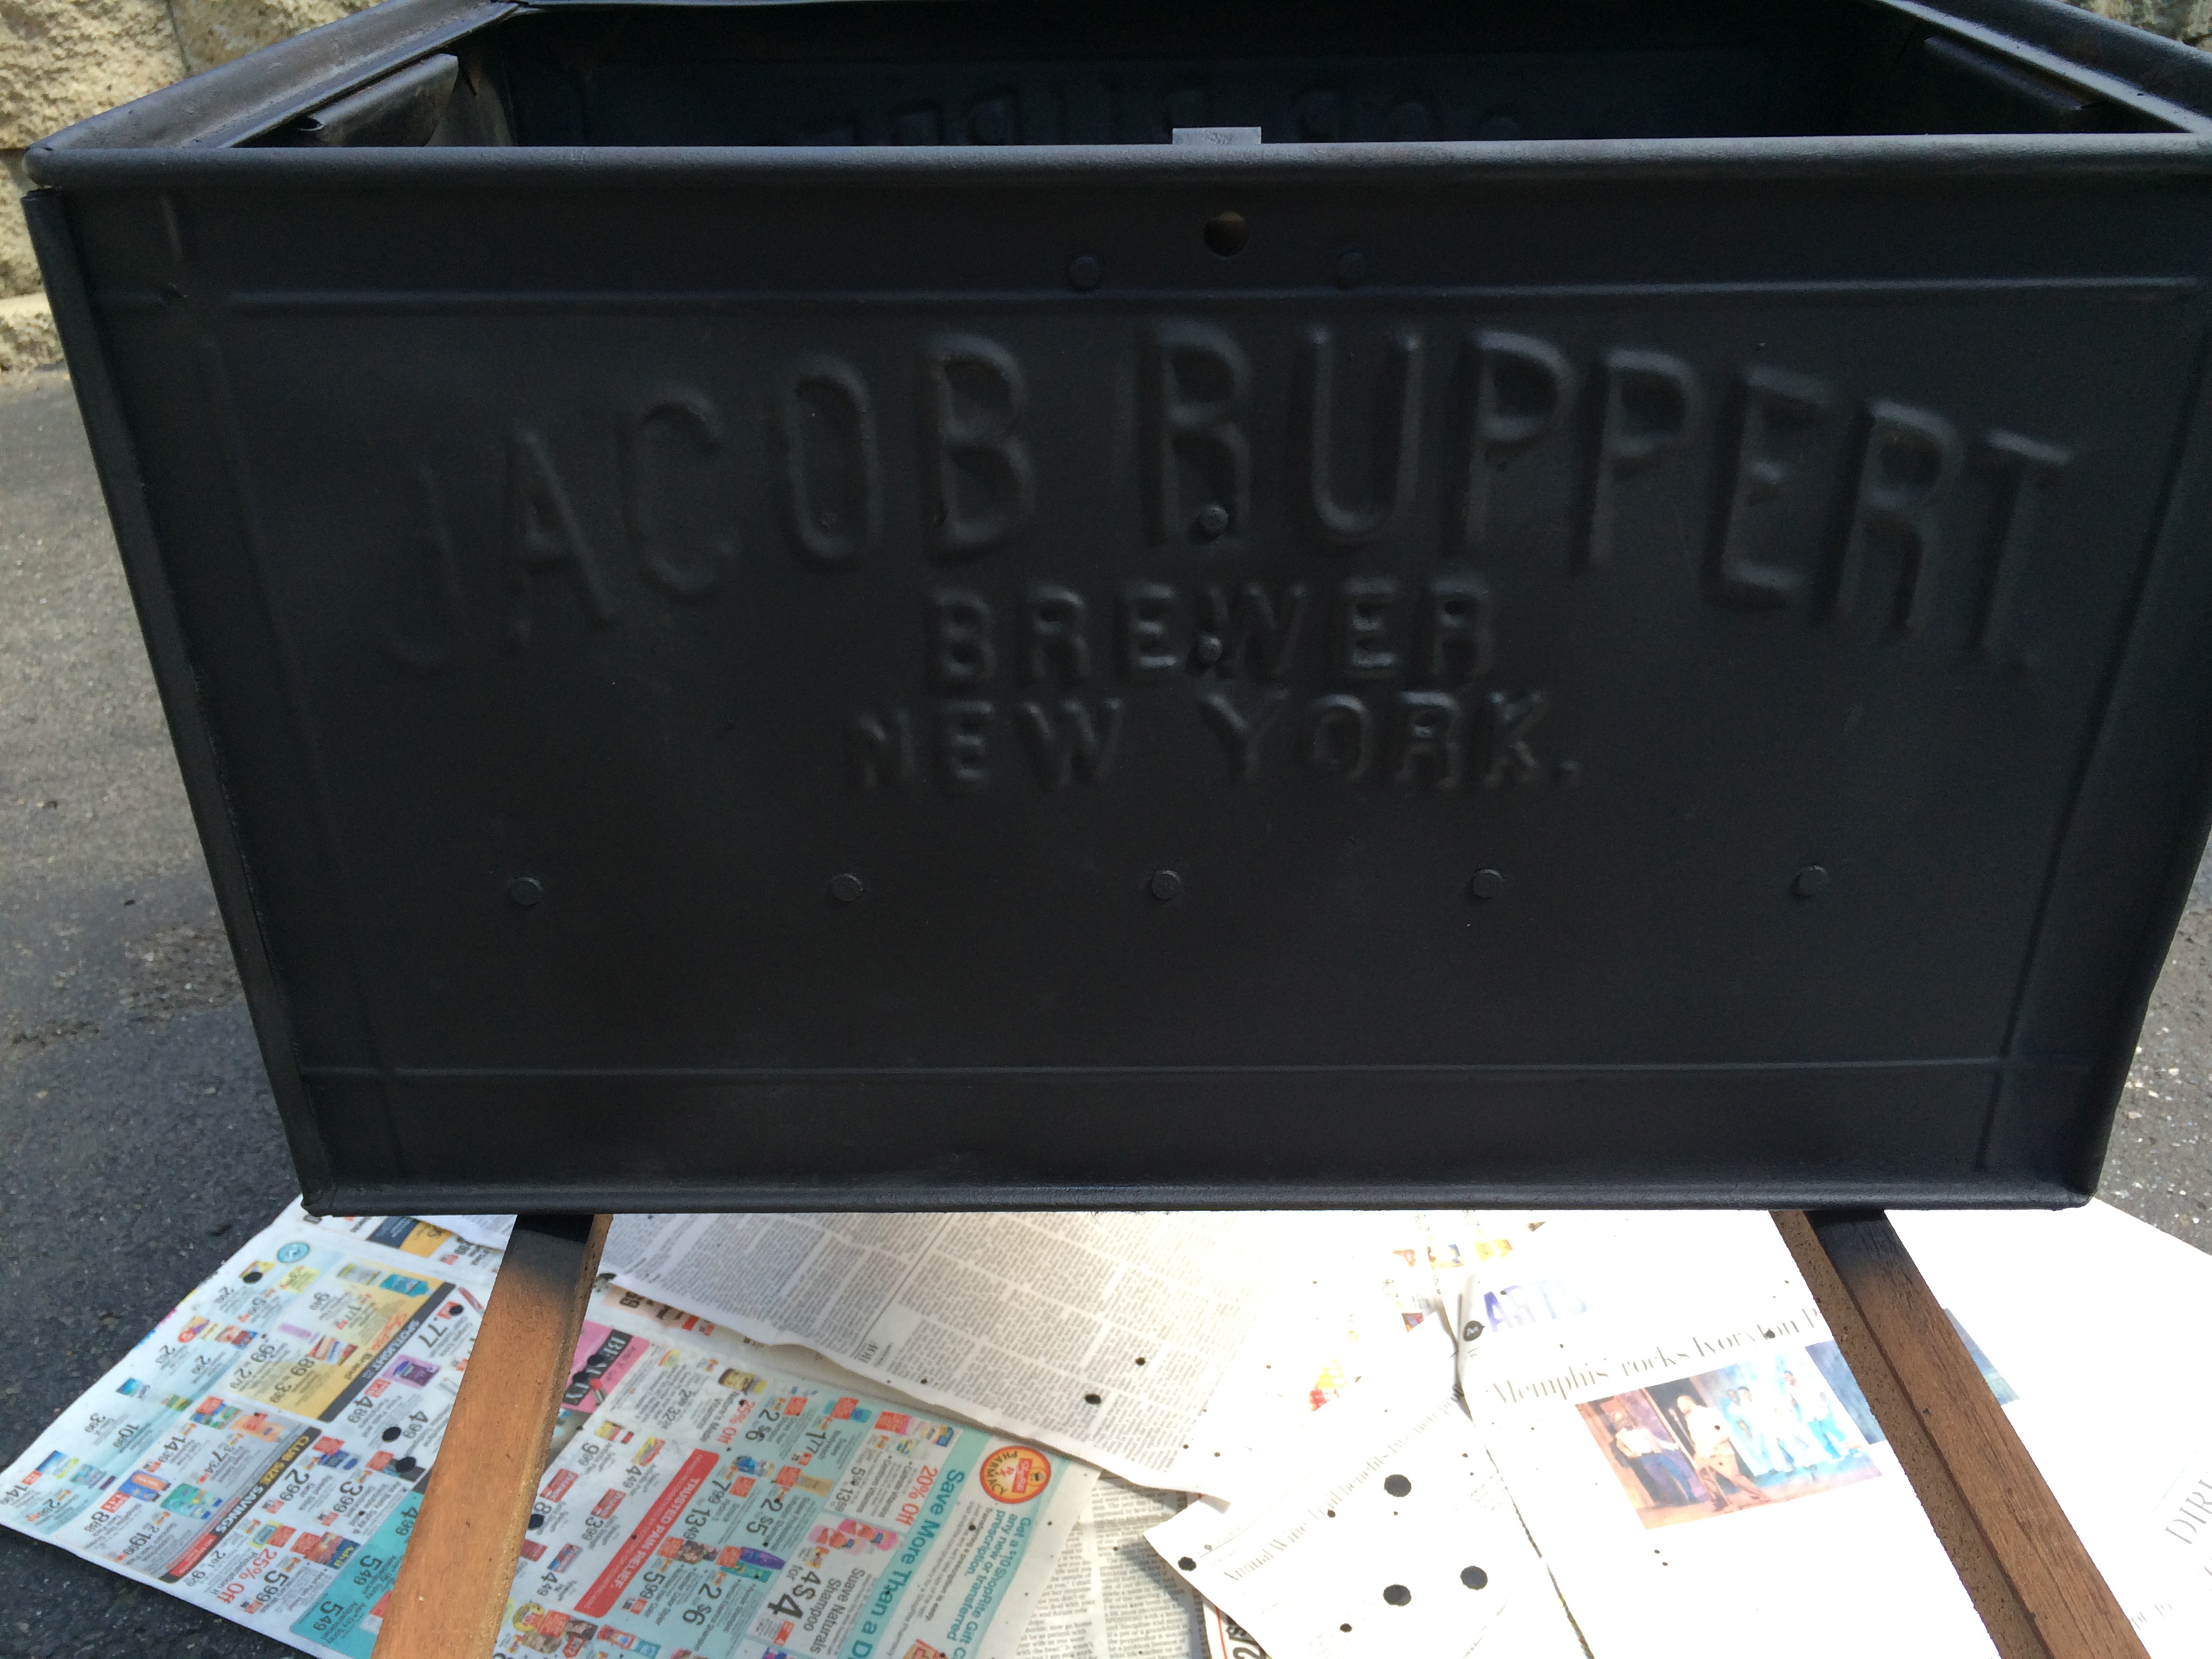
As we were walking back up to the front of the store, I had to take one more walk through the area and as I was approaching the cash register, I saw this metal box. When I opened it, it was full of old glass bottles. The owner told me that the beer box was from a company that served beer to Yankee Stadium. We thought it was really cool and it was from 1918! The beer box is from a company called Jacob Ruppert Brewery. When I got home I did a search on the company and it turns out that the beer wasn’t just sold at Yankee Stadium, the owner of the brewery was the second owner of the New York Yankees and was the one responsible for turning them into a successful franchise and acquiring players like Babe Ruth. That made this item even better!
BEFORE:
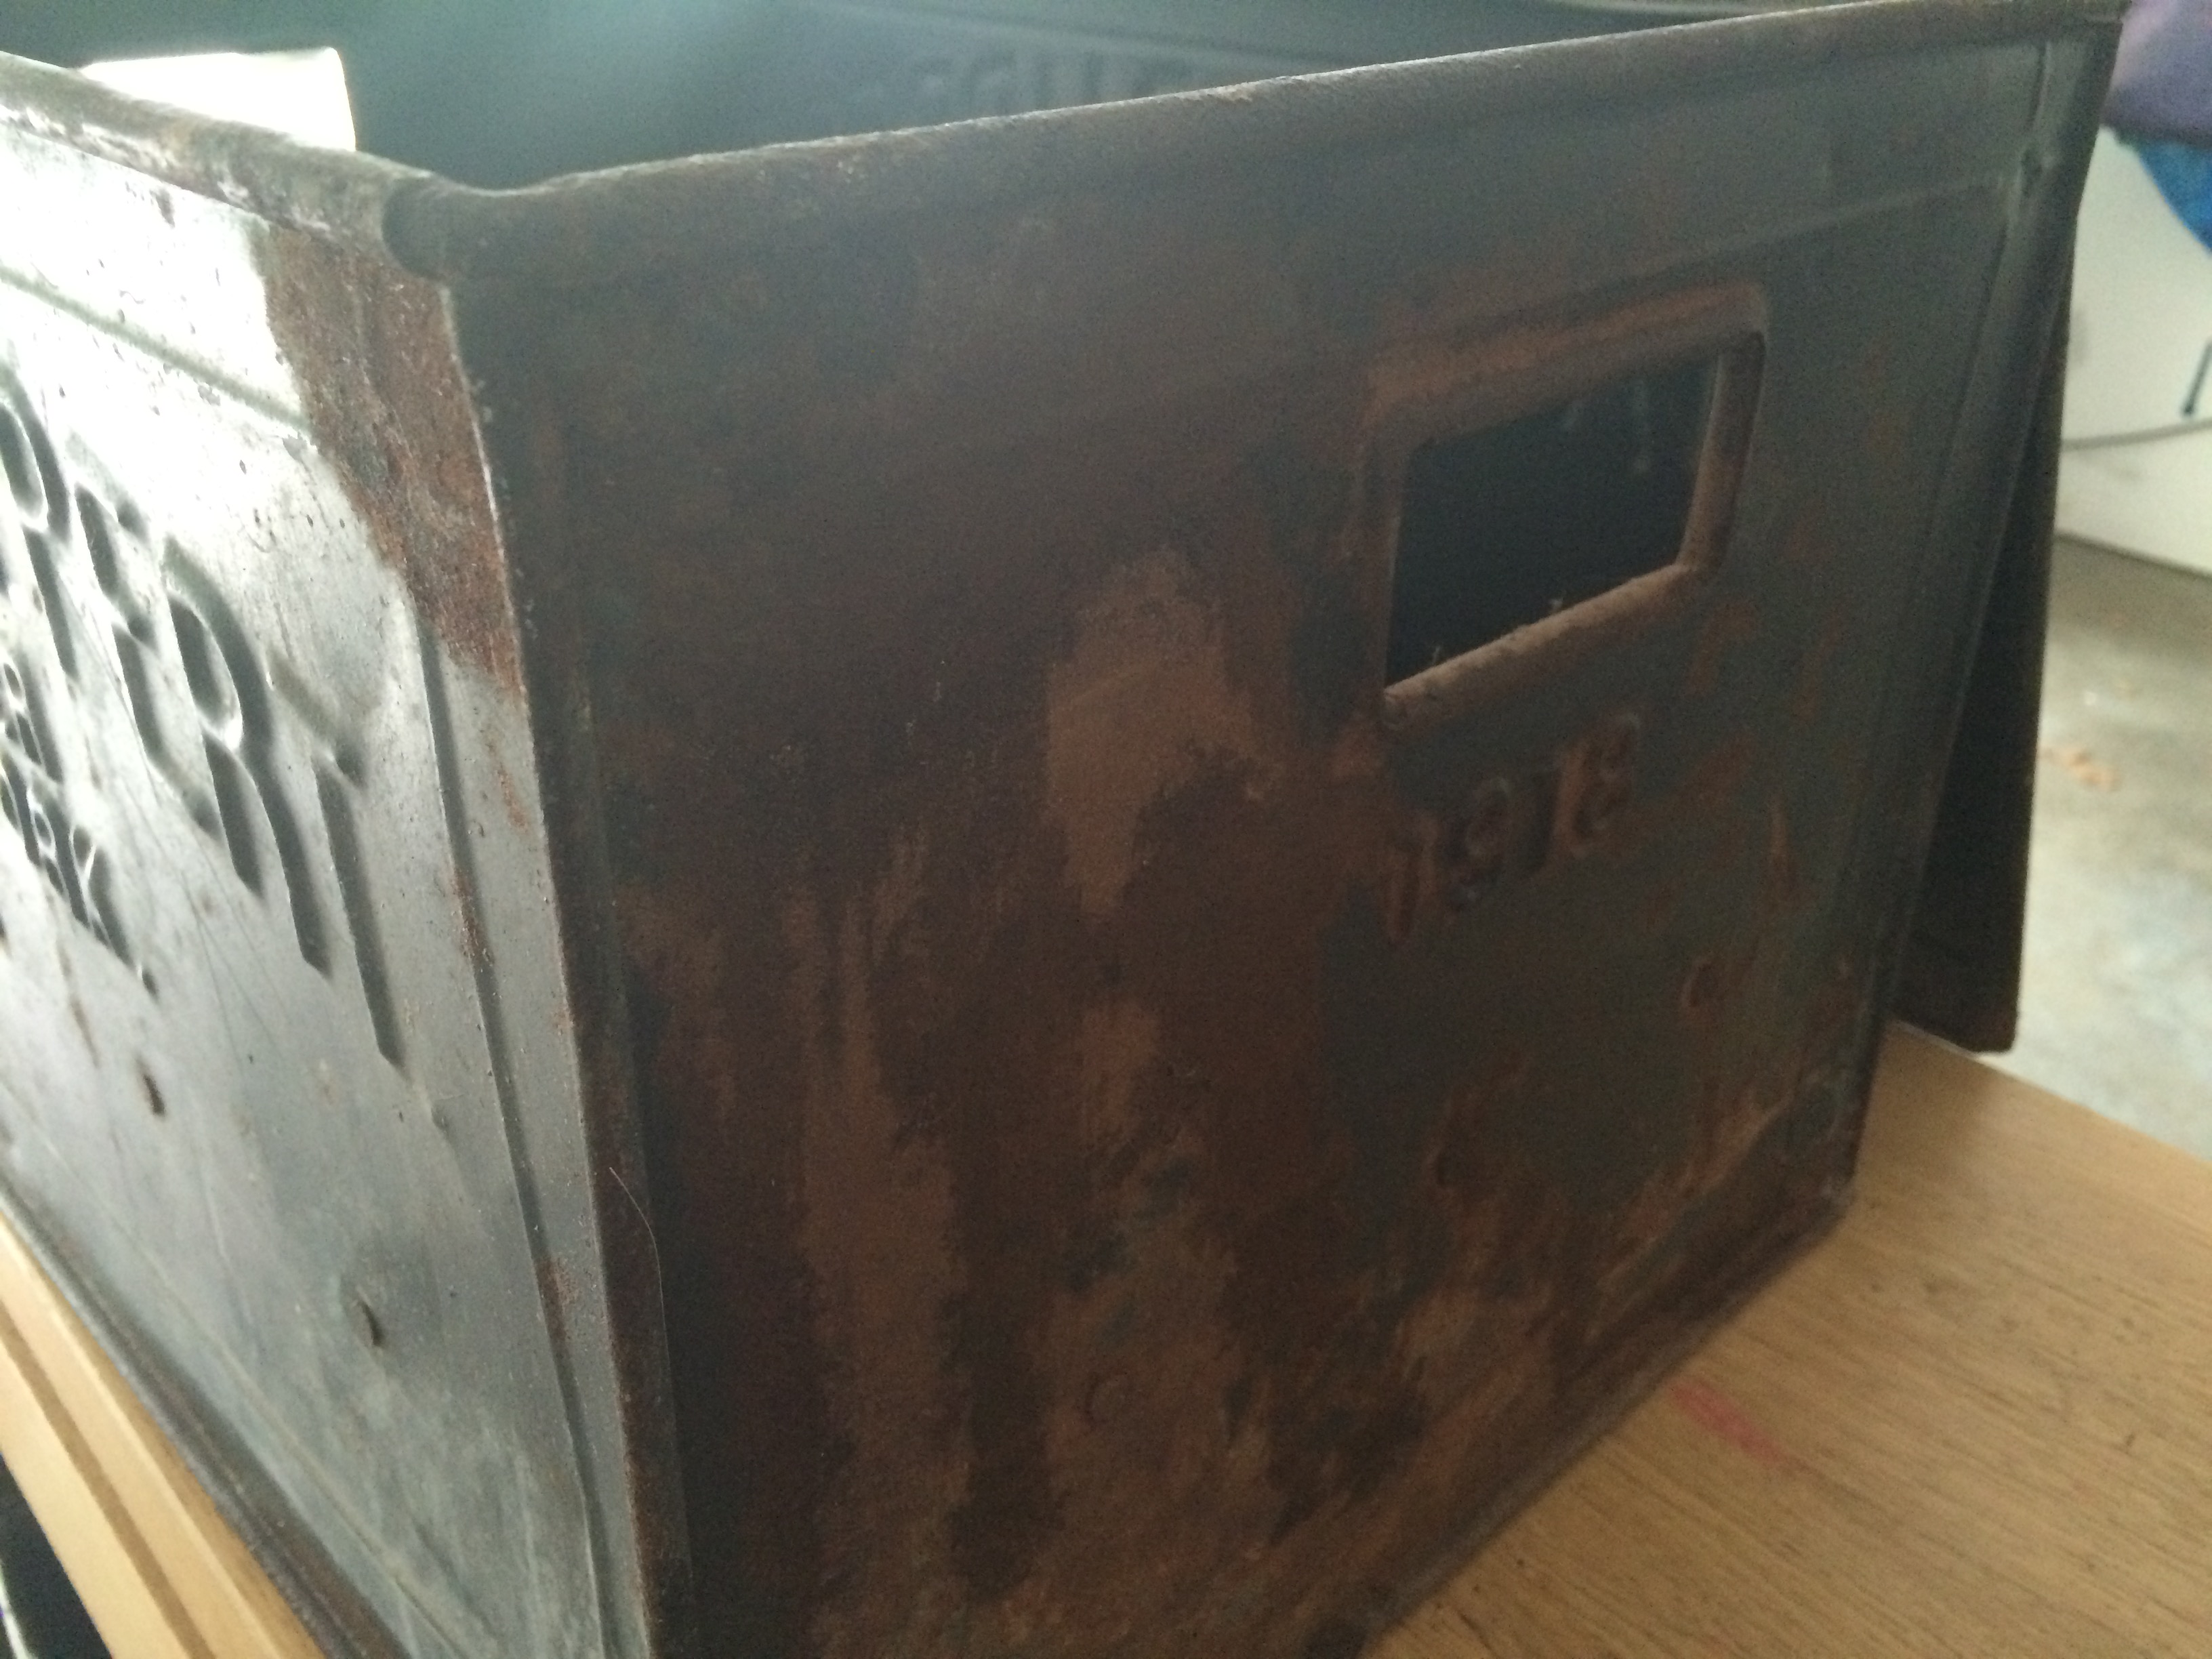

The box was a bit rusted on one side and dirty. I first cleaned it with soap and water. Then I used Rust-oleum Rust Reformer to spray over the rusted areas before spray painting.

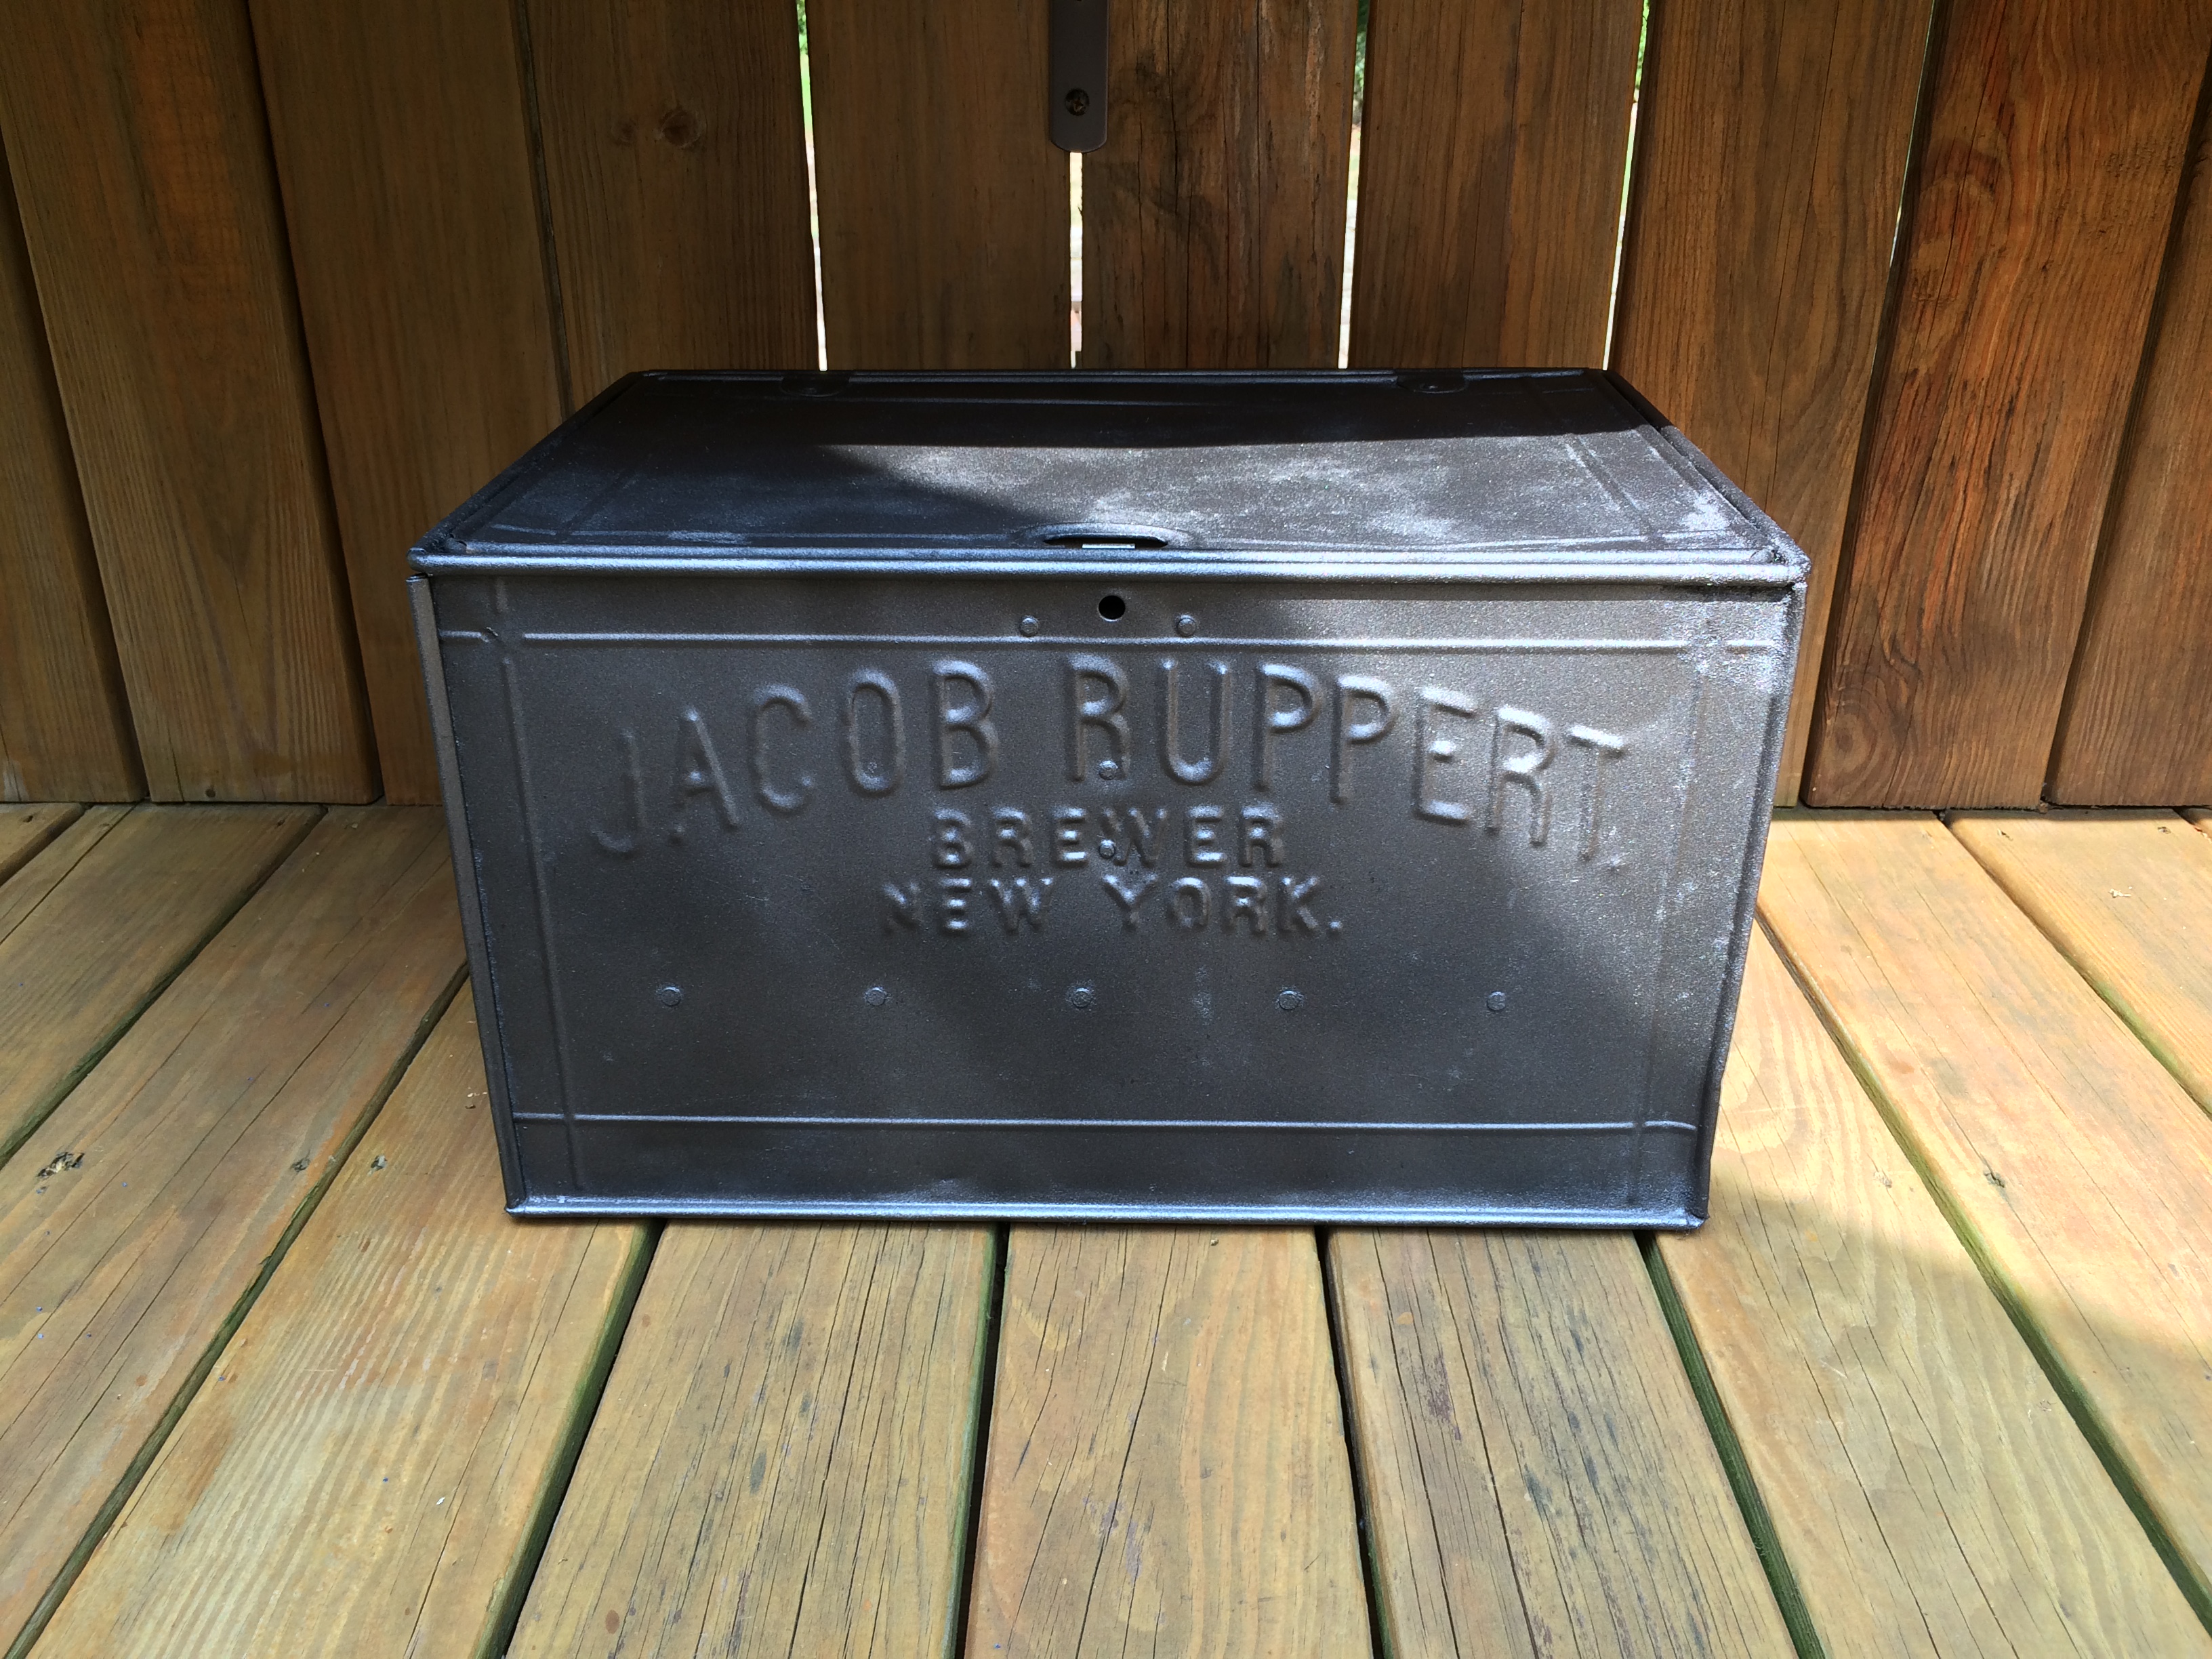
I wanted to keep the original look to the box, but it was hard to find a gray metallic color. I finally found Rust-oleum Metallic Primer and Paint. When I first sprayed it on, I wasn’t so sure I liked it because there was kind of a shimmer to it, but once it dried I actually really liked it. The box came back to life.

AFTER:


Finally, while walking through, literally a junk yard, I saw this metal shelf. It was a bit dented and the owner had sprayed a rust colored rust preventative paint on some of it and it had a live bee hive inside. But, I liked it. You could see the some of the original color on it and that really appealed to me. I didn’t really know what I would do with this, but I liked it enough to buy it and figure it out. Unfortunately, I forgot to take a picture of it before I painted it, but wouldn’t you know searching through my photos I found one I must have taken by accident and you can get the idea of what it looked like.
BEFORE:
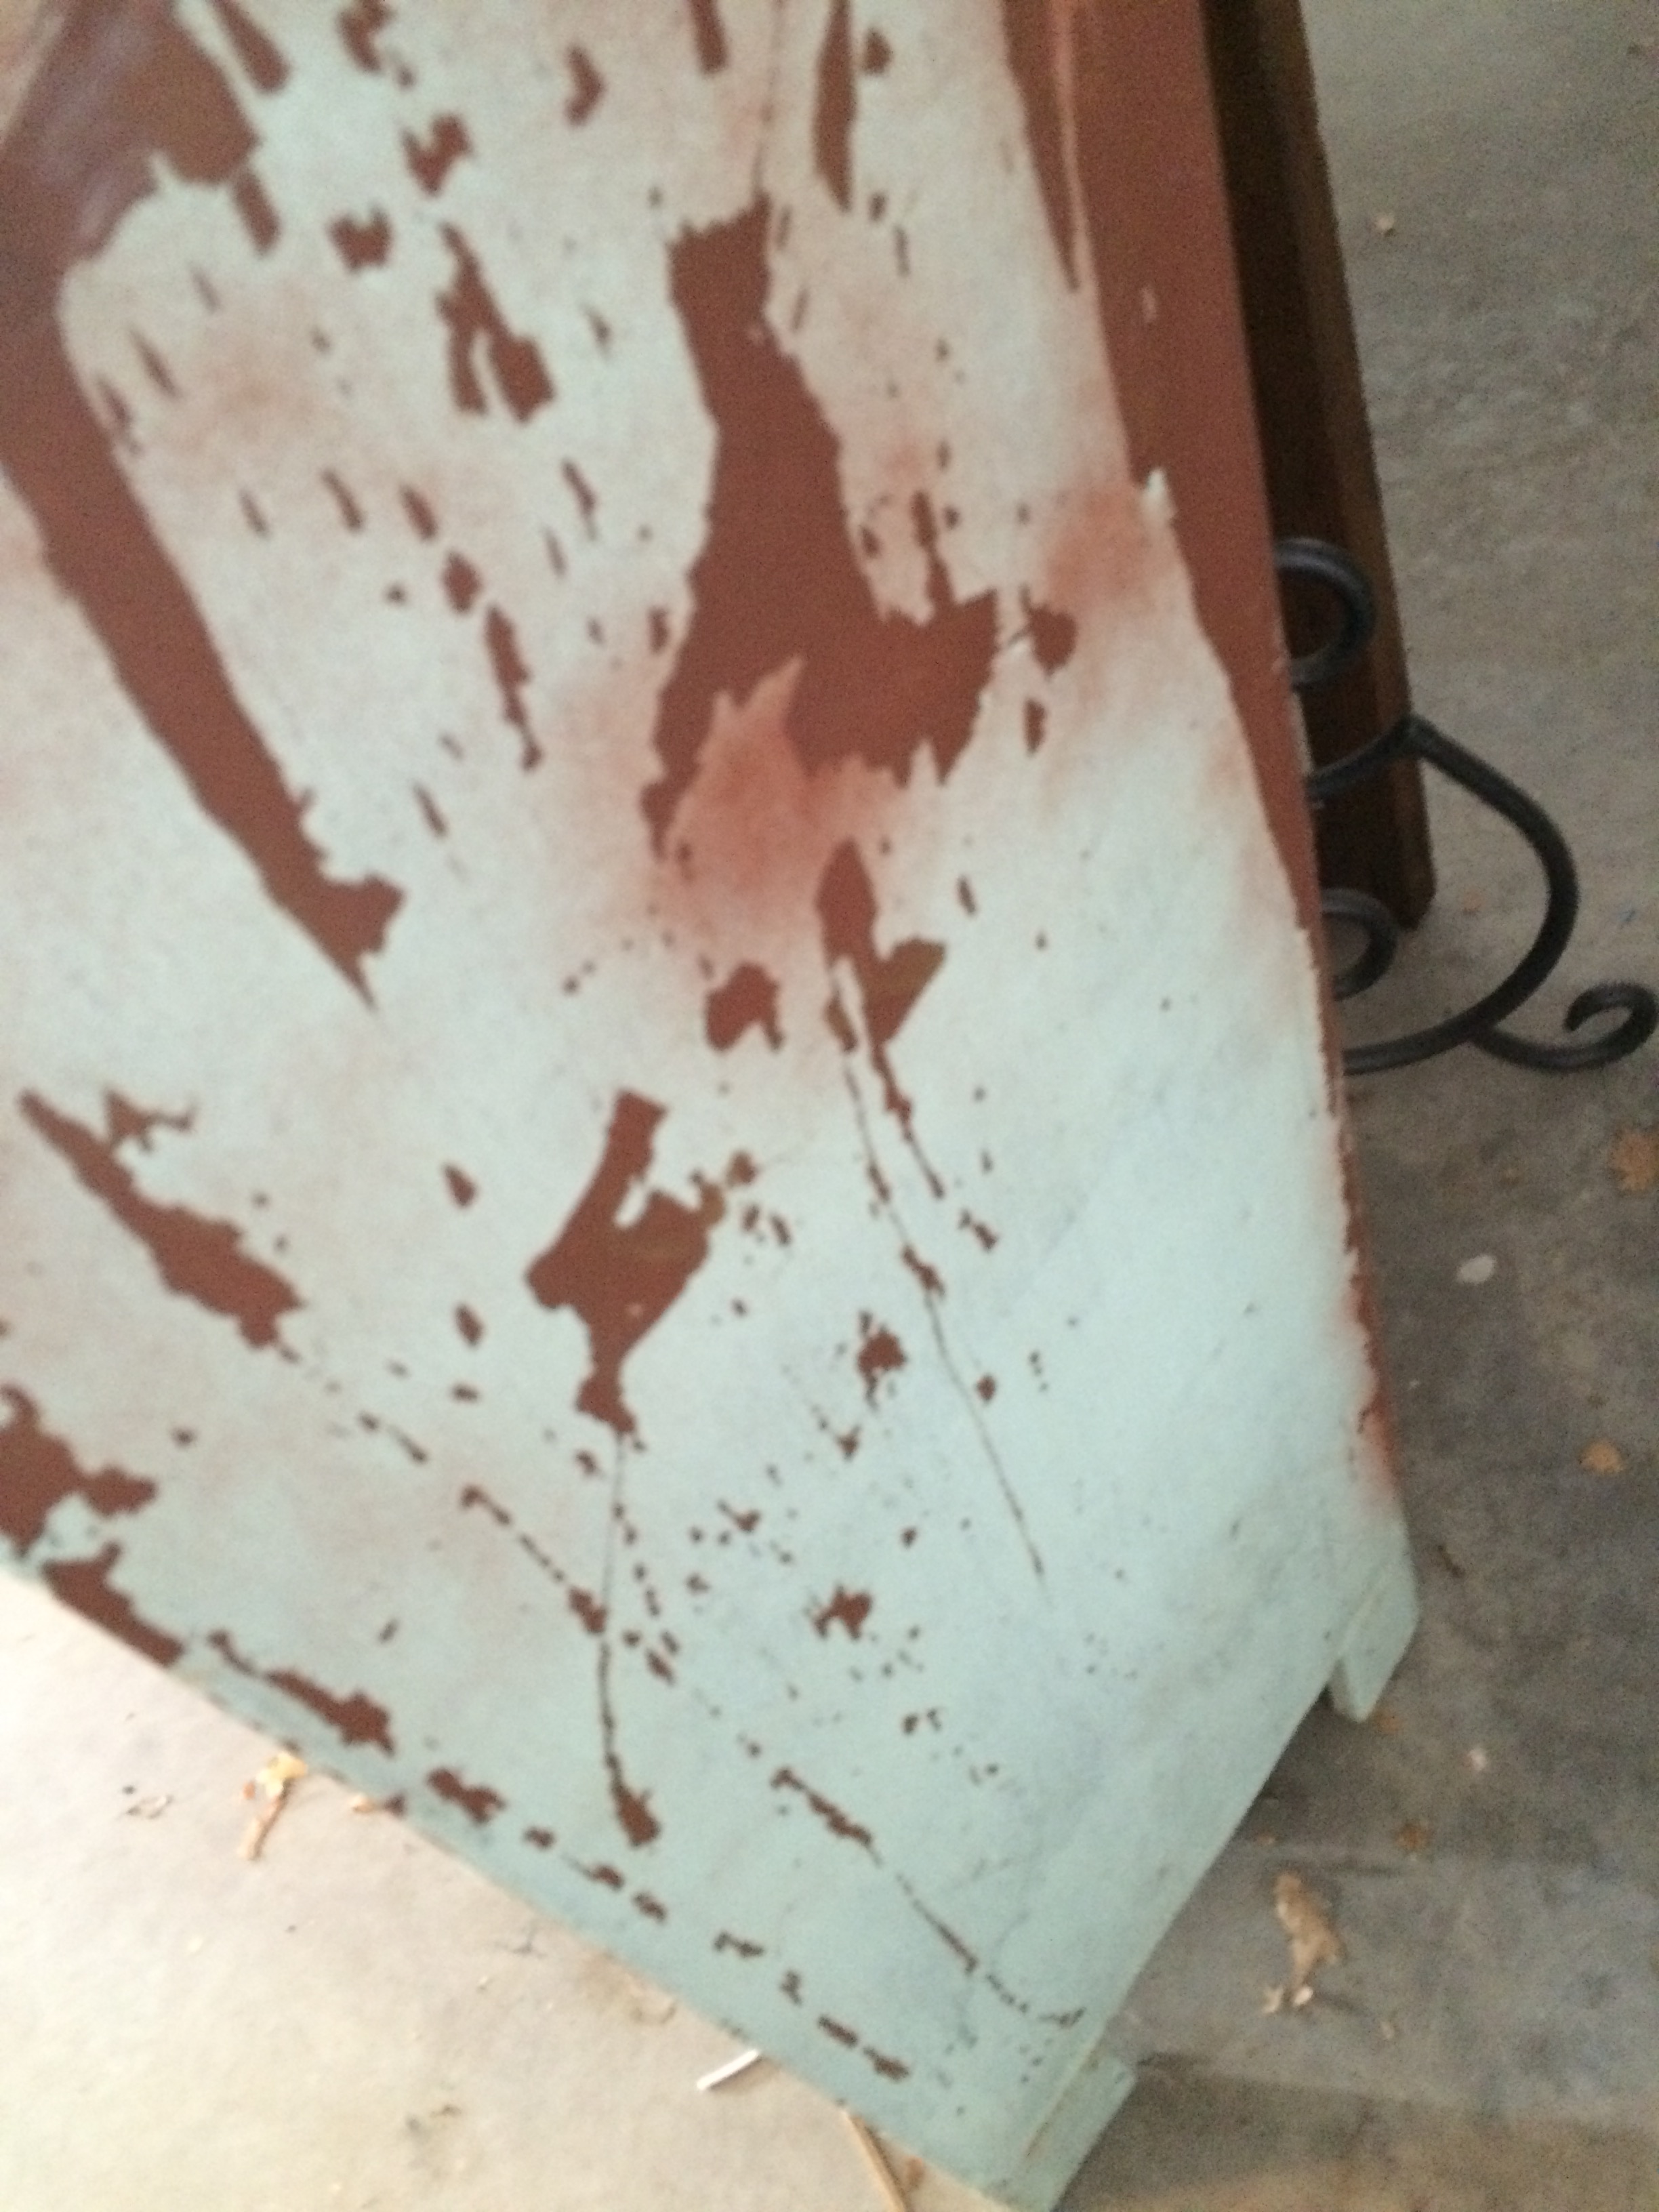
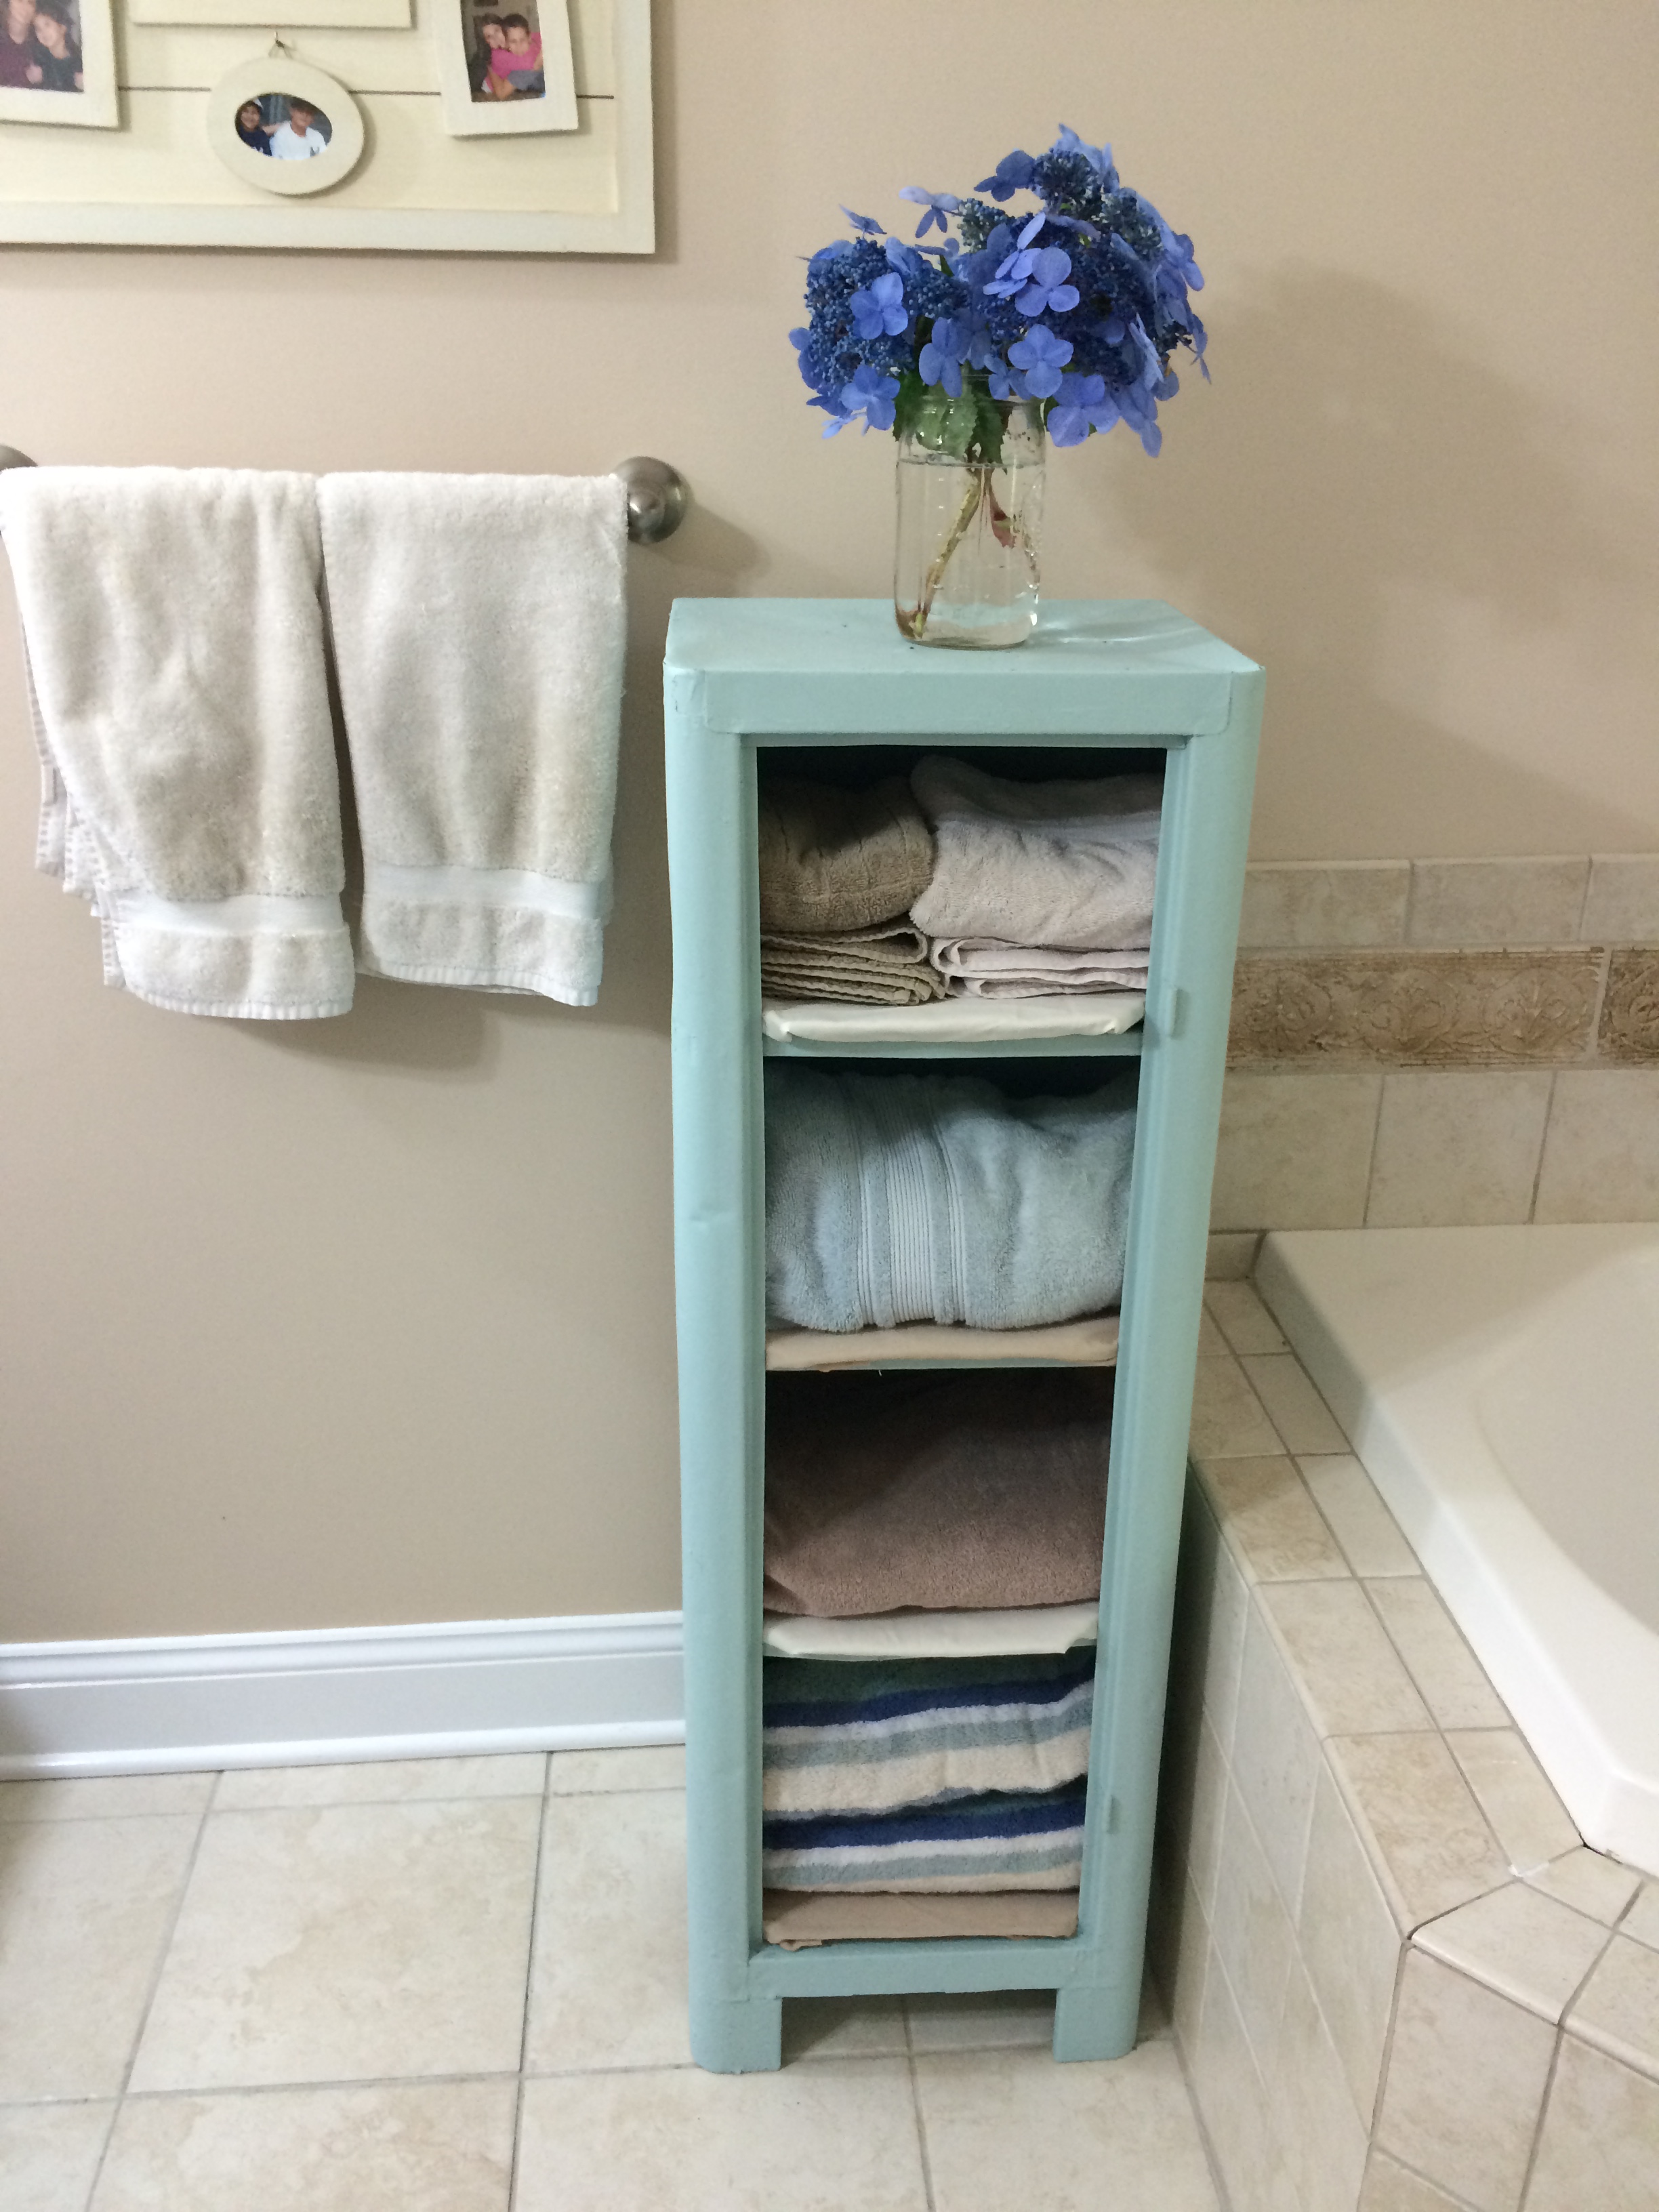
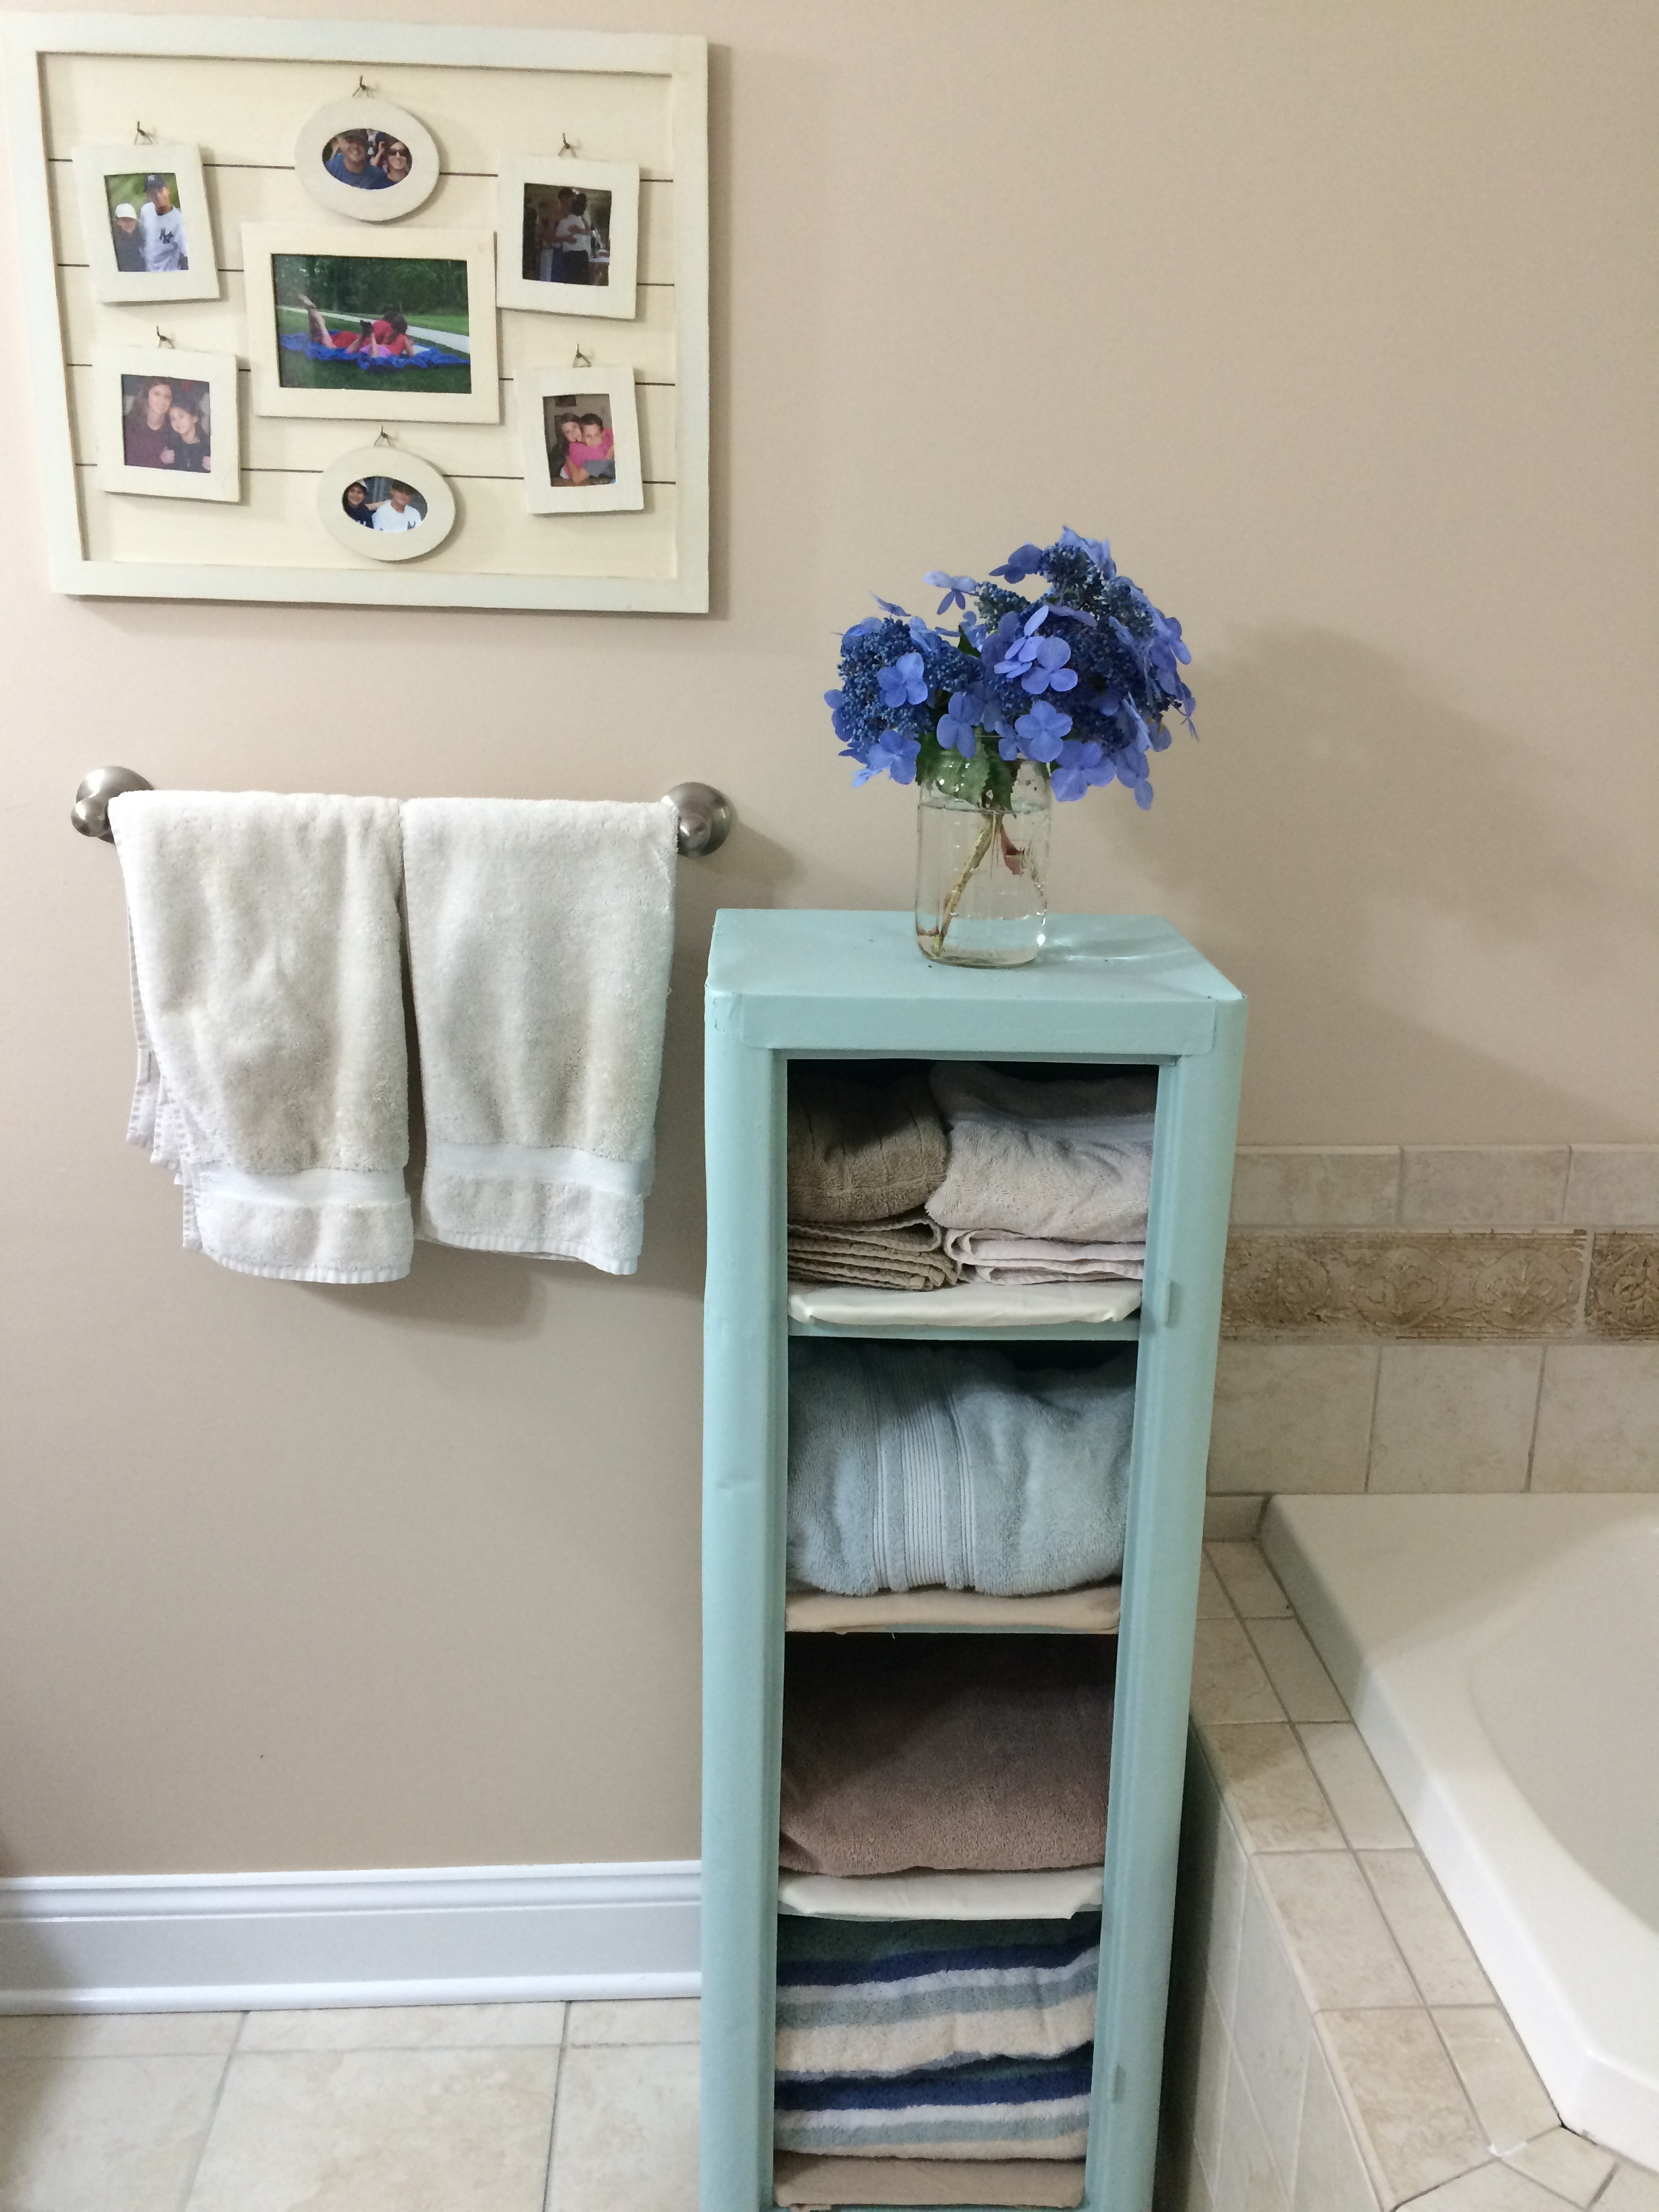
I hosed it down numerous times and cleaned out the years of outside “stuff” it had collected, including spiders and apparently most of the bee hive- I thought the owner took it out- thank goodness there were no bees in there. I liked the way the Rust-Oleum product I used on the metal box sprayed on, the trigger was easy to use and the paint sprayed very evenly. So I went to Home Depot and bought that spray paint in the color of “robin’s egg”. After using four cans of spray paint and multiple coats, it looked really good! I made shelf liners by covering and hot gluing fabric to pieces of cardboard I cut out to fit the shelves. There are hinges on the side, so I would like to put a glass door on it one day. I decided to use it in my bathroom to hold towels and because I have a lot of this color in my bathroom anyway, it fit well!
AFTER:


Playground Playhouse Makeover
We bought a Costco playground a few years ago and it’s taken me that long to realize that there was more use we could get out of it than just swinging.
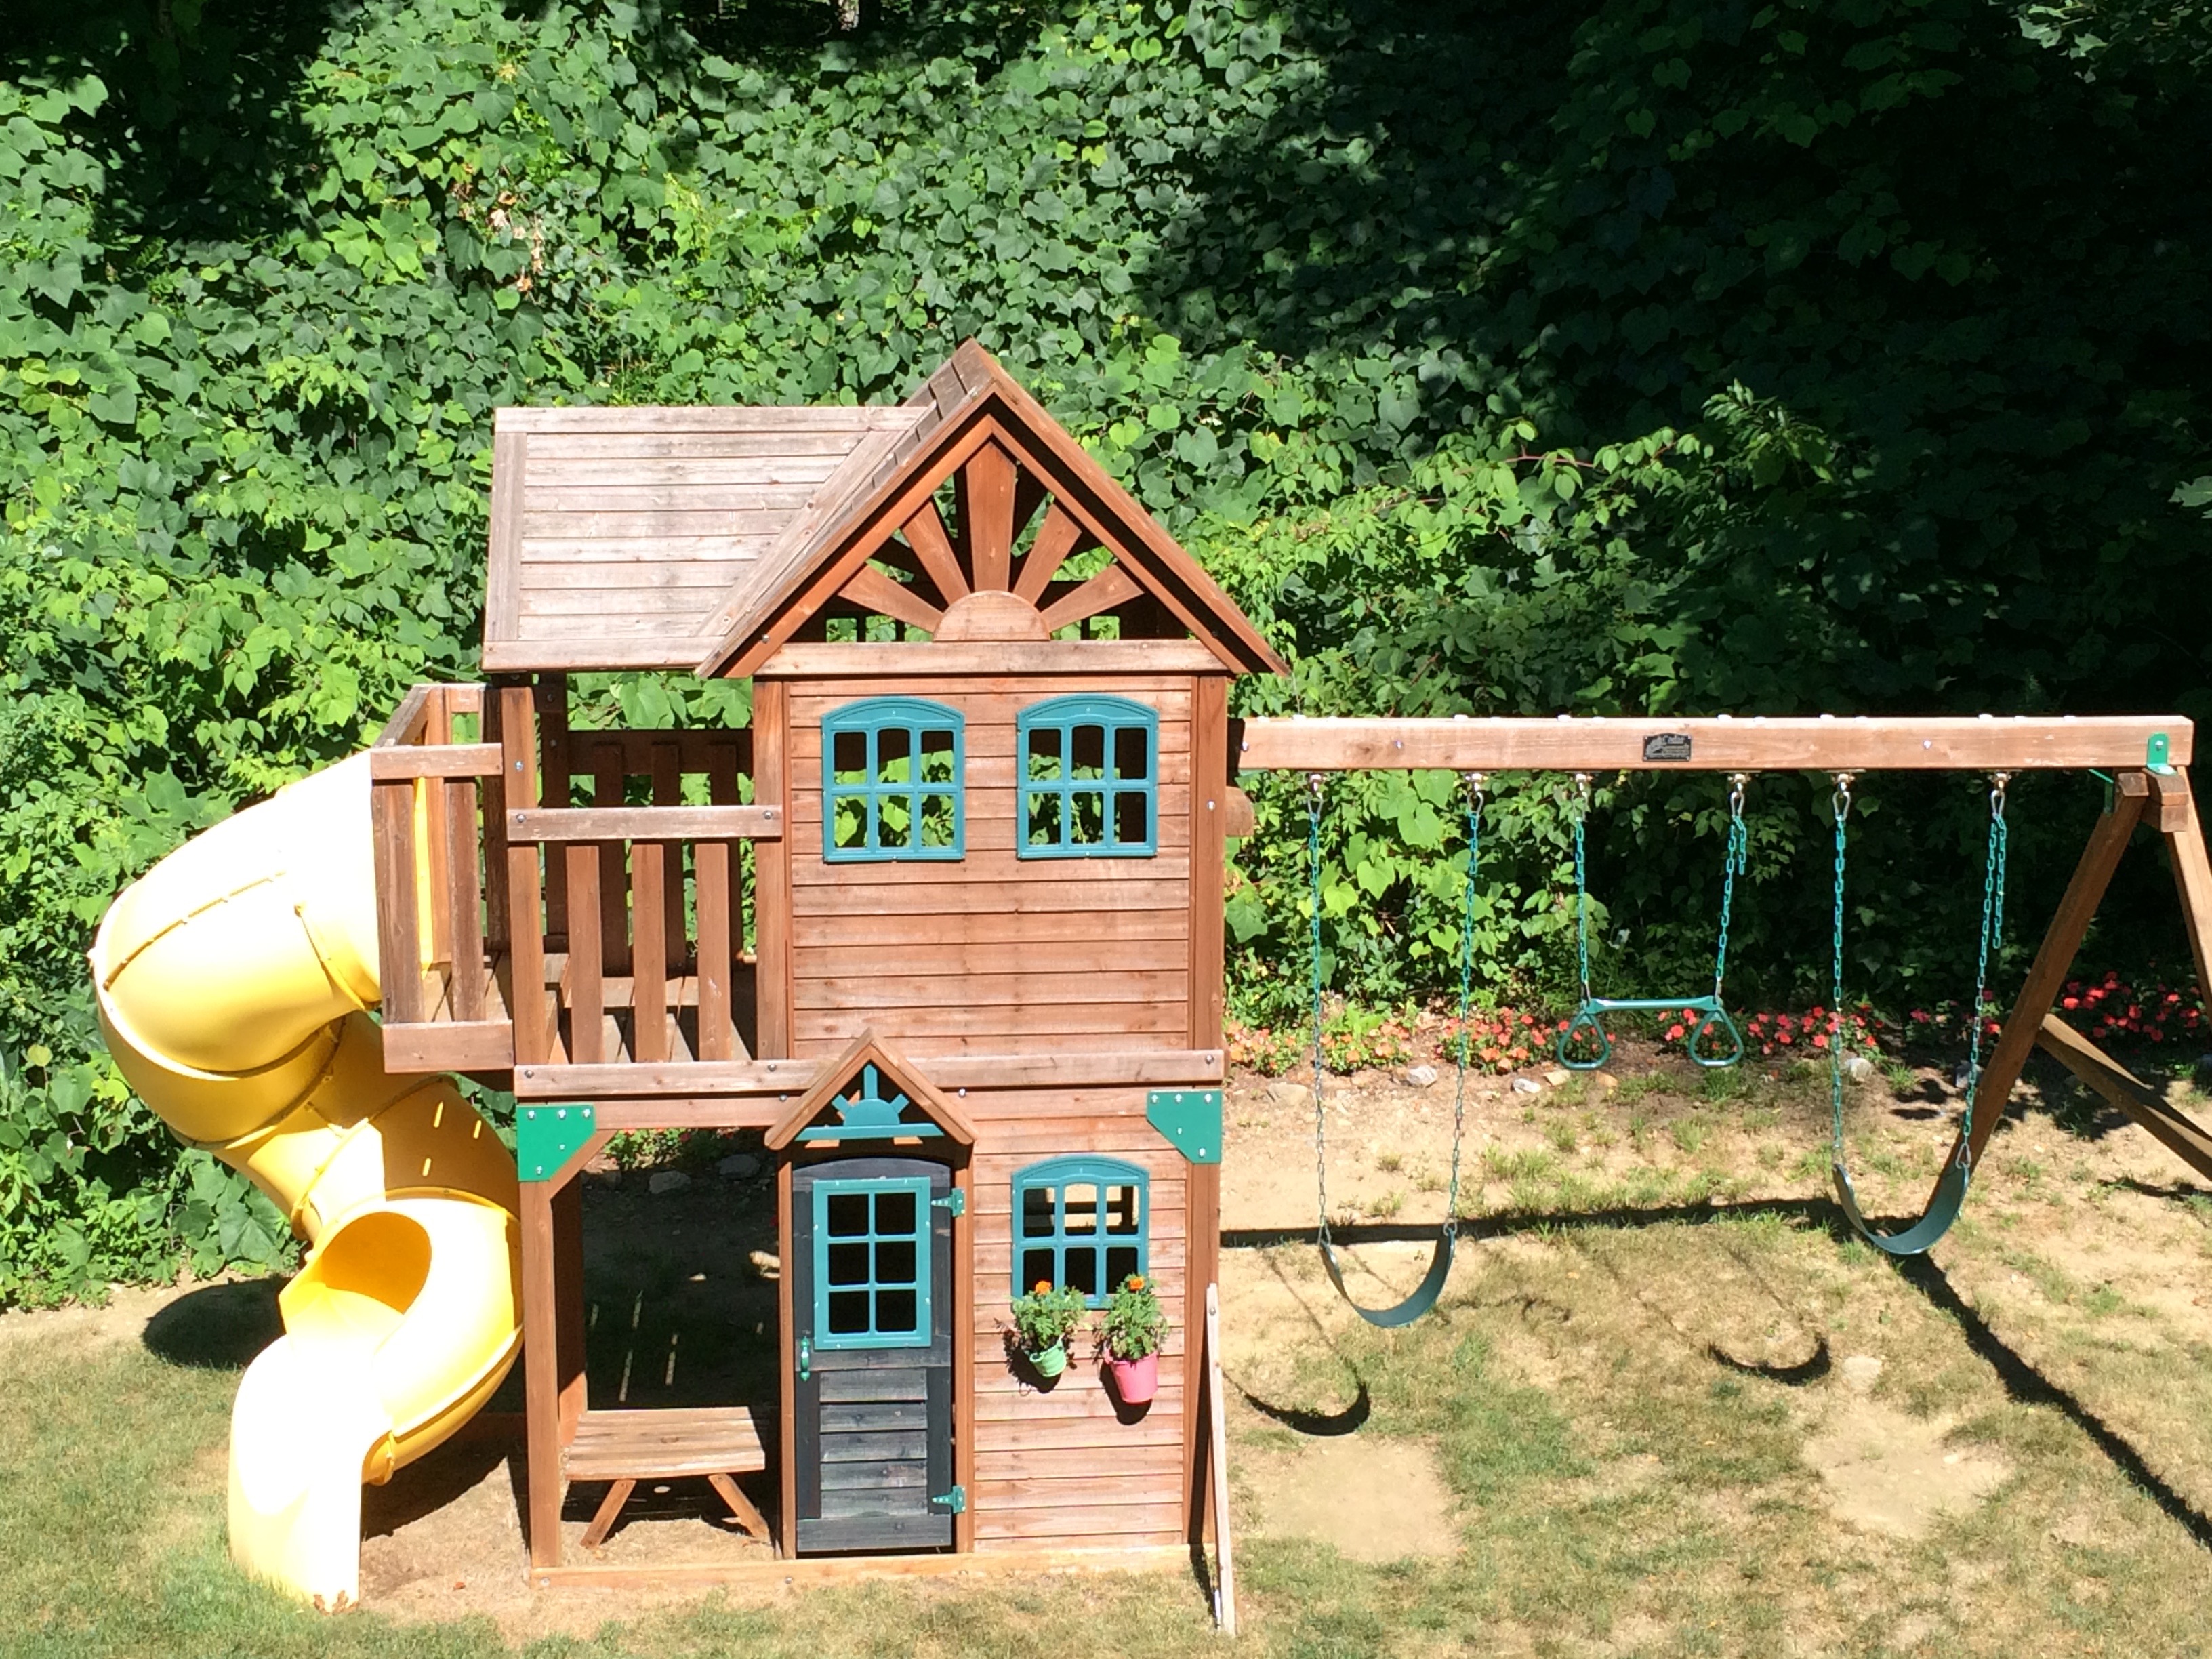
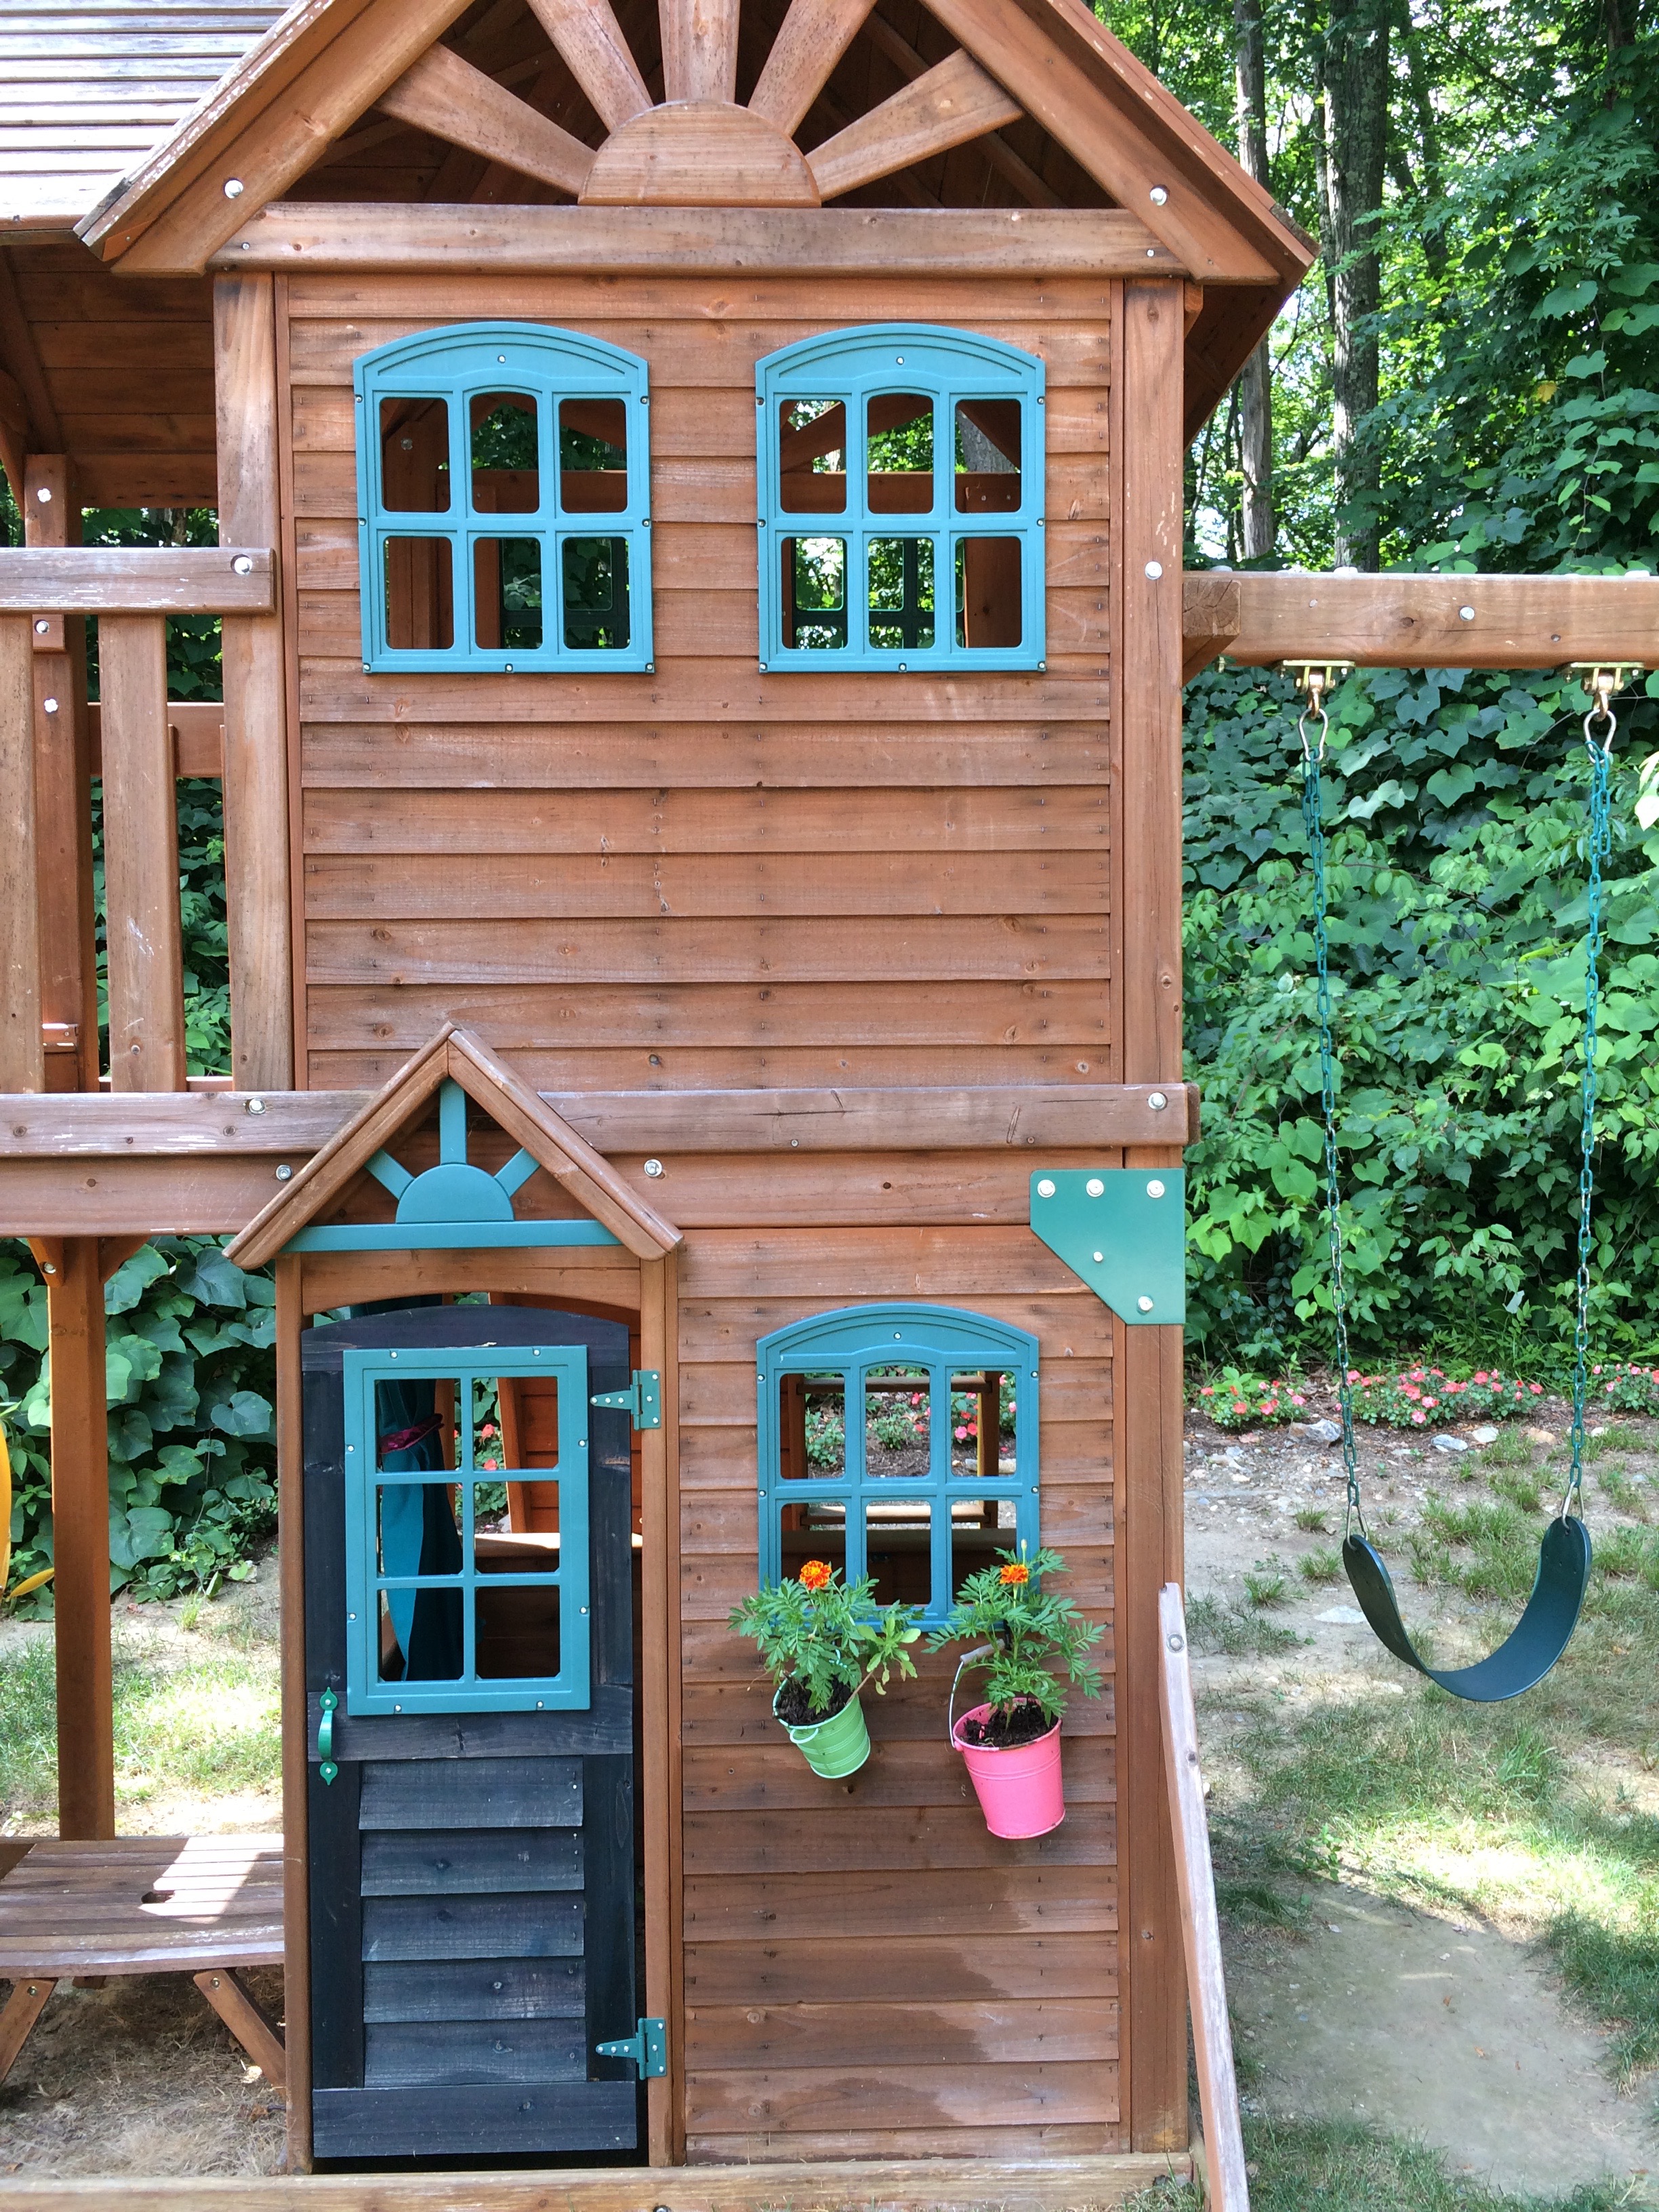

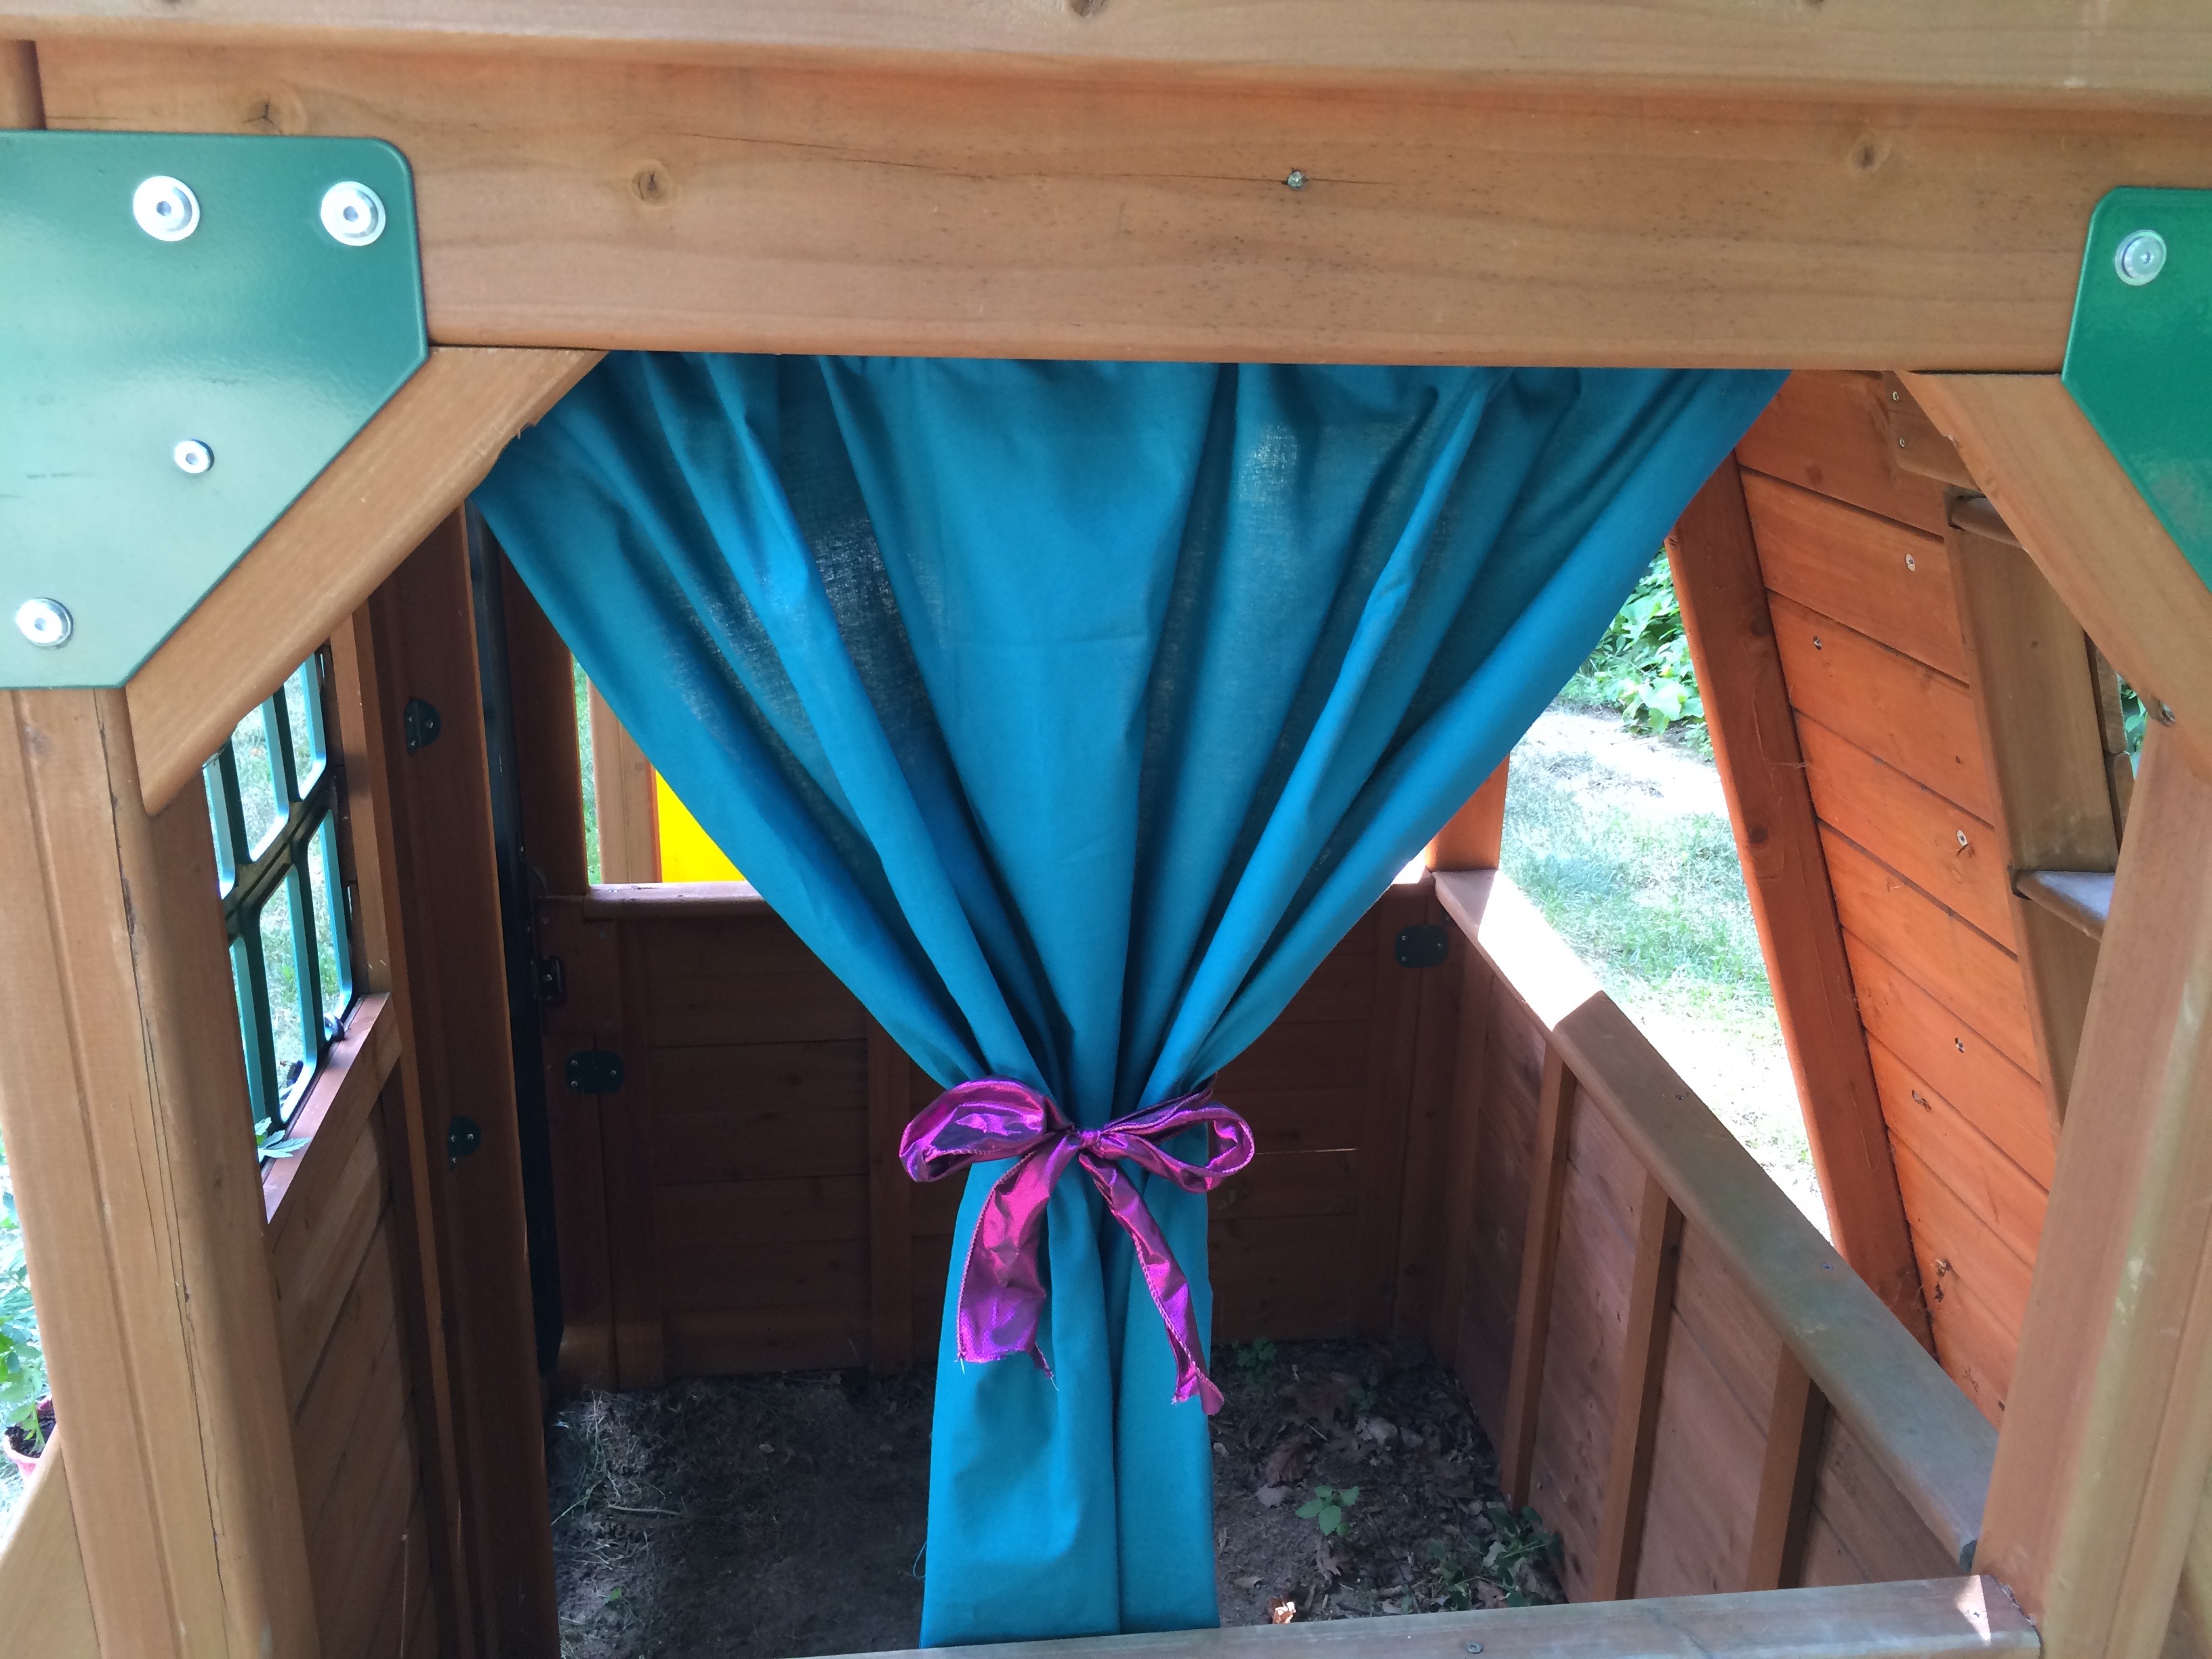
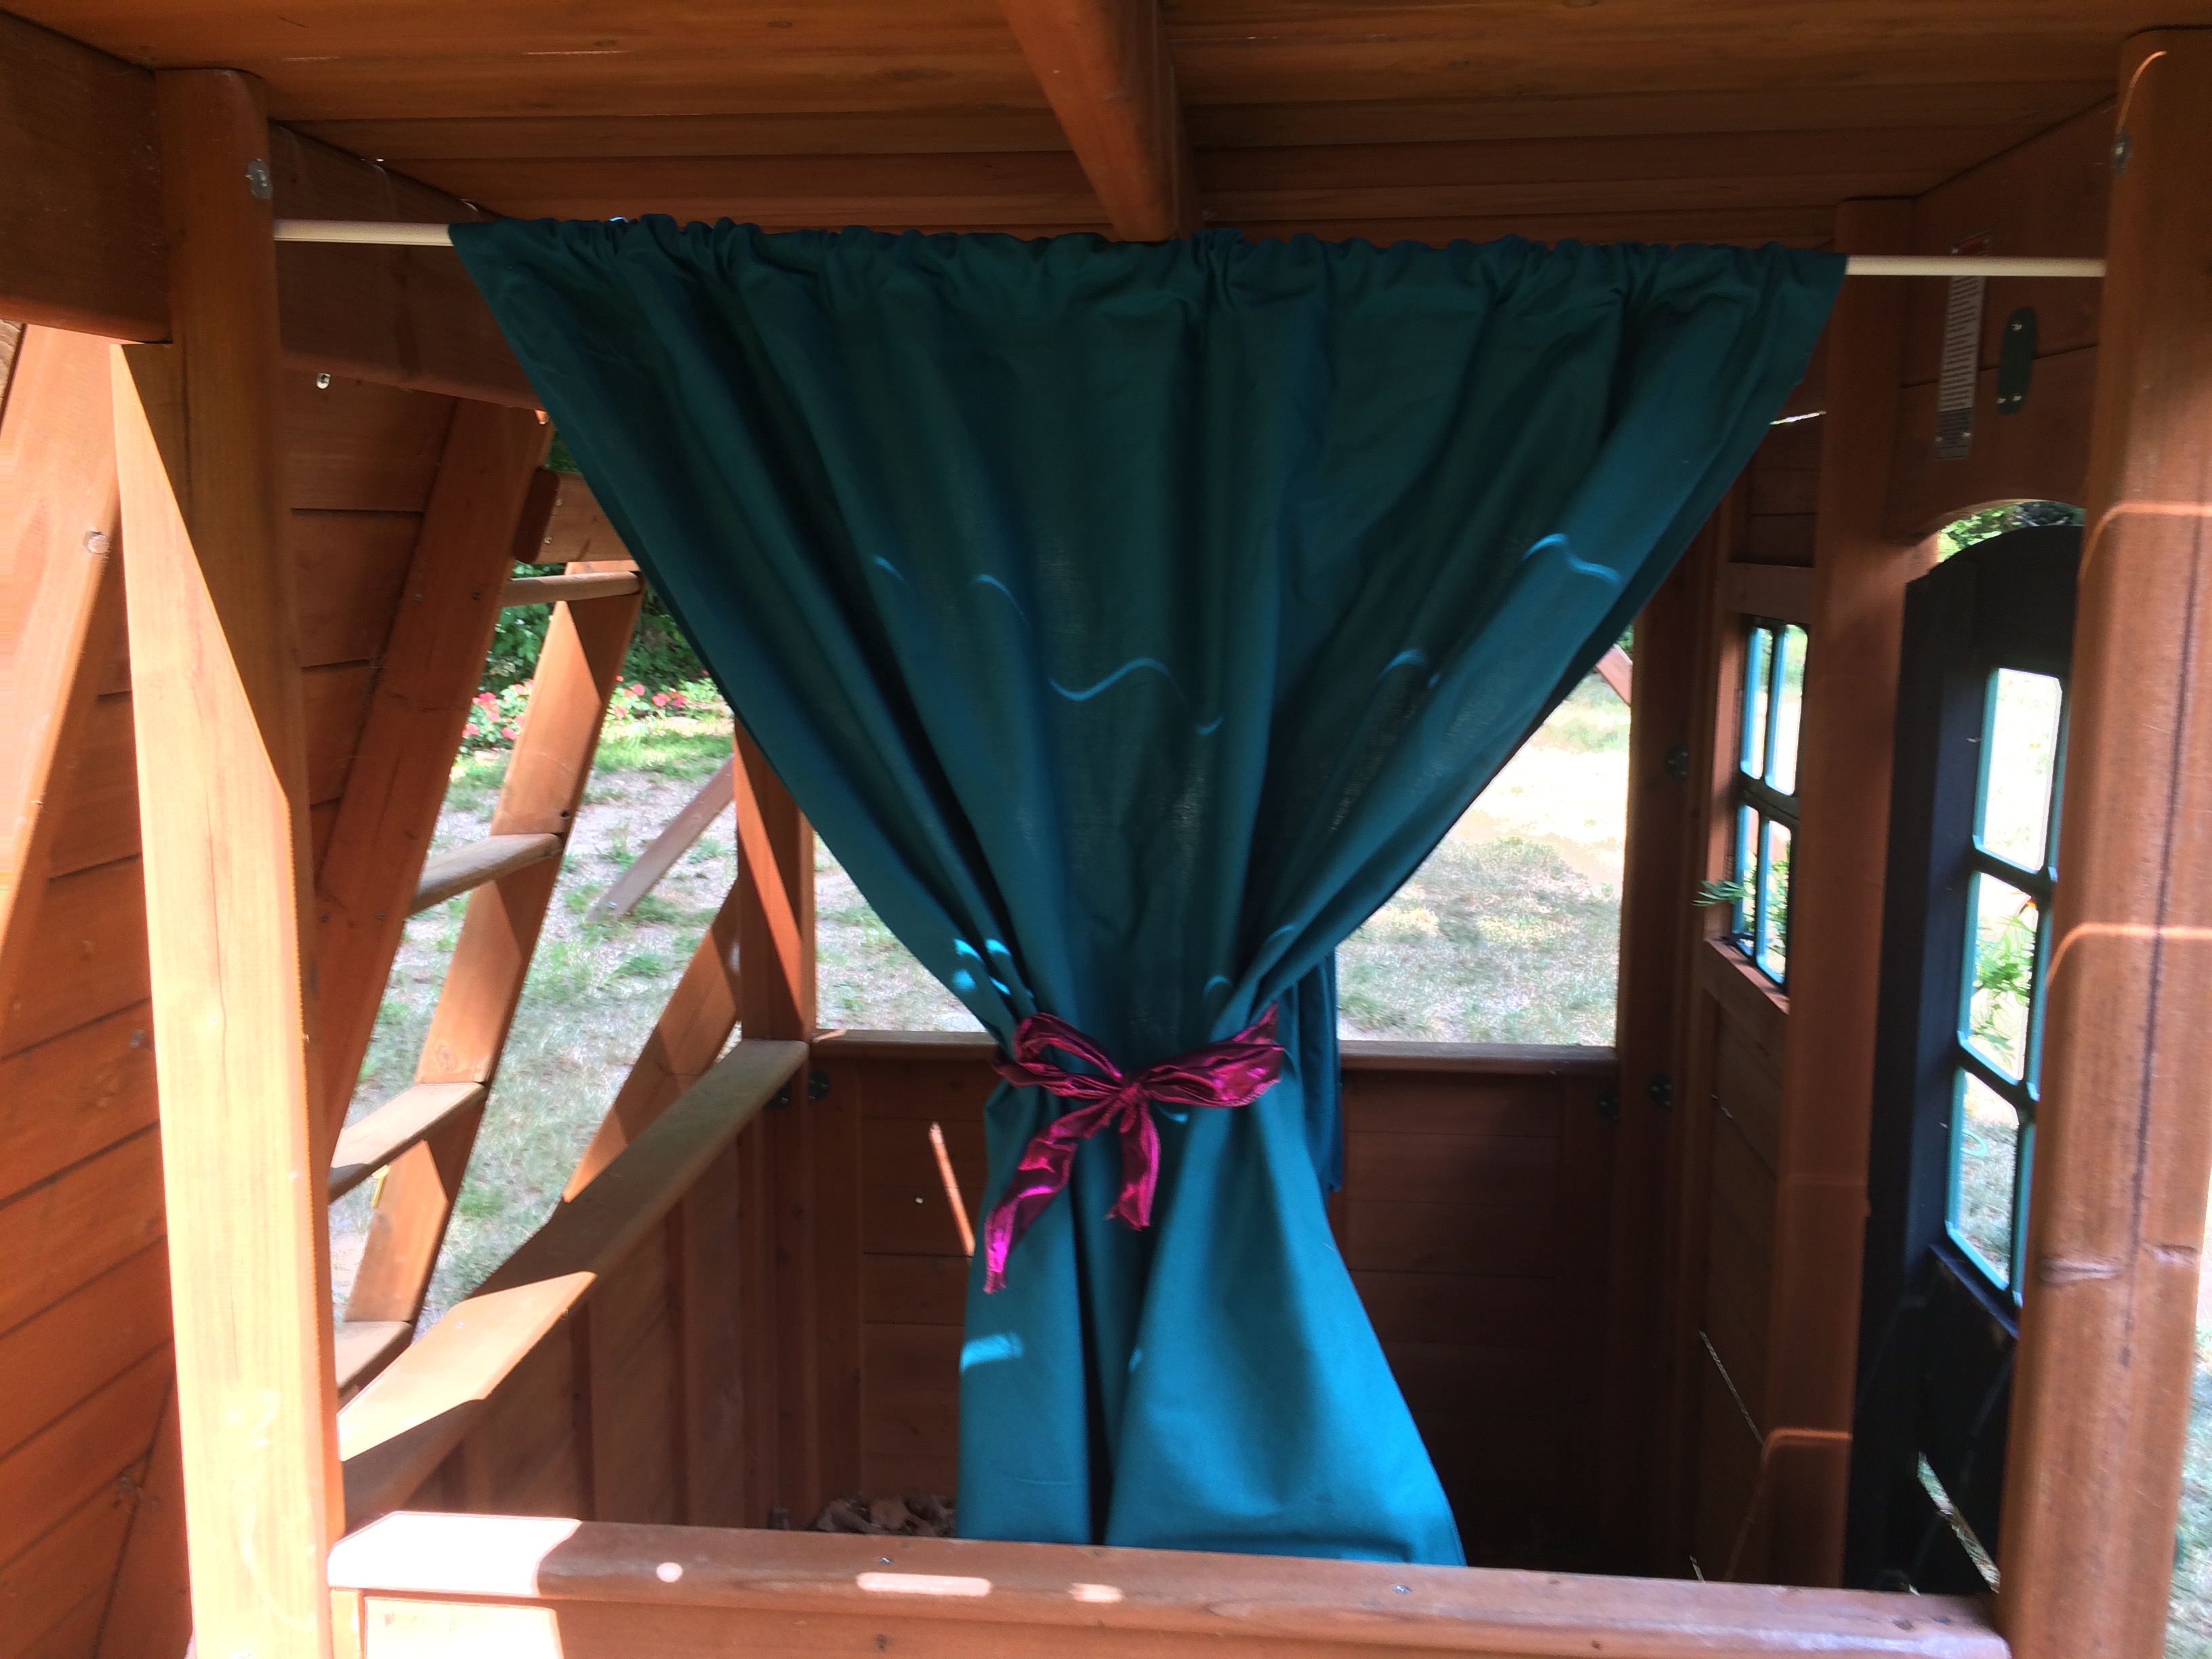
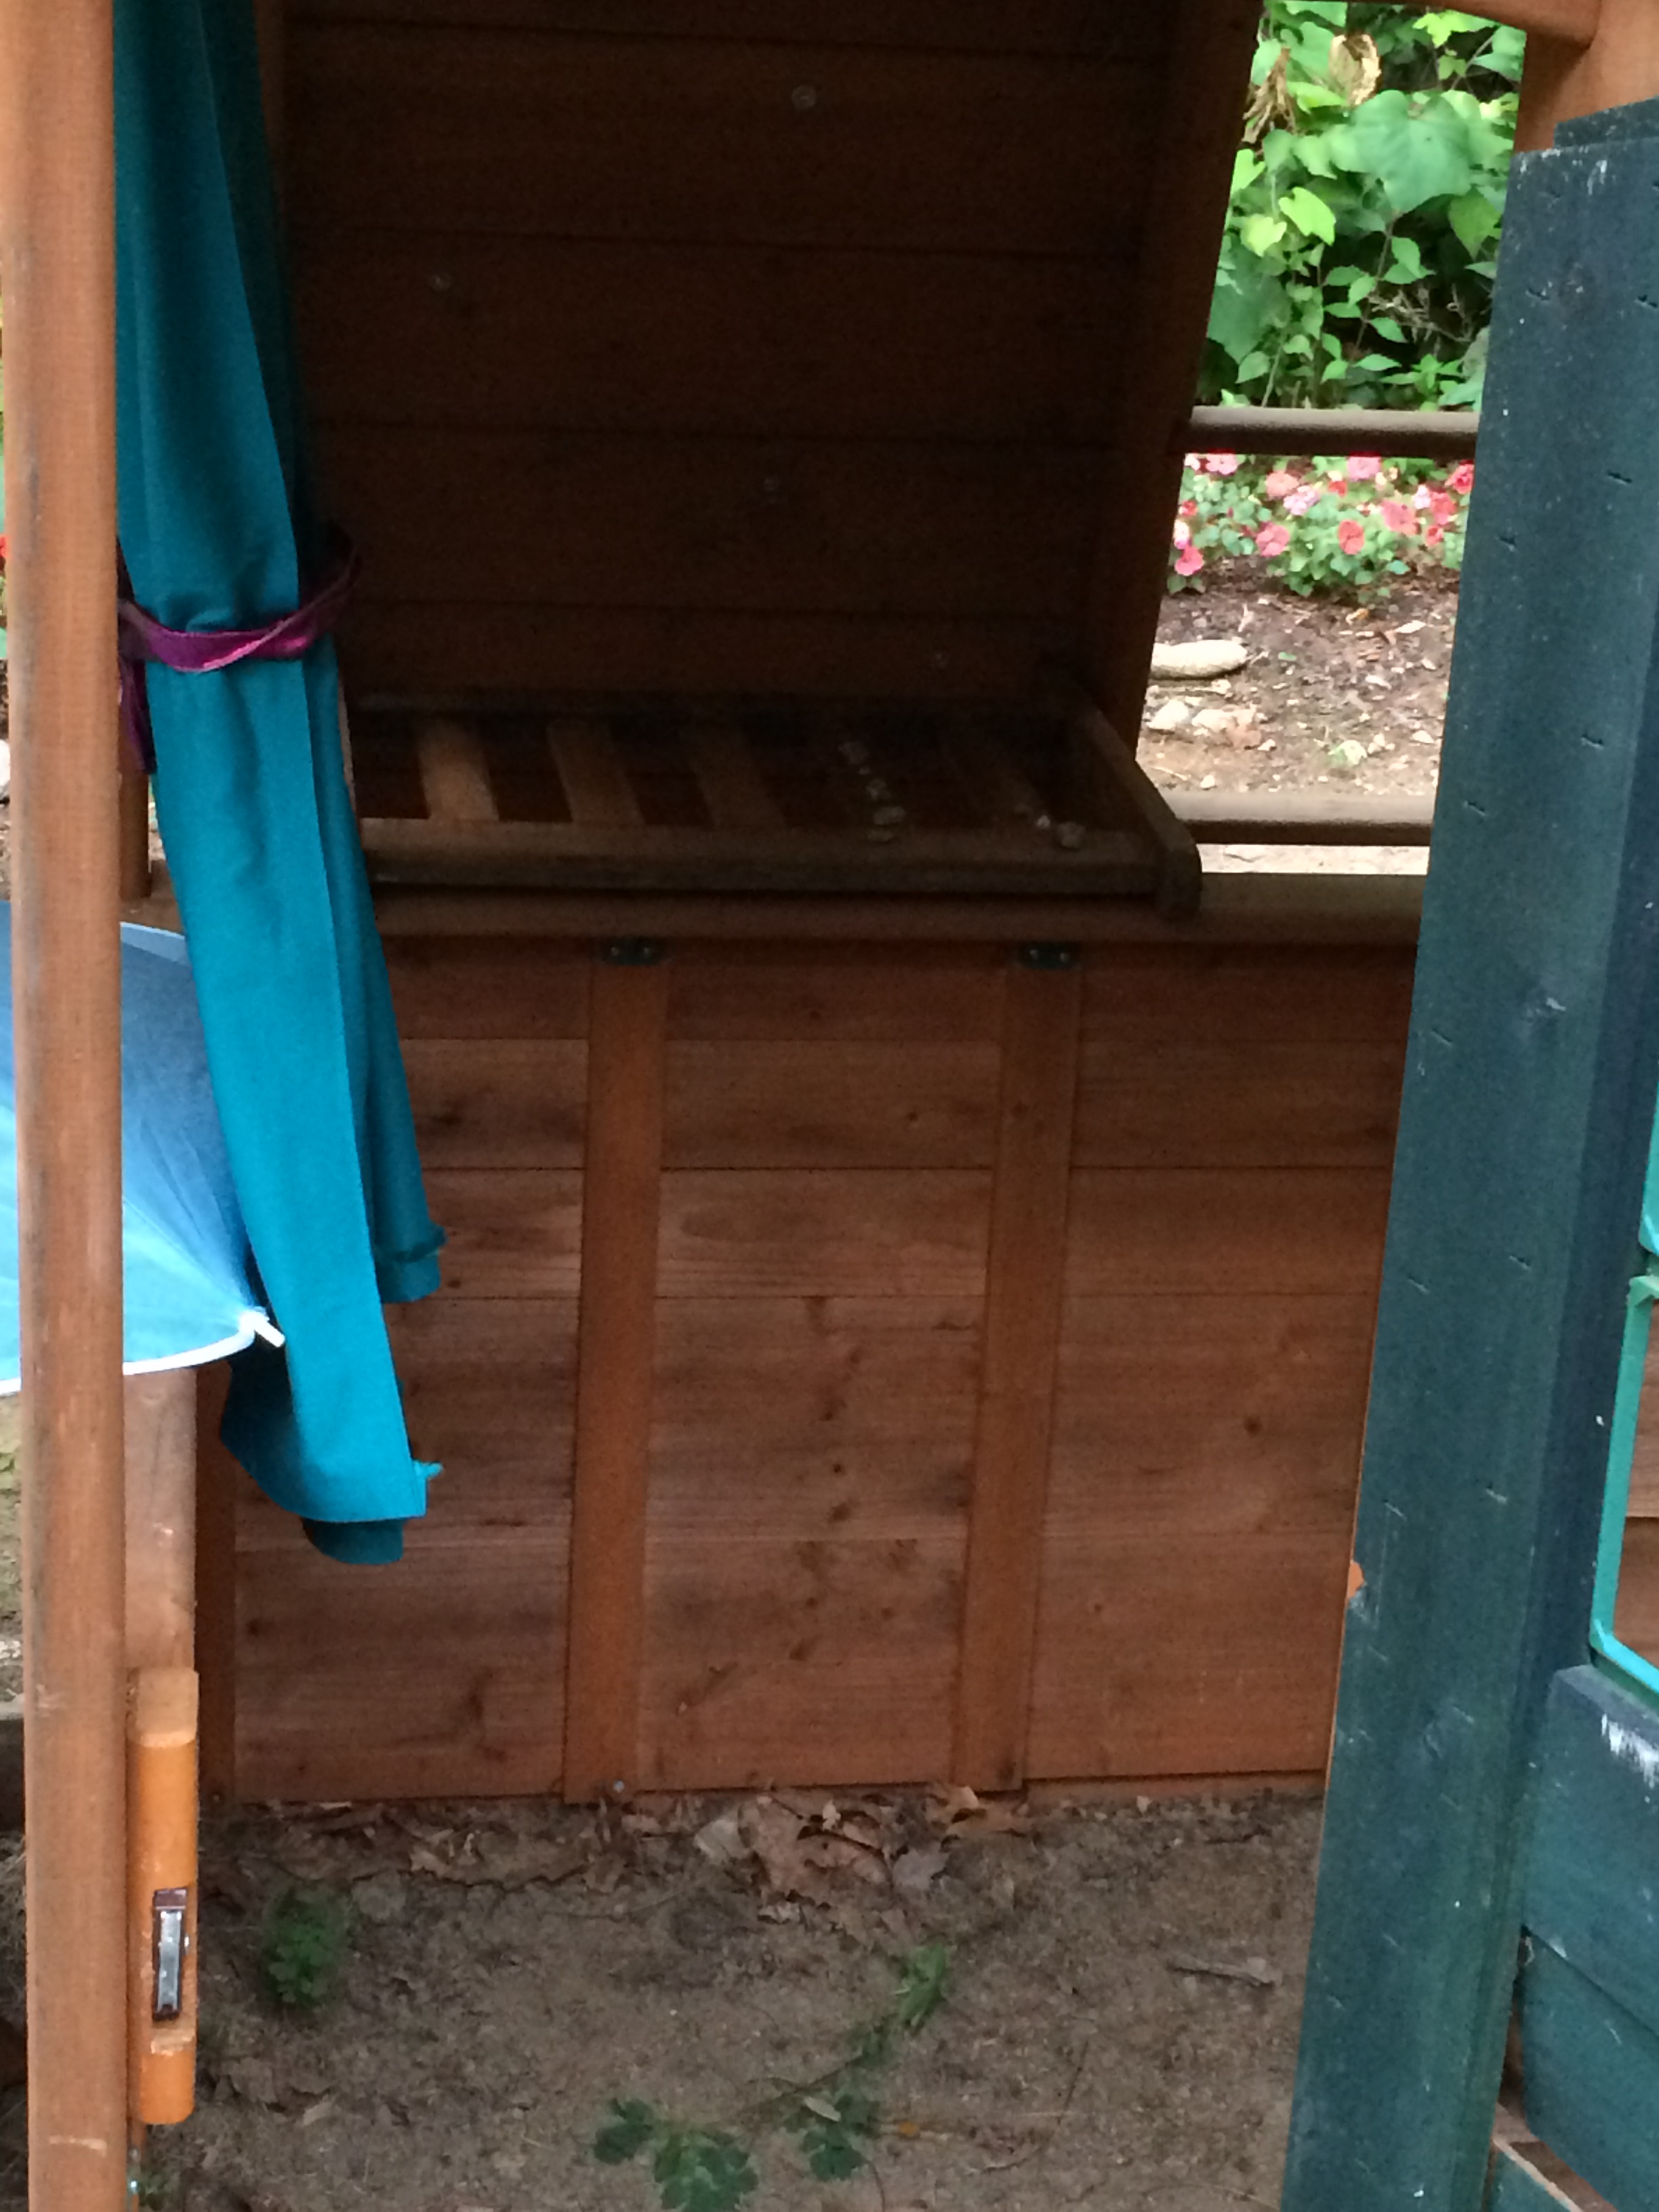
My son is kind of outgrowing the swingset and wants to build a fort. That got me thinking about a playhouse for my daughter. The bottom of the set has a space that she can still stand up under and has a door and open areas like windows. I thought it would be fun to put curtains in the windows and maybe a shelf inside for her to create an outdoor play kitchen or room. Of course, I assumed that the project was well thought through. It was, kind of. I picked up expandable spring tension rods from Target and knew I had fabric and Stitch Witchery to use so this could be a no-sew project. After measuring and planning (I don’t know why I bother with those steps anymore, it never comes out that way), I picked a fabric, cut it and ironed the rough edges in with the Stitch Witchery. No surprise, I ran out of Stitch Witchery and left the bottom of one curtain unfinished. That’s ok though because I cut them too long anyway so you couldn’t see it from the outside of the window. I then threaded them through the rod and tied with ribbon. Would you believe when I picked out the fabric I didn’t even realize that the color matched the swingset perfectly- awesome!
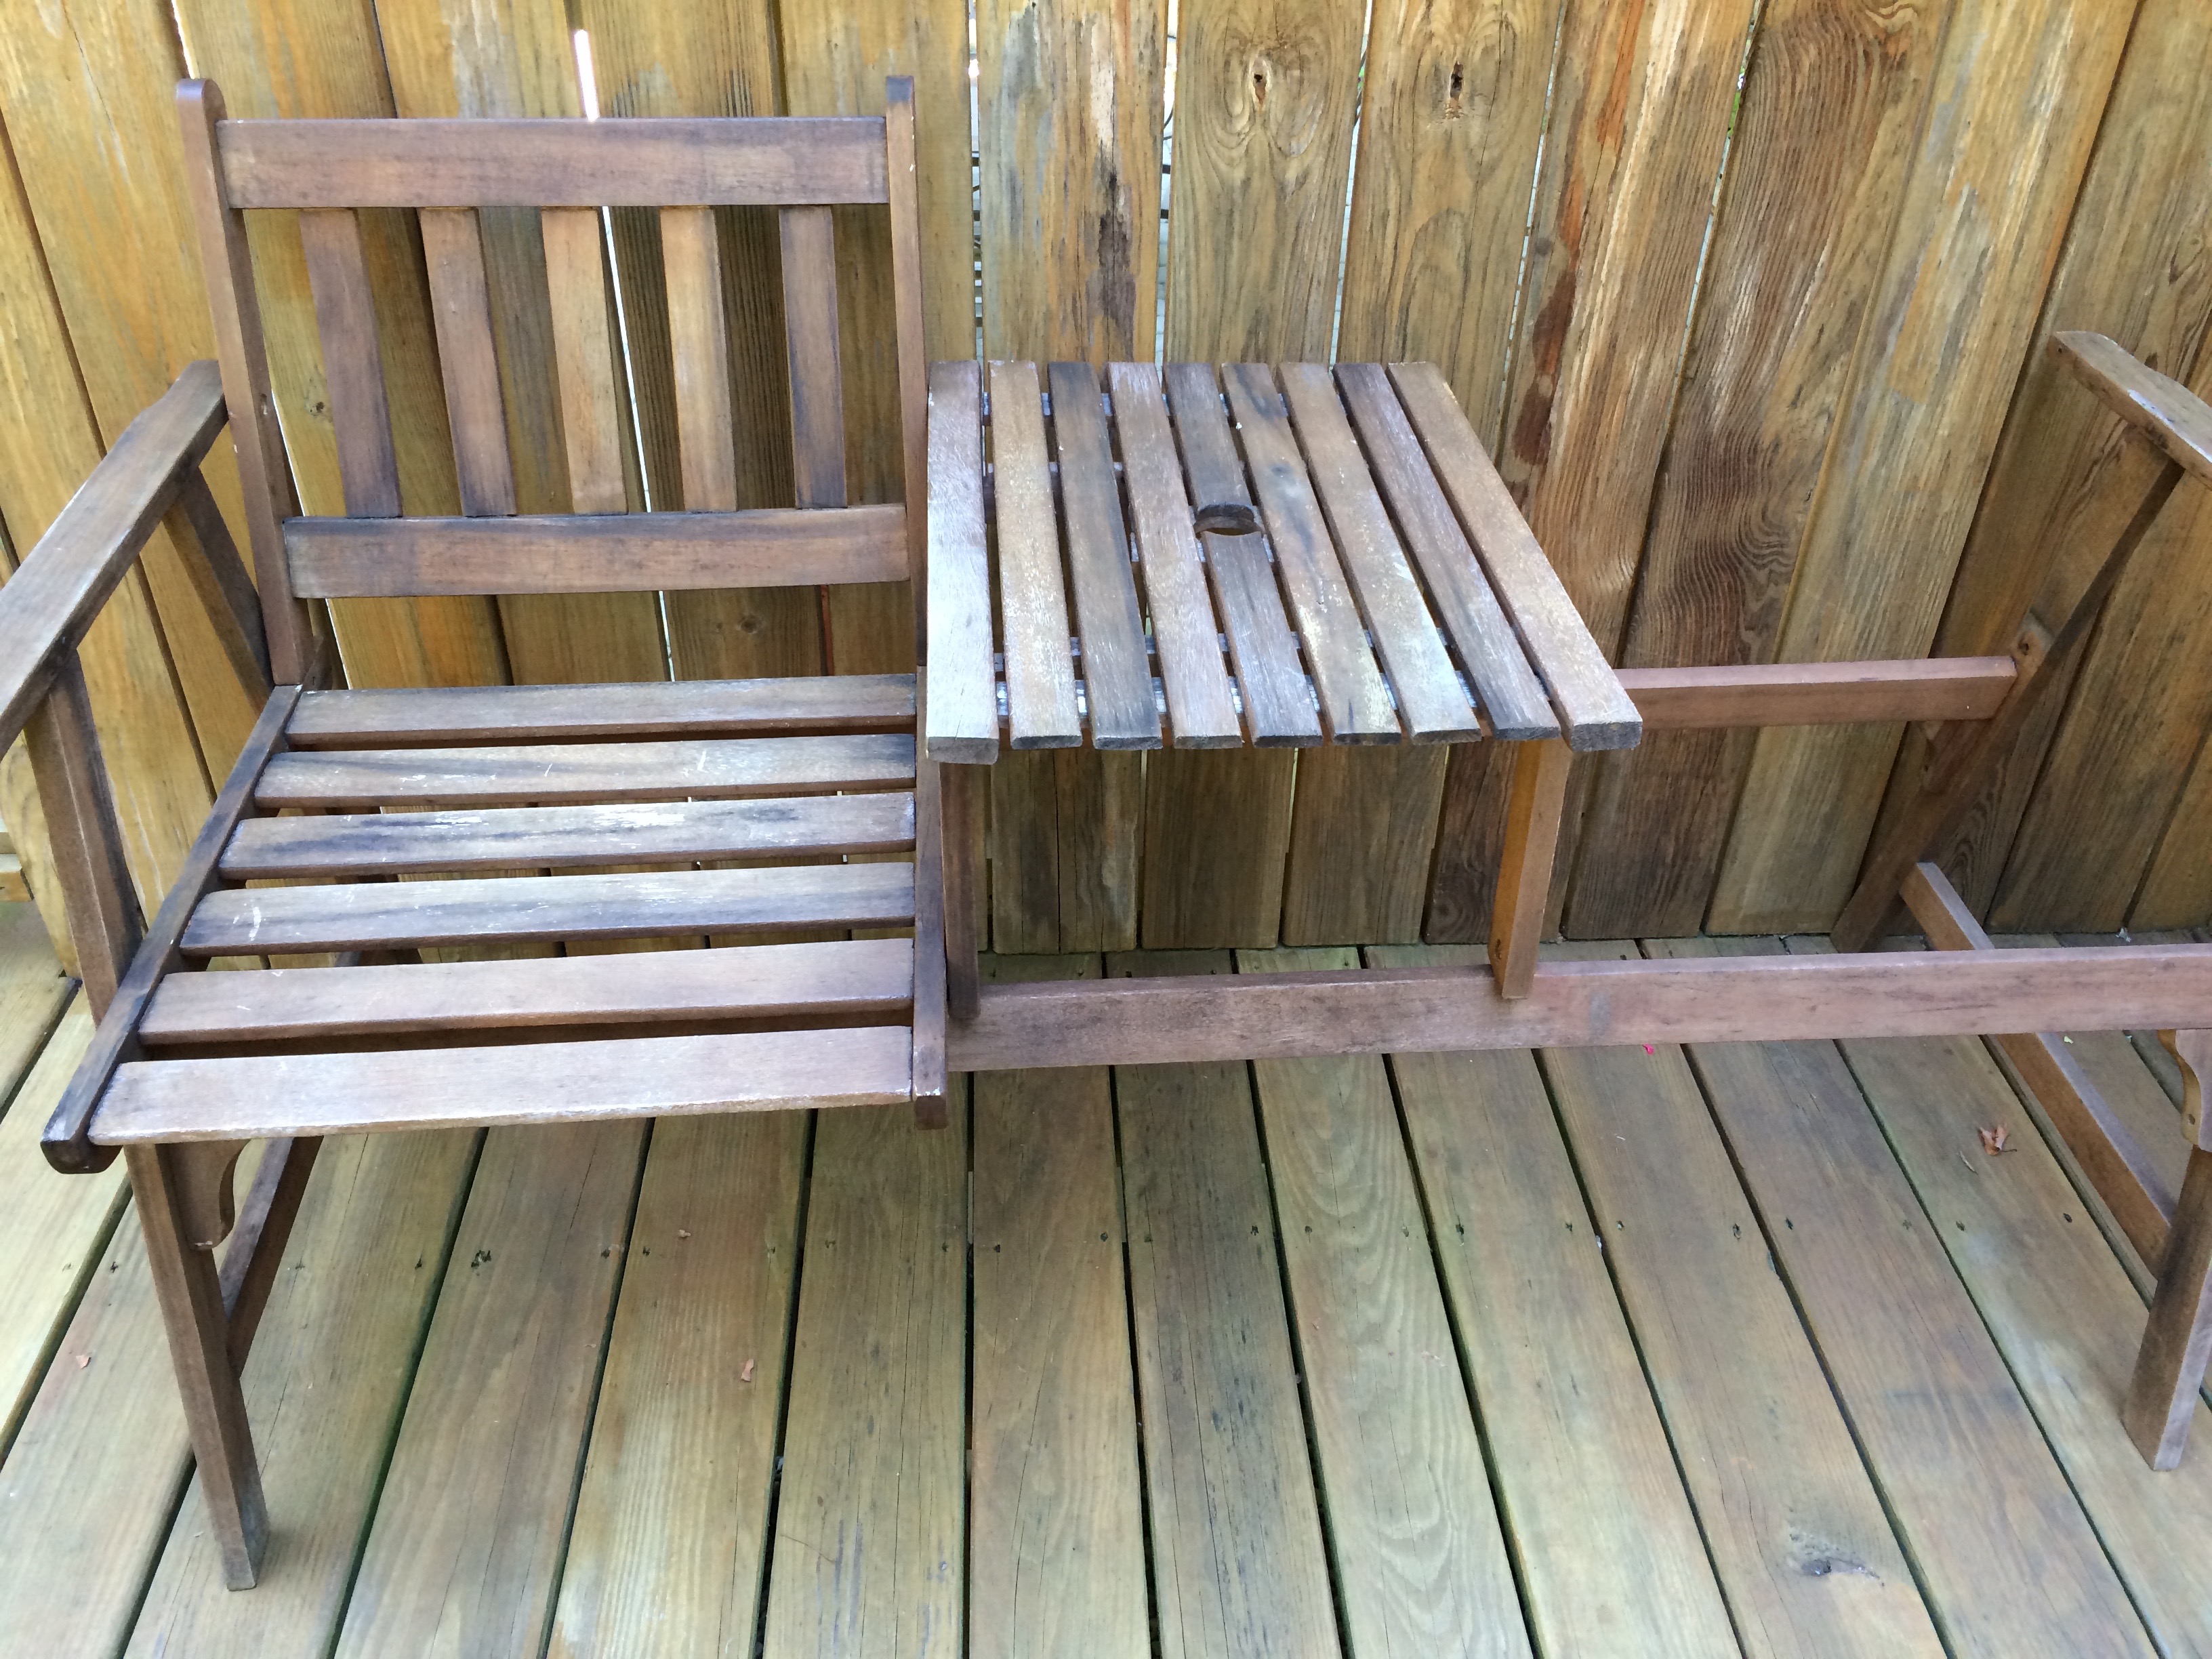
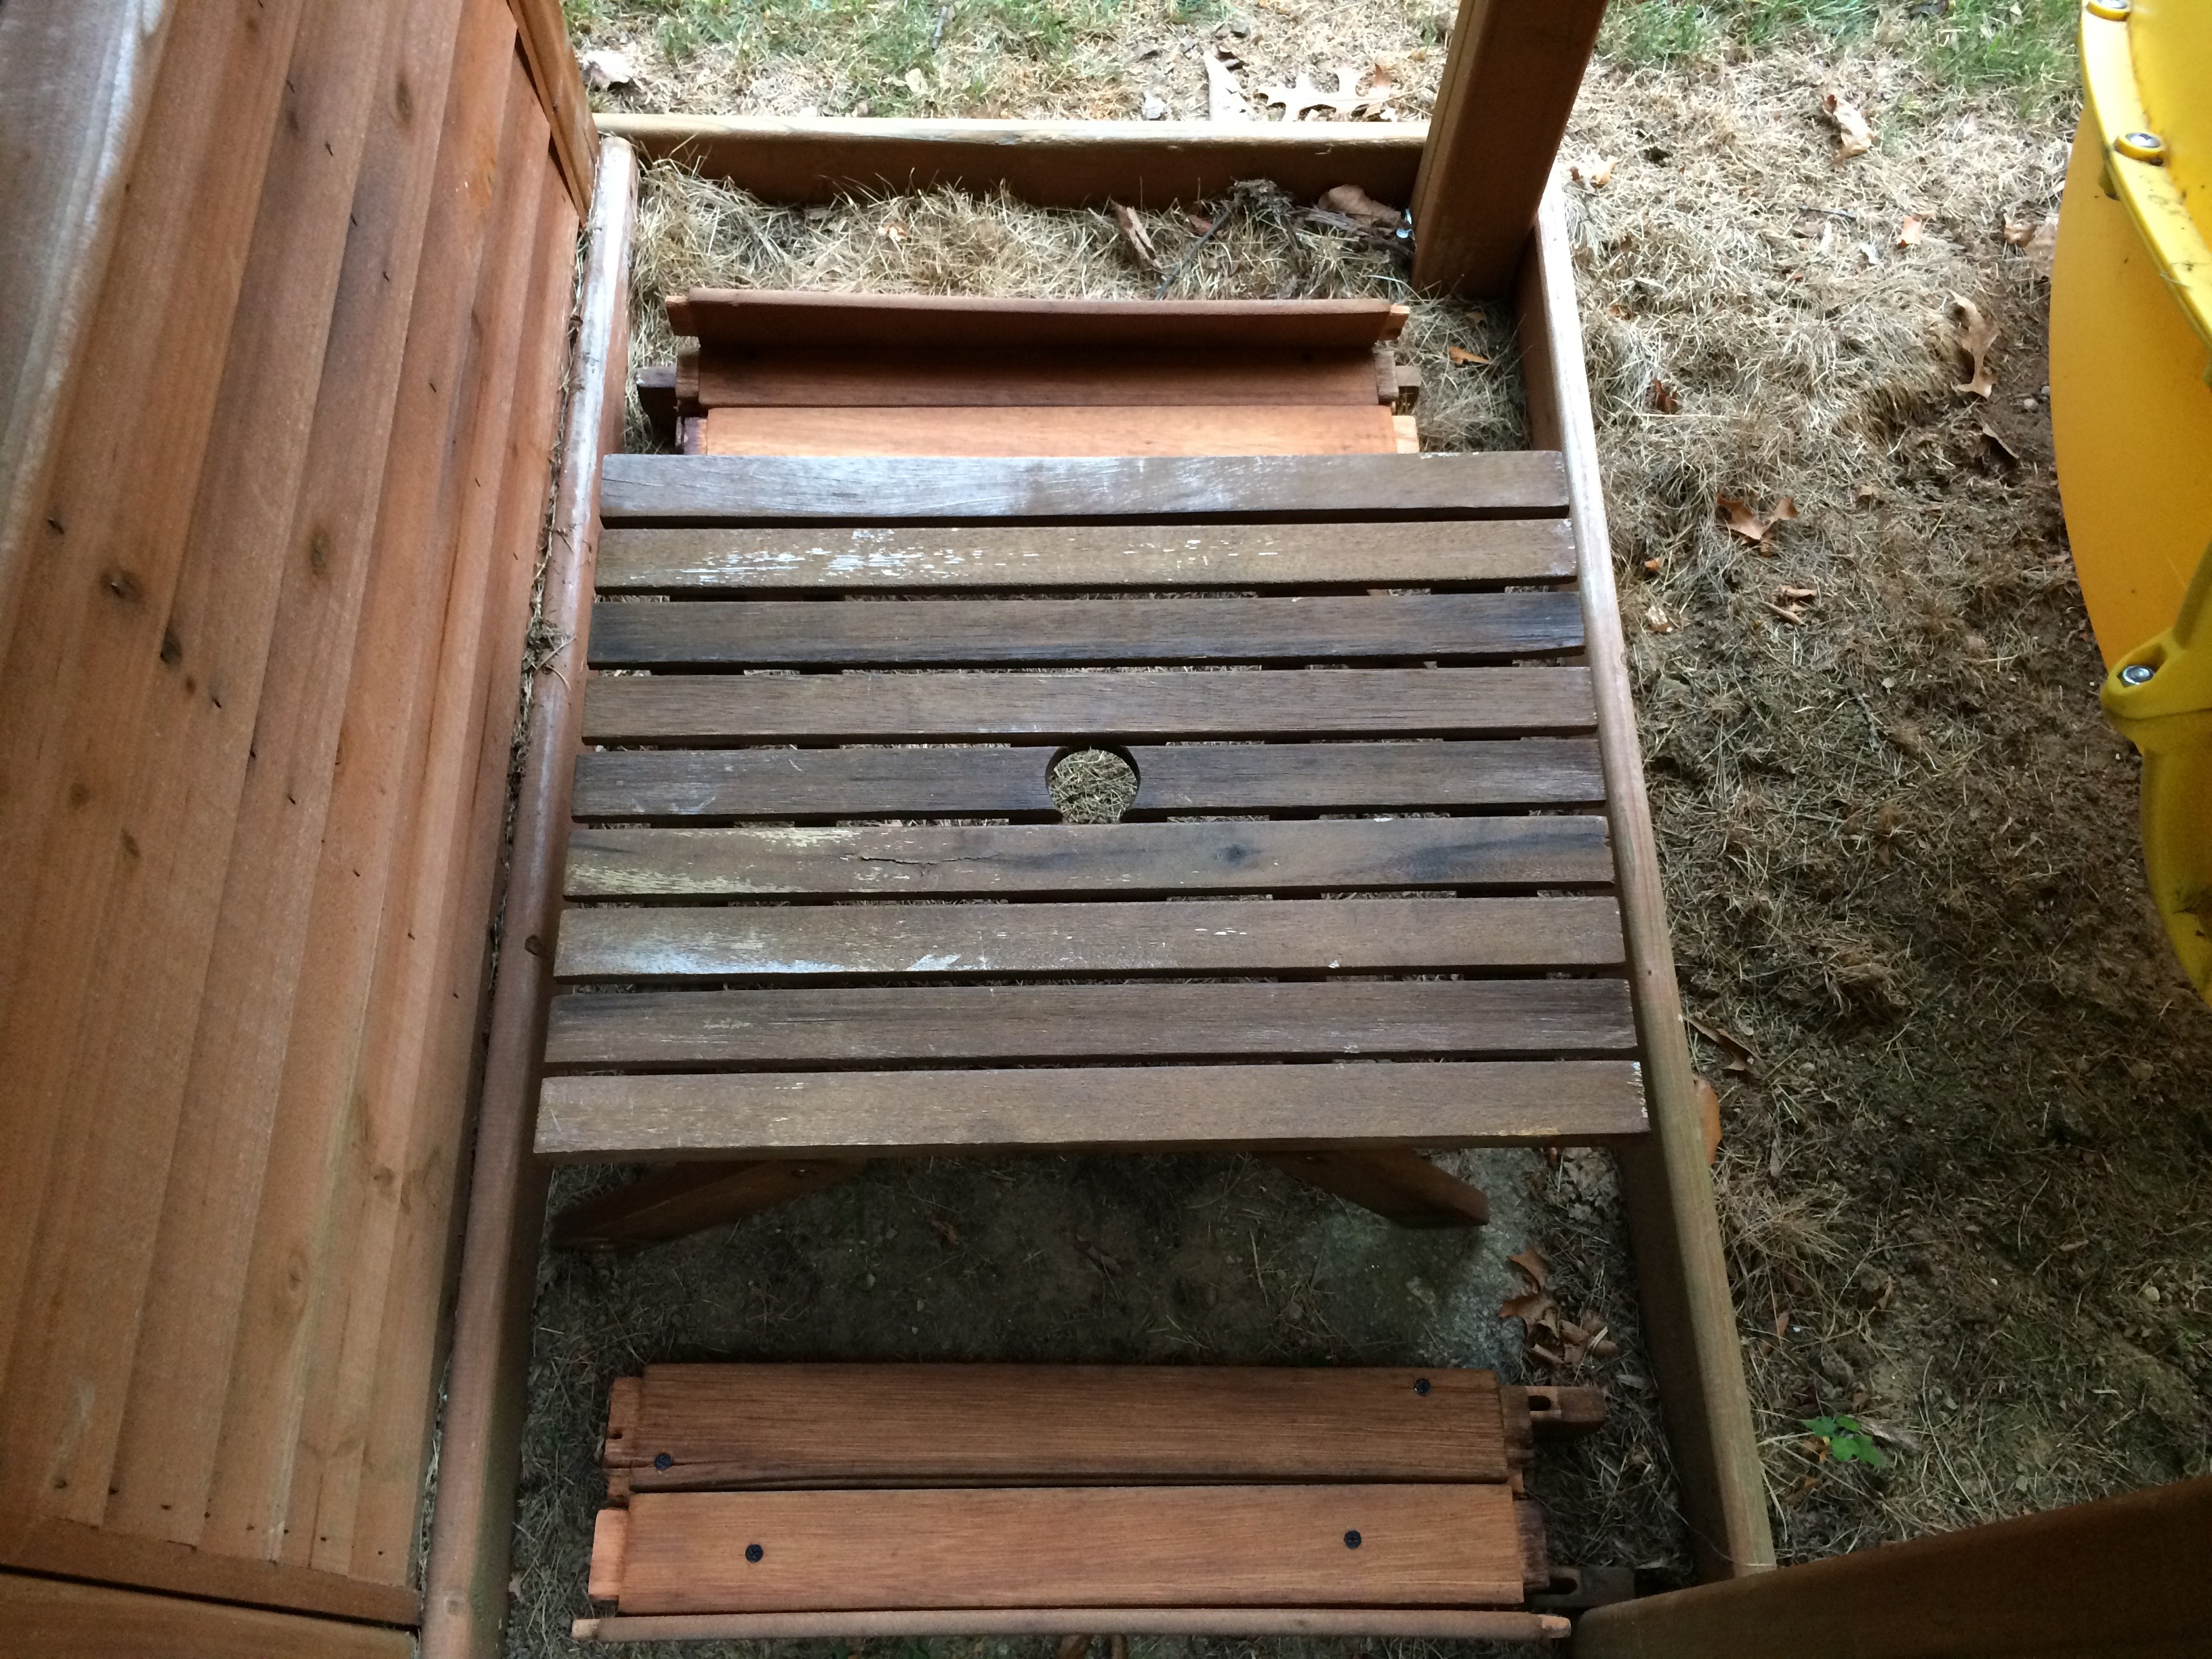
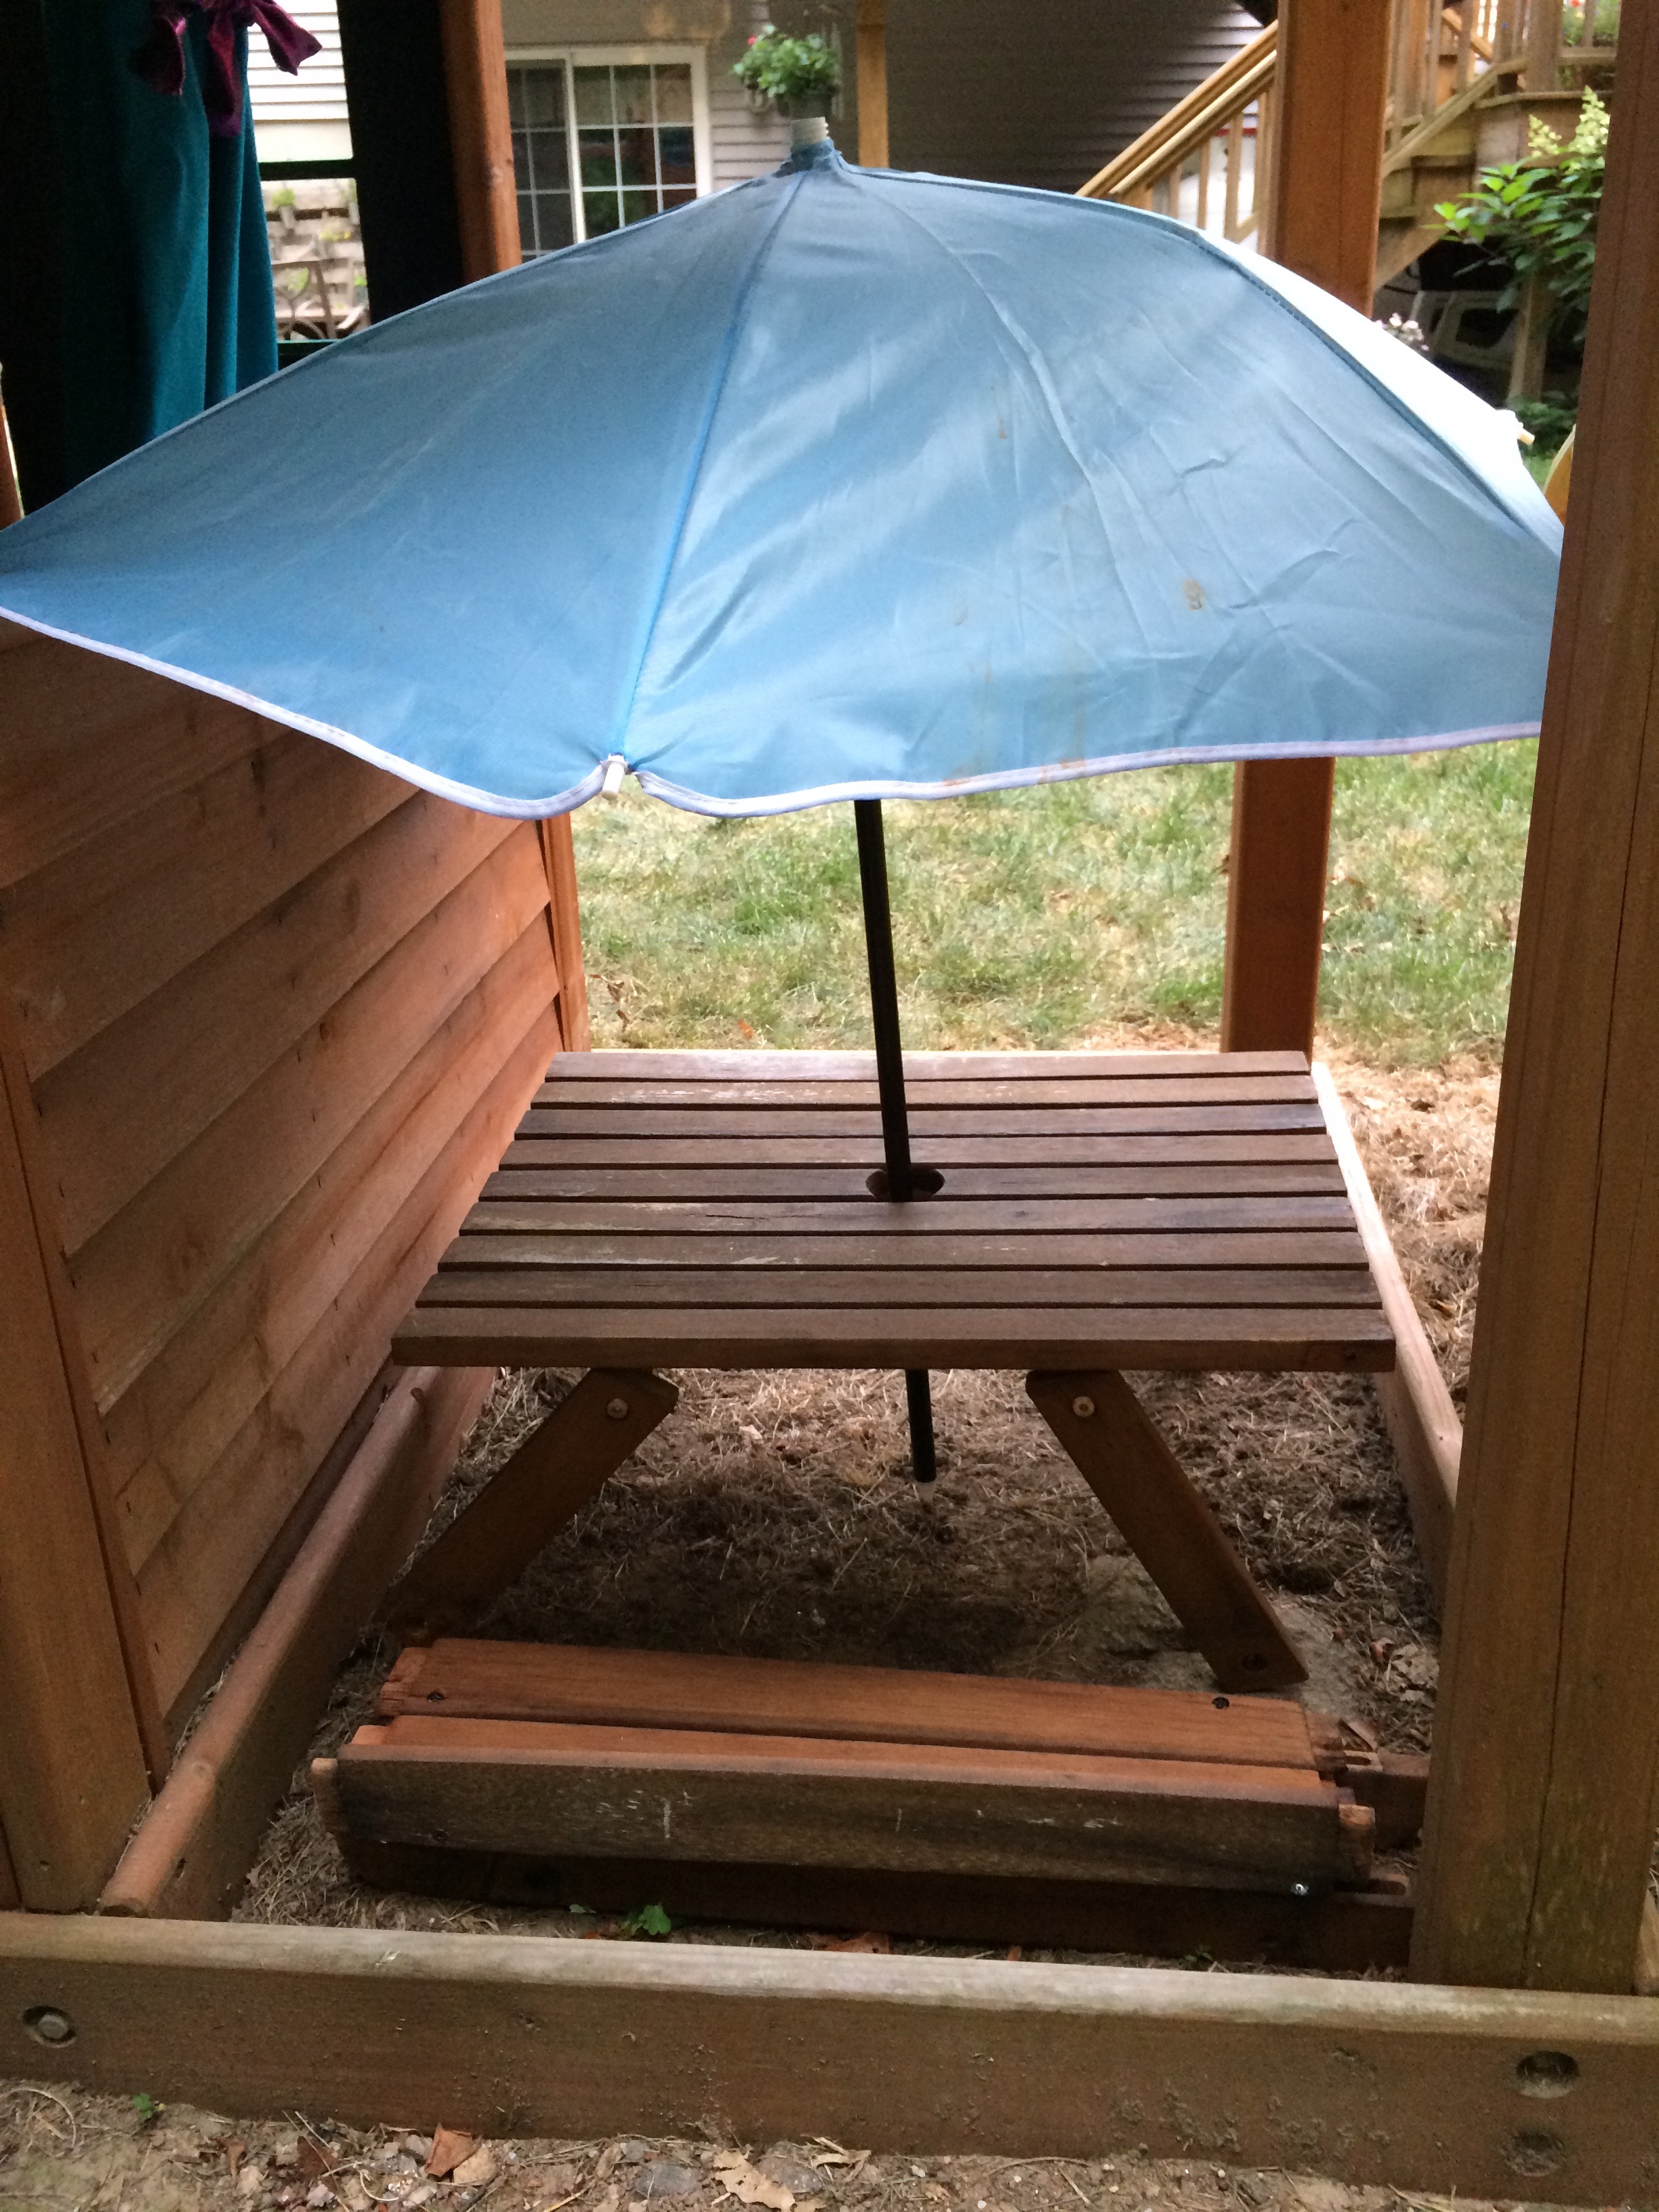
We had a bench/table thing that we no longer wanted so we took it apart and used the table as a mini picnic table for my daughter’s dolls. Then we used part of the chair as a shelf on the inside and the other parts to make picnic benches. She accessorized with an old umbrella she found off a summer chair she no longer fits in.

The biggest issue with this project was that we found an underground bee nest right under the slide next to this playhouse area. But, after we took care of the nest she was ready to play inside!

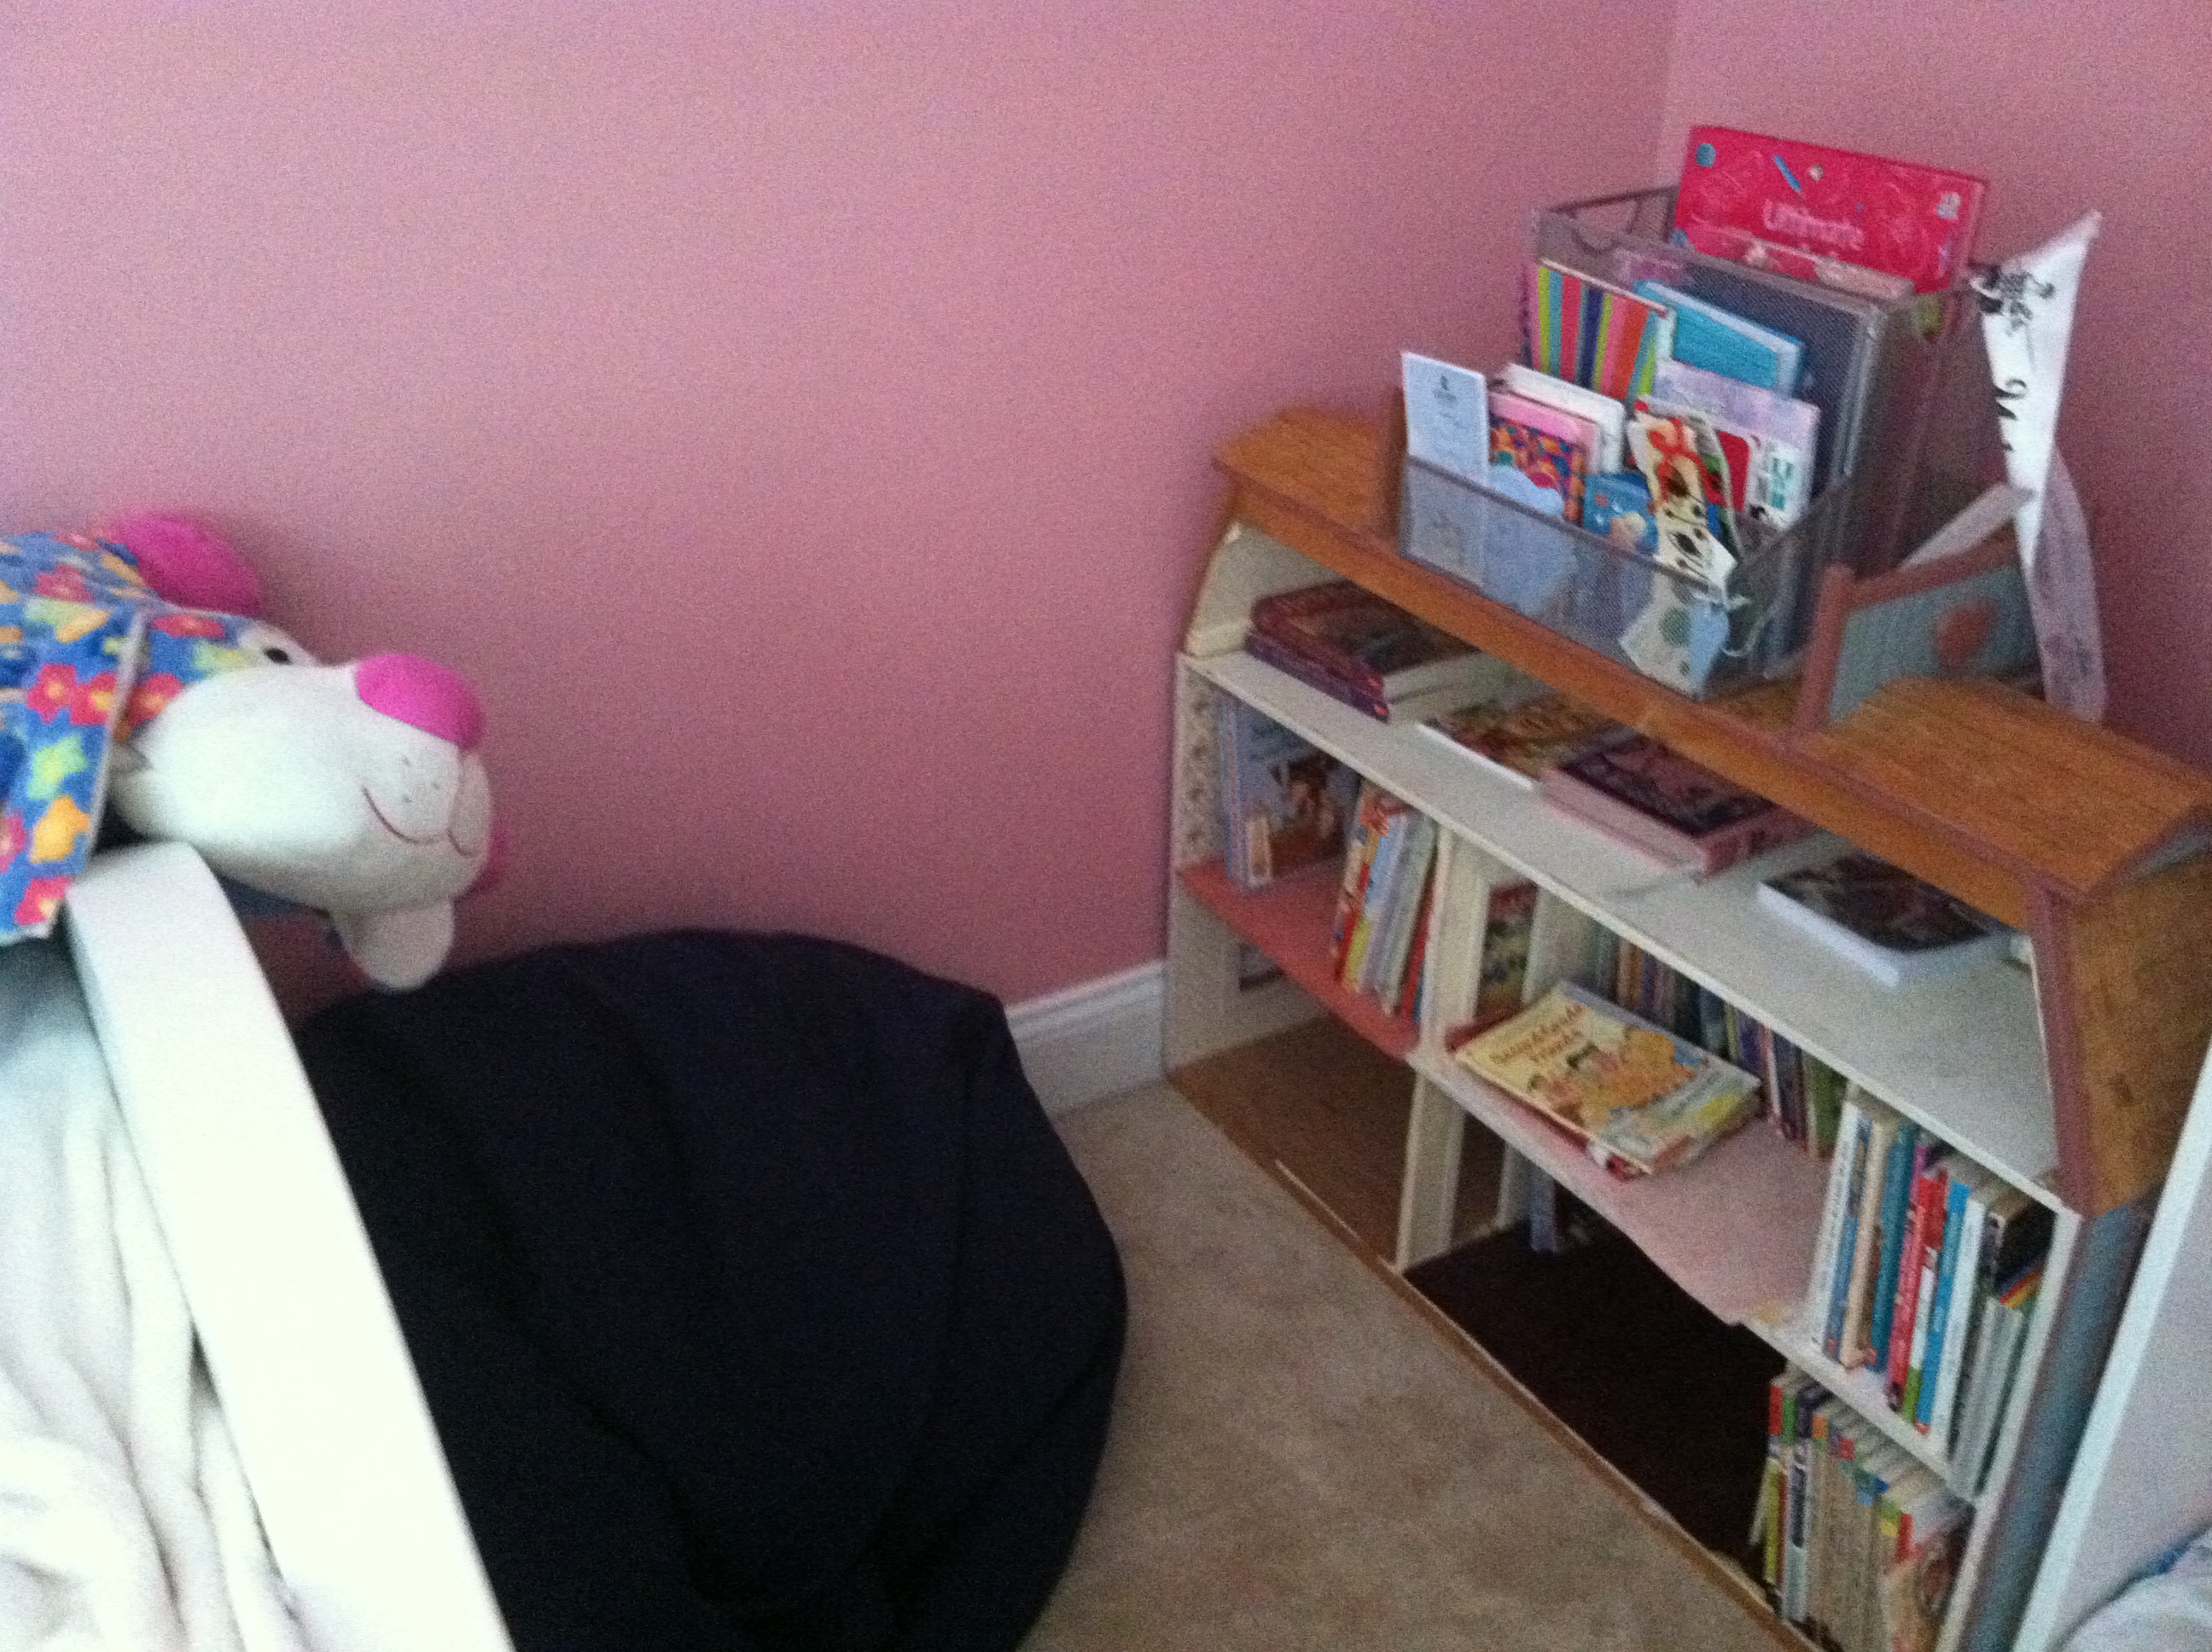
Dollhouse Bookcase

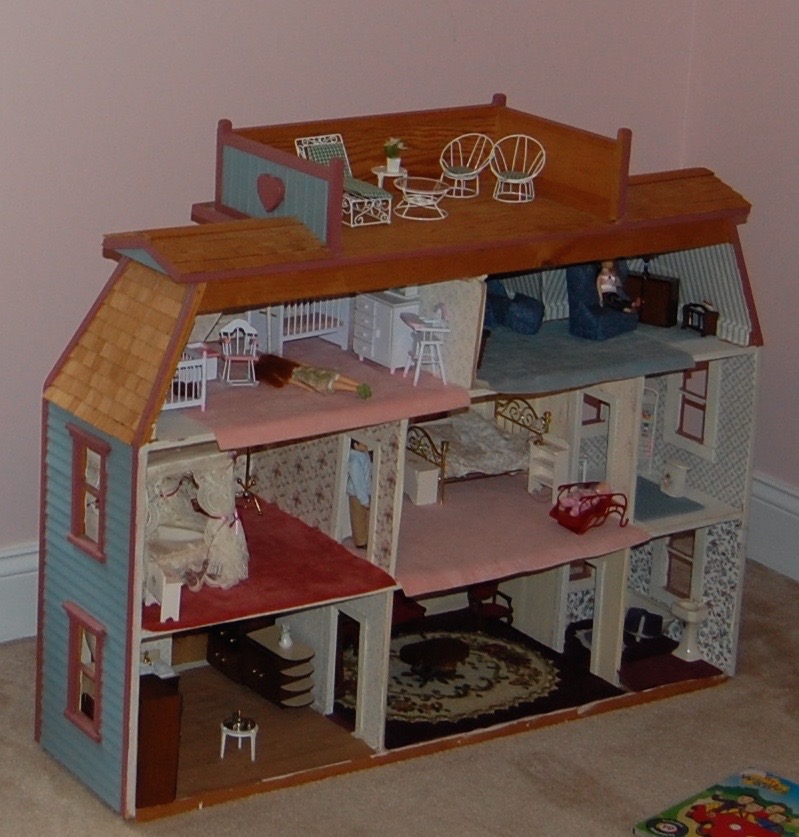
Summer reading! The school assignment that parents have a love-hate relationship with. My ten-year-old son loves to read and religiously reads every night before bed. He’s already knocked off two out of the four chapter books assigned! LOVE it! He does the reading on his own and enjoys it. My eight-year-old daughter, on the other hand, is still on her first book. HATE it! I have to pull every trick out to get her to read. I know what you’re thinking…maybe she struggles with reading. Nope! She is a really good reader, above grade level. So, I decided to involve her in creating a book corner in her room. She has a dollhouse in her room that was mine when I was a kid. She has stopped playing with it so we emptied it of the furniture, pushed it against the wall and used it as a bookshelf. We added a beanbag chair to the corner and Voila! A book corner where she can read or write in journals. She loves it and so far so good with the reading!


End-of-the-Year Teacher Gifts
It’s that time of the year- again- when the school year is wrapping up. This year it was important for me to get my kids’ teachers a special gift because after homeschooling for a year and a half, my kids started a new school mid-year and their teachers have been phenomenal! They were so welcoming and caring and helped my kids transition almost seemlessly and helped to create a wonderful environment where they are happy and thriving!
For my daughter’s teachers, I wanted to buy them a children’s book that touched upon teaching or thank you teacher, but couldn’t find exactly what I wanted so my daughter is going to make them a book in her own words about her experience with them, which I think will be more special. She also made a card for them. I found this printable on Pinterest that was pinned from www.weheartedu.com.

I resized it and printed it in the center of the page and then had my daughter paint on her handprint, a book and a heart. She will sign her name in the heart.

My son, on the other hand, is a Lego fanatic and he is in fifth grade, and I think he has outgrown the crafting stage. So for his teacher, he made a gift card holder out of Legos. He used a blonde minifigure to look like her and the minifigure is holding an apple. Then he made a slot to fit the gift card in.

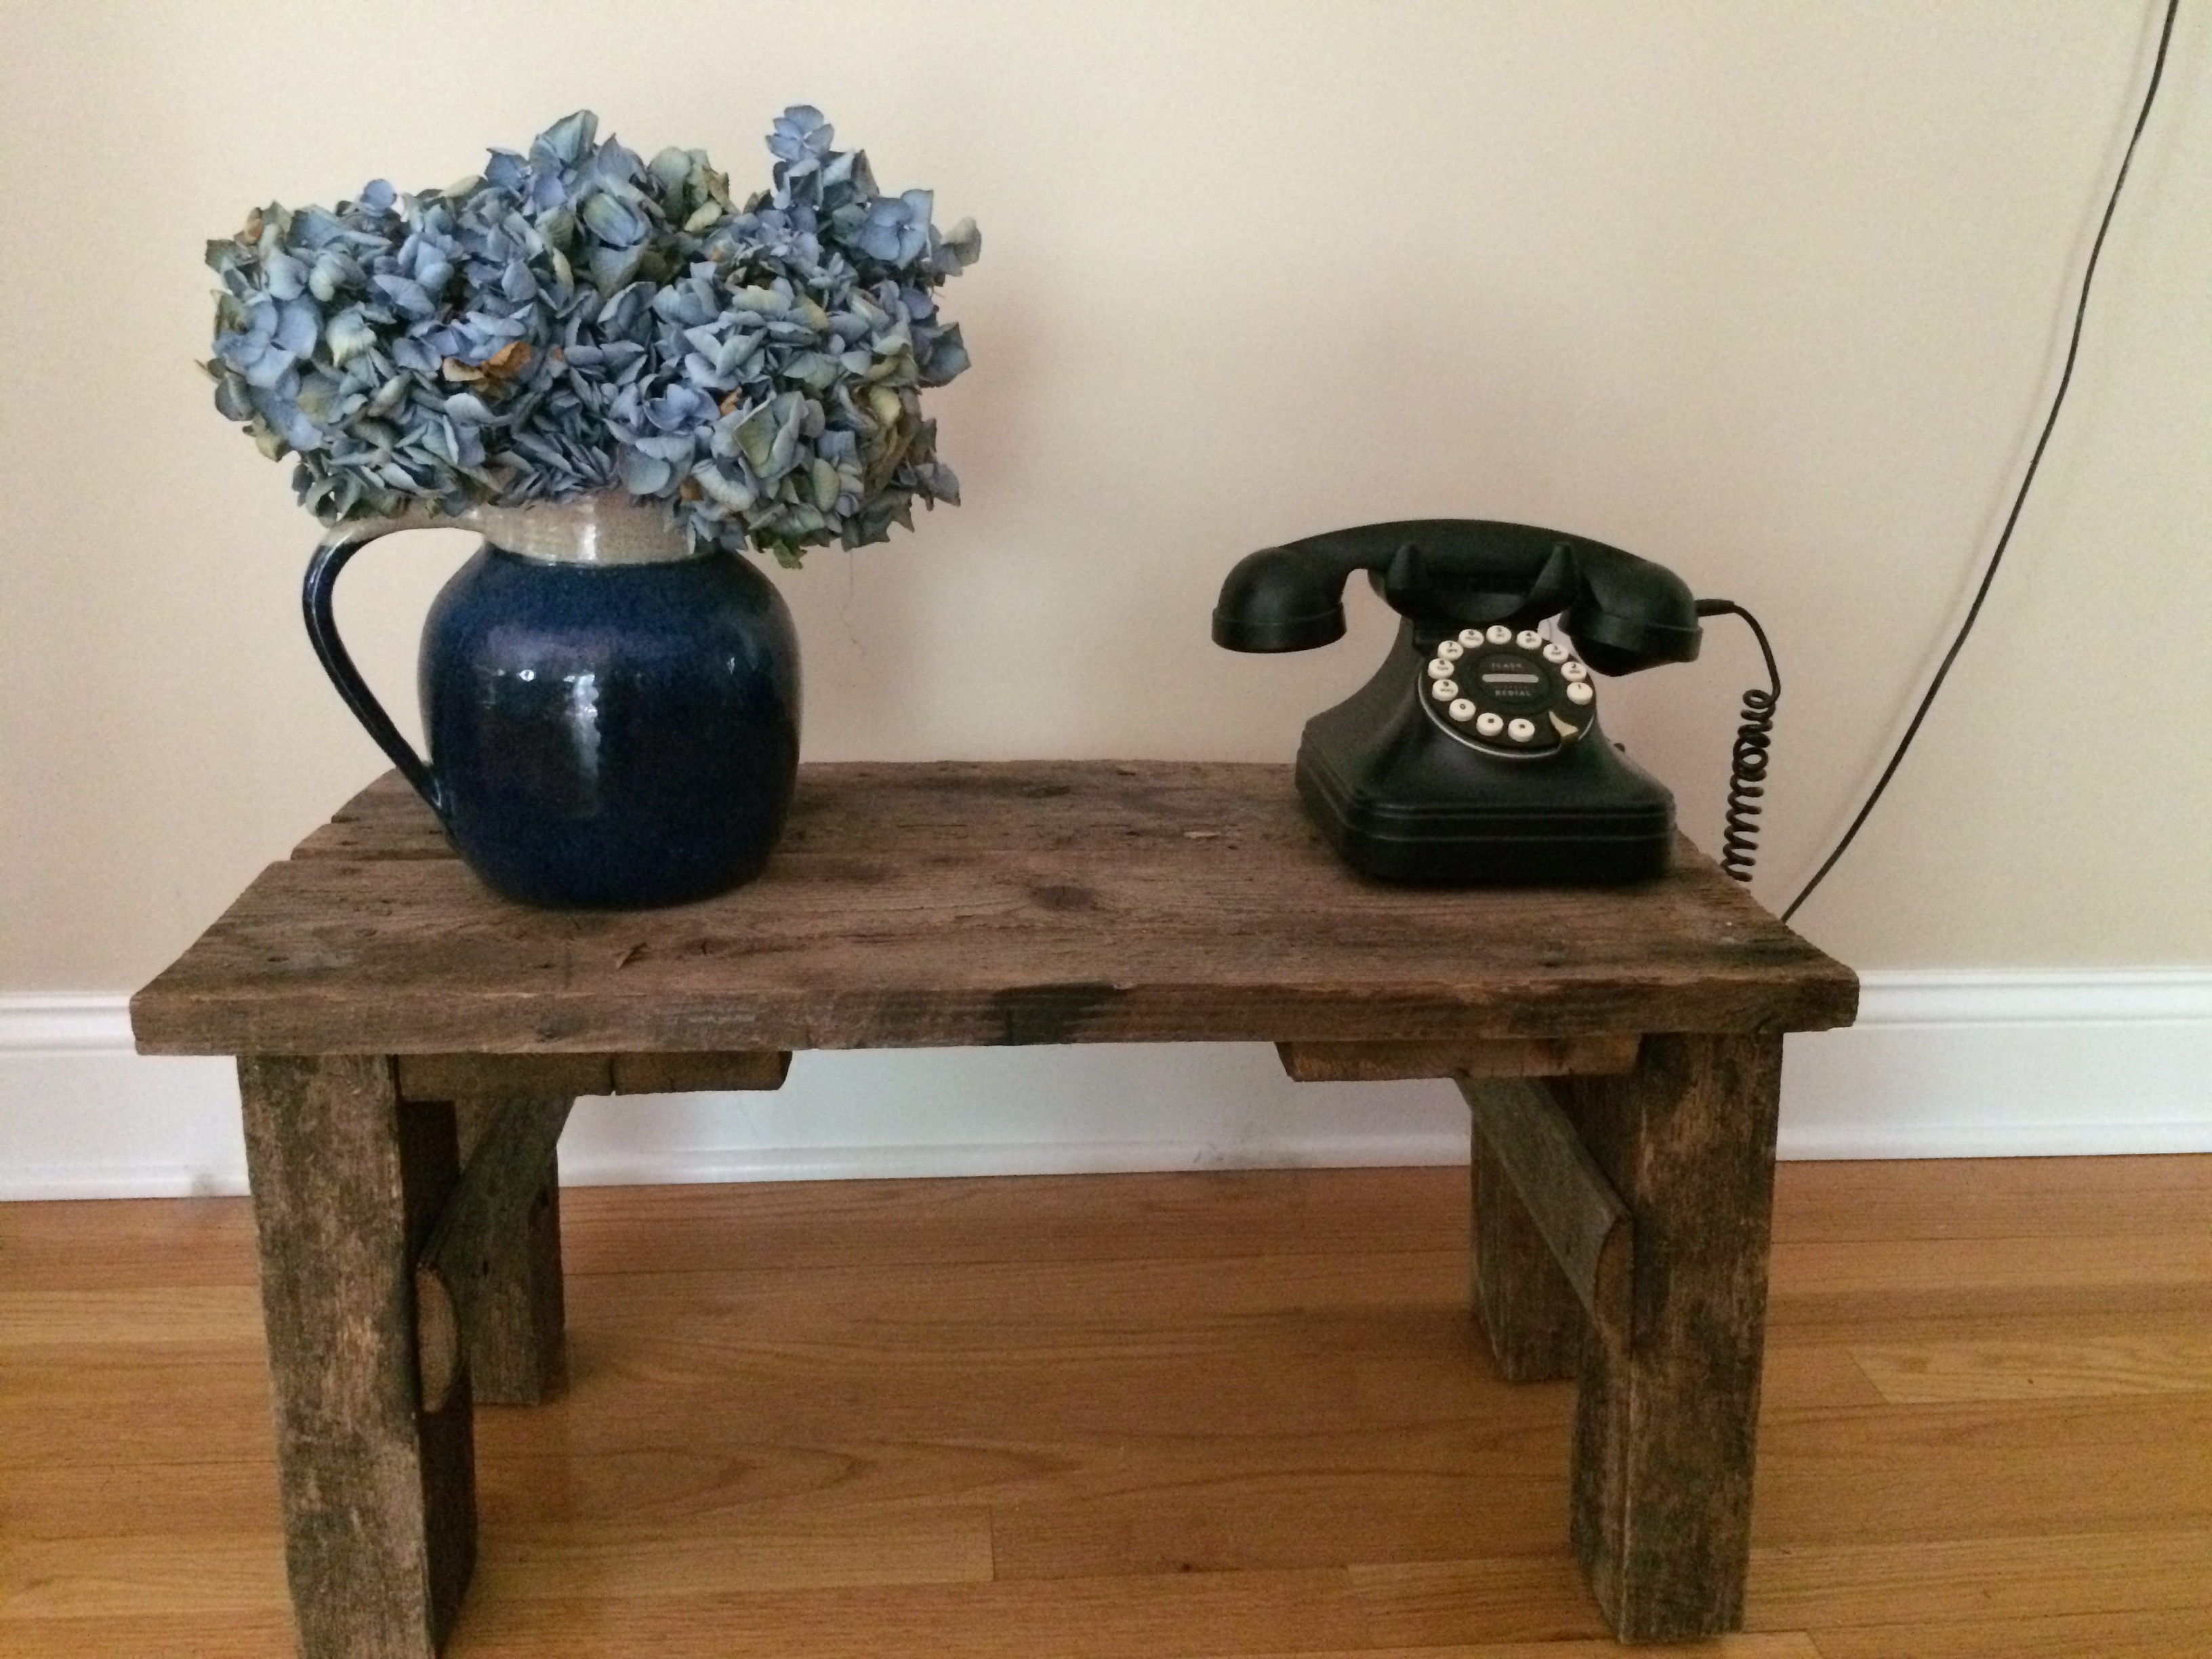
Wooden Box Repurposed Into Jewelry Holder
I love old wood. There’s something about it that immediately attracts me. I don’t know if it is the feeling that I might be holding old history and that it must contain a story or that I just find it intriguing. I have a lot of items in my home that I have purchased that feature repurposed old wood. I’ve picked up boxes, crates, benches, a framed chalkboard and others along the way (see some pics of items below).


I found an old wooden box at a tag sale for $4, so without a plan bought it. I had it for a while and tried to think of uses. I used it as a purse holder and then a holder for unused picture frames, and then it just sat empty. Finally, I decided that it would make an awesome jewelry holder. I had necklaces hanging one on top of another always getting tangled, some jewelry in a jewelry box and some on a shelf. Now, this could be a place where it is all together and I can actually see it. So I went to Home Depot and got some small nails, a piece of chain and some hooks. This is where the “imperfect” part of my crafting comes in. Home Depot had the chain in silver, but not the nails and hooks, those were only in gold. I didn’t prefer them in gold, but was anxious to get the project done because it was, after all in my mind. I screwed two eye hooks on the back in the center, but towards the end of the box and attached some picture hanging wire. Then hammered two picture hooks in the wall so the box would hang evenly on two sides providing more stability than just a center hook. Then I counted my necklaces and bracelets and screwed in the screw eye hooks and tapped in the nails. I used the screw eye hooks for the necklaces and the nails for the bracelets and then hung my dangling earrings in pairs from the chain. You will see more imperfection if you look closely, I didn’t take time to measure out evenly so some don’t line up, but you can’t even tell with all the jewelry on because the necklaces and bracelets are different lengths. And there you have it….a new jewelry holder and it only cost me $13.00 to make!


Baby Quilt
My friend had a beautiful bouncing boy this past February. I wanted to make her a quilt for her baby shower which was held in December. (If you read my other quilt post, you will see I do have good intentions regardless the outcome of the quilt).
Her room theme was nautical, but it is very hard to find a “cute” nautical fabric pattern. I went online and explored and came up with some fabrics I liked, pieced them together and came out with the first row seen in the screen shot below. Perfect! I tried to figure out the quilt size I wanted and ordered the fabrics. Wouldn’t you know when I got the fabrics and cut all the squares and started to lay them out, I realized how stupid I was! Of course it would not look very much like a patchwork quilt because it would all line up with the same piece in every row. So, I went back on the computer and played around to come up with the second row seen below in the screen shot. Very good, now it will be mixed up and look better.

Ok, everything was cut and it was time to put together. Do you think I laid everything out? Nope. Just the two rows and then sewed an even amount of rows in the two patterns. Then laid it out to find out it looks like a quilt split down the middle. Ugh! Oh well, I was running out of time. In my defense, it had been a long time since I made a quilt. So I sewed the front together and got the back together and was time to sew the whole thing including the batting. I layered it up, sewed the whole quilt and OMG! When I pulled it out the batting was on the outside. I had to sit down and undo every single machine stitch and then re-sew the whole thing. I finally finished! If you look closely though, you will see that even though I had a nice template, the squares are not all the same size and don’t match up evenly. At least they match up unevenly! Two lessons learned here: 1. Don’t attempt to take on a quilting project if you don’t have the time and focus for it. 2. I taught my kids how to use a sewing machine, they made the pillows in the picture to match the quilt seen below.
I told my friend that the intention anyway was to use this on the floor for playtime and it looks like that’s what they are doing!
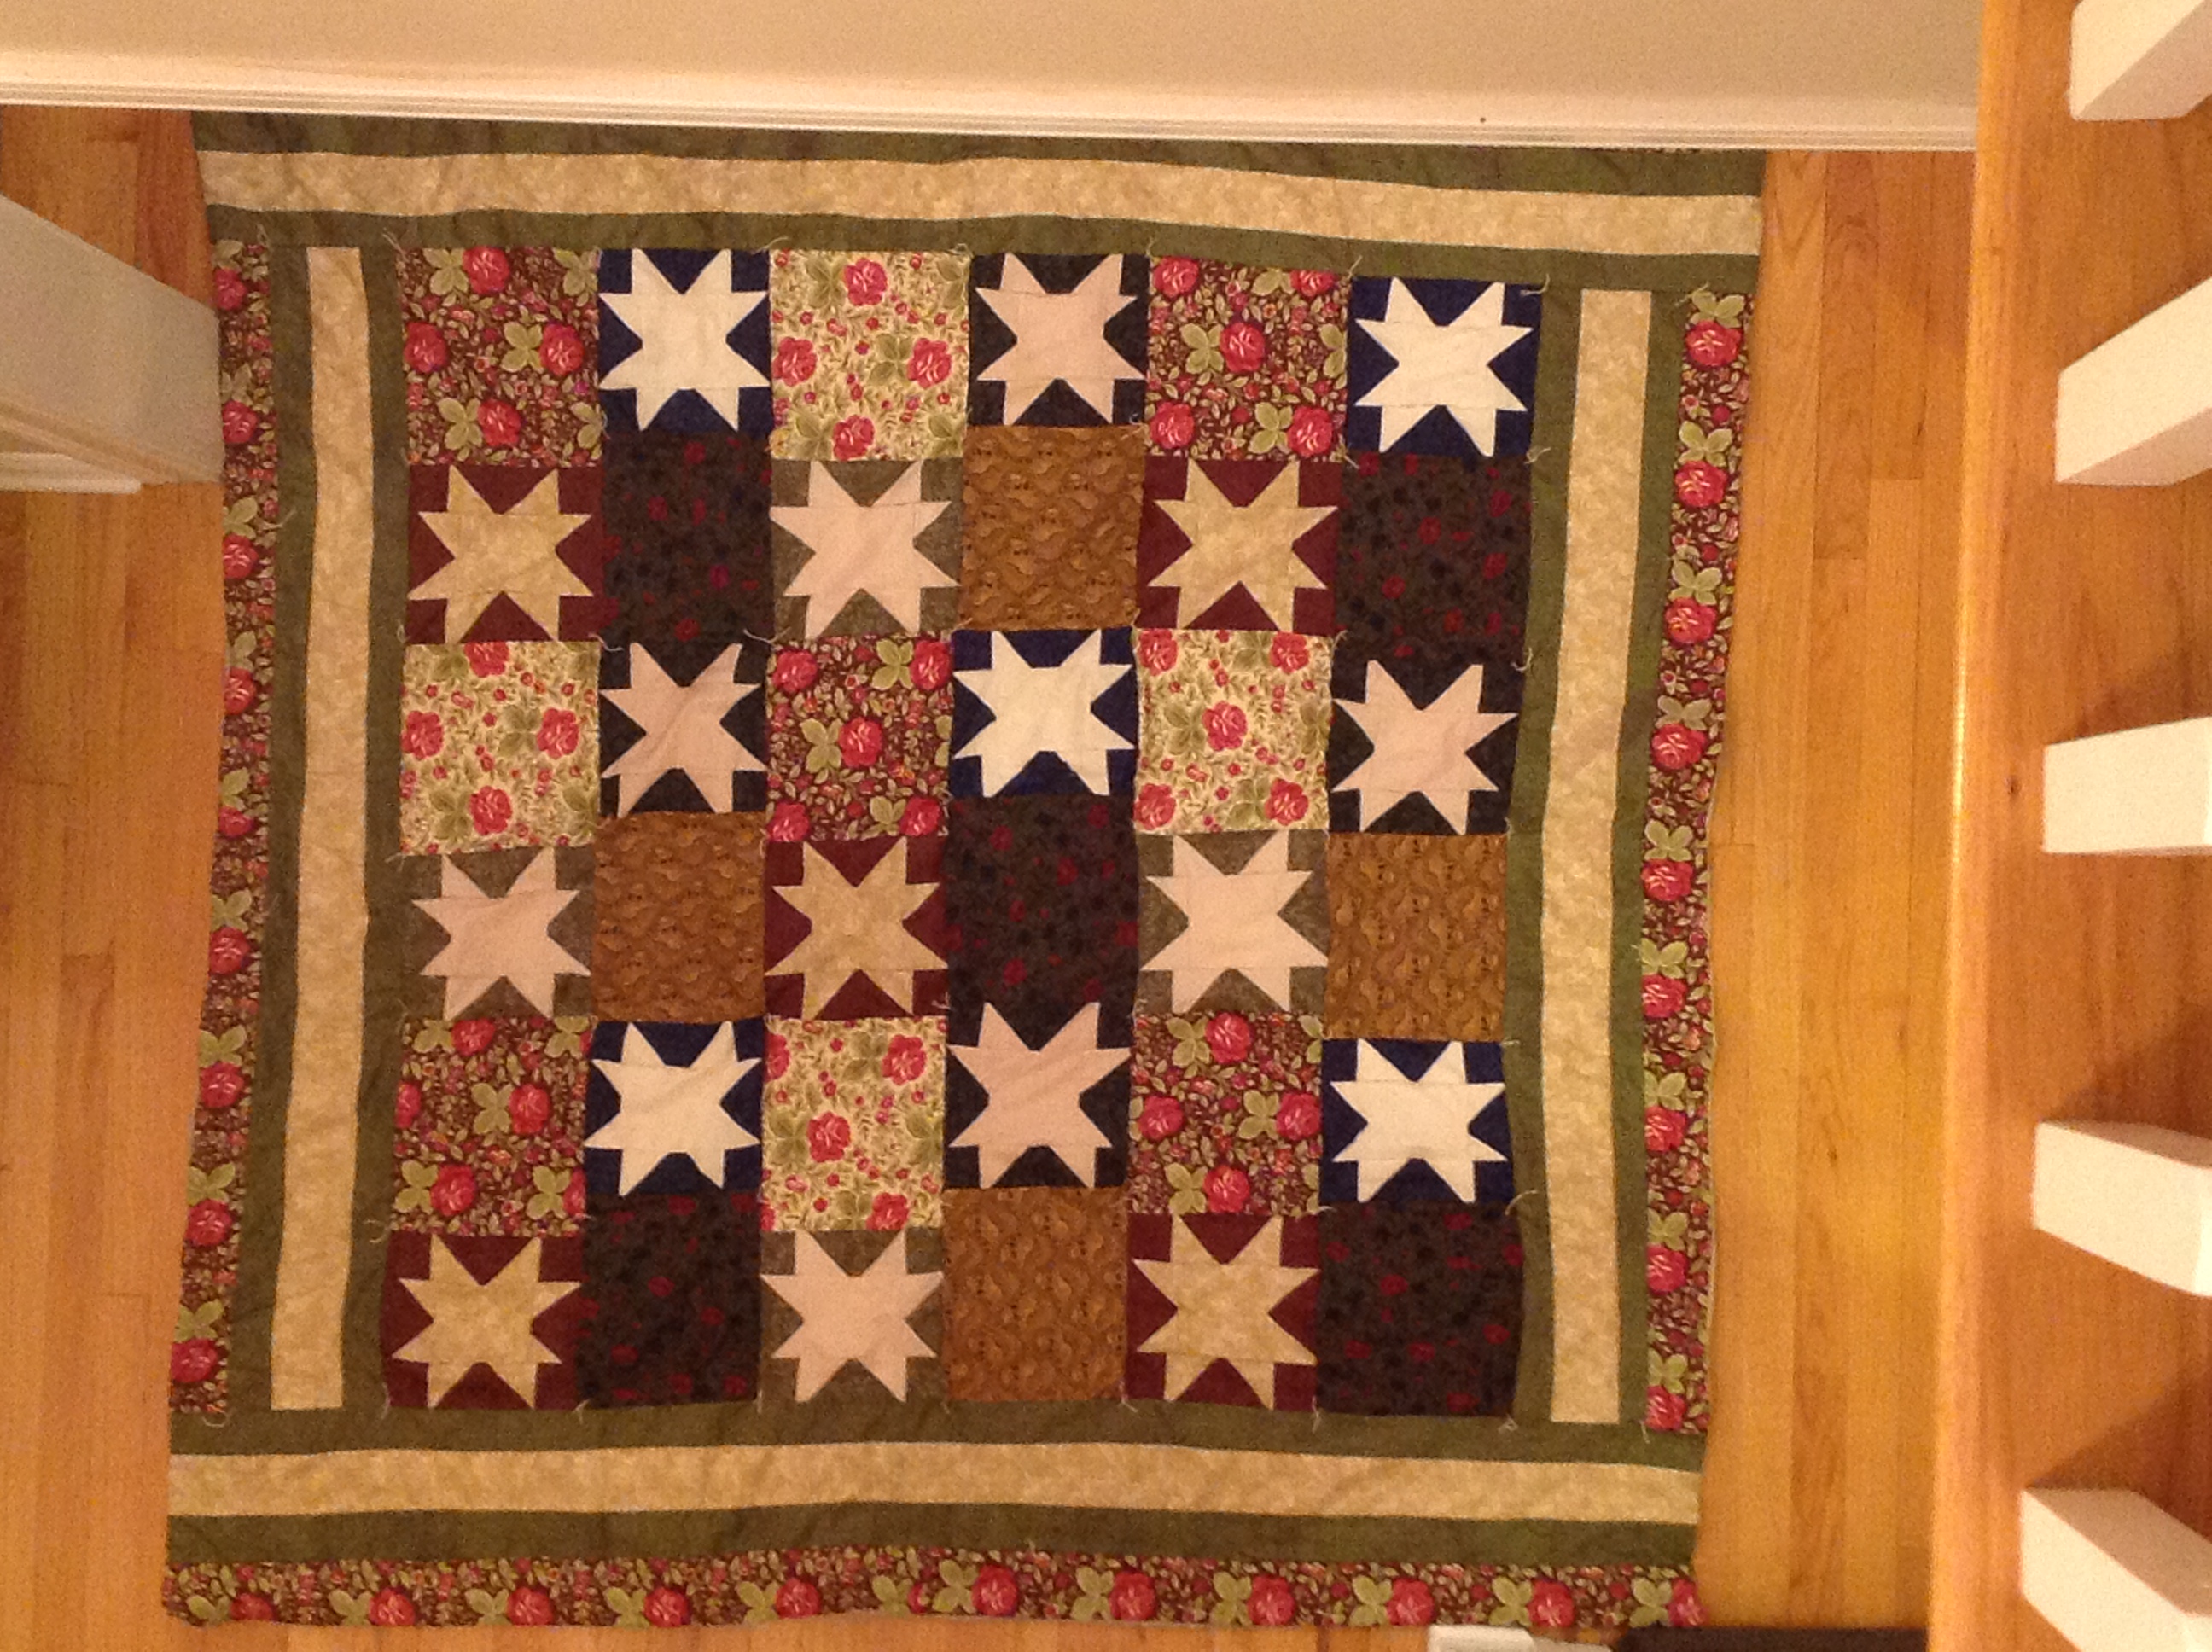
The Star Quilt
A really good friend of mine celebrated her birthday this past January. I wanted to do something extra special for her so in between homeschooling, mothering, etc., I decided to make her what turned out to be the most complicated quilt on Earth. I do have some experience with quilting, but I do not like to follow a pattern, I should’ve been the poster child for the “Crazy Quilt” phase. I am not very good at cutting or measuring, or sewing for that matter. Unfortunately, these are the skills one needs to possess in order to make a Country Fair Award Winning Quilt. Who cares, I did it anyway! Here was my inspiration:
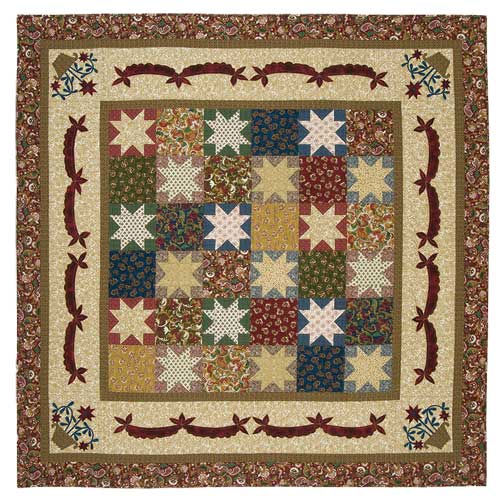
Perfectly easy right? I decided I wouldn’t add those red banners and flower baskets and then it would be simple. Plus the colors and patterns would look awesome in her home which is an old farmhouse with a rustic appeal. I went to the fabric store with the picture, bought the fabric, a book on how to make the stars and I was ready to go. Twenty hours and a lot of frustration later, here is what my quilt front looked like:

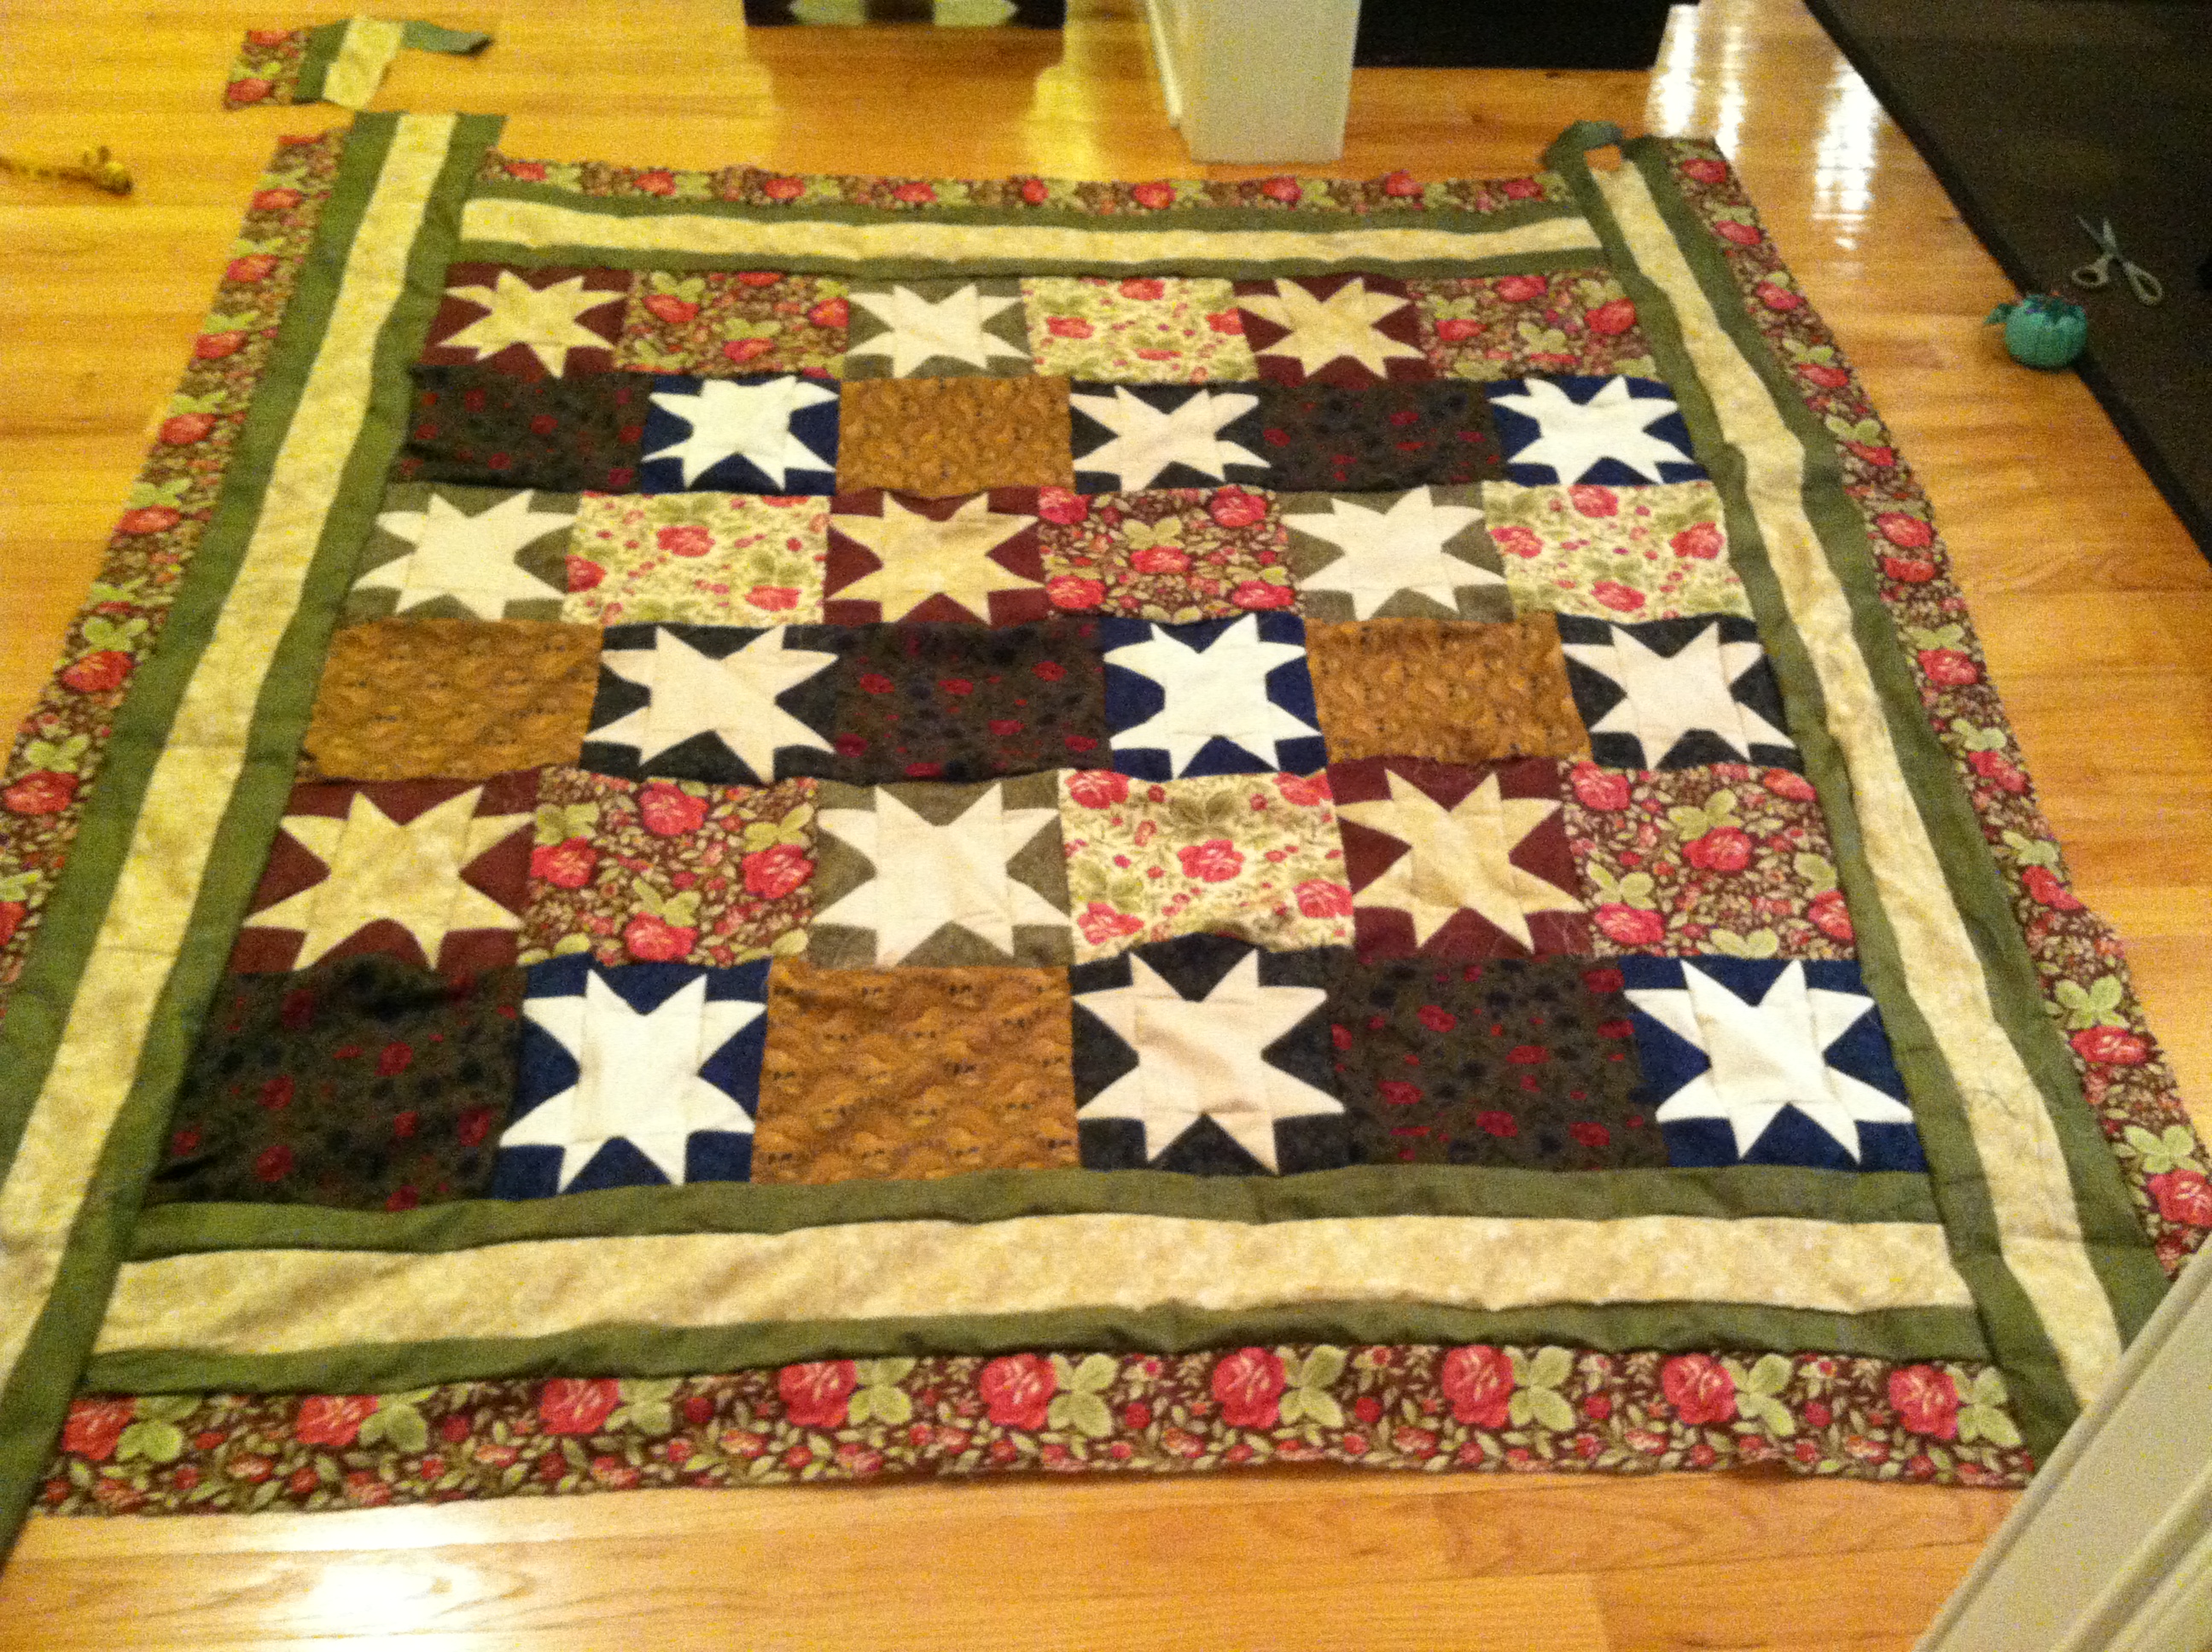
Not so bad in the first picture, right? Check out the stars in the second! How could that be? I cut them all out of templates that I measured perfectly. And, oh no, I sewed the longer side border wrong. Didn’t matter, I was determined to finish and from experience, I know that it always looks better when filled and finished. So onward to the finished product. At least the cat liked it! And the bottom picture is on her couch. You can also find a video of her opening it below:

Sock Snowmen
In December, it was time to start creating holiday crafts with the kids. I couldn’t wait! We have a holiday open house each year and we always give something to our guests as a small gift for the holidays. This year I came across Sock Snowmen on Pinterest. It looked easy enough and was using materials we had at home so we decided to try it. I had just cleaned through my son’s sock drawer and he had sixteen socks all with a hole in the same spot on the bottom of the foot. I decided to use these, but although they were clean, I had to try to get them whiter. I soaked them in warm water with a mix of three tablespoons hydrogen peroxide, two small squirts of dawn dish detergent and a tablespoon of baking soda. They soaked for well over an hour and the water was brown! Success…well almost. After stuffing the socks with rice and creating the snowmen, they still looked like, well, used socks.
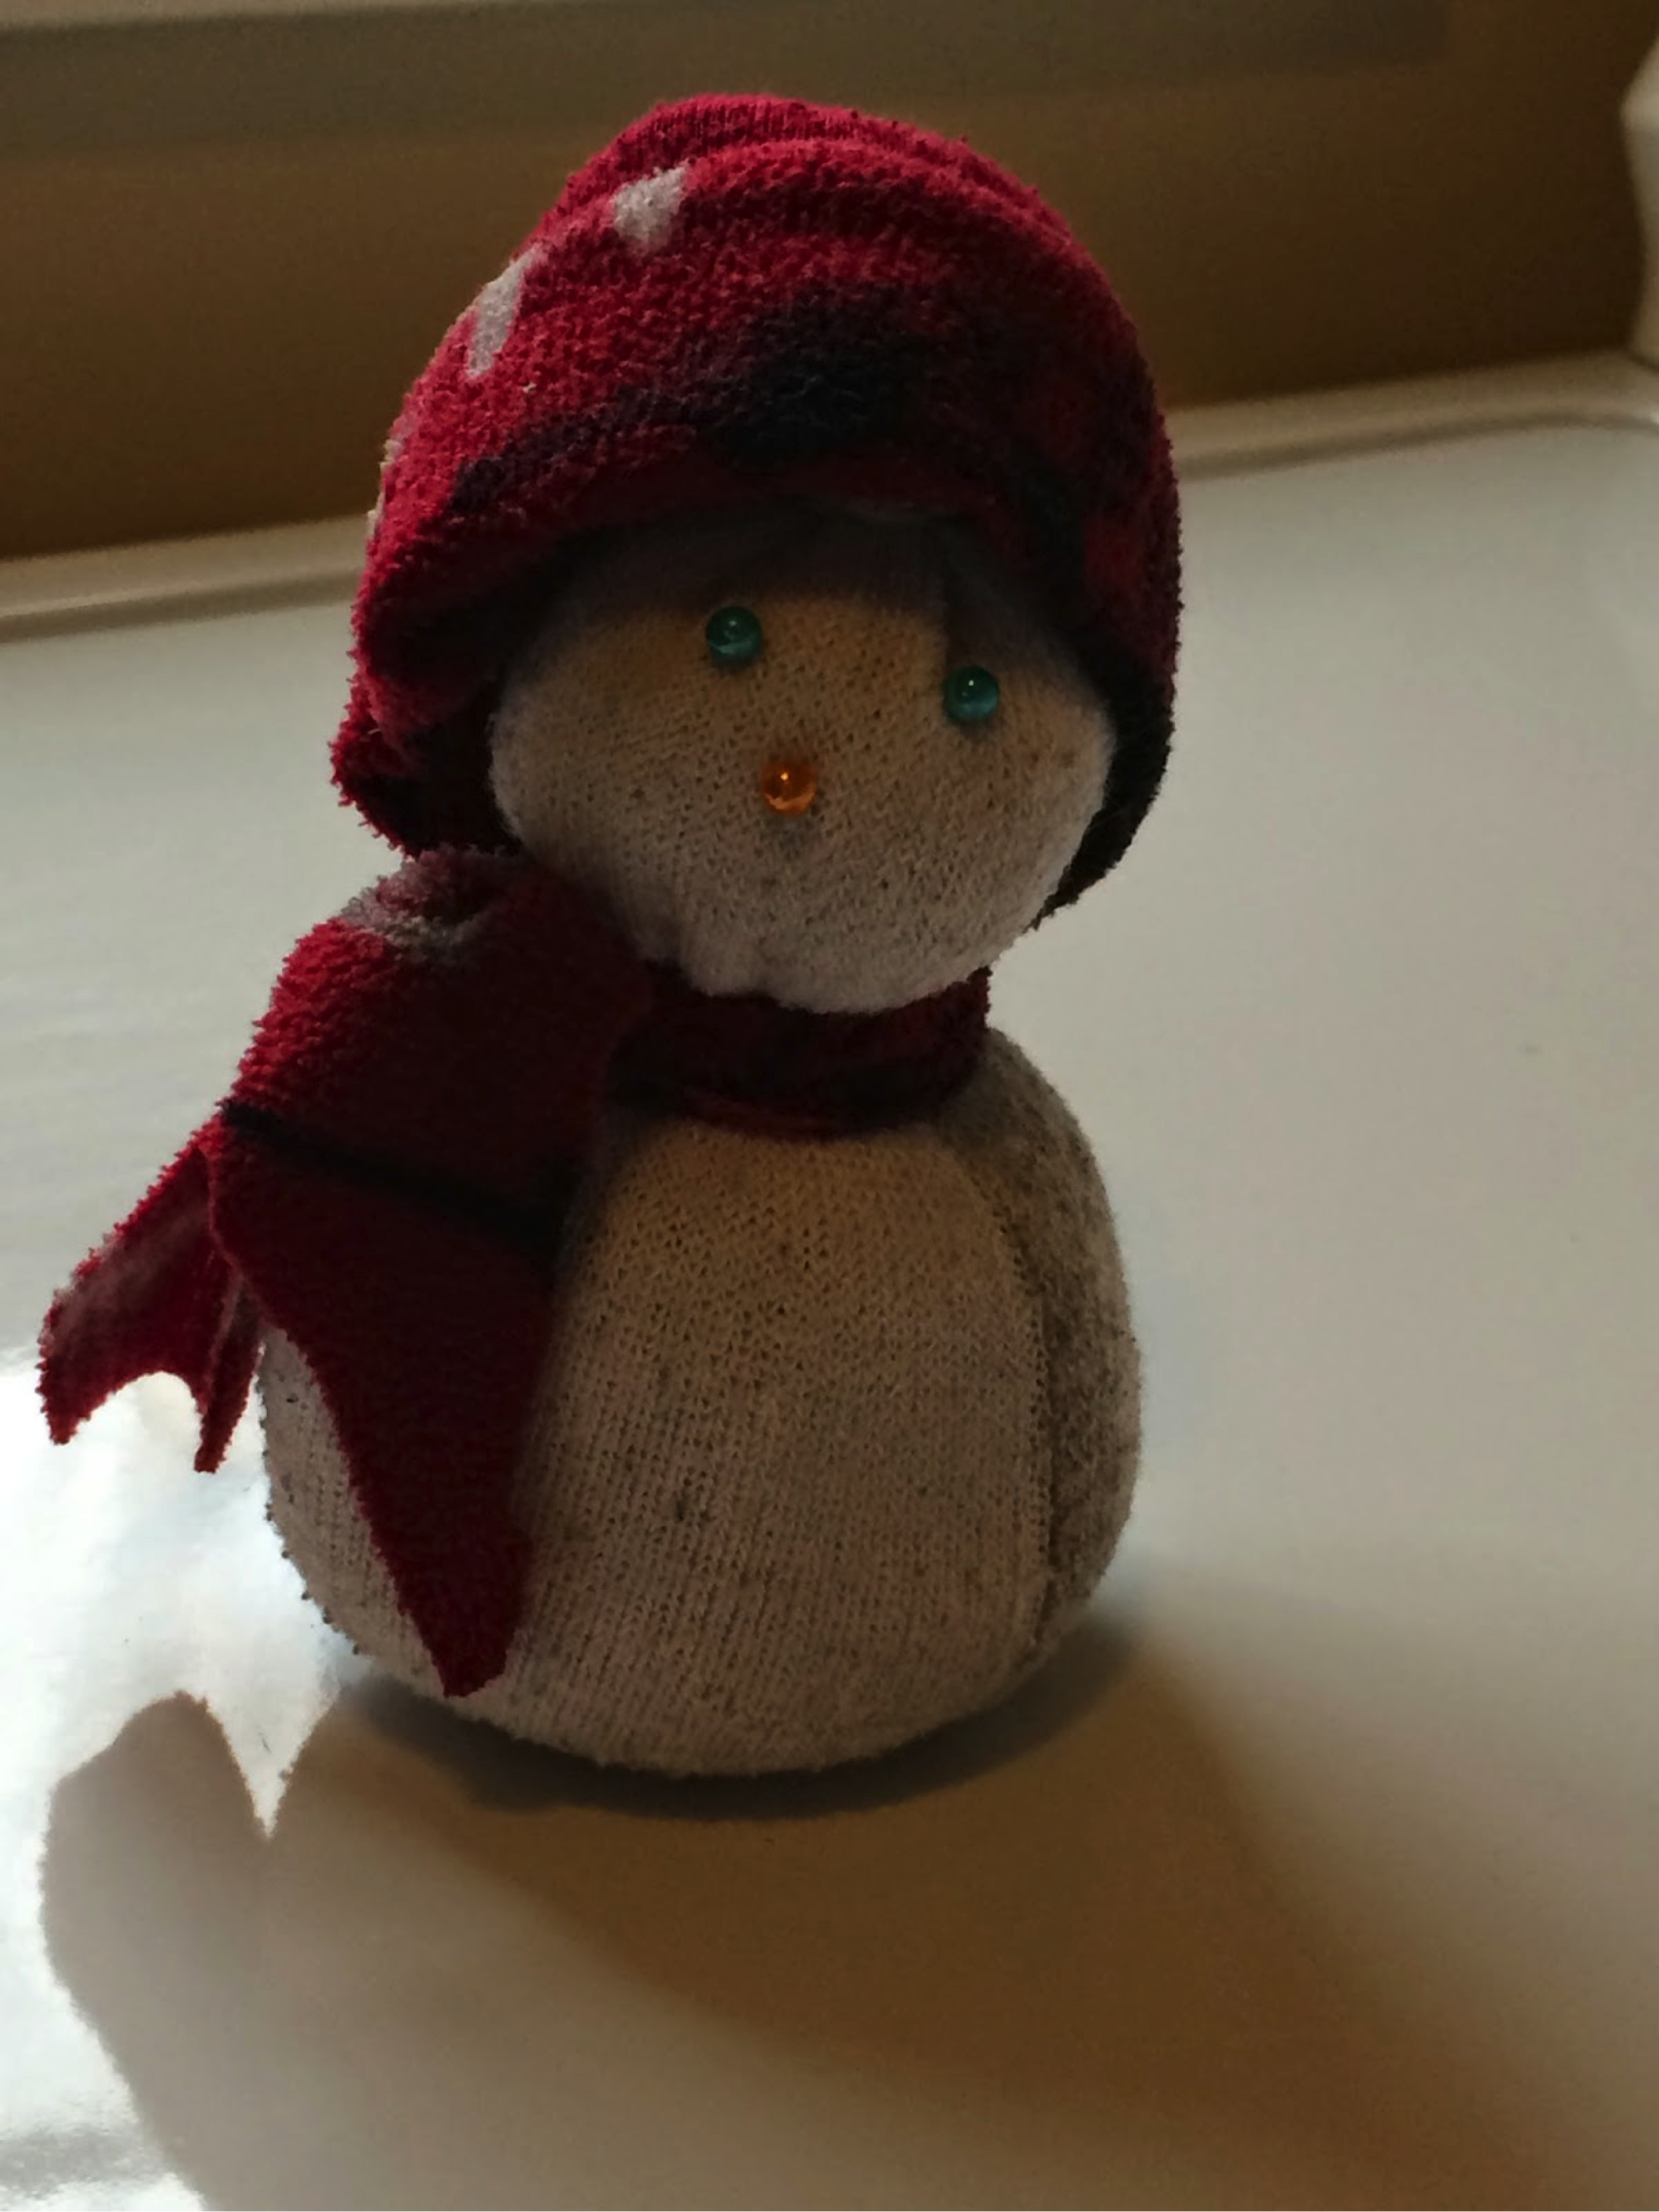
I decided these were not going to be given out to my guests. Instead, we gave made pine cone ornaments decorated with glitter glue and ribbon.
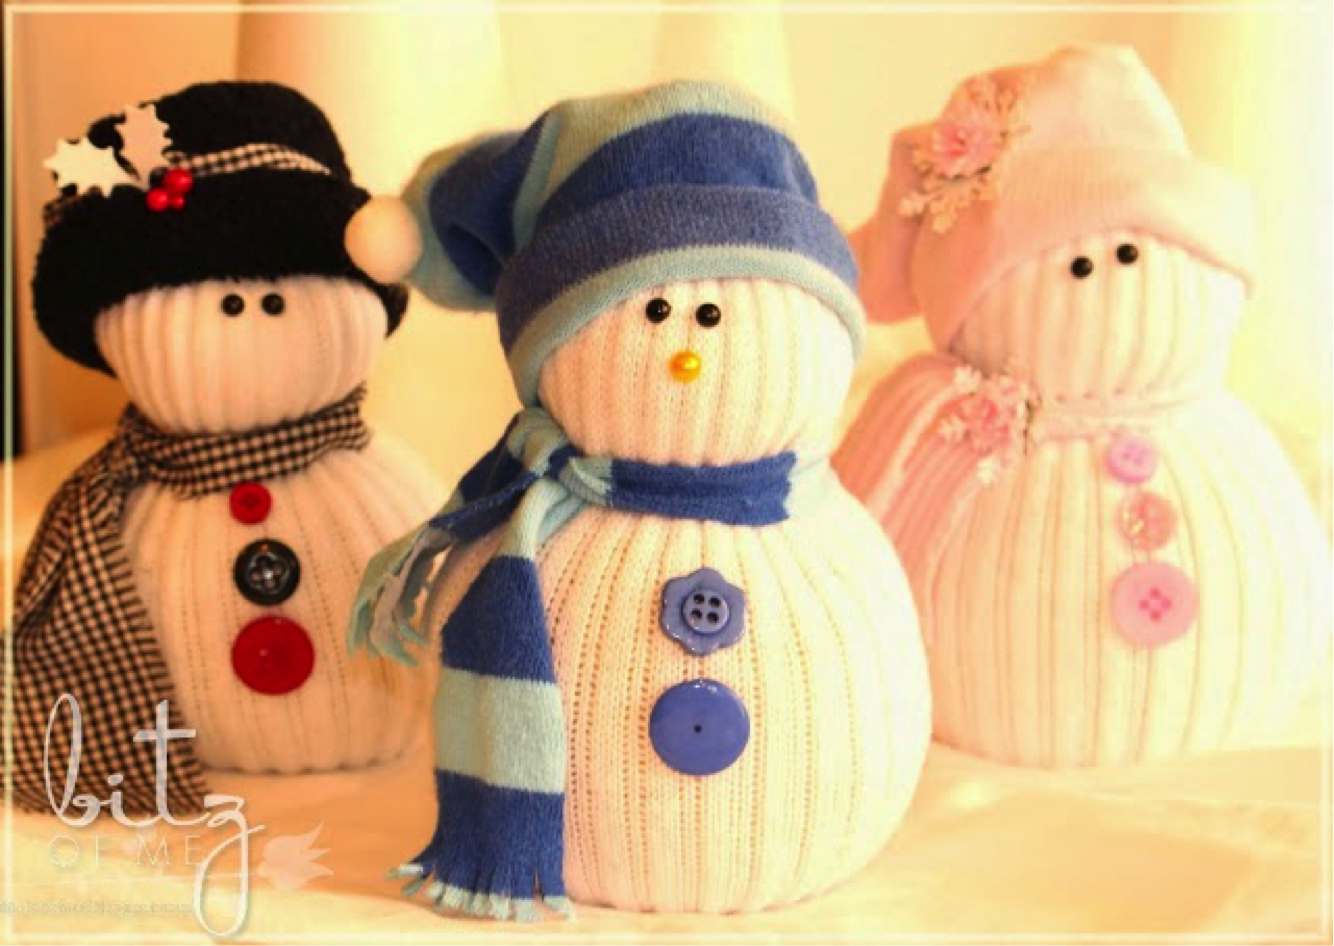
Props to tinybitzofme.blogspot.com. Her sock snowmen were beautiful and were what inspired me. She had the right idea to use unused socks. They look much better! Visit her blog on how to make them look like the snowmen below. Good Luck!
