
Author: Danielle Beerli
DIY- Repurposed Antique Store Items
We went to an “antique” store while we were on vacation in the Catskills. To me it was more like a hunt like Mike and Frank from American Pickers go on, which was awesome! I found some really great objects and refinished and repurposed them.
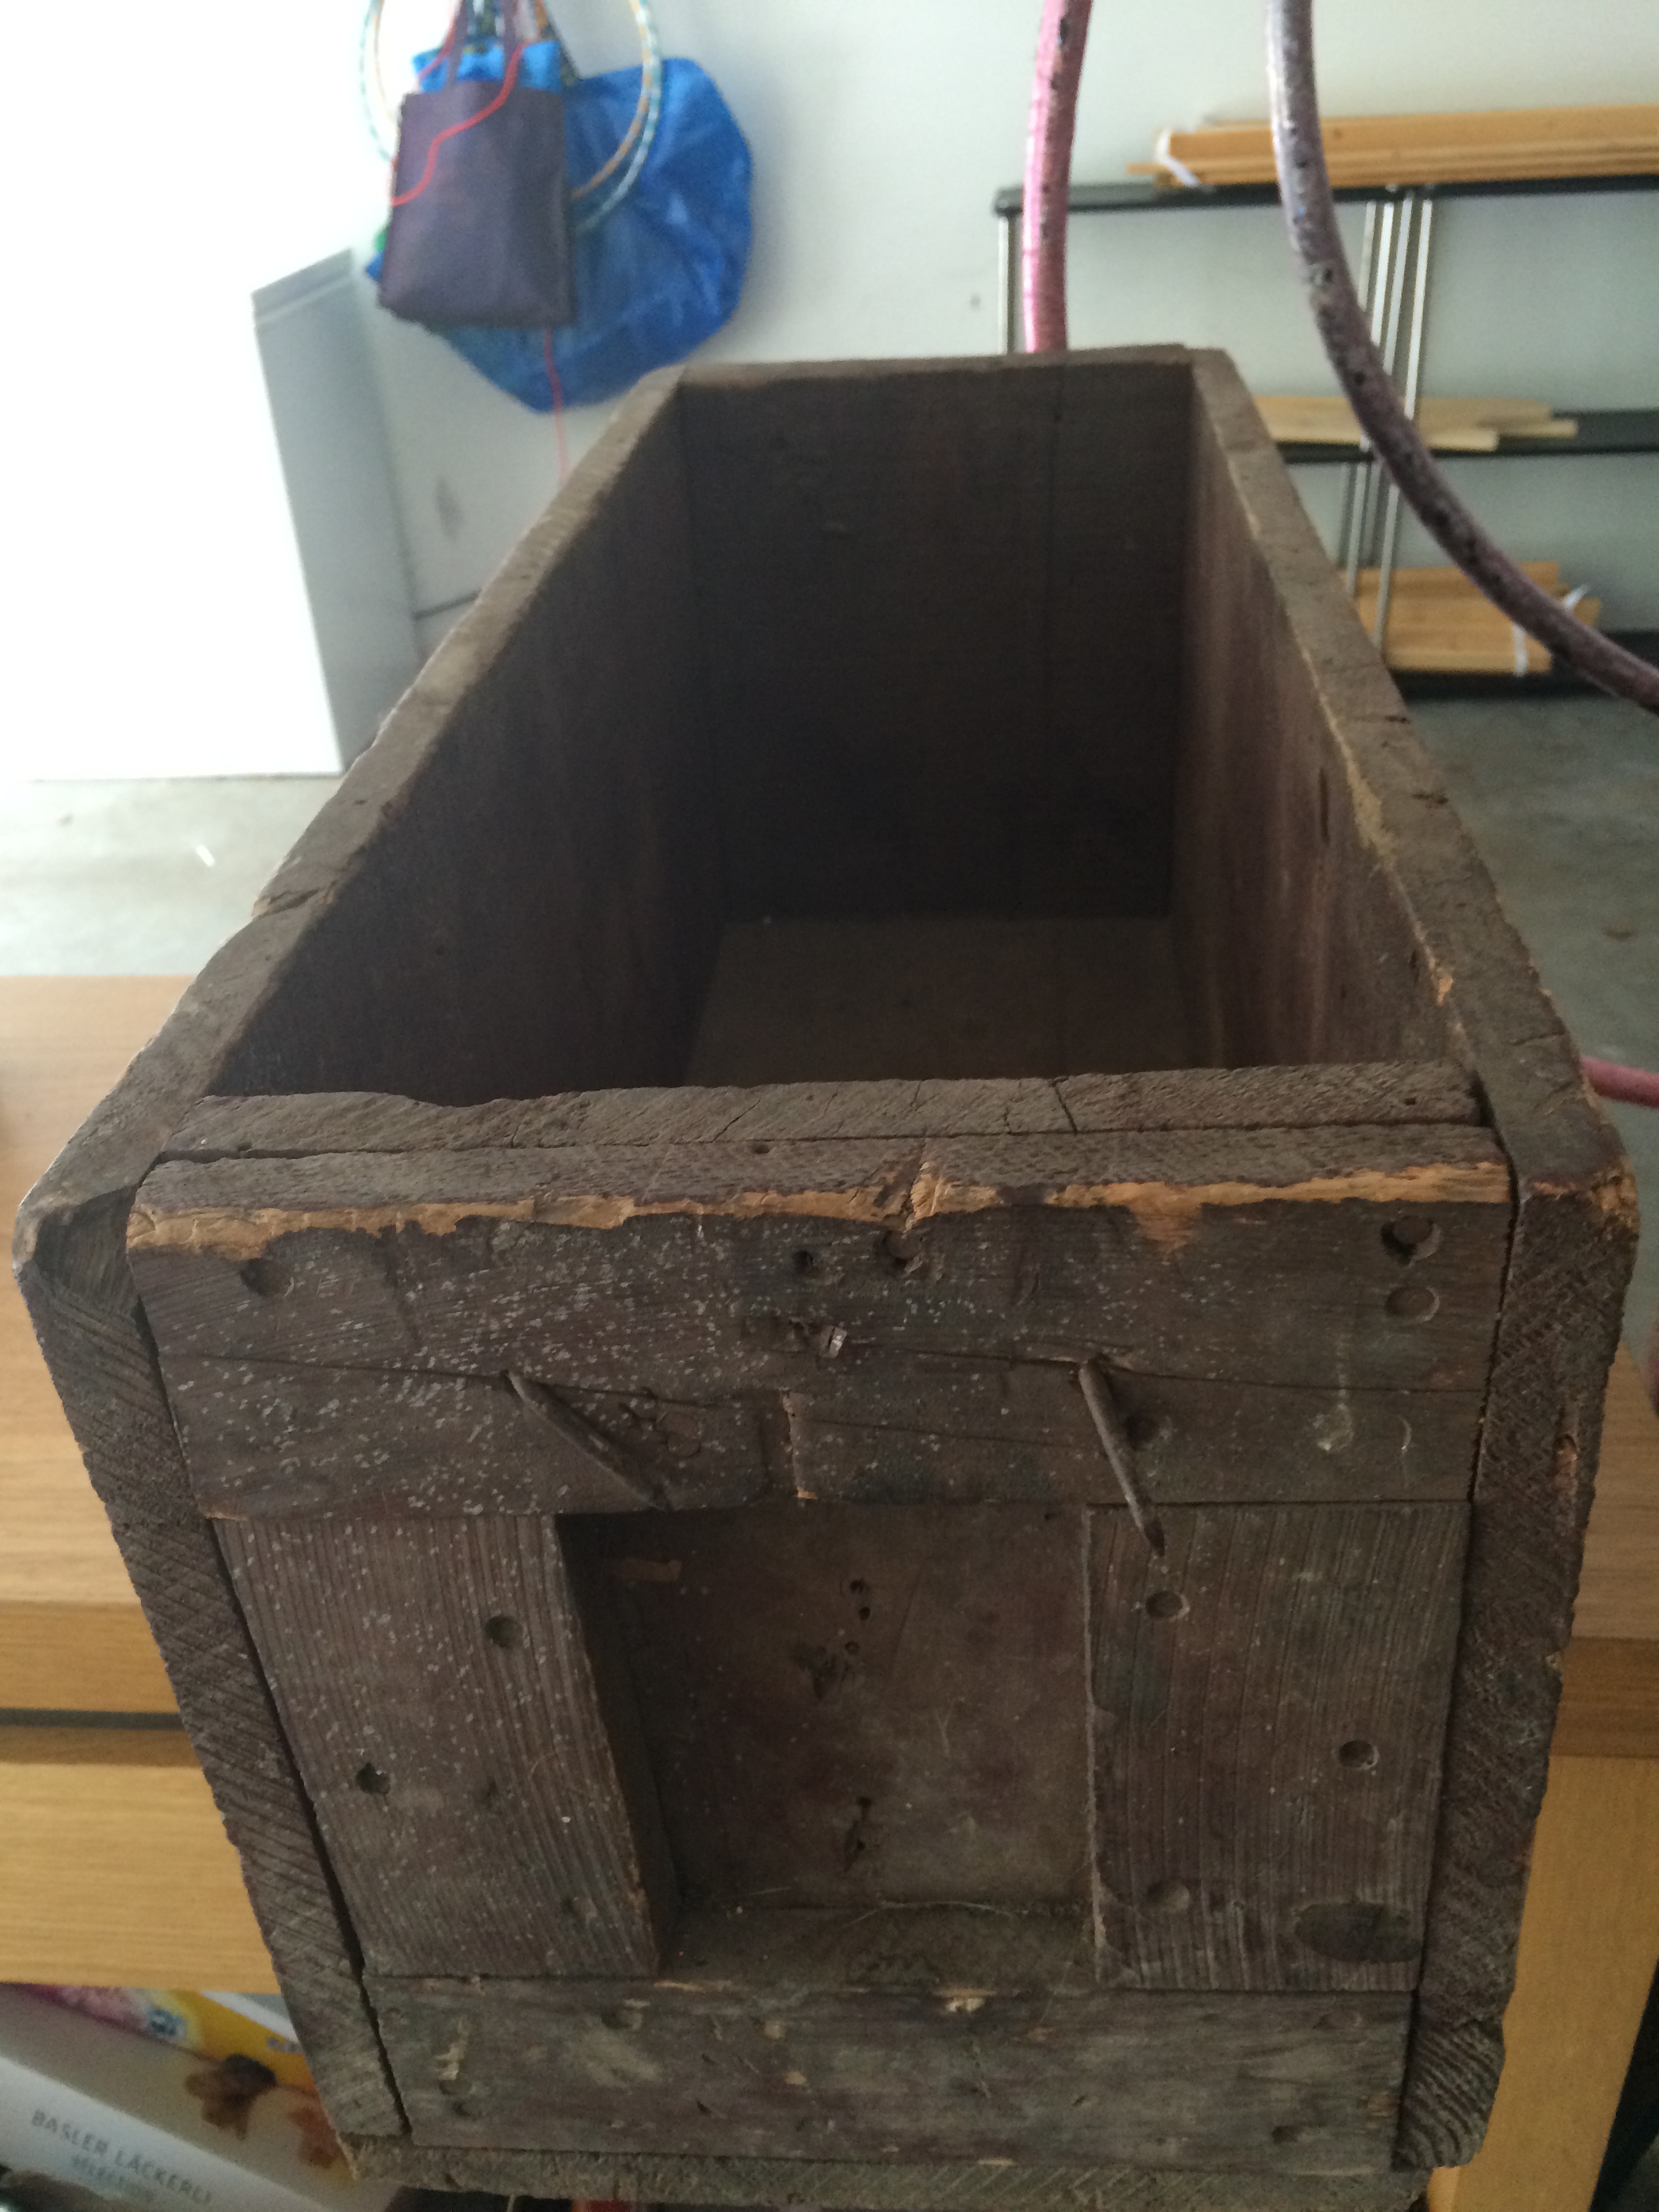
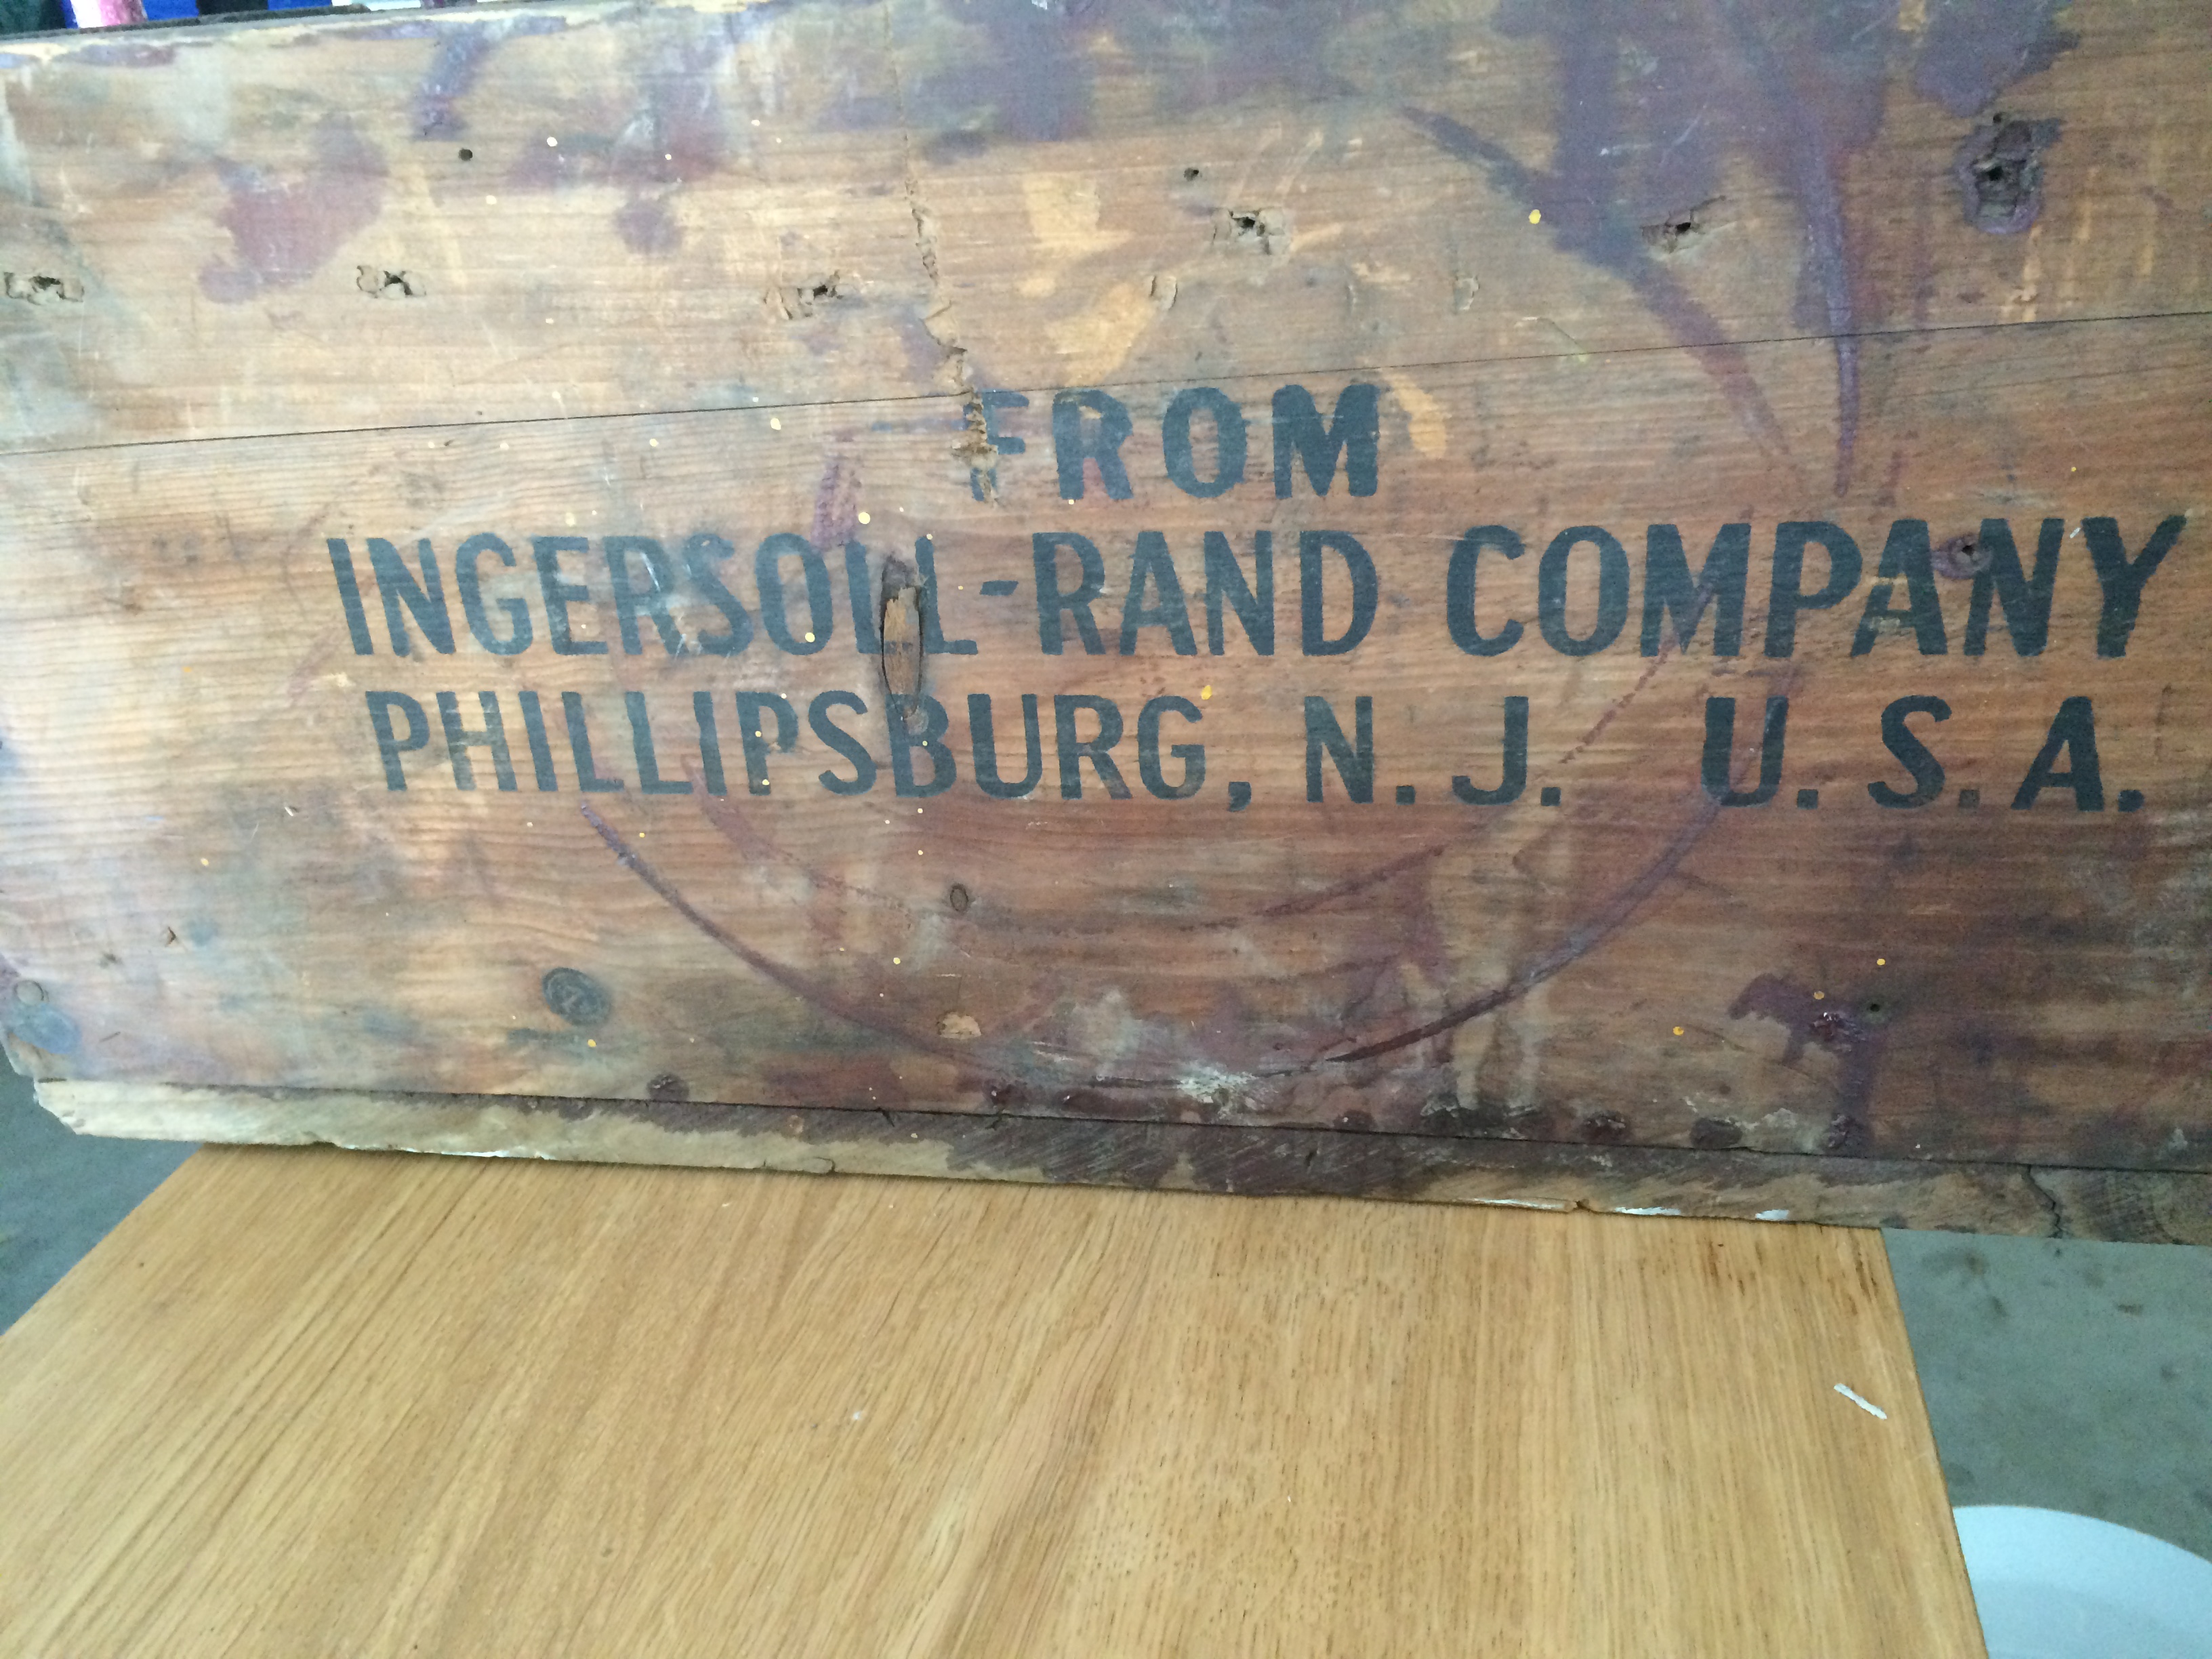
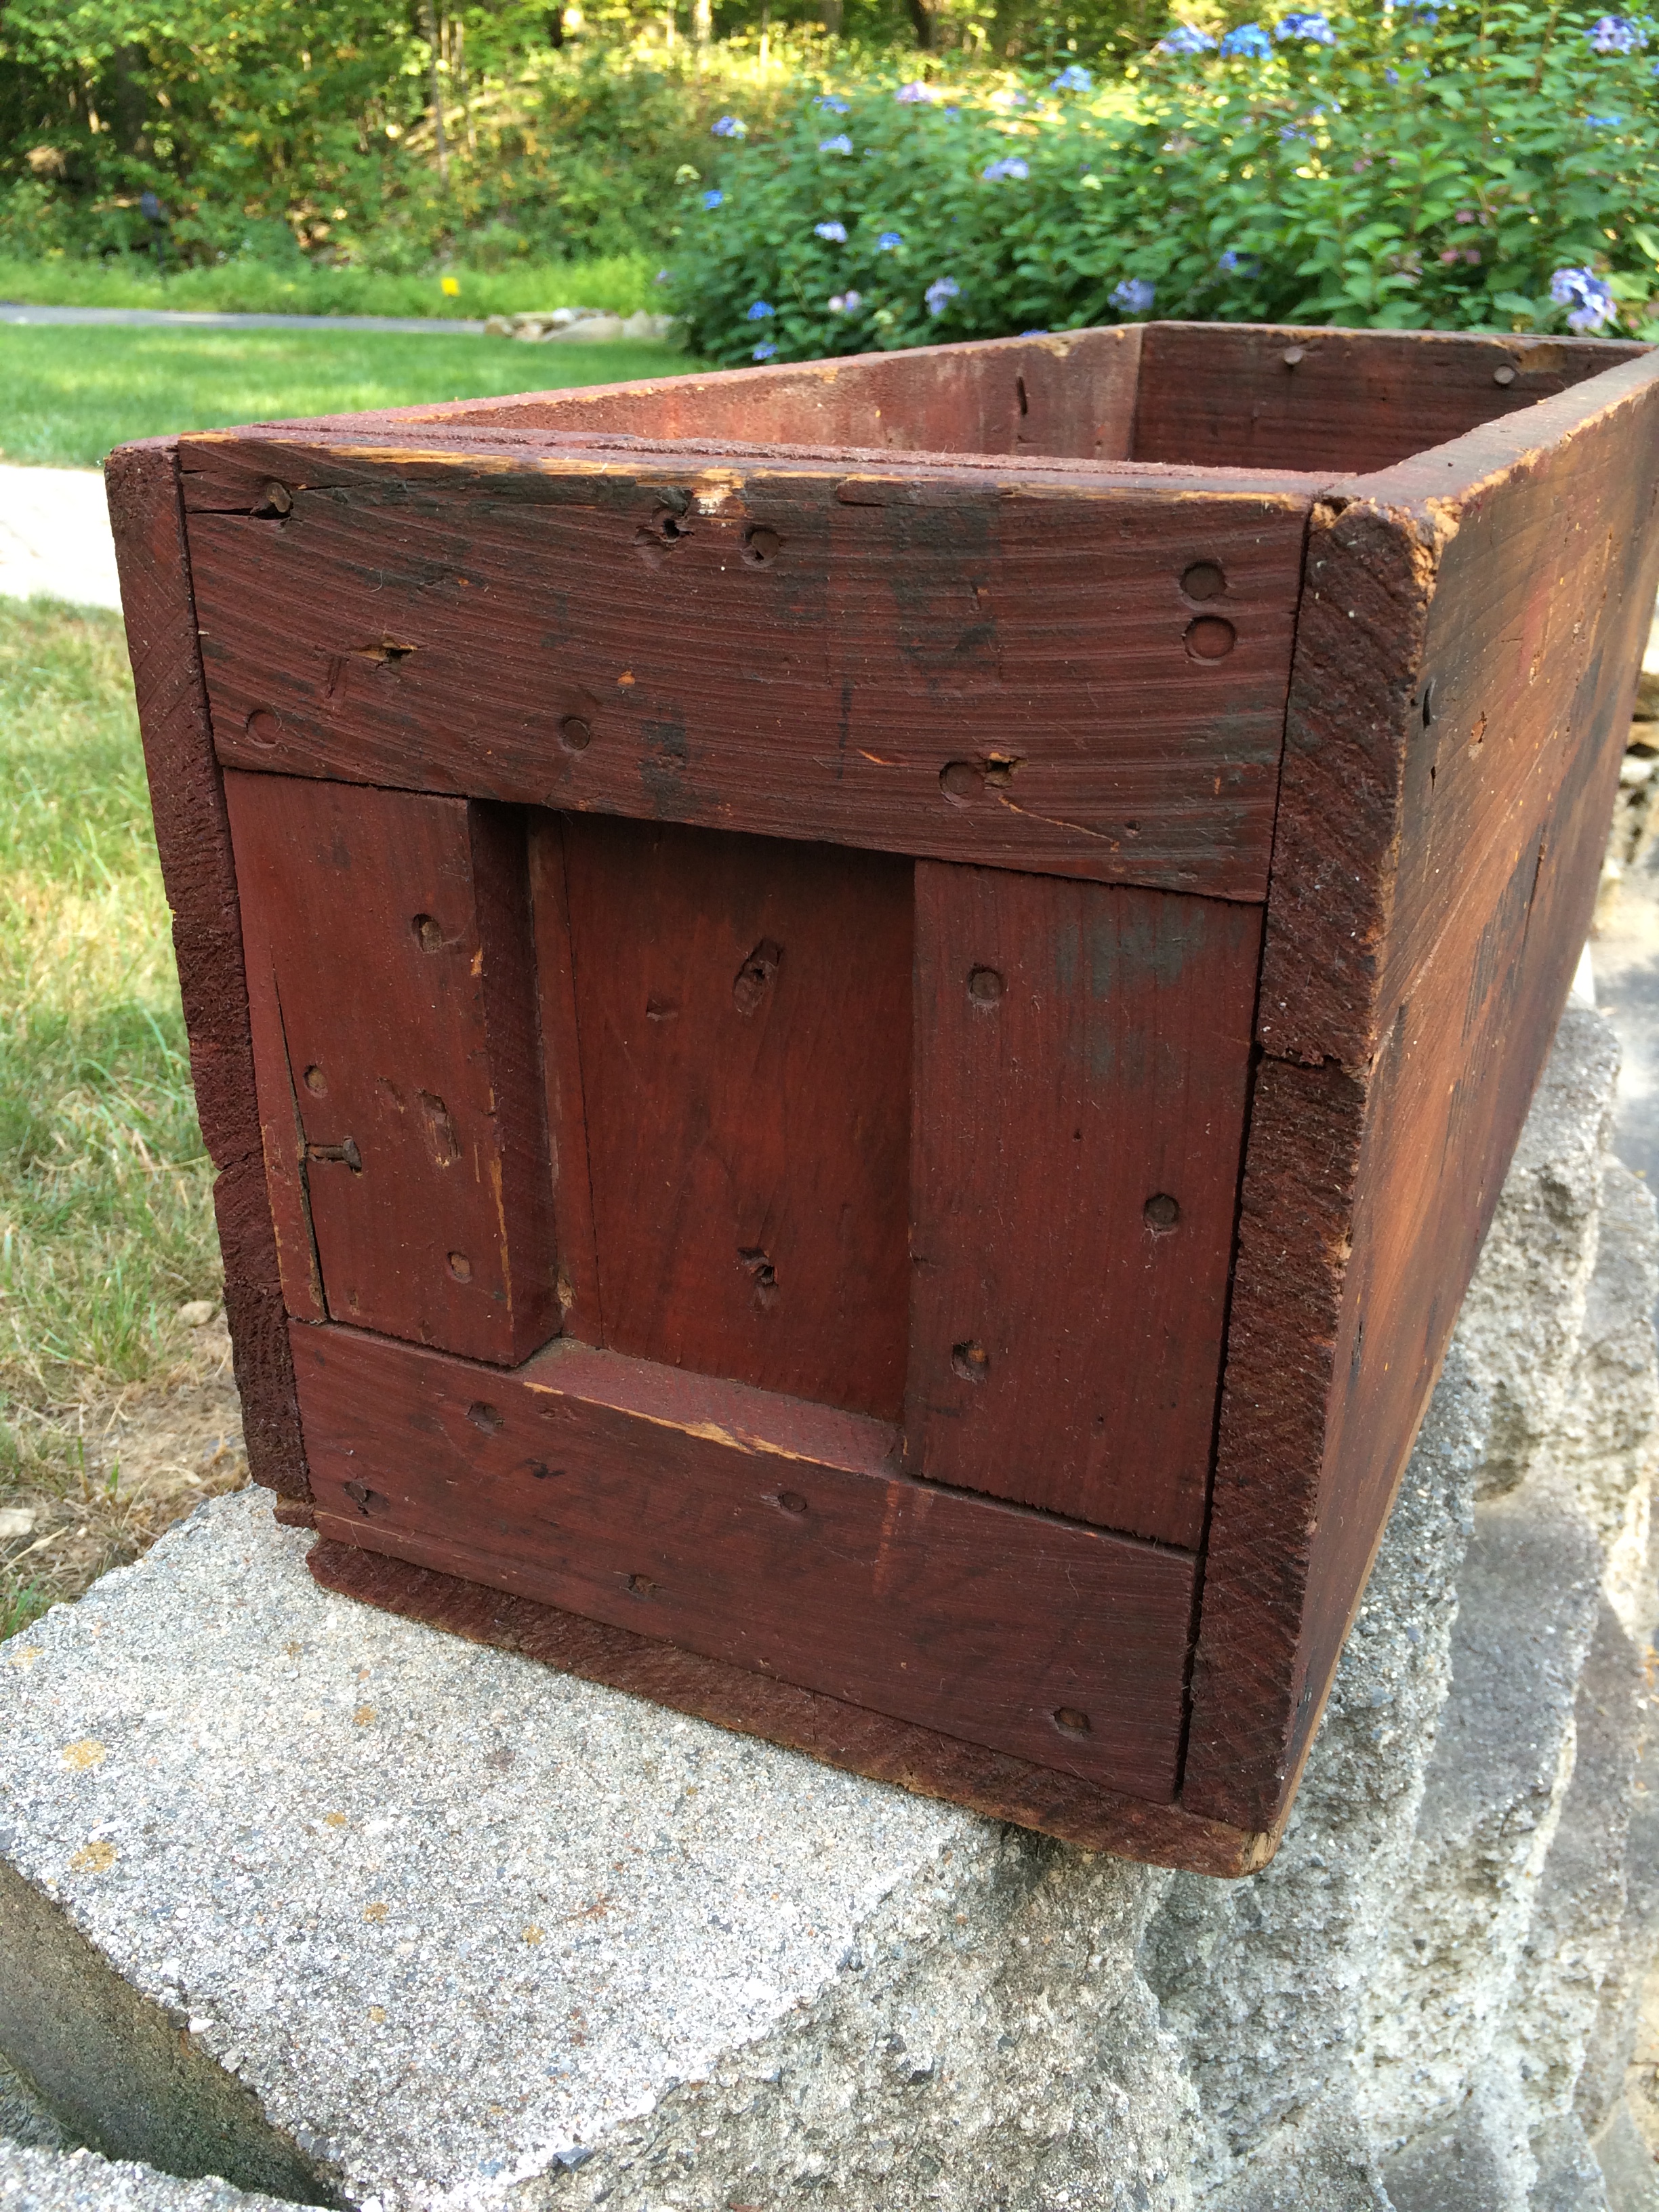
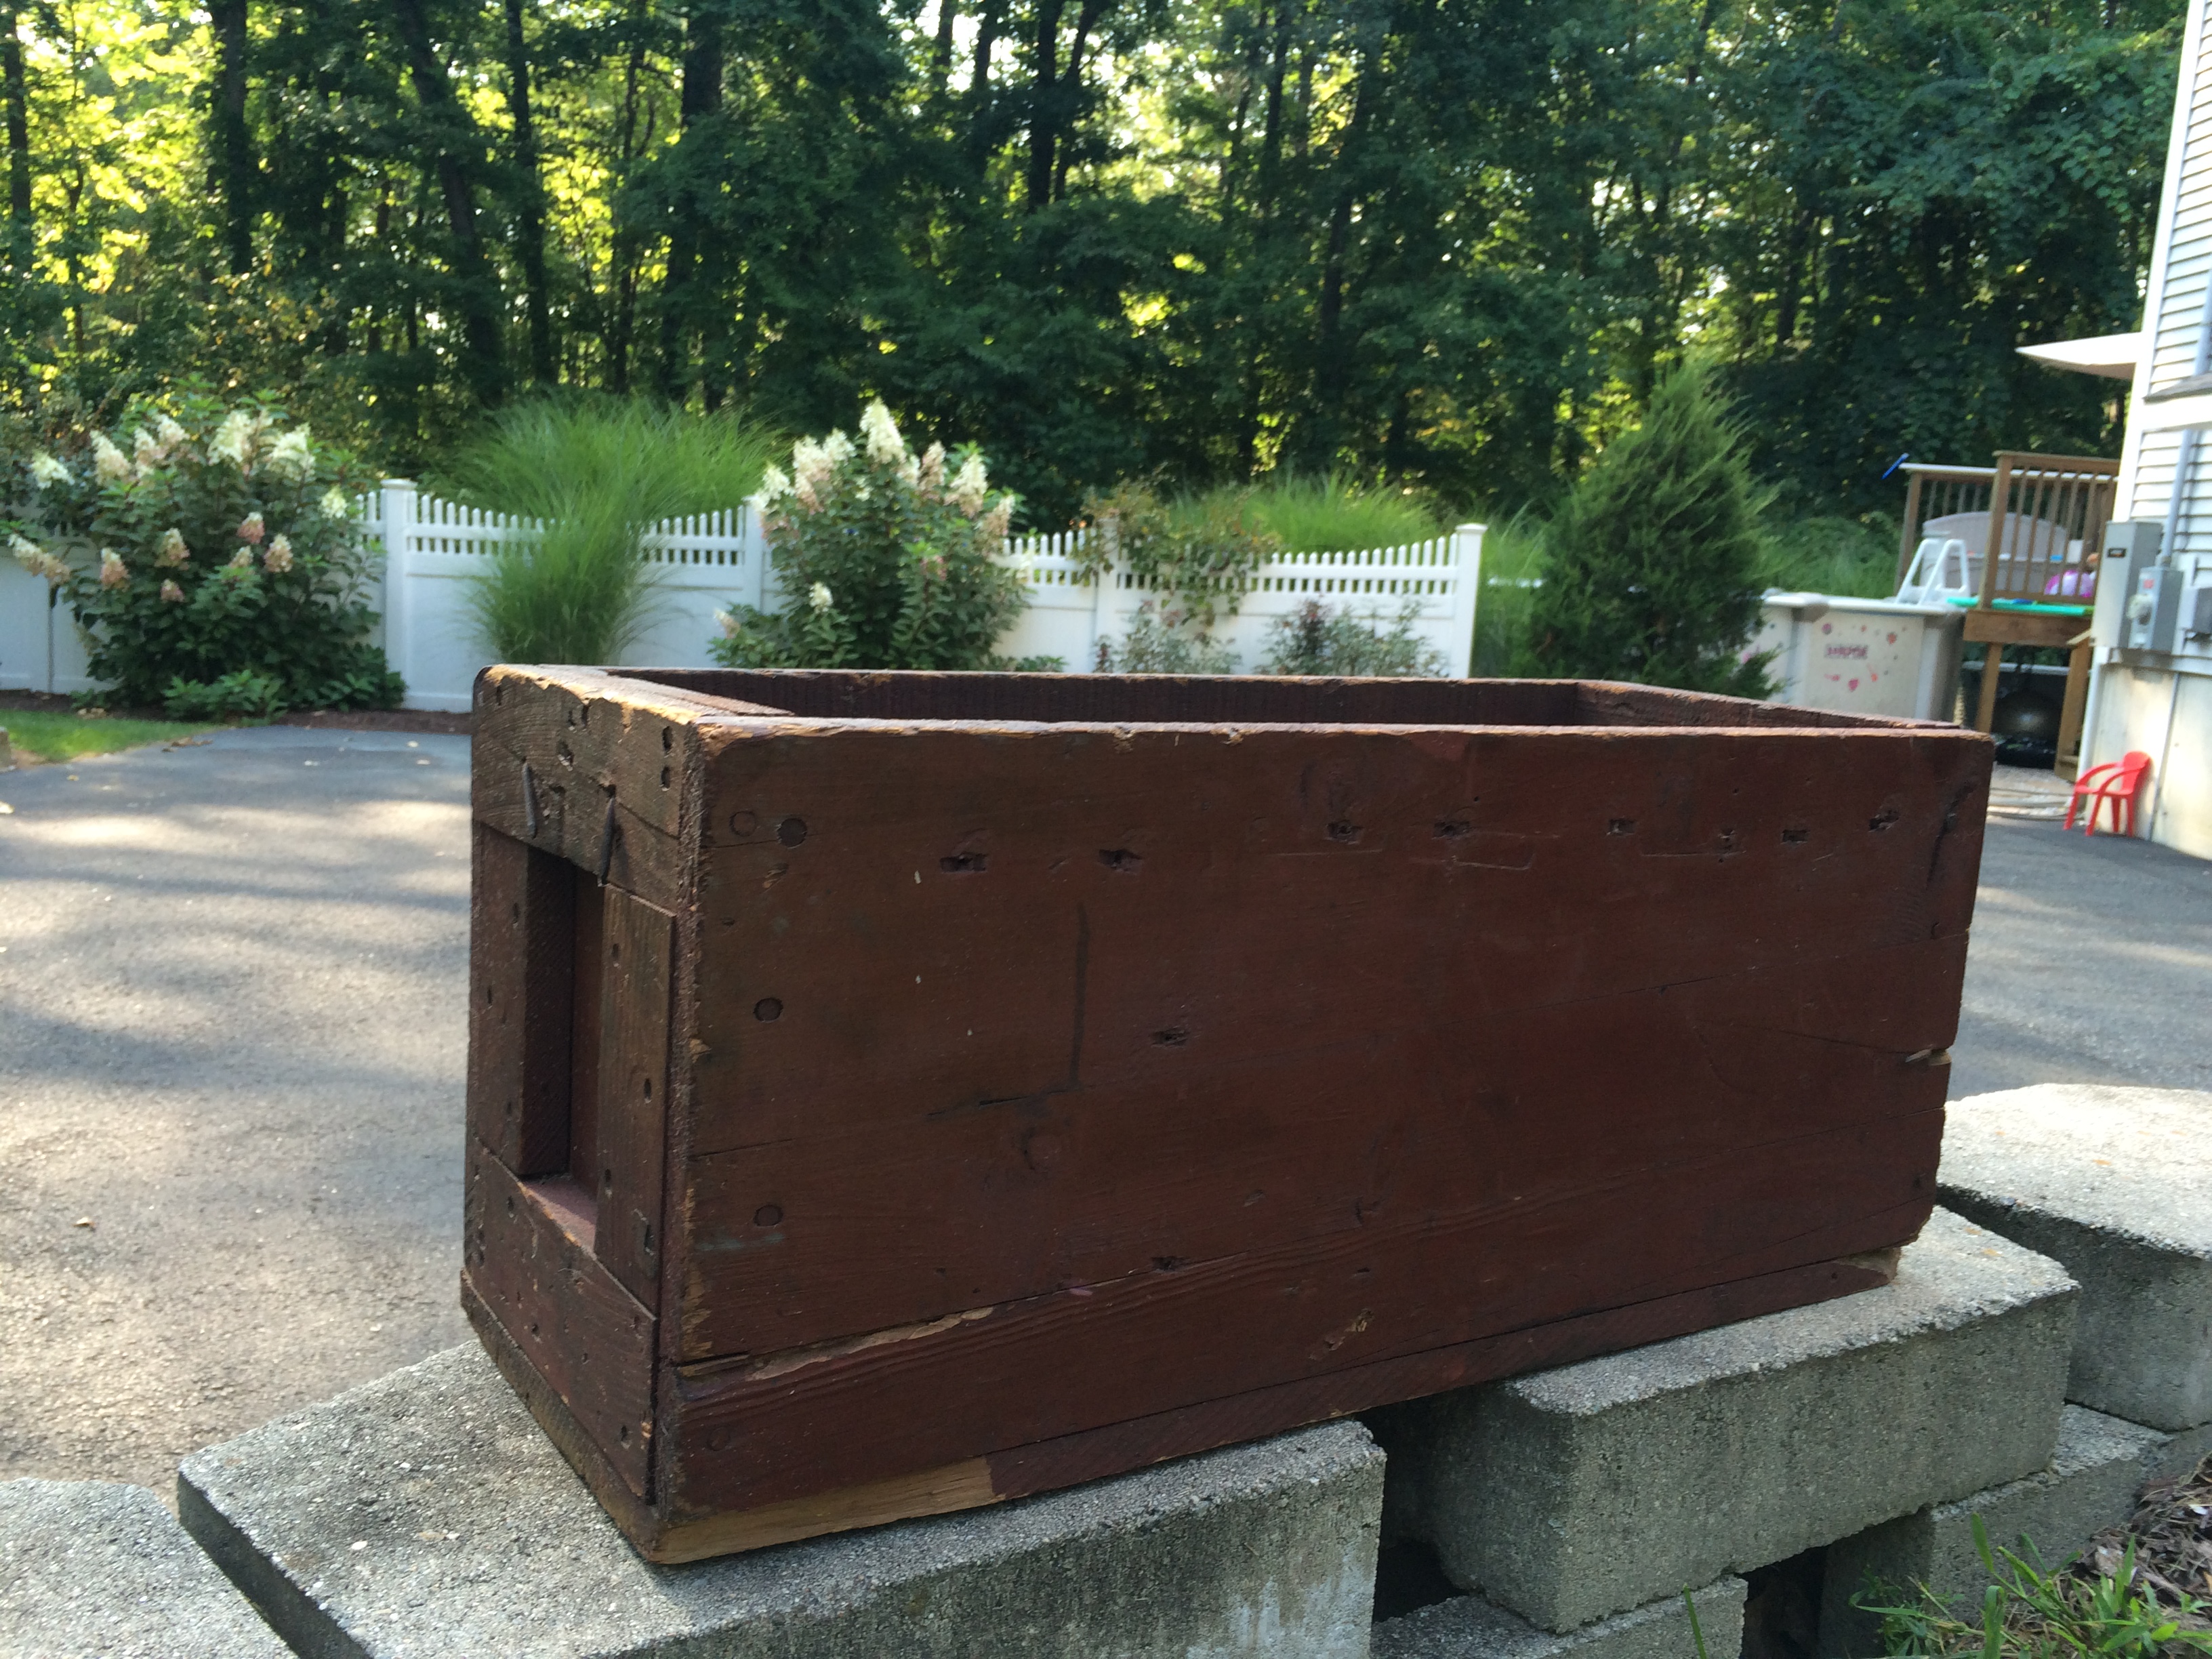
This wooden box appealed to me because as I’ve mentioned in another post, I am obsessed with wood. I liked the age and color of the box and it had some writing stamped on it which was cool. I cleaned it with soap and water and then wiped it down using a soft cloth with a mixture of olive oil and white vinegar and then again with coconut oil. Just by cleaning and oiling it, the natural red color of the box was exposed and everything on the box looked so much brighter and clear. I still haven’t made up my mind, but I think I will use it outside as a planter.
BEFORE:
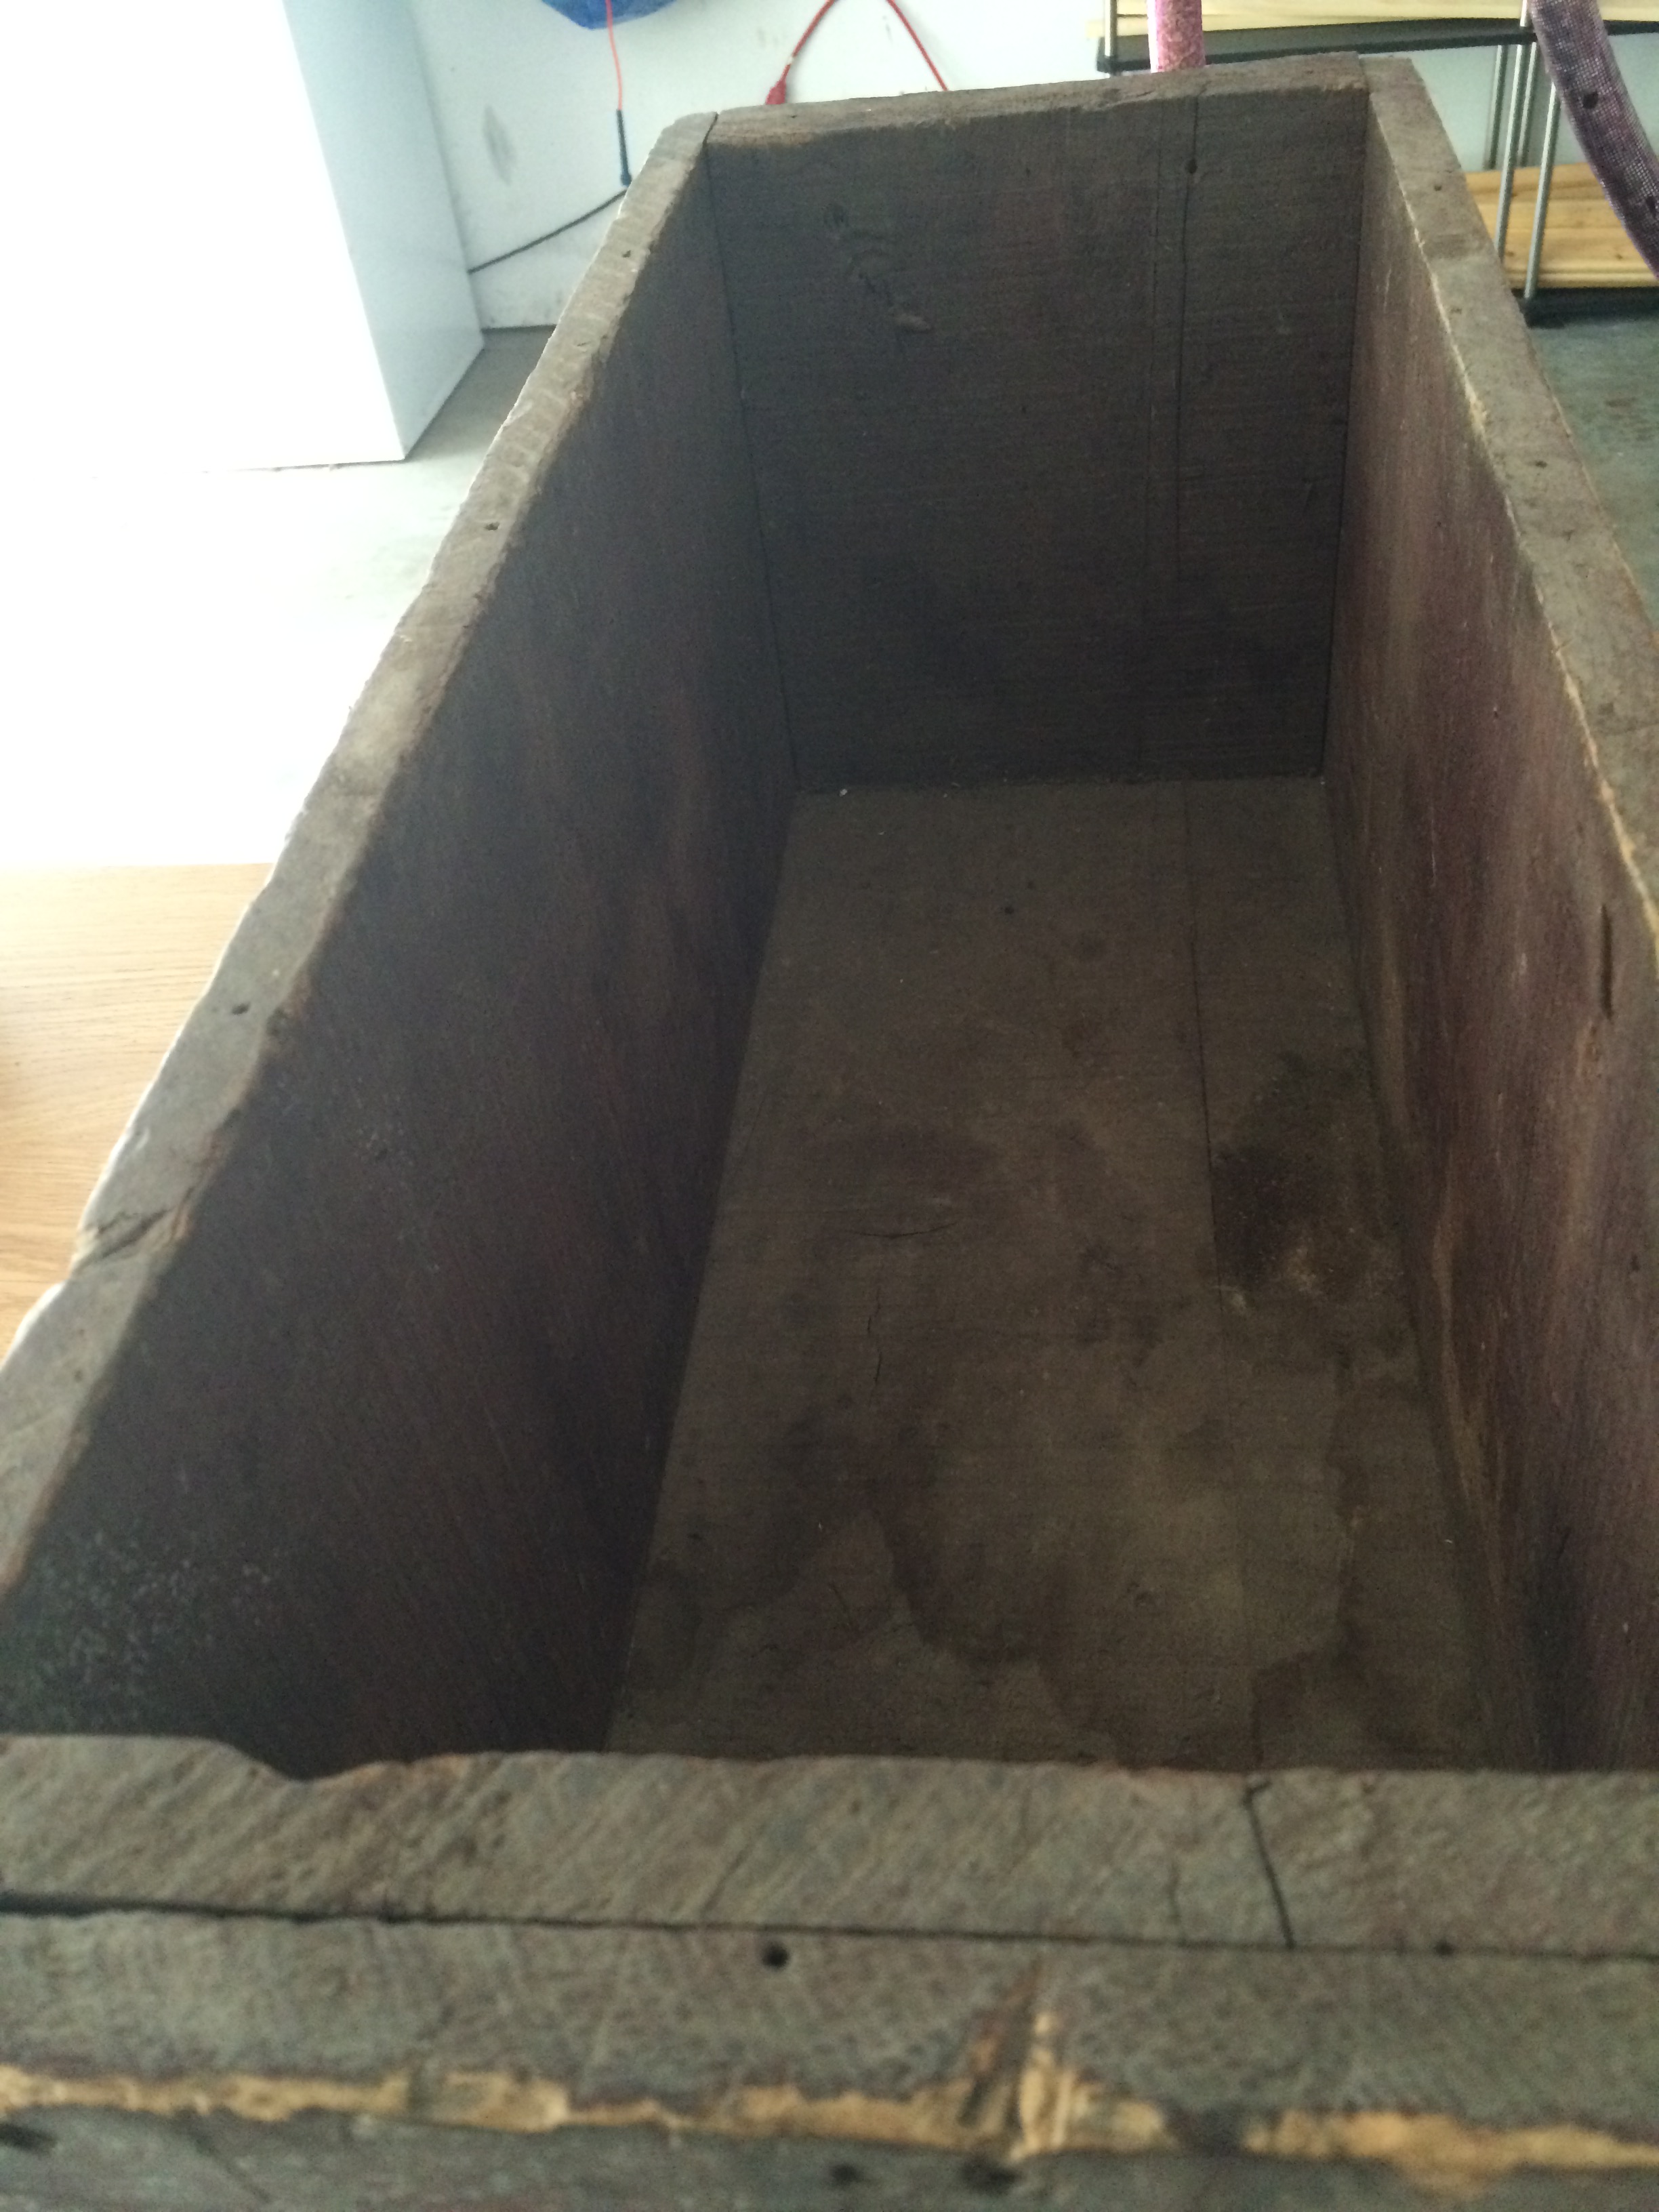
AFTER:

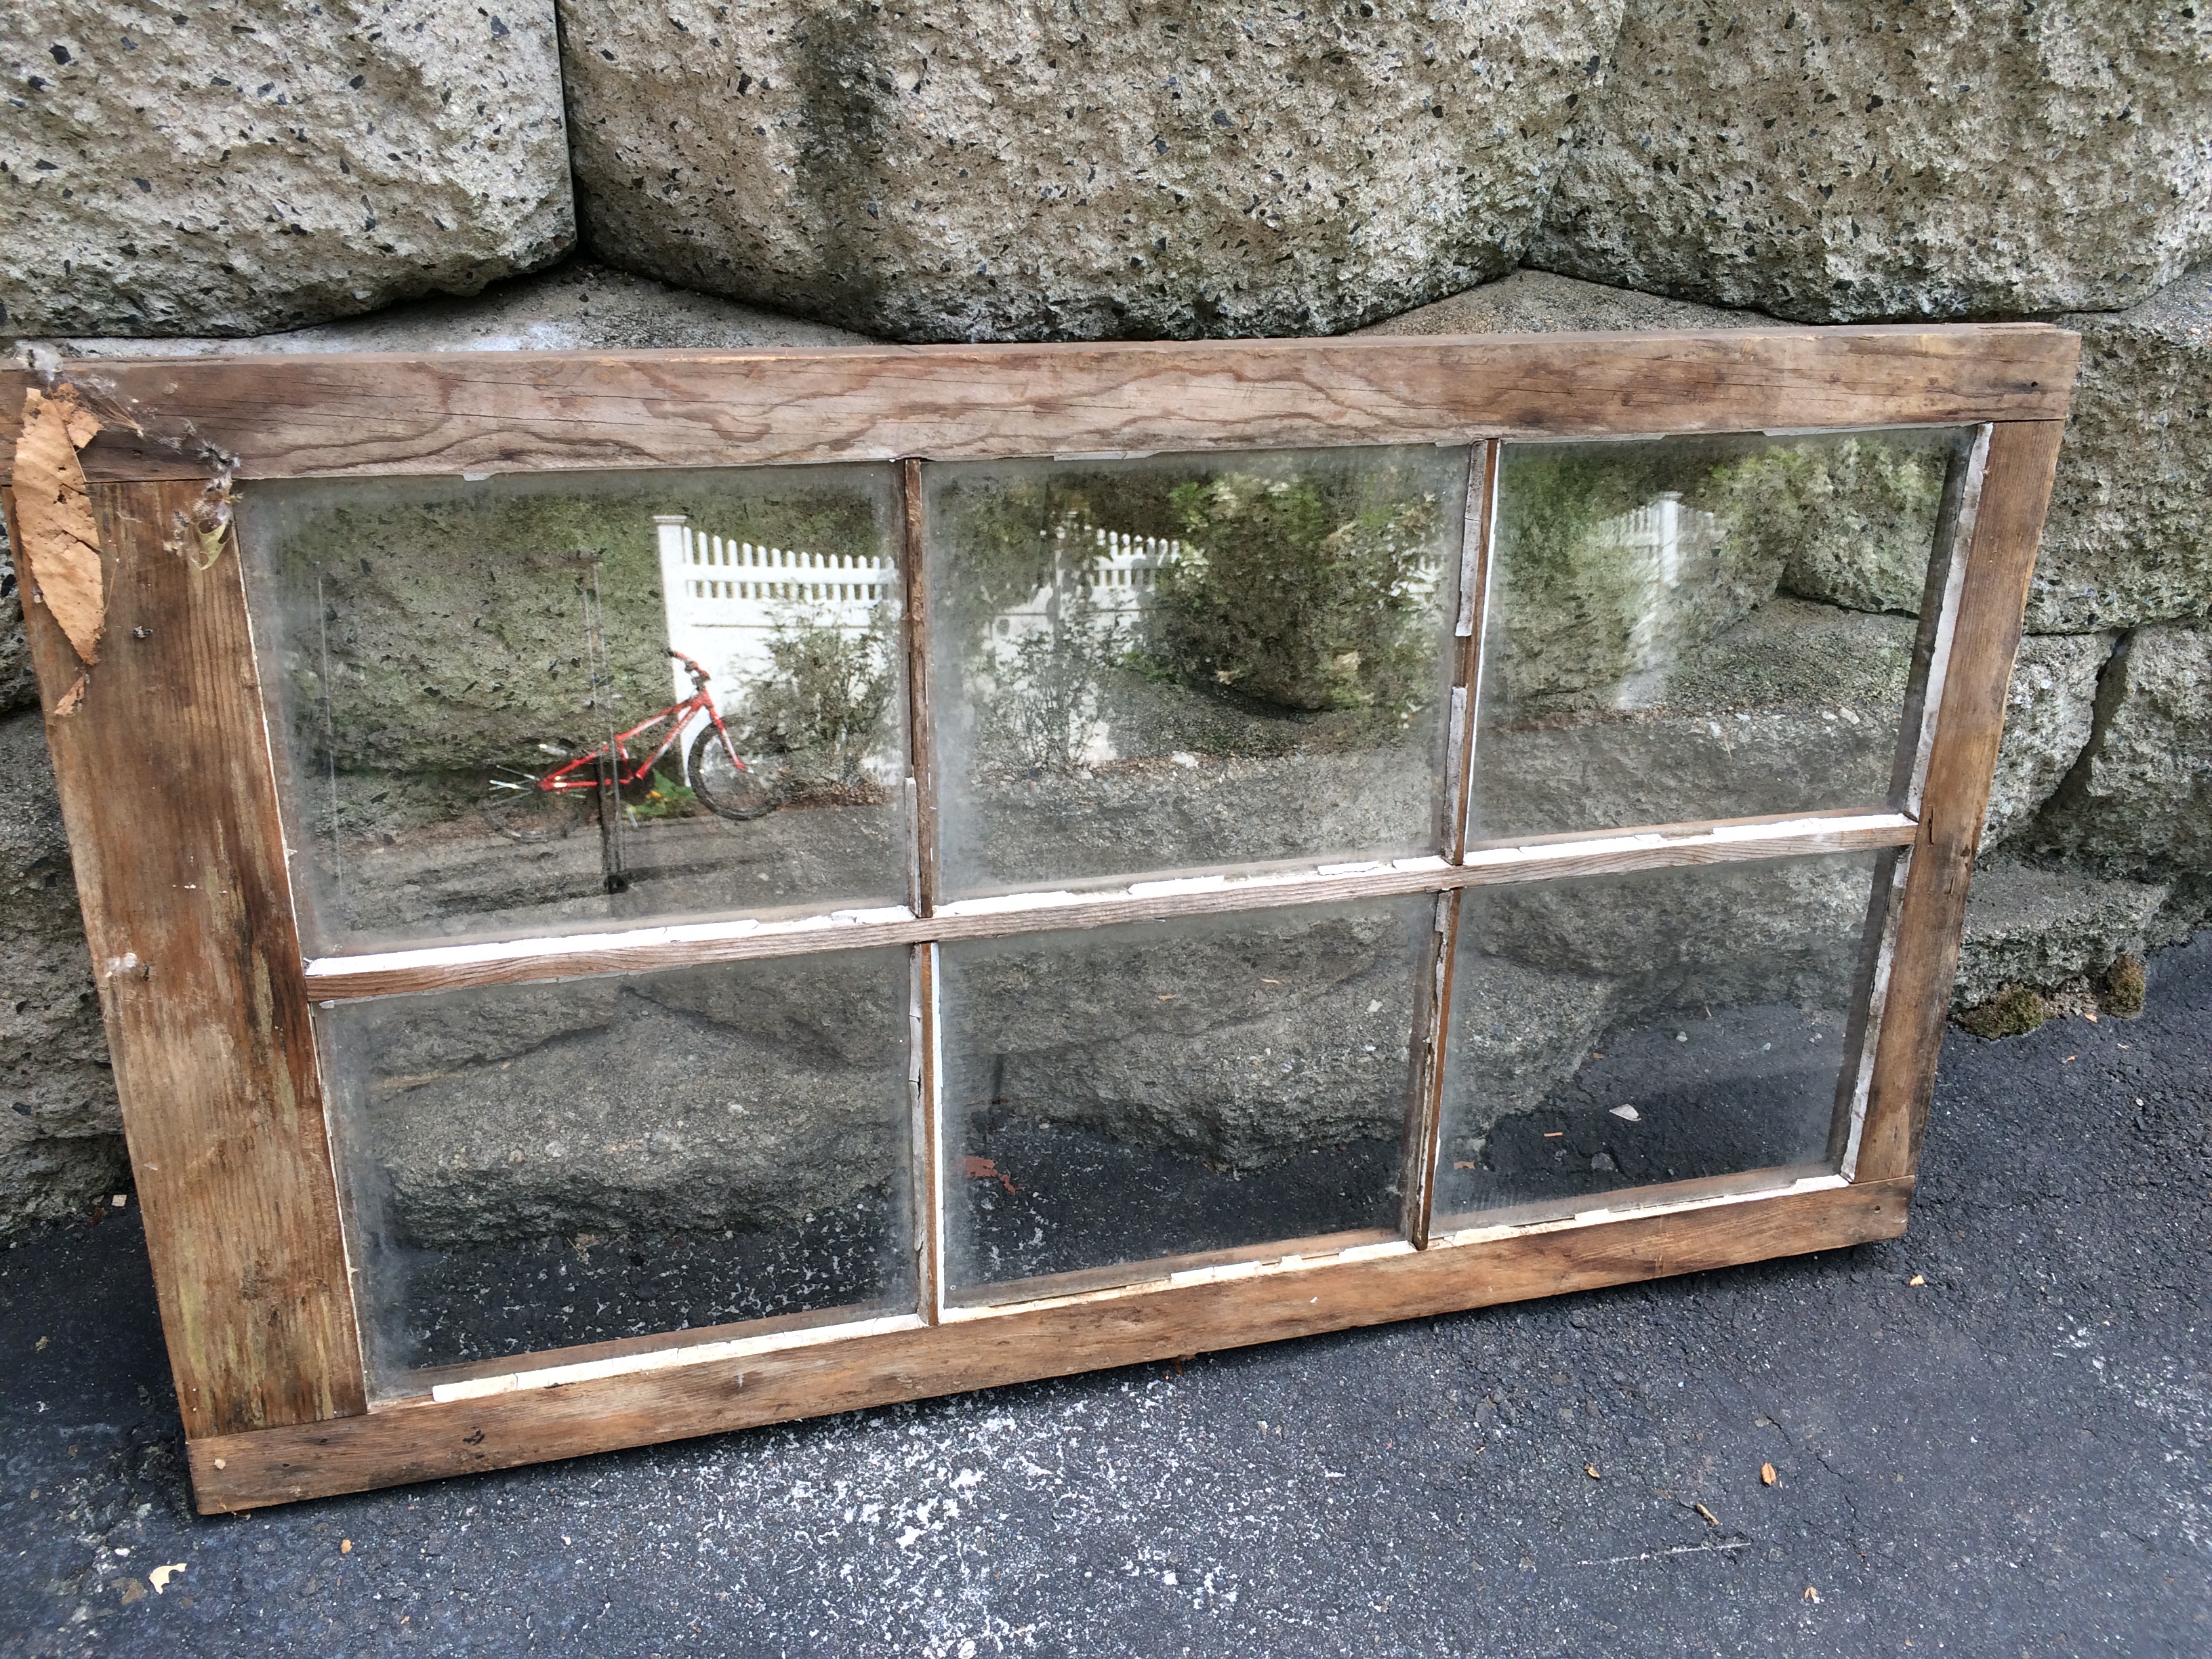
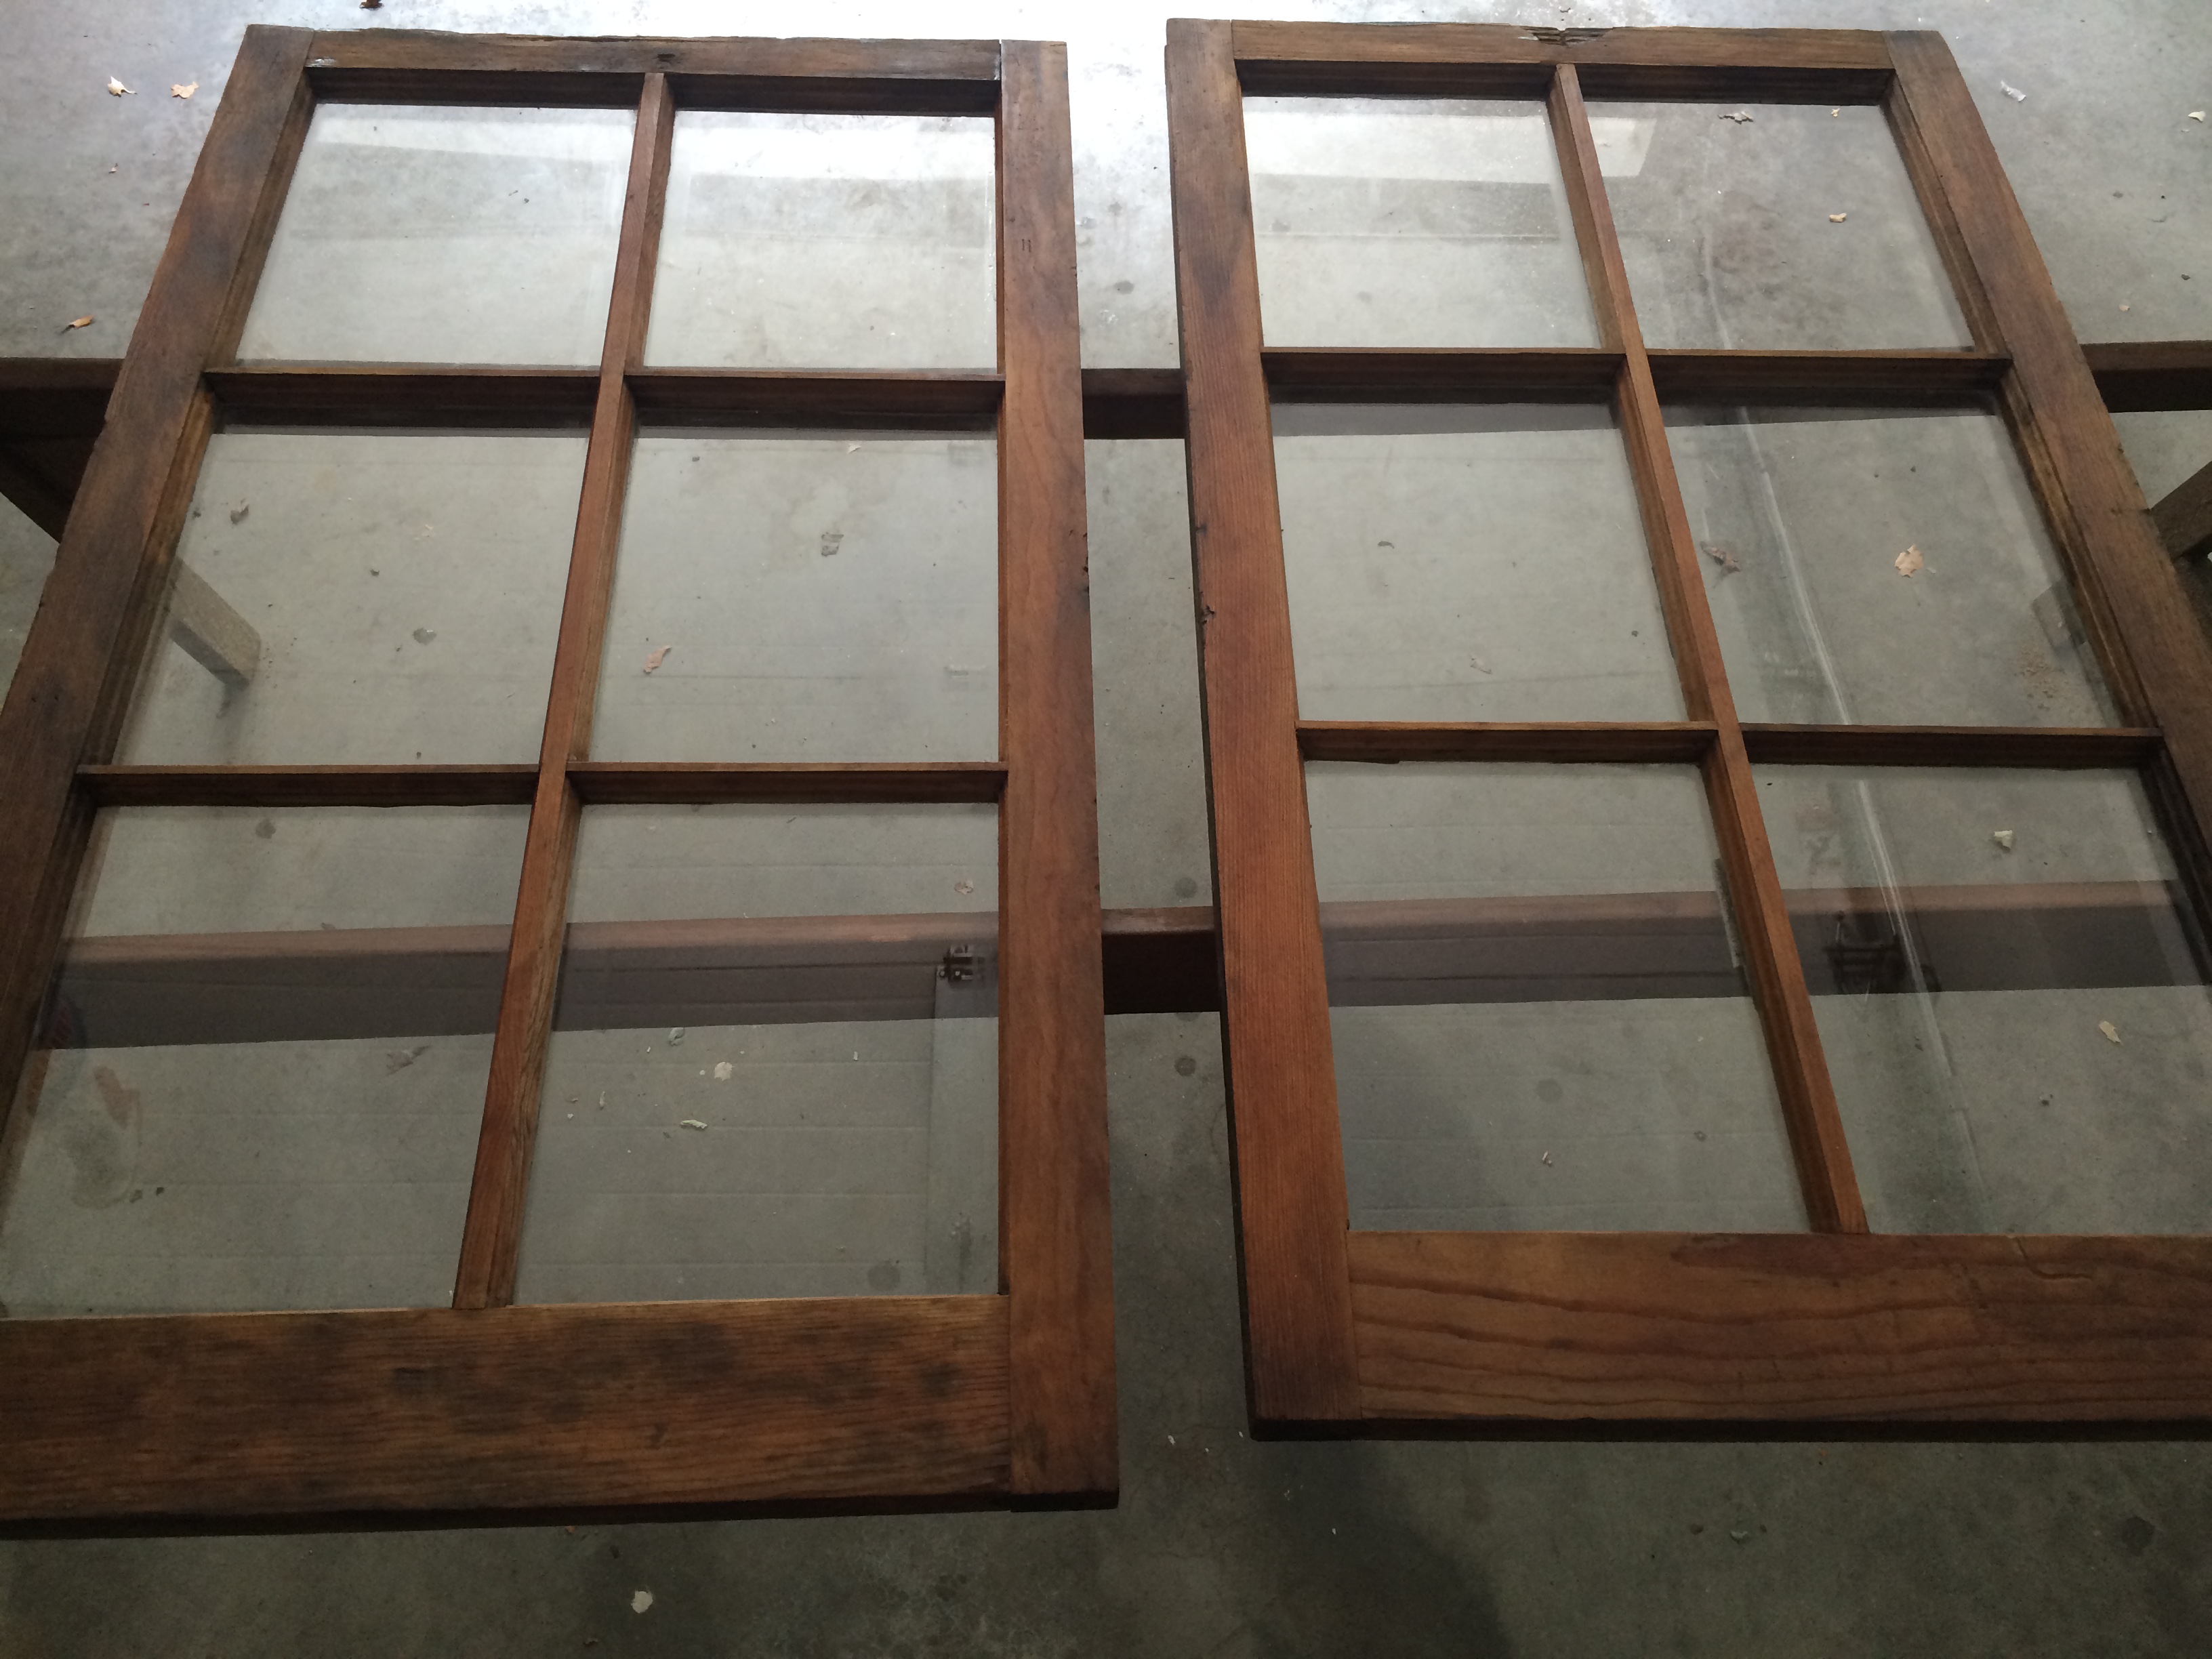
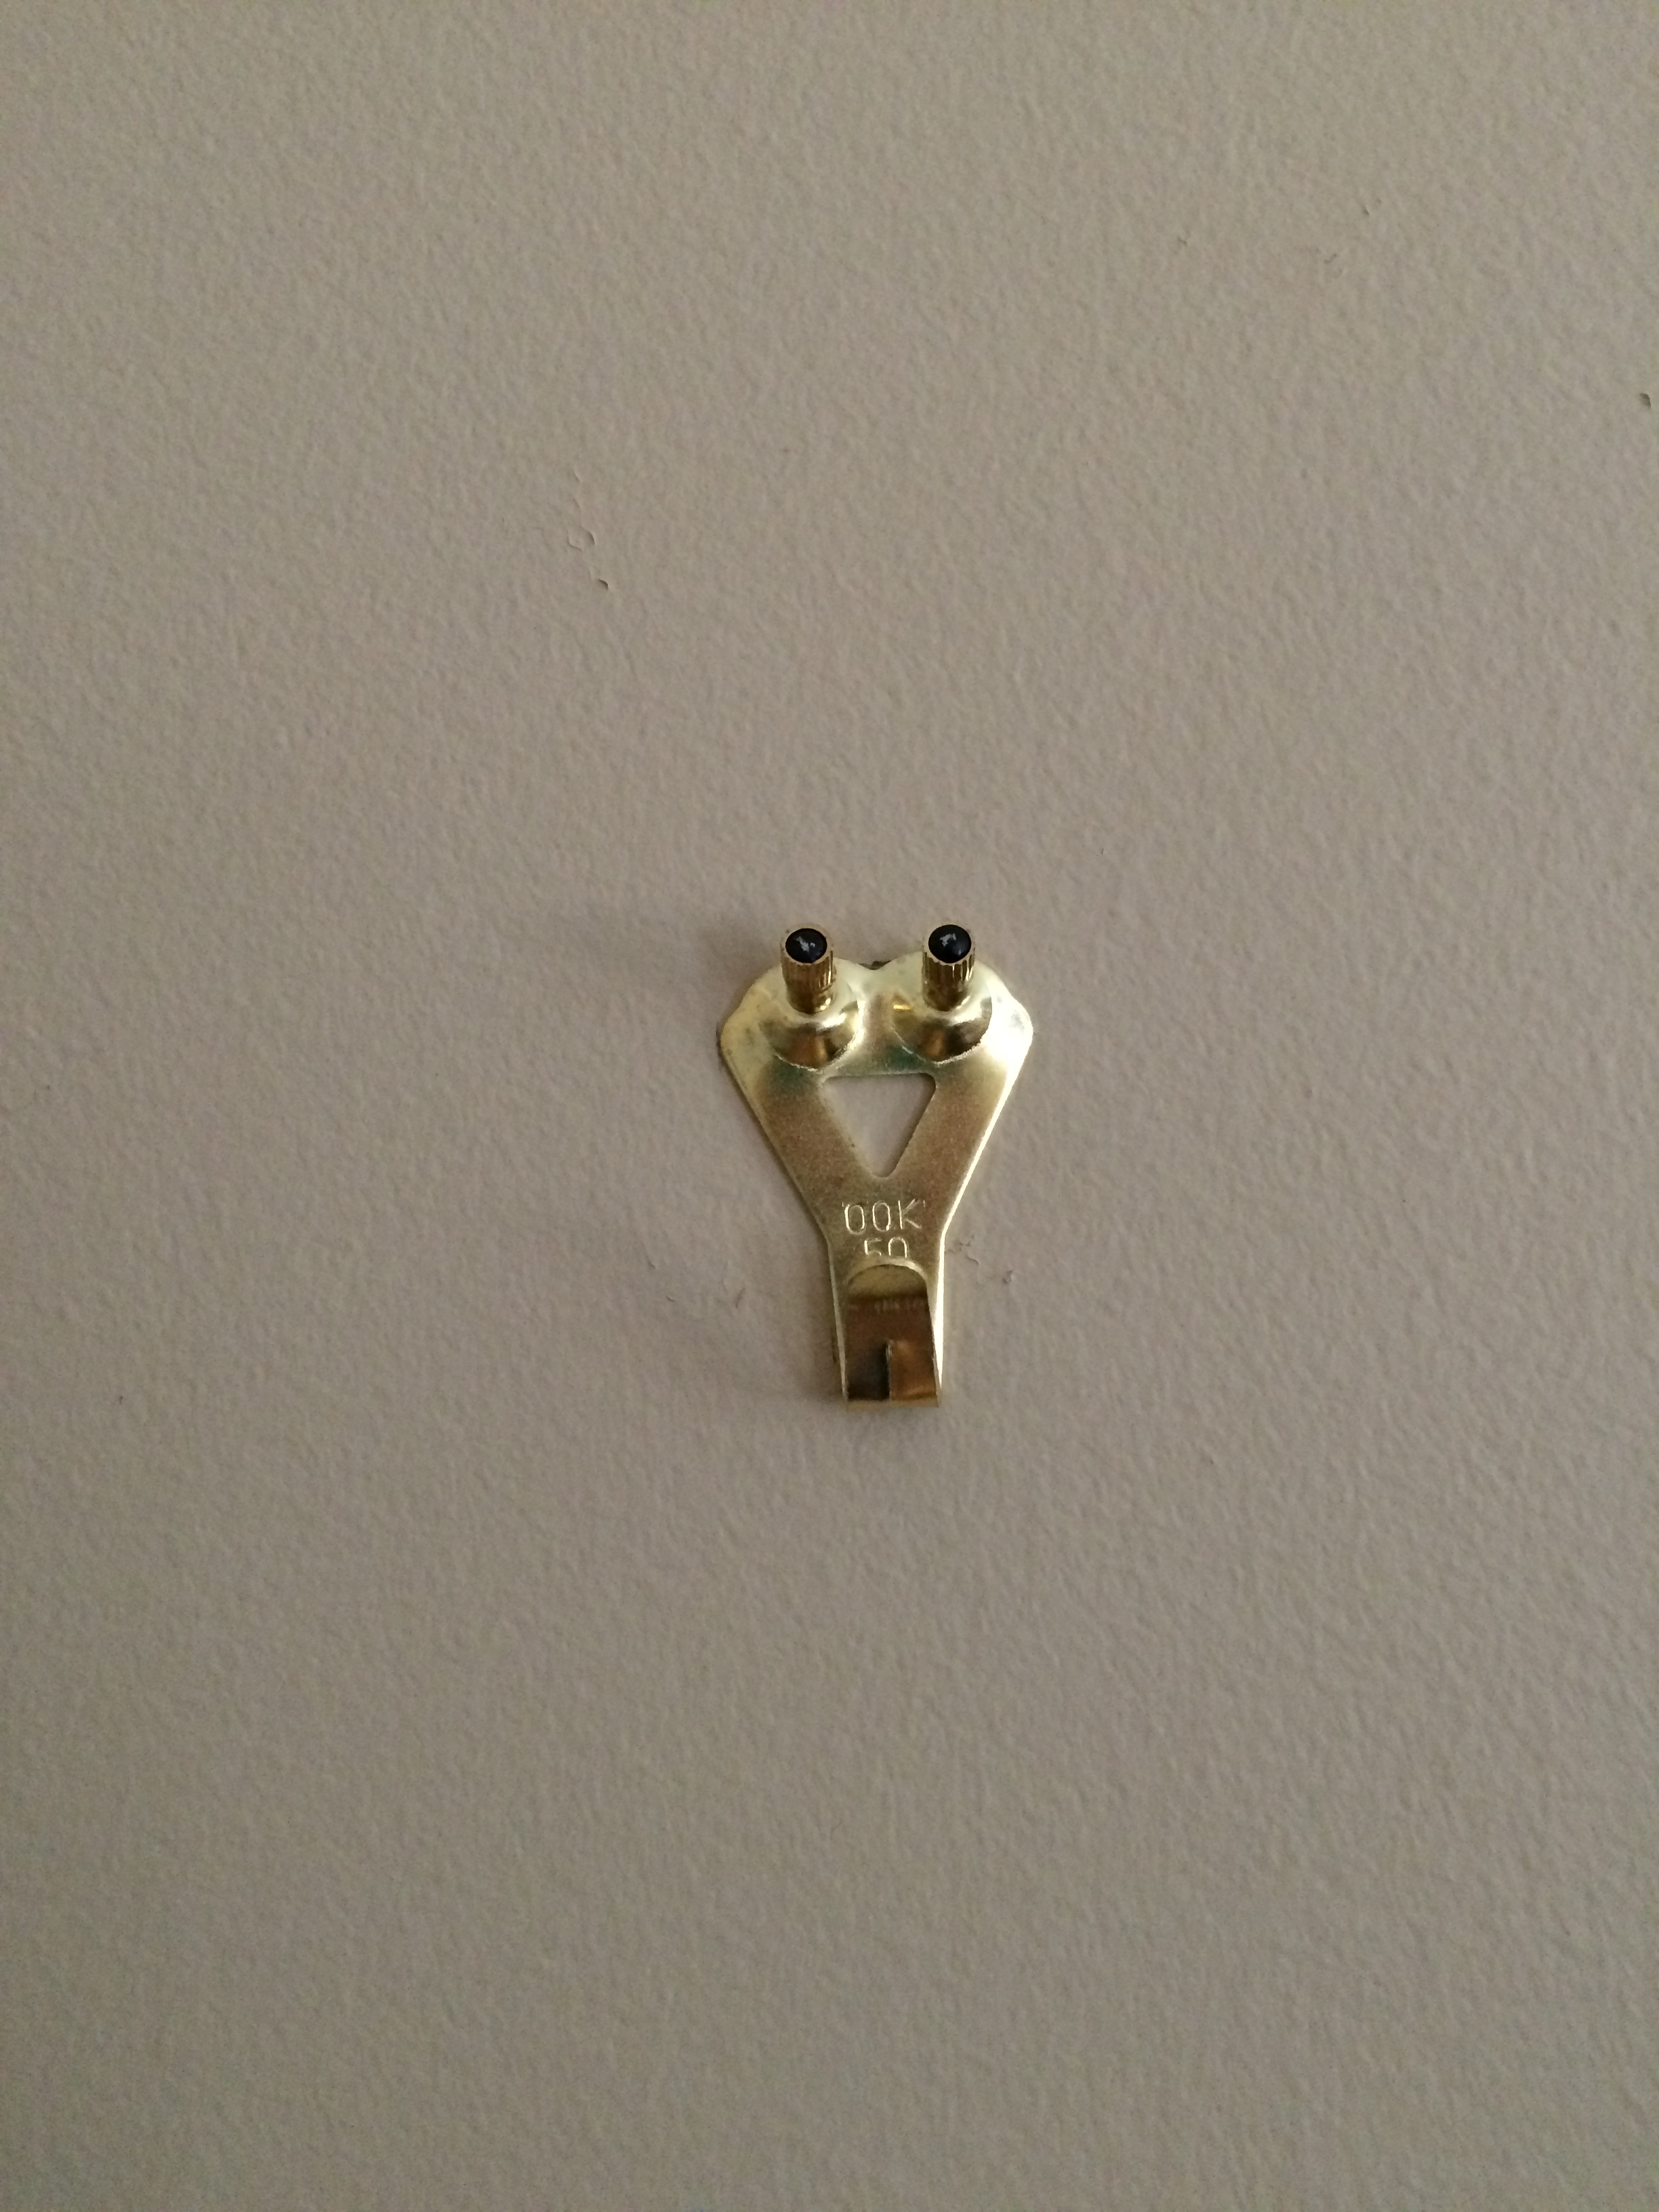
I’ve always wanted some old windows or an old door to do something with and I found these windows in pretty good shape, but really dirty. I cleaned them, oiled them using the same method as with the box and then I painted on two coats of clear polyurethane. The windows are heavy, so in order to hang them properly on the wall, I bought hooks that came in a set of a d-ring and picture hanger. I attached hooks to the back of the window and the wall and used the windows as frames on the wall in our family room. I attached the pictures with a small piece of double sided tape.
BEFORE:

AFTER:


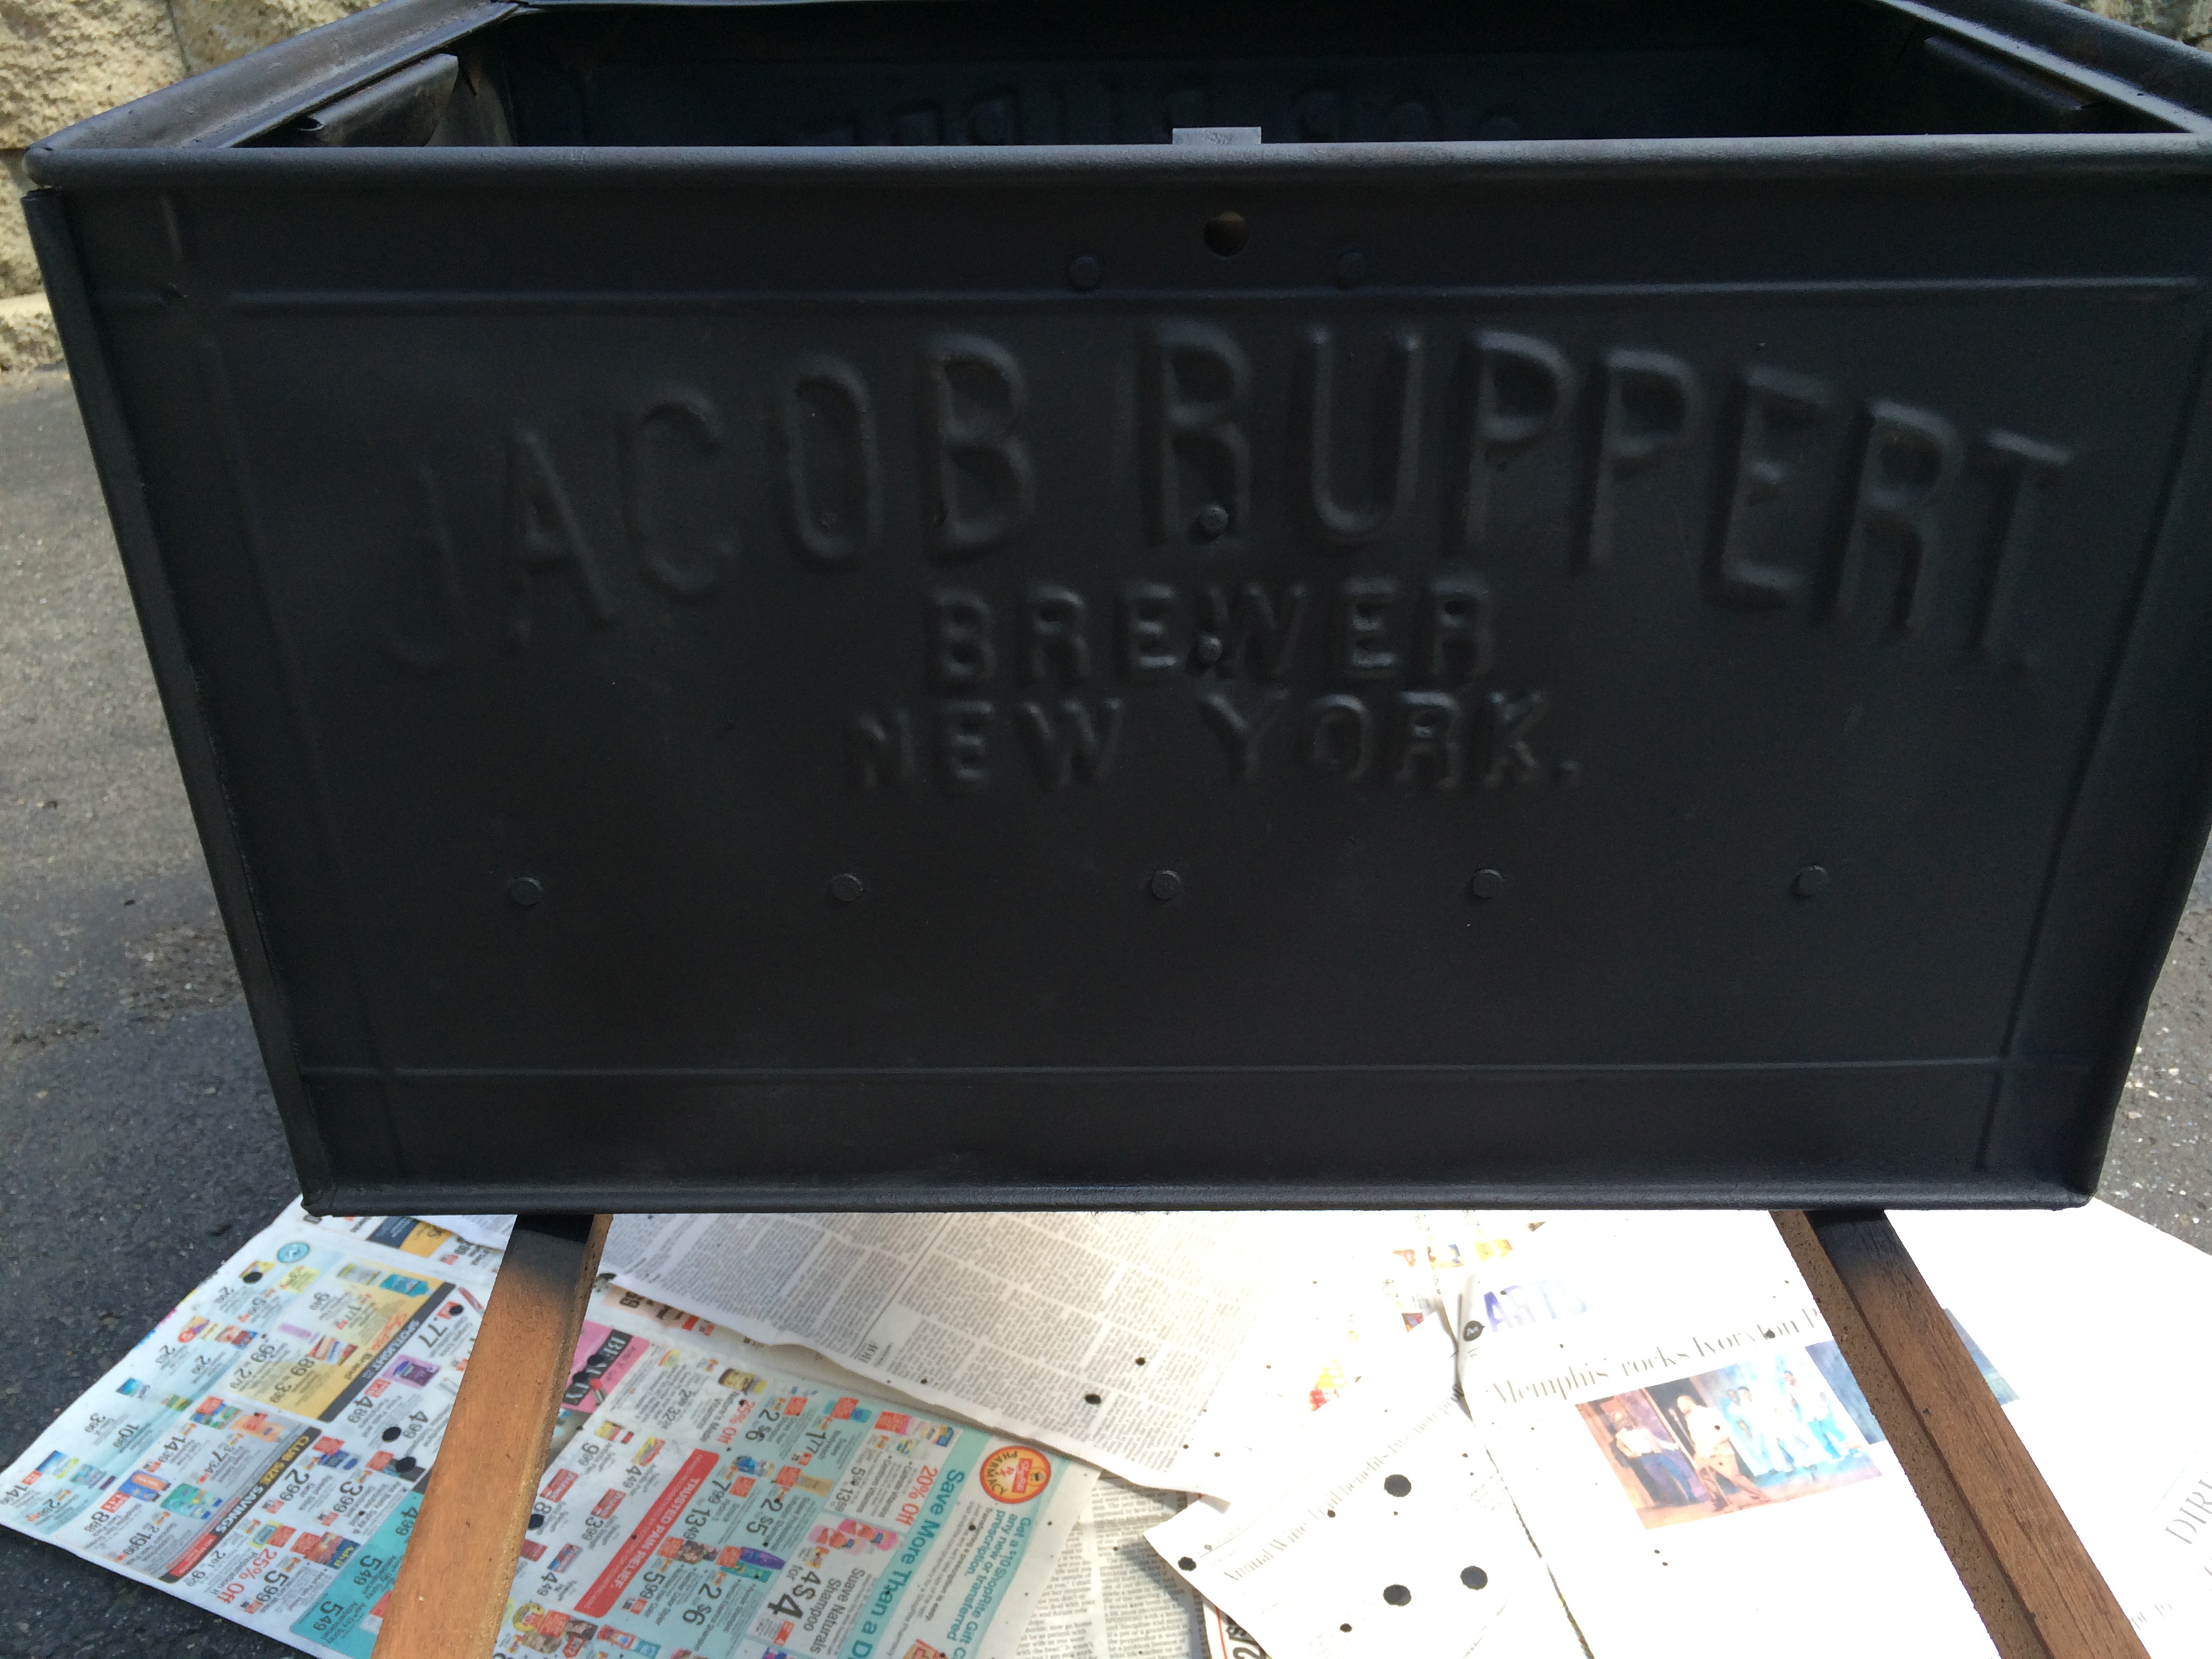
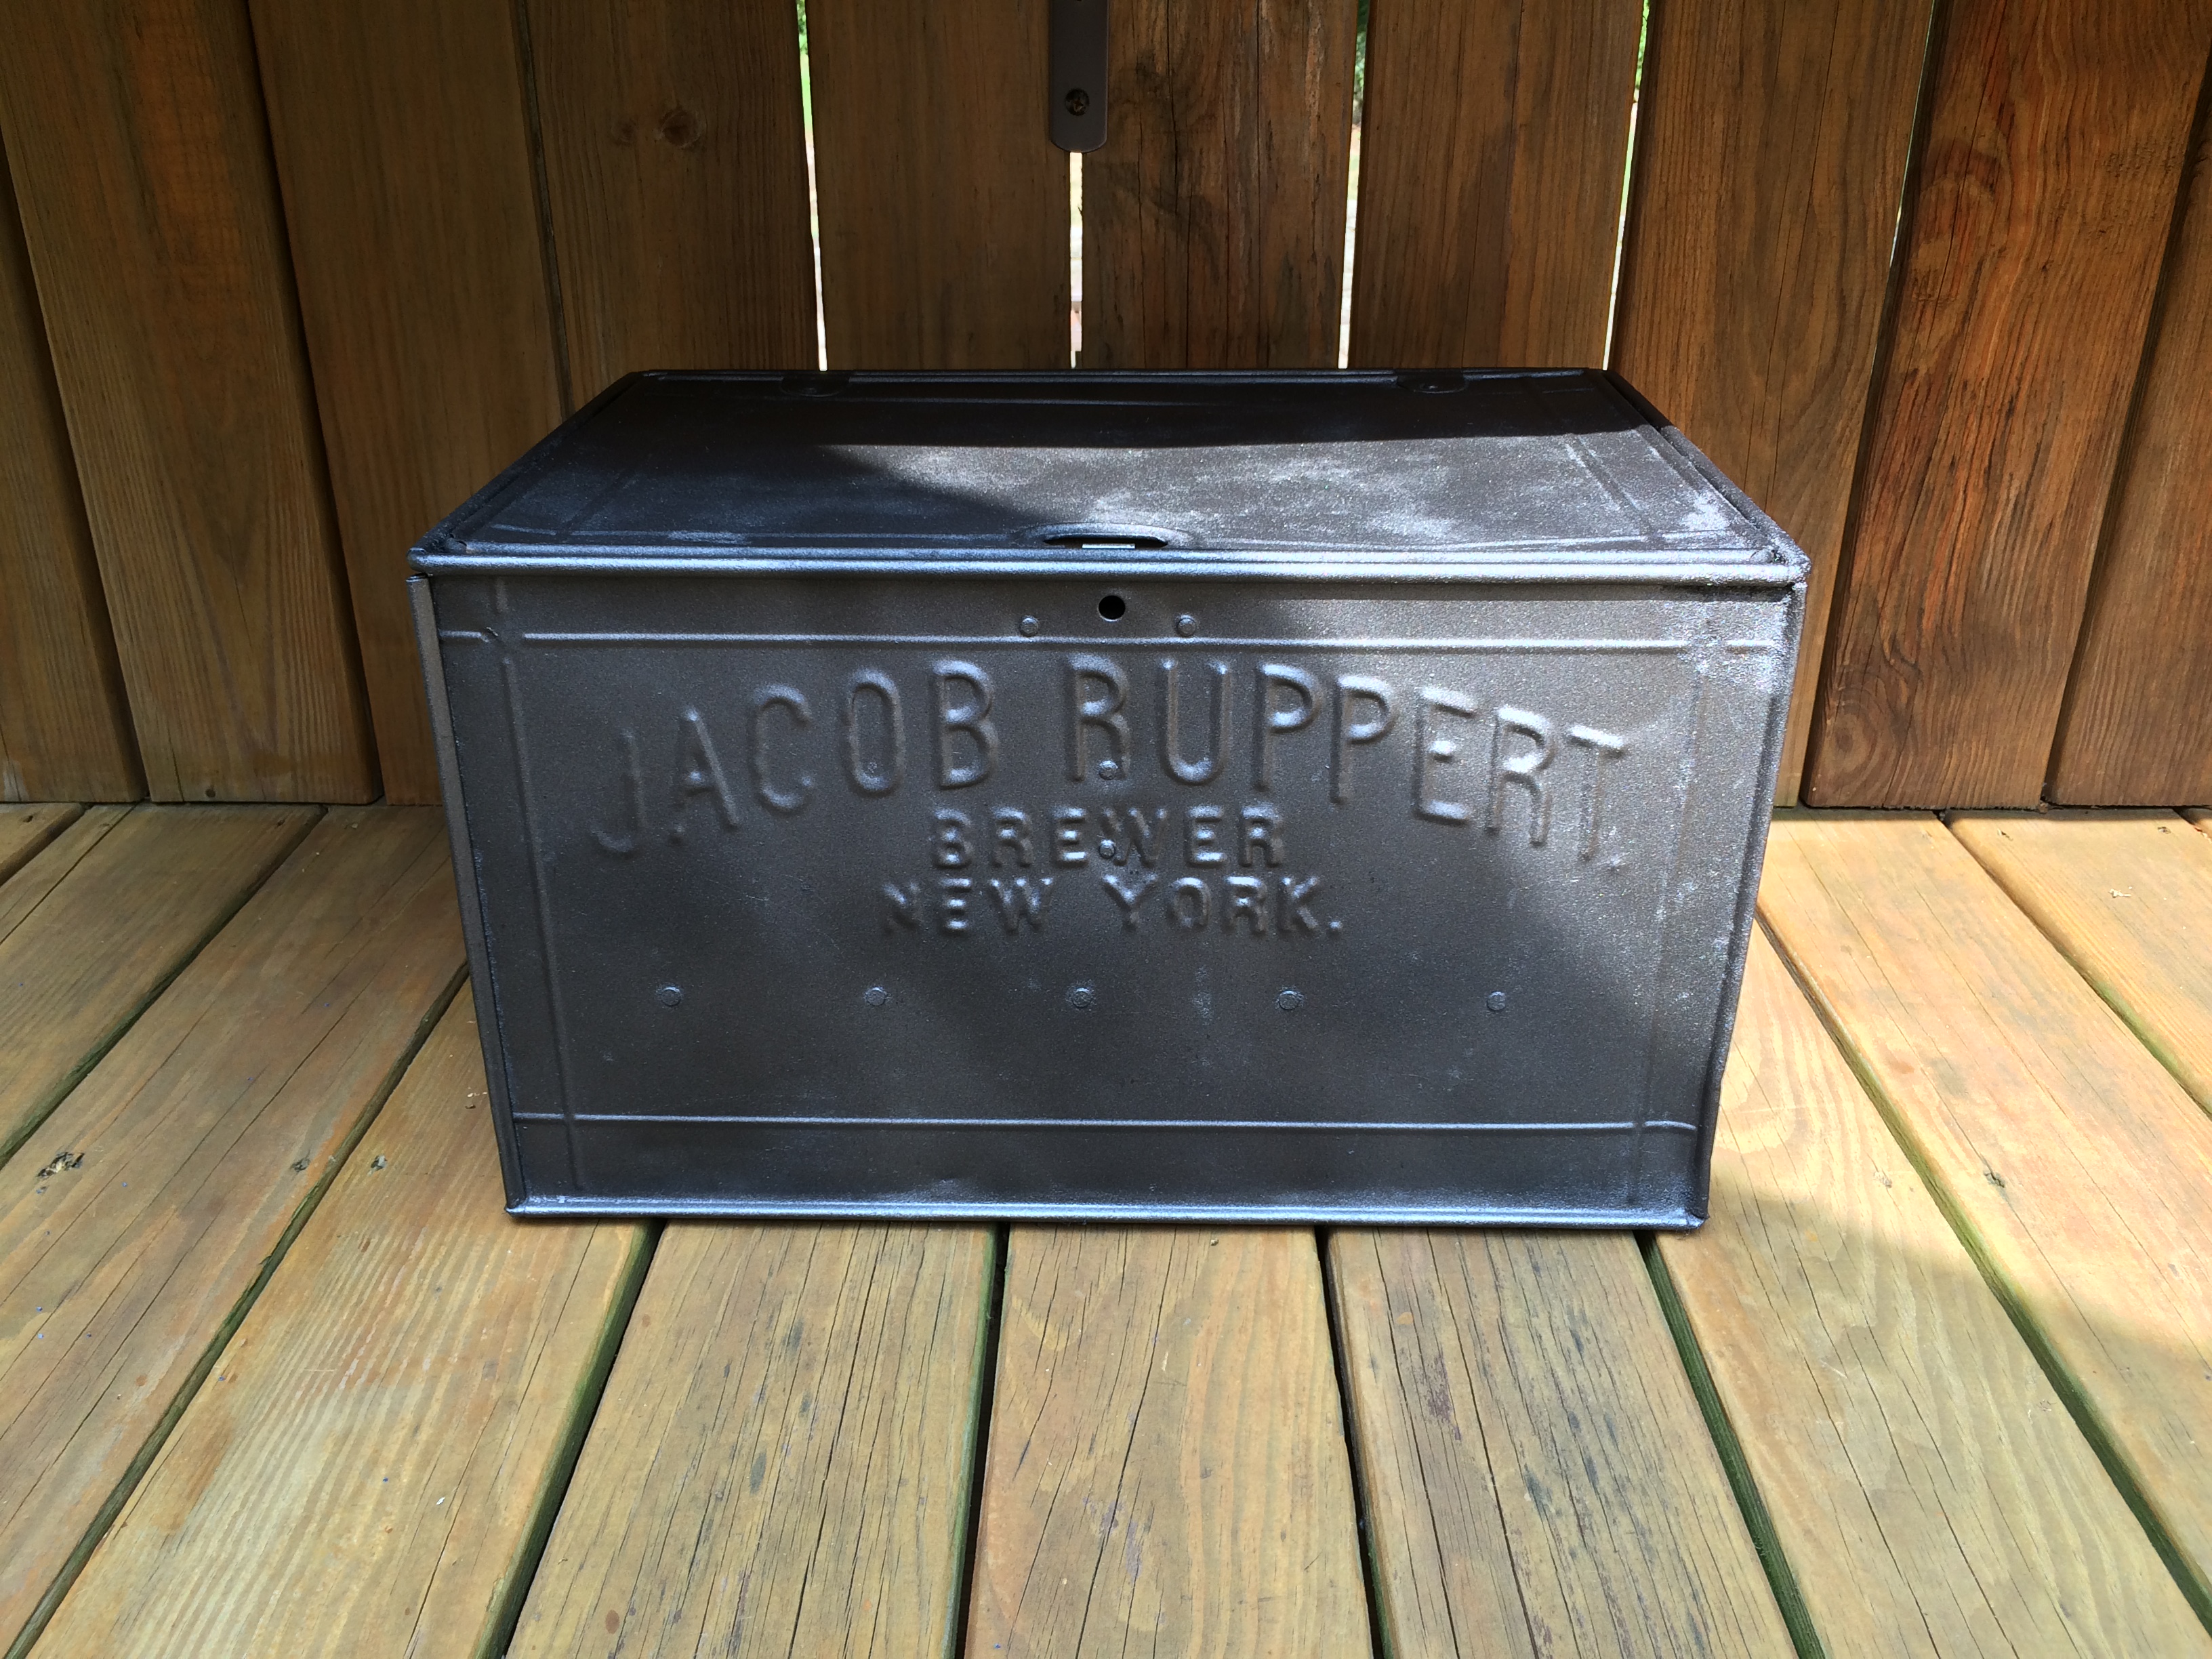
As we were walking back up to the front of the store, I had to take one more walk through the area and as I was approaching the cash register, I saw this metal box. When I opened it, it was full of old glass bottles. The owner told me that the beer box was from a company that served beer to Yankee Stadium. We thought it was really cool and it was from 1918! The beer box is from a company called Jacob Ruppert Brewery. When I got home I did a search on the company and it turns out that the beer wasn’t just sold at Yankee Stadium, the owner of the brewery was the second owner of the New York Yankees and was the one responsible for turning them into a successful franchise and acquiring players like Babe Ruth. That made this item even better!
BEFORE:
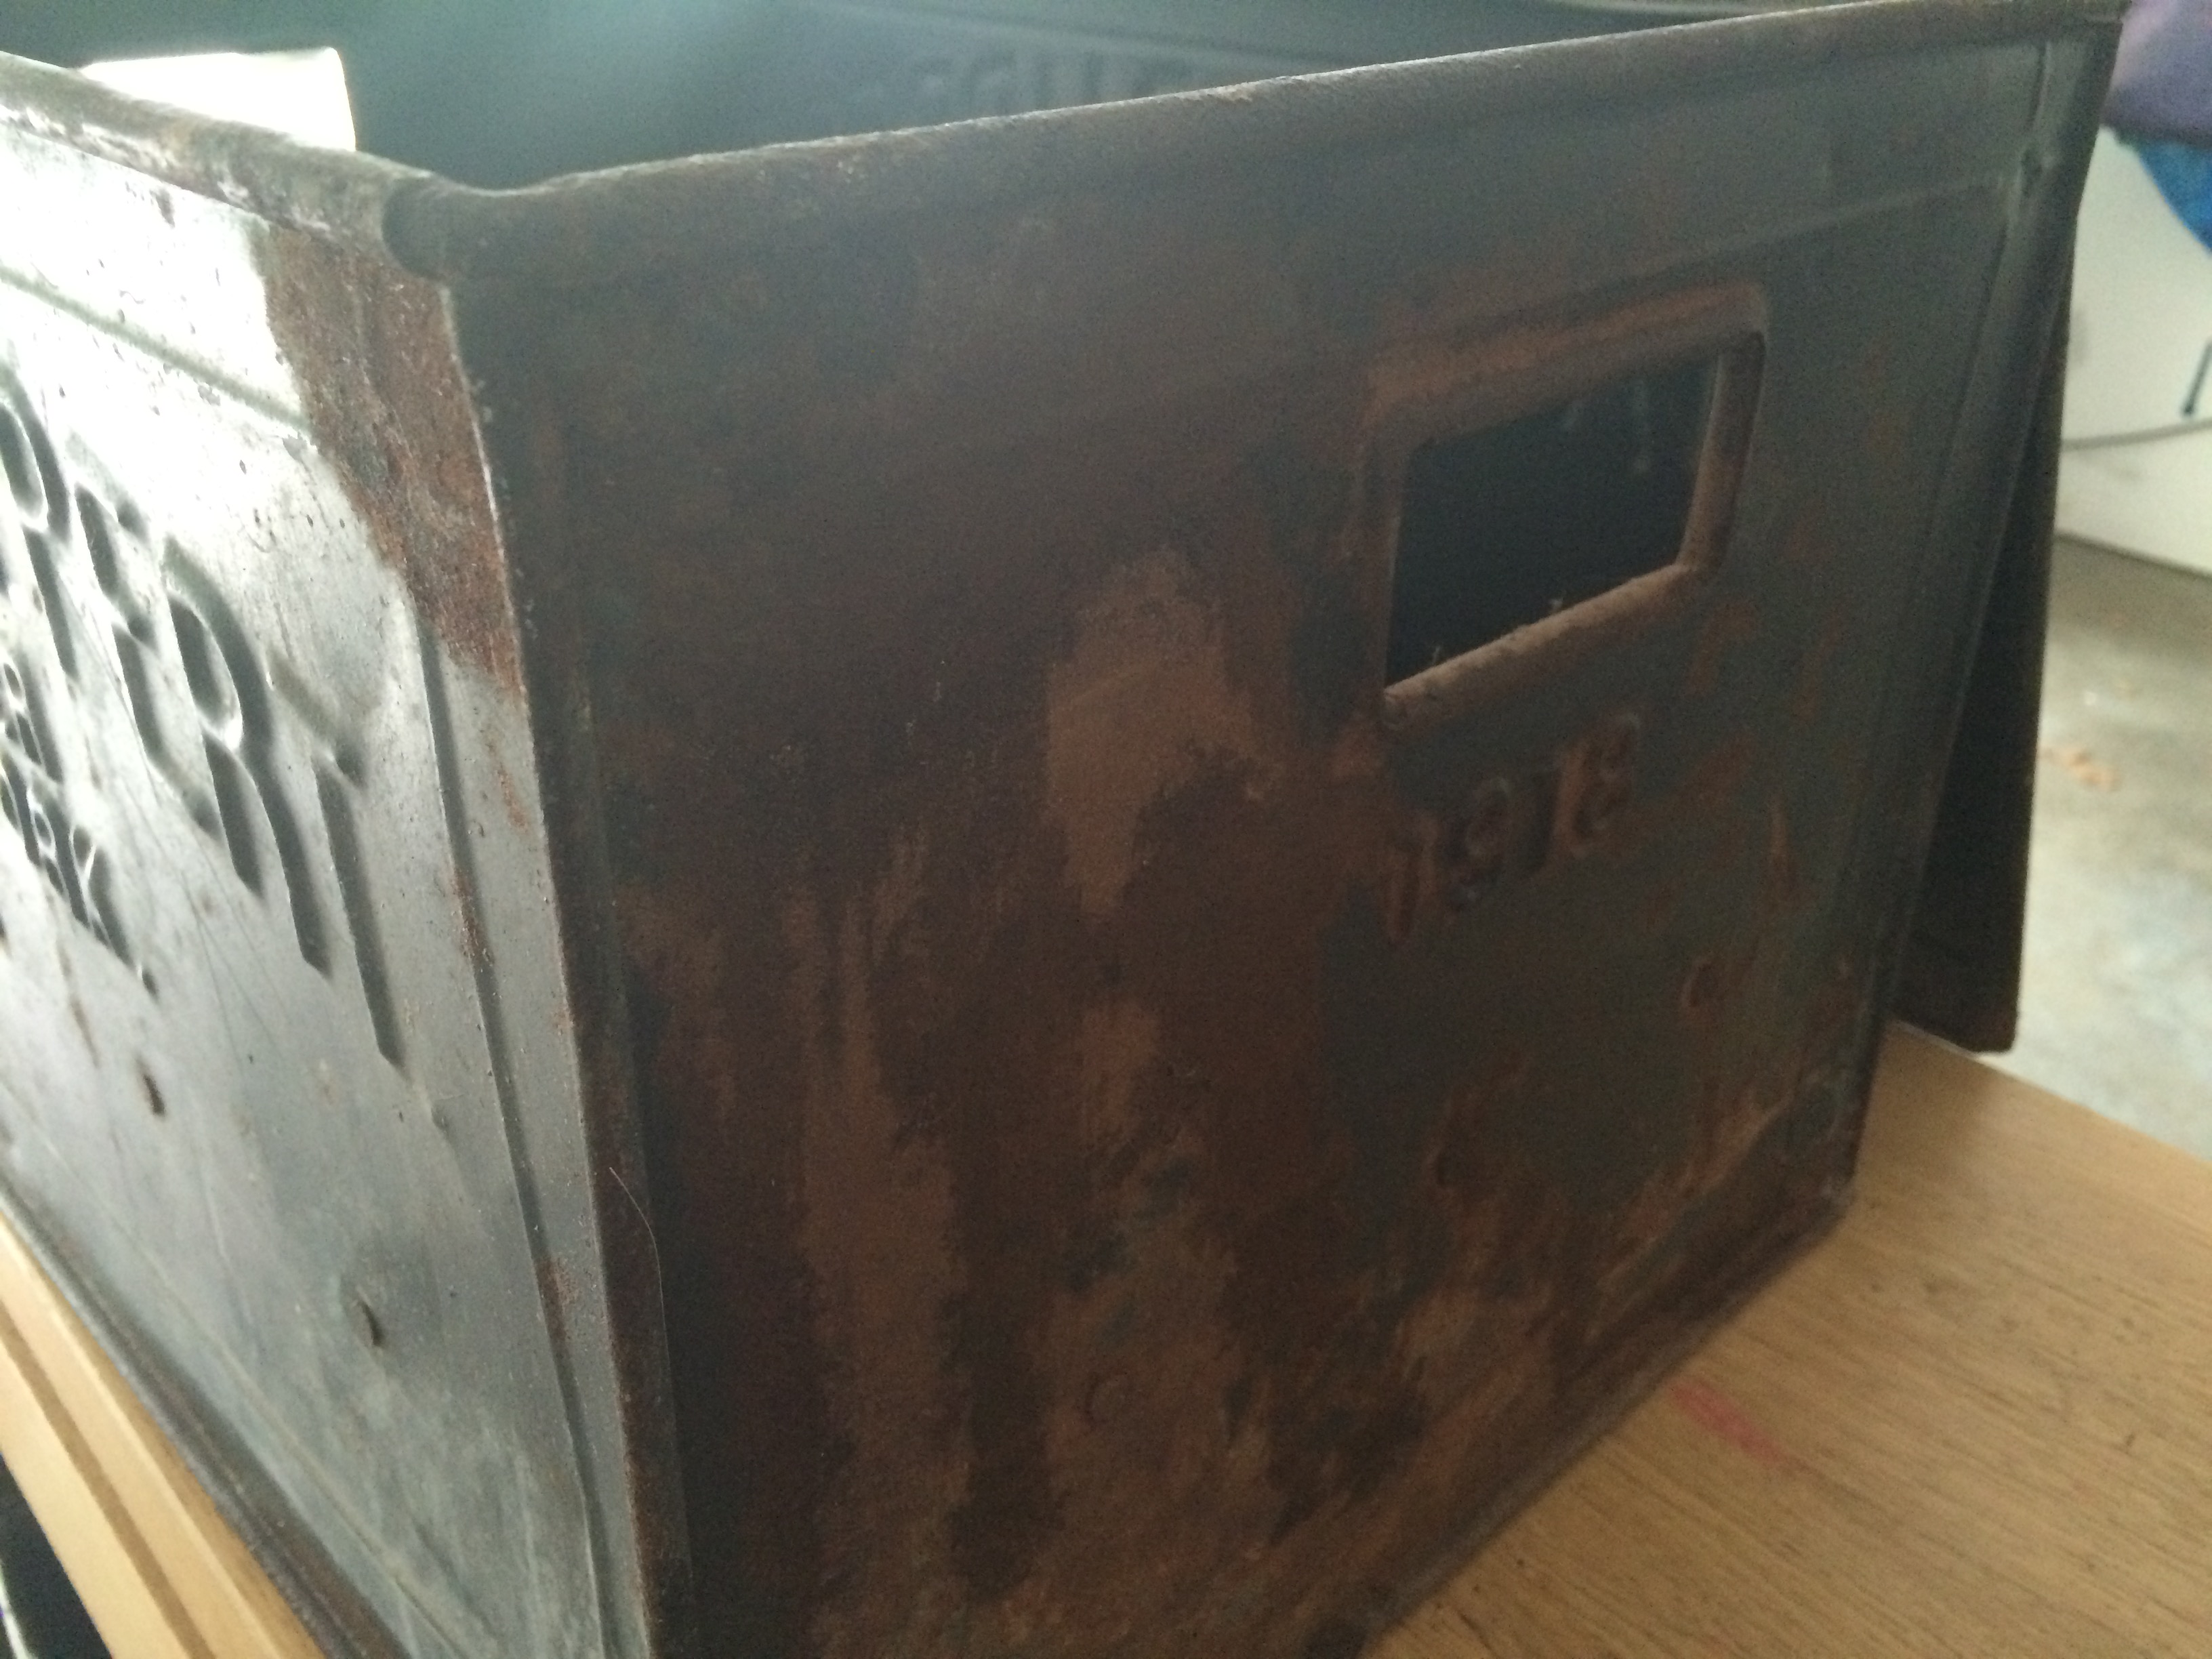

The box was a bit rusted on one side and dirty. I first cleaned it with soap and water. Then I used Rust-oleum Rust Reformer to spray over the rusted areas before spray painting.

I wanted to keep the original look to the box, but it was hard to find a gray metallic color. I finally found Rust-oleum Metallic Primer and Paint. When I first sprayed it on, I wasn’t so sure I liked it because there was kind of a shimmer to it, but once it dried I actually really liked it. The box came back to life.

AFTER:


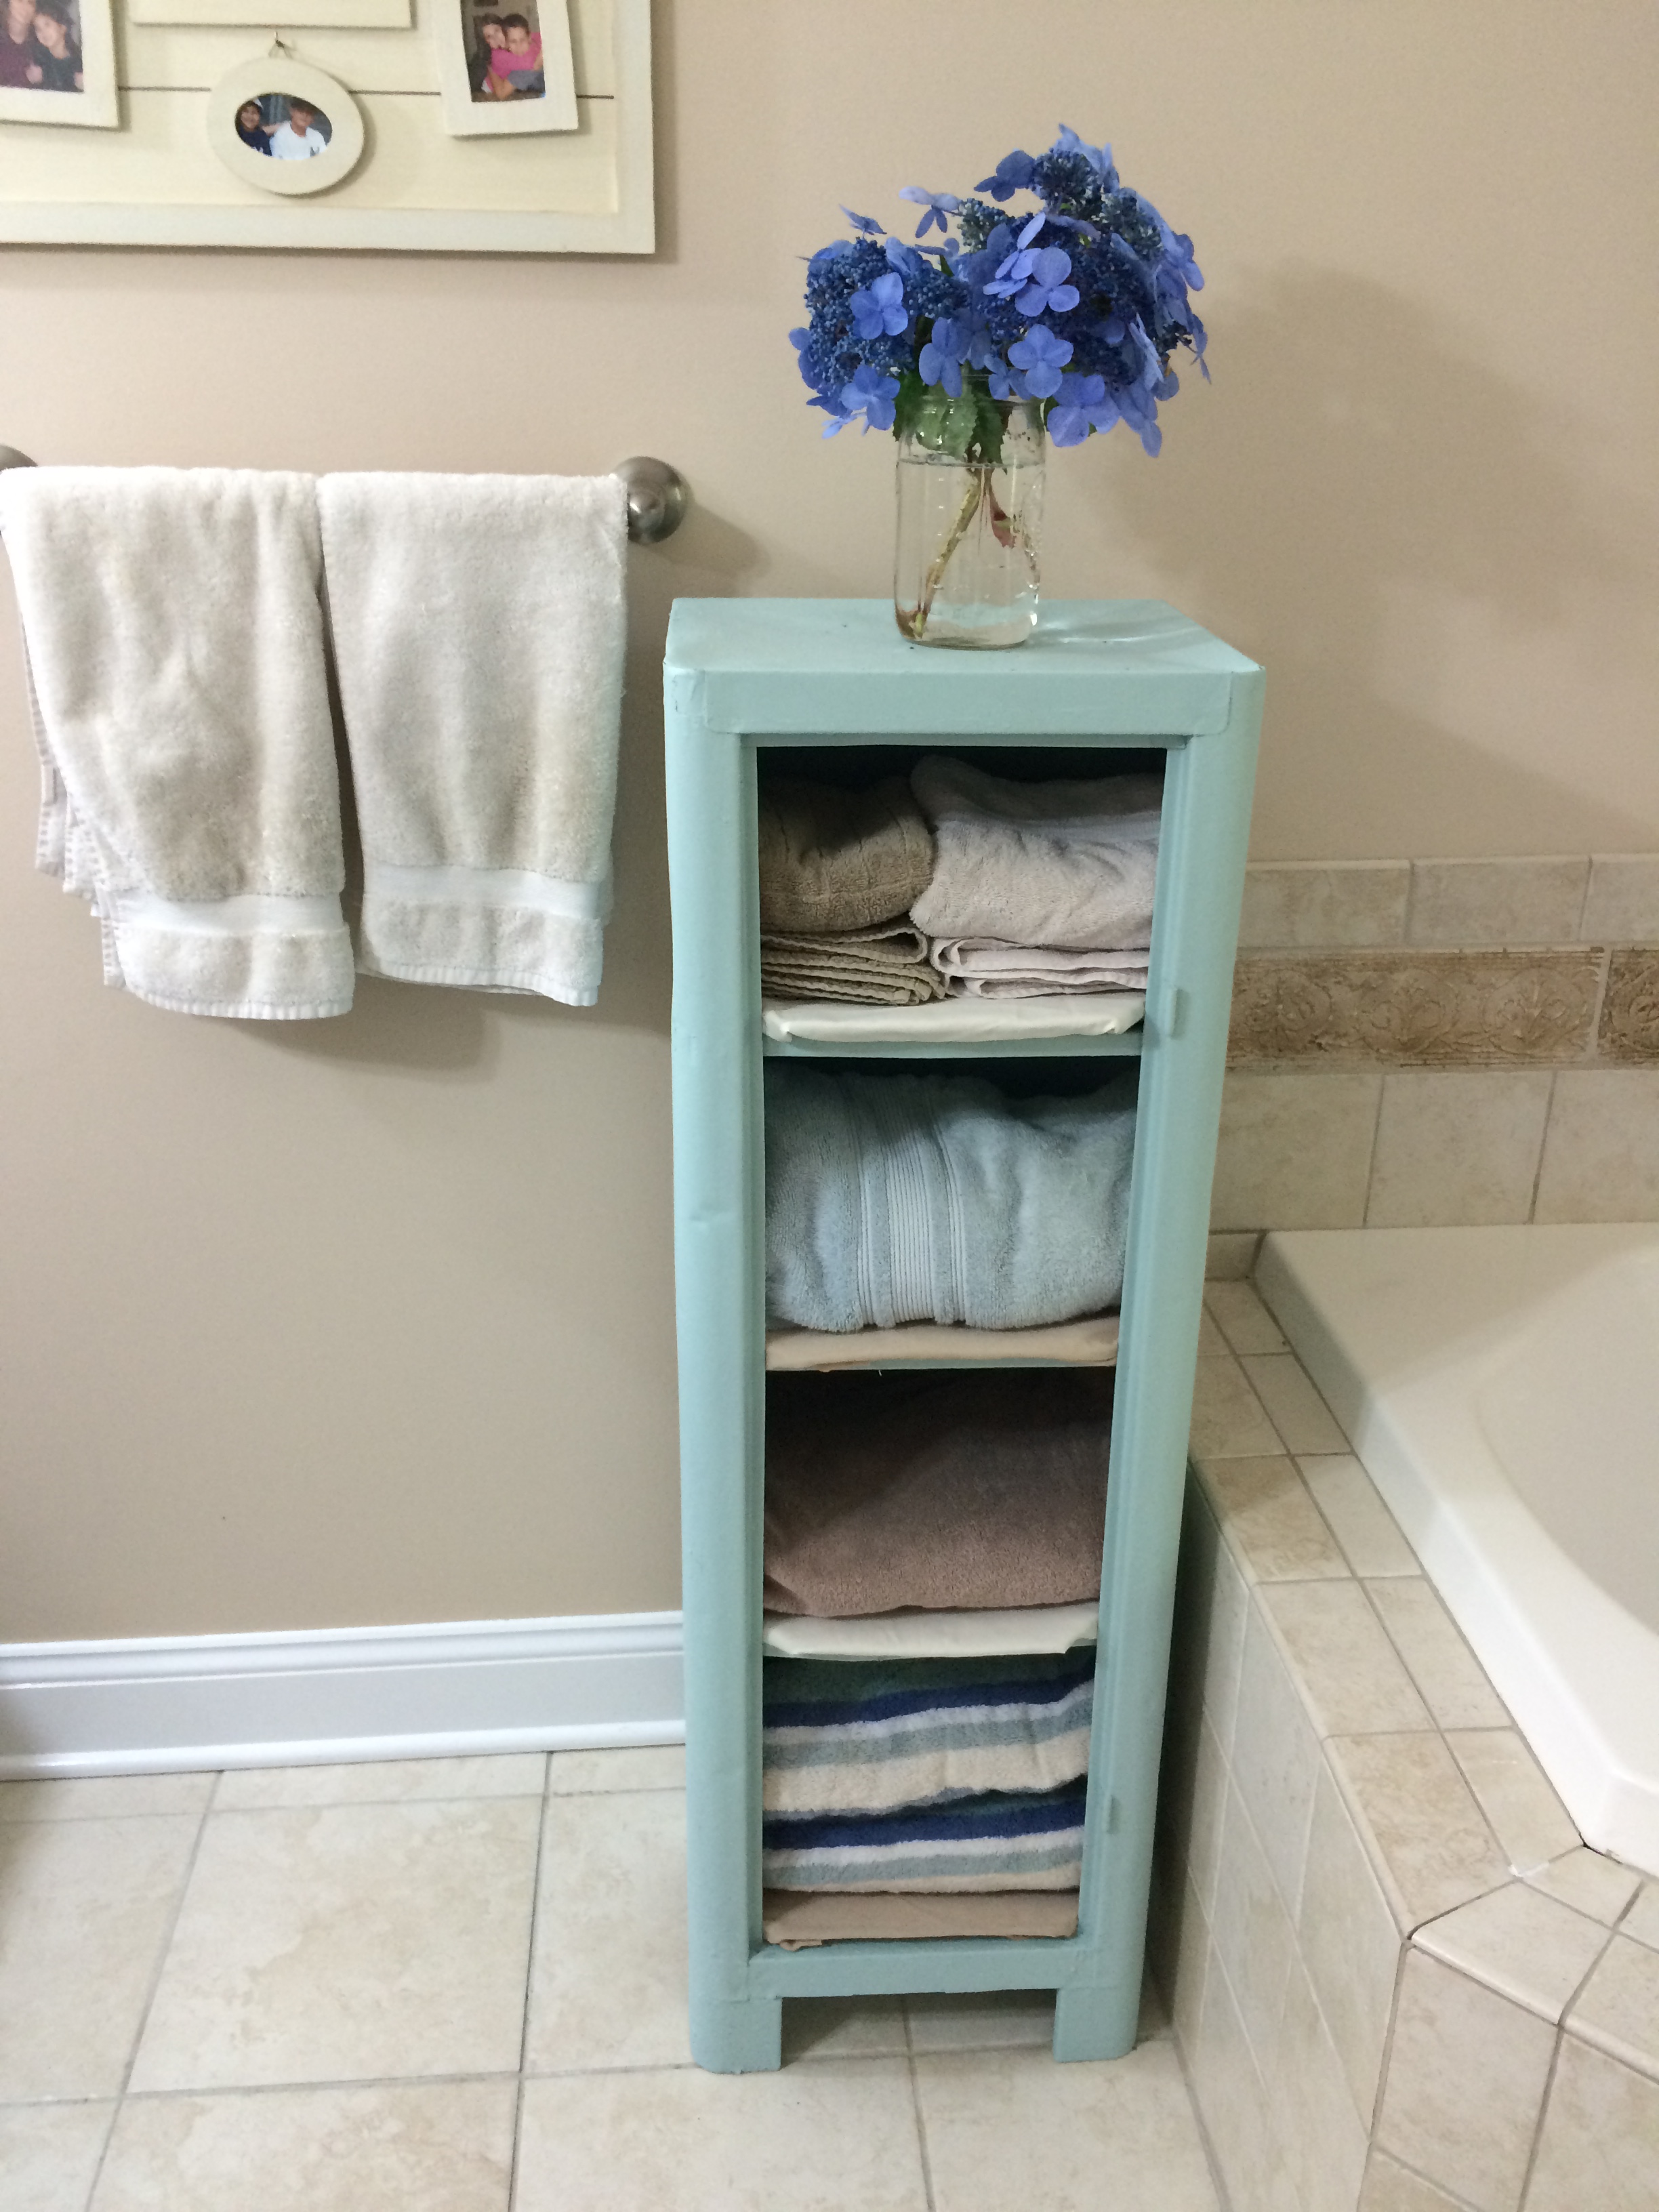
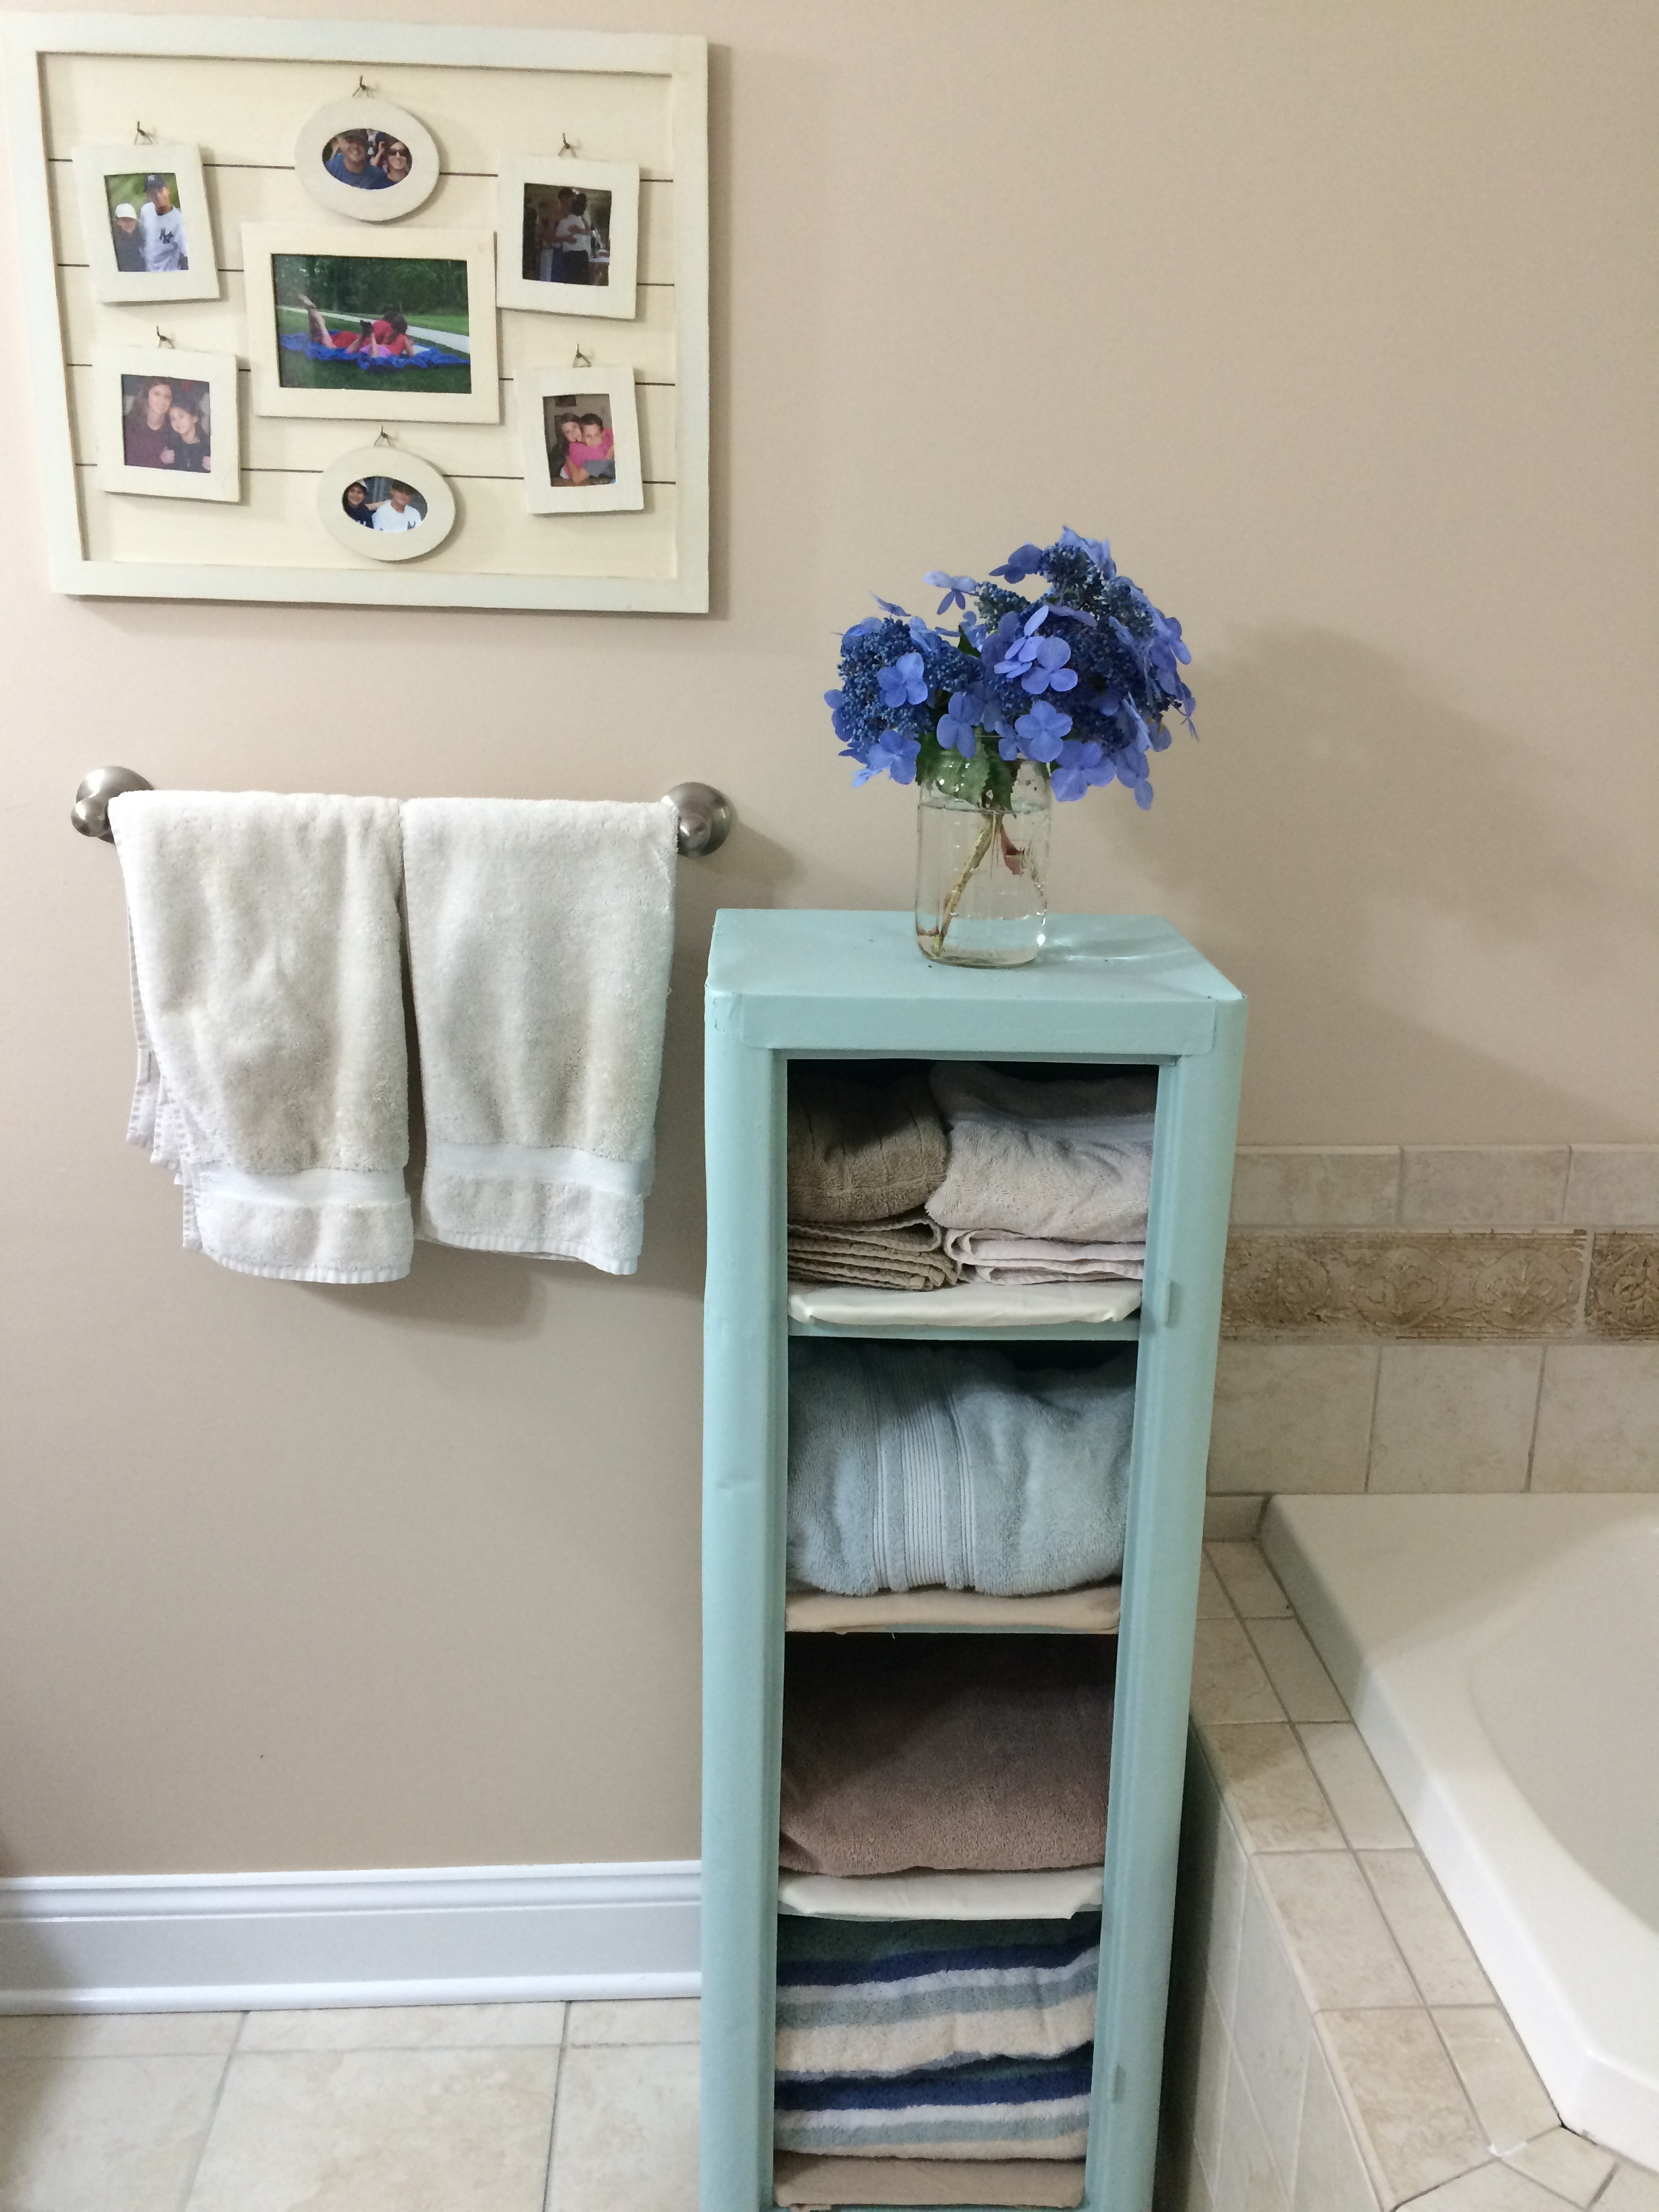
Finally, while walking through, literally a junk yard, I saw this metal shelf. It was a bit dented and the owner had sprayed a rust colored rust preventative paint on some of it and it had a live bee hive inside. But, I liked it. You could see the some of the original color on it and that really appealed to me. I didn’t really know what I would do with this, but I liked it enough to buy it and figure it out. Unfortunately, I forgot to take a picture of it before I painted it, but wouldn’t you know searching through my photos I found one I must have taken by accident and you can get the idea of what it looked like.
BEFORE:
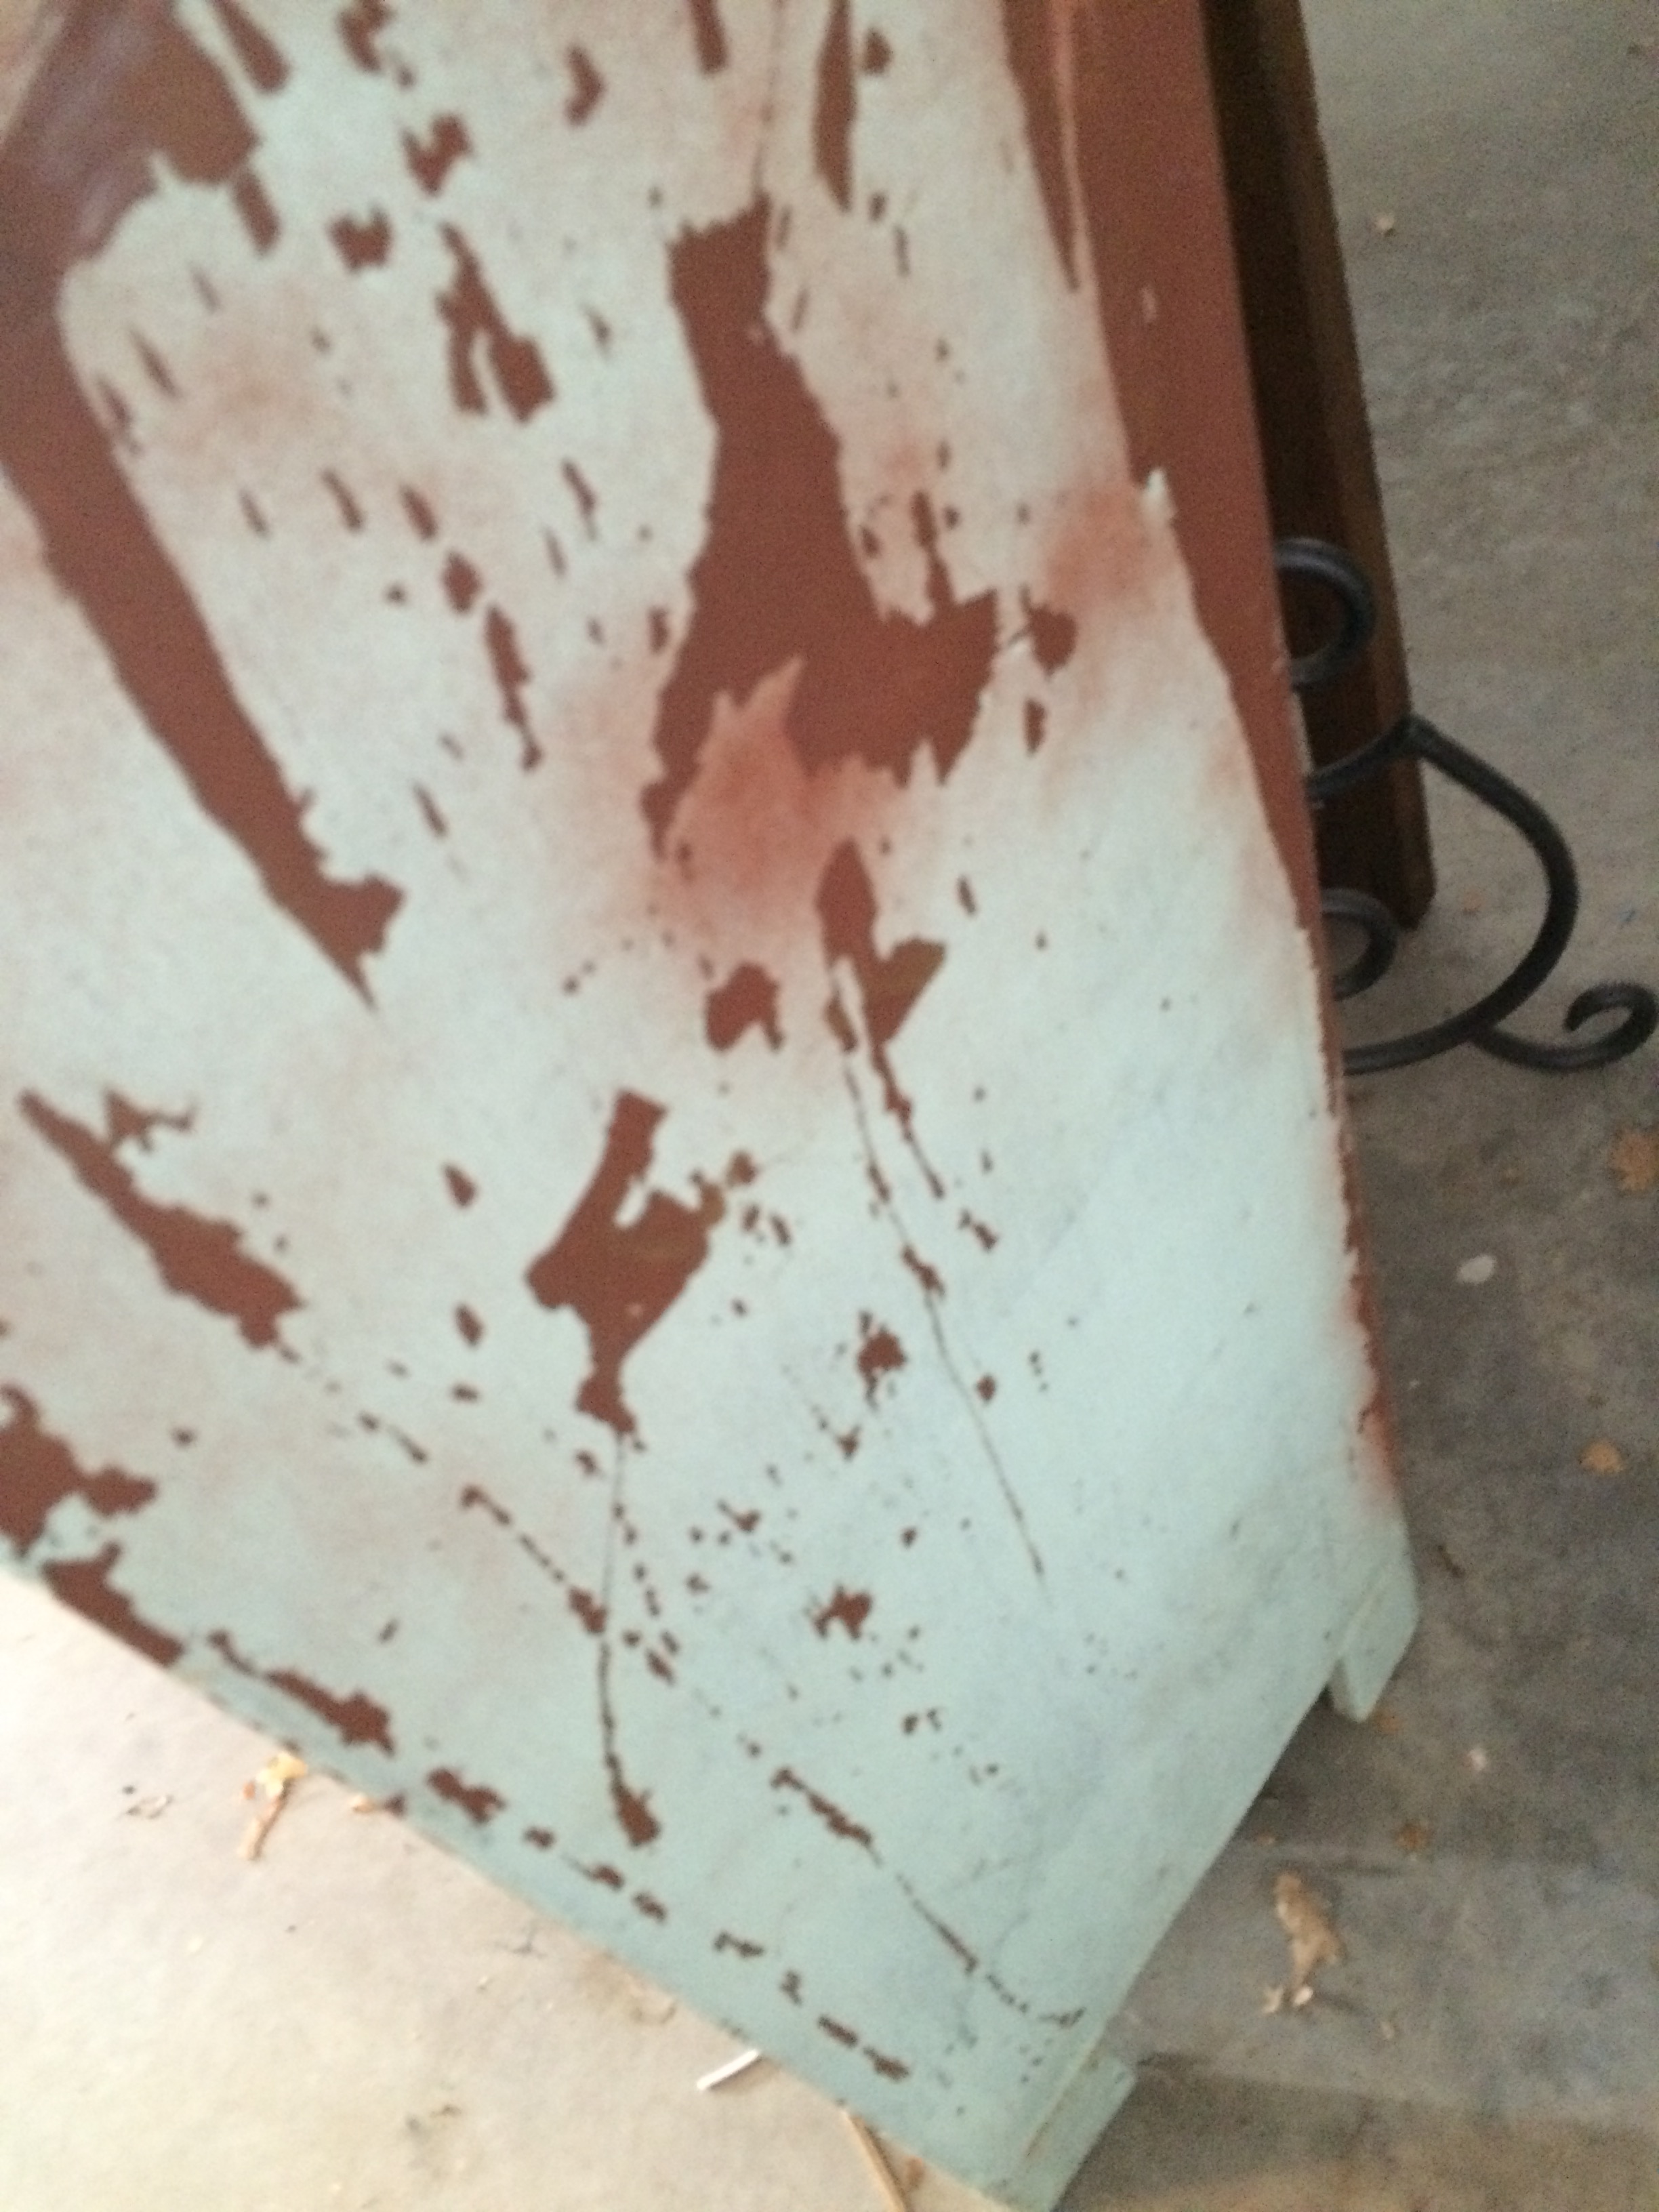
I hosed it down numerous times and cleaned out the years of outside “stuff” it had collected, including spiders and apparently most of the bee hive- I thought the owner took it out- thank goodness there were no bees in there. I liked the way the Rust-Oleum product I used on the metal box sprayed on, the trigger was easy to use and the paint sprayed very evenly. So I went to Home Depot and bought that spray paint in the color of “robin’s egg”. After using four cans of spray paint and multiple coats, it looked really good! I made shelf liners by covering and hot gluing fabric to pieces of cardboard I cut out to fit the shelves. There are hinges on the side, so I would like to put a glass door on it one day. I decided to use it in my bathroom to hold towels and because I have a lot of this color in my bathroom anyway, it fit well!
AFTER:


Apples!
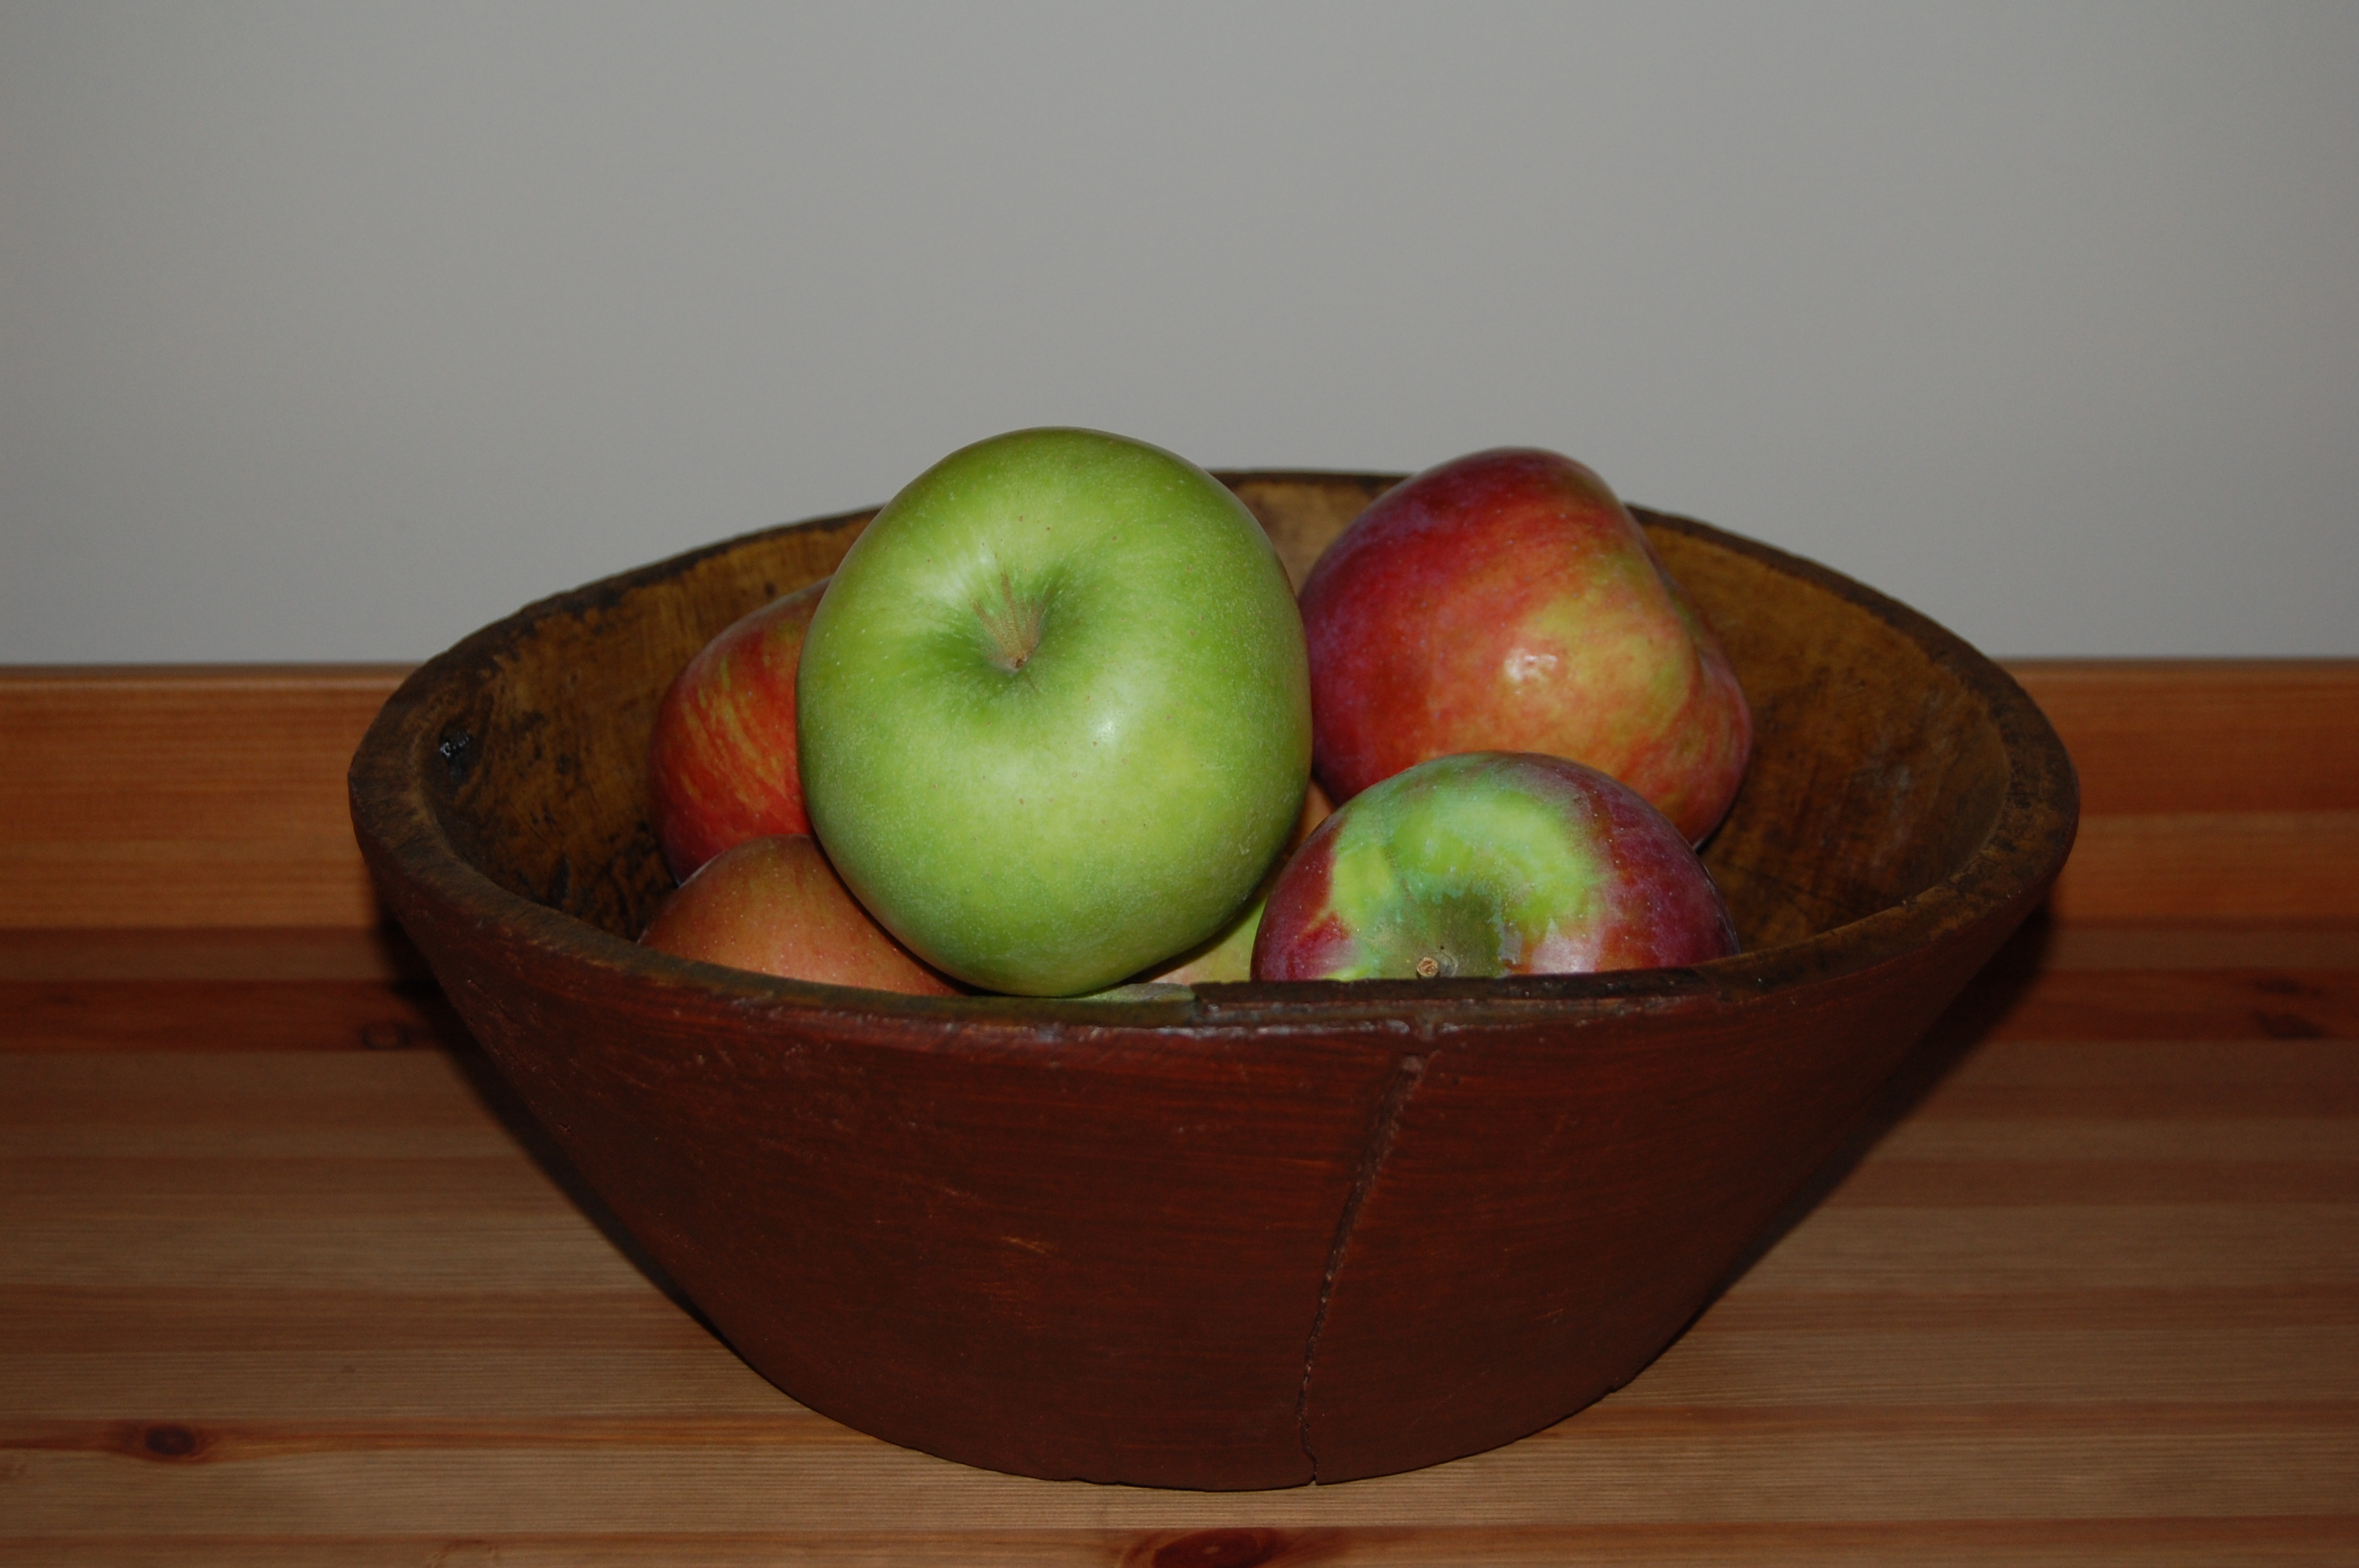 It’s that time of year in New England when we take a day to go to an orchard and pick apples. But there are so many varieties. Which ones do you pick? What do you do with them when you get home? To be honest, even though we do this every year, I had no idea what each variety is good for, we just picked! So I decided to do my research and share it in case there is anyone else out there who is clueless as to what to do with a bowl full of apples. I’ve put together a guide of the kinds of apples you might find at your local orchard and what each variety can be used for (besides eating of course)!
We live in Connecticut and enjoy going to March Farm in Bethlehem. They have a lot of trees in their orchards to pick from as well as playgrounds, corn maze and shop.

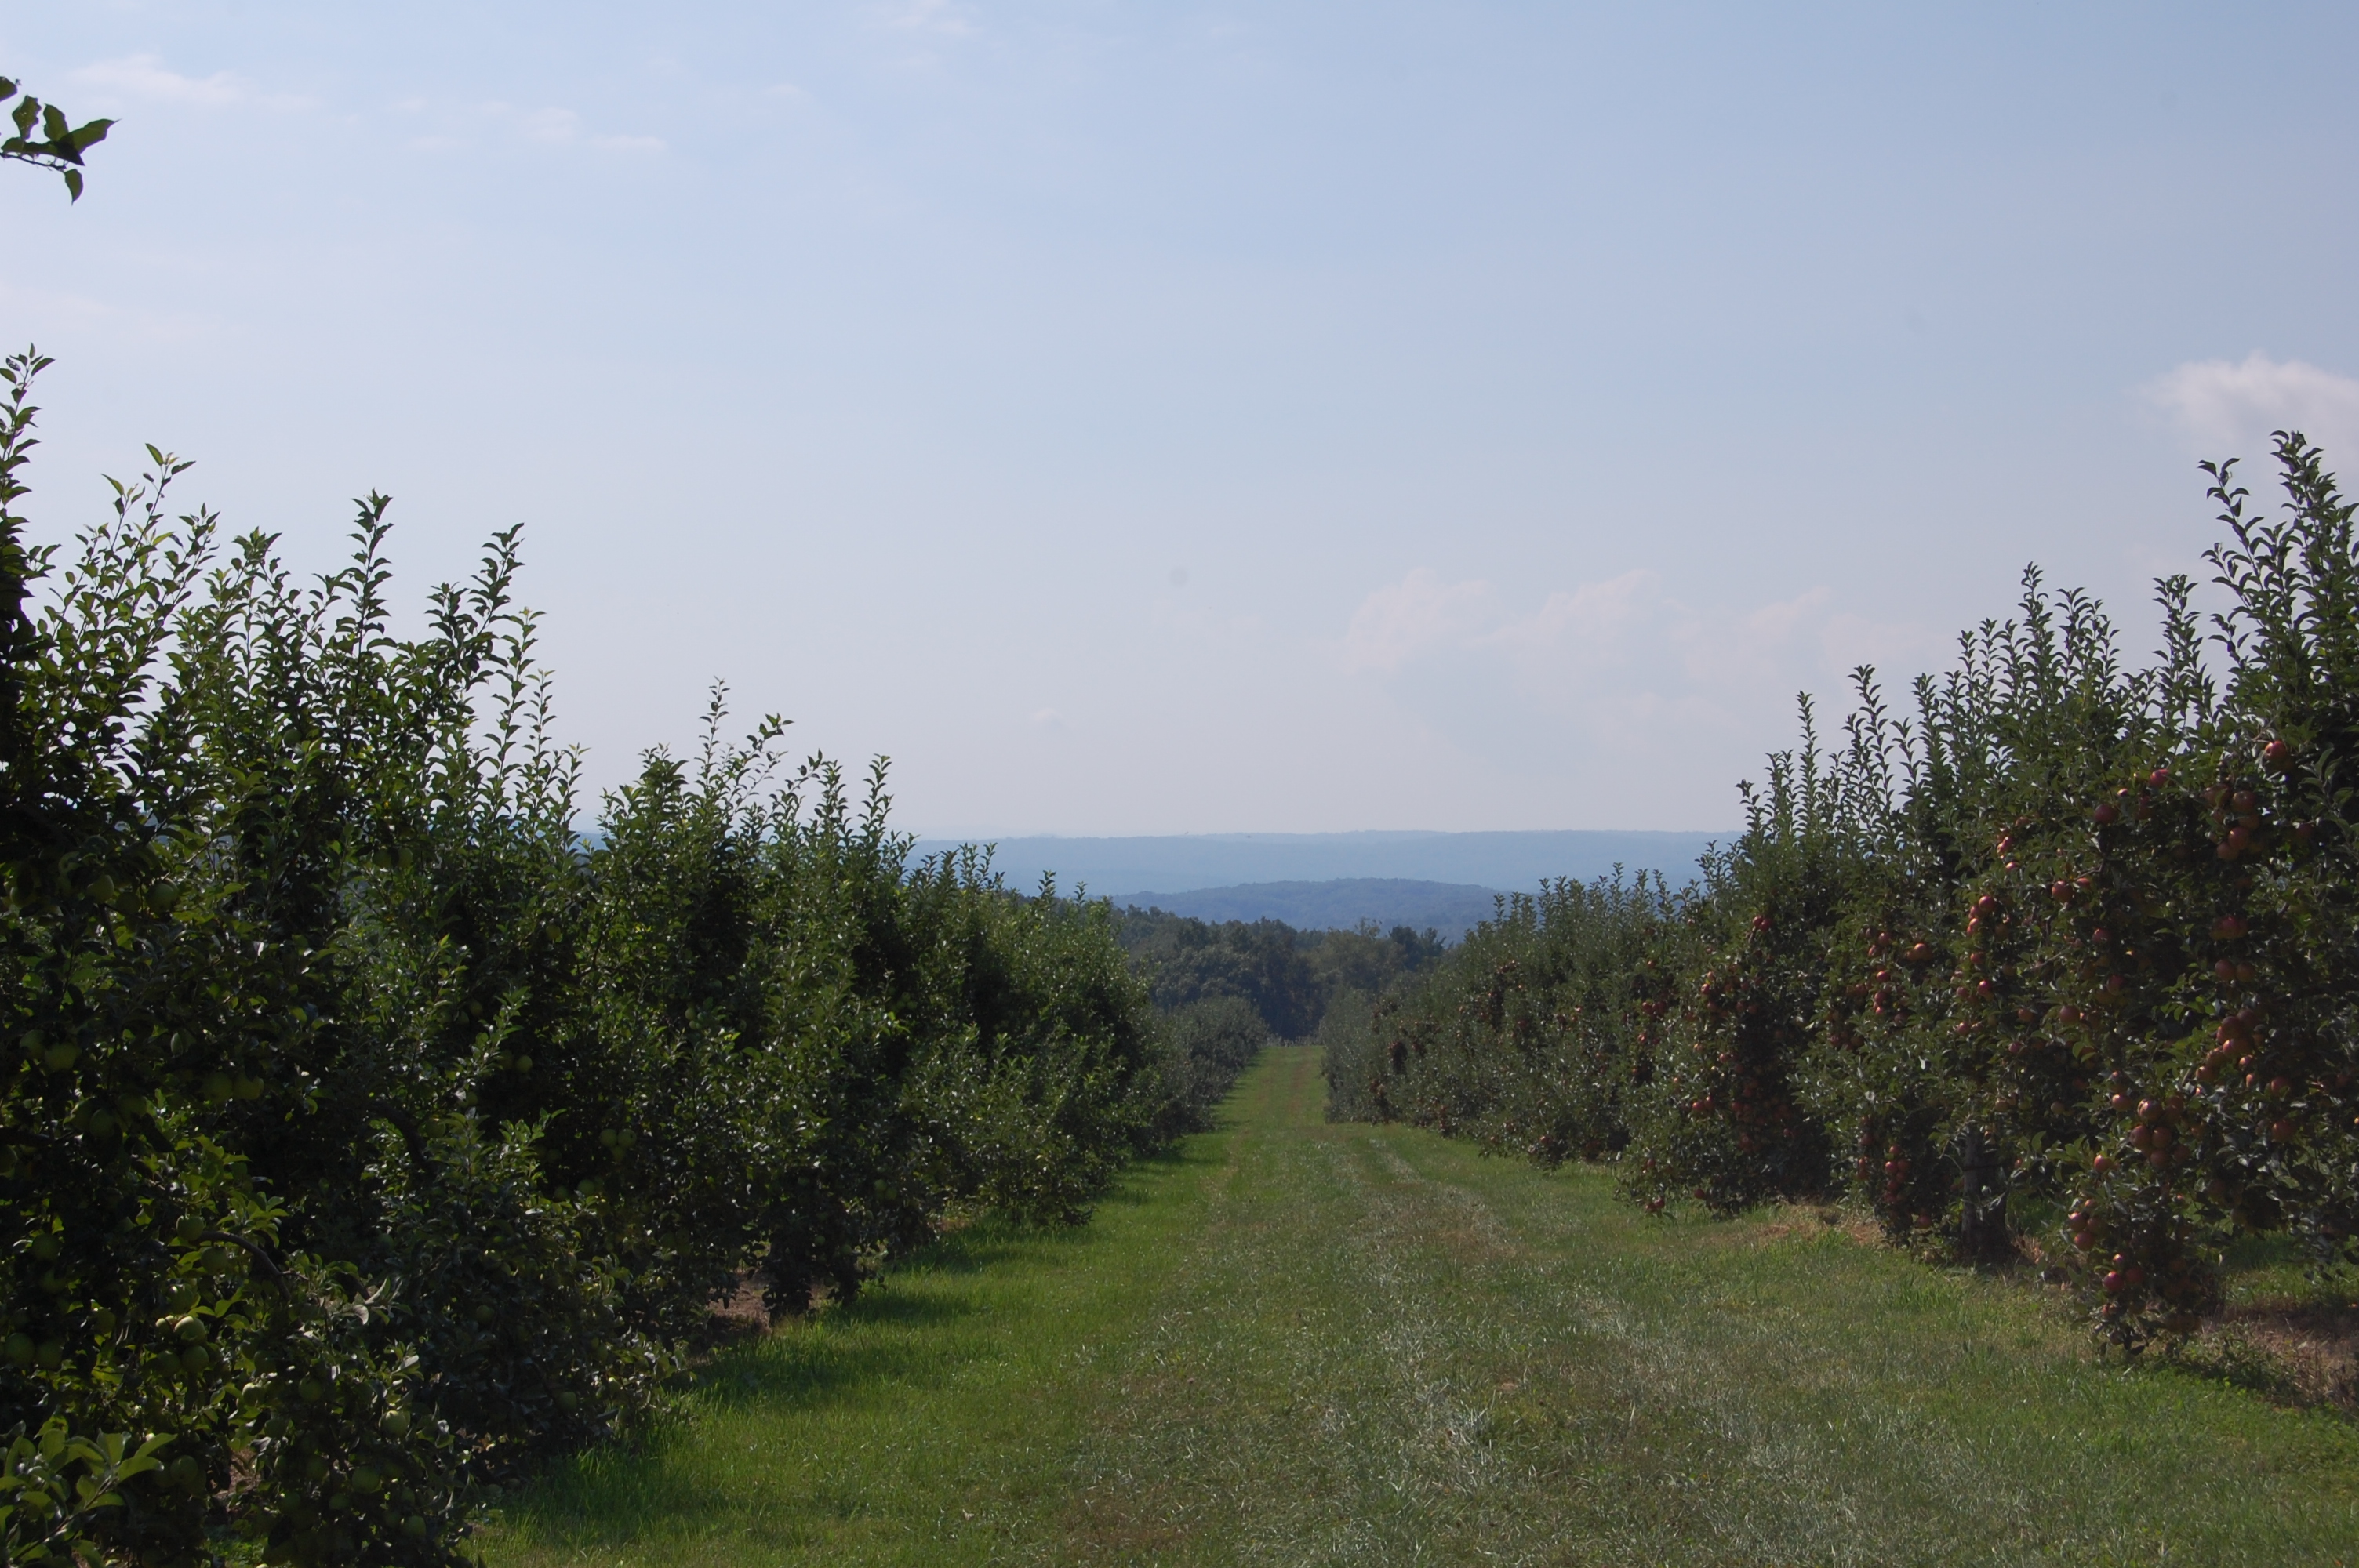

And look at the size of those apples!!

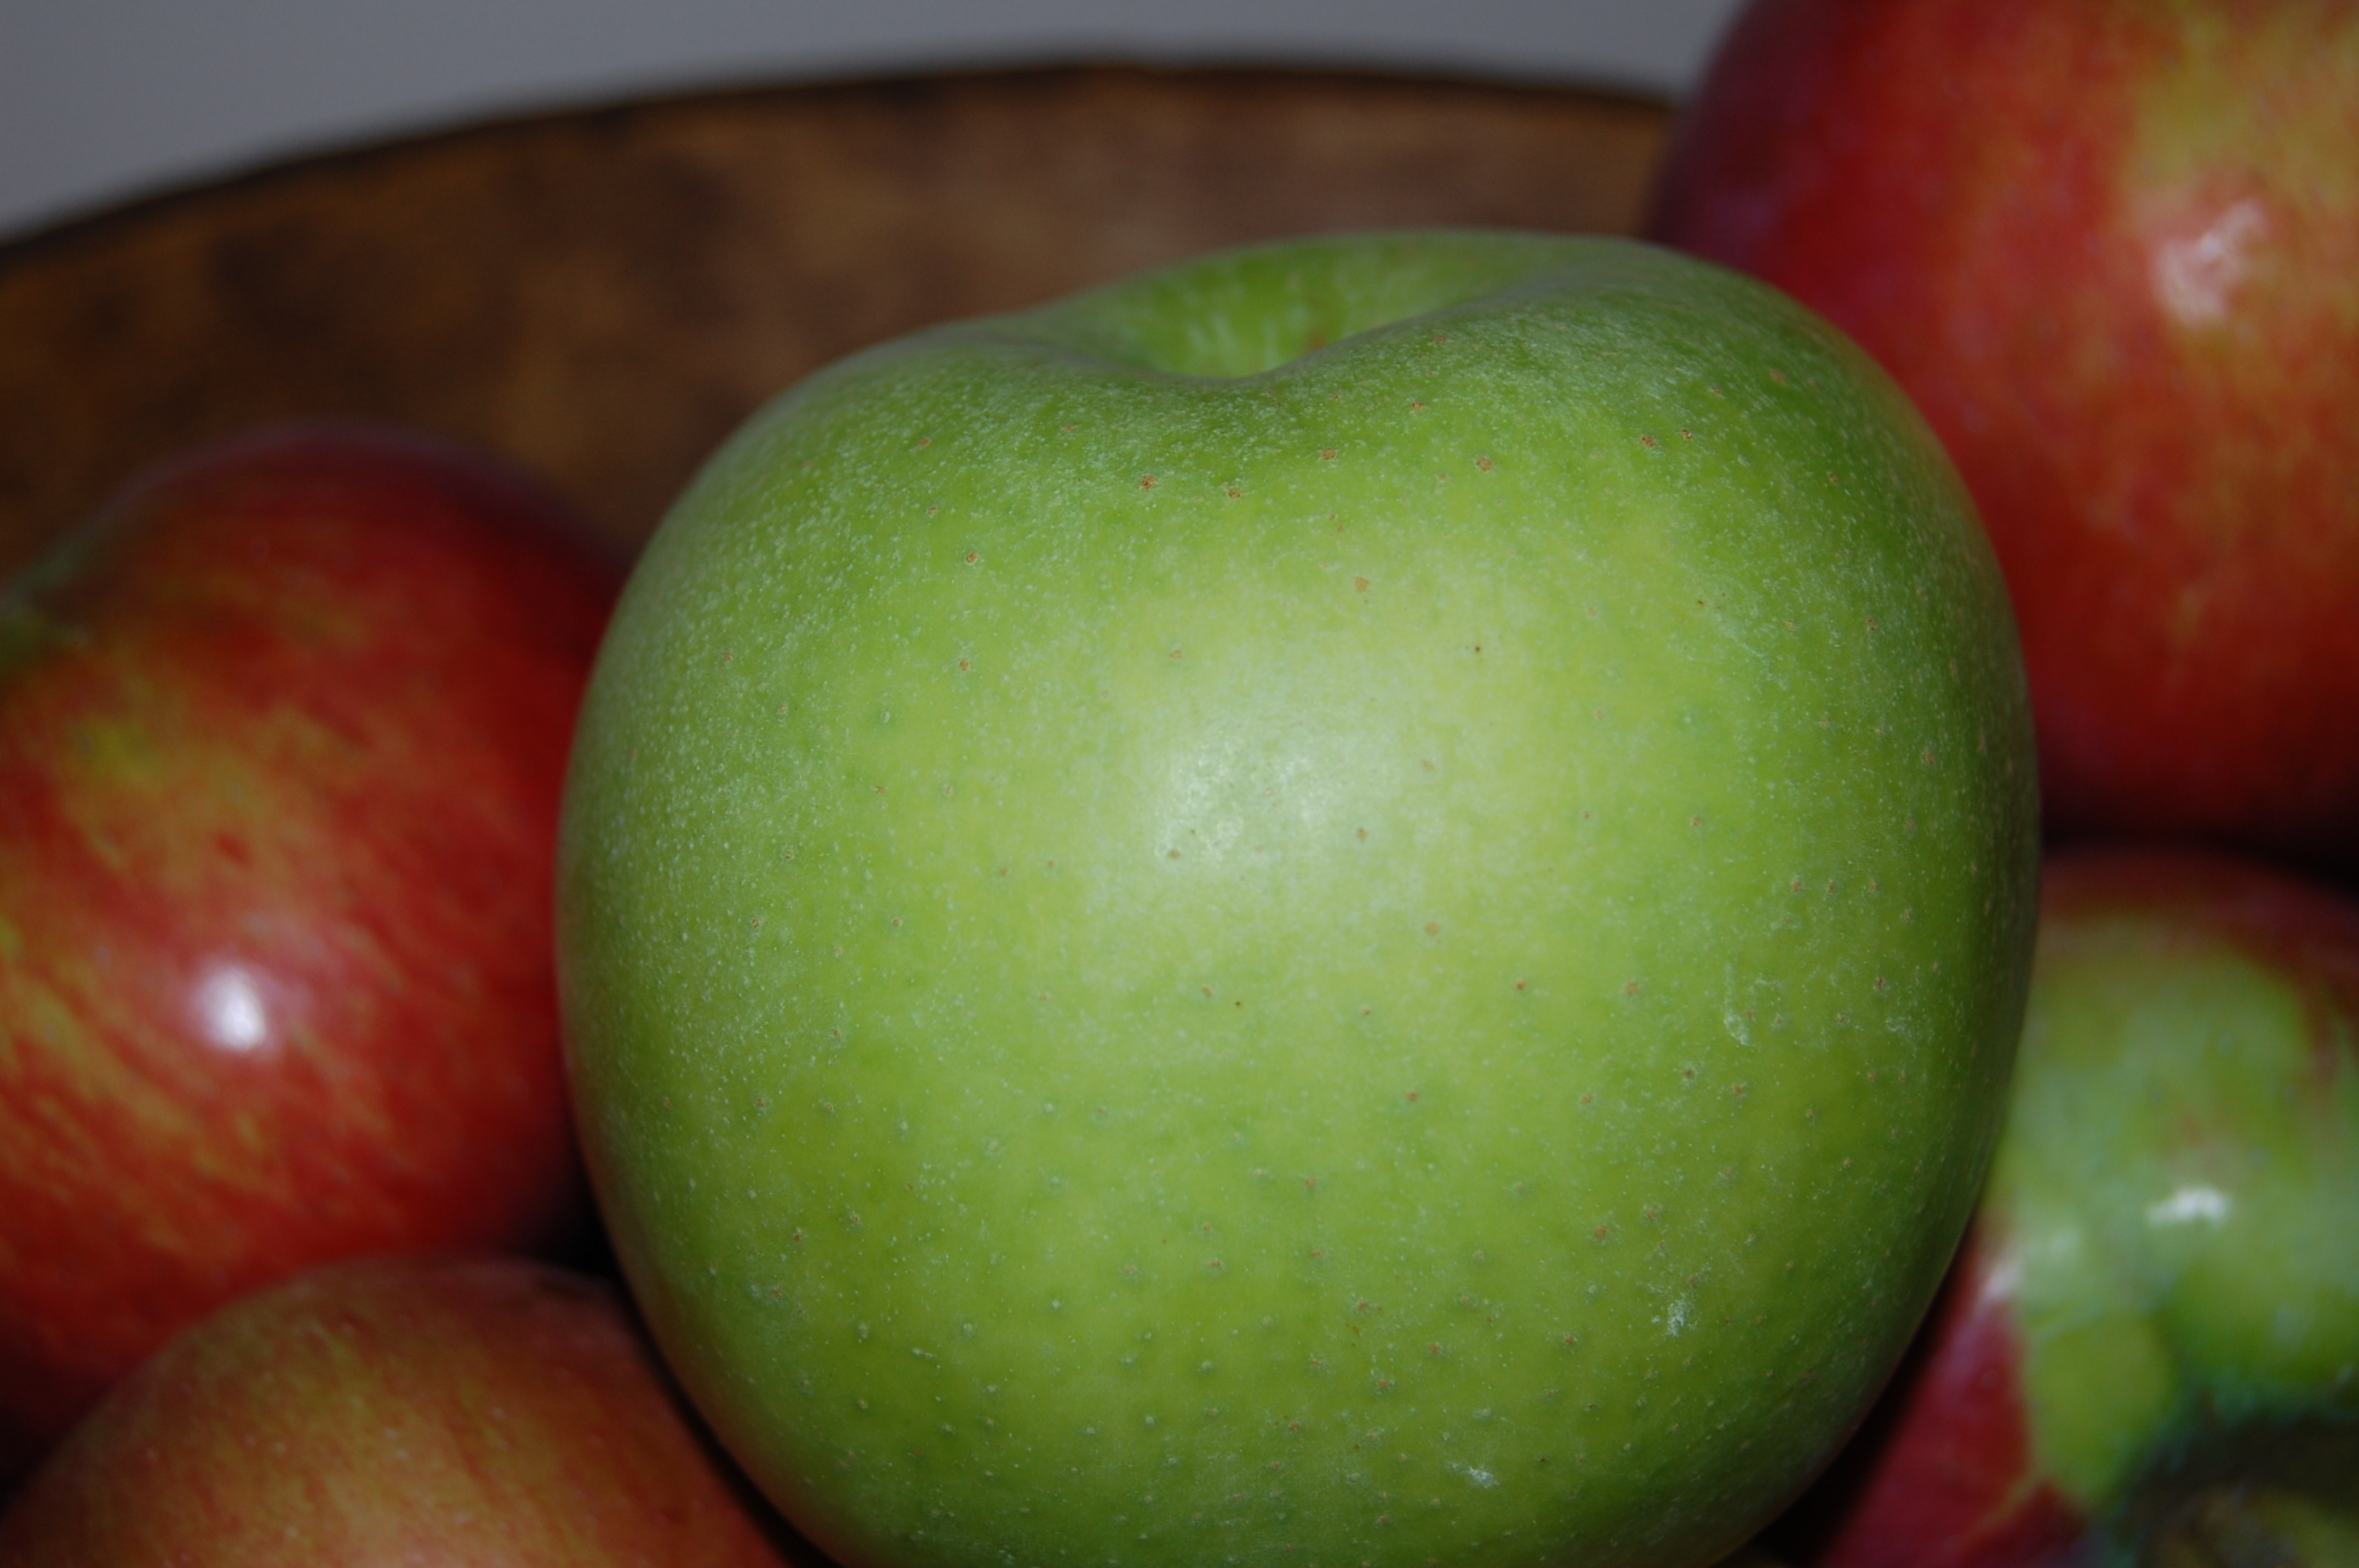

Thanks to ctapples.org, I am able to provide myself and you with some information. Epicurious also has a great guide on varieties http://www.epicurious.com/archive/seasonalcooking/farmtotable/visualguideapples.
SEPTEMBER
Macoun
With their wine-red color with gold accents, Macouns are highly regarded for their aroma and sweet-tart, juicy flavor. Excellent for snack and desserts and good for all culinary uses. Developed in 1909 from Jersey Black and McIntosh parents. Ripens in mid-September.

Gala
Red-orange, with yellow stripes. A sweet crisp flavor and texture. Very good for salads and sauces. Introduced in 1934. Ripens in late September.
Cortland
A larger apple good for baking, with a deep, purple-red color. Moderately juicy and fairly sweet. Their white flesh doesn’t brown when sliced so Corlands are a standout for fruit salads, dipping in toppings, or eating wit a plate of sharp cheddar cheese. Developed in 1898, across between a McIntosh and Ben Davis. Ripens late September.

Ida Red
Bright golden red. Their tangy taste mellow at maturity. Excellent for snacks and all culinary uses. Developed in 1942. Ripens in late September.
Empire
Deep red skin brushed with gold and green. The Empire is mildly tart-sweet and has juicy quality dessert apple, good for all culinary uses. A newer variety introduced in 1966 from McIntosh and Delicious parents. Ripens late September.

Pippin
Green with yellow highlights. Tangy sweet. Best for cooking and baking. Dates back to 1700. Ripens in September.
Honey Crisp
Deep red over yellow skin. Produced from a 1960 cross of Macoun and Honey-gold. Exceptionally crisp and juicy texture. Its flesh is cream colored and coarse. A large apple excellent for desserts. Ripens late September.

Spartan
Red and green skin. Juicy, tart-sweet taste is good for snacks and salads. Introduced in 1936. Ripens in late September.
OCTOBER
Fuji
Red blush with green and yellow stripes. Crisp, firm, juicy flesh. Developed in Japan in 1939. Ripens in October.

Jonagold
Bright red with gold. Crisp and juicy, Jonagolds are good fresh, in salads, and for cooking and baking. Introduced in 1968 from Golden Delicious and Jonathan parents. Ripens in October.

Eastern Red Delicious
The unique shape of this red apple tapers to a five-knobbed base. Sweet, tender and juicy. Best for crunching out of hand and in fruit cups and salads. Developed in 1872, Red Delicious is America’s most plentifully grown apple. Ripens early October.

Golden Delicious
Golden or light-green, with pink blush. Tender, mellow, sweet. Wonderful fresh and in salads. Developed in 1912. Ripens in October.

Rome
A medium large, bright red, round apple with a slightly tart taste. Rome is considered on eof the finest baking apples available. First propagated from seed in 1828. Ripens mid-October.
Liberty
Green-yellow skin witha red semi-stripe. Flesh is cream-colored, sweet and juicy. Introduced in a 1978, a cross between a Macoun and Purdue. An all-purpose apple. Ripens in early October.

Crispin (Mutsu)
Greenish yellow to yellow. Good for cooking. Introduced in U.S. in 1968. Ripens mid-October.

 Recipes
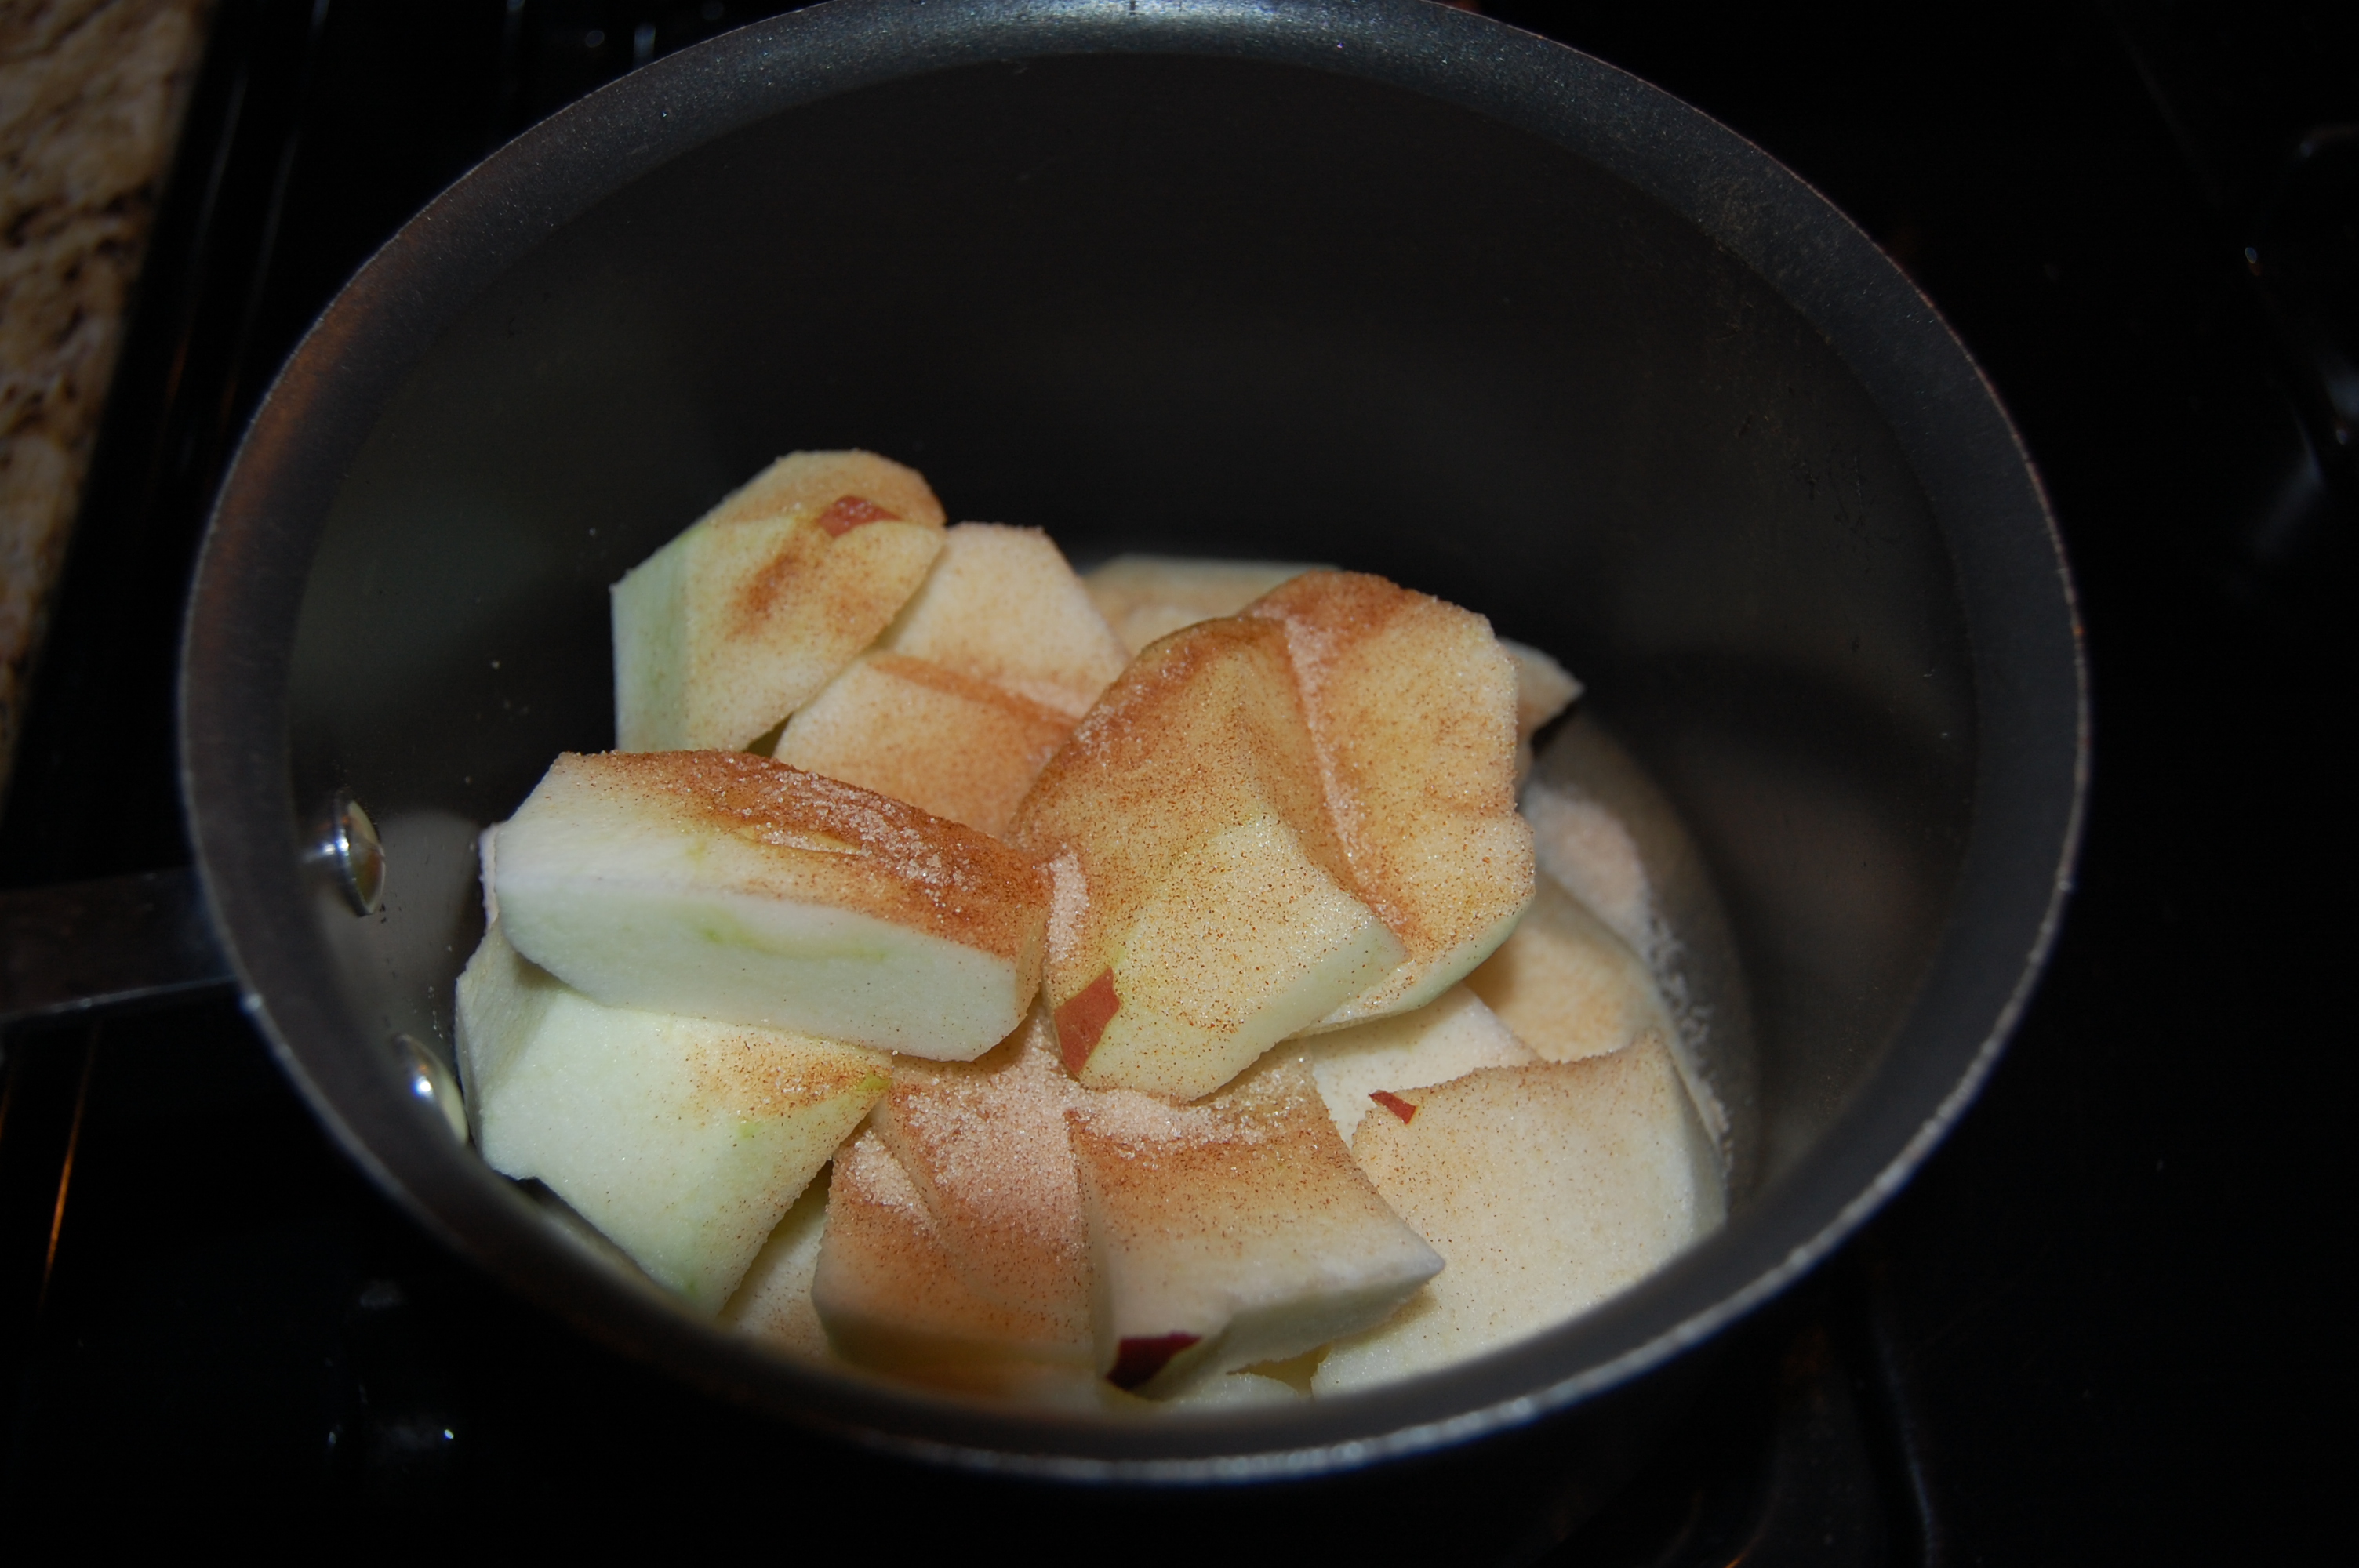
You can find recipes for all varieties here: http://www.ctapples.org/#!recipes/c1ydi. I used a mixture of the apples we picked to make homemade applesauce and it was so good! (see below)
Homemade Applesauce Recipe
Makes 6 servings (baed on a two tablespoon serving size)
1. I chose only three apples because they were so big.
2. Peel the apples and slice them.
3. Put the apples in a pot over medium heat and sprinkle cinnamon and sugar over them. I used a premixed cinnamon/sugar that we bought at the farm. Stir to mix the cinnamon and sugar in well with the apples.

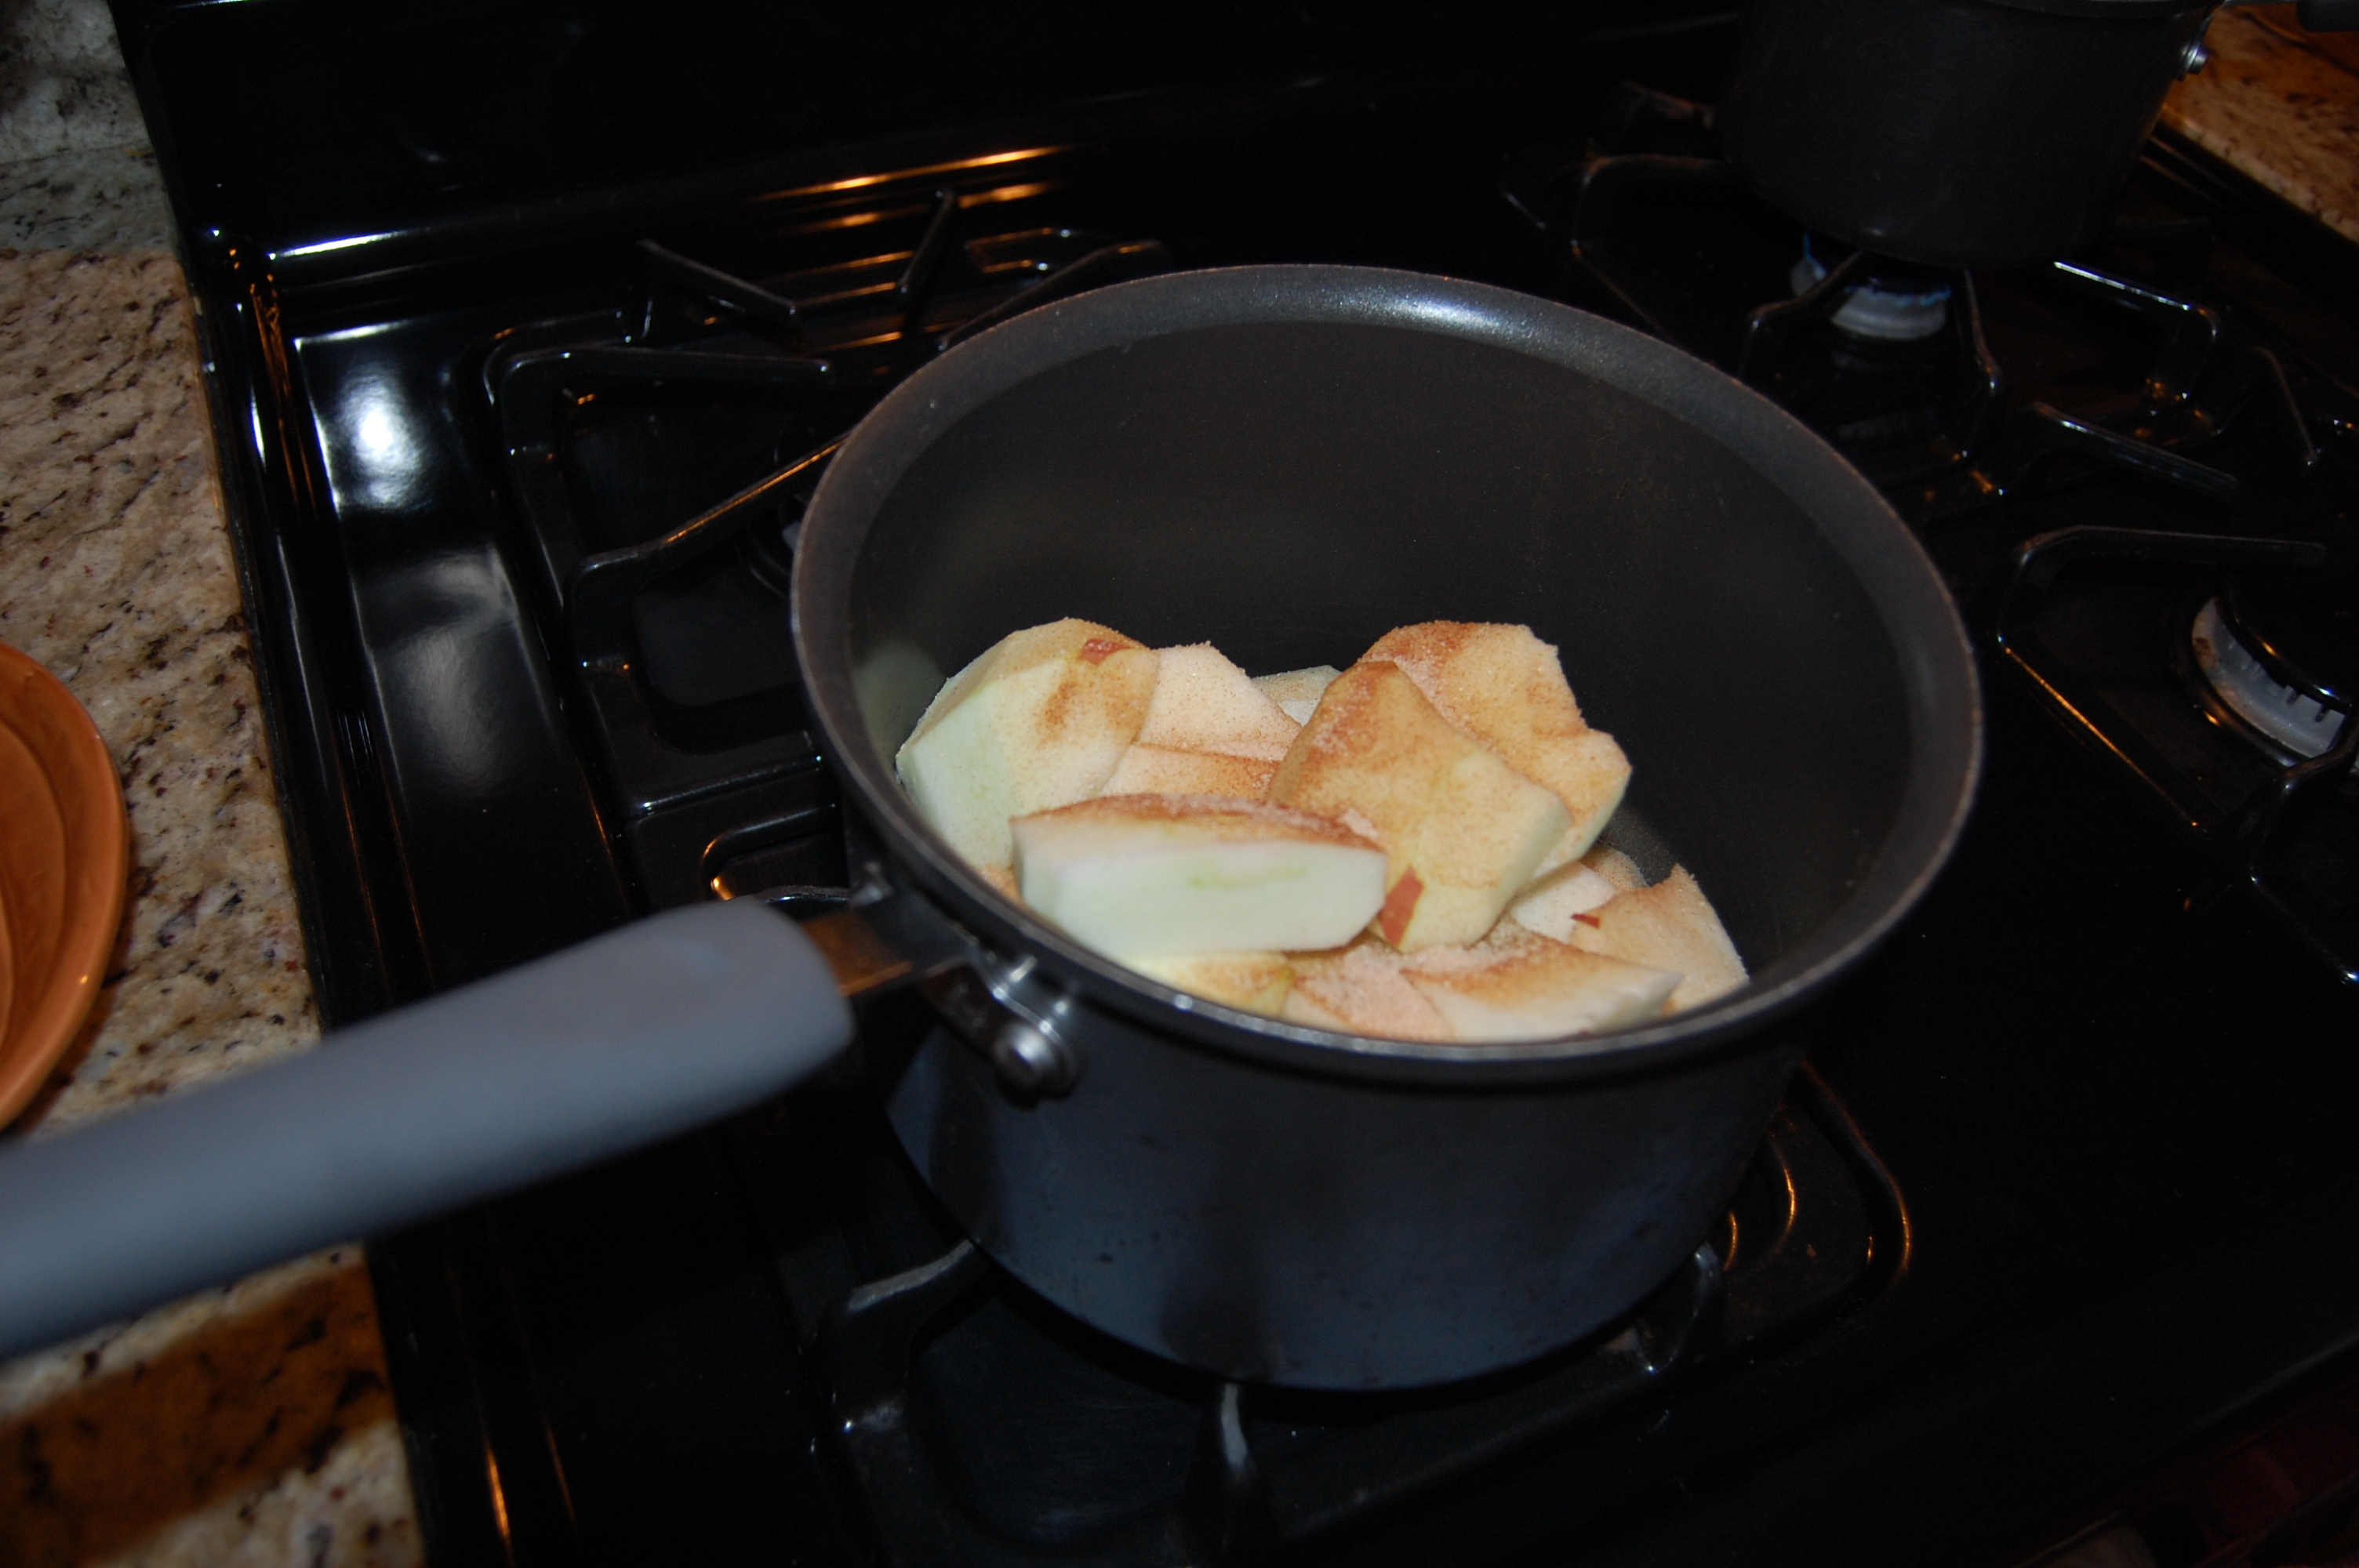
4. Cover and cook over medium/low heat, stirring frequently.
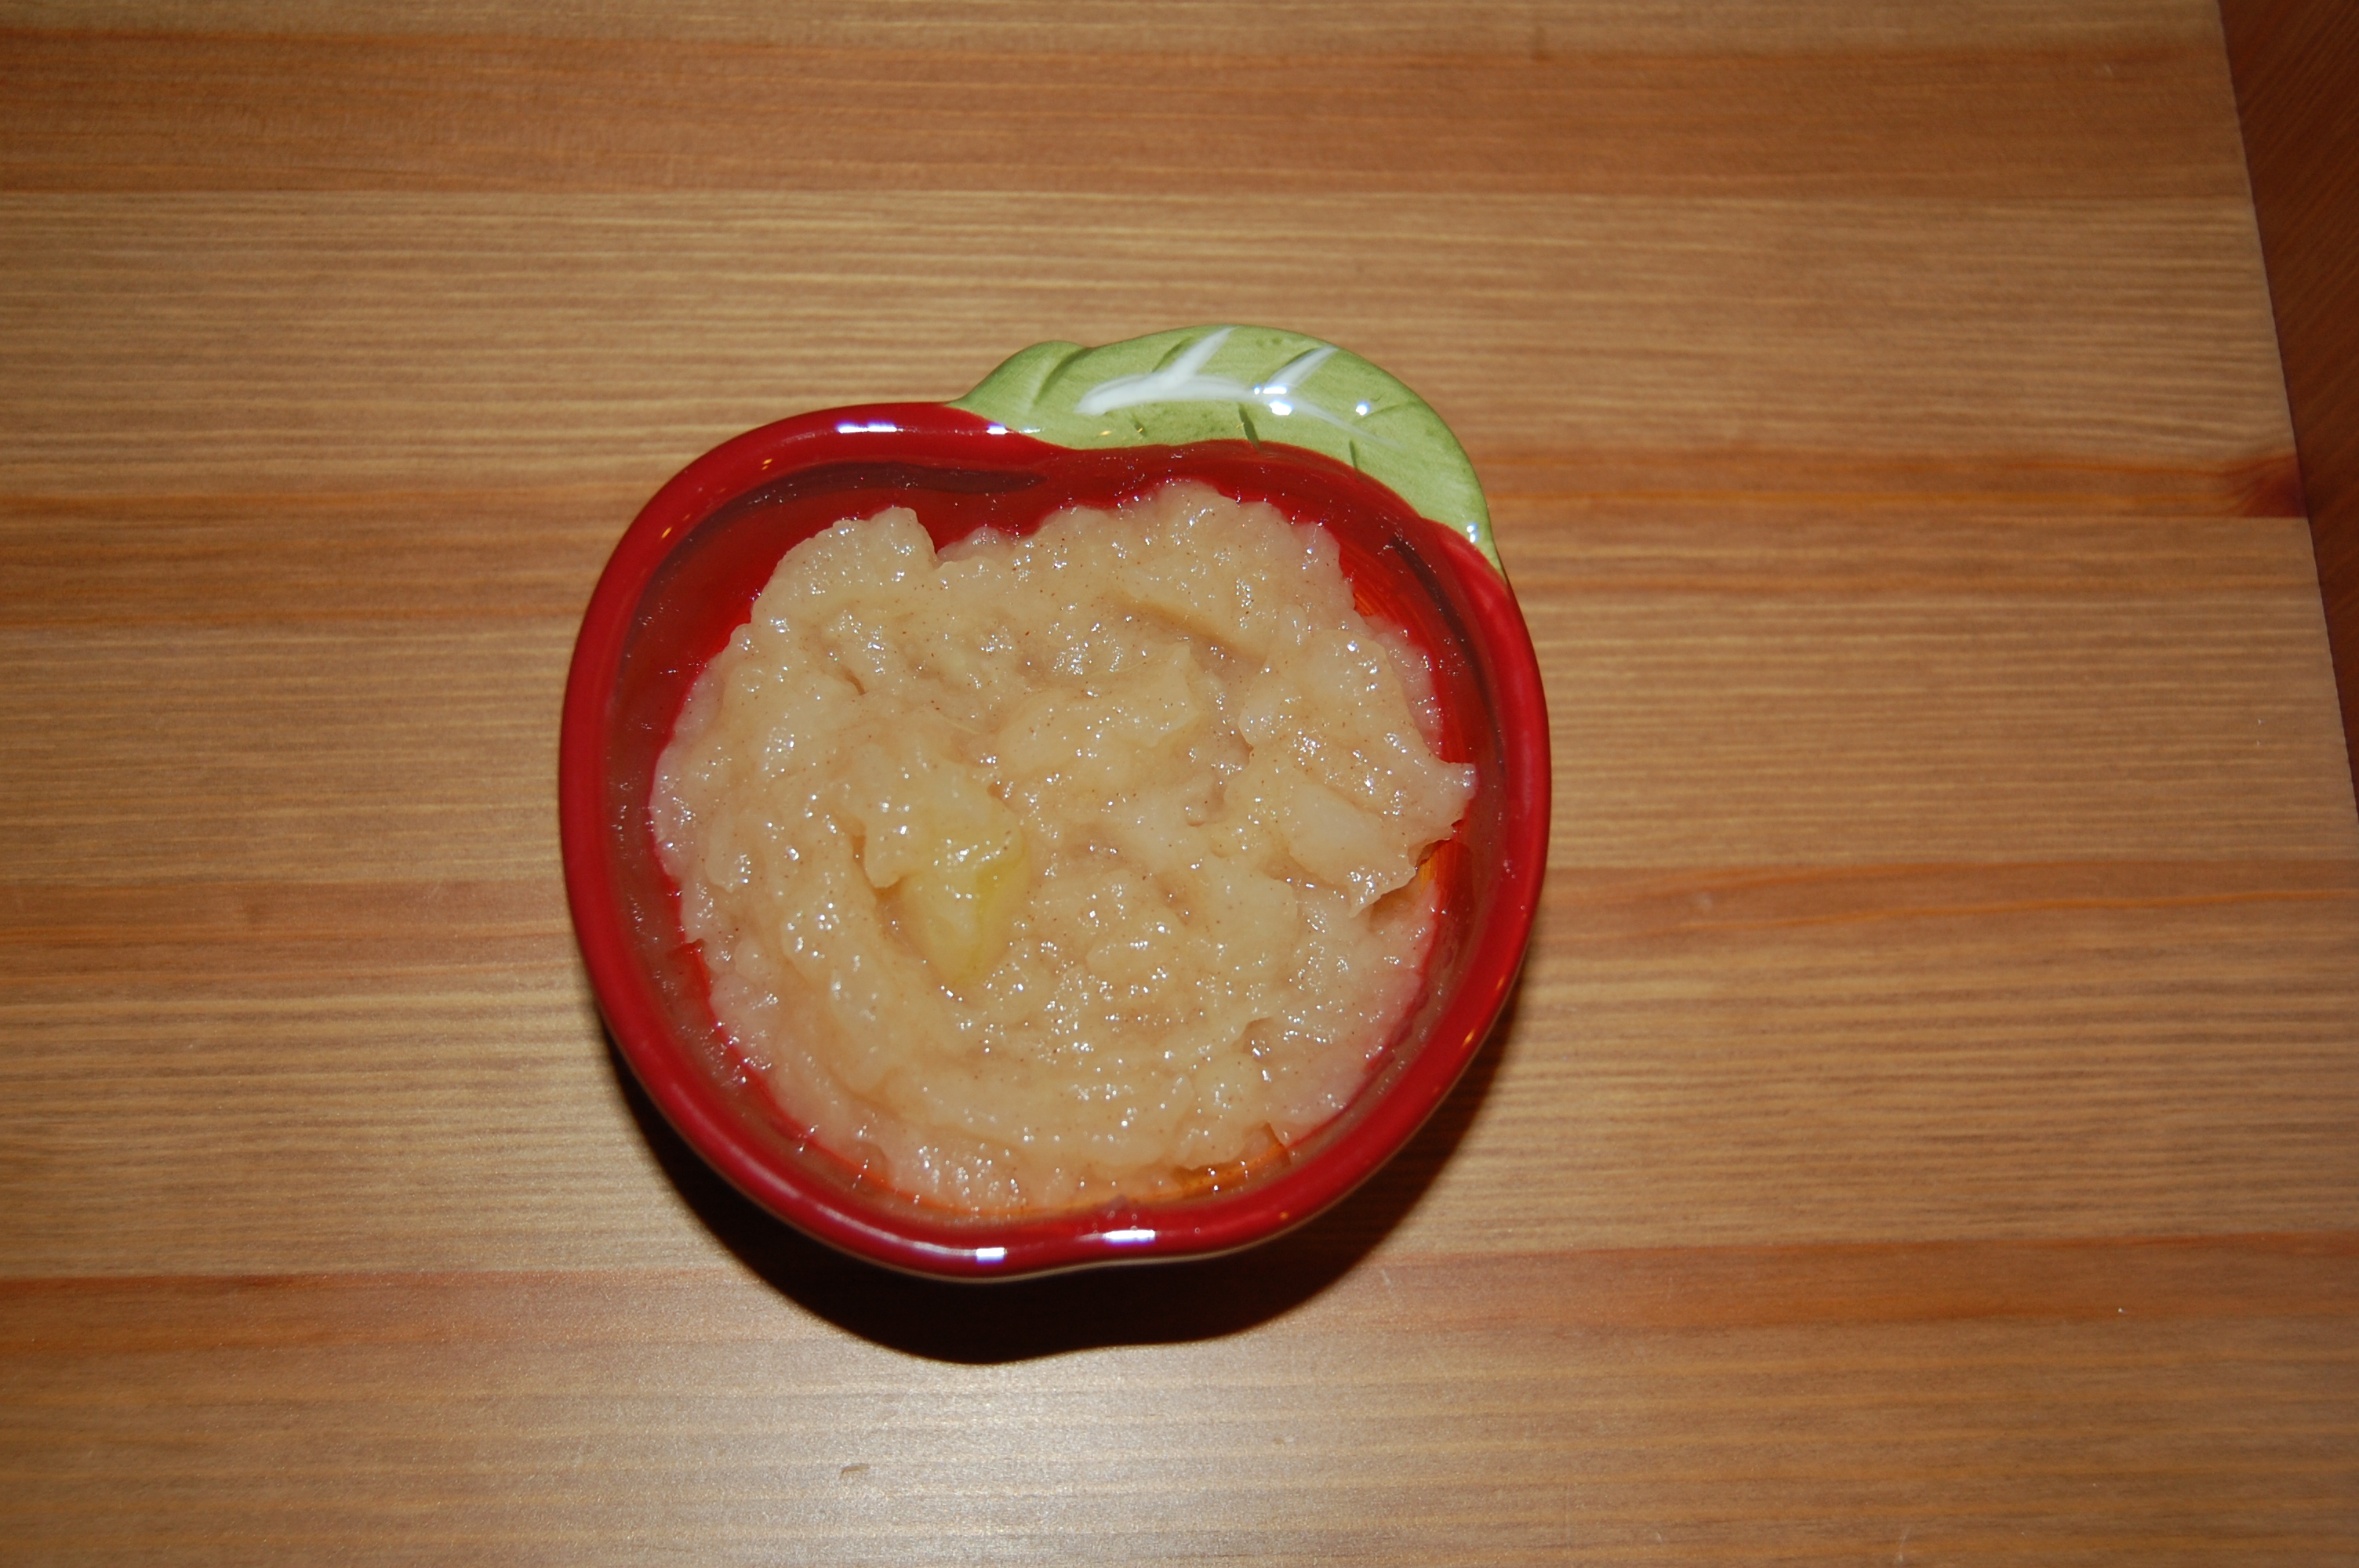
5. When apples are soft and tender, you can use a fork or a potato masher to mash the apples into a sauce.
6. Mix well and serve warm or cold.
10 Inspiring Walt Disney Quotes

I find Walt Disney to be one of the most inspiring people of the past. He had an eternally optimistic attitude and pushed until his dreams came true. I absolutely love Disney World, when I am there, I think I am more excited than my kids are. I think somehow that it was his aim to create happiness for all ages and his legacy certainly lives on. Here are ten Walt Disney quotes that I have found to be inspiring.


5 Ways to Reconnect With Someone Without Using Facebook

I am not a Facebook user, and I don’t know that I ever will be. I will not criticize anyone who uses it, but for as many reasons as someone is on it, I probably have that many reasons not to be. I feel like with our easy and quick “touch of a button” world, we have lost touch with other forms of connecting to each other. So, I have come up with a few ways I think would be nice to reconnect with old friends or family members.
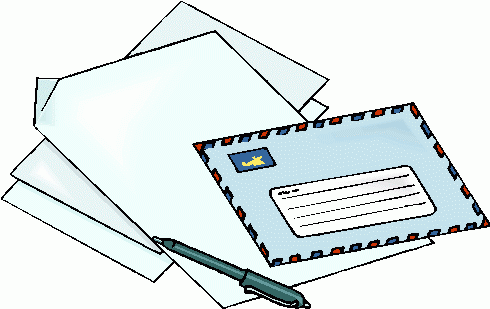
1. Write a letter– yes, the old fashion kind- that you have to put in an envelope, address, stamp and put in the mailbox. It’s such a nice surprise to receive a piece of mail that is not junk or a bill! Also, it is great to take a moment out of our busy hectic lives to sit down and reflect our thoughts to someone special in our lives.
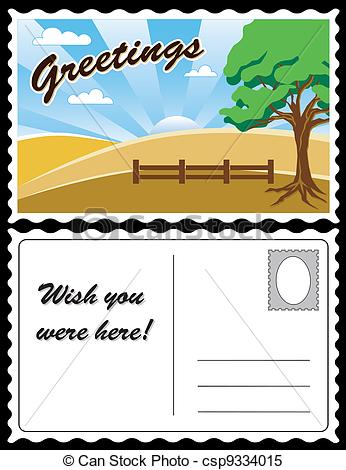
2. Send a postcard from vacation- I can remember when part of going on vacation was having to stop at a gift shop to buy post cards to send home to everyone. There was never a second thought about it! Put a smile on someone’s face and send a postcard with a great picture of where you are vacationing and while you write it, give yourself a chance to enjoy telling that person about what a great time you are having!
3. Dig up an old picture and send it to someone- Recently I found a whole bunch of pictures from college and there were some funny pictures of me and two of my friends that I am still in touch with. I took a picture of the photo with my phone and group texted them both. It sparked a brief, but fun walk down memory lane and gave us a chance to laugh at our former selves and our memories.

4. Set up a girls/guys night out- Make a point of getting together with friends once every month or every other month. This will force you to take time for yourself and get out to catch up with friends. Start a book club that meets once per month- although I am not sure how many books actually get discussed after all the wine and catching up : ).

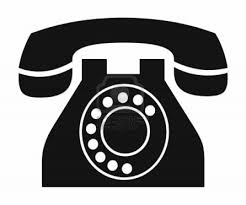
5. Call someone on the phone- The good old telephone. I know mine usually only rings when a telemarketer is trying to reach me. Am I the only still with a landline? Take the time to show someone that you want to hear their voice and care to hear how things are going.
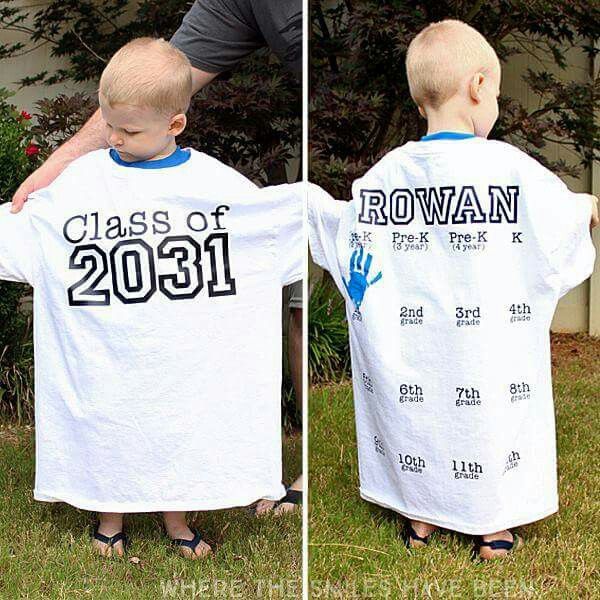
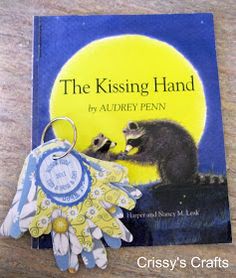
First Day of School Ideas

It’s back-to-school time already! The summer flew by and as much as the lazy days of summer will be missed, I think kids and parents alike are ready to go back to school and get back into a routine (although your kids won’t tell you that!)
I’ve put together some ideas for marking the first day of school. These ideas are a nice way to give your kids their school send off and mark the start of another year where they will learn and grow so much!


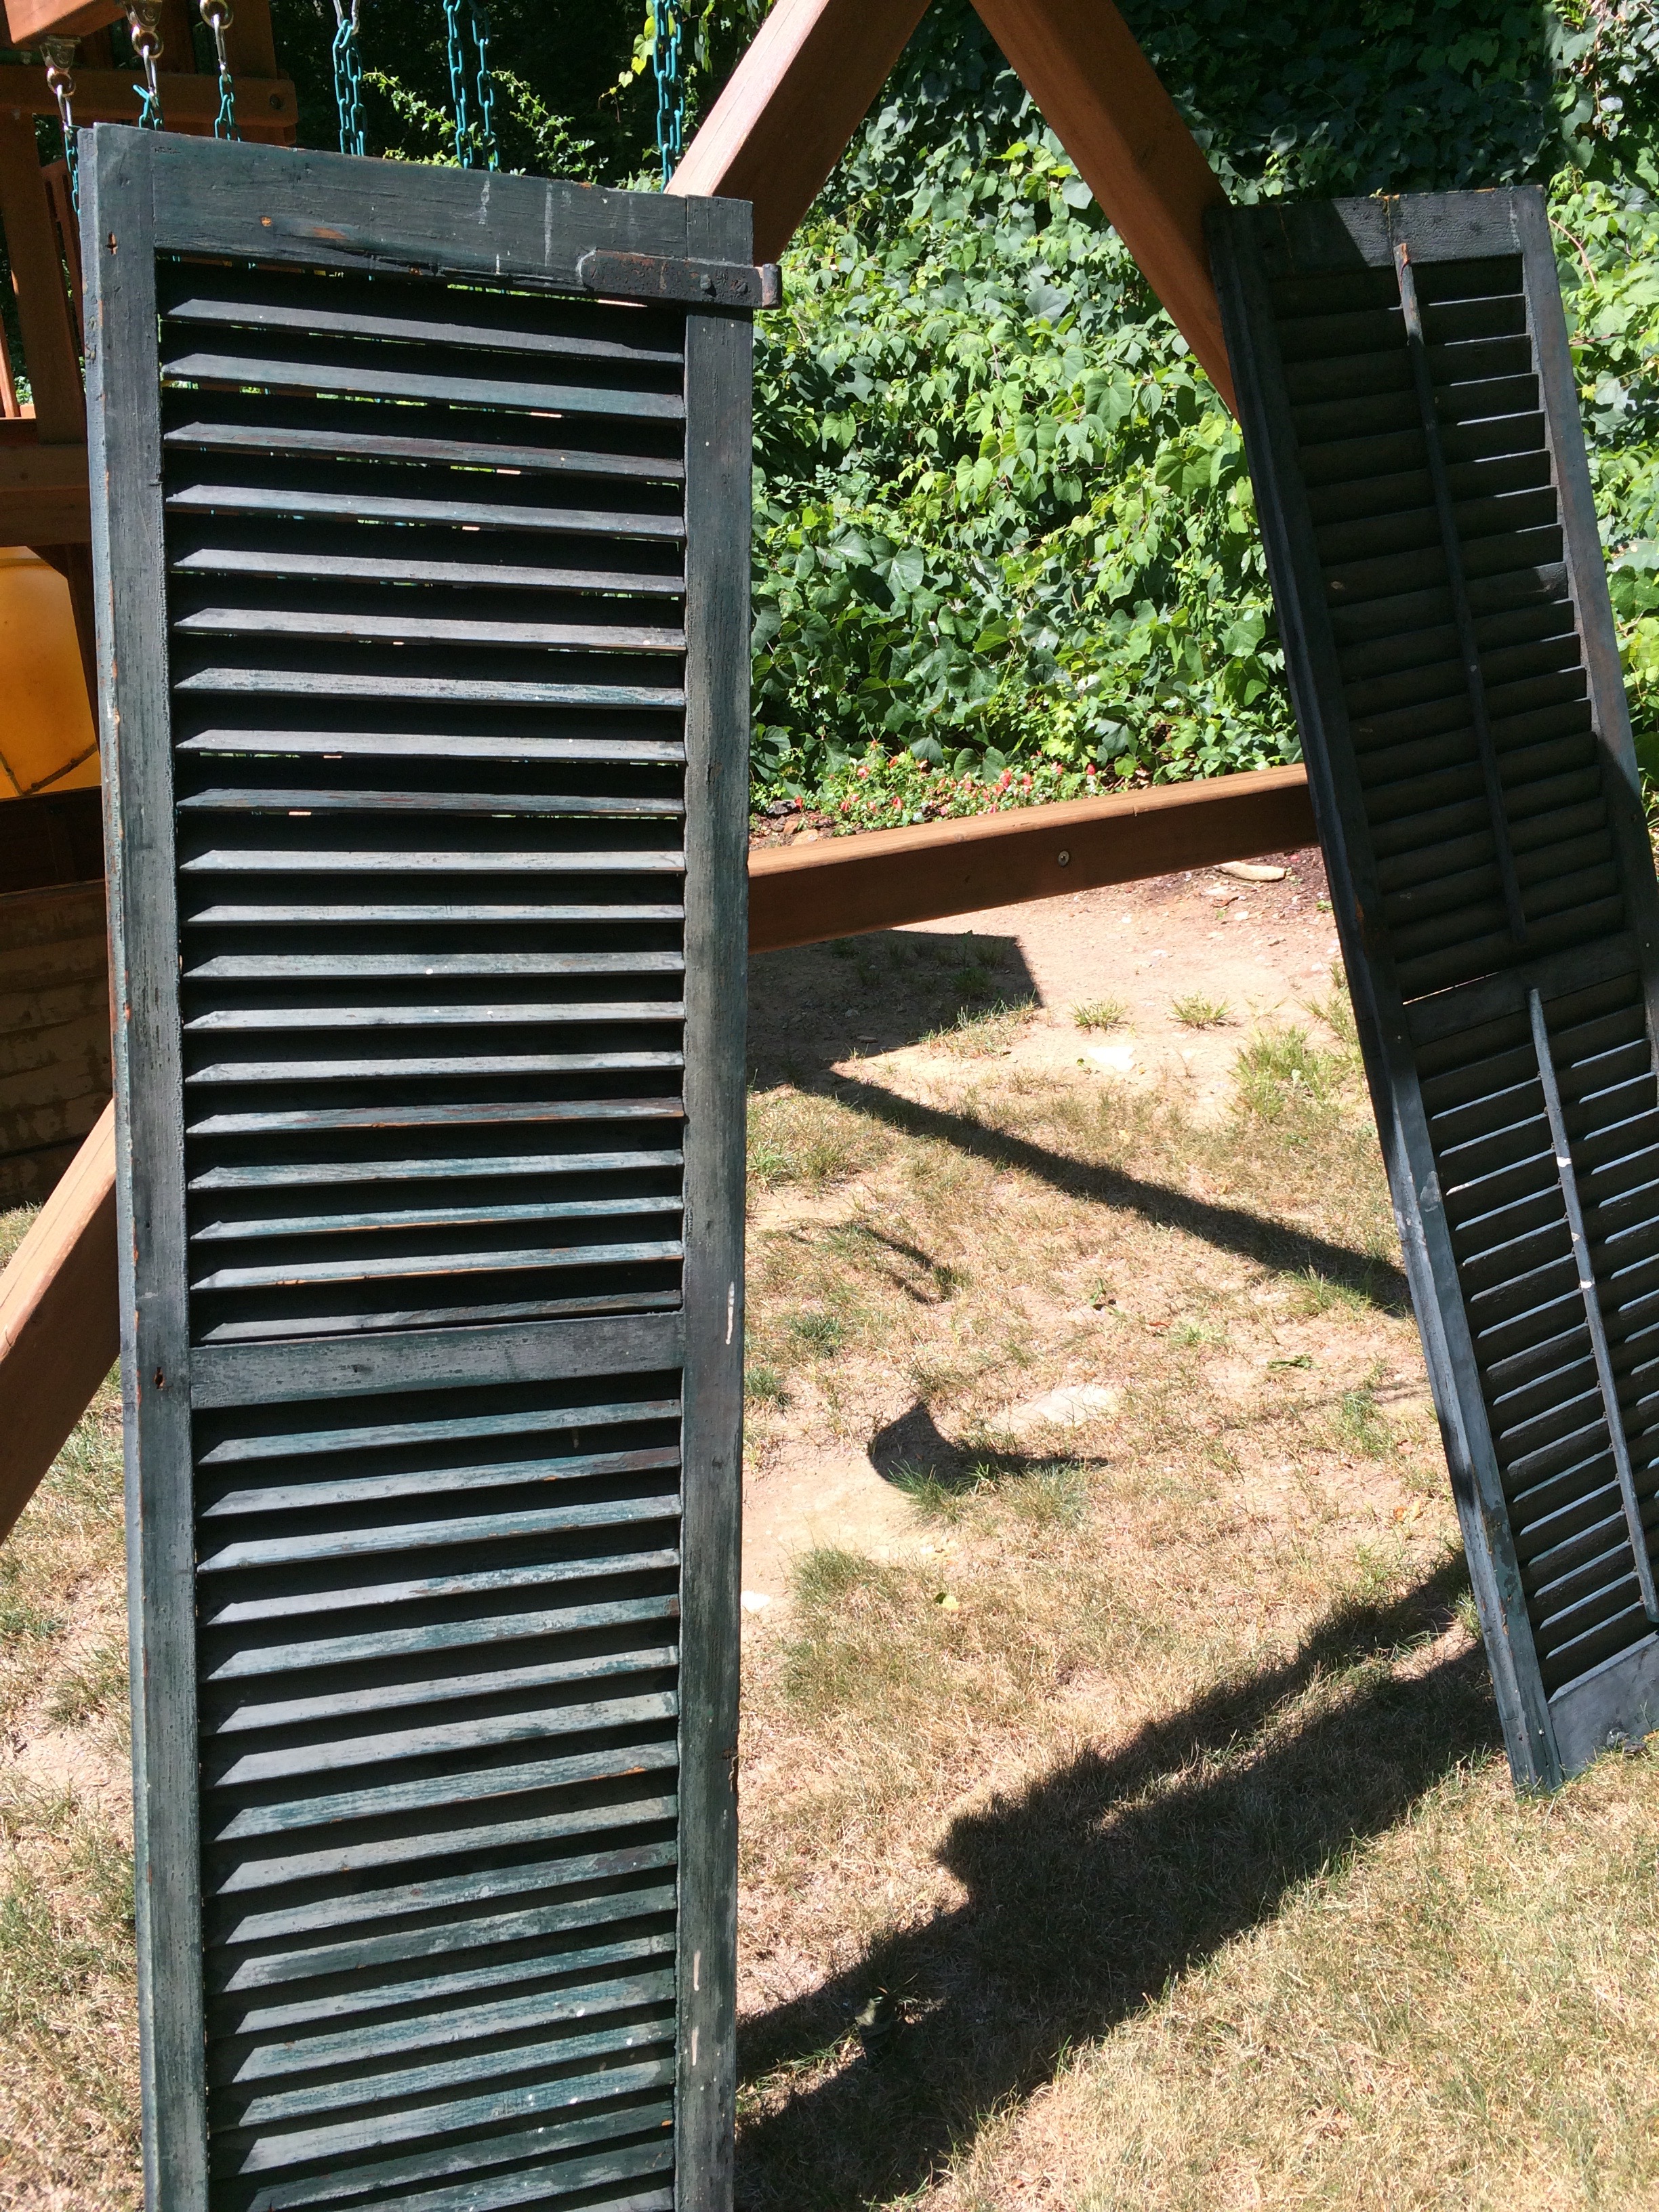
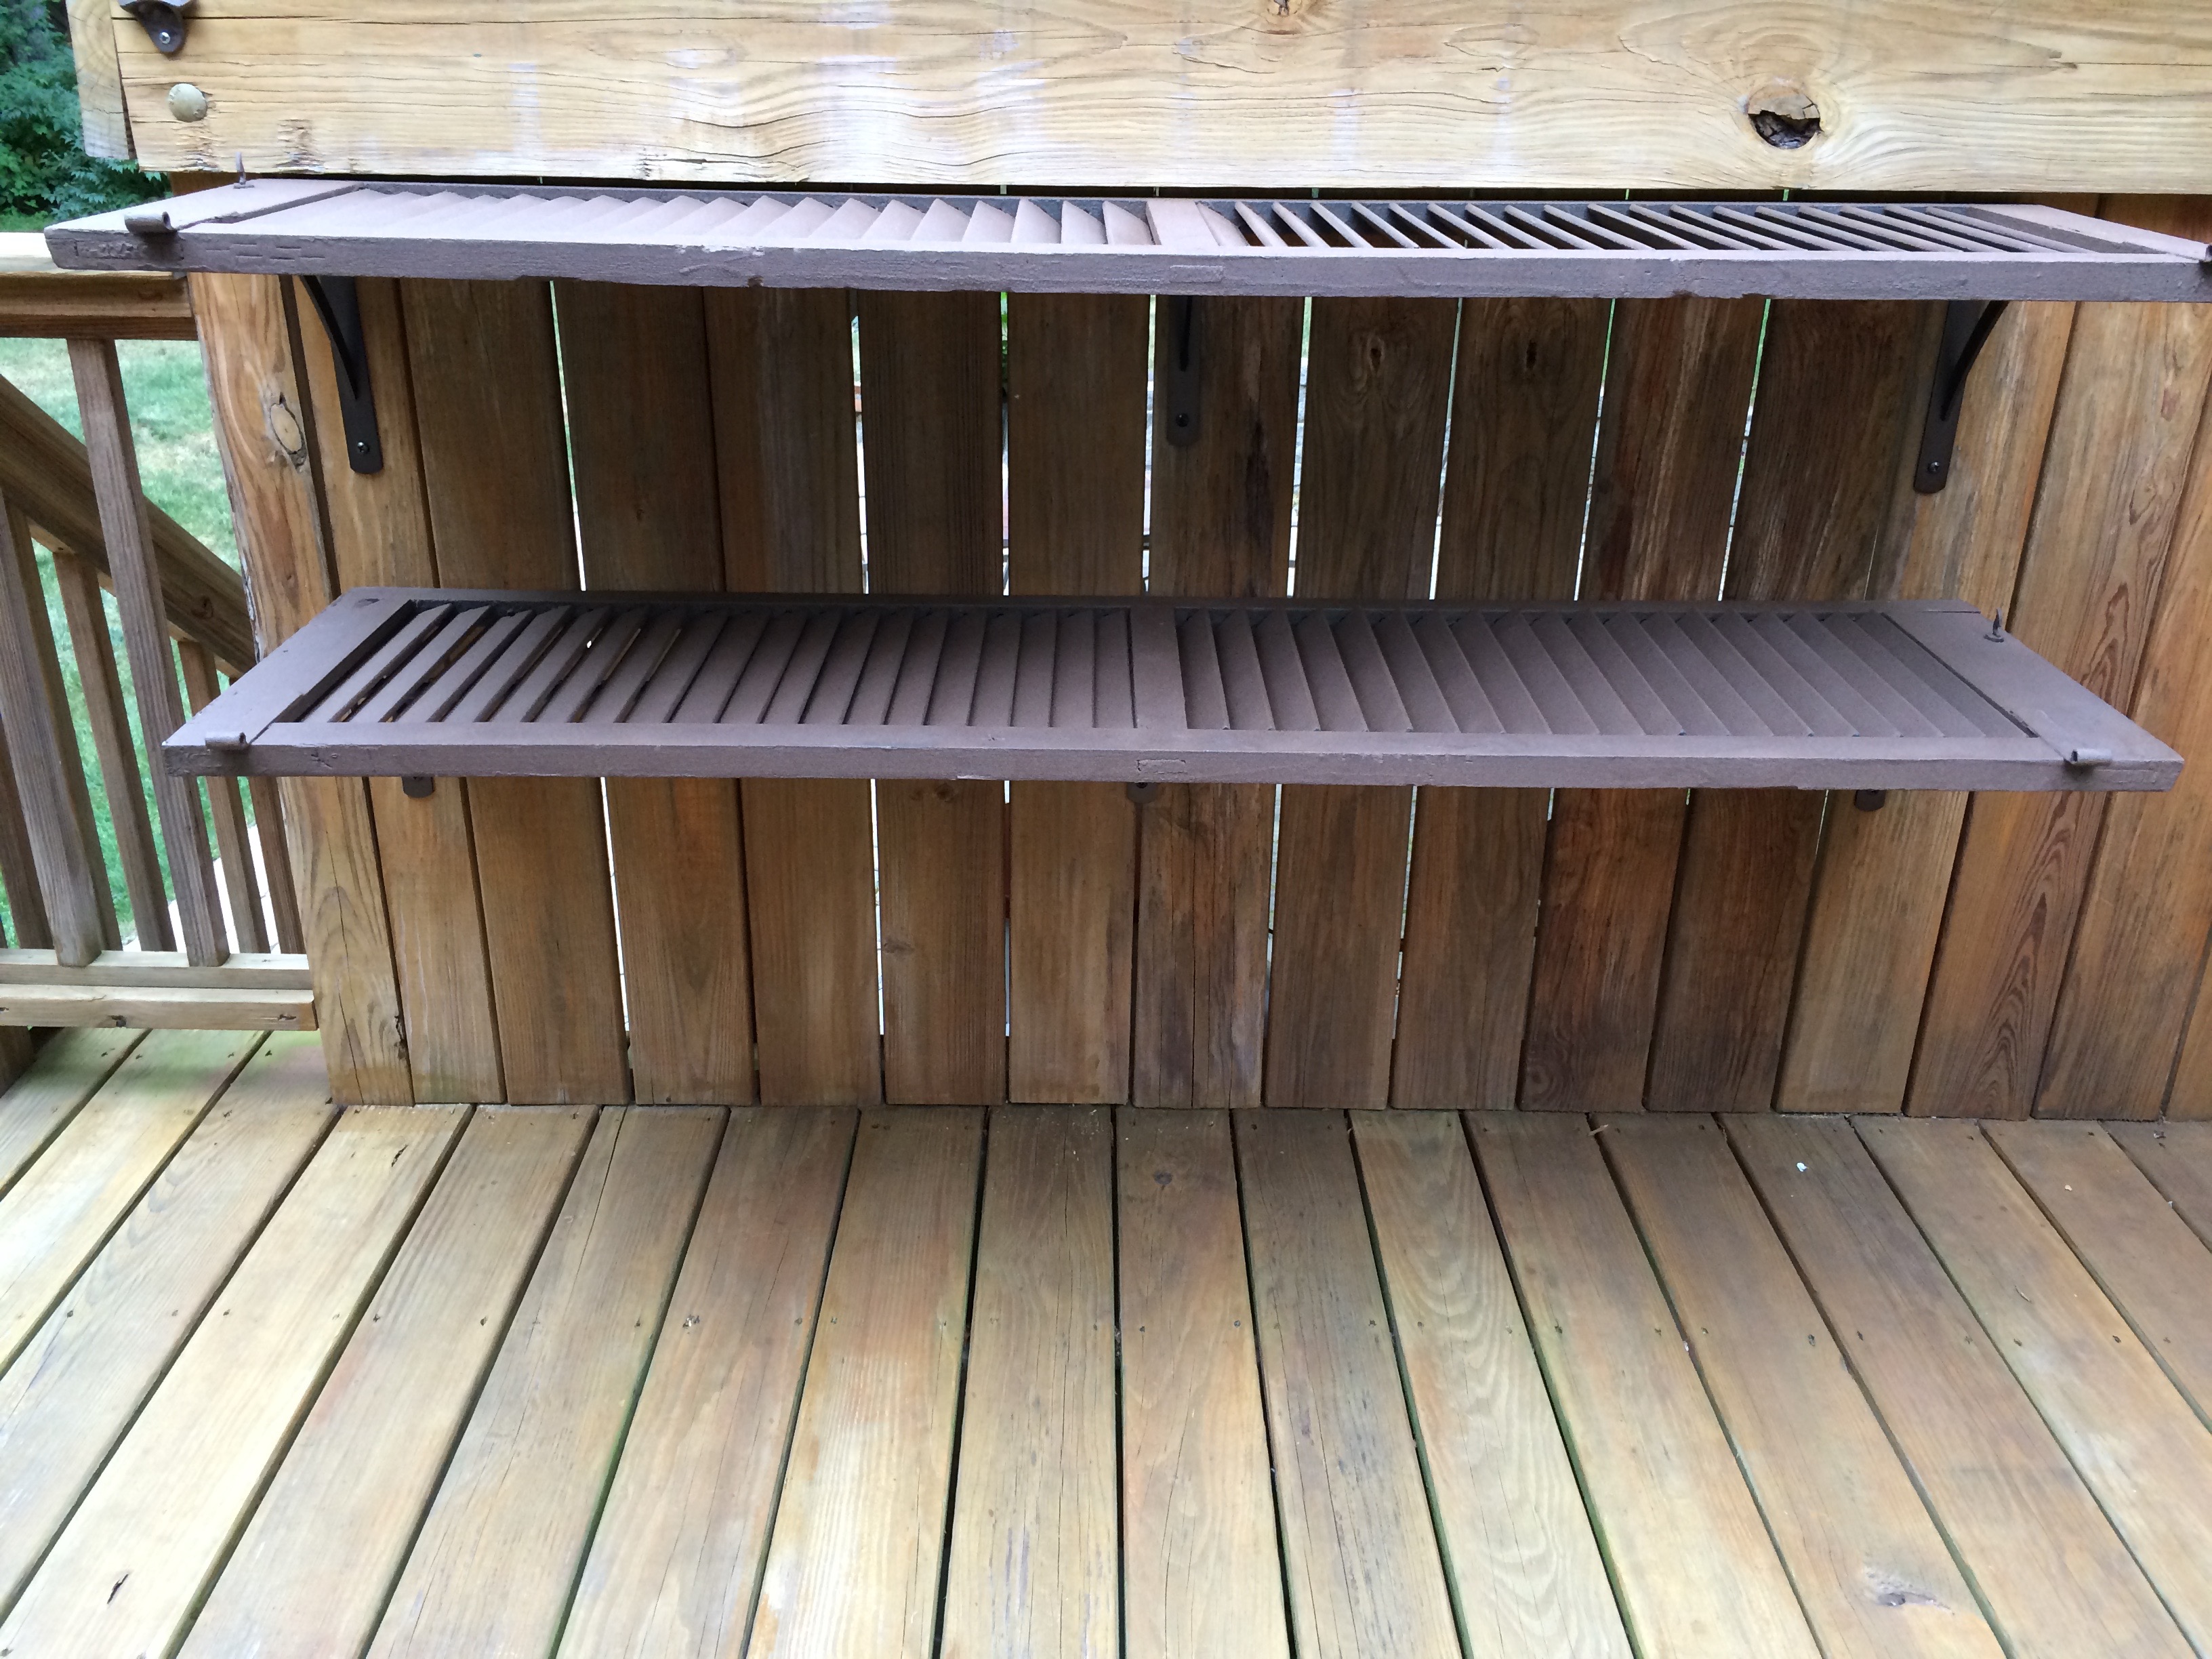
Shutter Shelves- DIY
I was at a tag sale and saw old green wooden barn shutters for sale. I bought them all at a relatively cheap price with nothing specific in mind, but knew I could do something with them. At first I was going to build a picnic table using two as the top base and one each as the bench base. But then when I wasn’t convinced that would work (or I could pull it off), I decided to use two of them as shelves on our deck where we have a dead space. We took a trip to Home Depot and bought sand paper, spray paint, brackets and screws. I started by sanding them down on the front only, thinking I wouldn’t need to paint the backs. I did end up spraying the back so in hindsight I should have sanded both sides. Then I mixed some dish soap and water in a spray bottle and sprayed both sides and washed them down with the hose. They dried relatively fast in the sun.
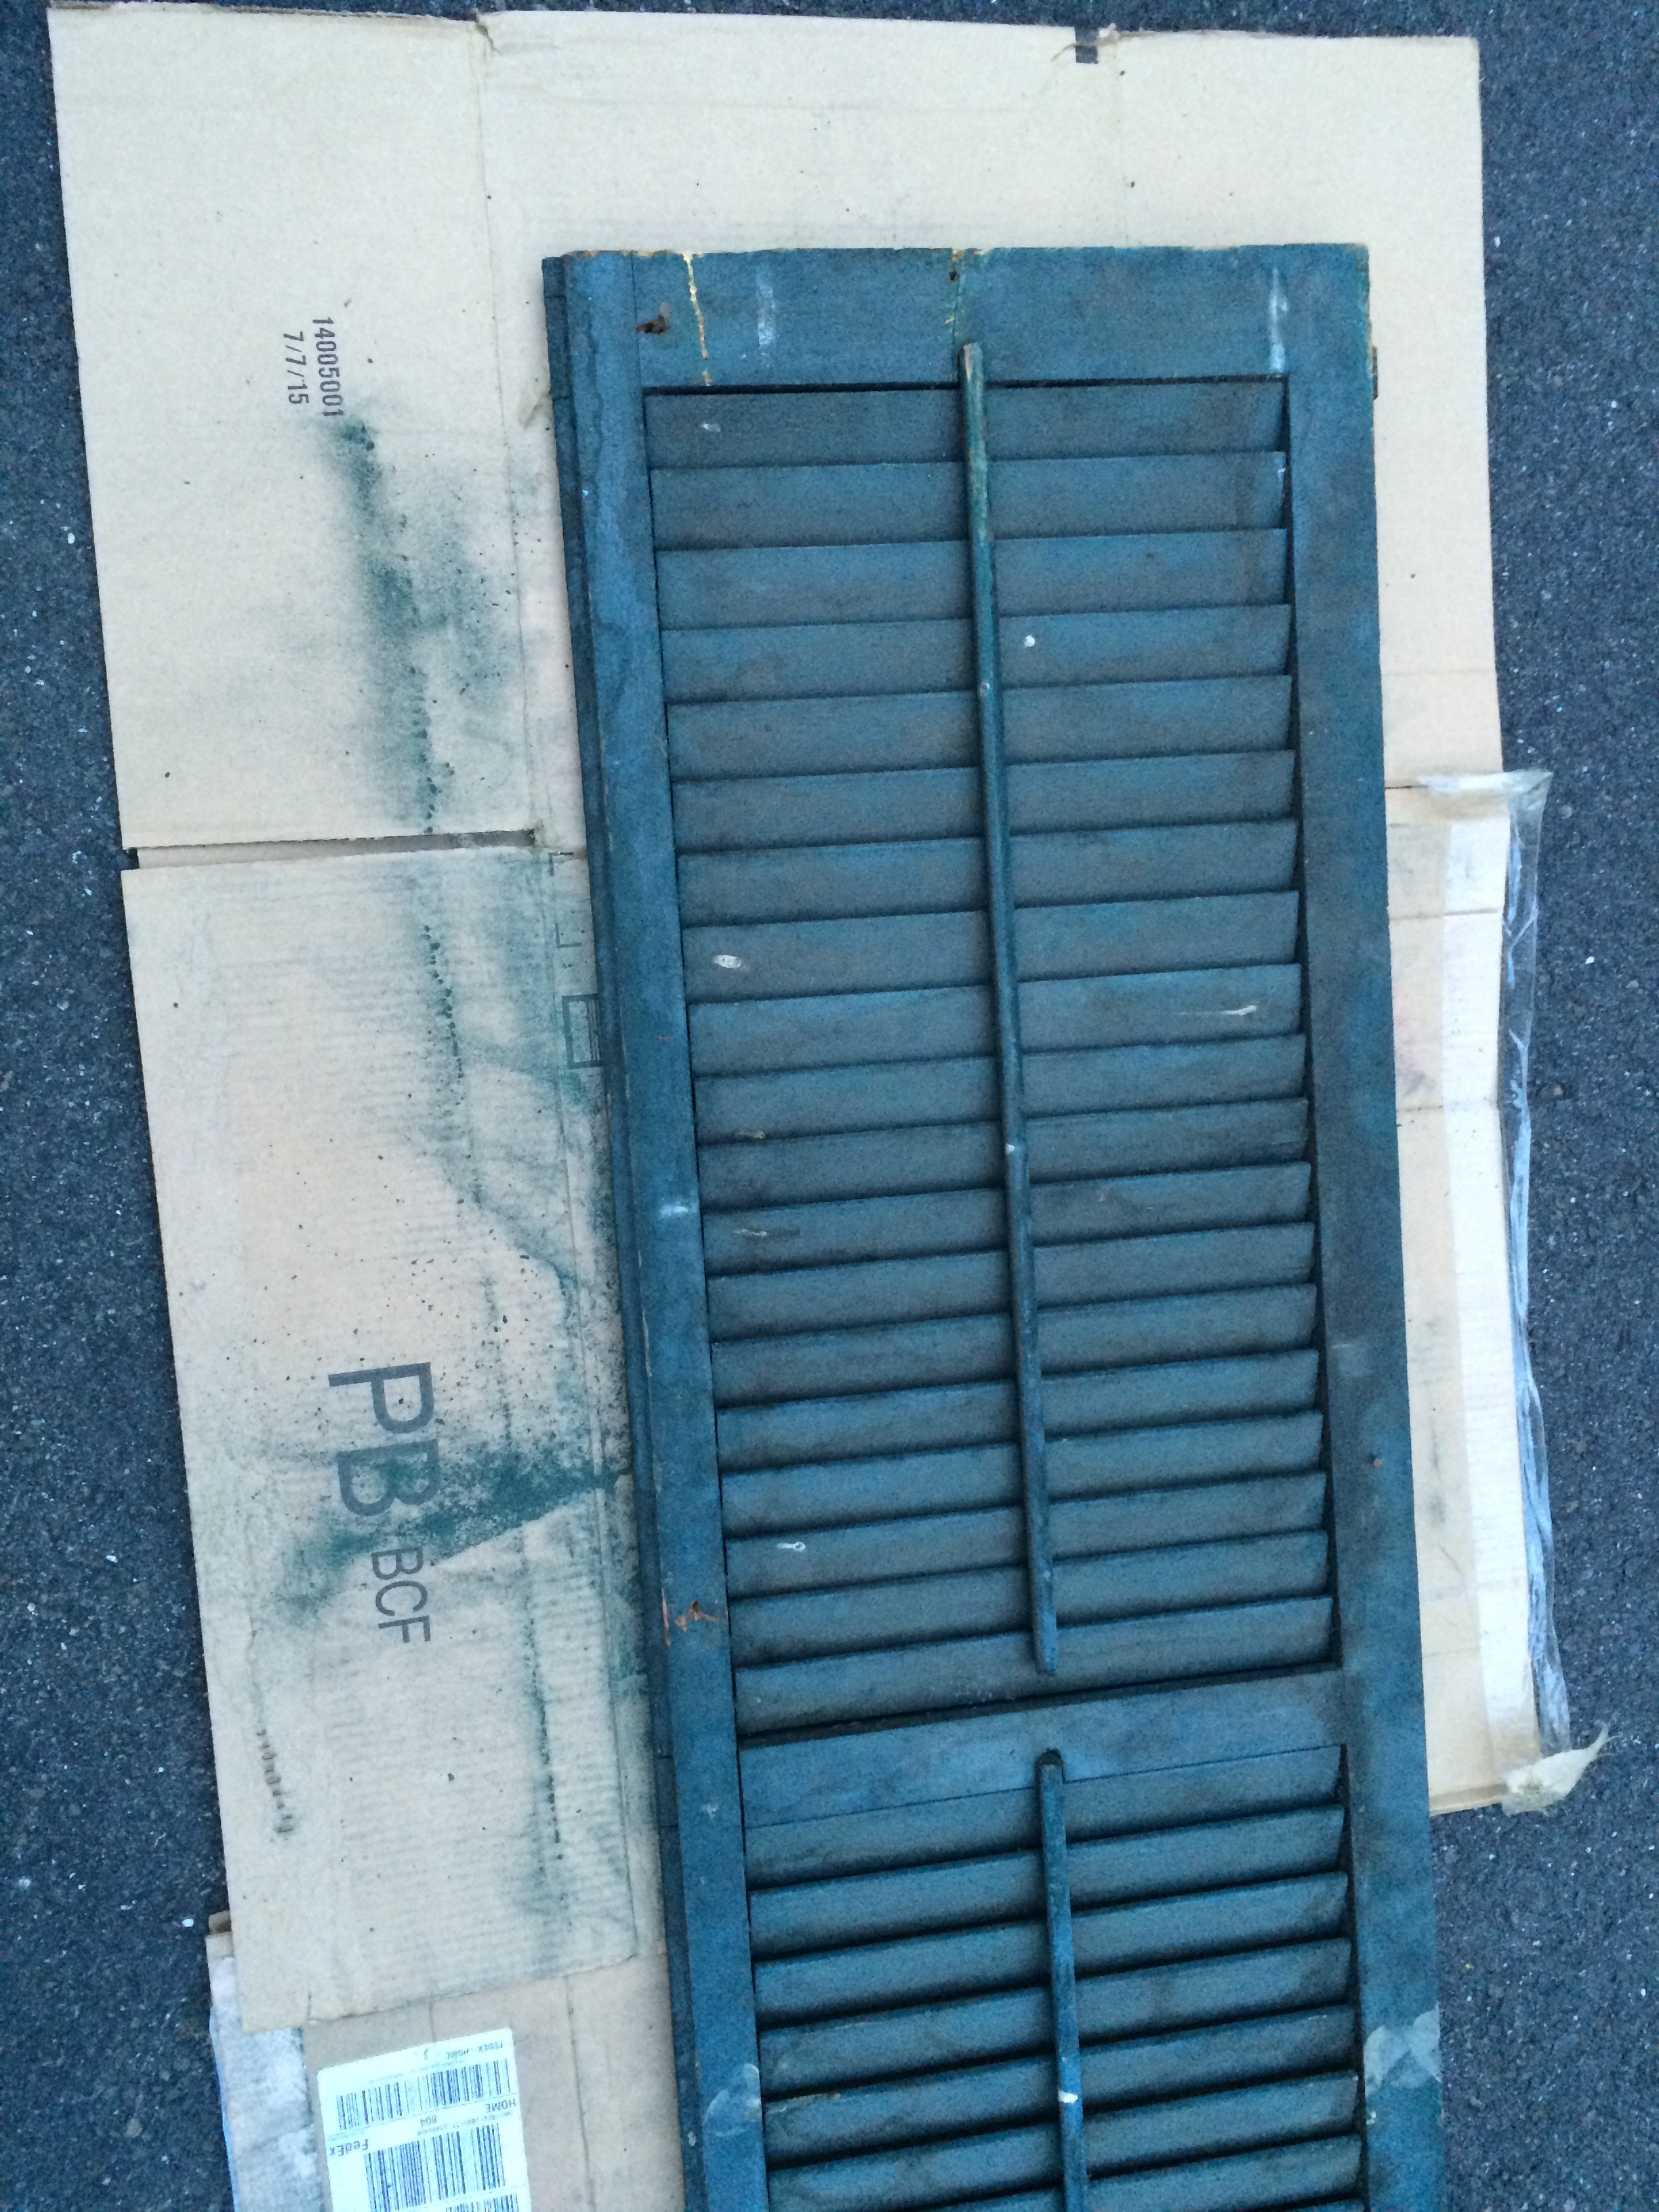

Once dry, I applied Rustoleum spray paint. I used a lot more then I thought I would, almost 6 cans for two shutters. It was a little more than one can for each front and back and then I had to spray the sides, top and bottom and some touch up. The only issue I had with the spray paint was that in two spots it bubbled. I think because it was too humid the day I sprayed.


After the spray paint dried, we measured and attached the brackets to the wood that makes a sort of “wall” on the deck. Then laid the shutters on top and attached the brackets to the shutters. We had originally purchased two brackets, but went out and bought another to support the middle of each shelf. Once everything was in place, all screwed in and secure, we had two shelves that could be used to hold drinks, food, plates or almost anything! Despite the few mistakes along the way, all-in-all, being one of of first home DIY projects, it came out pretty well!


Playground Playhouse Makeover
We bought a Costco playground a few years ago and it’s taken me that long to realize that there was more use we could get out of it than just swinging.
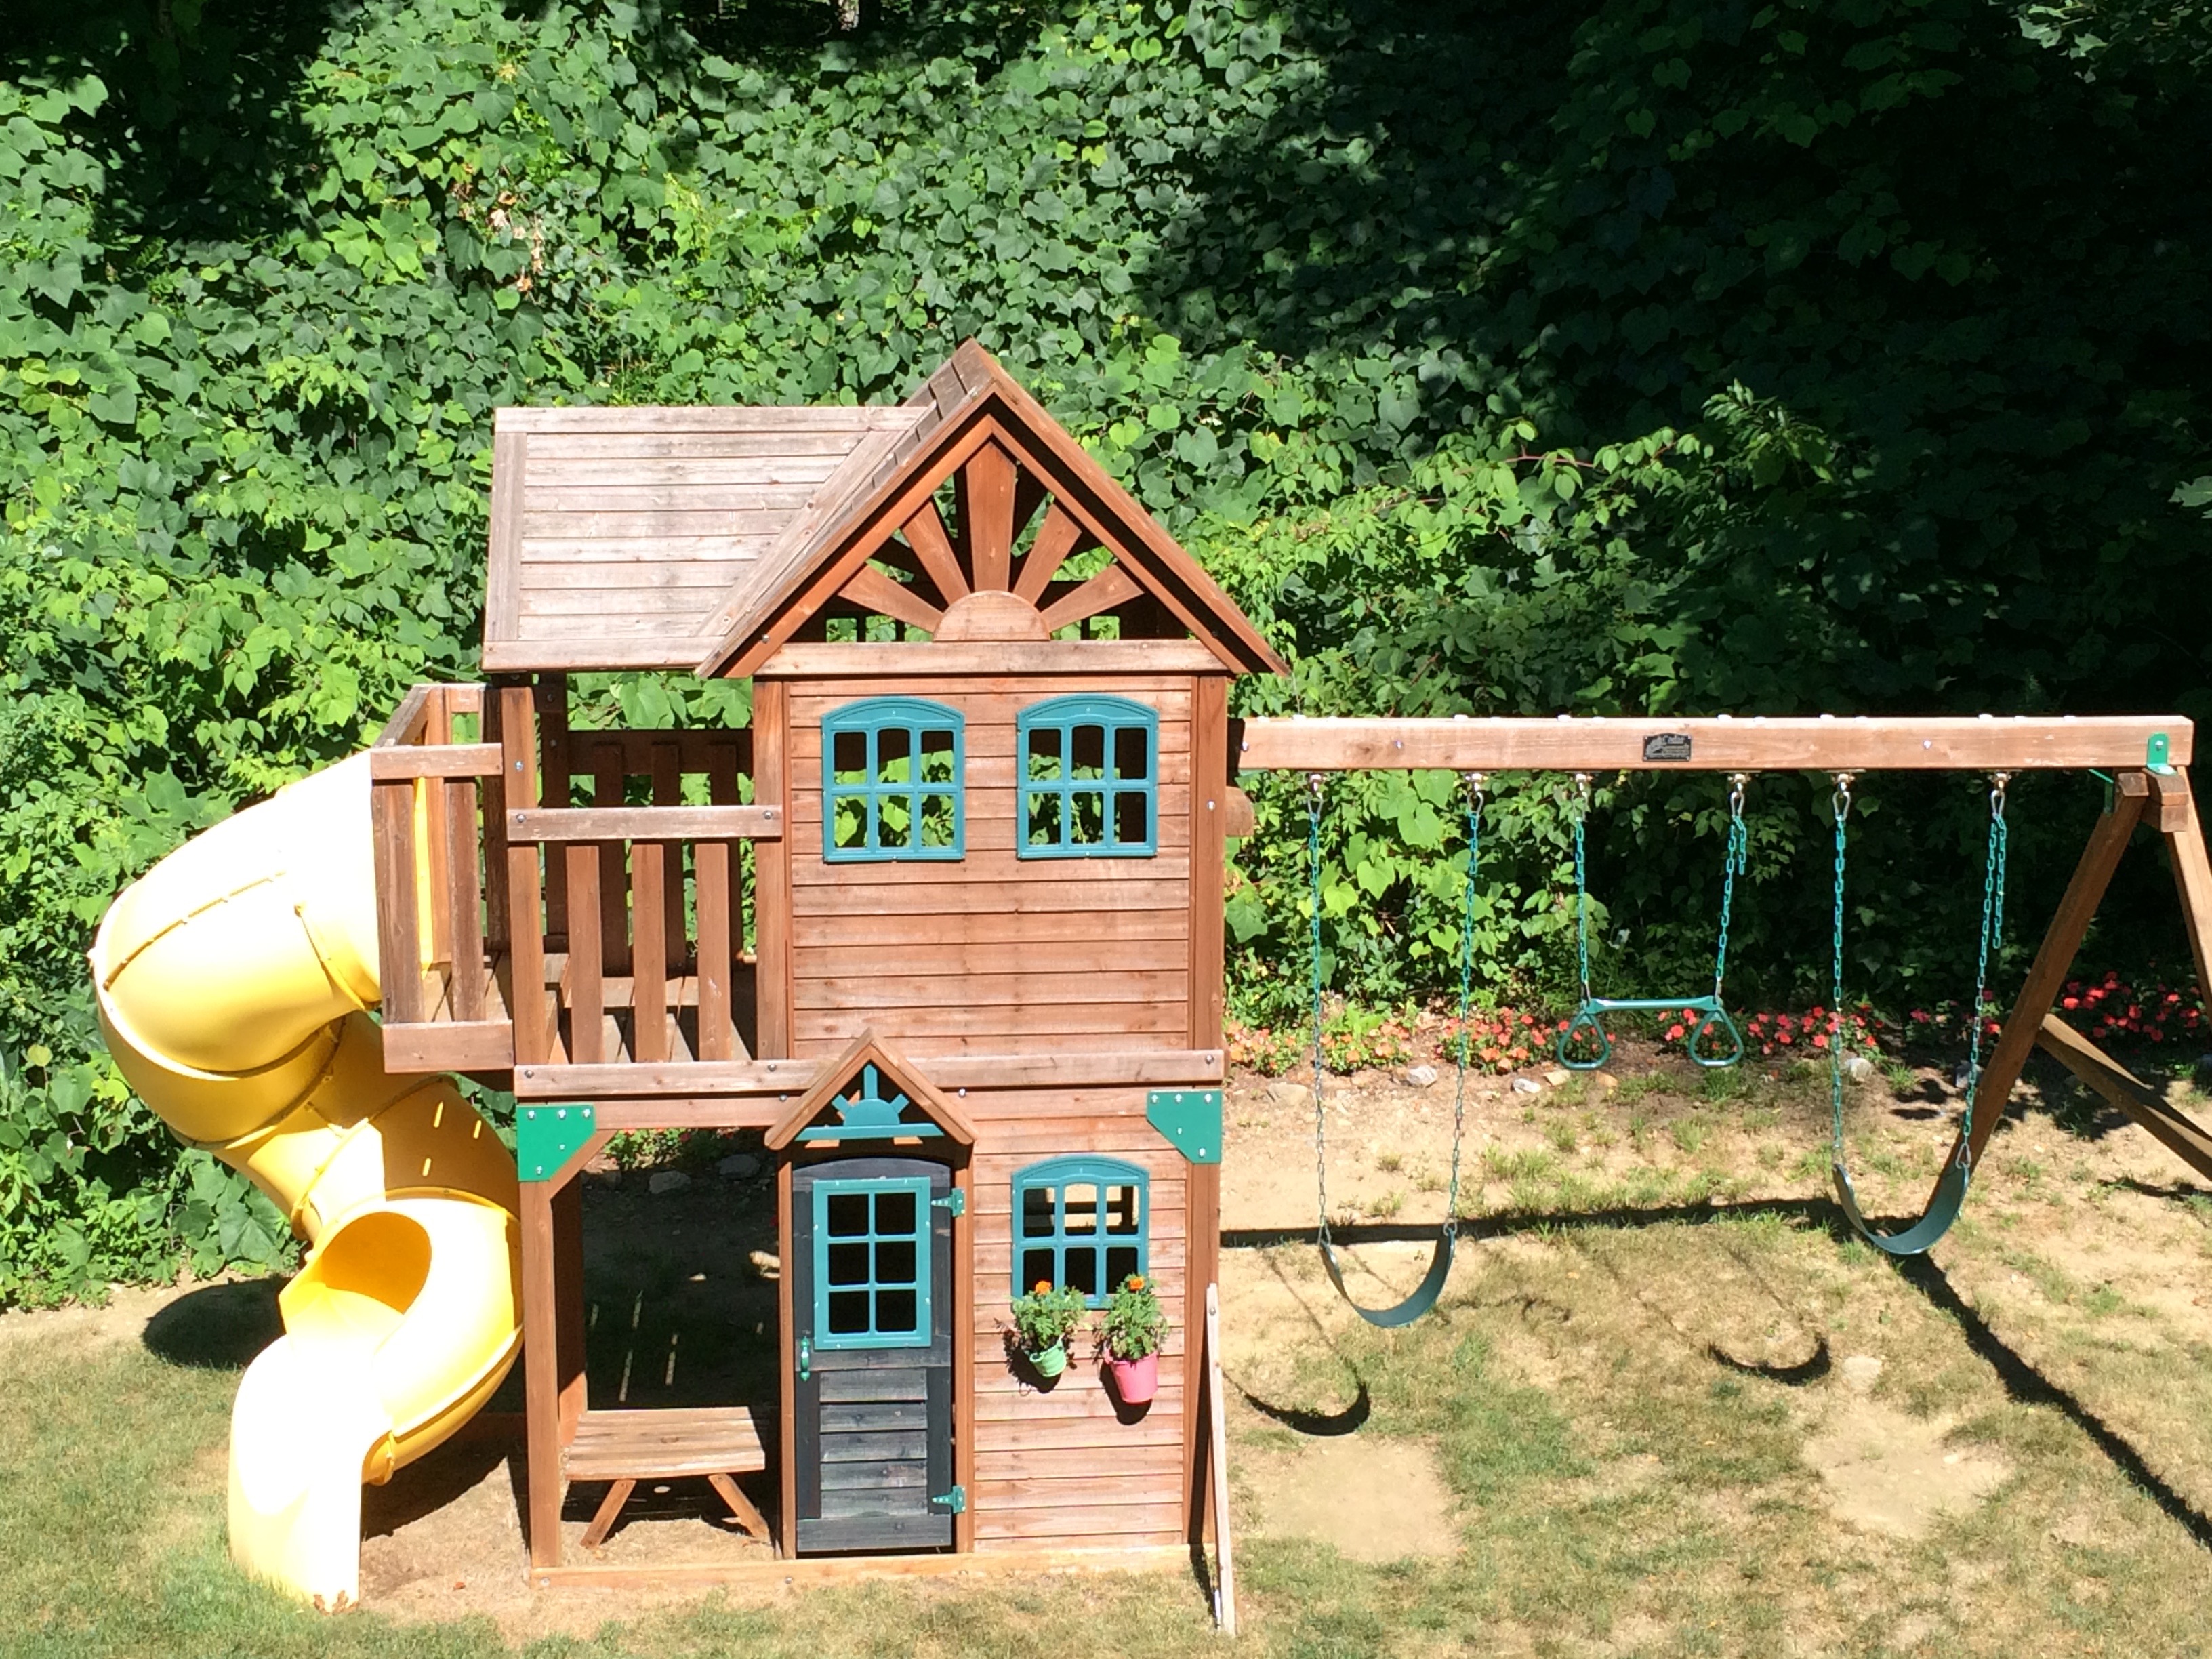
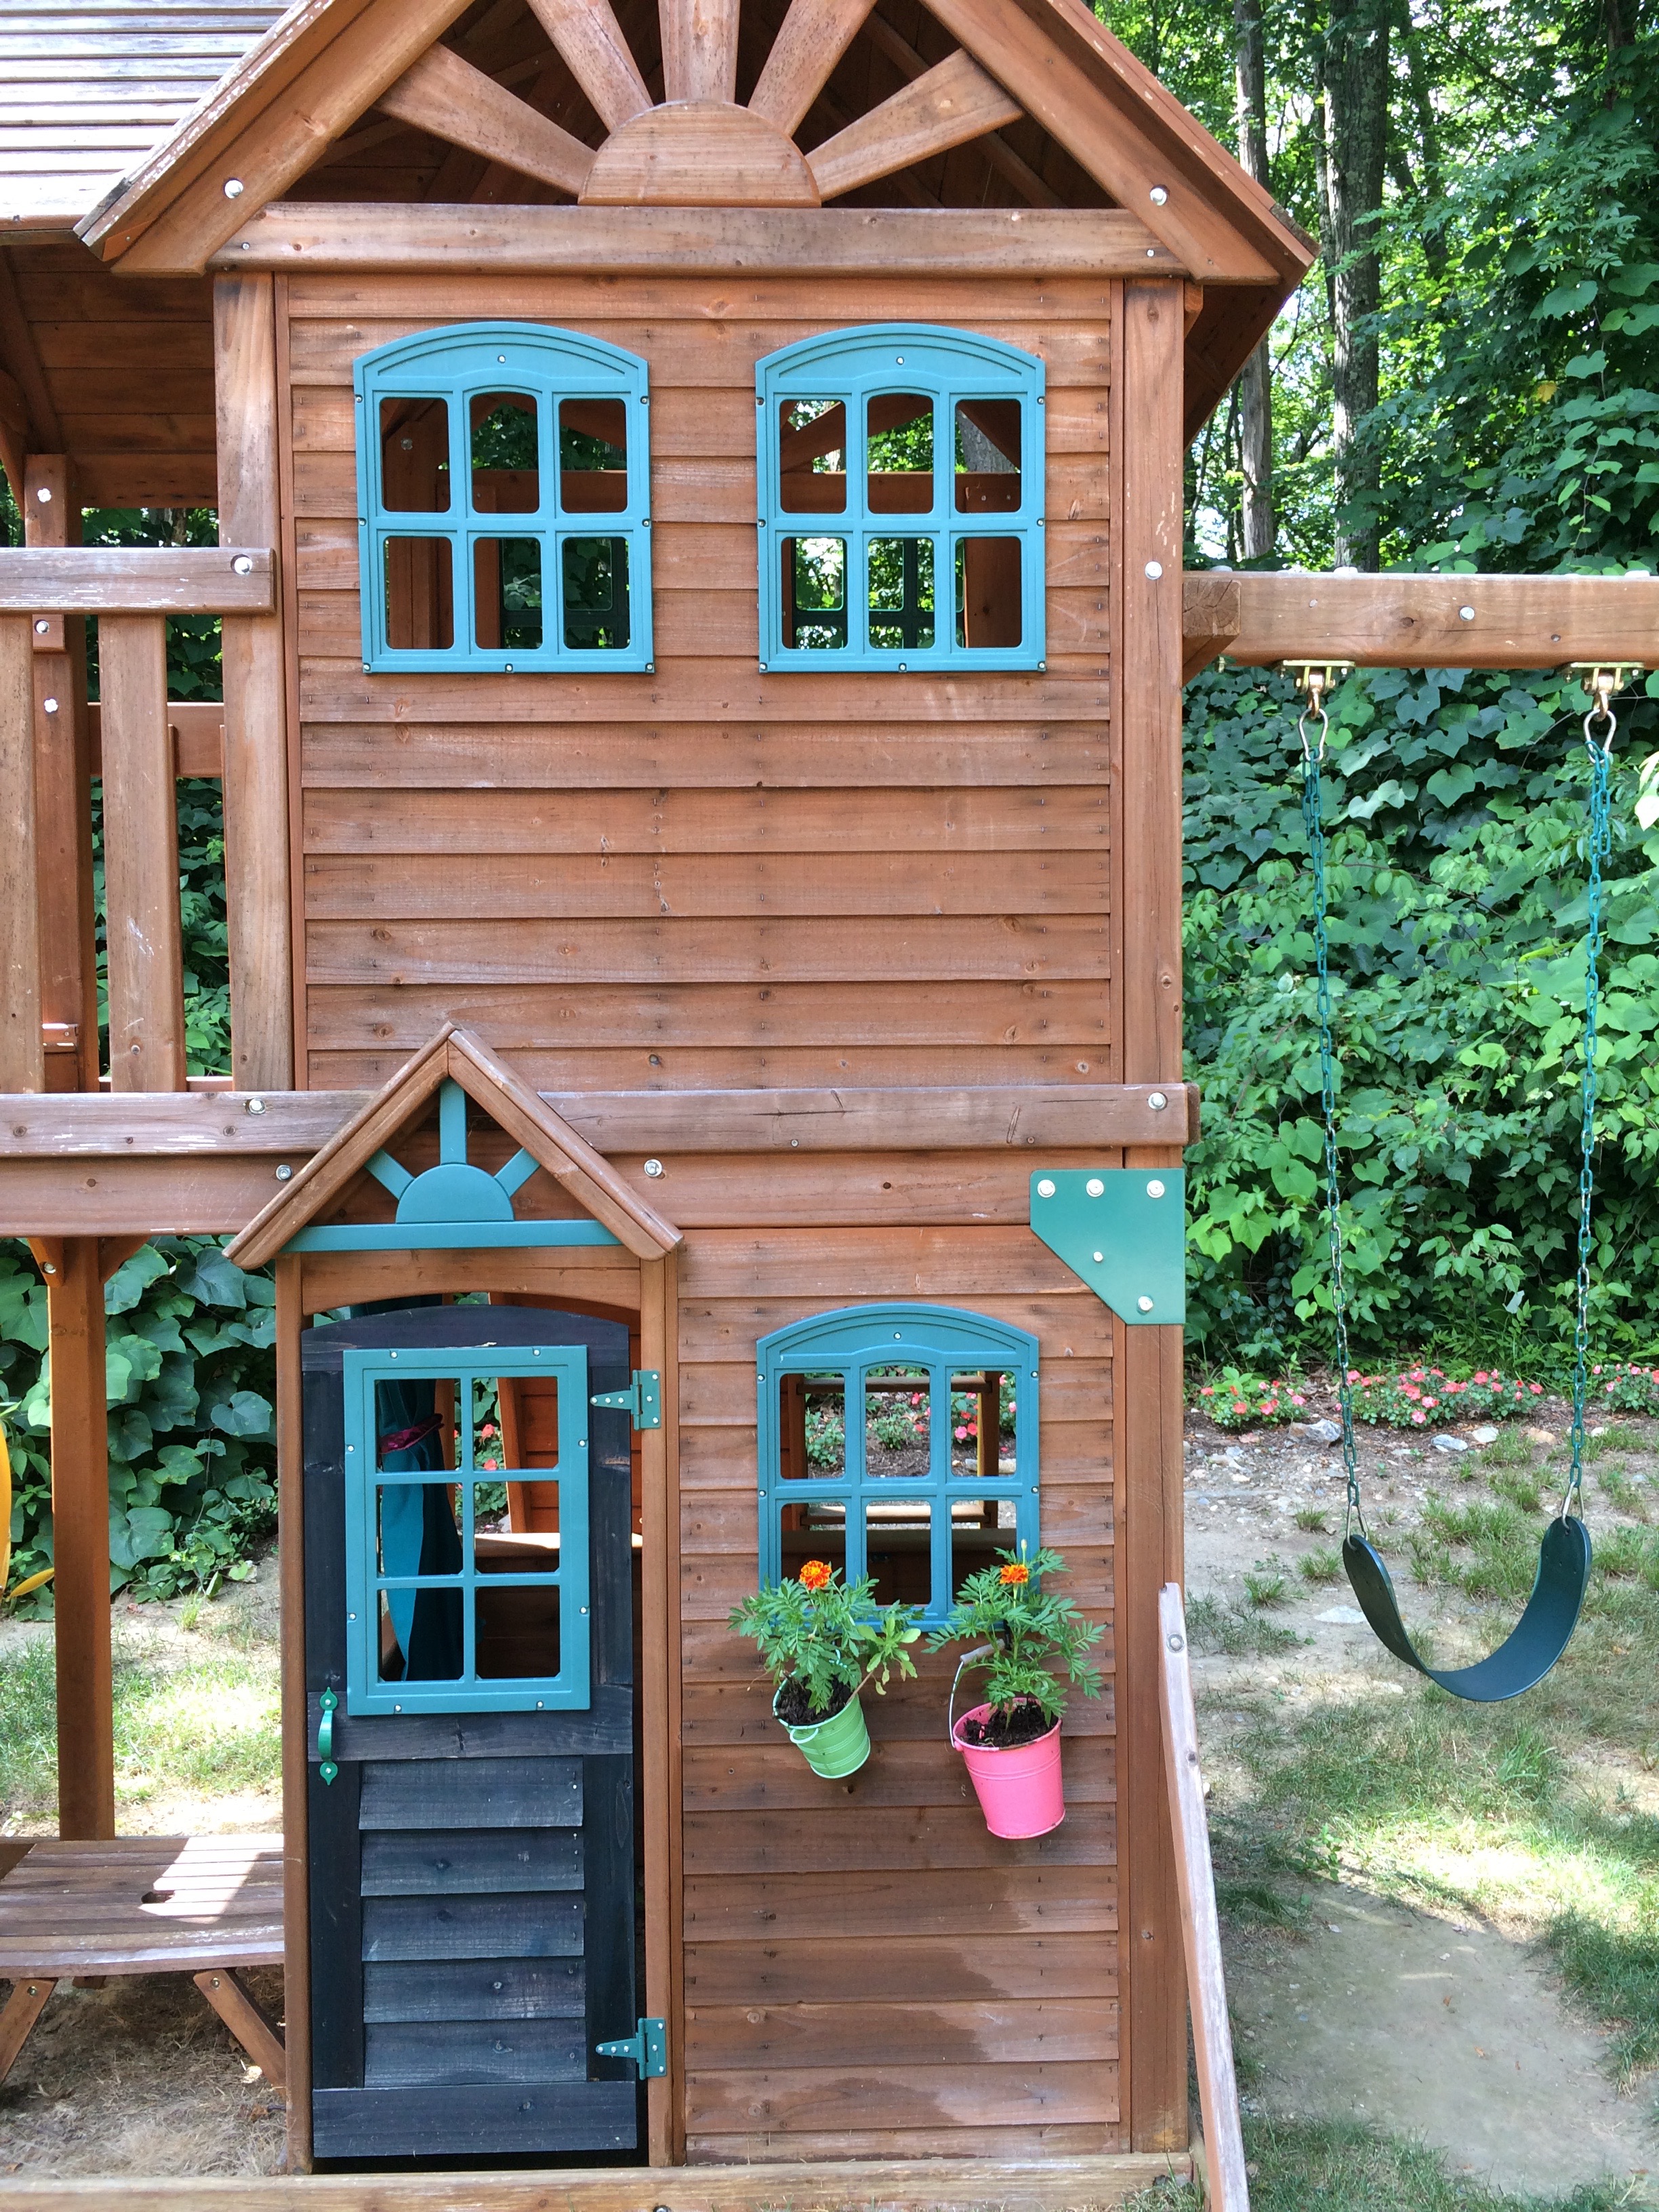

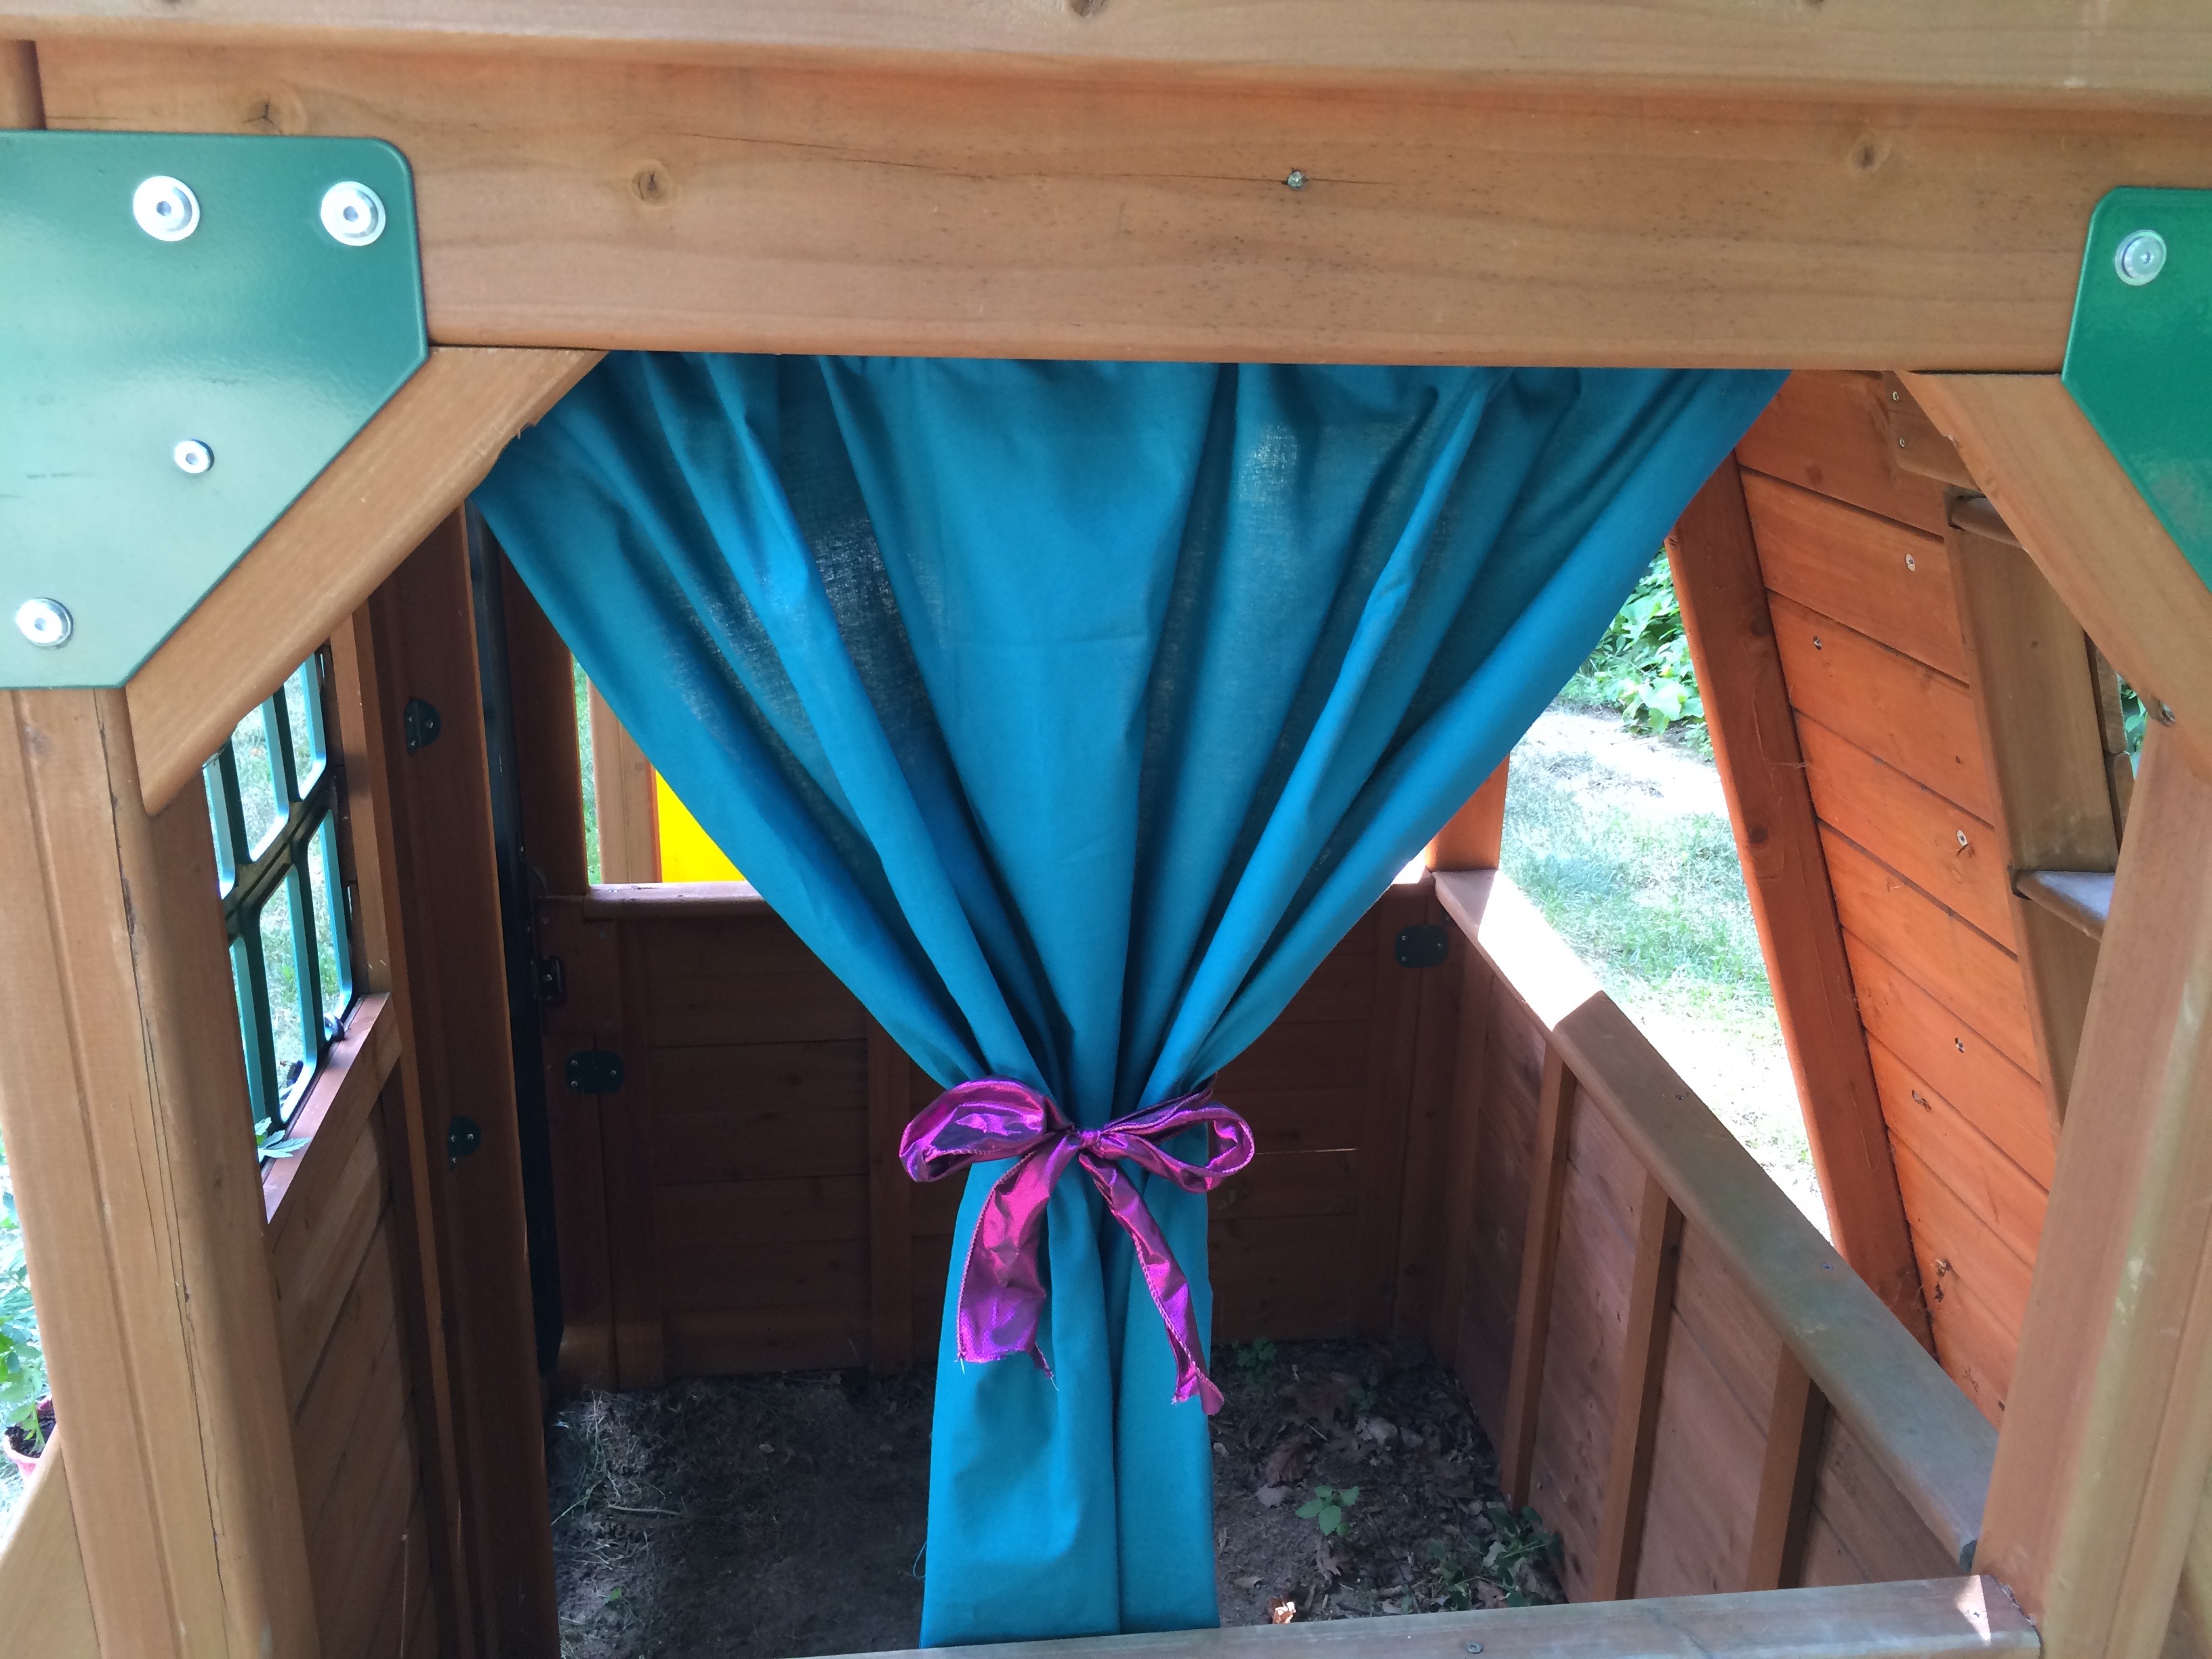
My son is kind of outgrowing the swingset and wants to build a fort. That got me thinking about a playhouse for my daughter. The bottom of the set has a space that she can still stand up under and has a door and open areas like windows. I thought it would be fun to put curtains in the windows and maybe a shelf inside for her to create an outdoor play kitchen or room. Of course, I assumed that the project was well thought through. It was, kind of. I picked up expandable spring tension rods from Target and knew I had fabric and Stitch Witchery to use so this could be a no-sew project. After measuring and planning (I don’t know why I bother with those steps anymore, it never comes out that way), I picked a fabric, cut it and ironed the rough edges in with the Stitch Witchery. No surprise, I ran out of Stitch Witchery and left the bottom of one curtain unfinished. That’s ok though because I cut them too long anyway so you couldn’t see it from the outside of the window. I then threaded them through the rod and tied with ribbon. Would you believe when I picked out the fabric I didn’t even realize that the color matched the swingset perfectly- awesome!
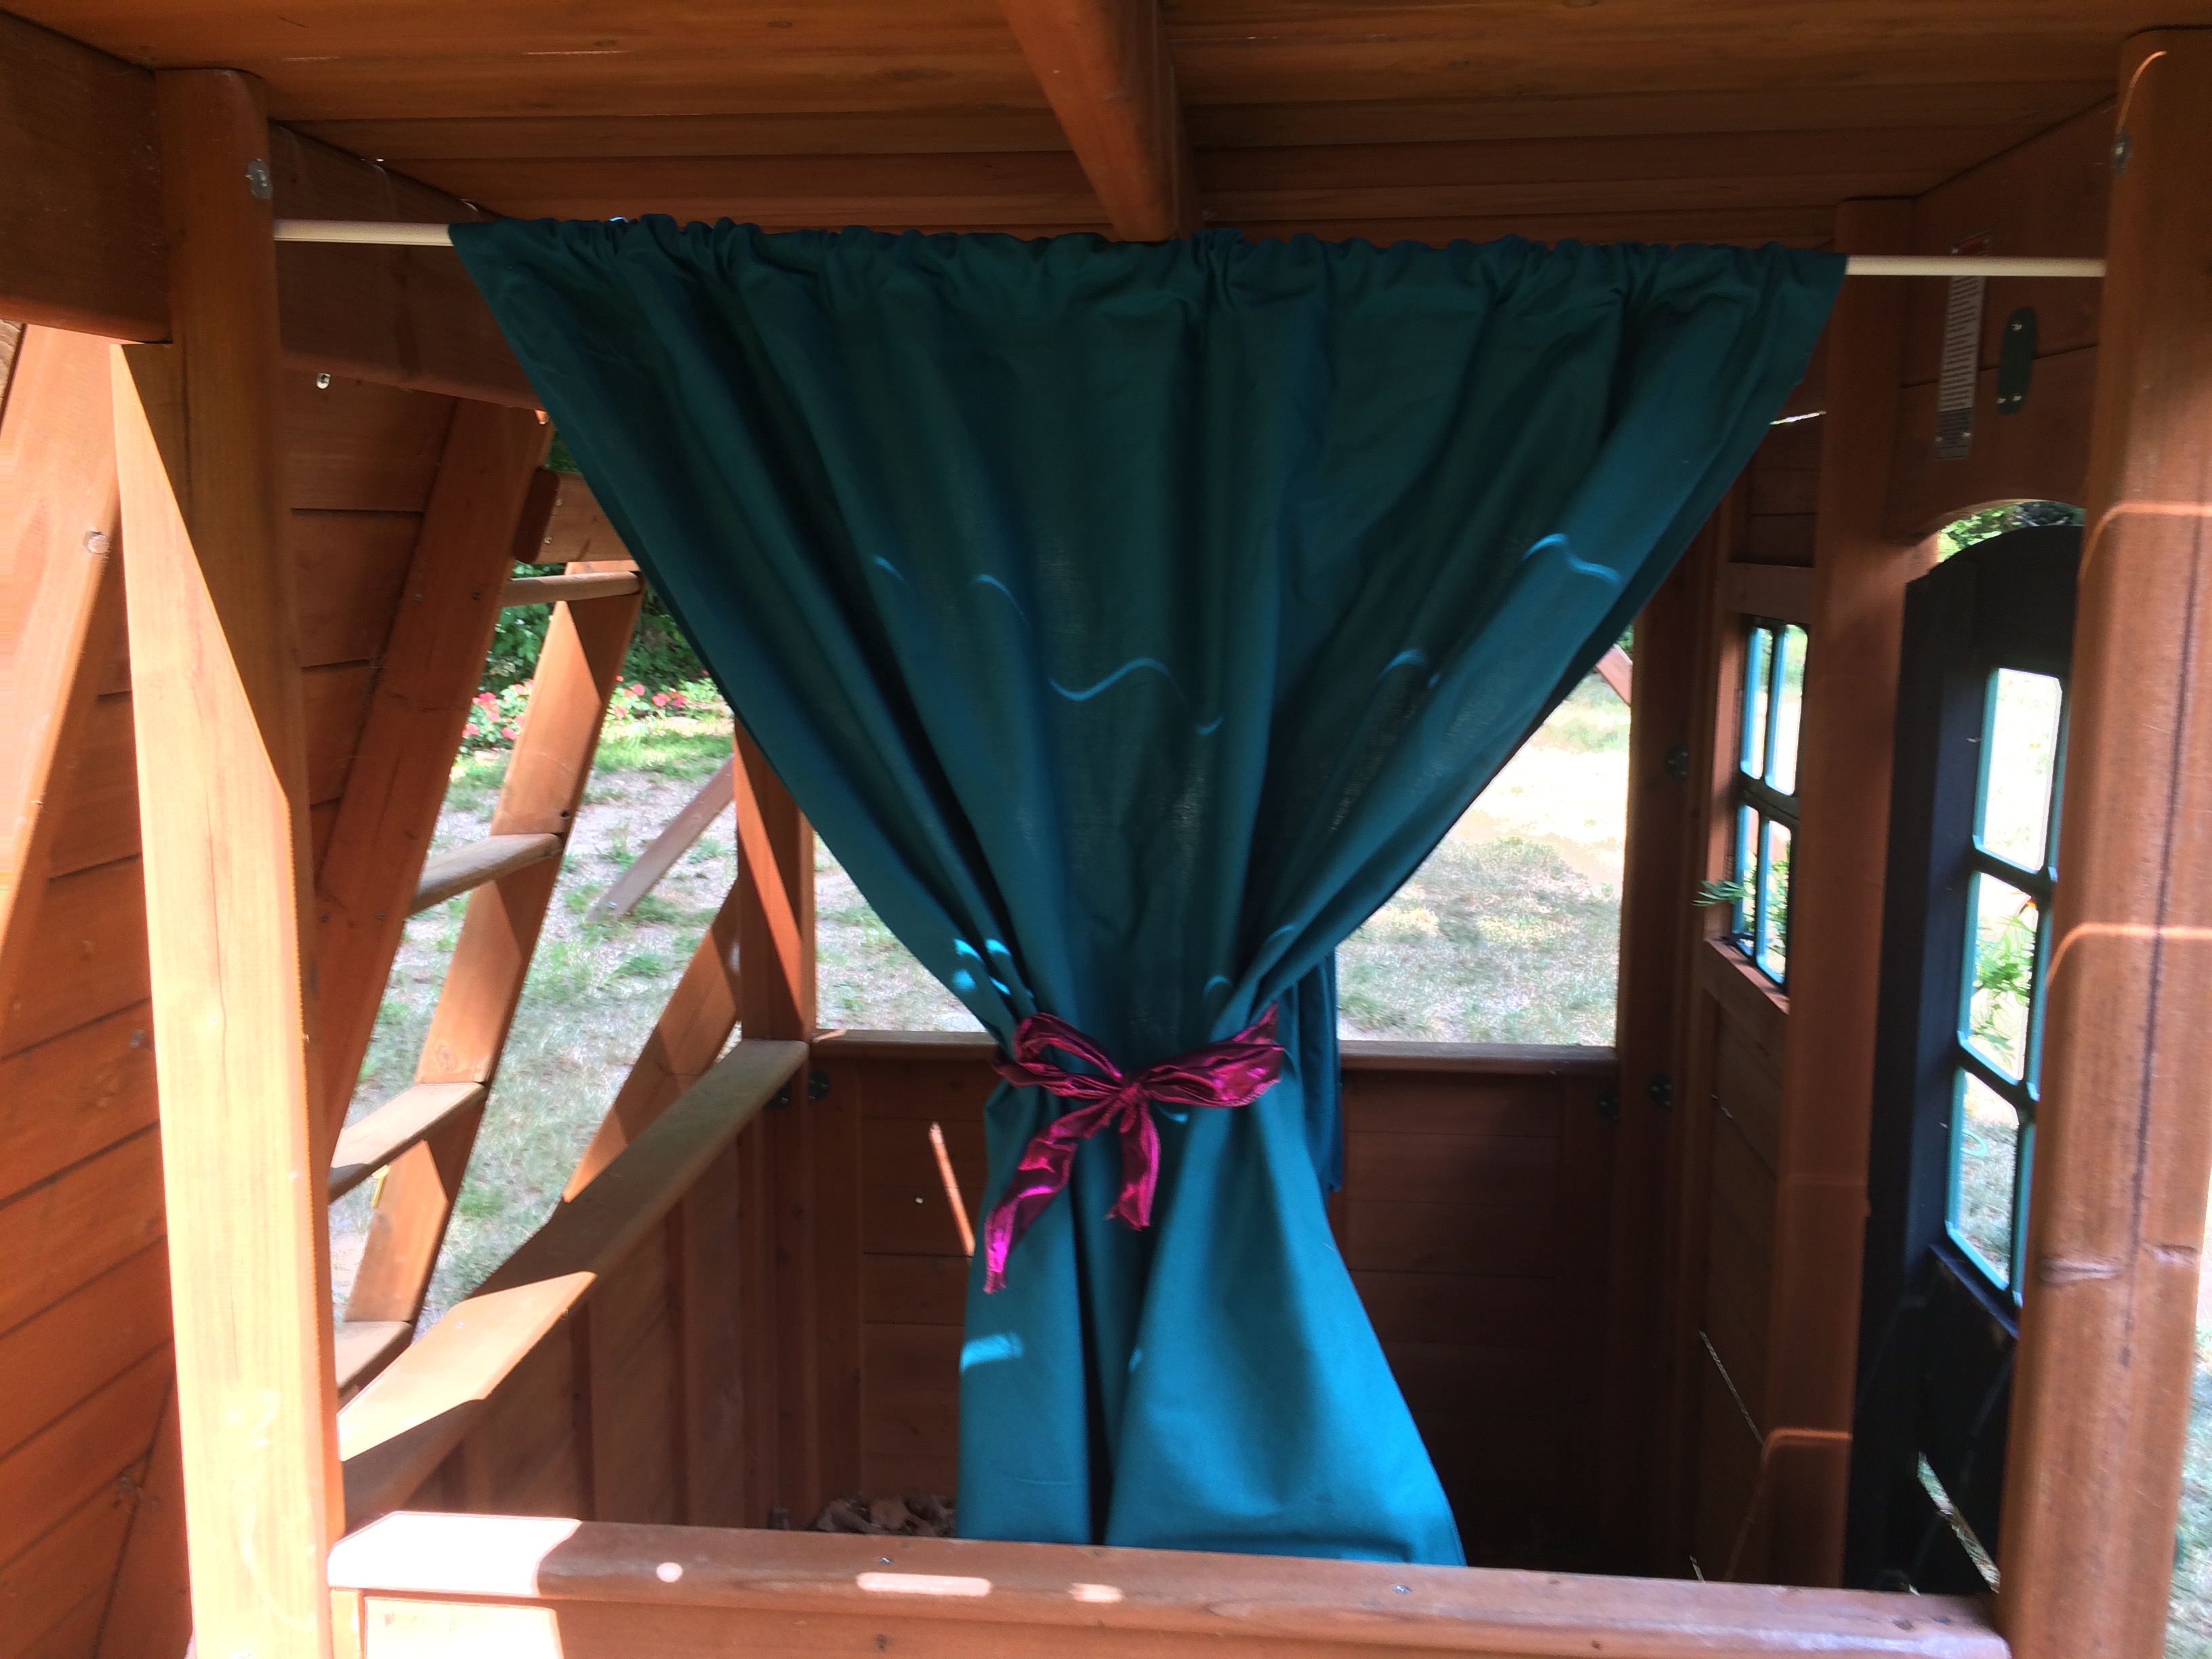
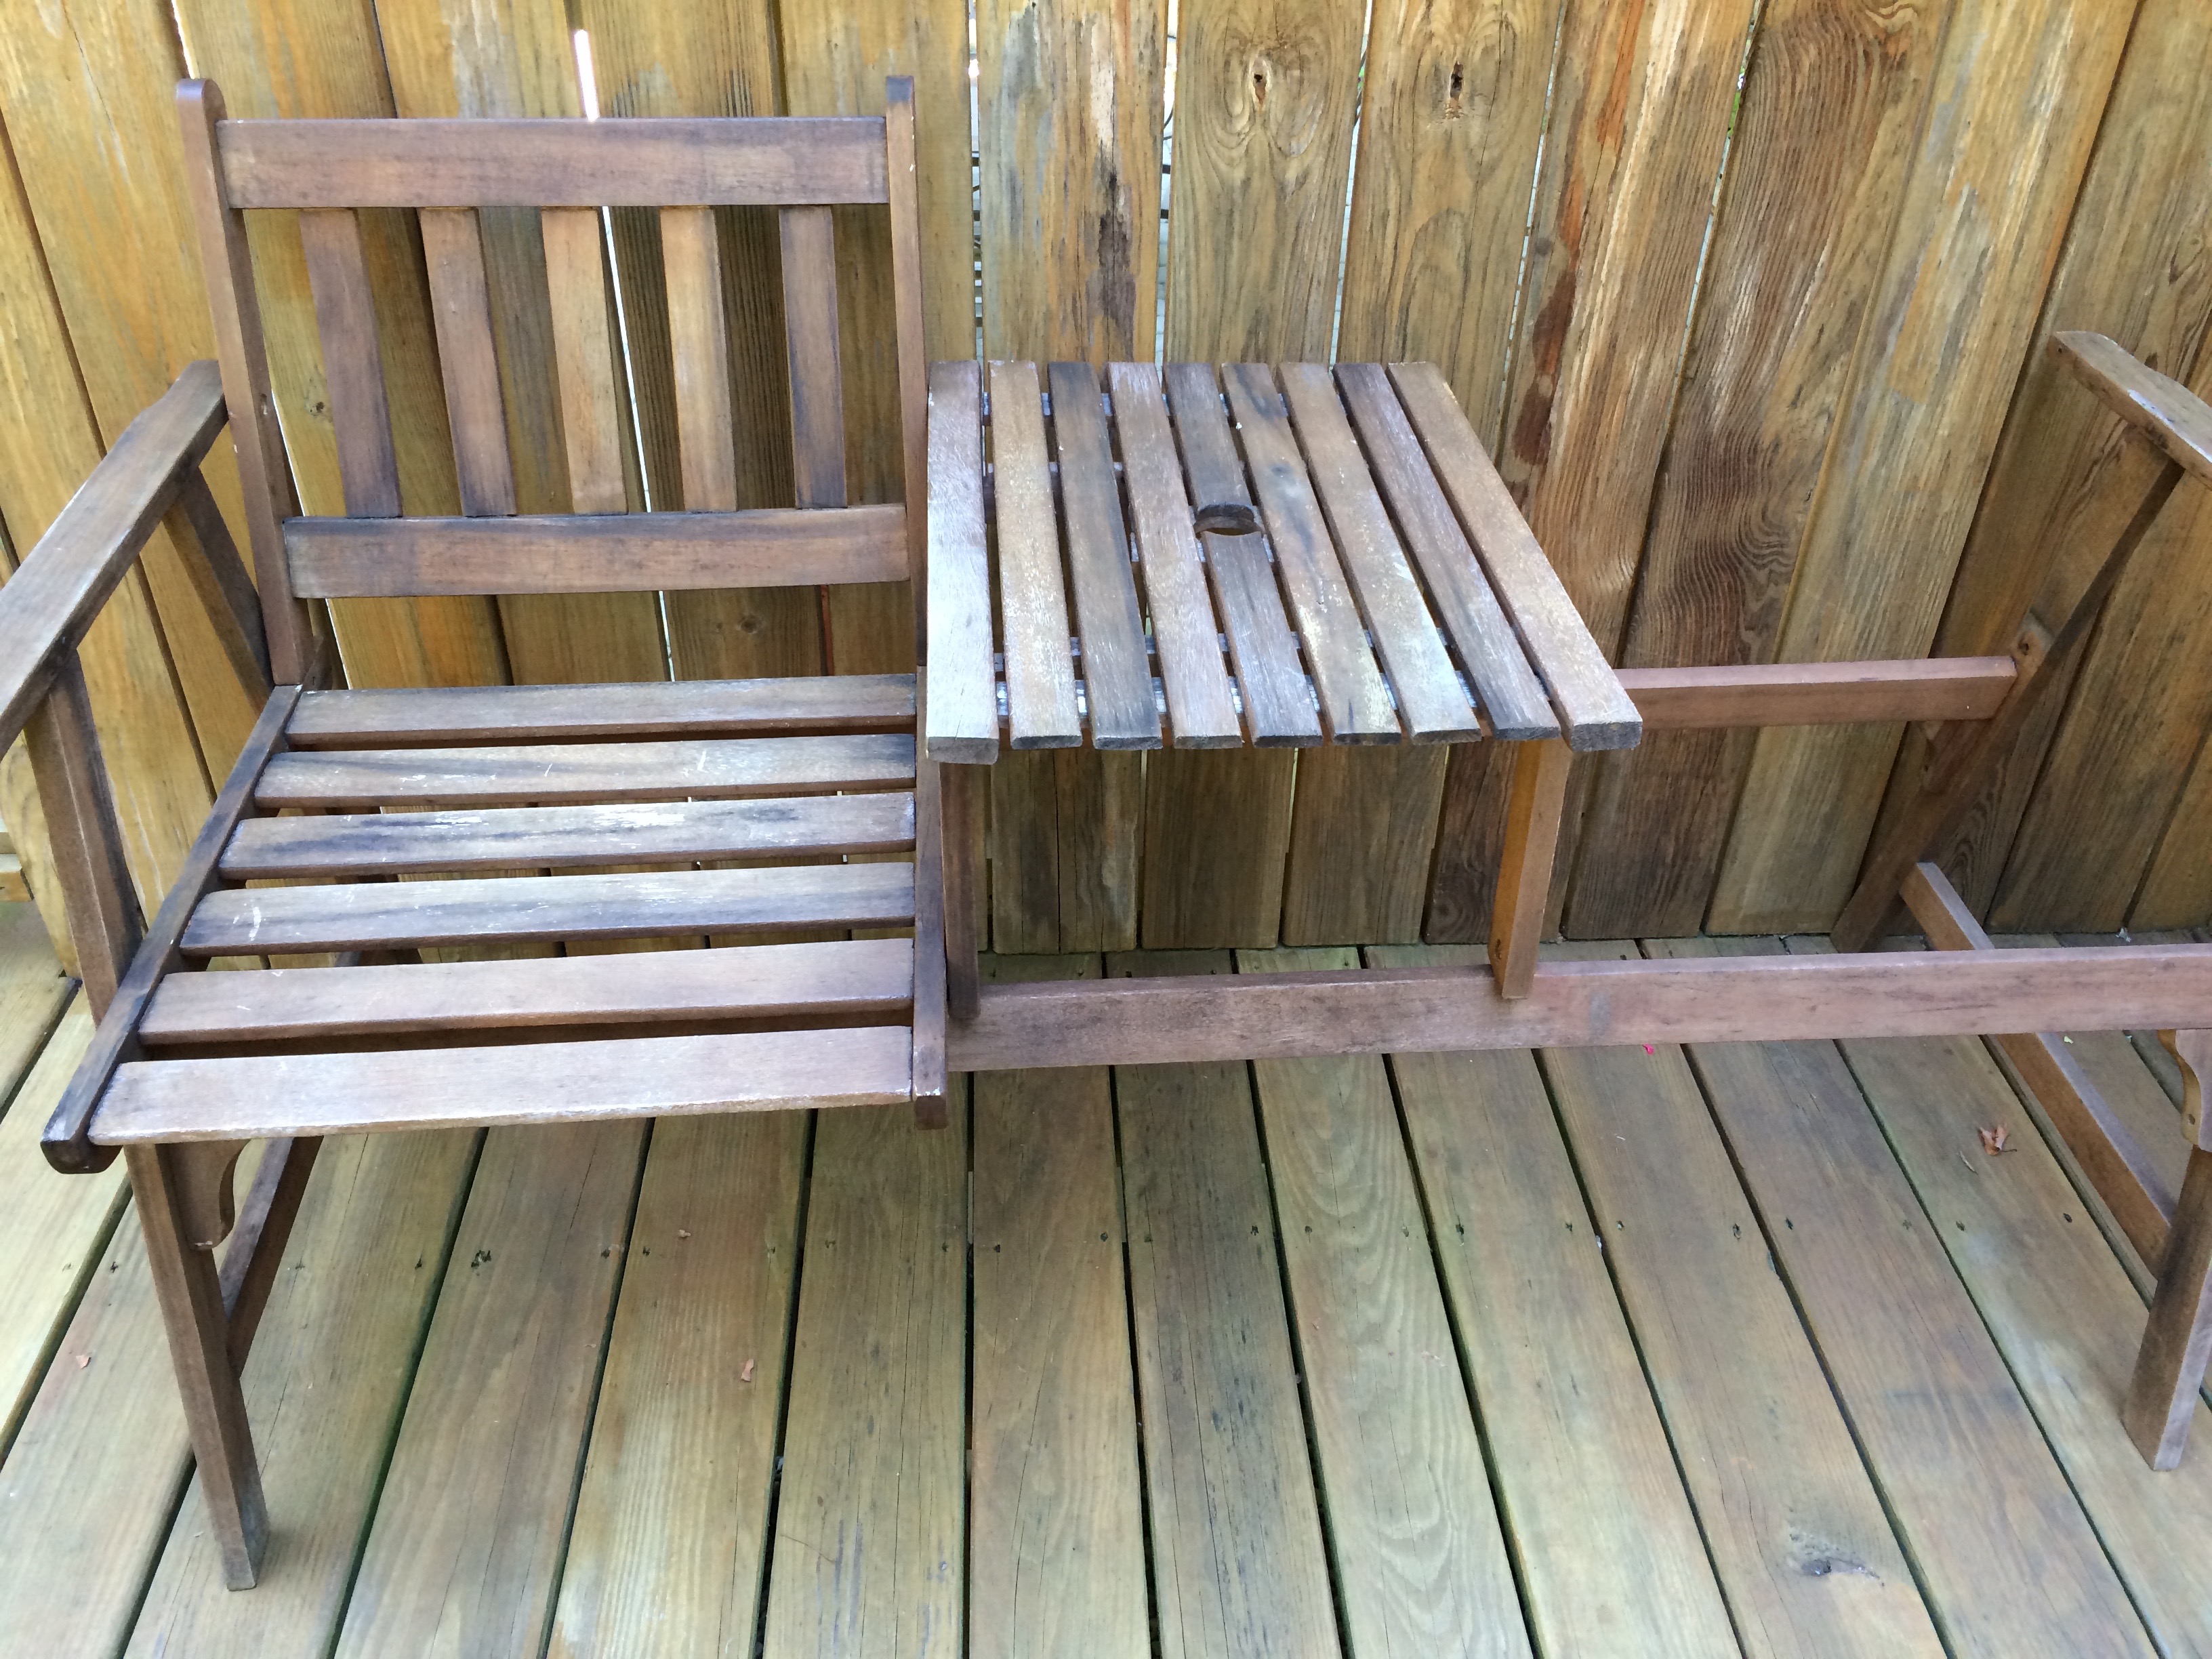
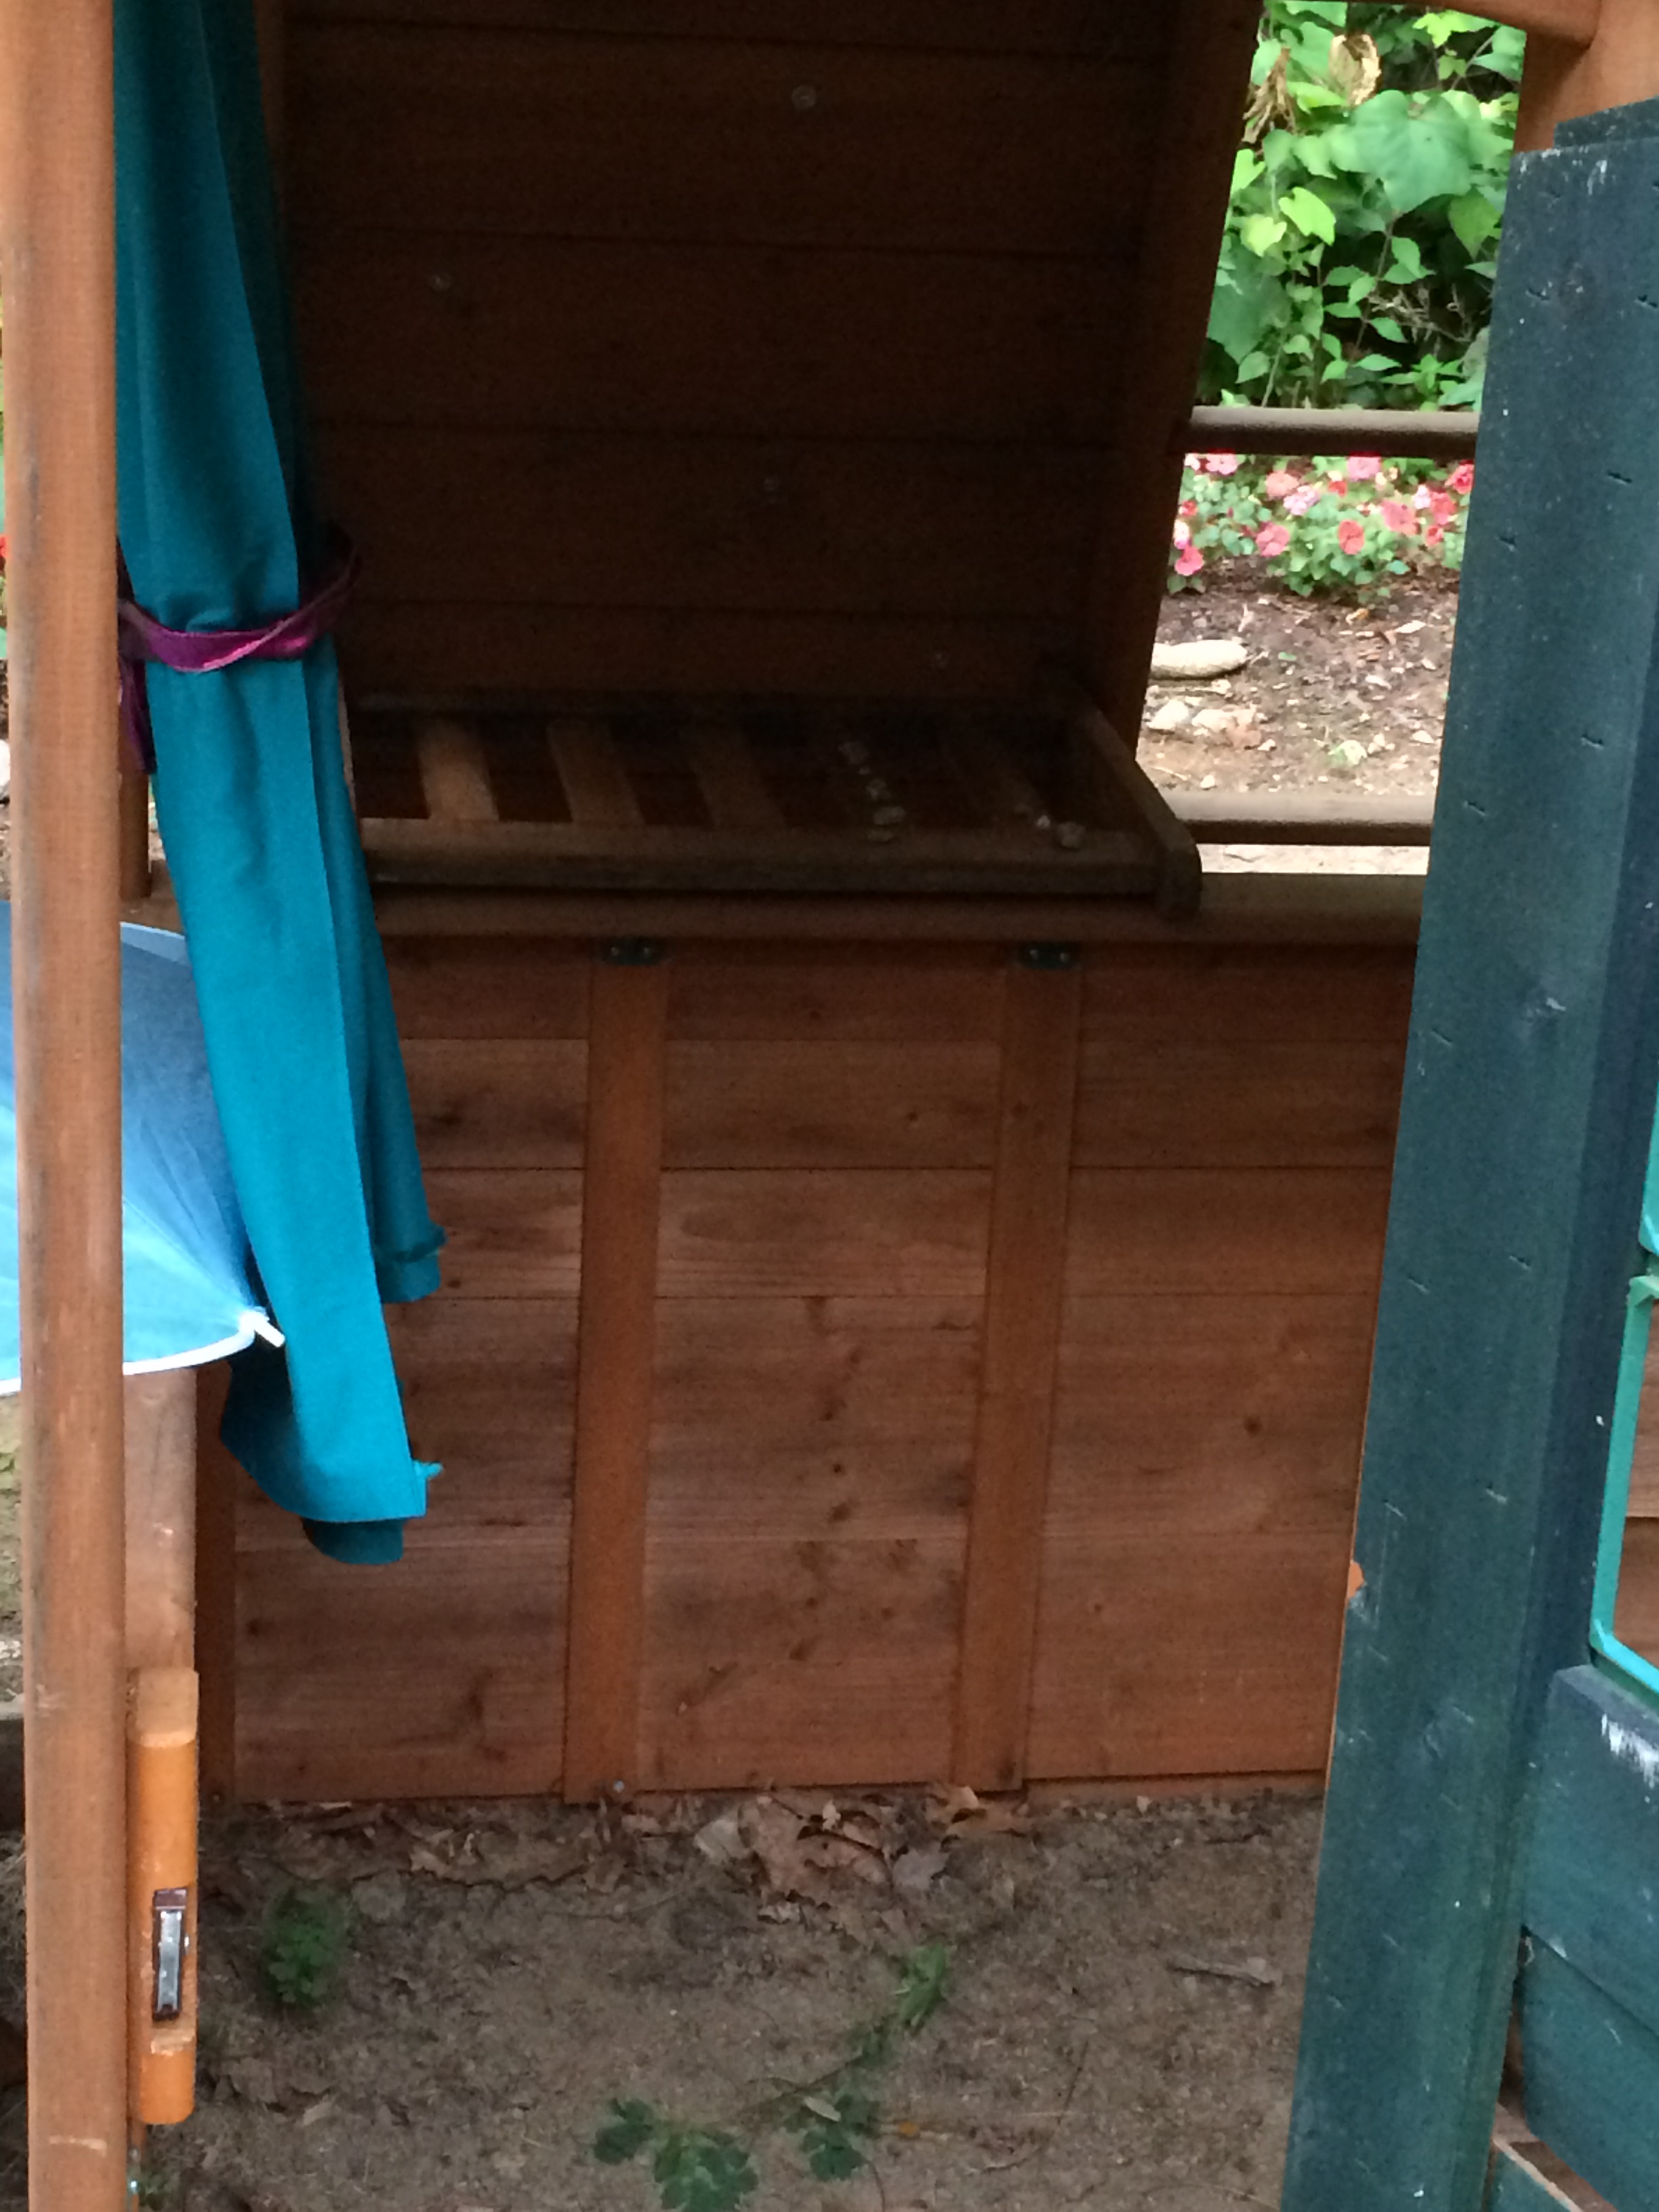
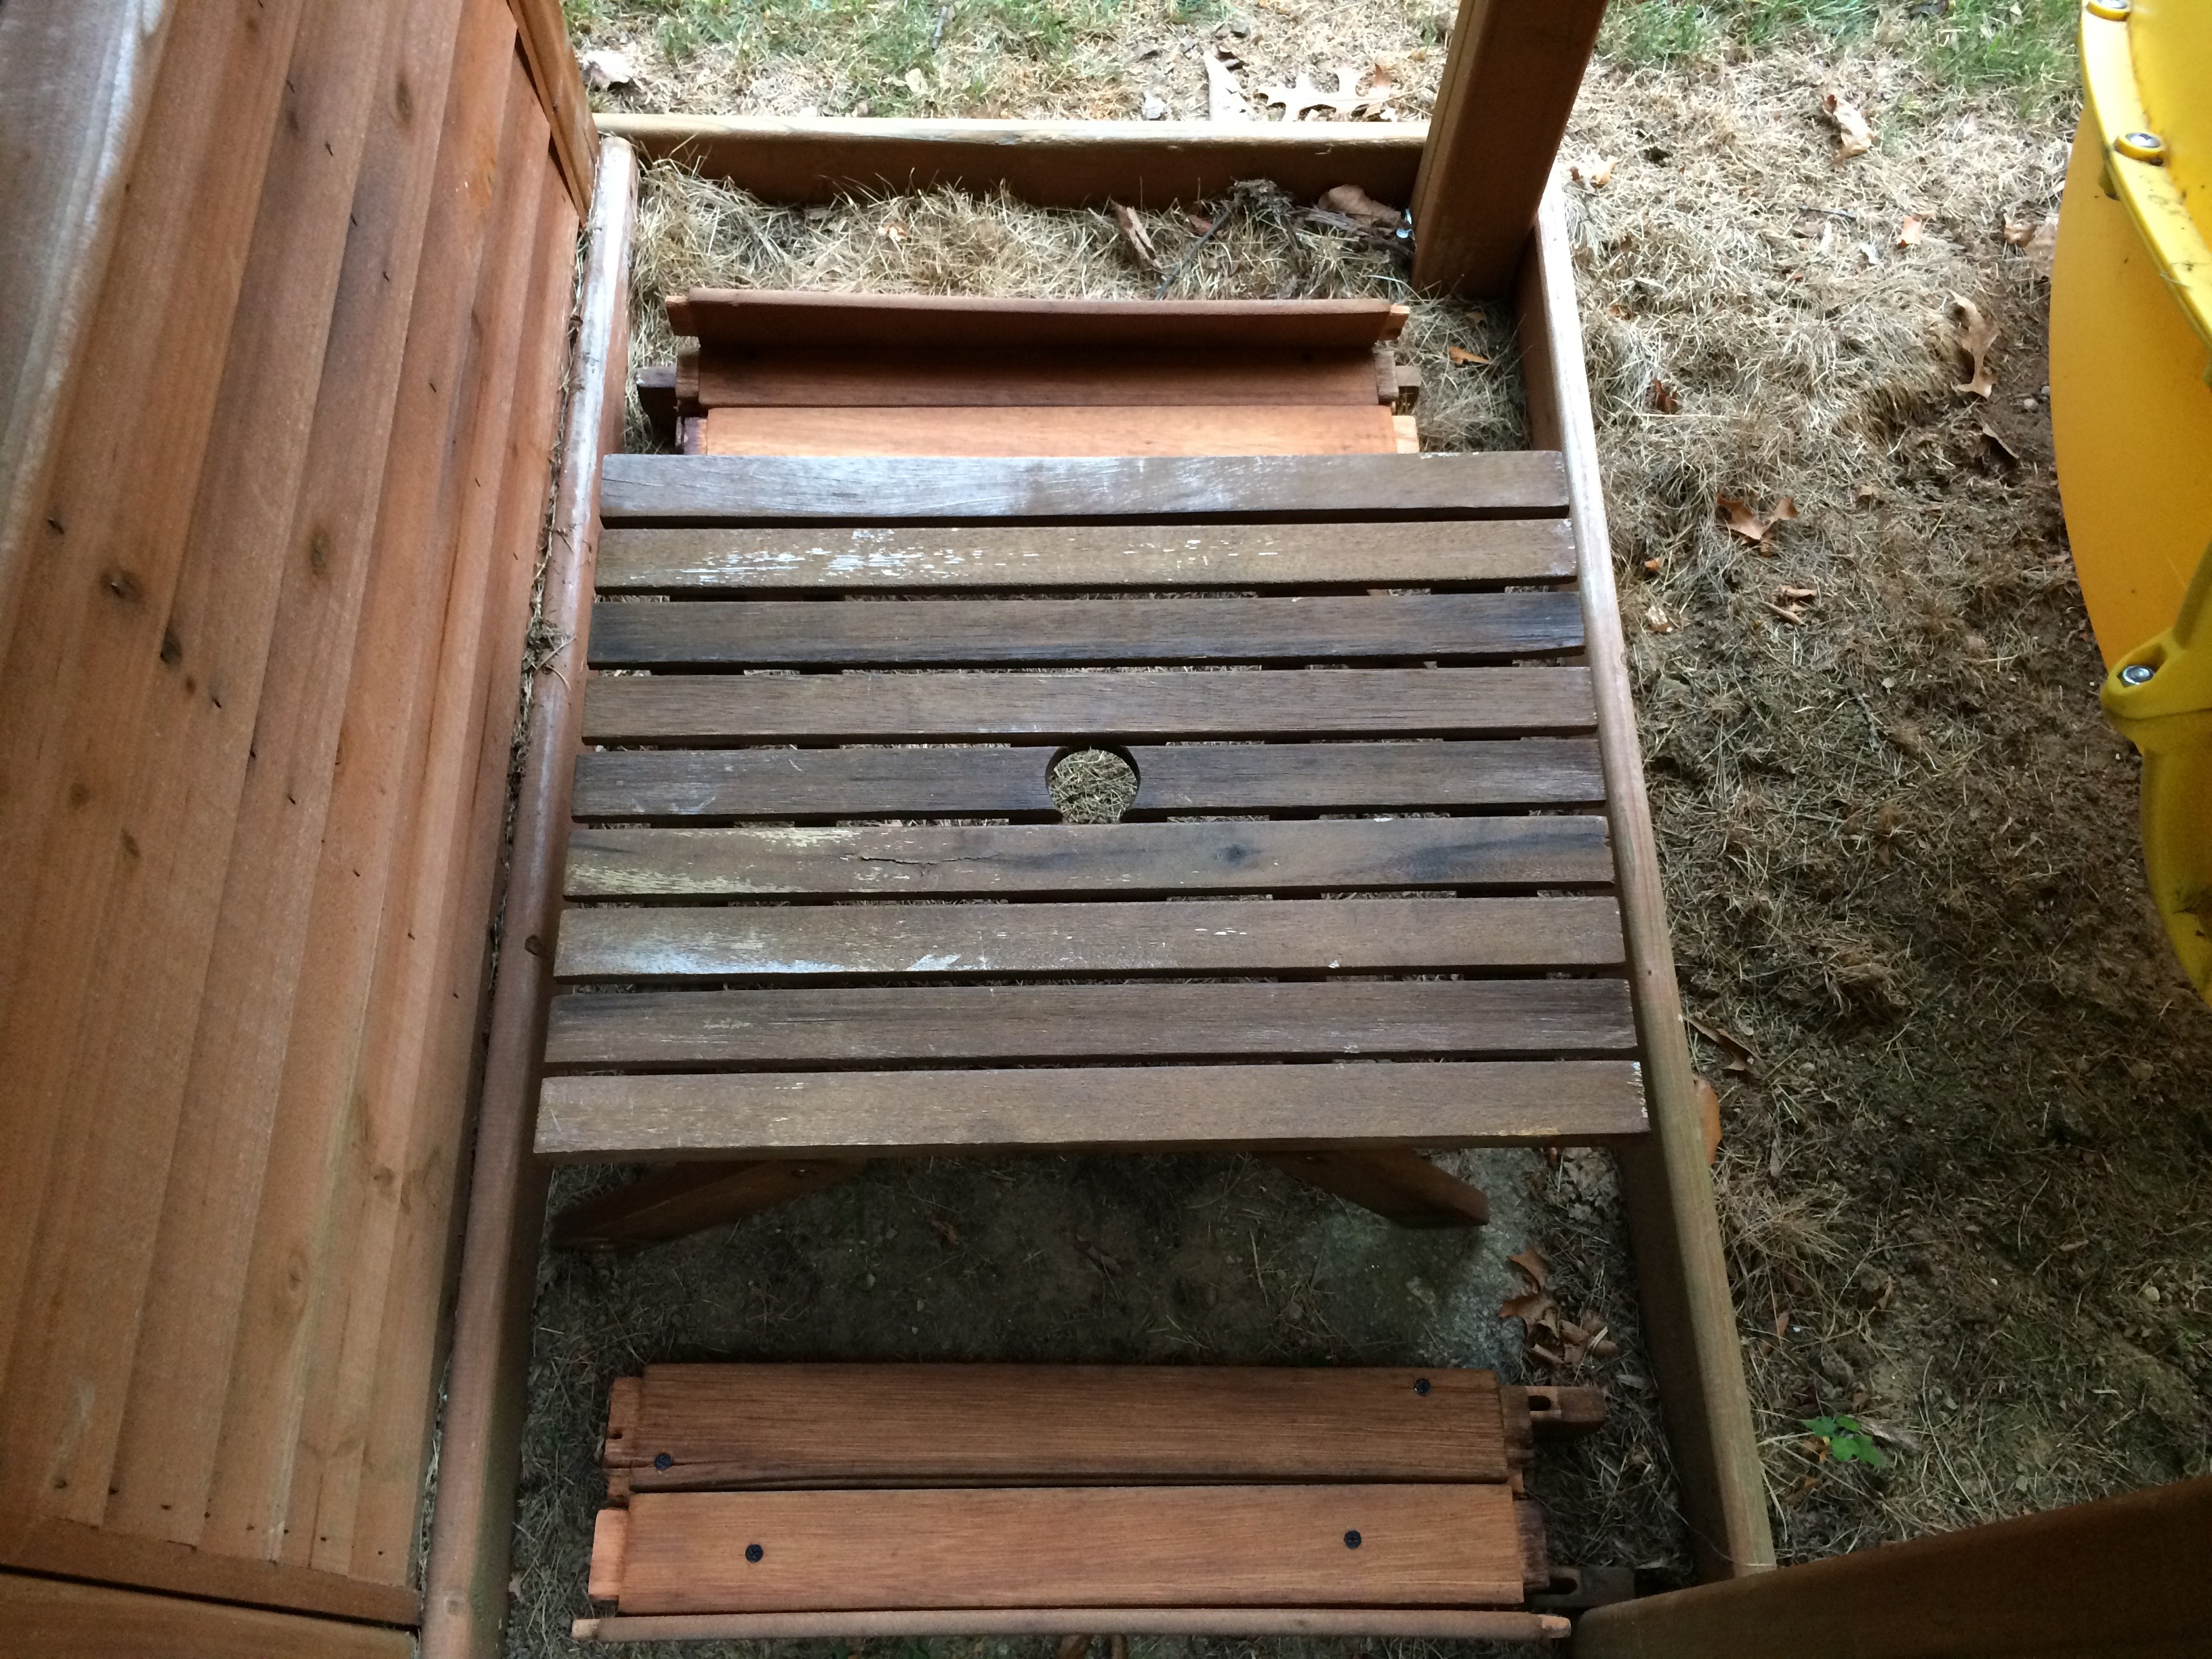
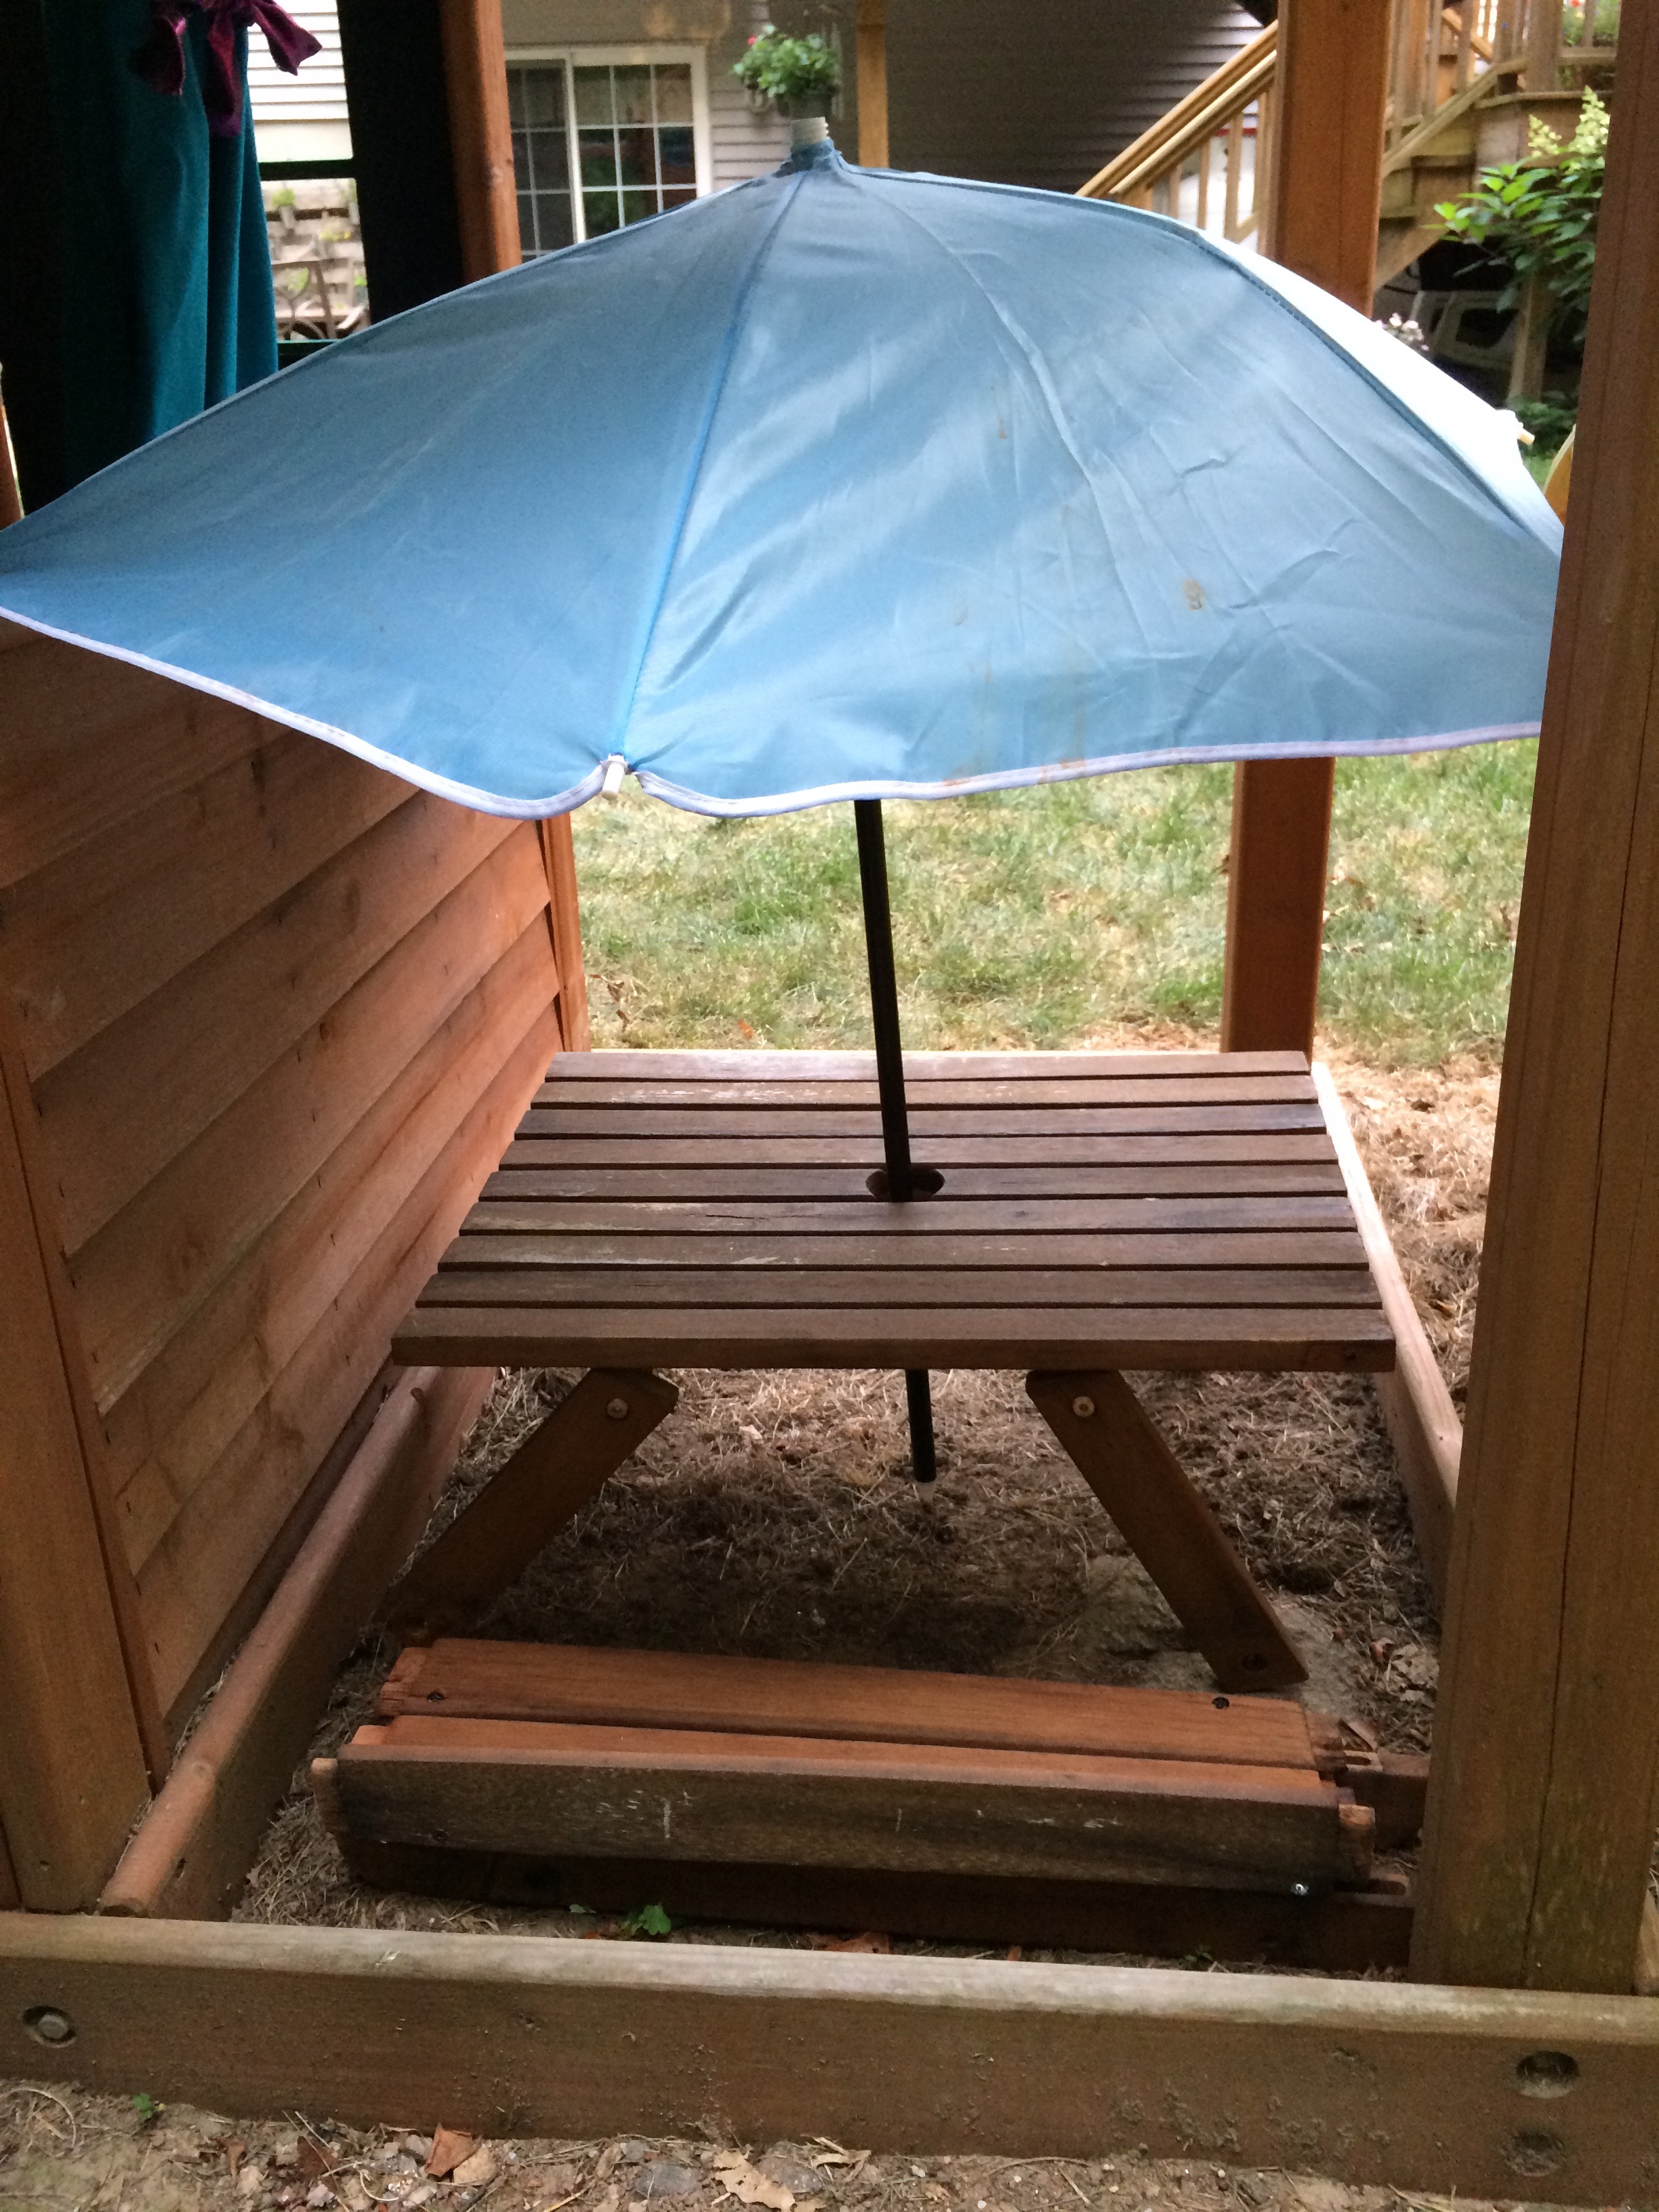
We had a bench/table thing that we no longer wanted so we took it apart and used the table as a mini picnic table for my daughter’s dolls. Then we used part of the chair as a shelf on the inside and the other parts to make picnic benches. She accessorized with an old umbrella she found off a summer chair she no longer fits in.

The biggest issue with this project was that we found an underground bee nest right under the slide next to this playhouse area. But, after we took care of the nest she was ready to play inside!

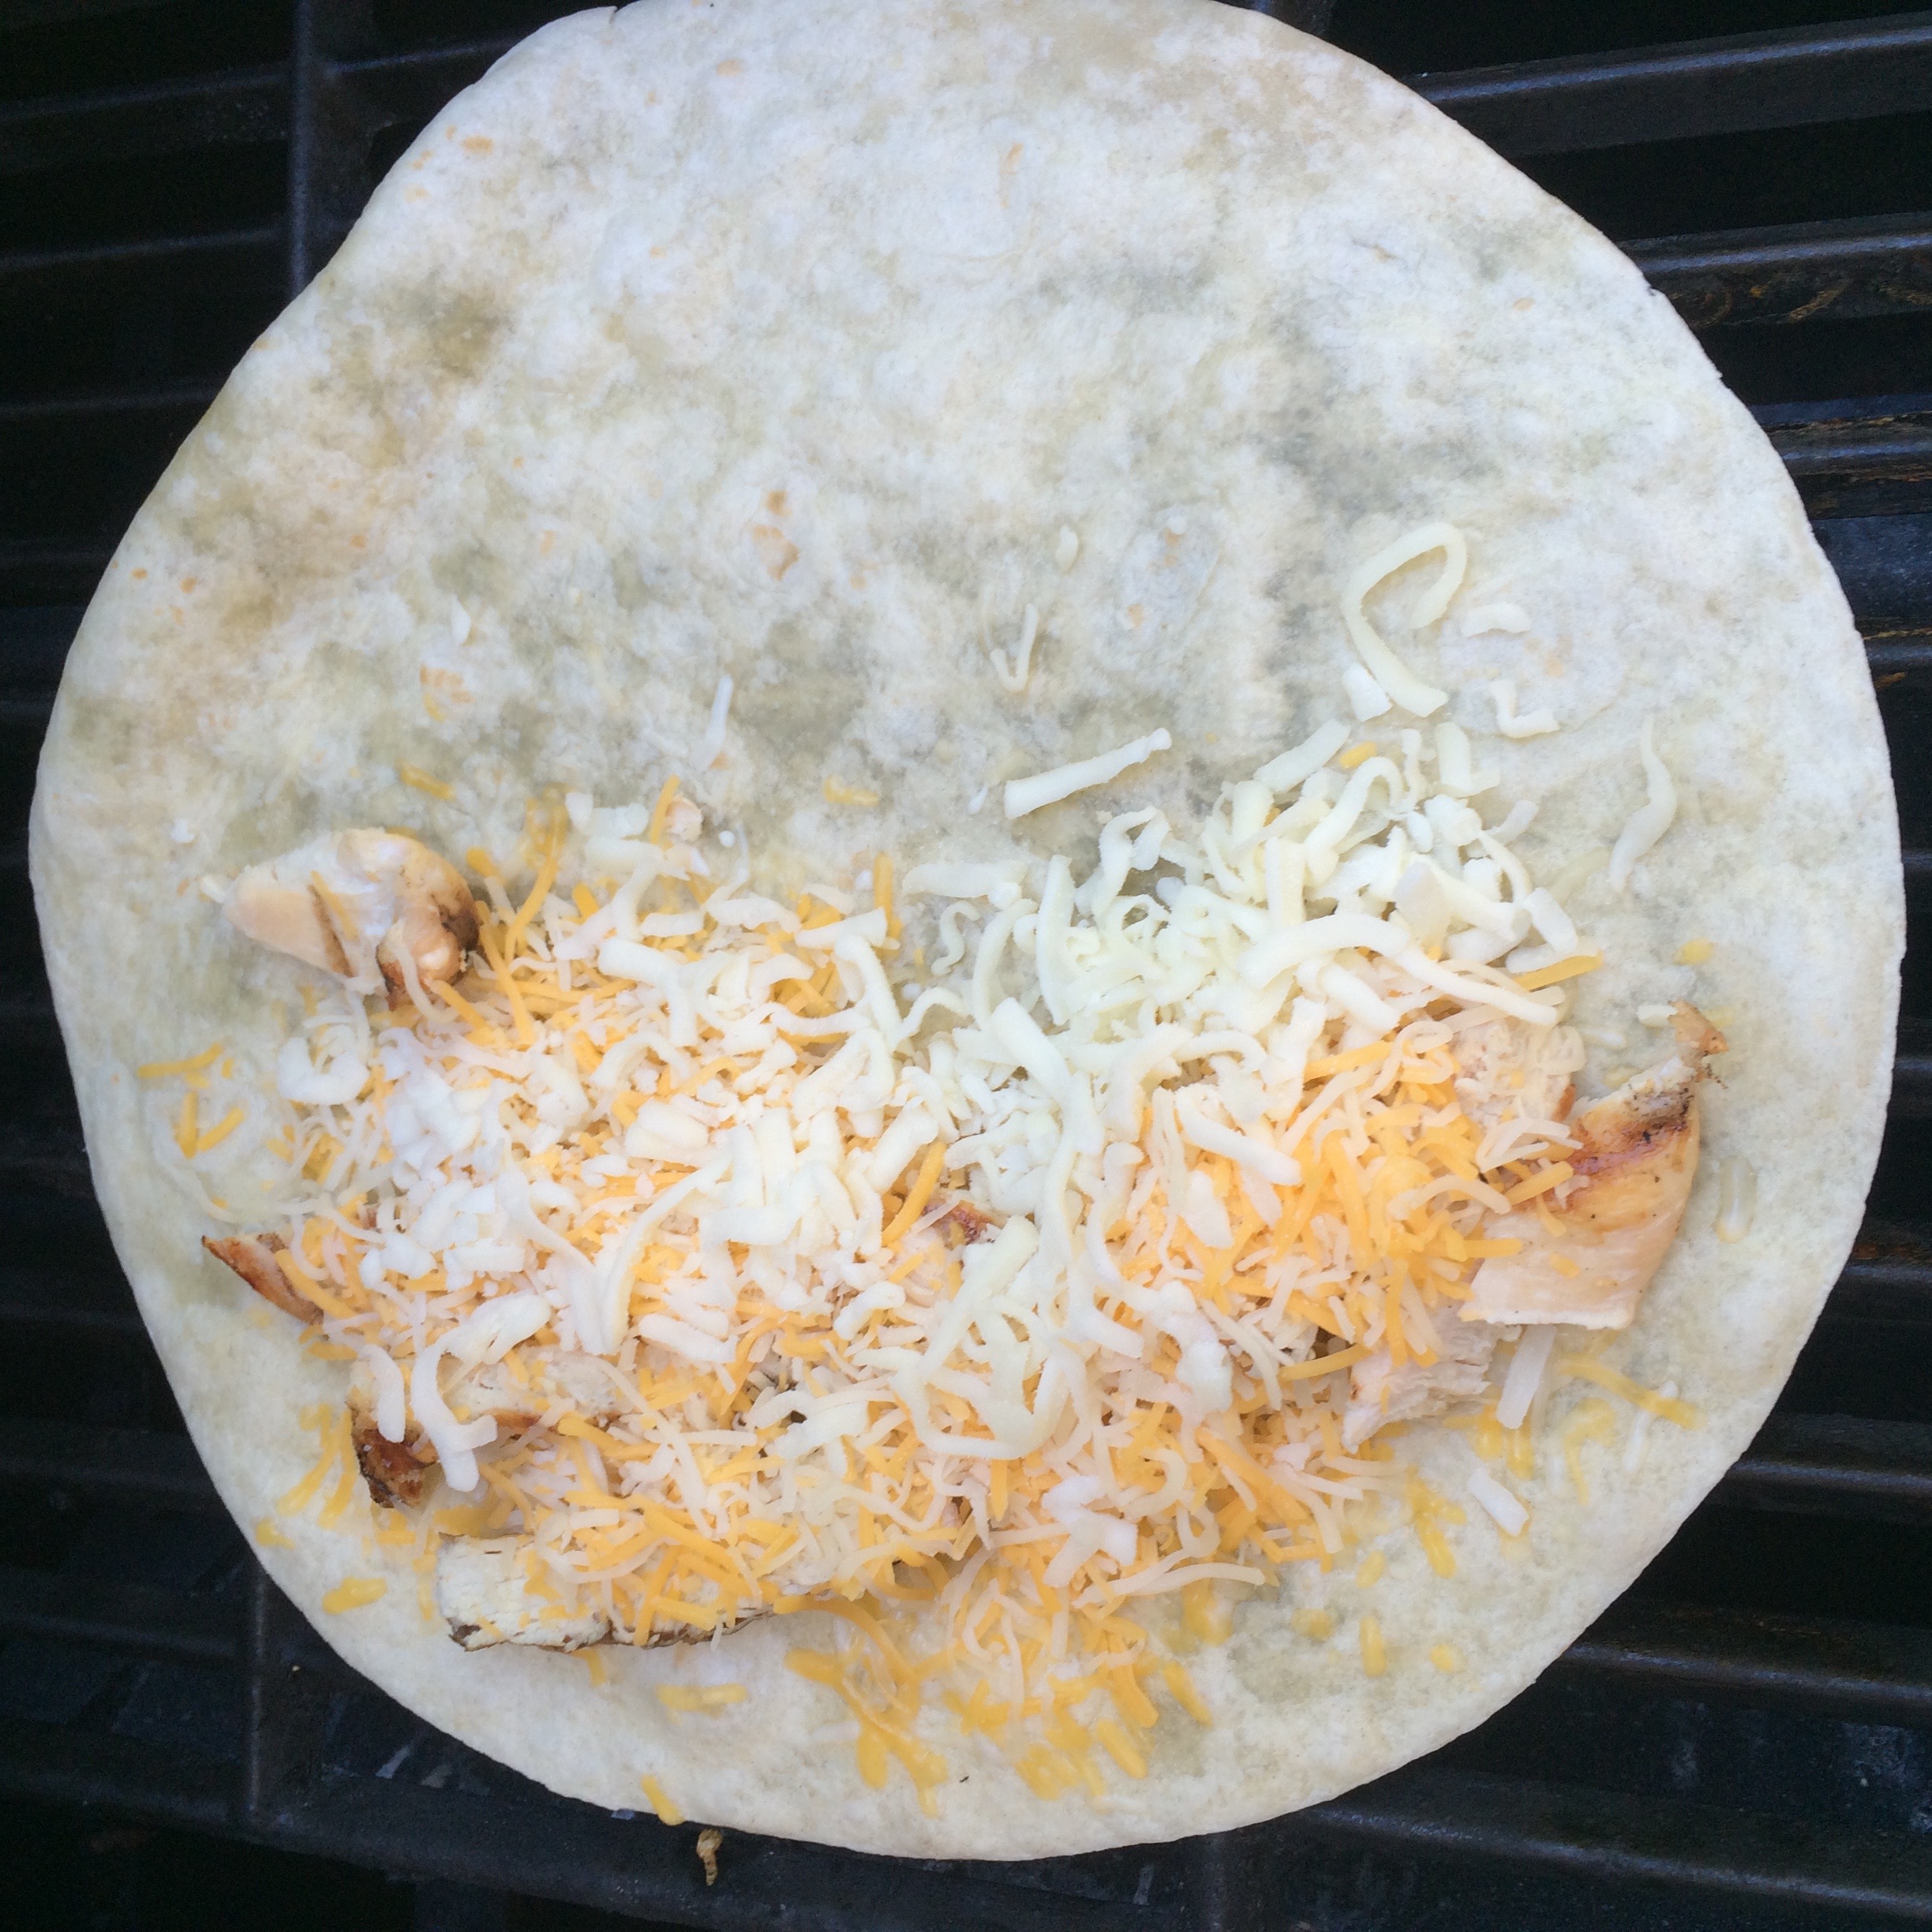
Chicken and Cheese Quesadillas on the Grill

Makes 5 Large Quesadillas
Ingredients:
5 Tortillas (You can use any kind, I used 10-inch white, flour)
4 Chicken Breasts
About 2 cups of cheese (I used a mix of a Mexican blend and Mozzarella)
Olive oil
Salt and Pepper
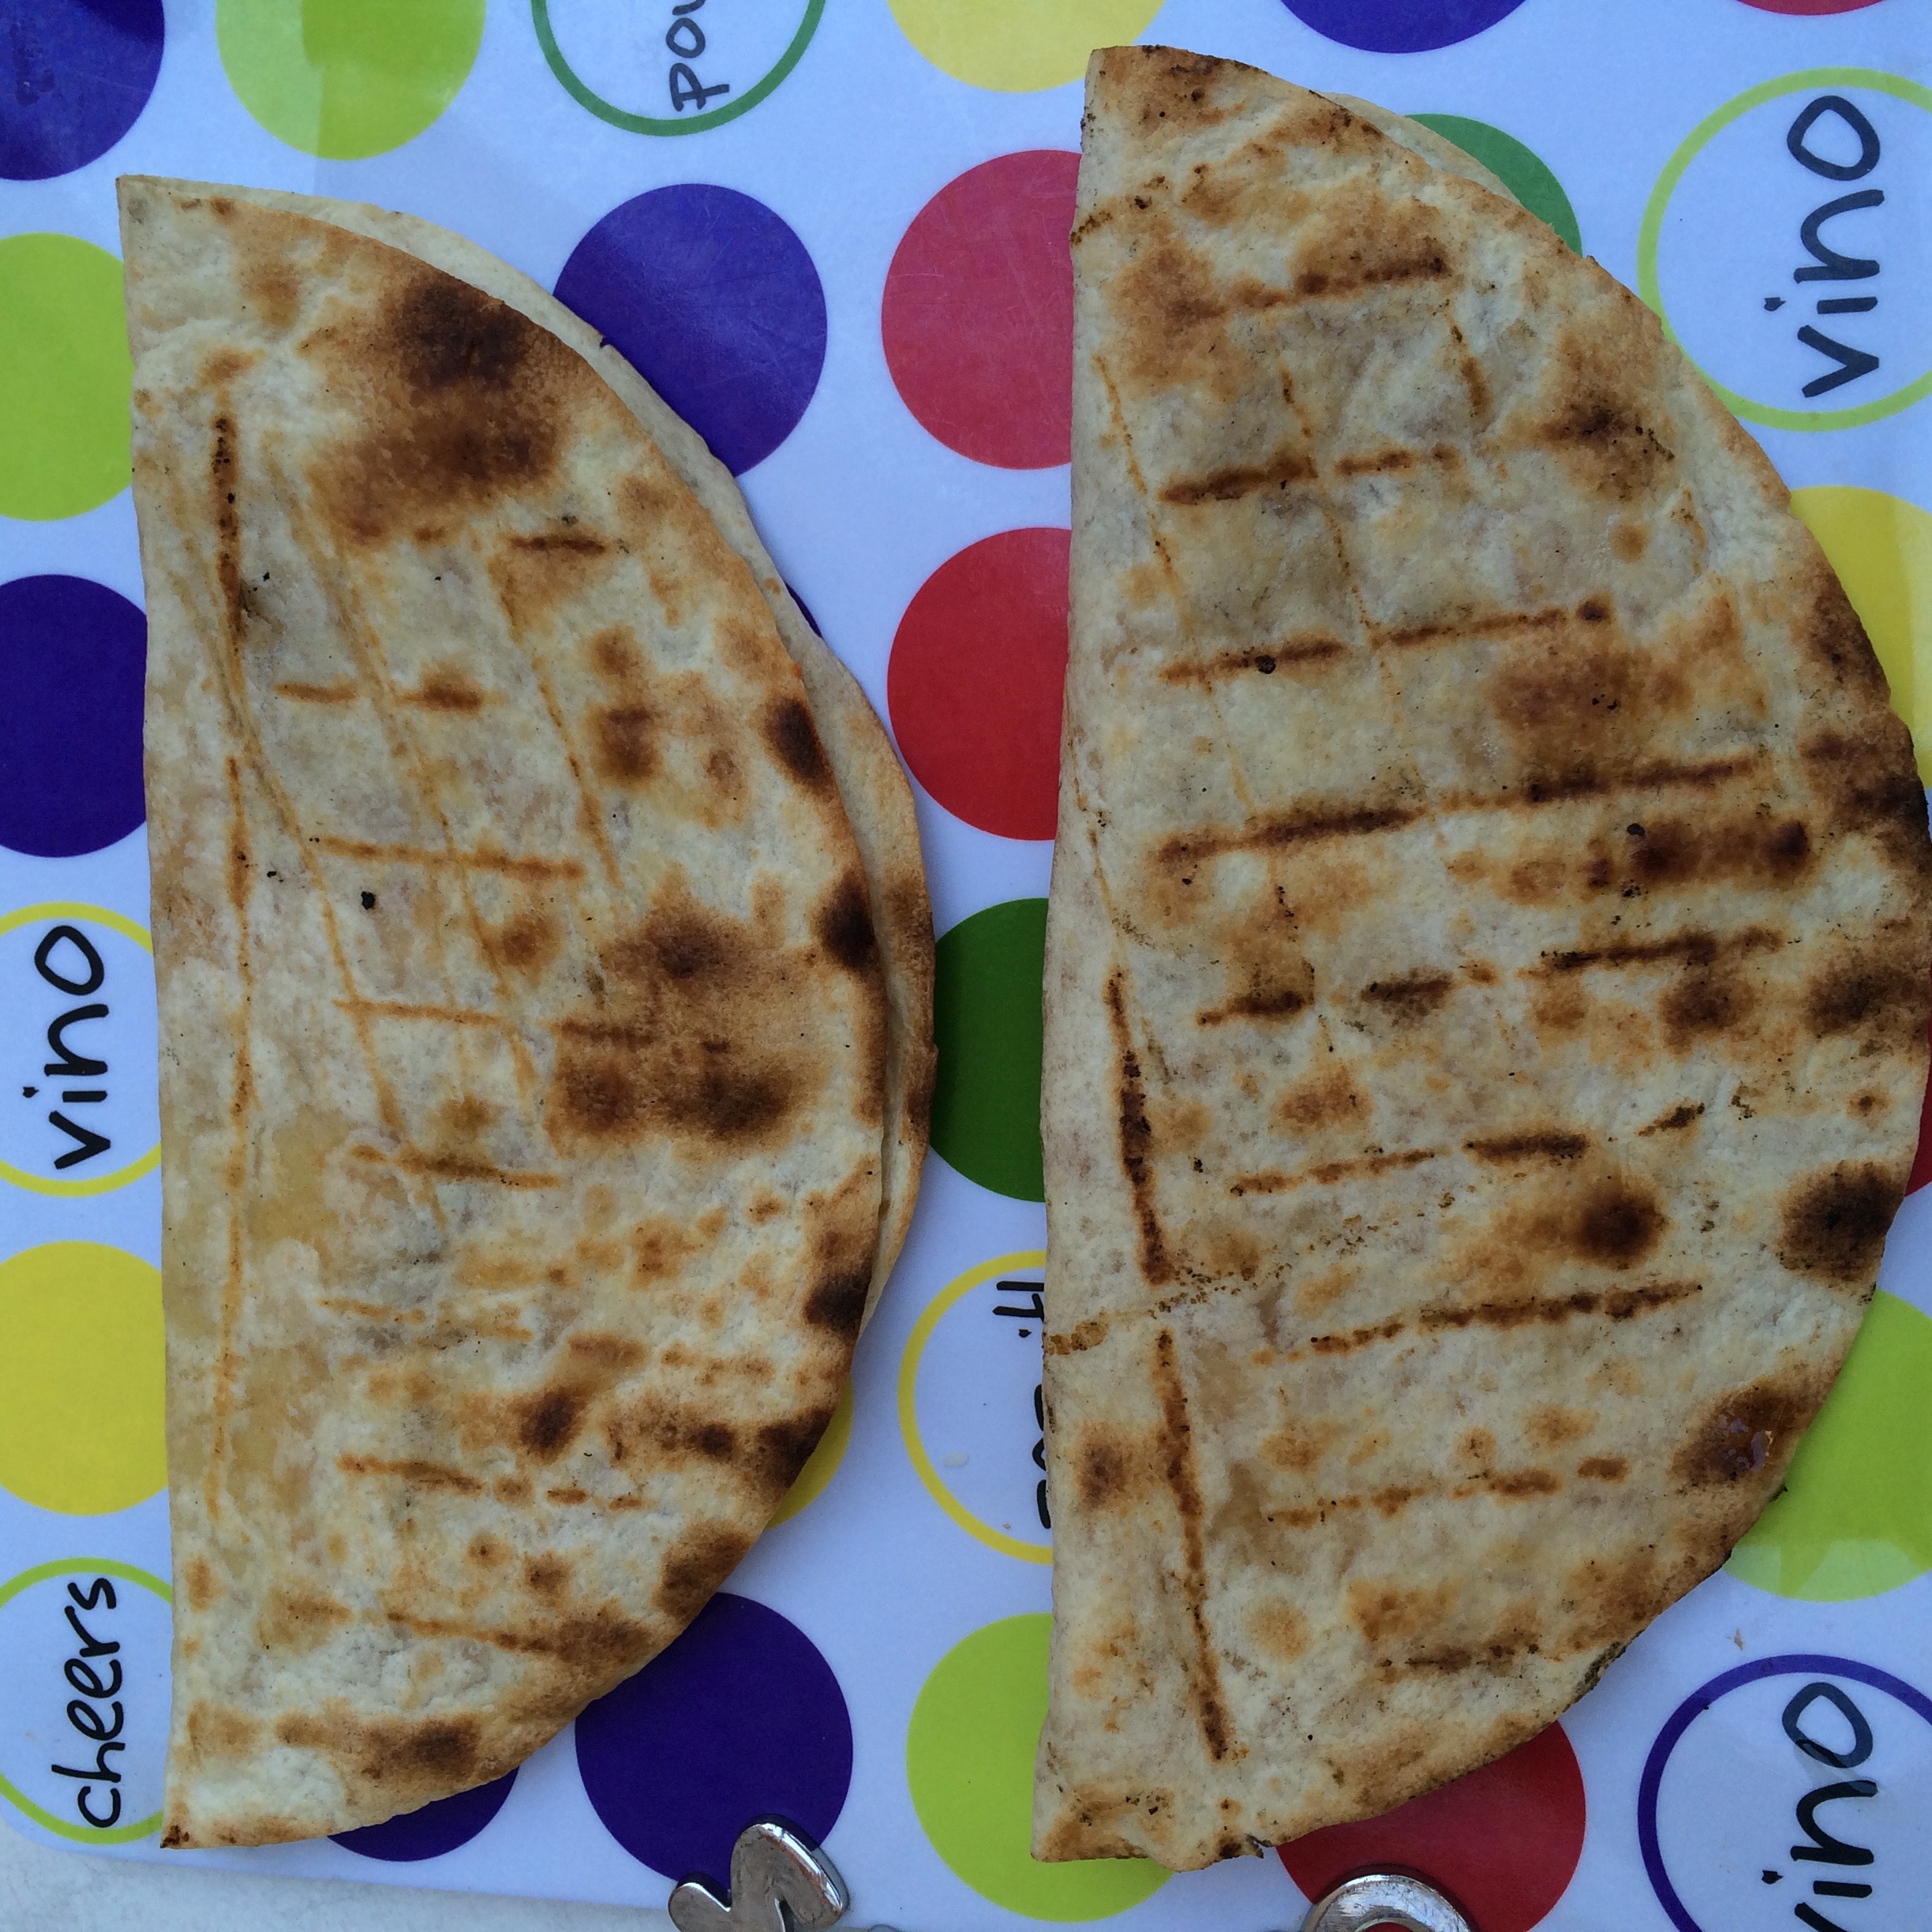
I made this whole recipe on the grill. The quesadillas cook fast on the grill and they had an extra crisp which was really good!
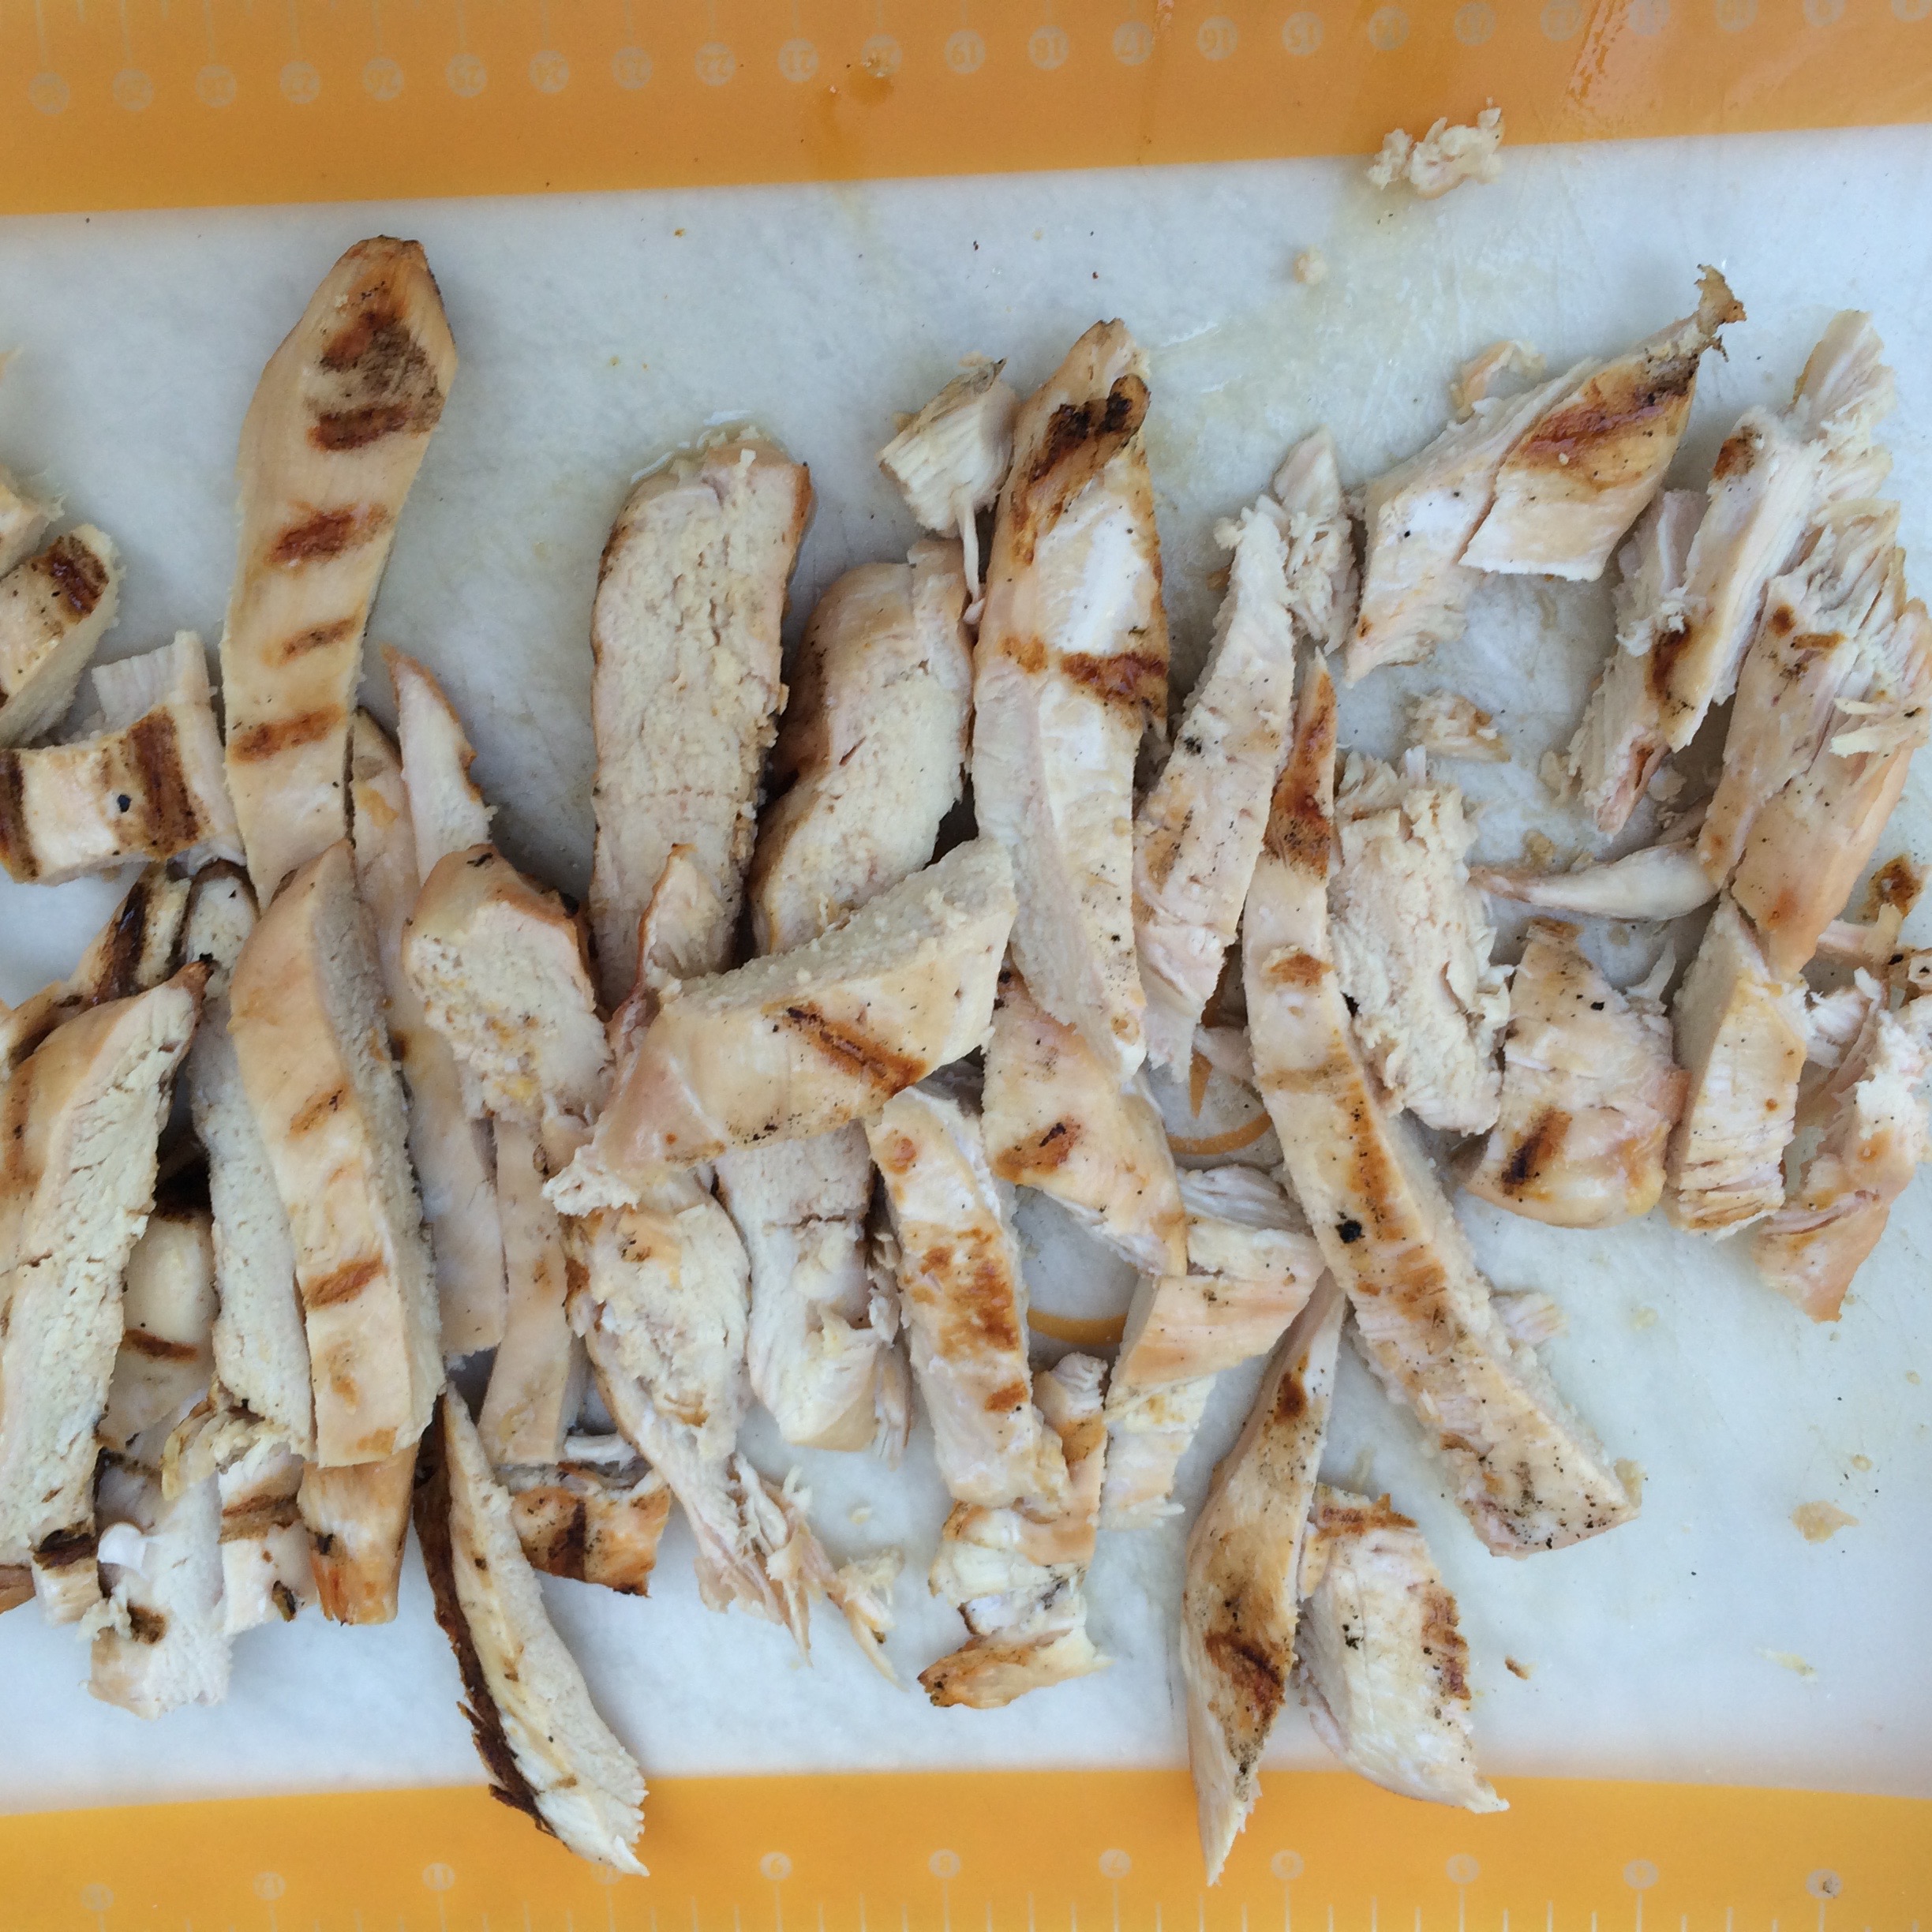
1. Gather ingredients. Mix a small amount of olive oil and salt and pepper in a bowl and brush on chicken. 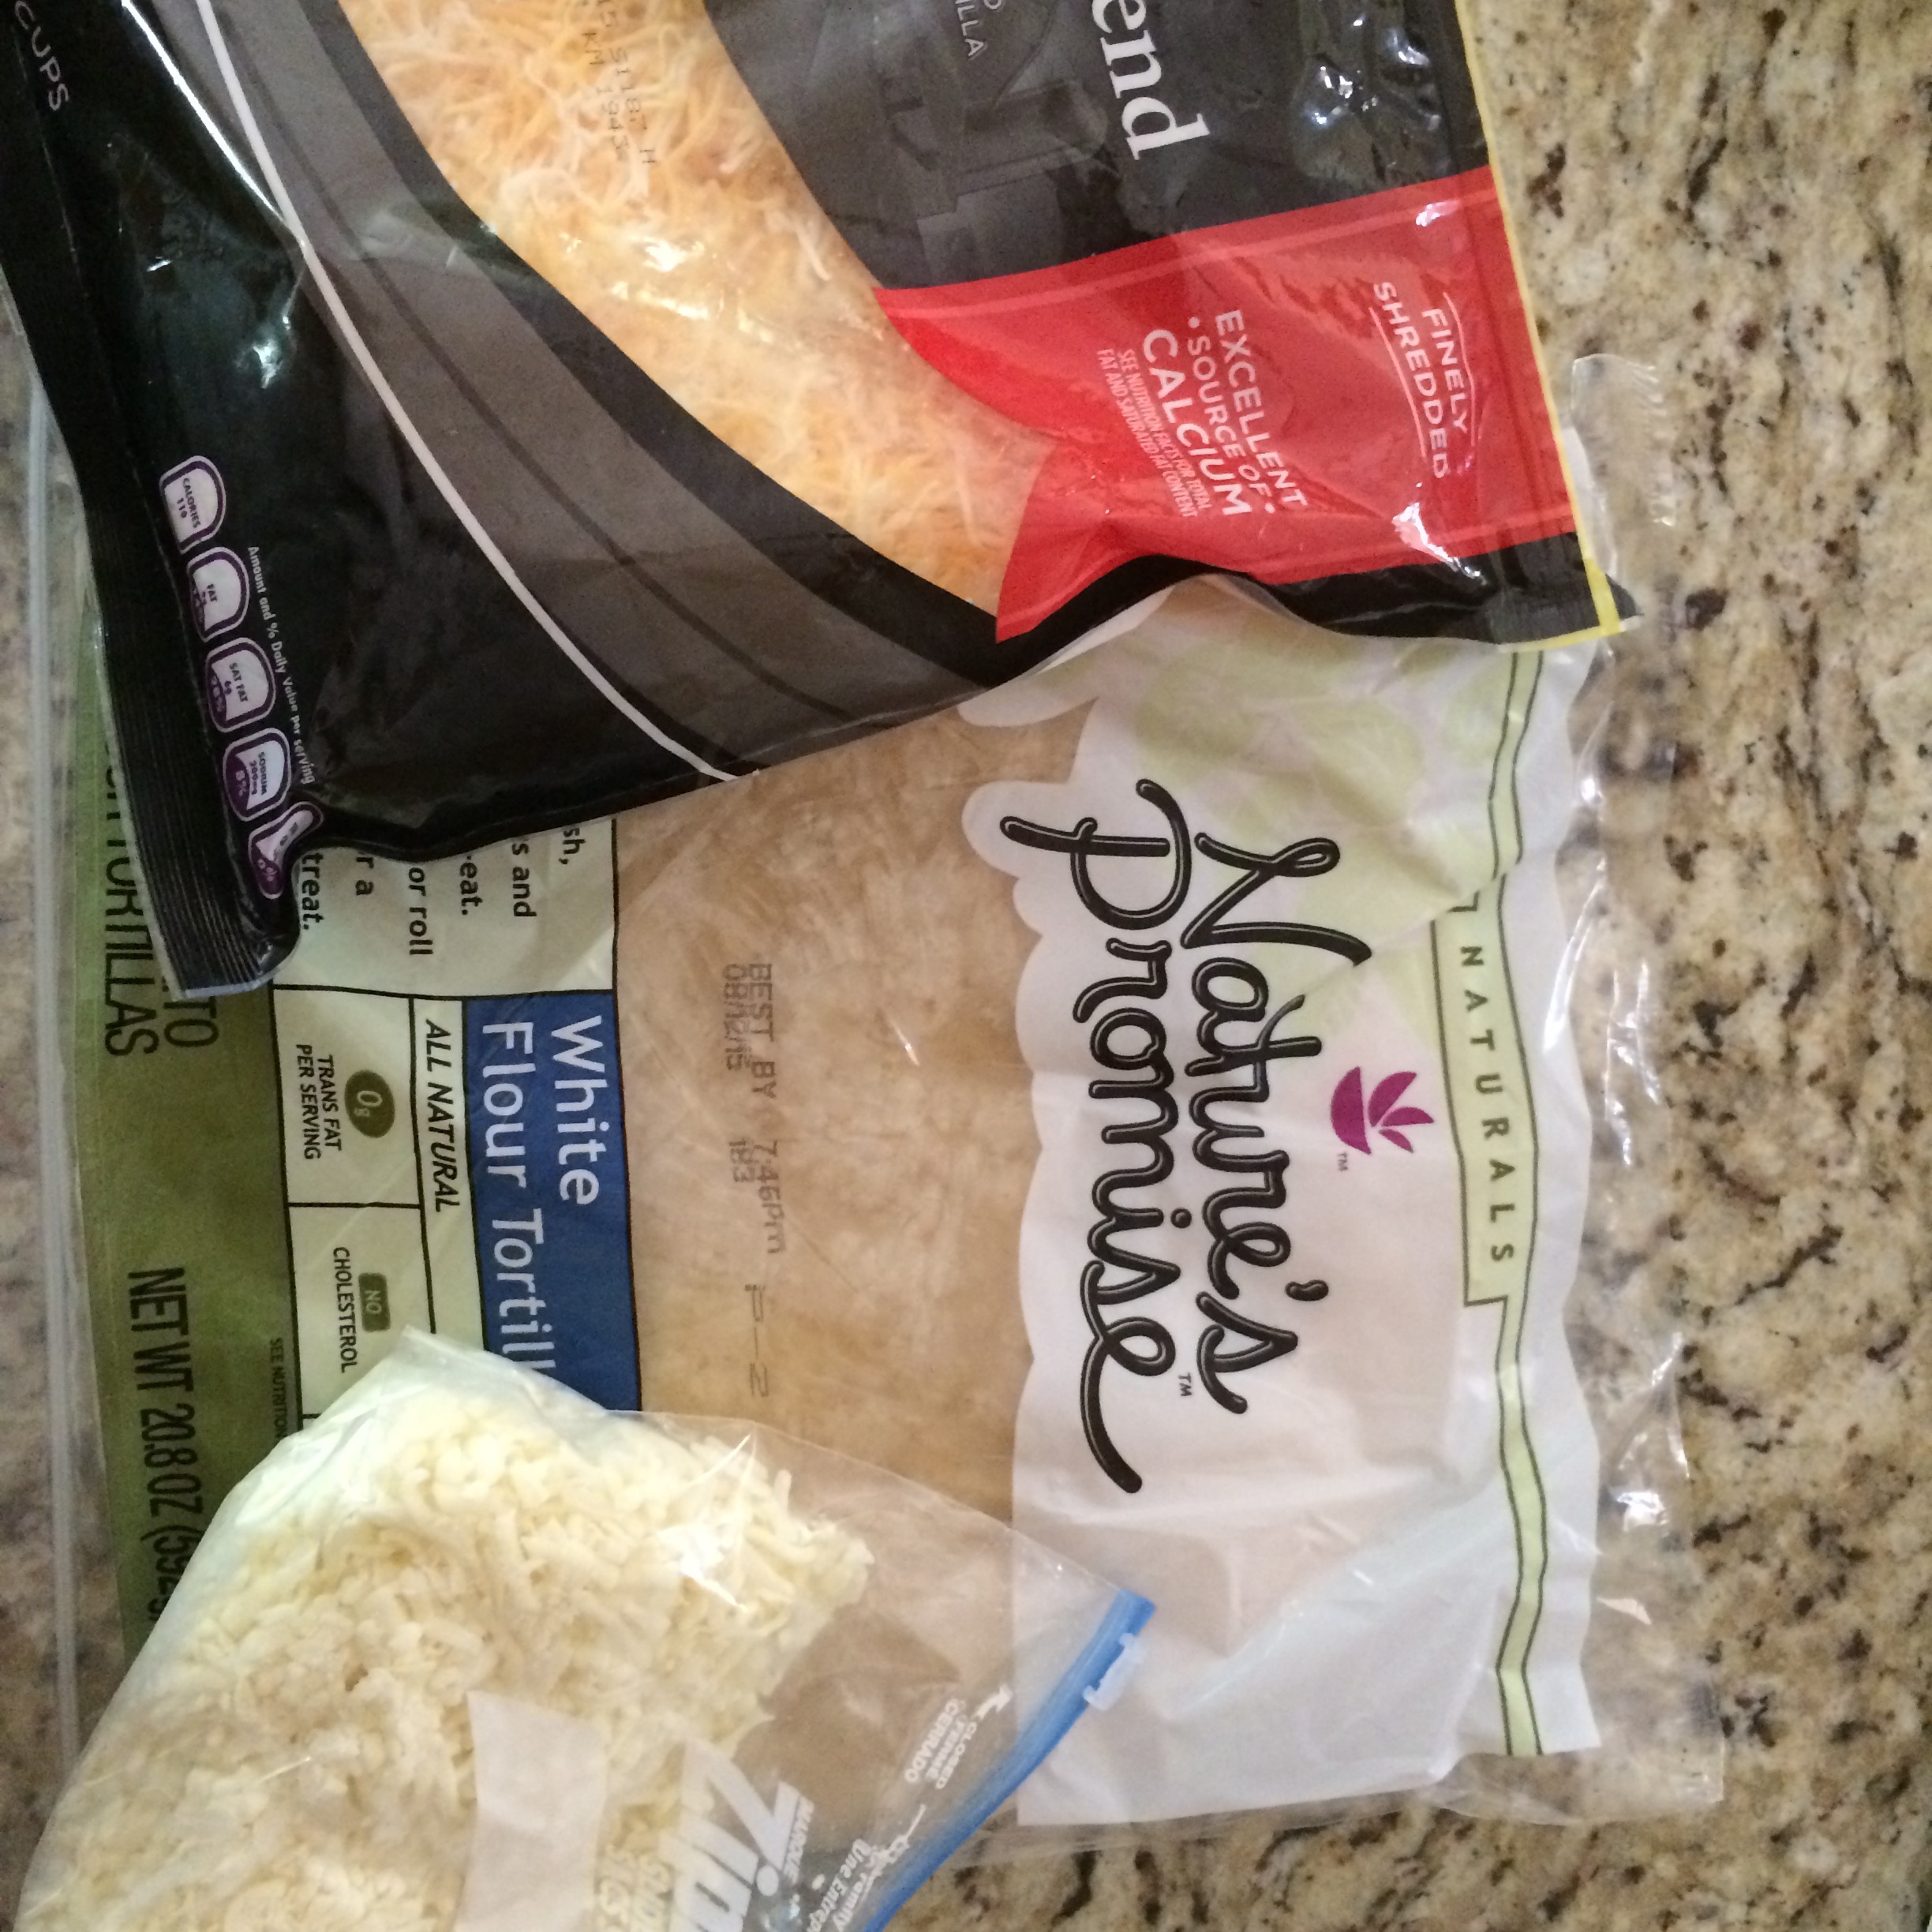 2. Grill chicken on both sides until cooked through – 4-6 minutes on each side or until no longer pink on the inside.

3. Remove chicken from grill and slice into strips.
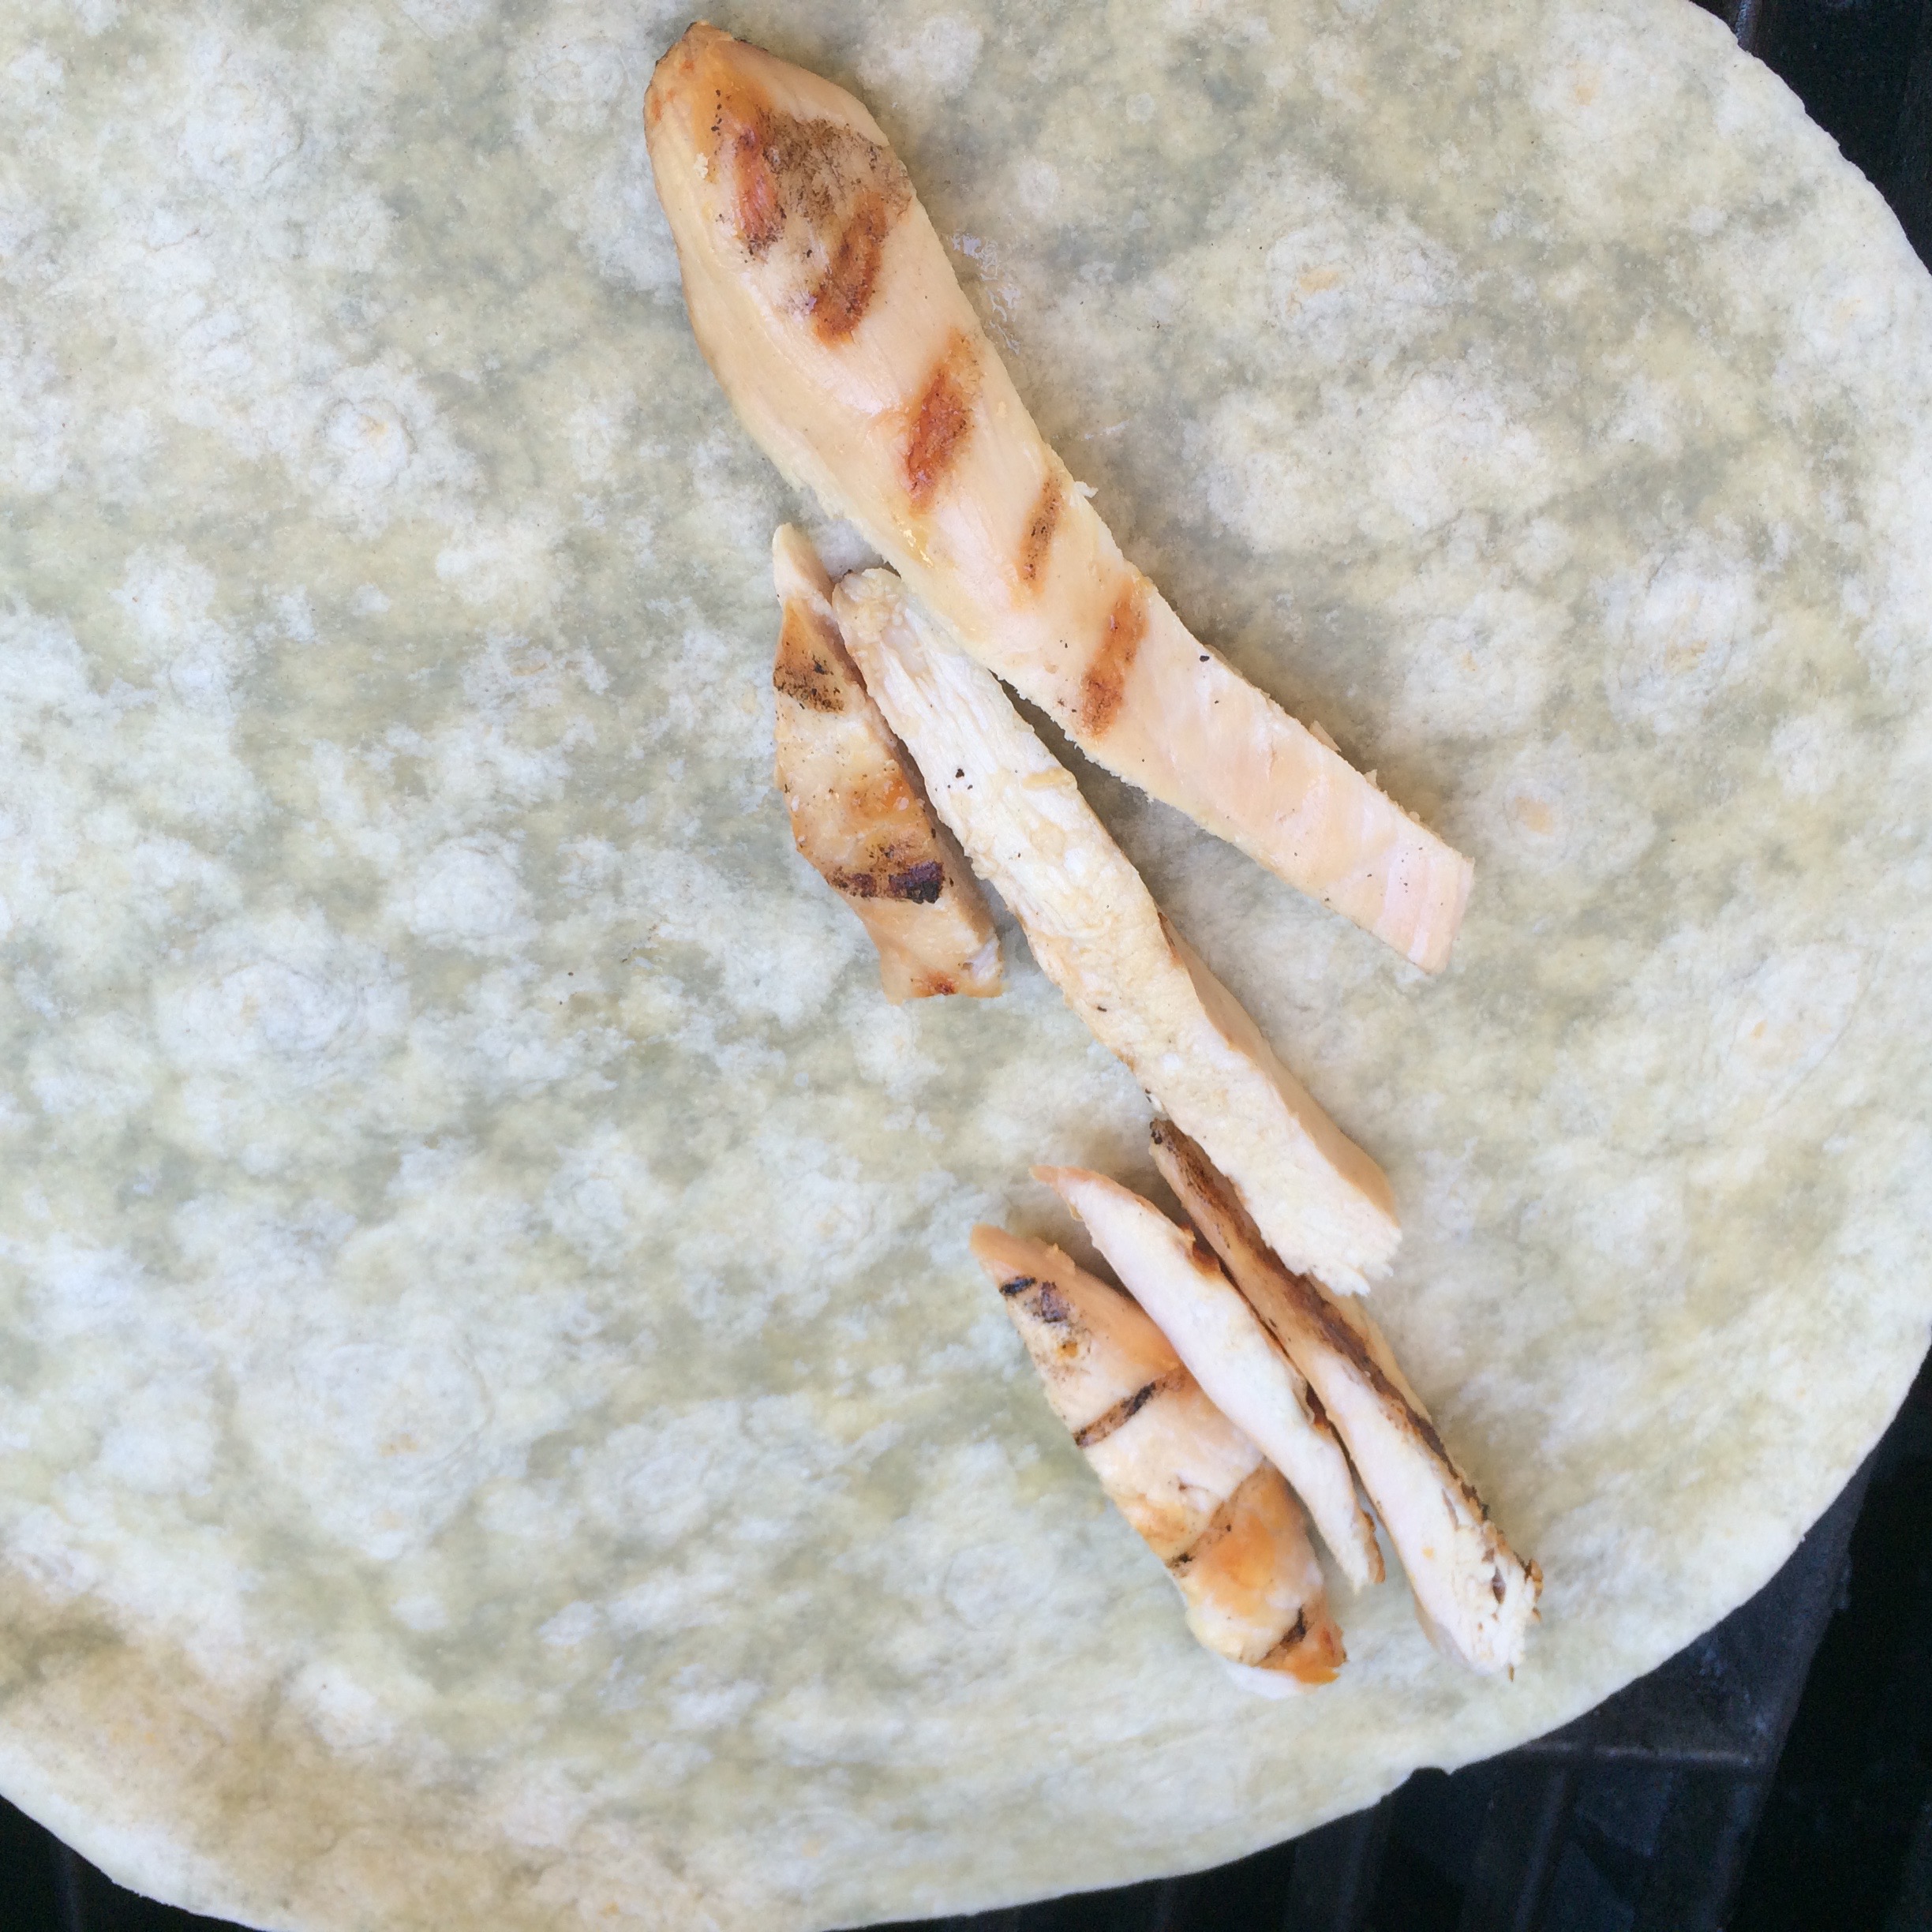
 4. Place a tortilla on the grill and line one side with a few strips of chicken and enough cheese to cover. Flip the empty half on top and then brush that half (the half of the tortilla facing you) with some olive oil. After about 1-2 minutes, carefully flip the quesadilla to grill on opposite side. Grill for another 1-2 minutes or until cheese is melted.


5. Repeat steps until all of your quesadillas are grilled. Serve alone or with a side of sour cream, salsa or guacamole.


Homemade Nachos
Last night at 5:15 pm, I had to come up with dinner. So as I browsed the pantry, I saw some leftover tortilla chips and thought – Nachos! I happened to have most of what I needed to make them, but usually this takes some planning so you can put on exactly what you like. When I do plan to make these, I like to use Tostitos Garlic and Black Bean chips as the base. They are packed with flavor and taste so good with the toppings I use. The toppings are also up to you and your preference. I have used salsa, black beans, ground beef…you can use chicken, chili, jalapeños, other types of beans, the possibilities are endless. Last night’s recipe I used regular tortilla chips, blue corn tortilla chips, chopped tomato, fresh scallion, Mexican blend cheese and chopped black olives.


I hate it when you order nachos and after you get through the top layer, its just a pile of chips so I make mine in layers. First I place a layer of chips. and then repeat.

Then I put a layer of cheese and some toppings.

Repeat with chips, cheese and toppings.
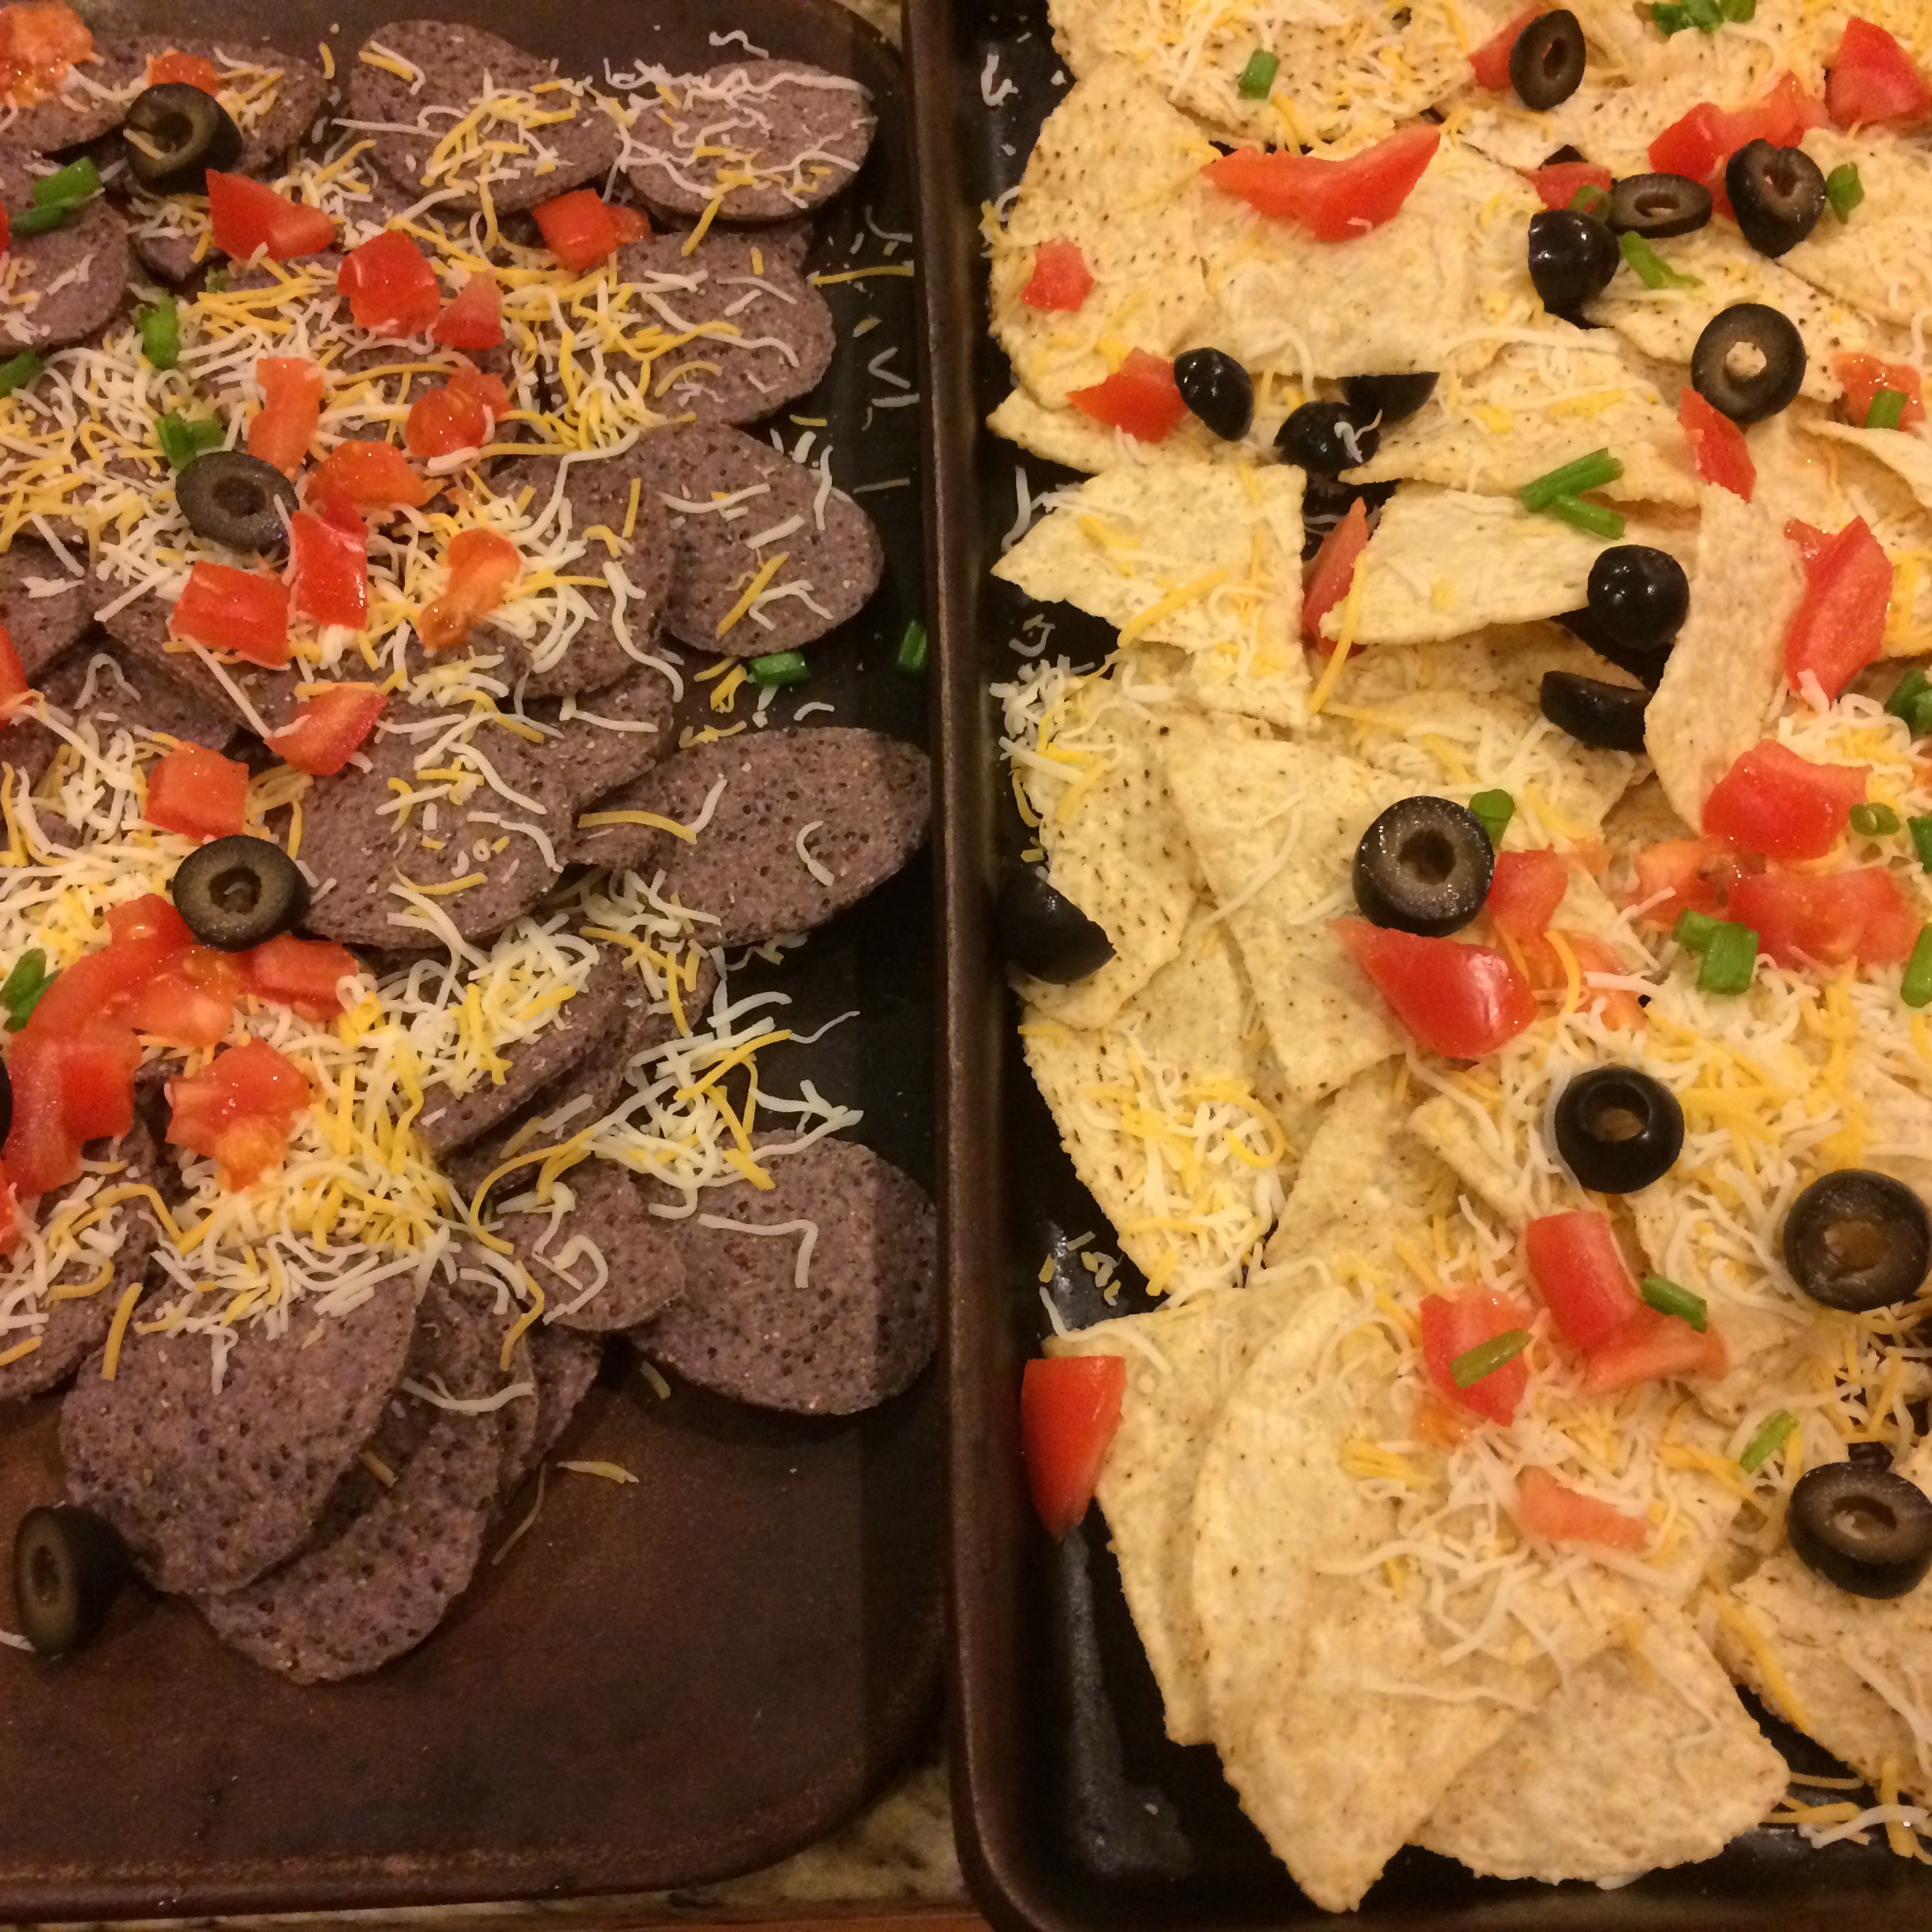 I bake them on 350 degrees for about 10 minutes or until cheese is melted. I serve them with a side of sour cream, but you can also do a side of salsa and/or guacamole. We place the trays on the counter and stand around eating them family style. Yum!

Fighting the “Boredom” of Summer
It is the end of July and the kids are bored with summer. I don’t know why…after the winter we had here in the Northeast, I can’t get enough of being outside and doing “summer things”. It seems as though every summer by this time they are ready to get back to the routine of school, although no kid will ever admit that! I limit the time on electronics and it’s fairly easy to get them in the pool once per day so at least I know they aren’t stuck inside glued to a device, video game or television. My son is particularly into Legos and can spend hours in his room building. Although this is a great activity, I don’t like the idea of him being alone most of the day in his room. Other parents I have spoken with this summer are experiencing the same thing. Kids just don’t want to go outside. We wonder what happened to the days when we were younger and we were pushed out the door in the morning, called in for meals and then stayed out until dark or until we had a jar full of lightning bugs, whichever came first. We had a bike and nature. You certainly know you are getting older when you start a sentence with, “When I was a kid…”! Whether or not it’s the way we parent, the distraction of the electronic or physical environment we live or that kids are evolving differently, I wasn’t ready to give up hope. Here are some of the things that we have tried to bust the boredom.
30-Minute Family Activity Time
I have a hard time working exercise into my schedule because I hate the traditional machines and videos. I thought it would be fun if we scheduled a 30-minute activity session as a family so we could spend time together while having fun exercising. It doesn’t happen every night, but usually a few times per week. It takes place after dinner when everyone is home and involves an active sport. We have played basketball, volleyball, badminton, ping pong, pickle, tag (regular and glow stick), biking, walking the dog, water gun fights and have gone swimming. I also had my son set up an decathlon involving different stations and sports.
Daytime Activities
This summer there were quite a few birthday parties we attended/hosted (kids and adults), had a house guest, and took a few local trips as well. My daughter had dance classes a few days per week, and, of course, we had some play dates with friends.
We played a lot of board games. We love Deer in the Headlights, Clue and Clue, Jr. and Trivial Pursuit Family Edition.


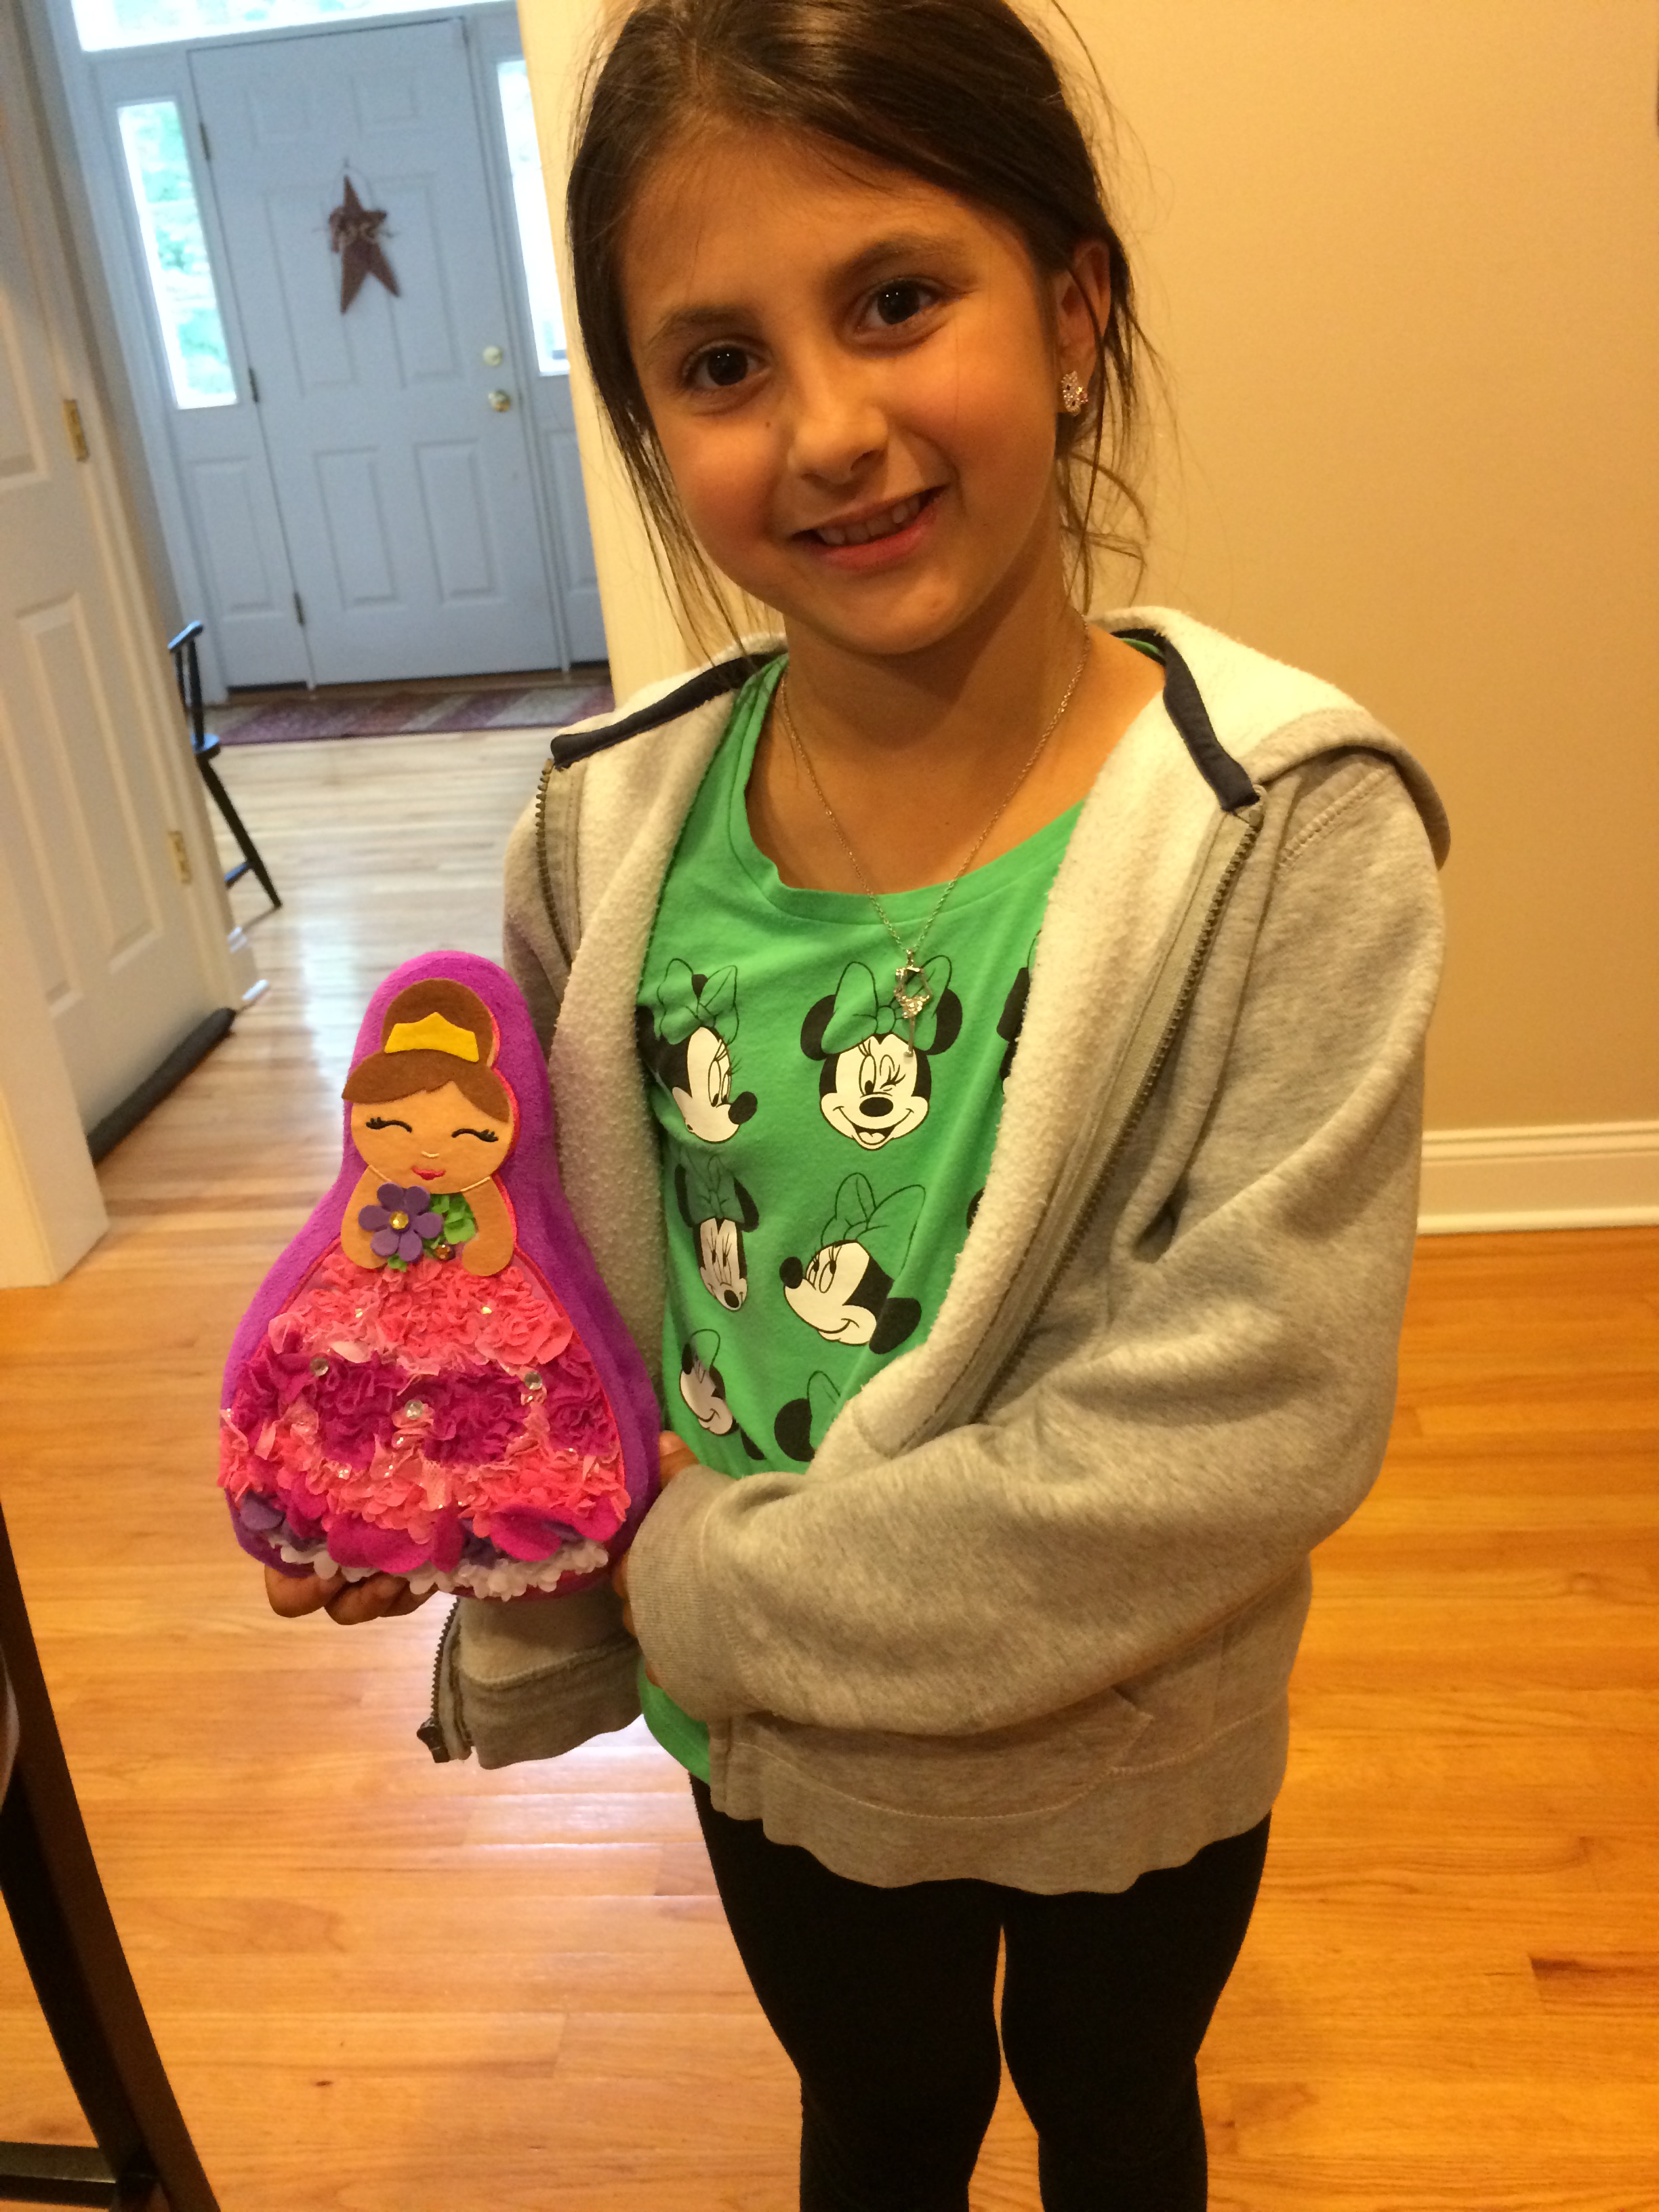
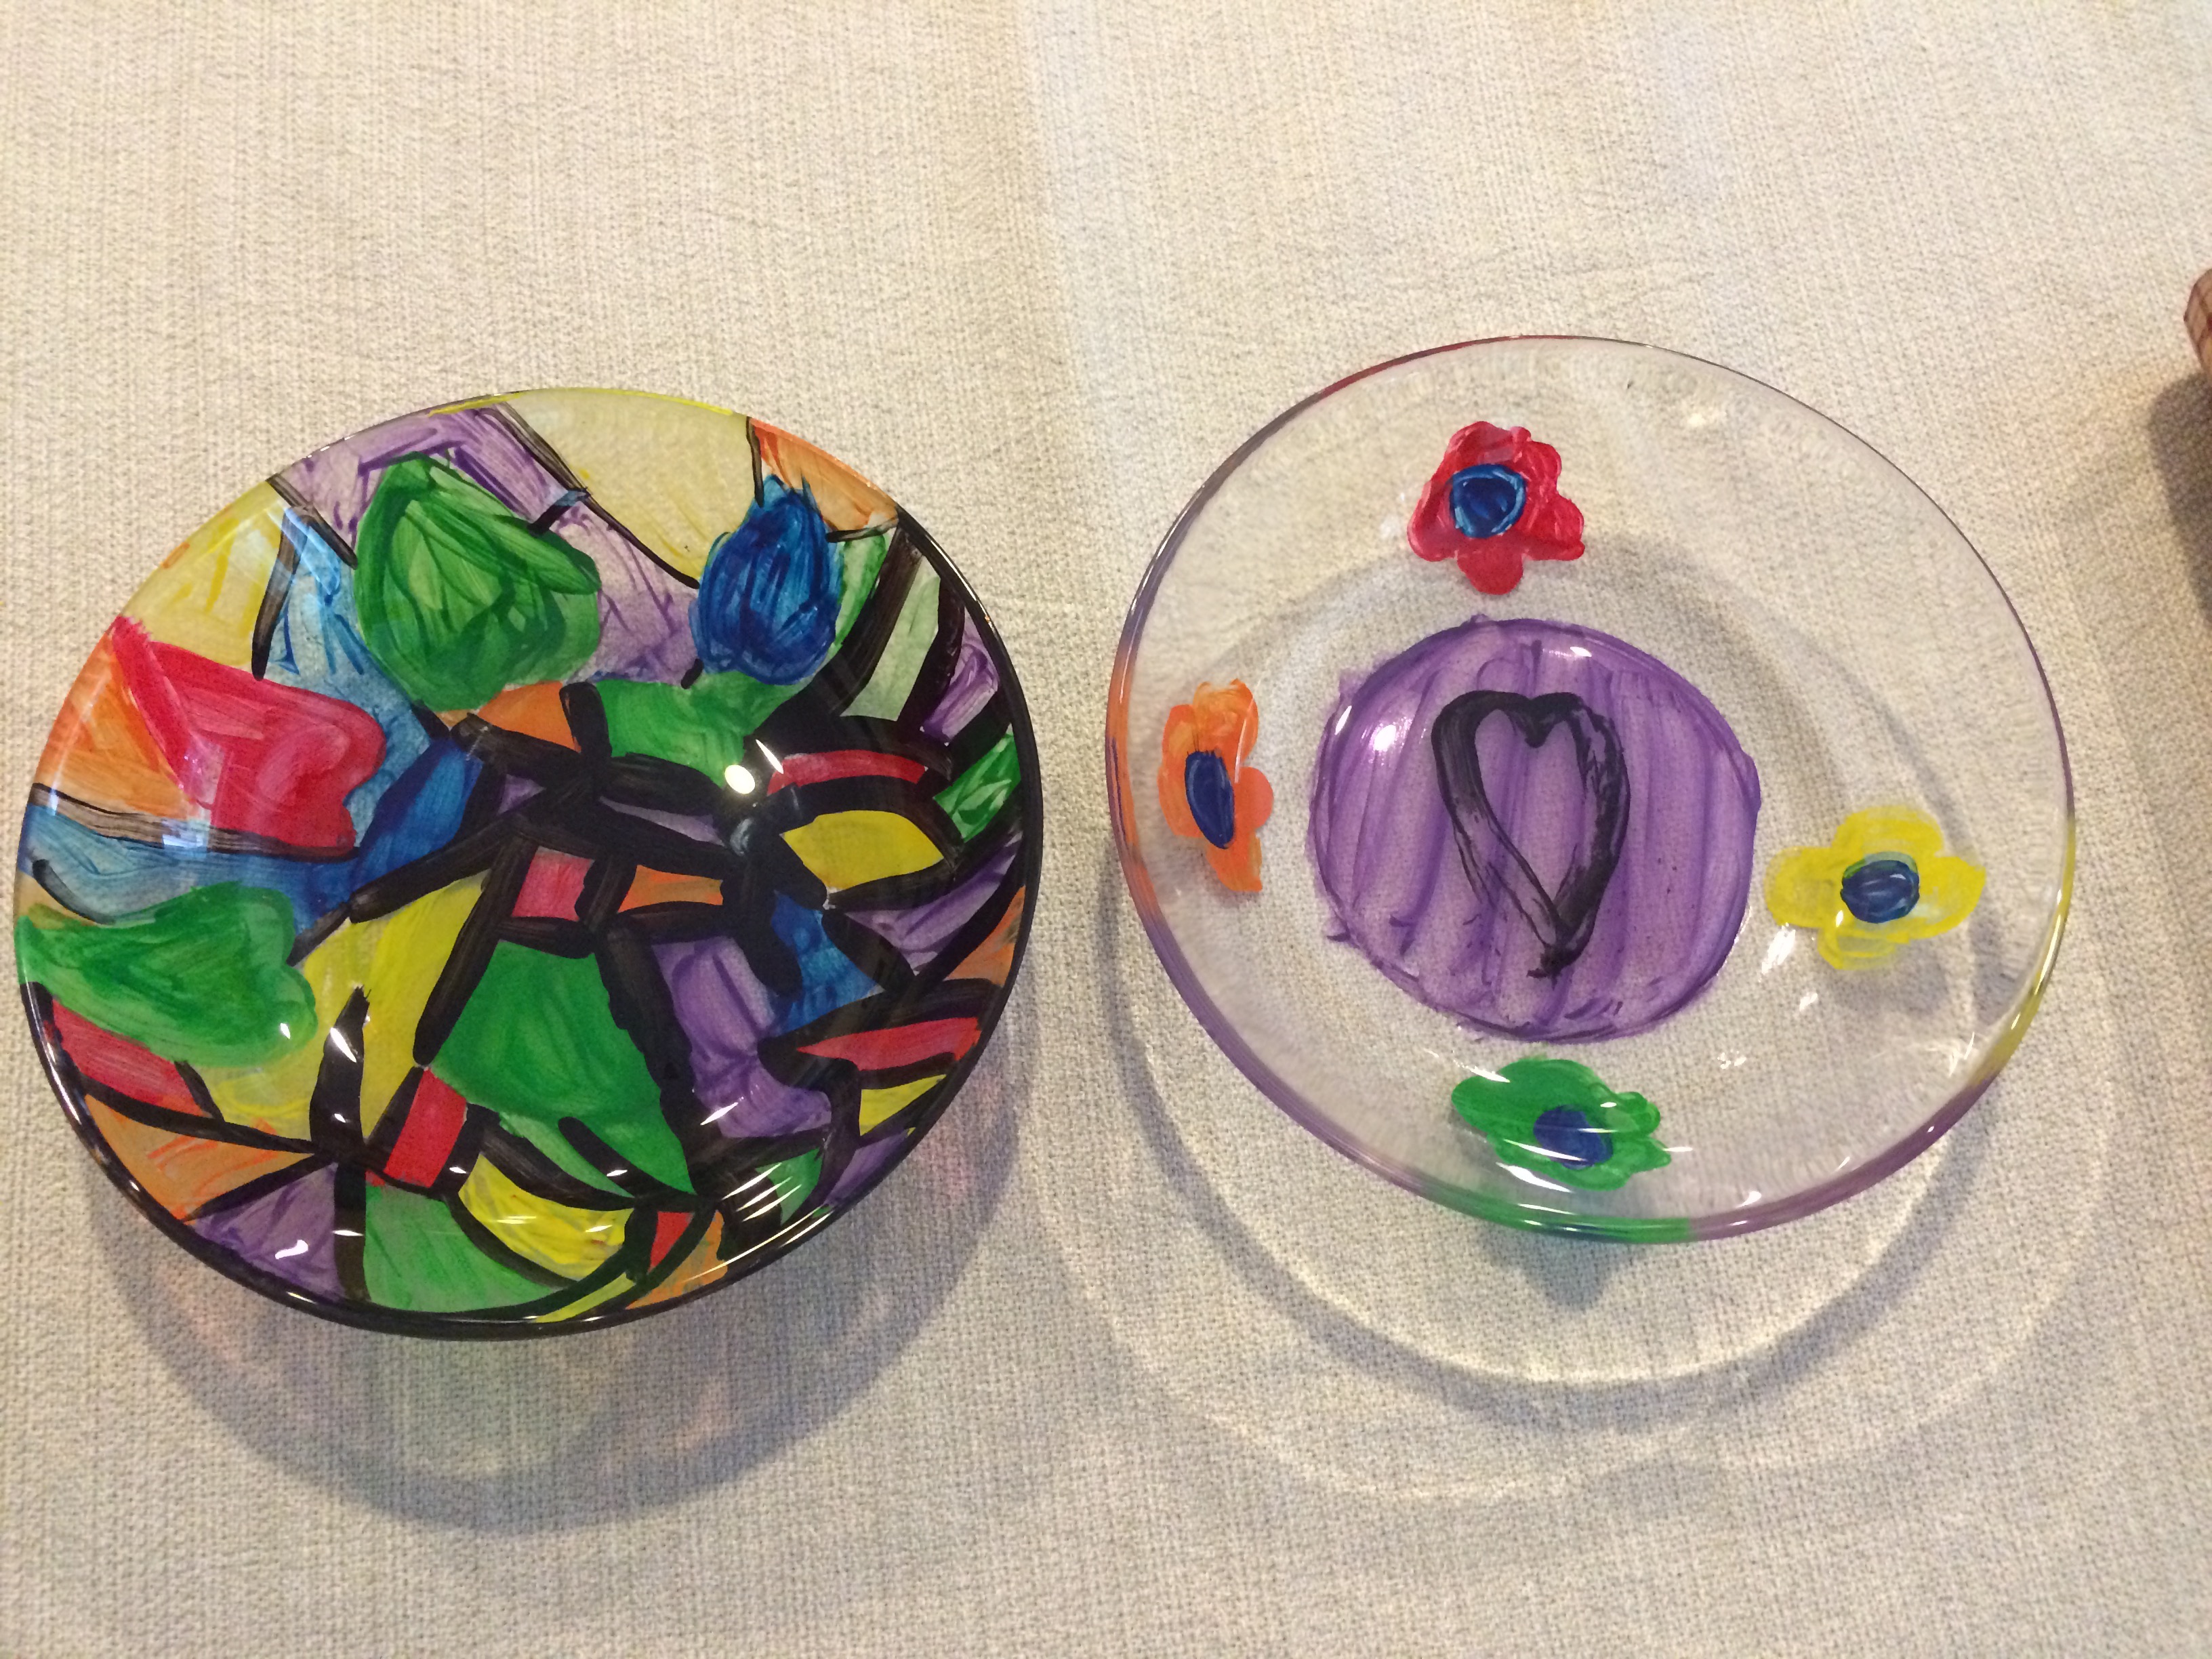
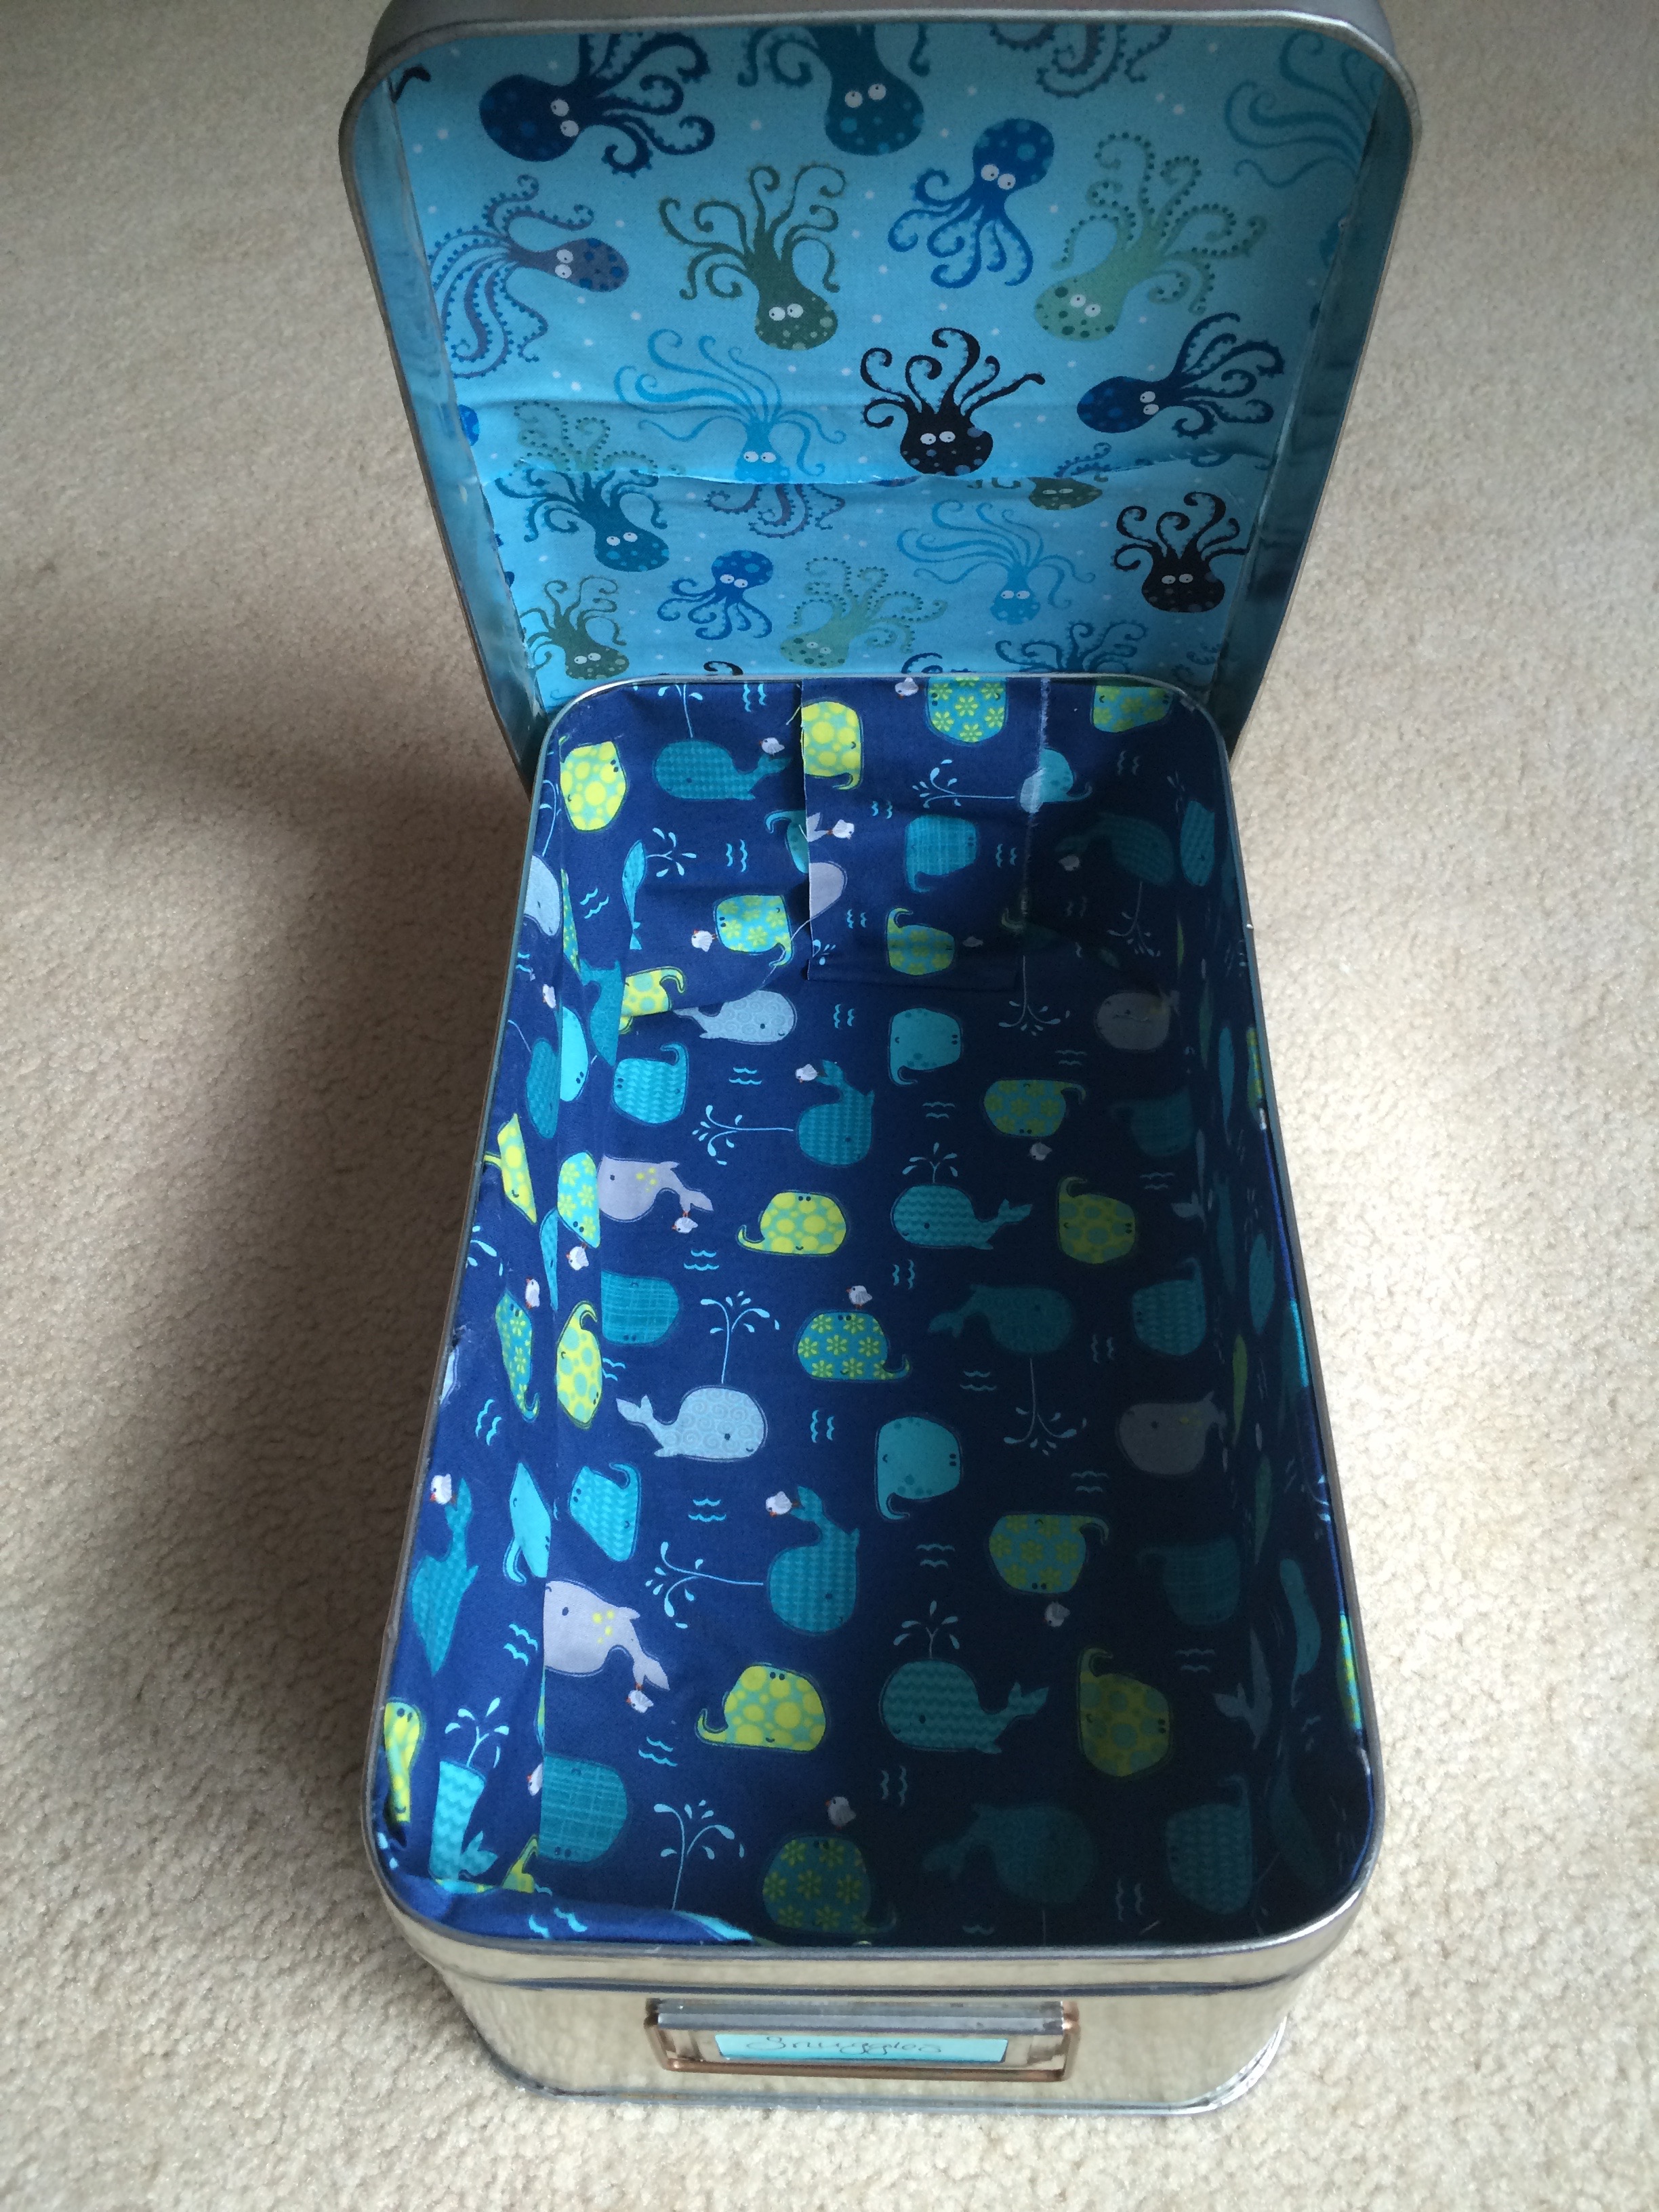
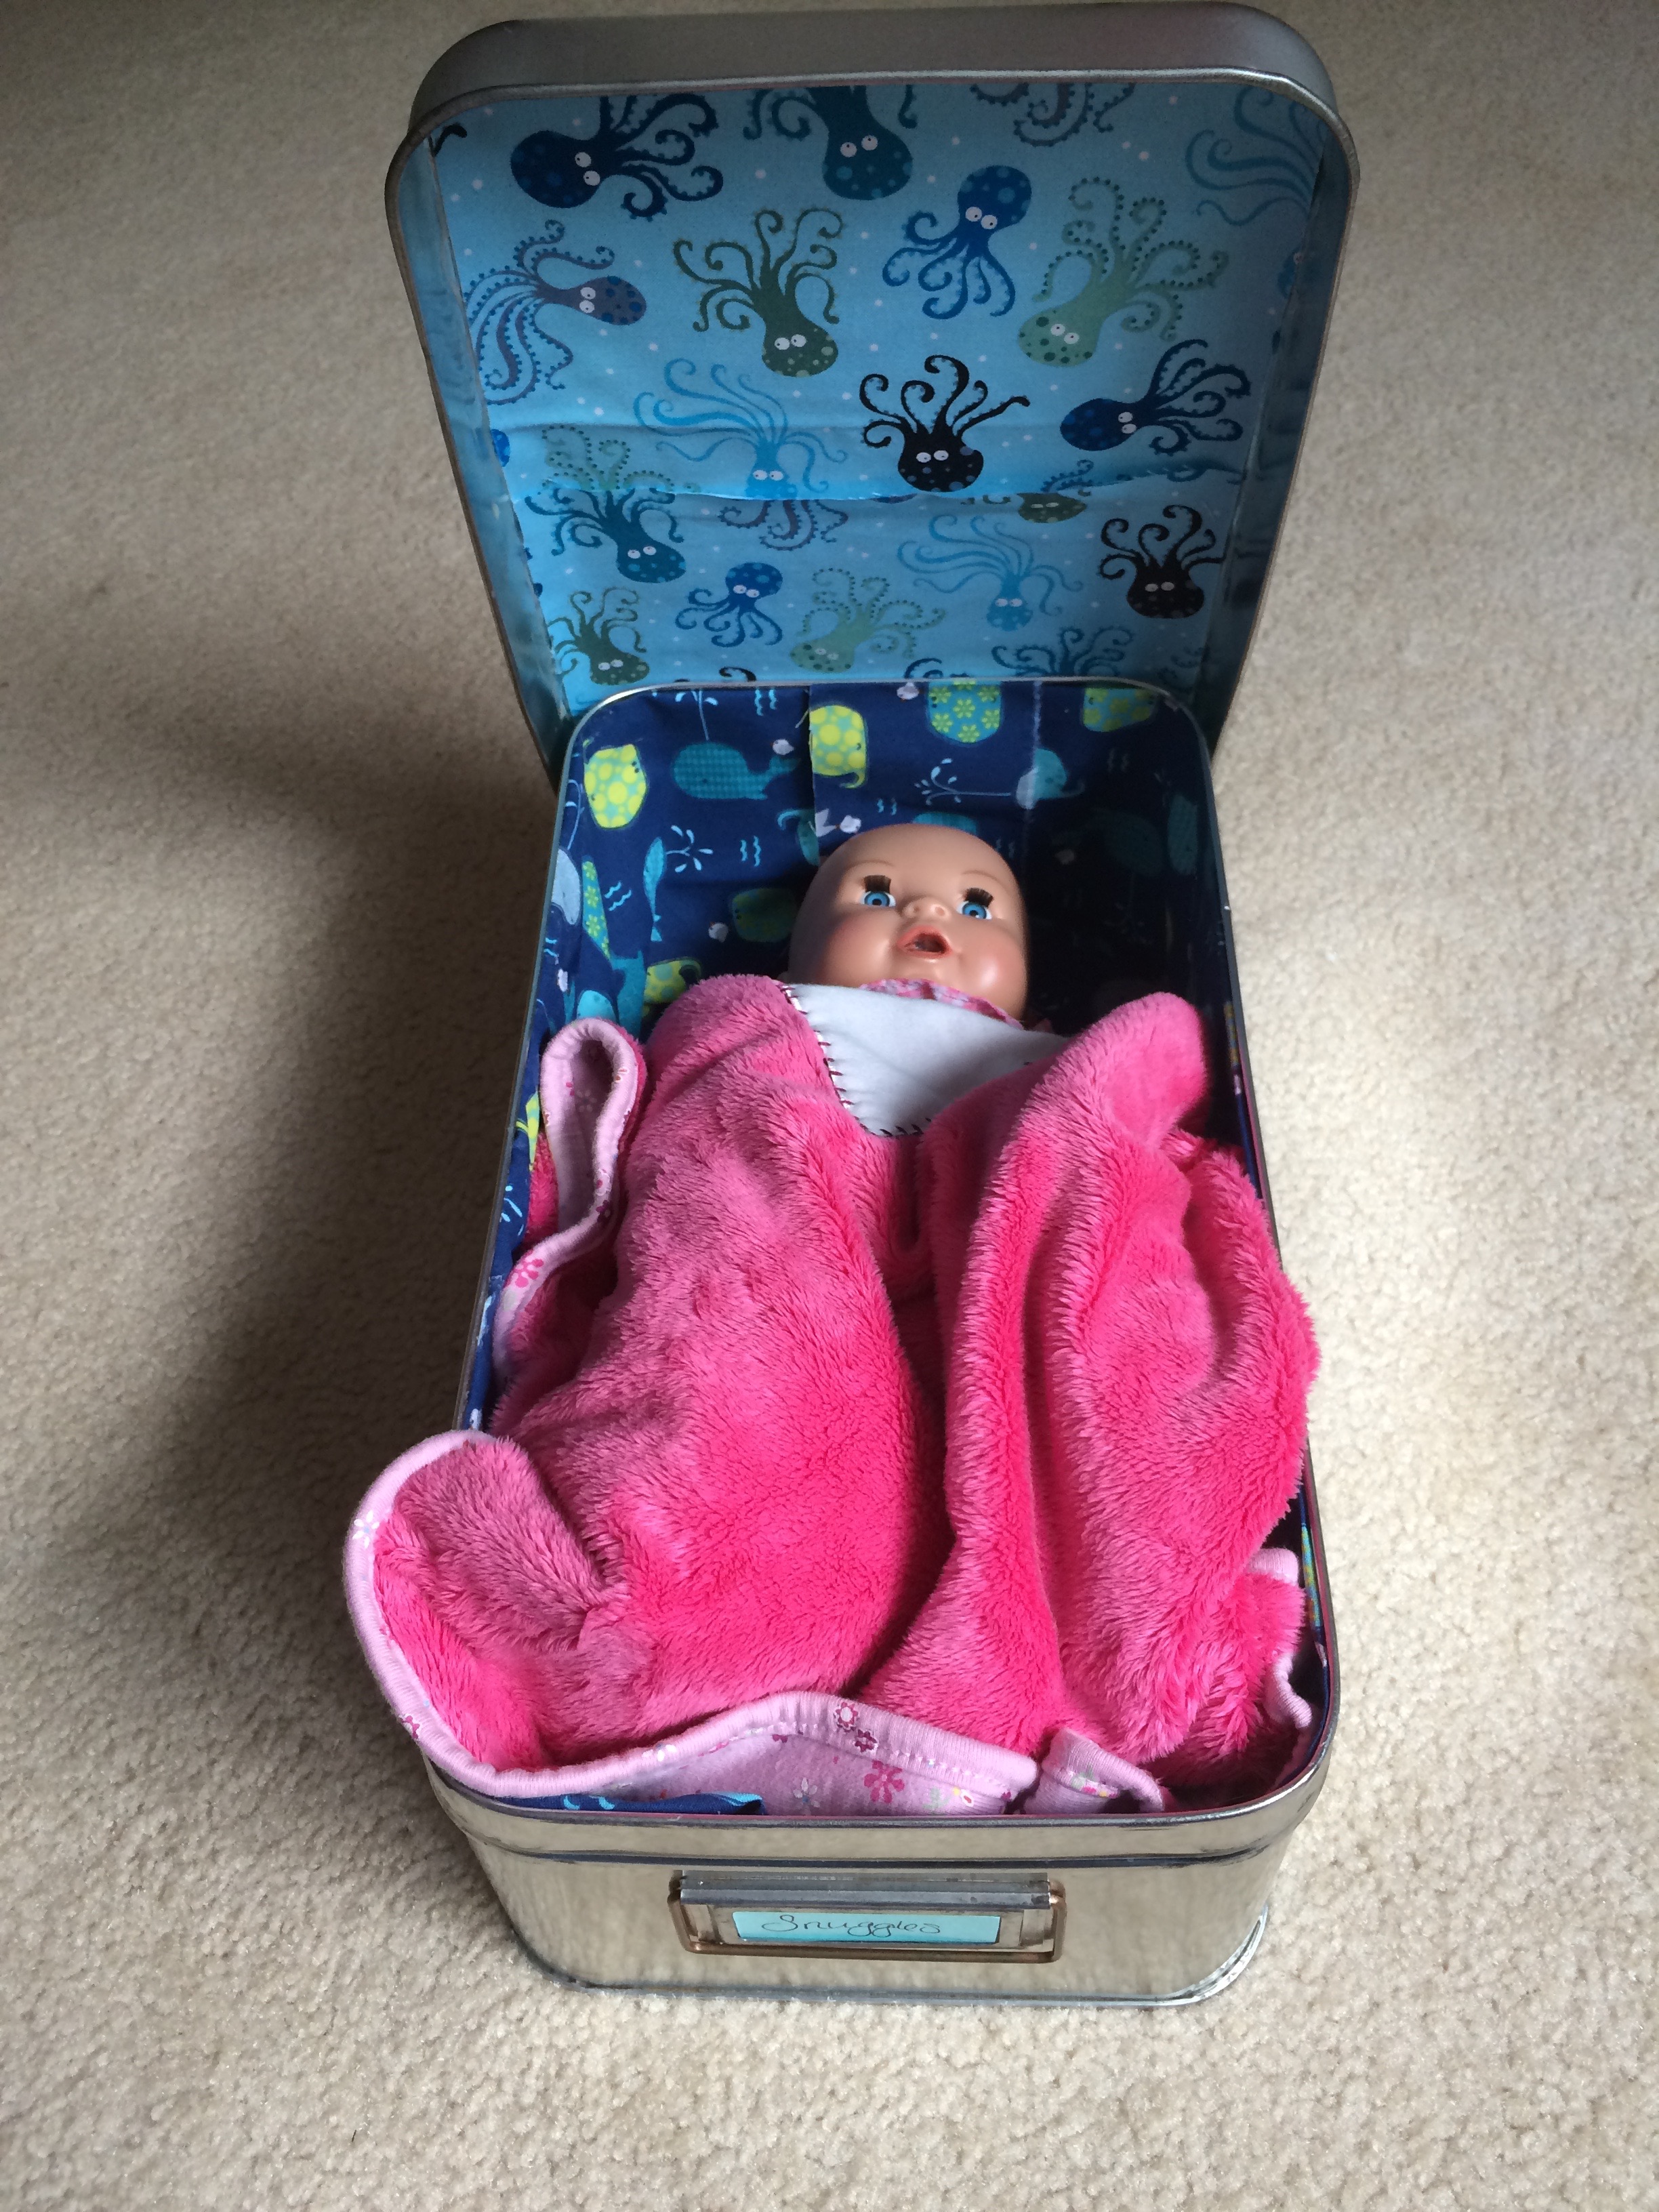
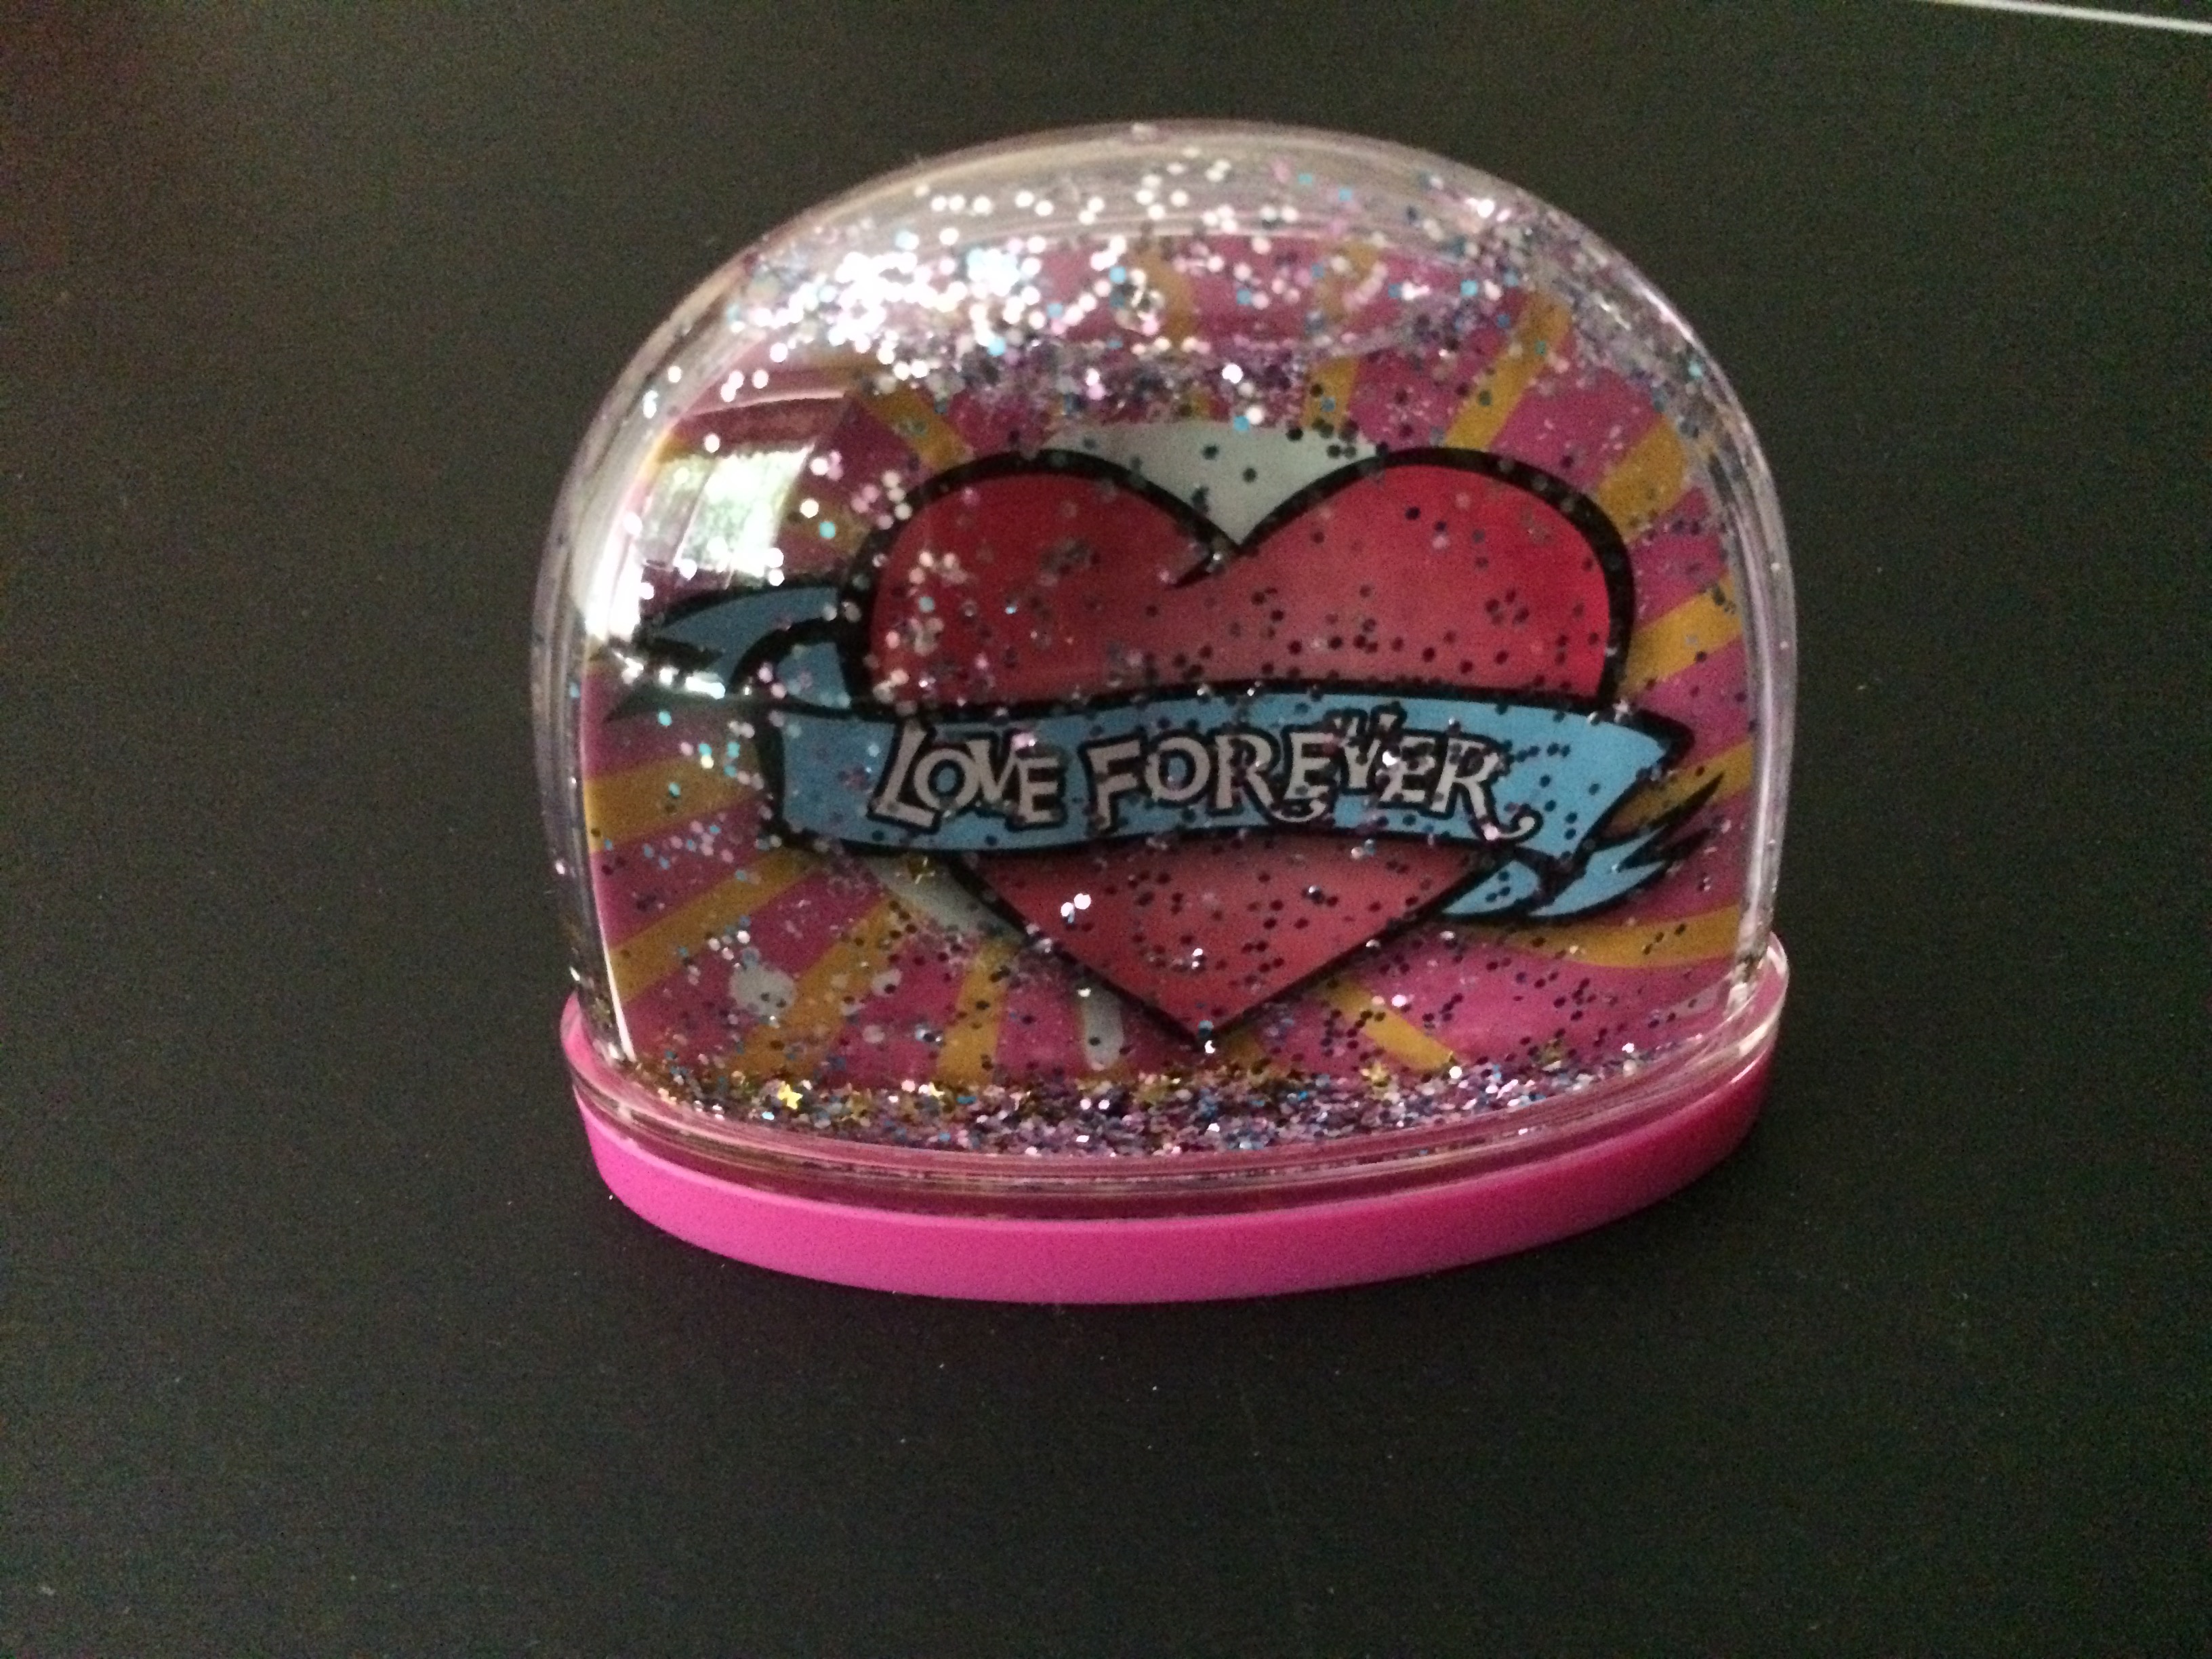
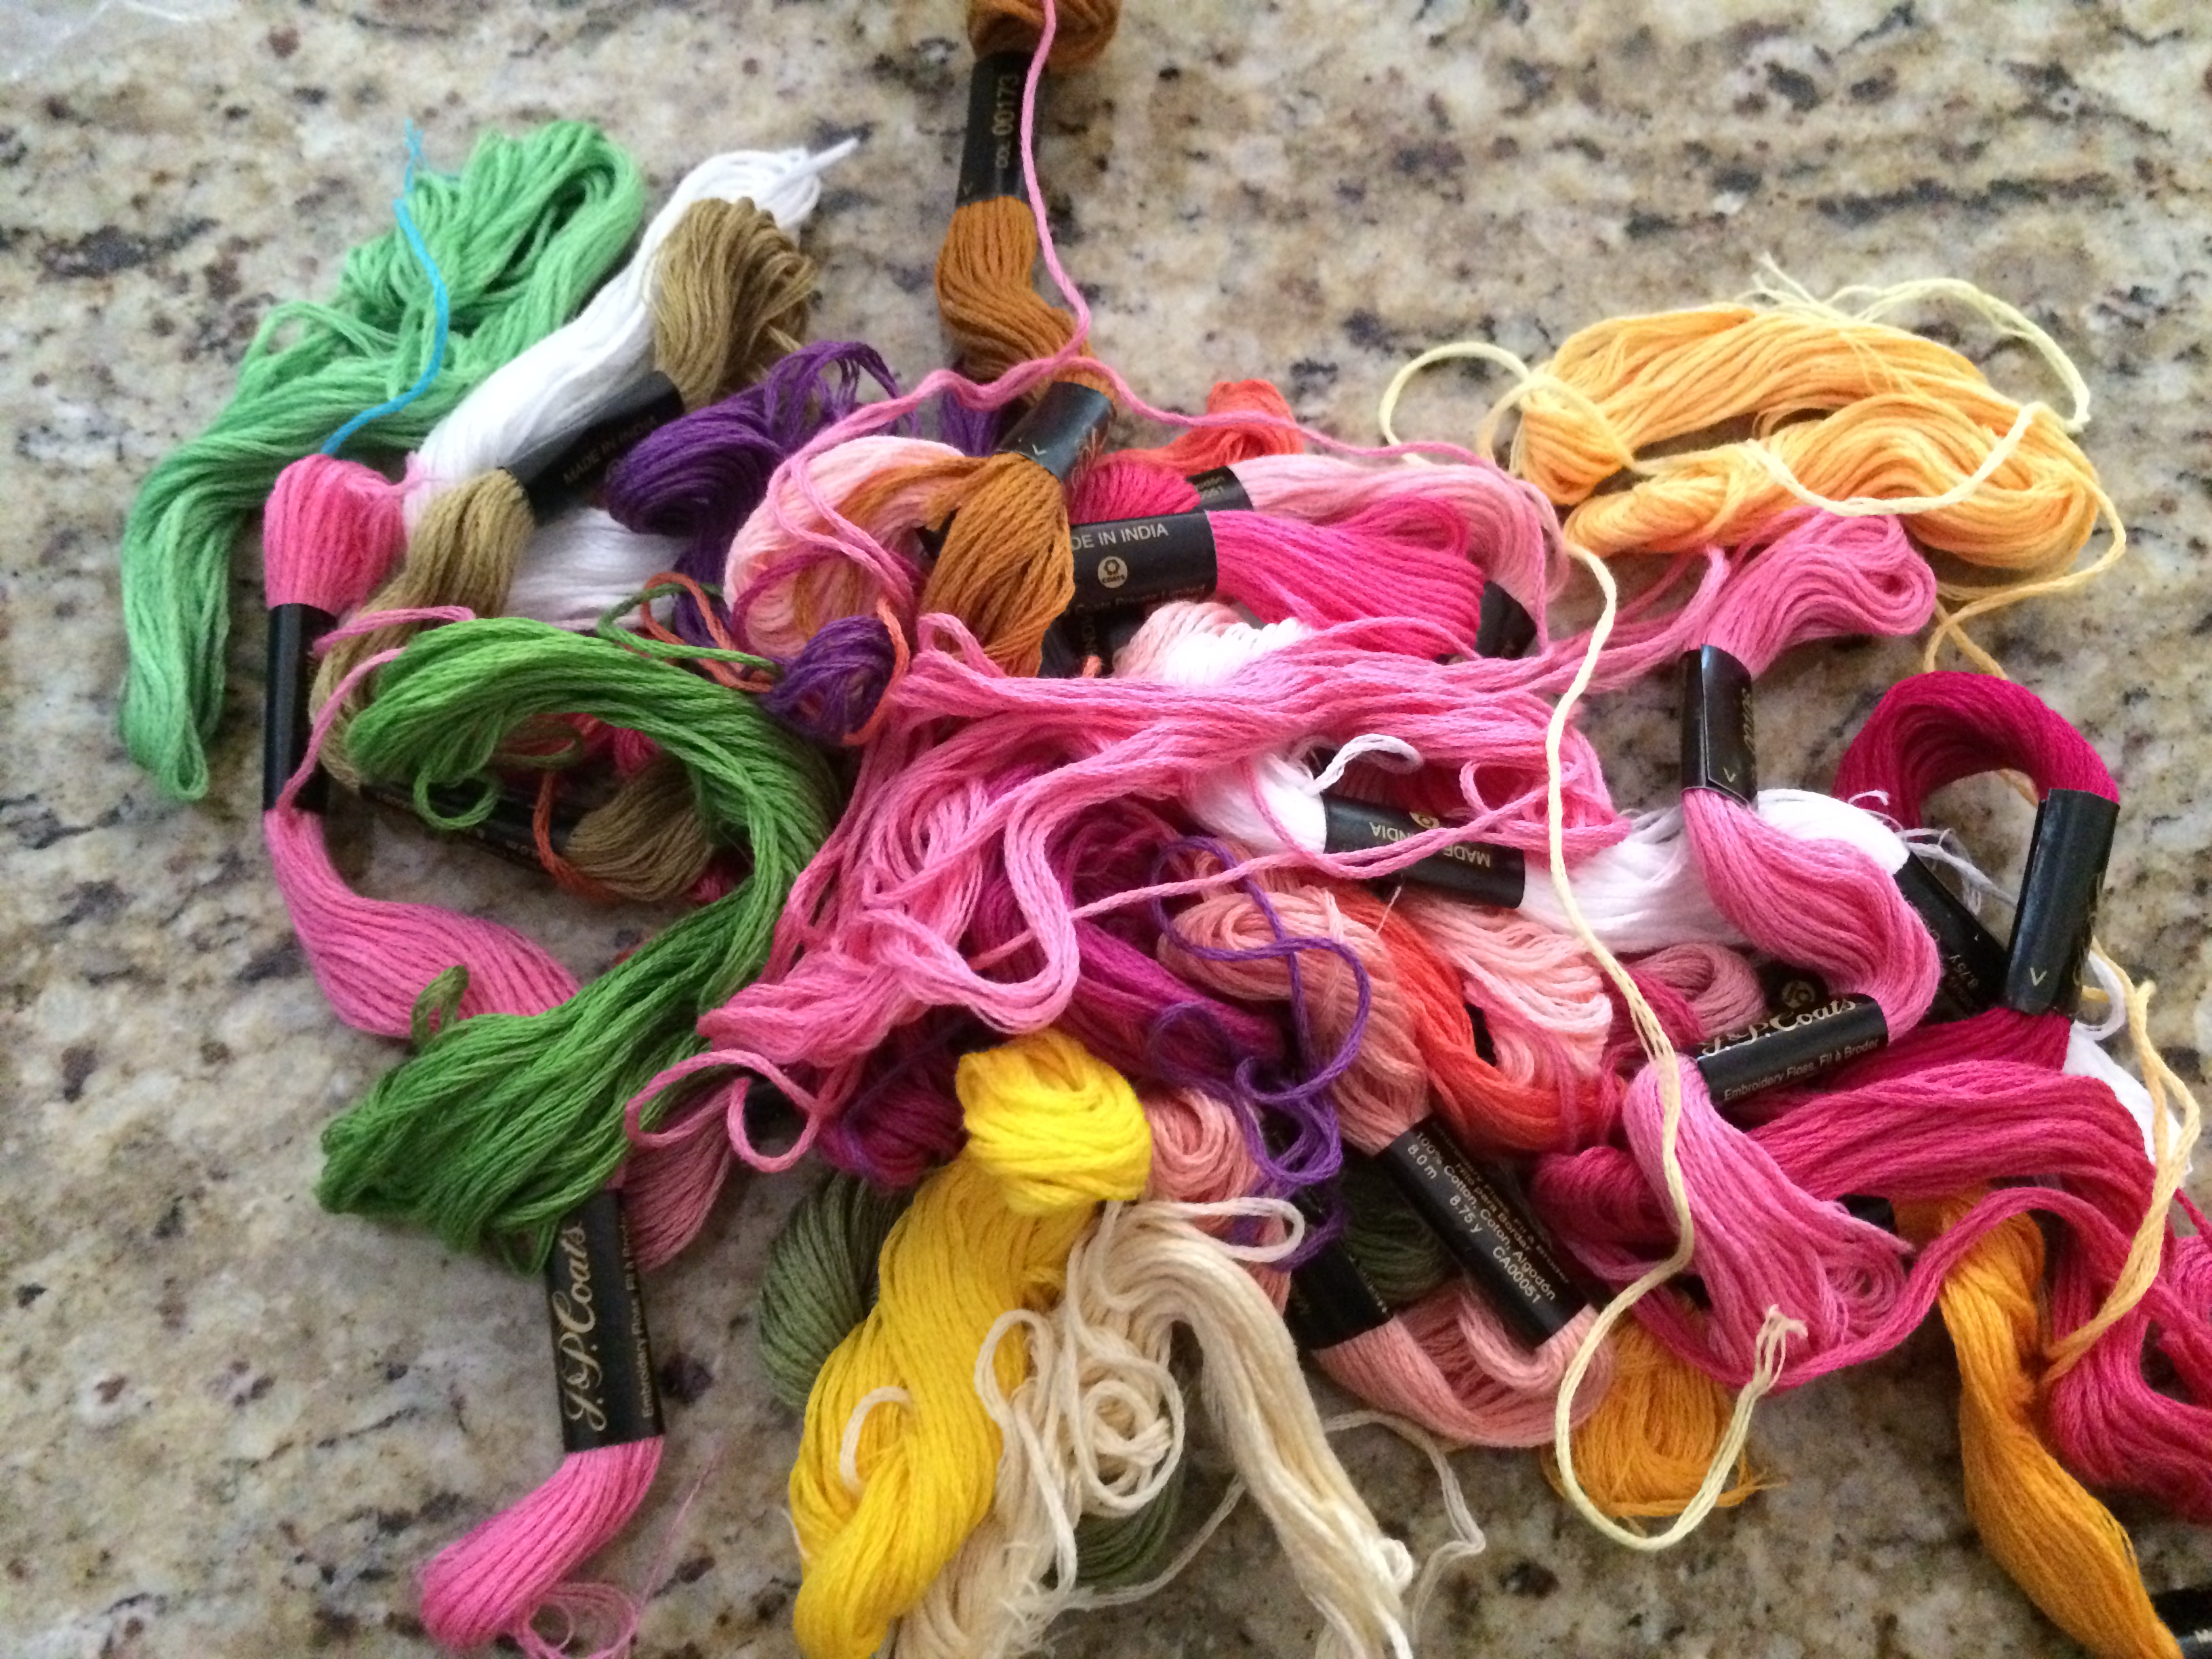
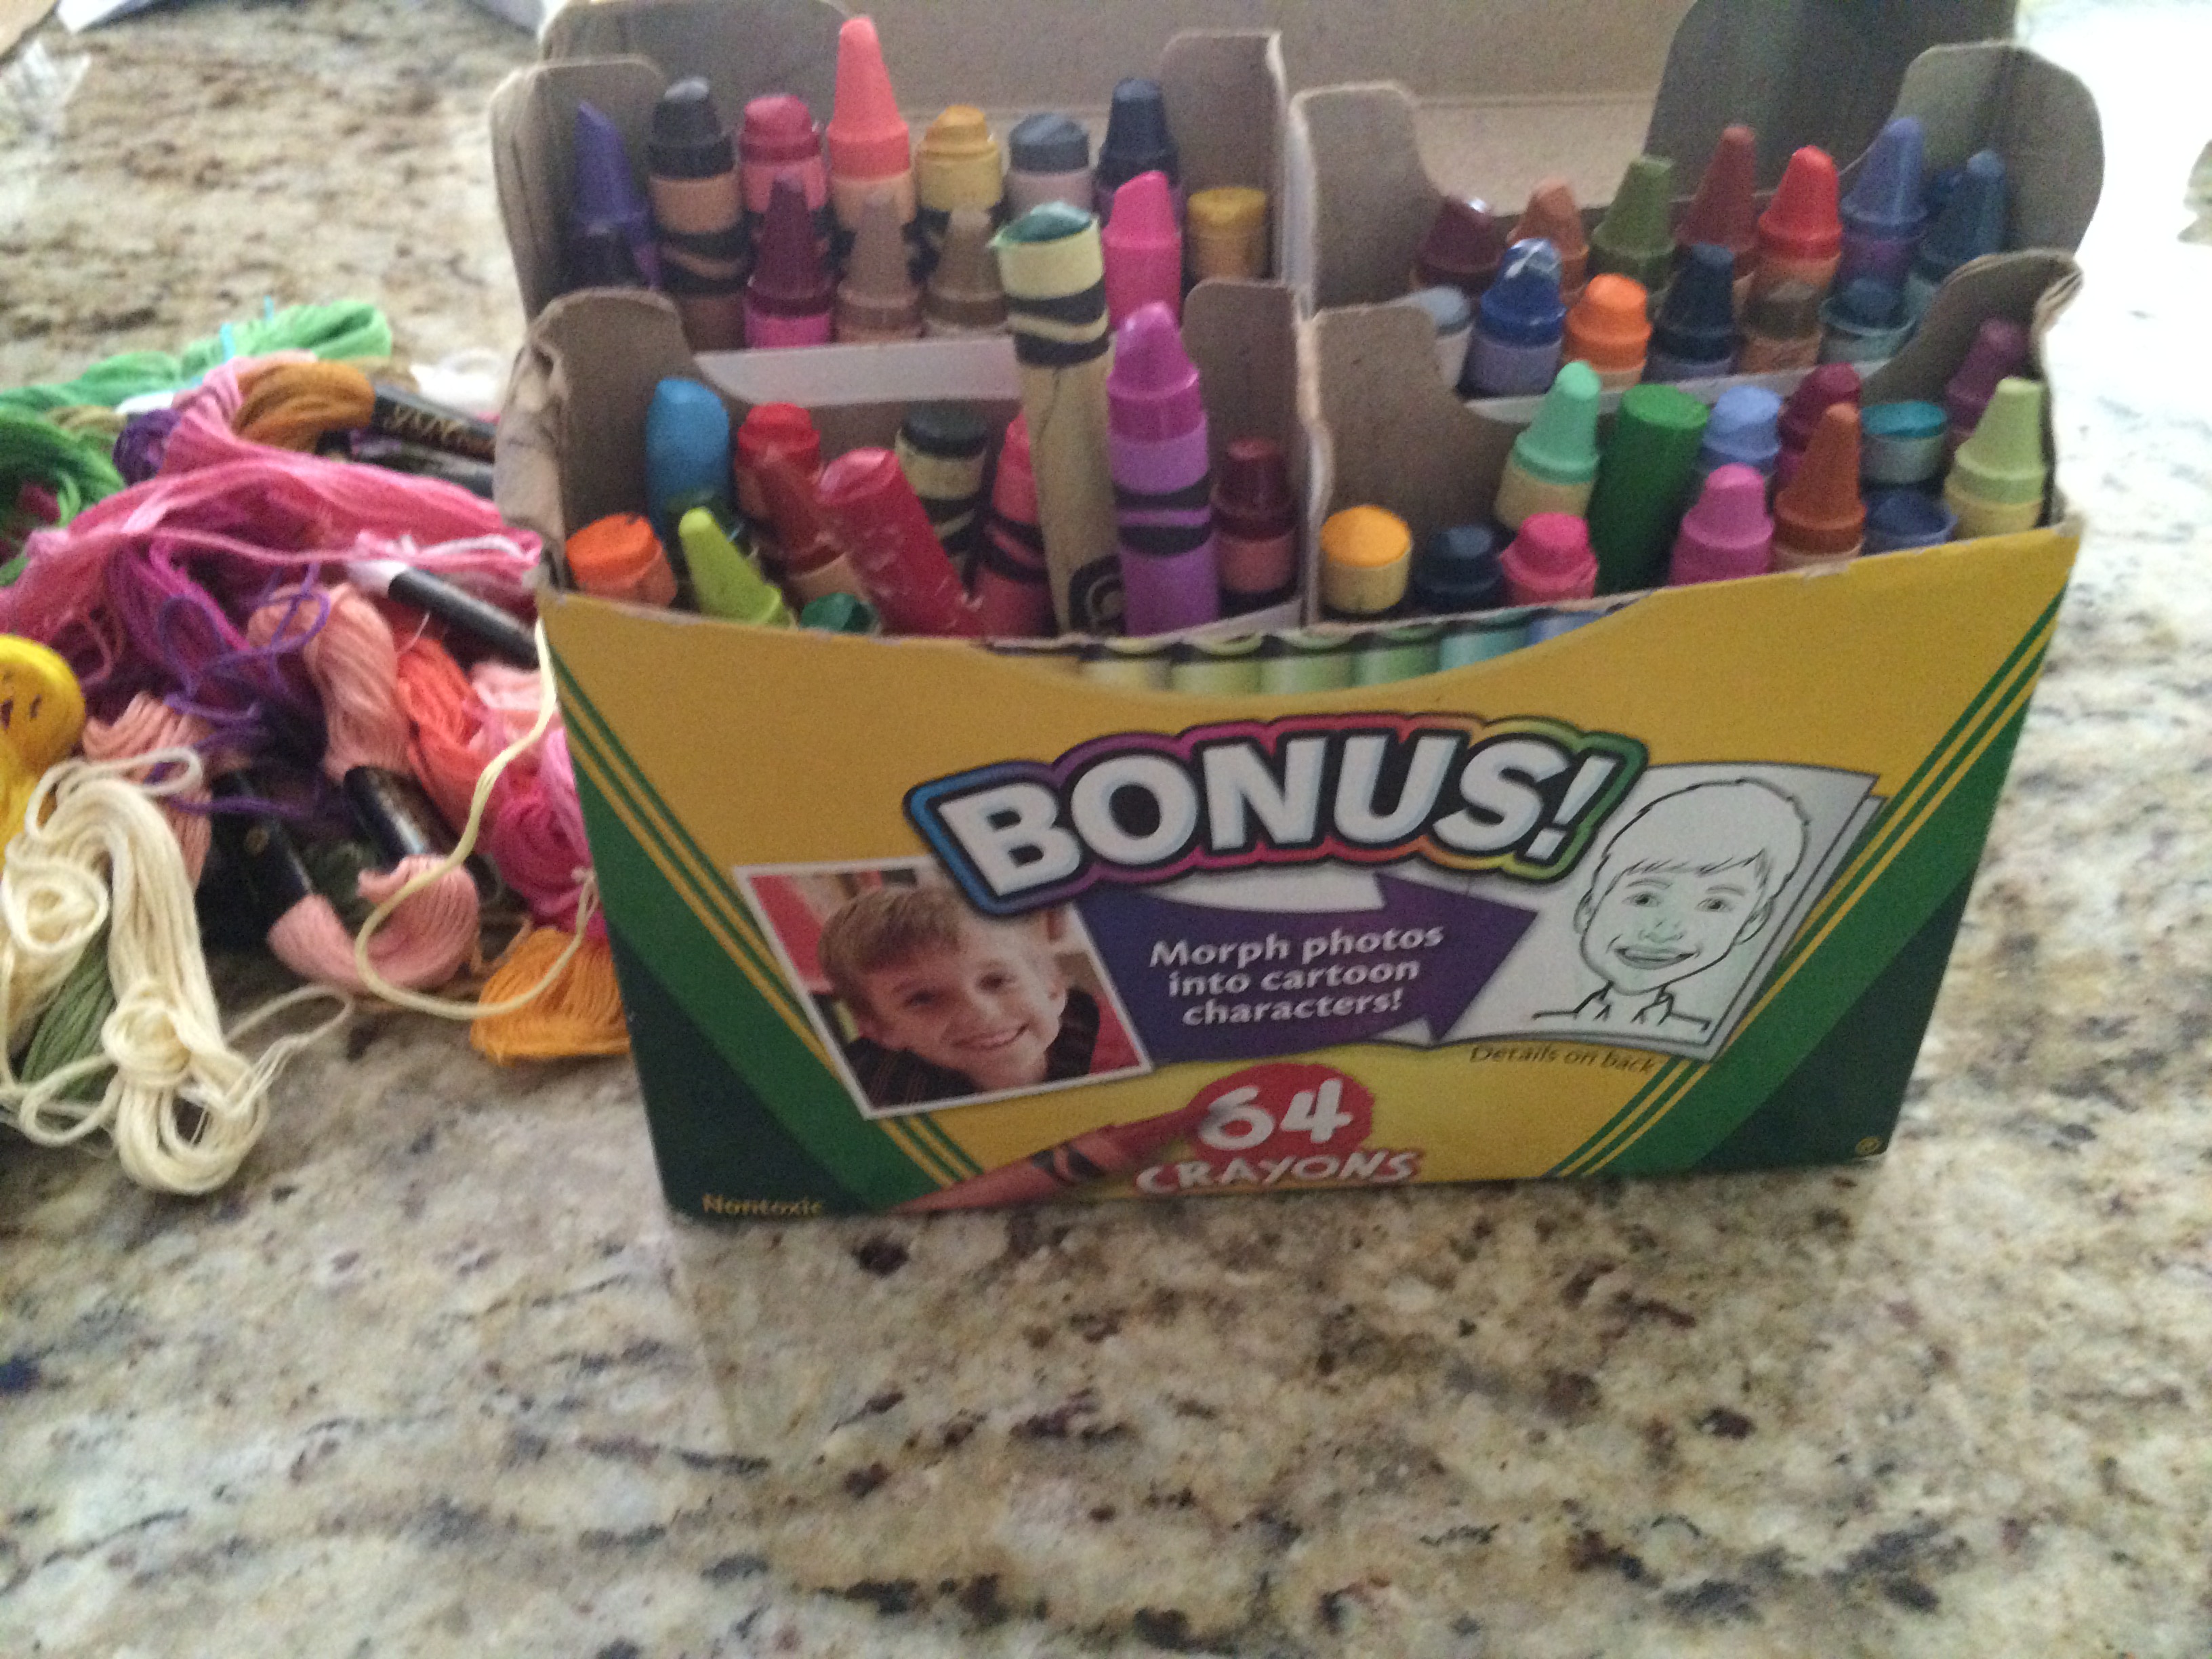
I also went through the toy closet and it was full of crafty birthday gifts my daughter has received over the last few years so I decided this summer we would get to one every week or so. We also did some crafting of our own. We painted using food colored bubbles, painted glass bowls, made friendship bracelets, tie dyed, made snow globes, sewed a pillow, made a doll bed, made headbands and decorated a plush doll.


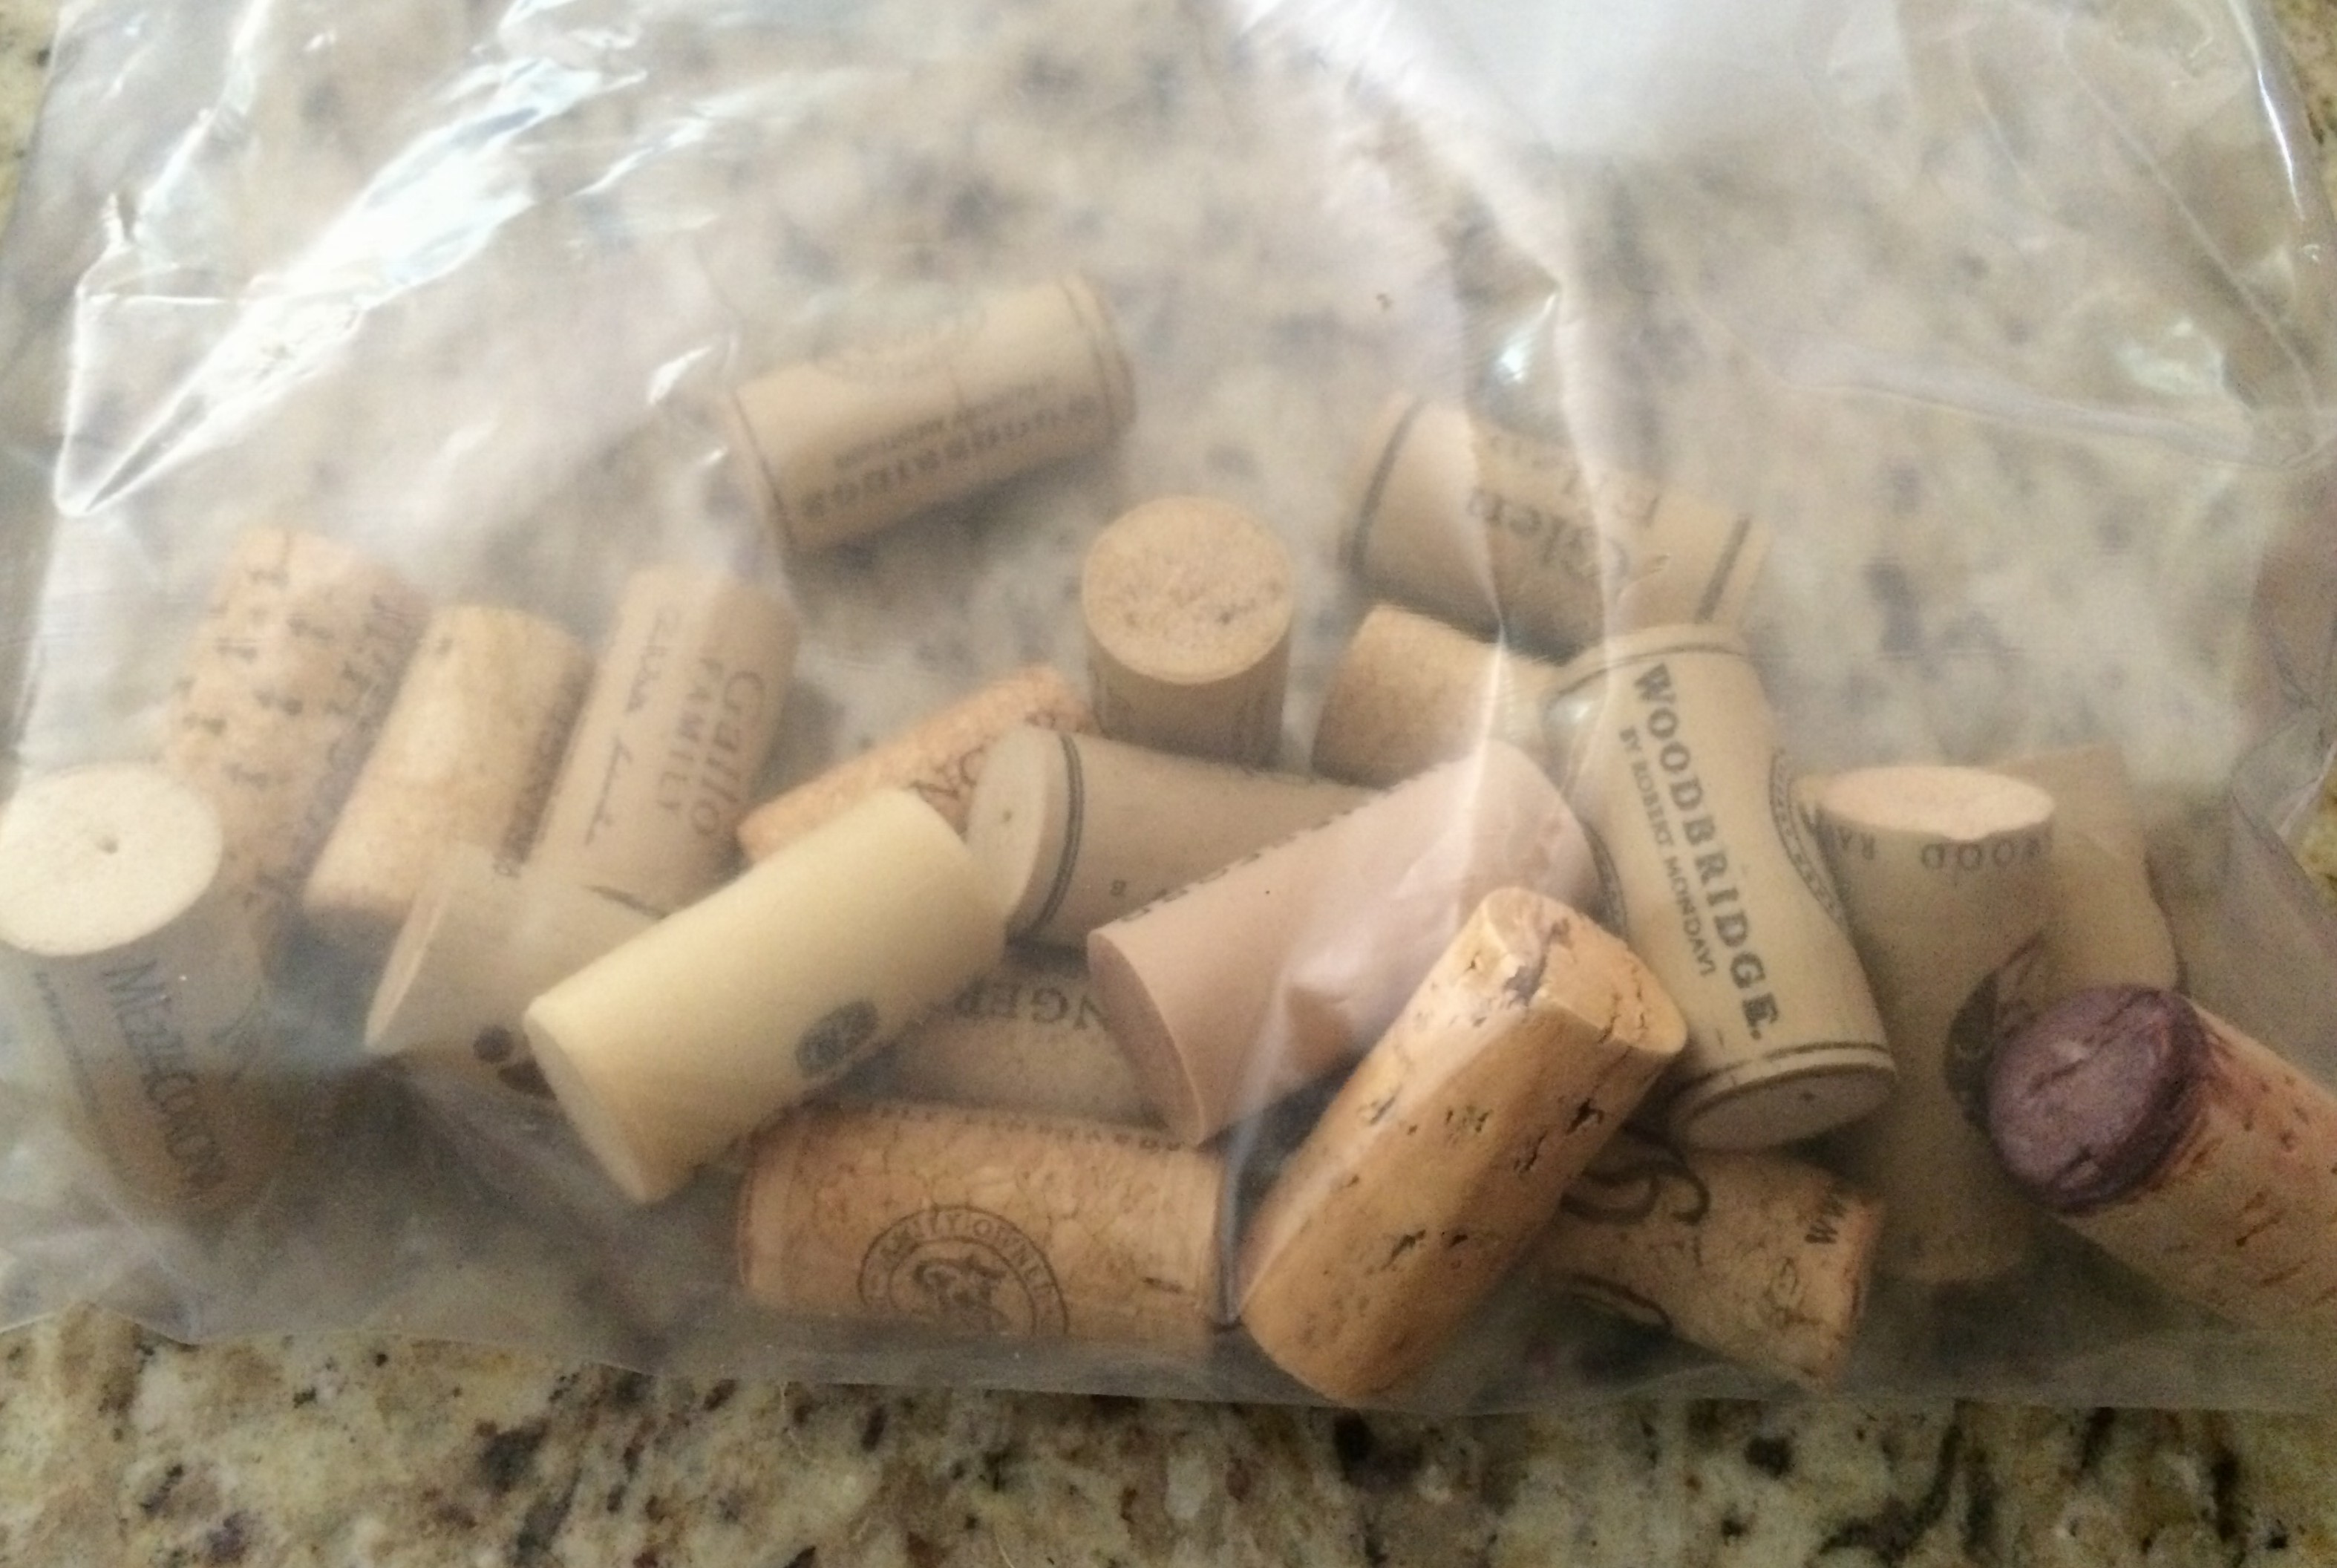
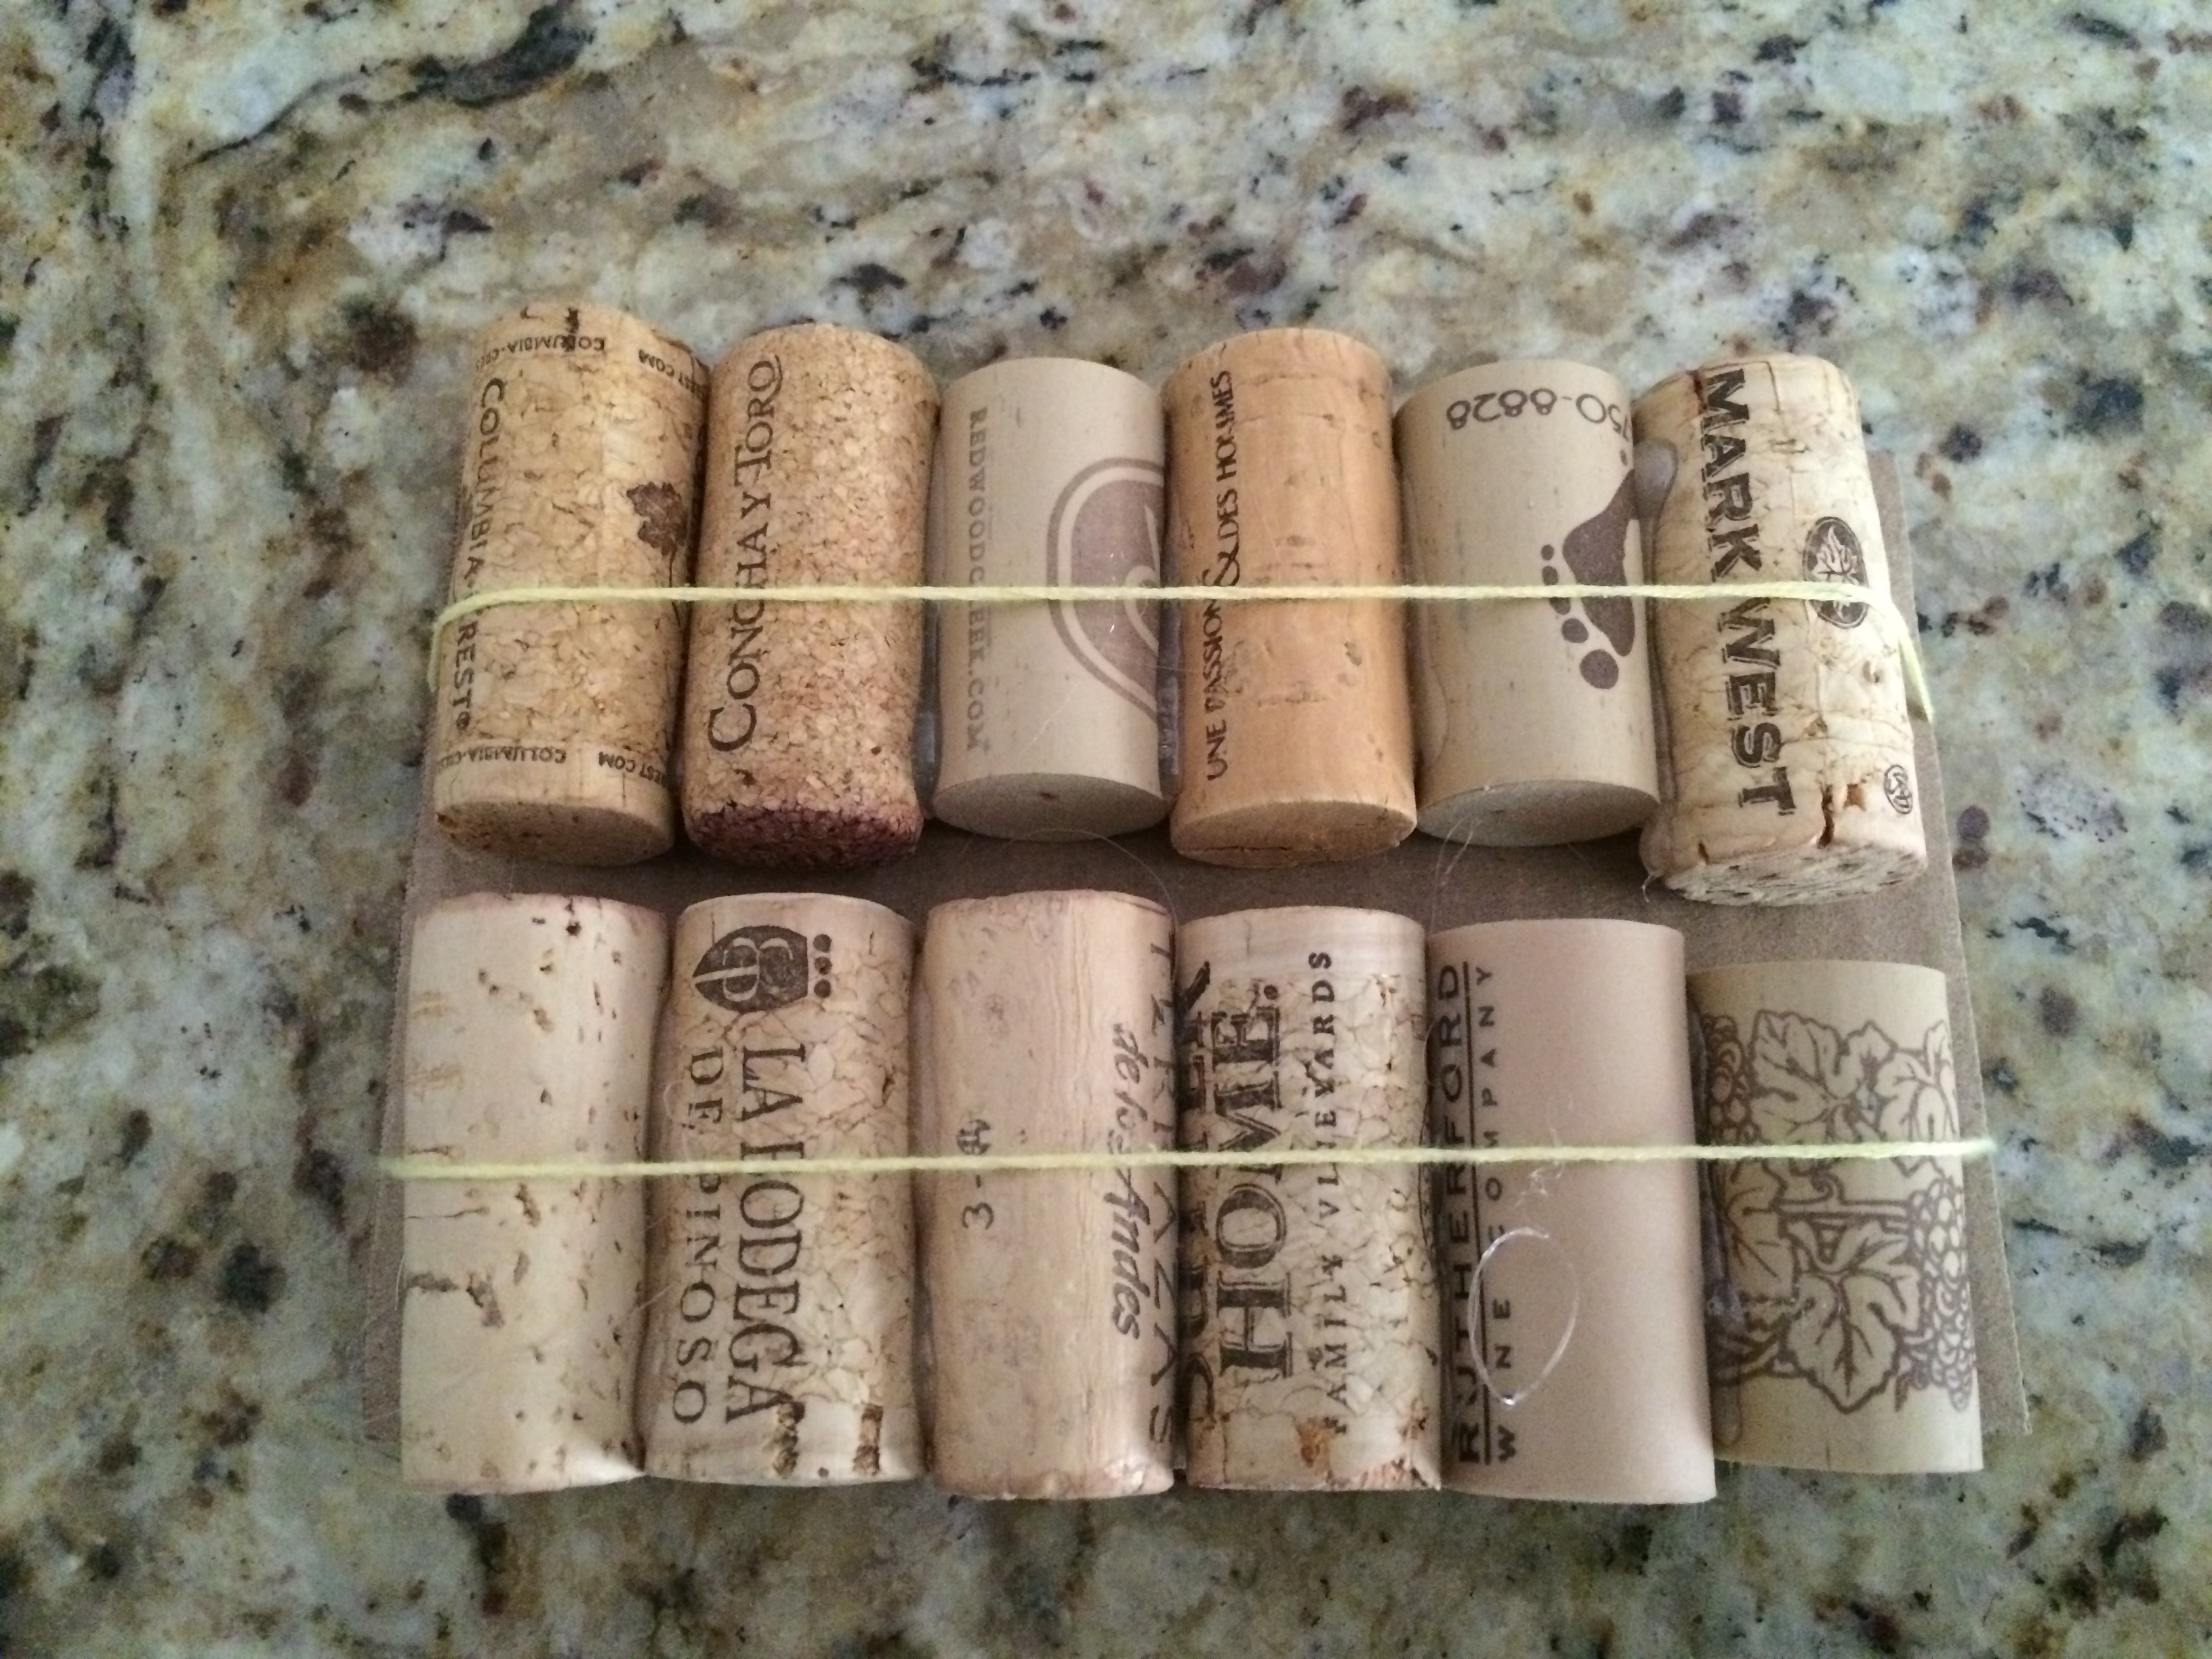
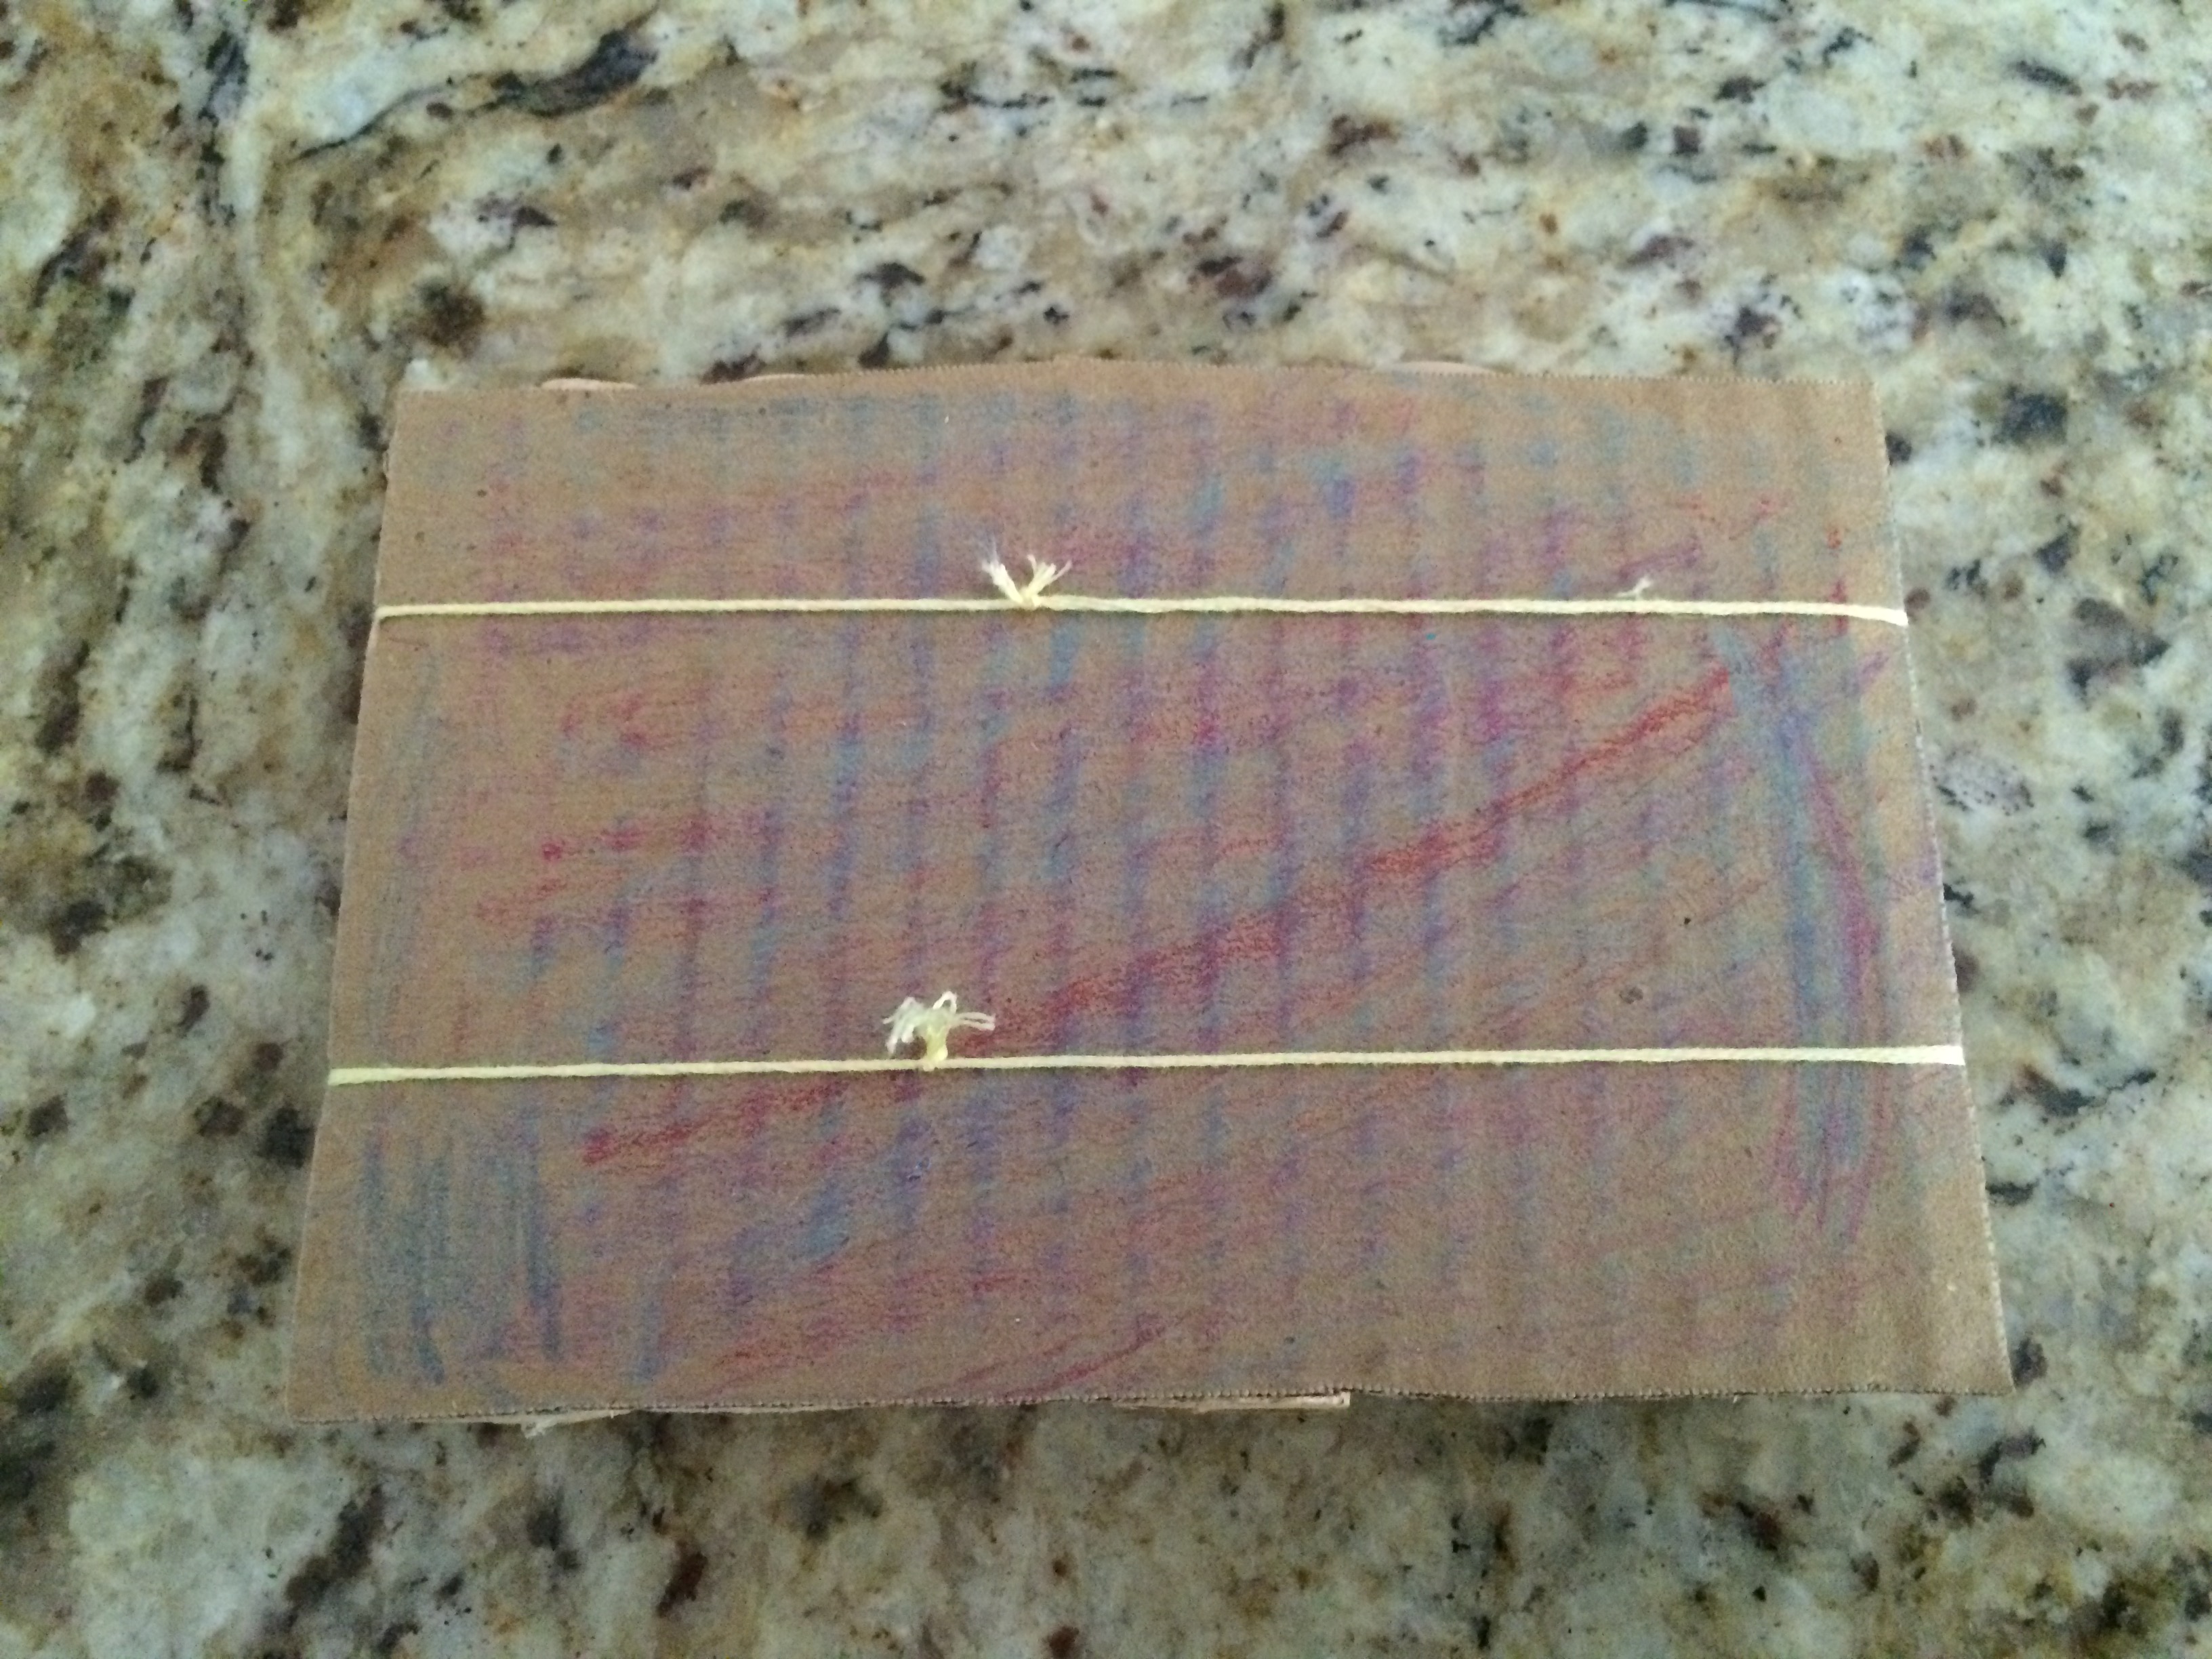
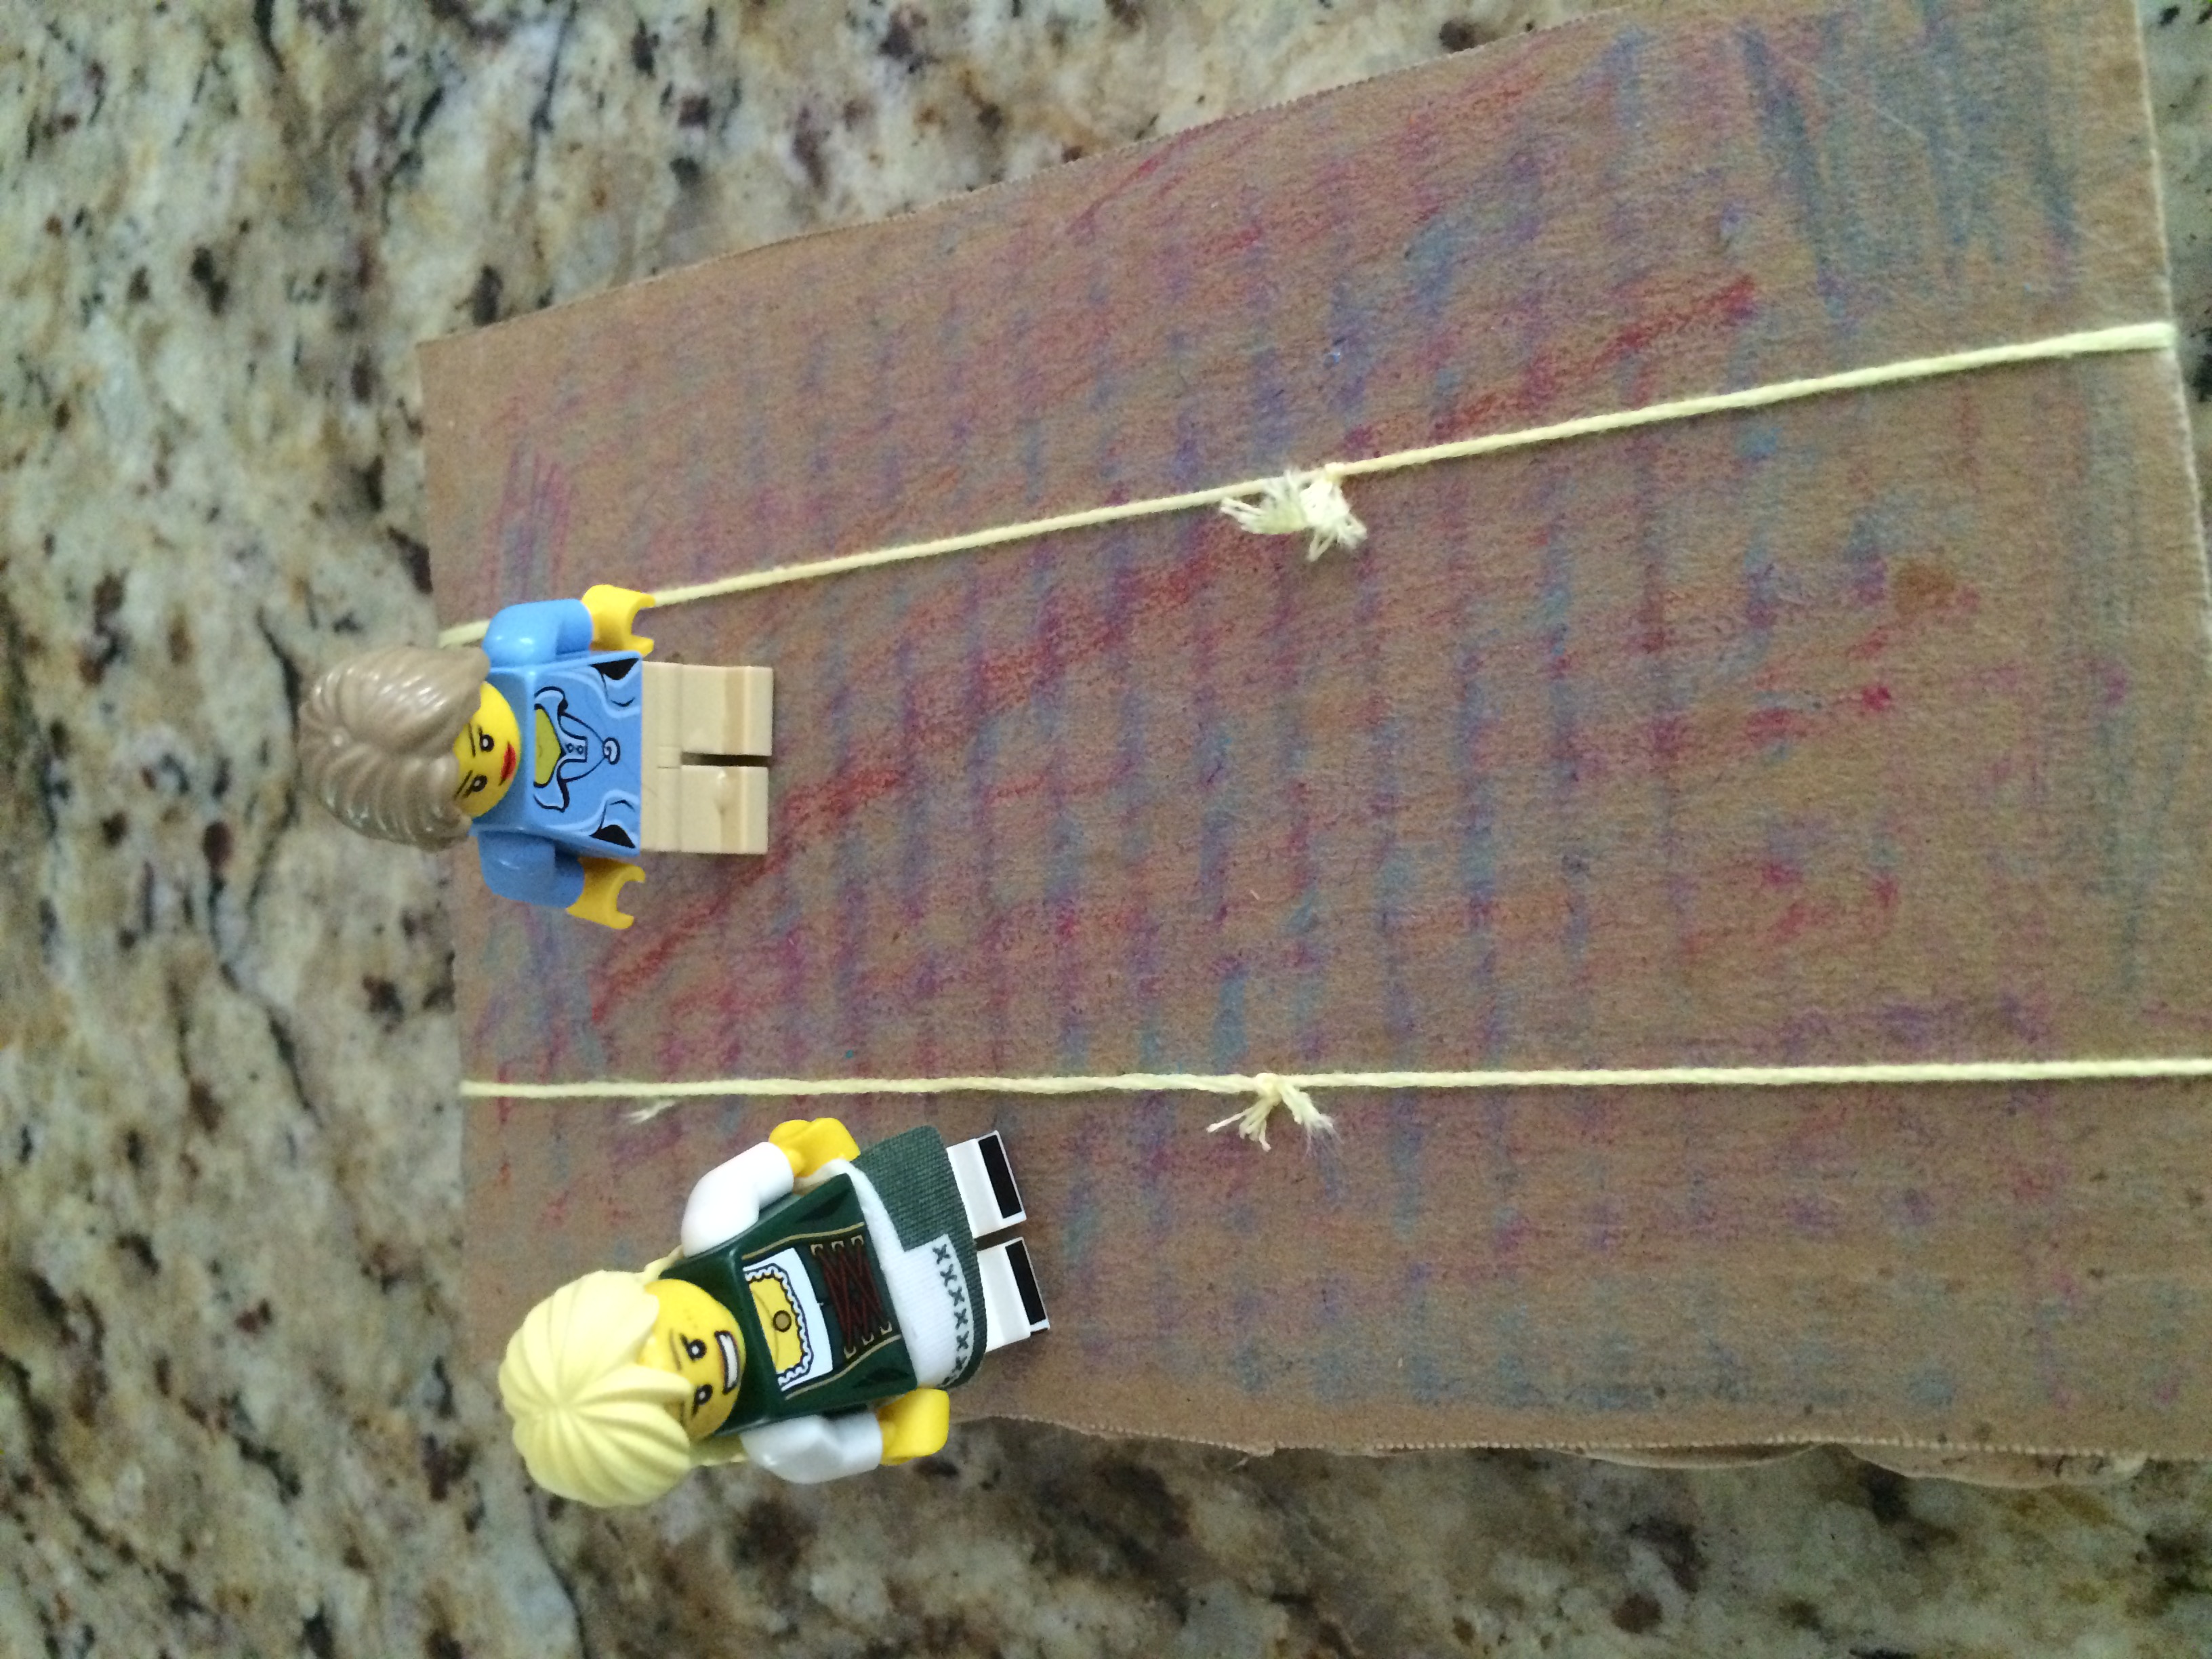
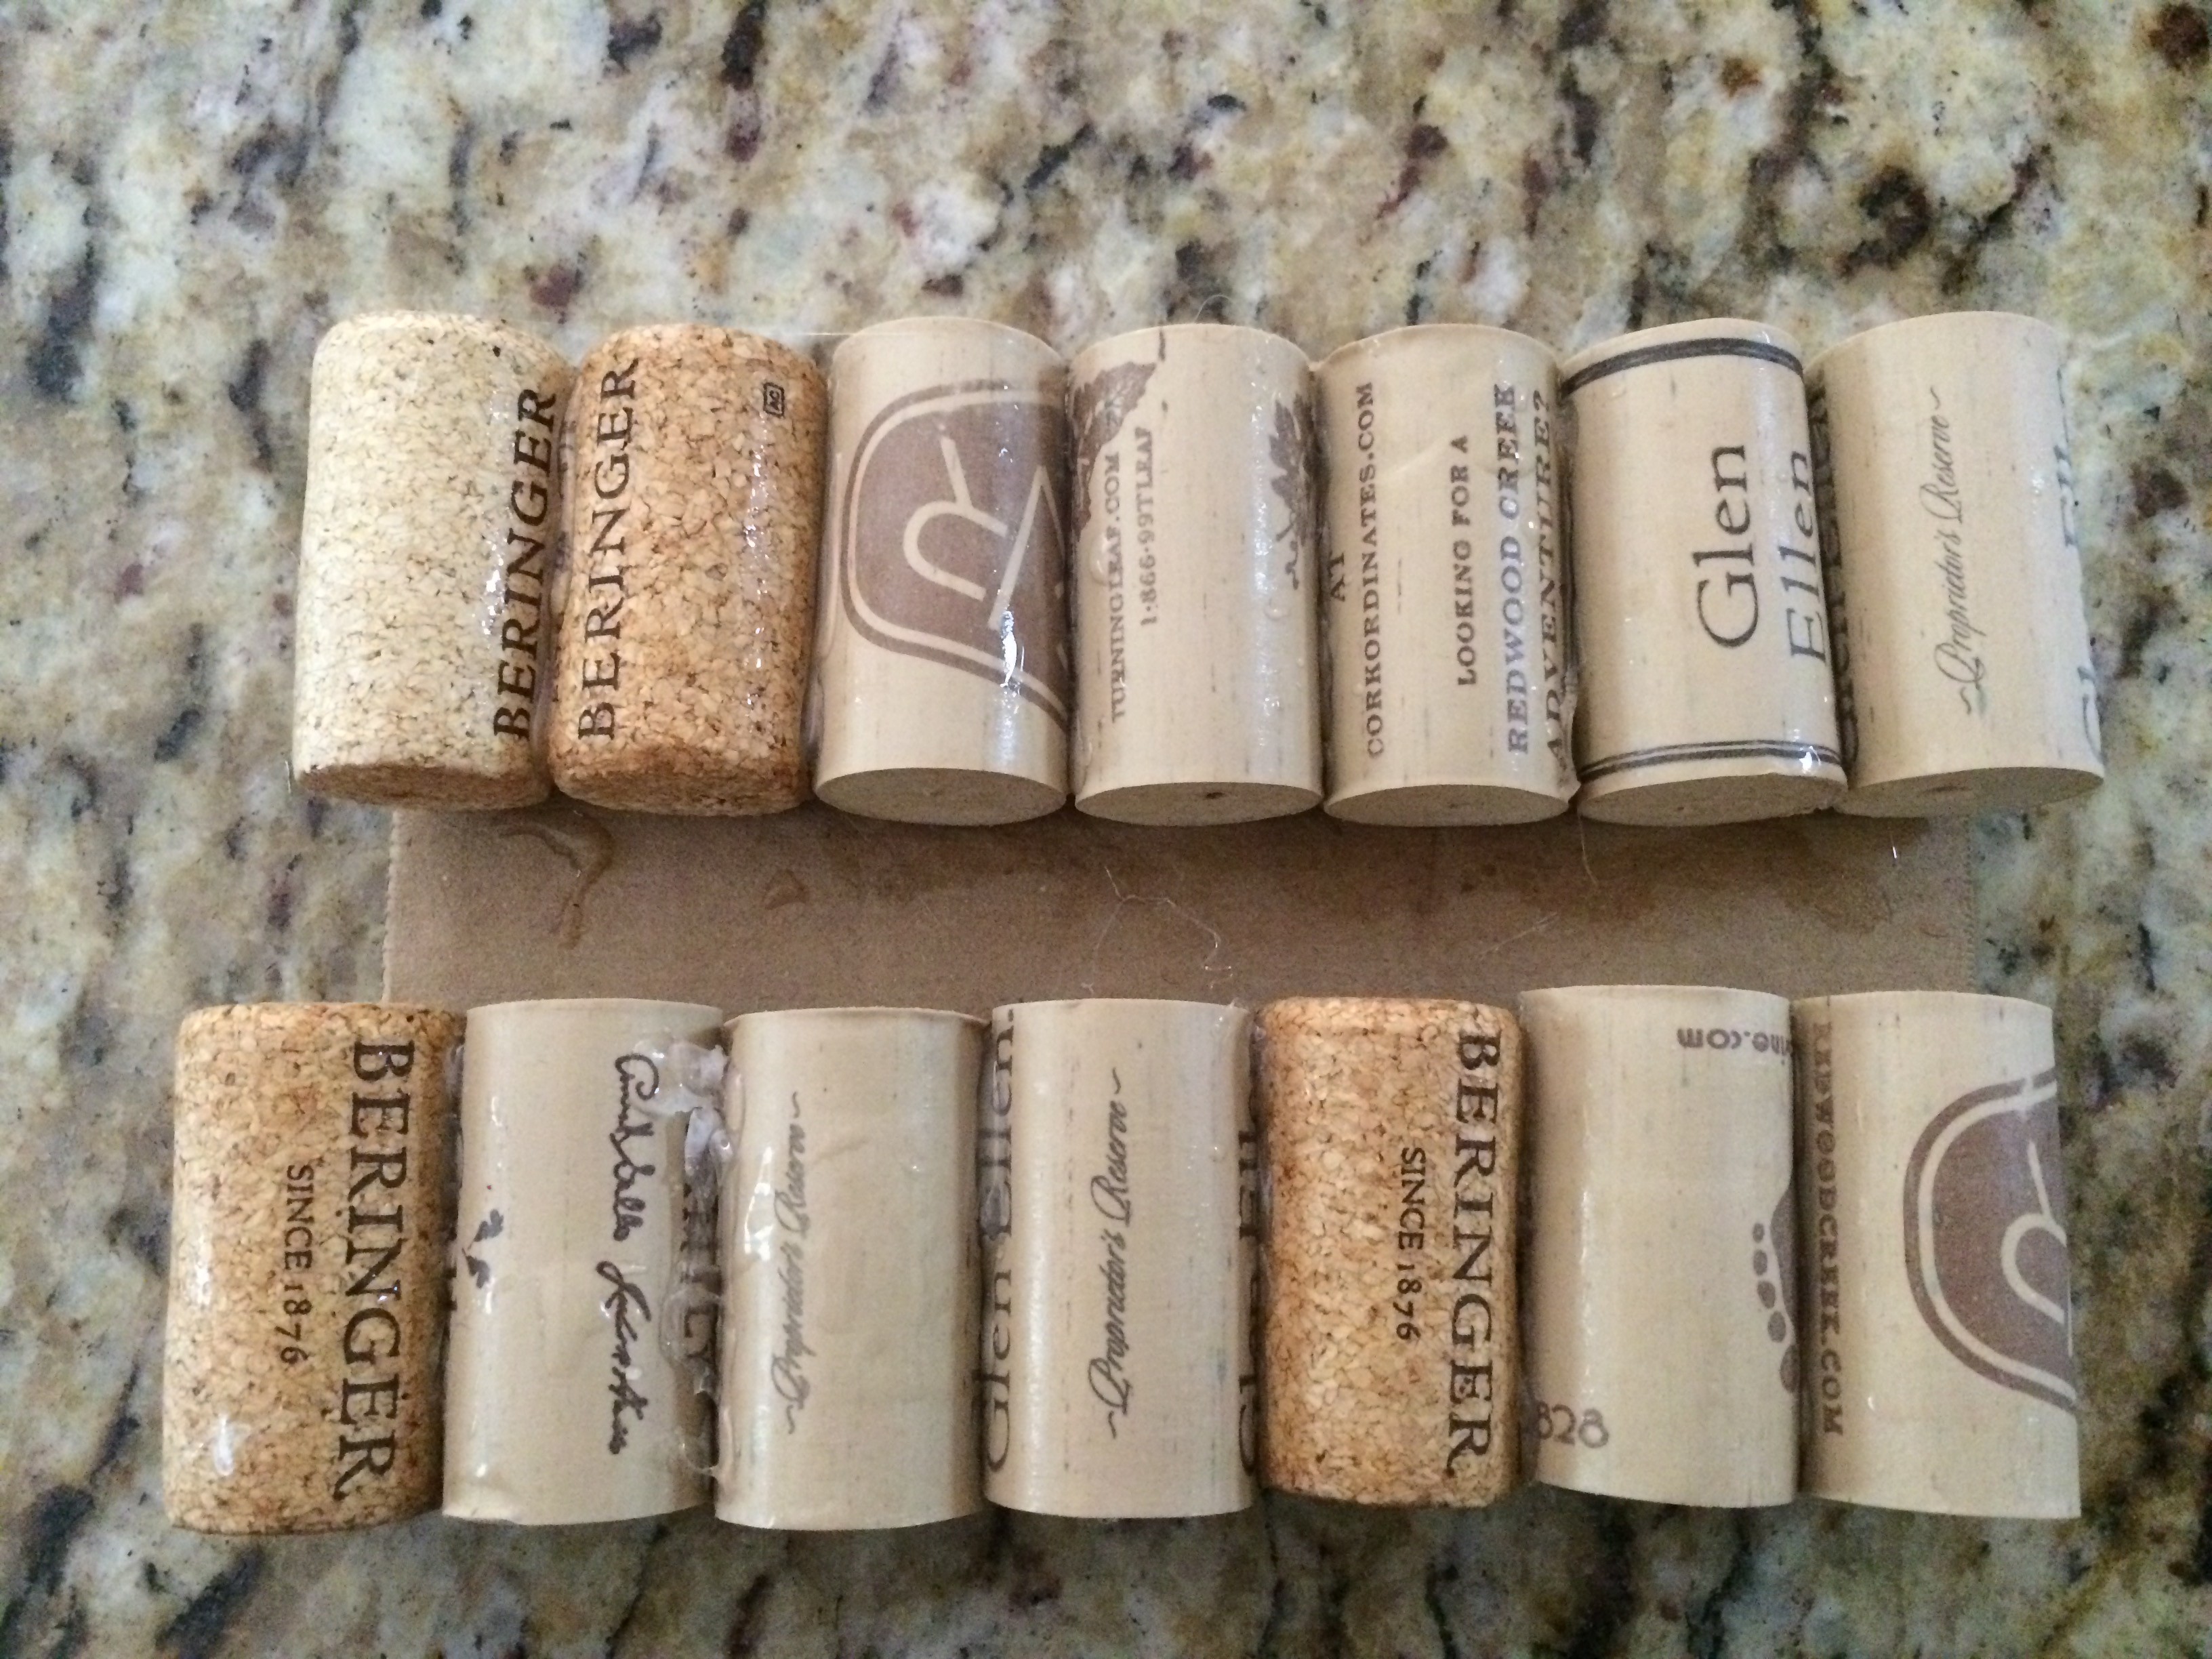
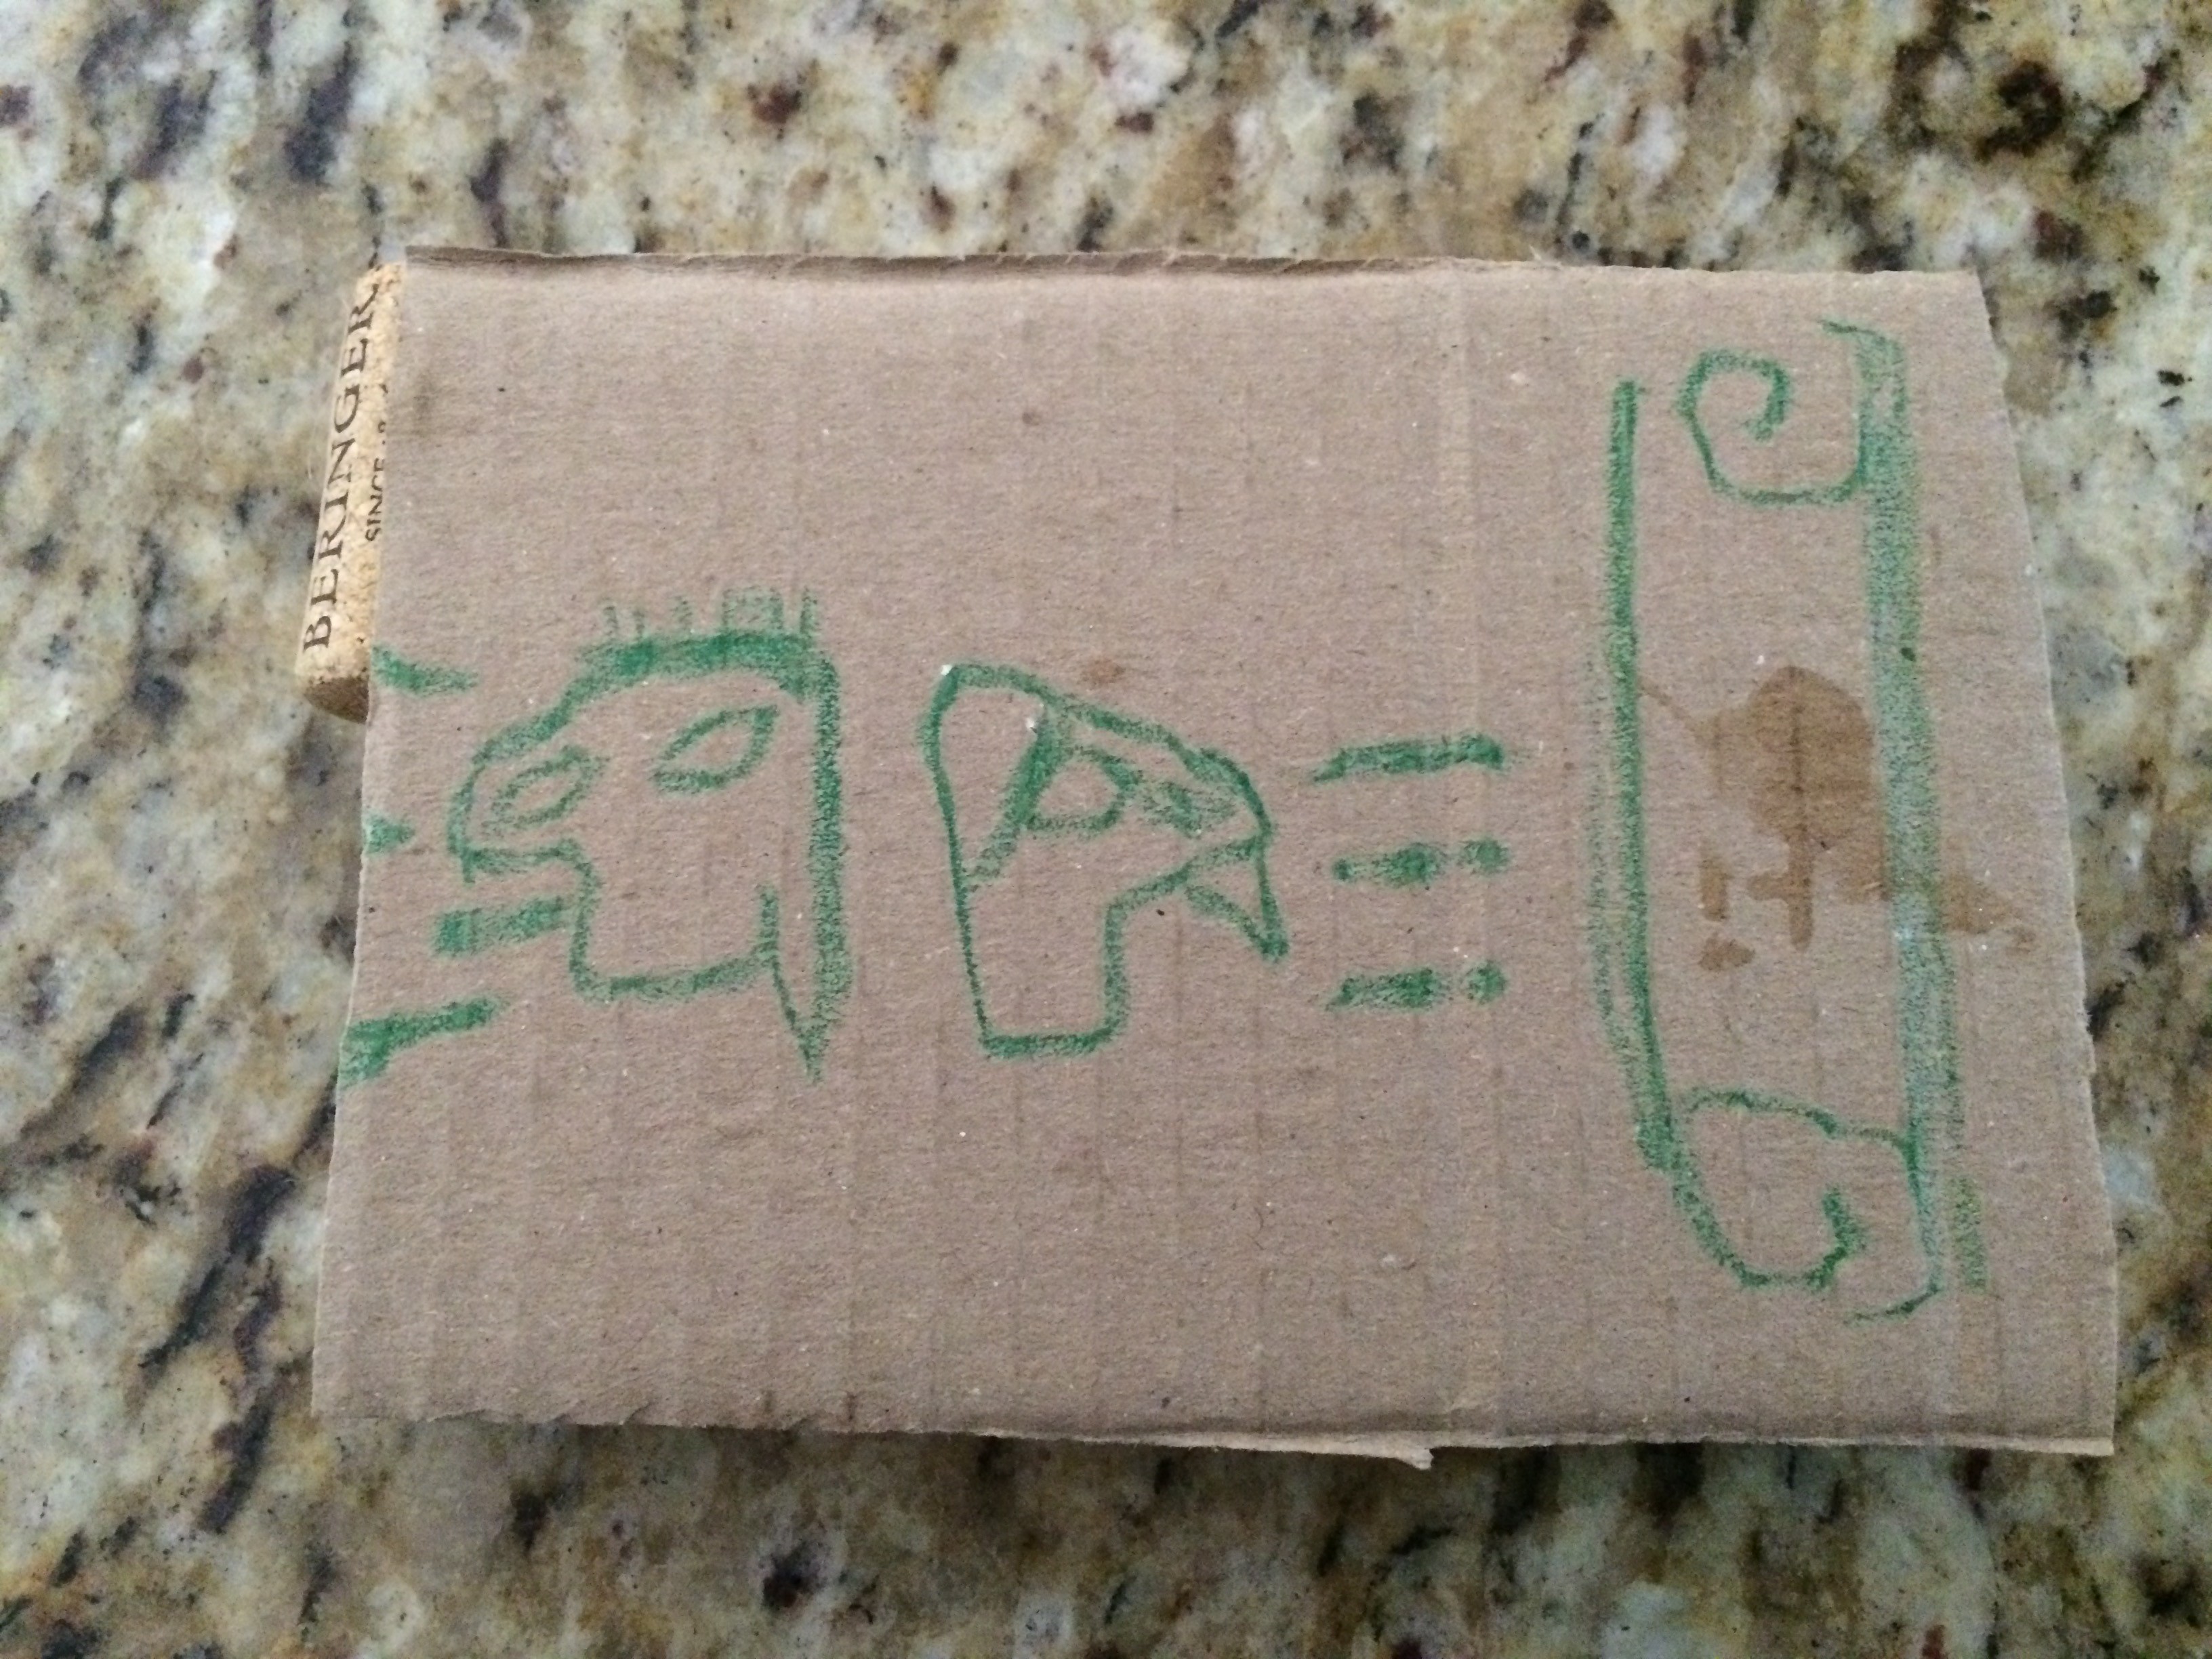
One of my favorite things we did was a challenge. One day recently everyone seemed to be in a funk. I was thinking about something exciting to do with stuff we had around the house. Like some kind of a challenge. So after a Google search didn’t turn up much, I went to Pinterest and found a Cork Raft Challenge for Kids. Basically they had to build a raft that would float people across water. With all the materials in hand and a bit of improvisation, I wrote my kids a note and delivered it to them in their rooms. It said: “Come to the kitchen for a challenge. Do you accept? P.S. Bring two Lego Minifigures.” I was gearing up for a fight, “this is boring”, “I don’t want to do this”, but they got right into it and loved it!

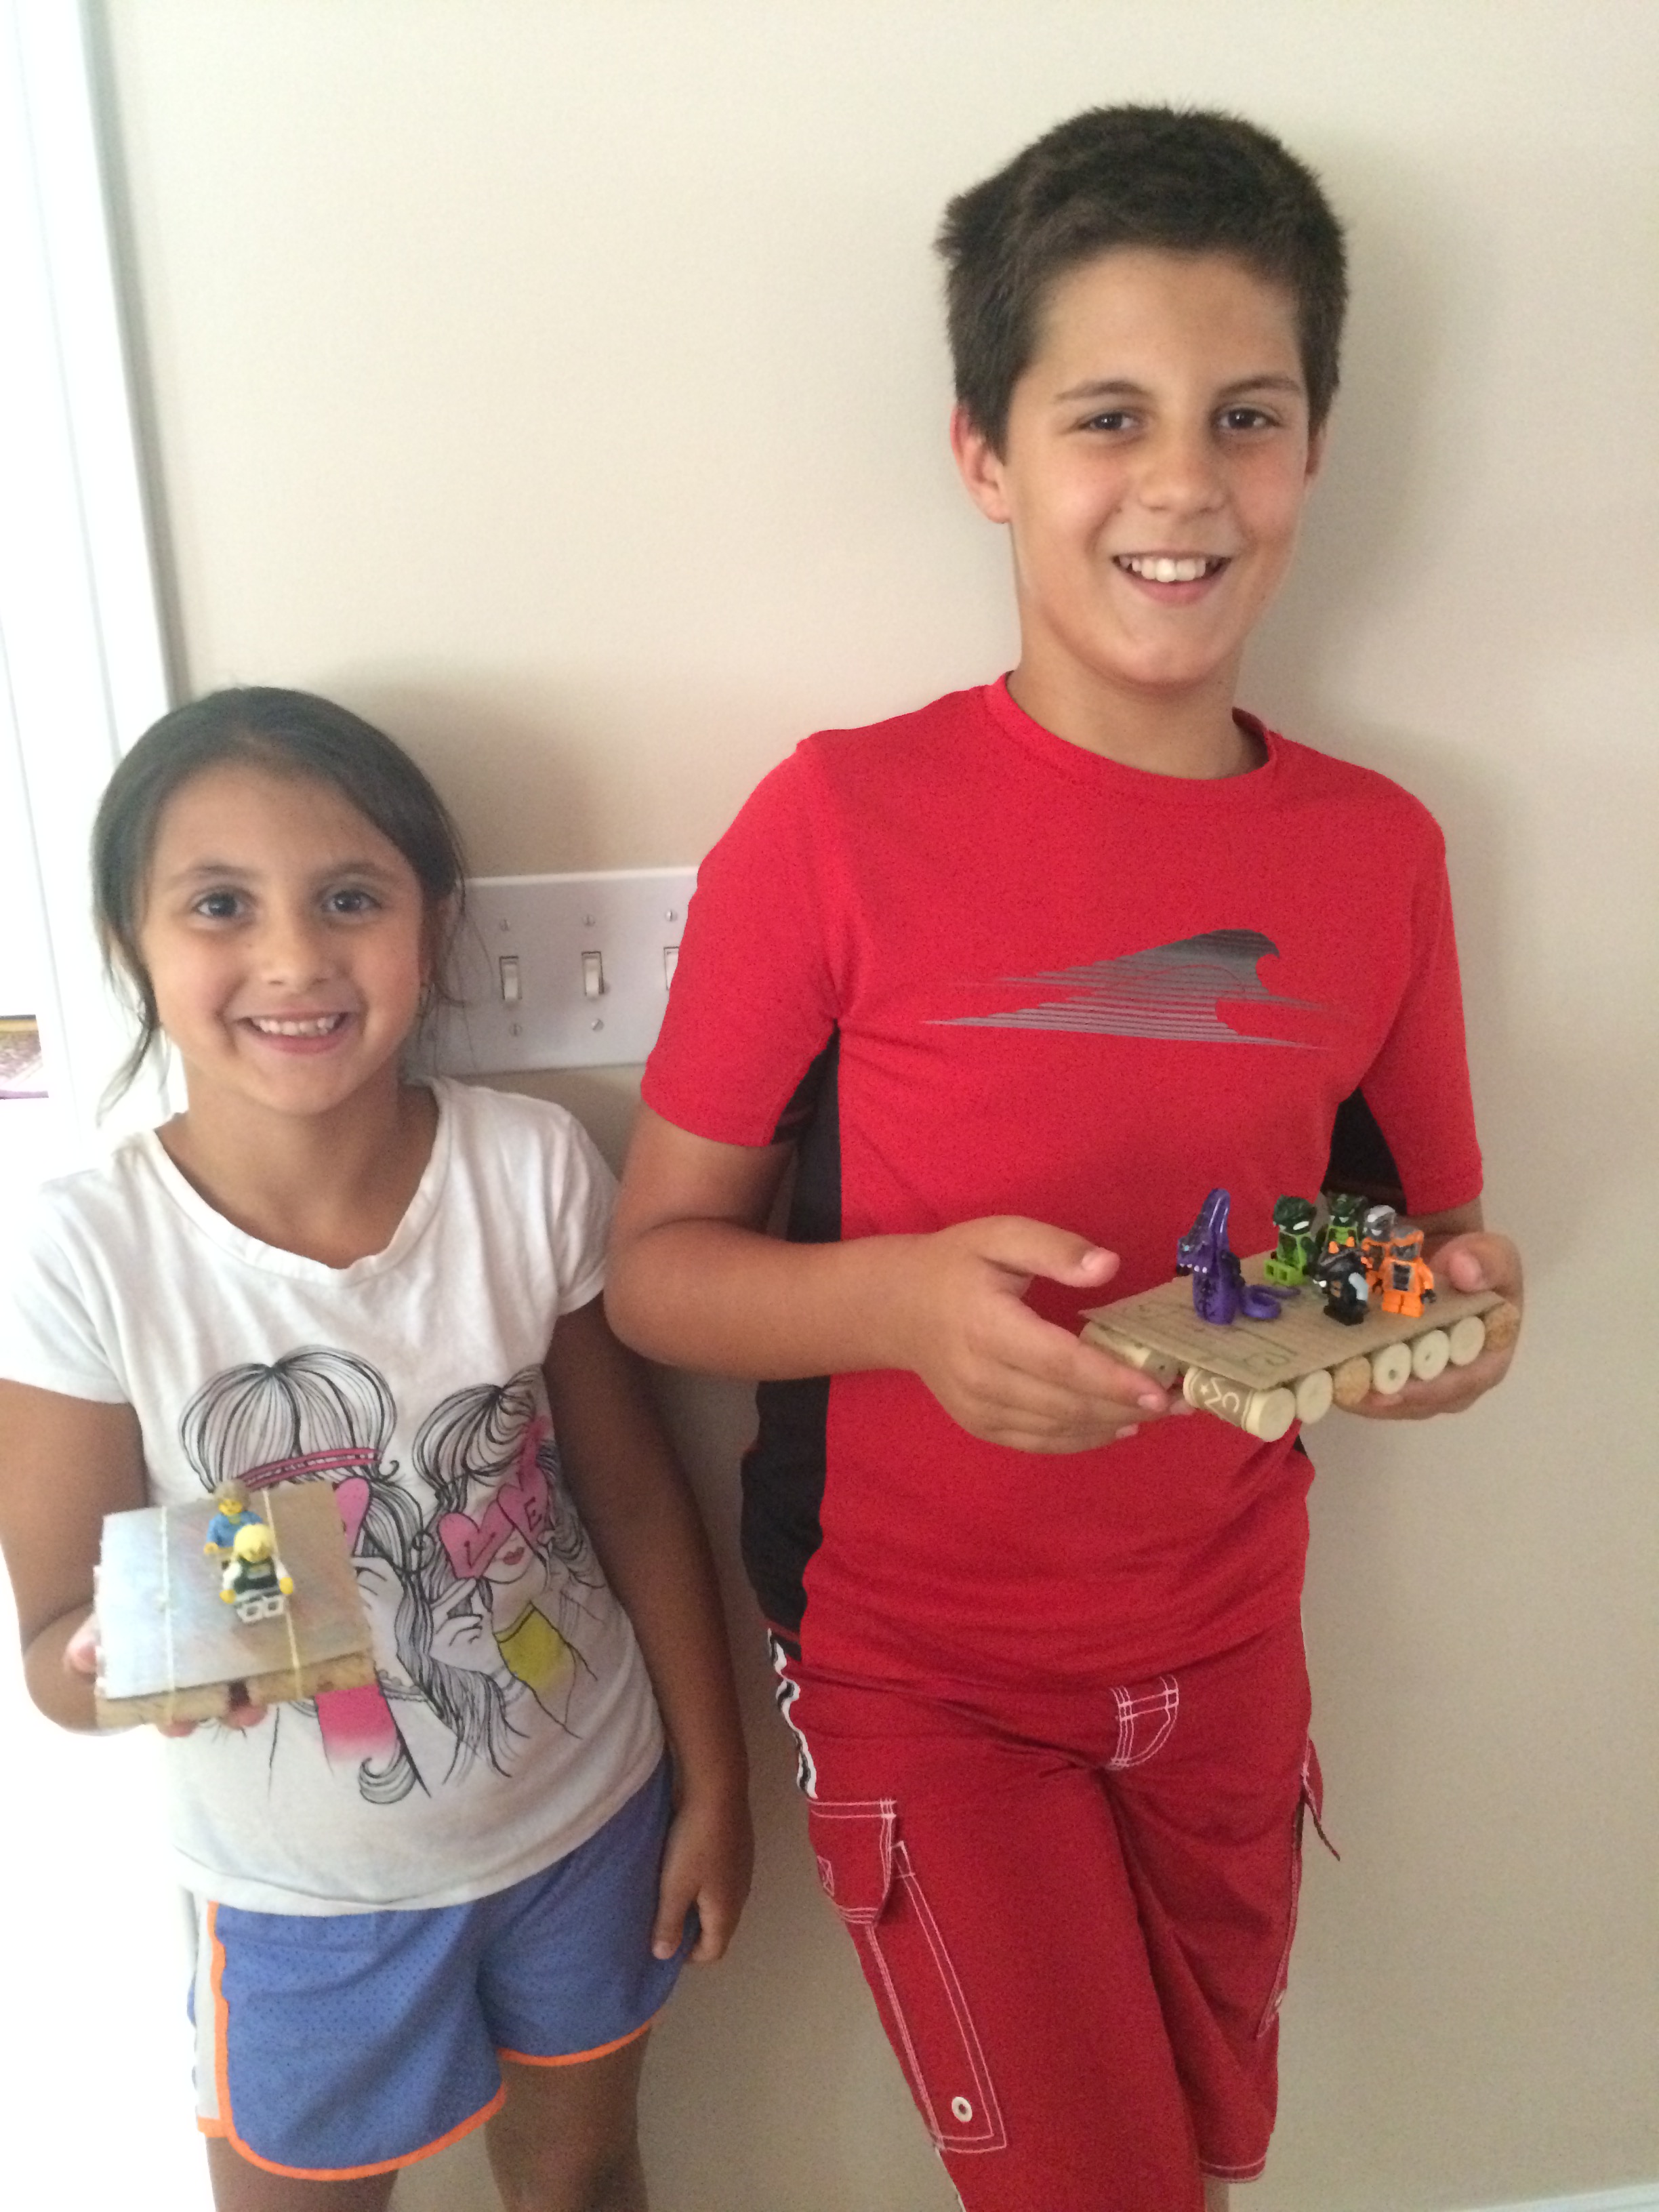
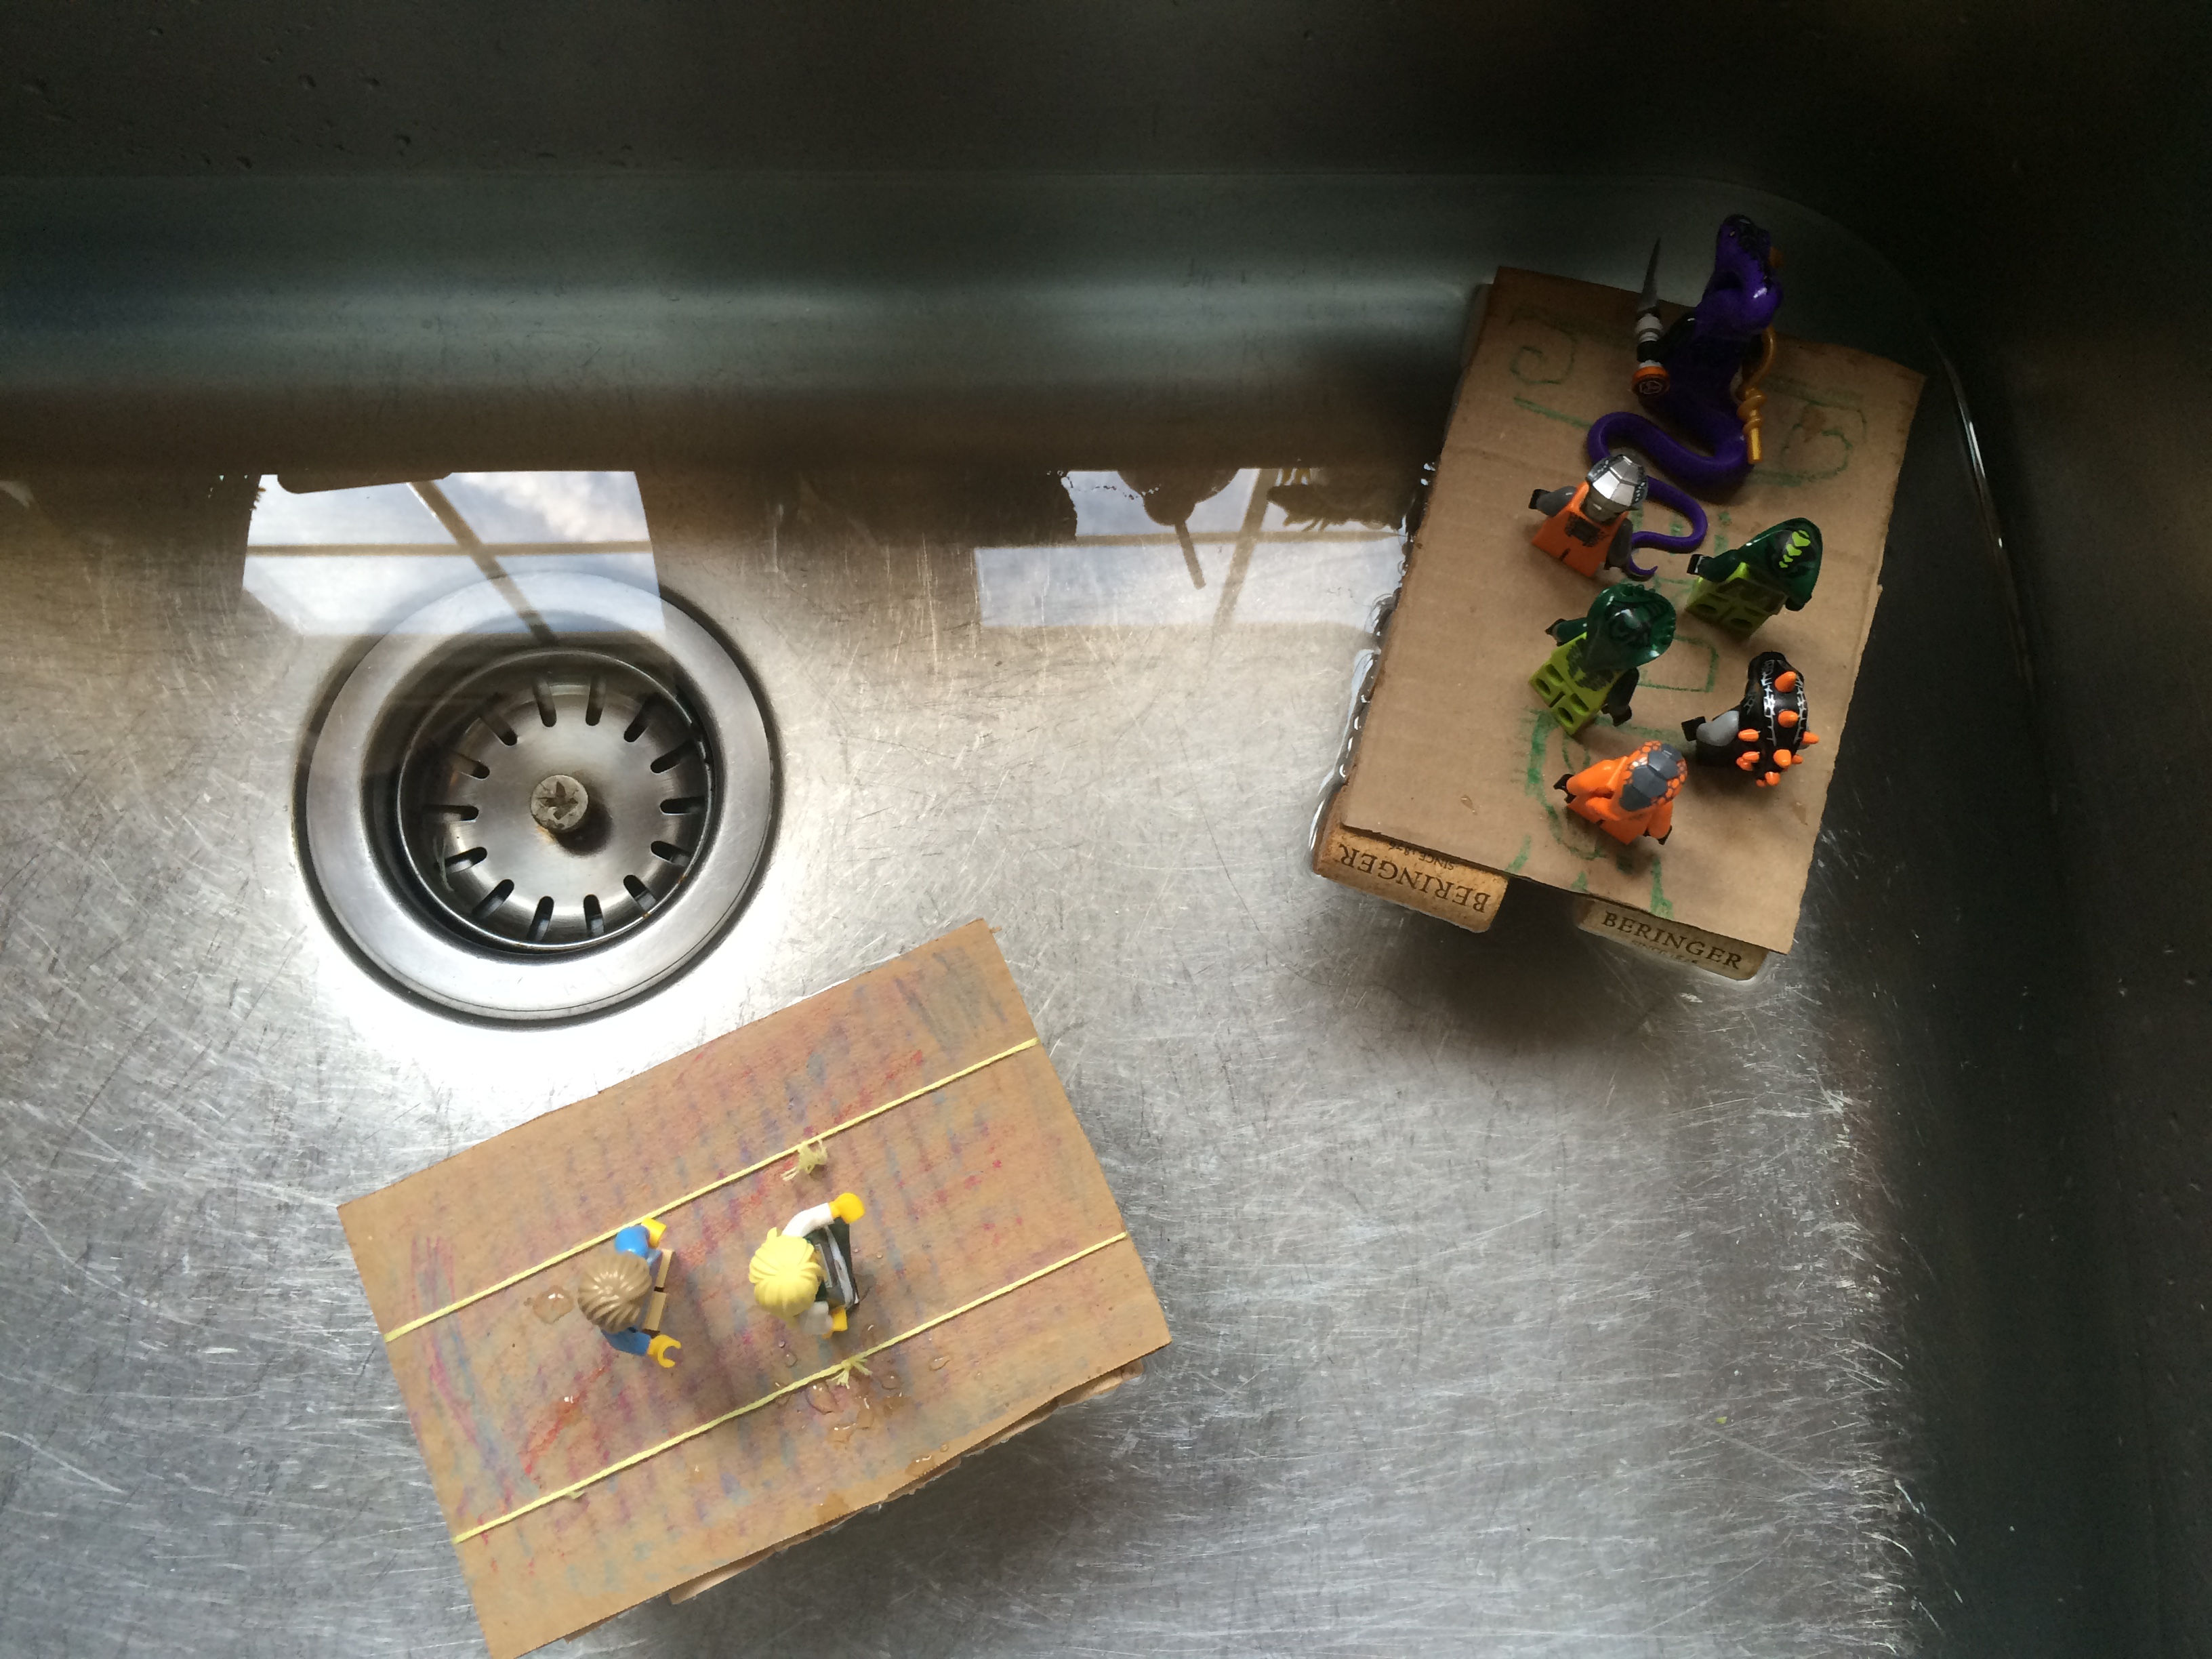

Wow! We actually did a lot! After re-reading this post, maybe they are bored because we did too much! Sounds like I am running a summer camp. But all-in-all, I am a very hands-on mother and I love to play and do projects so I guess as long as I can keep them interested, we all benefit! For any of you feeling the same as parents, I hope this post helped you, also check out my post called 10 Fun and Free Activities to do With Your Child This Summer. Enjoy the last month of summer!
- ← Previous
- 1
- 2
- 3
- …
- 5
- Next →
